Crochet The Princess Shawl
Crochet The Princess Shawl
Hello everyone, today I am bringing to you a new tutorial on how to crochet The Princess Shawl.
I hope you are well. The weather has finally decided to become very Autumnal here in the UK, so what better way to enjoy this lovely season than with a cup of tea and crochet? I love this season where I can just relax in front of a warm fire, making cosy crochet items and garments!
As usual, the video tutorial is up on my Youtube channel and can be found here: Crochet The Princess Shawl Video Tutorial
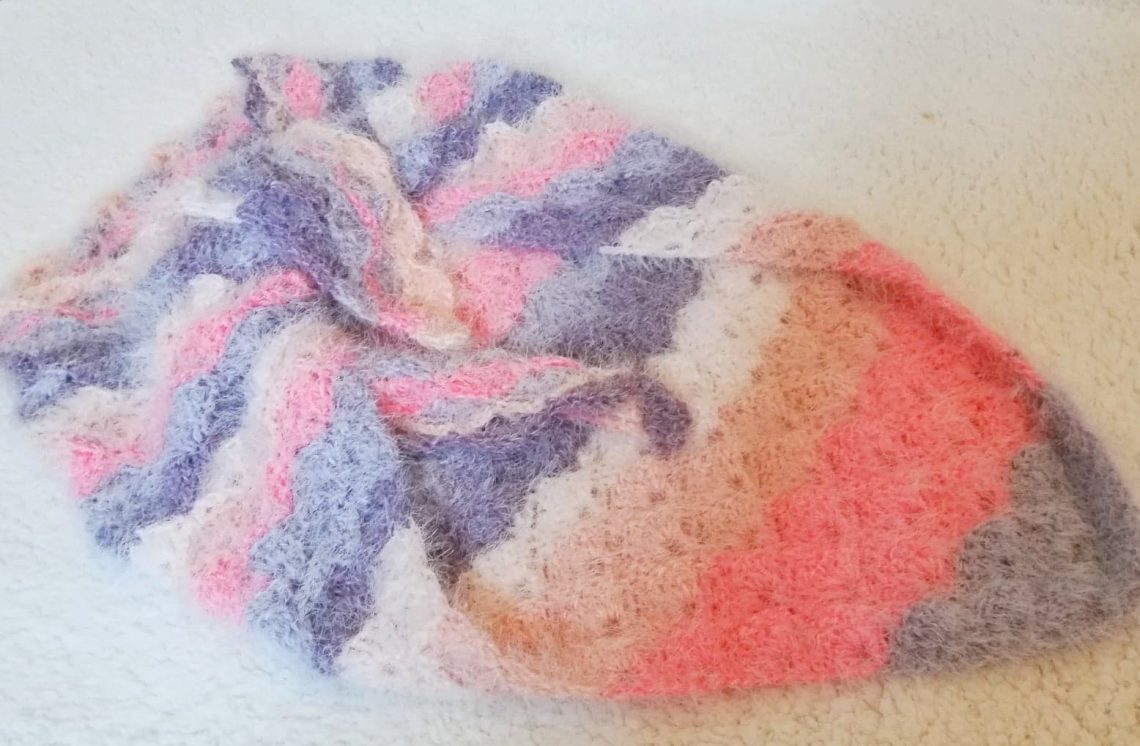
Caron Latte Cake in shade Plum Fresh
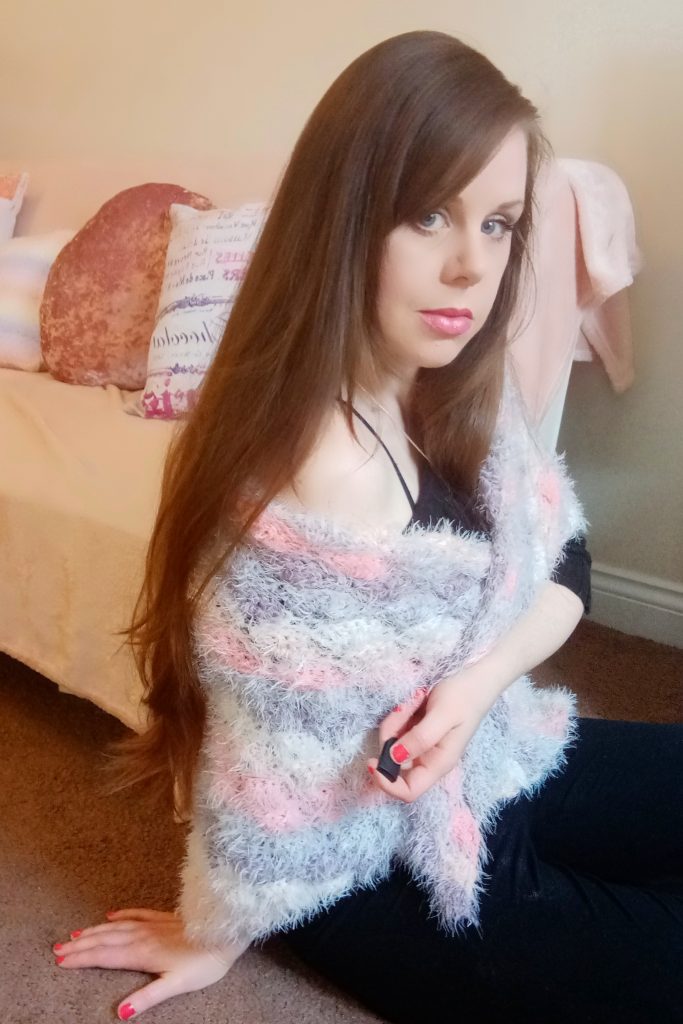
My latest design that I made a couple of weeks ago is The Princess Shawl, made with the softest of soft yarns, Caron Latte Cake in shade Plum Fresh. This yarn is so soft and fluffy, a delight to crochet with. I decided to make a wide shells shawl with it, that is actually reminiscent of a stole because of the shape and texture. A perfect accessory for the Autumn, it is super easy to make, and such a delight to wear.
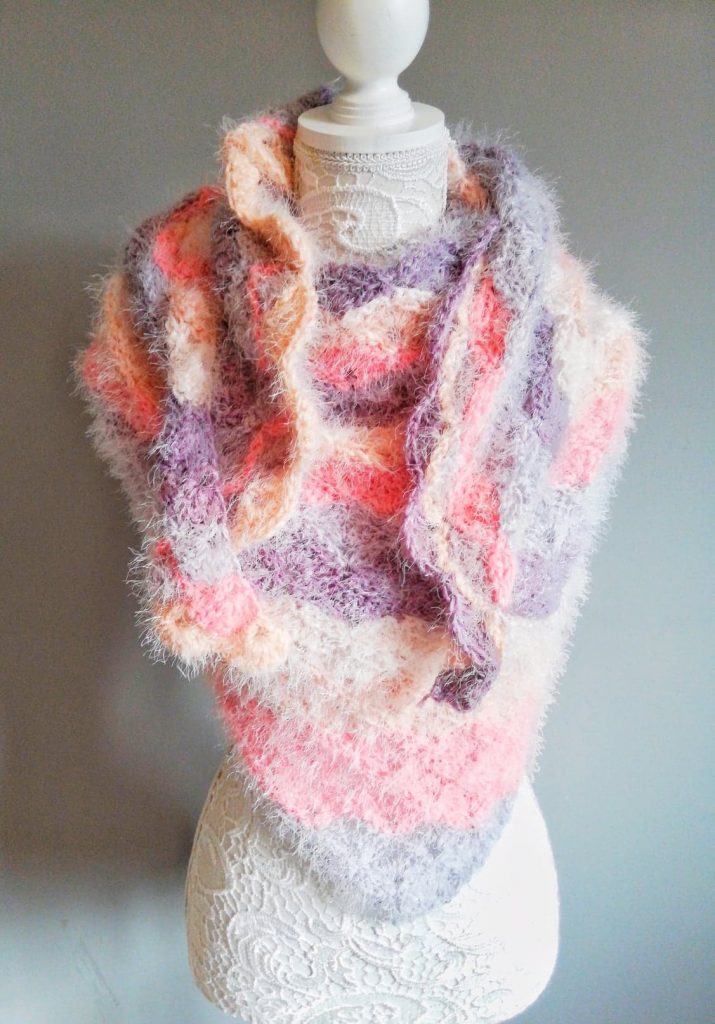
A very snugly shawl
I absolutely love snuggling into this shawl, as it so soft and cosy, and remind me of far off kingdoms. I decided to call it the Princess Shawl because the vibrant colours and rich texture of this garment made me think of a far away, magical kingdom where a beautiful medieval princess would wear this shawl.
Caron Latte Cakes are amazing because they are so soft and such a delight to crochet with. The softness of this yarn is just incredible, and the best part is that it does not contain any wool. This is great for those of us who are allergic to wool. This project works up quickly too, making it a great option for a gift too.
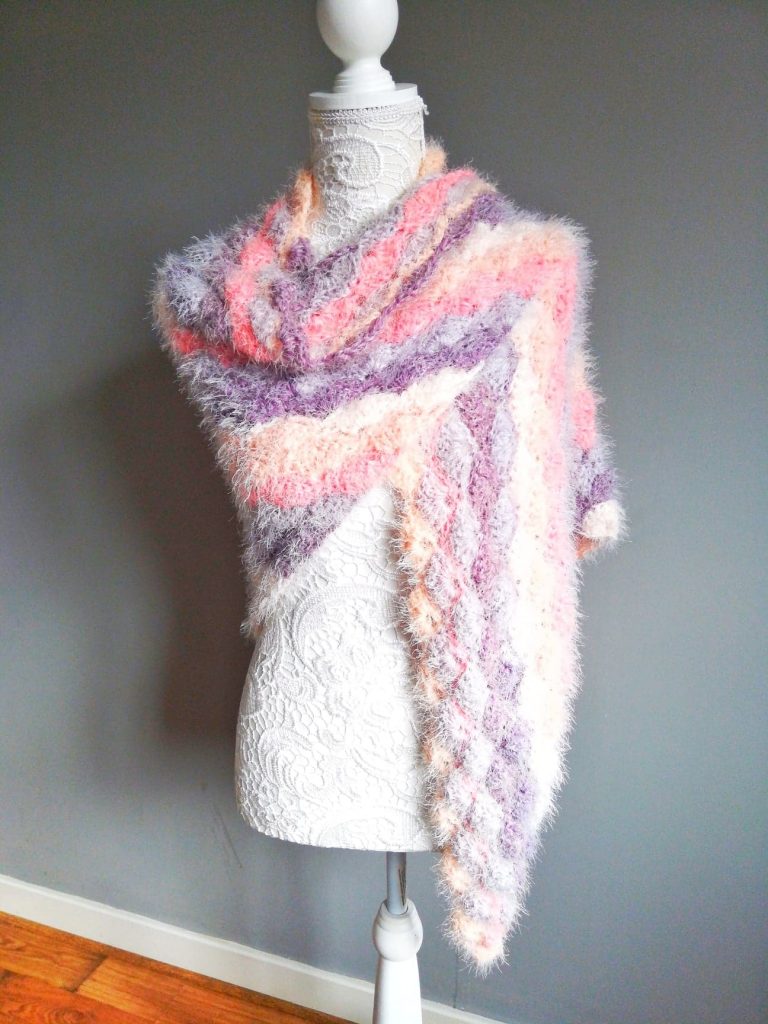
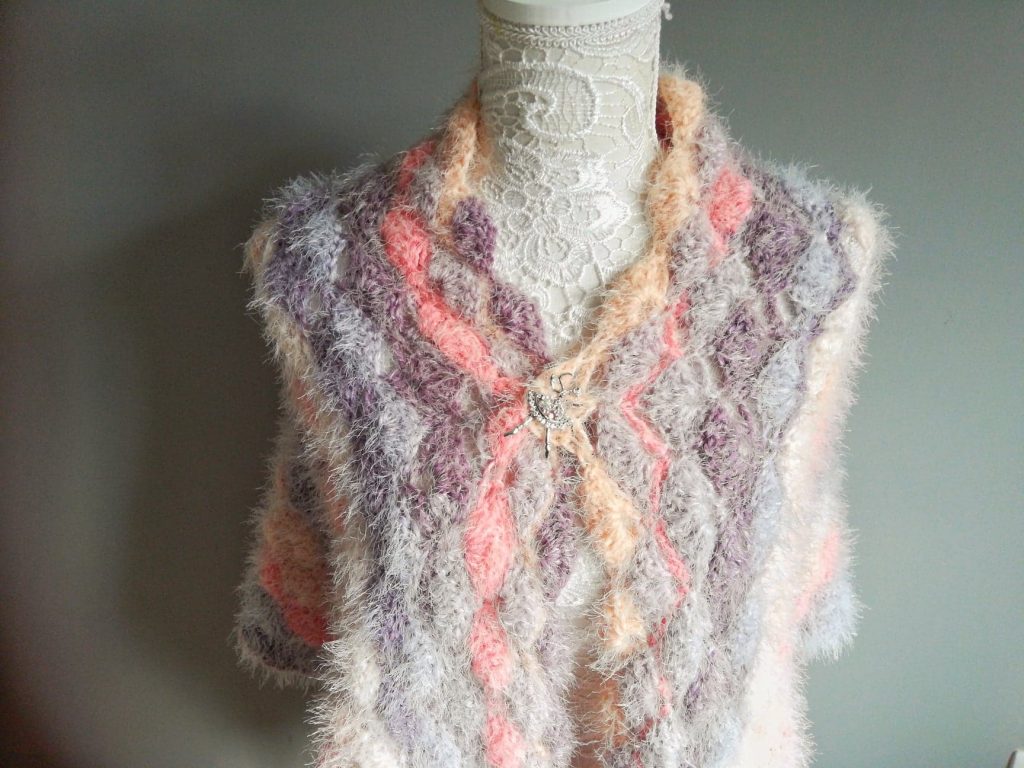
The Shell stitch is used to crochet The Princess Shawl
The simple Shell stitch used for this shawl make this pattern so special too, as it brings out the beautiful shades of the fluffy yarn. I will definitely use this yarn again for many different patterns, and I can’t wait to get started. I really enjoy the shell stitch for shawls. It creates a classic yet timeless look, and looks very chic for going out too. This wrap can definitely be worn for a special soirée, and I will be making many more of these for Christmas and birthday gifts.
Behind the Pattern
I crocheted The Soft and Fluffy Scarf with what was left of my second skein of yarn, you can find the free pattern and video tutorial on this blog (search “soft fluffy scarf”), and it is also a beautifully soft and delightful crochet accessory you can make very quickly.
The free PDF pattern can be found here: The Princess Shawl
Let me know what you think in the comments, and until next week, take care my lovely crochet friends,
Xoxo, Selina.
The Pattern for The Princess Shawl
Level: Easy/beginner
Gauge: gauge is not crucial for the completion of this project.
Notes:
I will be using US terms (British terms in brackets)
Measurements of finished project:
The wrap measures 73 inches/187 cm wide (measured at the top from tip to tip), and 29 inches/73 cm in length (from top to bottom)
Materials
– 2 skeins of Caron Latte Cake in shade Plum Fresh (or any other shade/yarn in chunky weight yarn)
6,5 mm crochet hook
Pair of scissors
Tapestry needle
Abbreviations:
Ch : chain
Sl st : slip stitch
SC: Single Crochet (UK Double)
DC: Double Crochet (UK Treble)
Sk: skip
Begin pattern here:
To start, make a slip knot. Ch.4, sl.st. through 1st stitch to from a ring.
Complete rows as follows:
1: 3 ch (counts as a DC), 6 DC inside center of ring (=7DC and first shell)
2: 4 ch, SC into first st. to form a ring, 3 ch, sk 3 stitches, SC in 4th stitch, 3 ch, SC into last st, 4 ch and SC into last st to form a ring.
3: 3 ch (counts as DC), turn your work, 6 DC into first ring to form shell; sk 3 ch from previous row, SC into SC from previous row, sk 3 ch from previous row, 7 DC into 4 ch ring to form a shell.
4: 4 ch, SC into first st. to form a ring, 3 ch, sk. 3 stitches, SC into 4th st., 3 ch, sk 3 st and SC into 7th st. 4 ch and SC into same stitch to form a ring, 3 ch, sk 3 st and SC into 4th st of shell from previous row, 3 ch, sk 3 stitches, SC into last st from previous row, 4 ch and SC into same stitch to form a ring.
5: 3 ch (counts as DC), turn your work, 6 DC into ring to form 1st shell of row; sk 3 ch from previous row, SC into SC from previous row, sk 3 ch from previous row, 7 DC into 4 ch ring to form a shell; sk 3 ch from previous row, SC into SC from previous row, go into last ring and place 7 DC to form your third and last shell for this row.
Row 6 to end:
Alternate row 4 and 5, making sure you always add your shells as your shawl grows bigger. Please do check out the video tutorial for this pattern if you need more help.
Fasten off, tidy up all loose ends.


You May Also Like
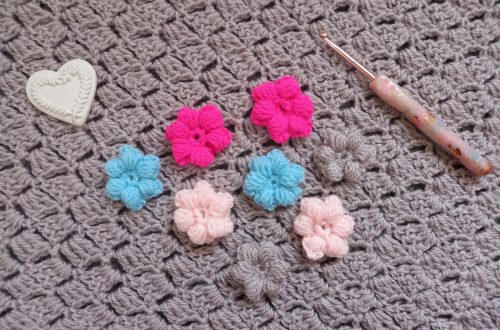
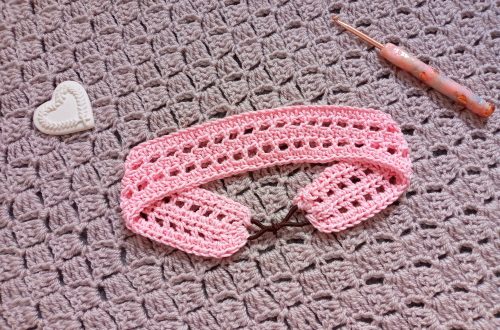
Crochet Puff Flower Beginner Tutorial
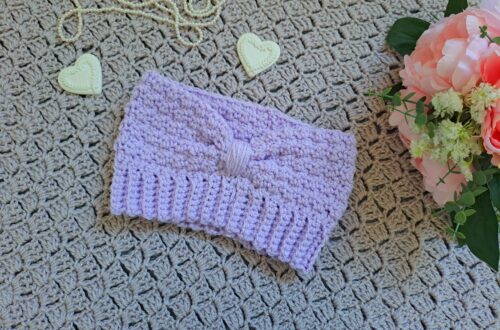
Crochet Easy Winter Headband Free Pattern