Crochet A Knit Like Headband
Crochet A Knit Like Headband
Hello everyone, I hope you are well! Today I am bringing to you a brand new project on how to crochet a knit like headband. This is a super easy and gorgeous crochet accessory, perfect for these cold winter months.
I just love crochet and how versatile it can be, and I do love experimenting with different stitches. I love the look of this knit like stitch, as it adds a lot of dimension to a simple crochet project.
The video tutorial for this project can be found here: Crochet A Knit Like Headband Video Tutorial
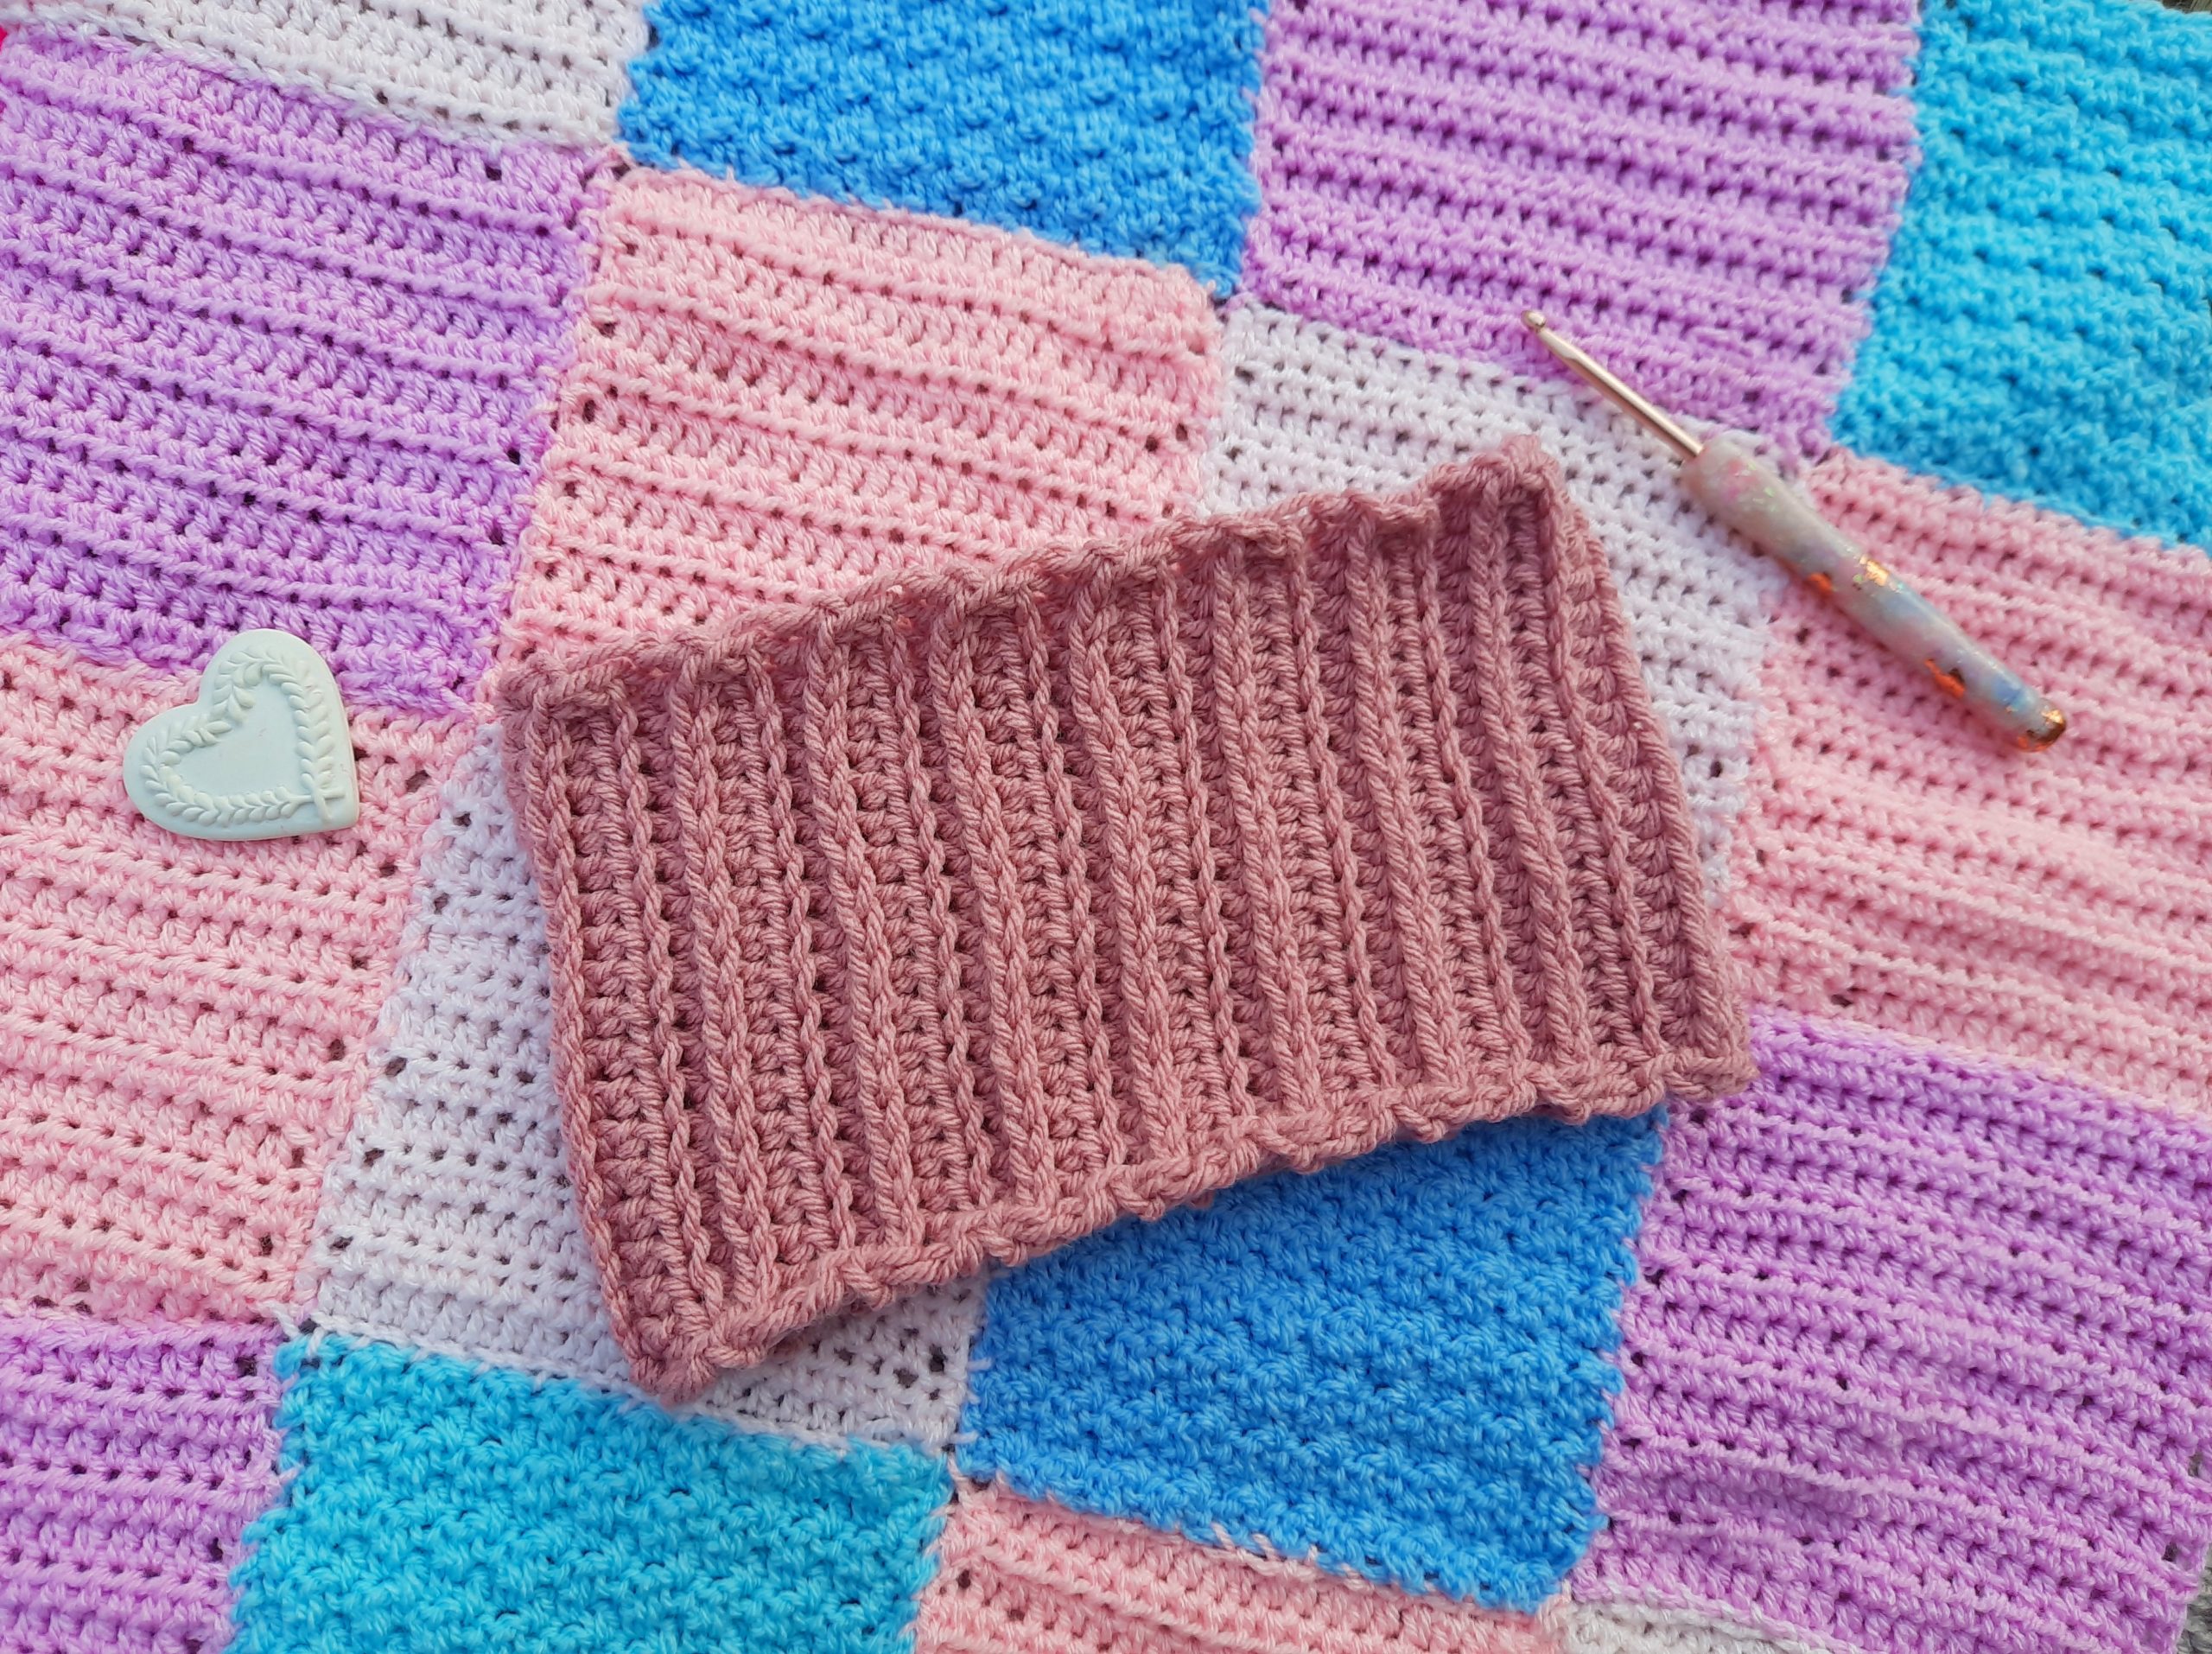
Crochet A Knit Like Headband: the inspiration
I was inspired to crochet this headband because I really love headbands and ear warmers. The reason for this is that they are not only really pretty, but also really convenient! Indeed, I have long hair, and on windy days I like to tie my hair up. When I do this, a warm Winter headband is so convenient! You can just pop it on your head and your hairstyle will stay put!
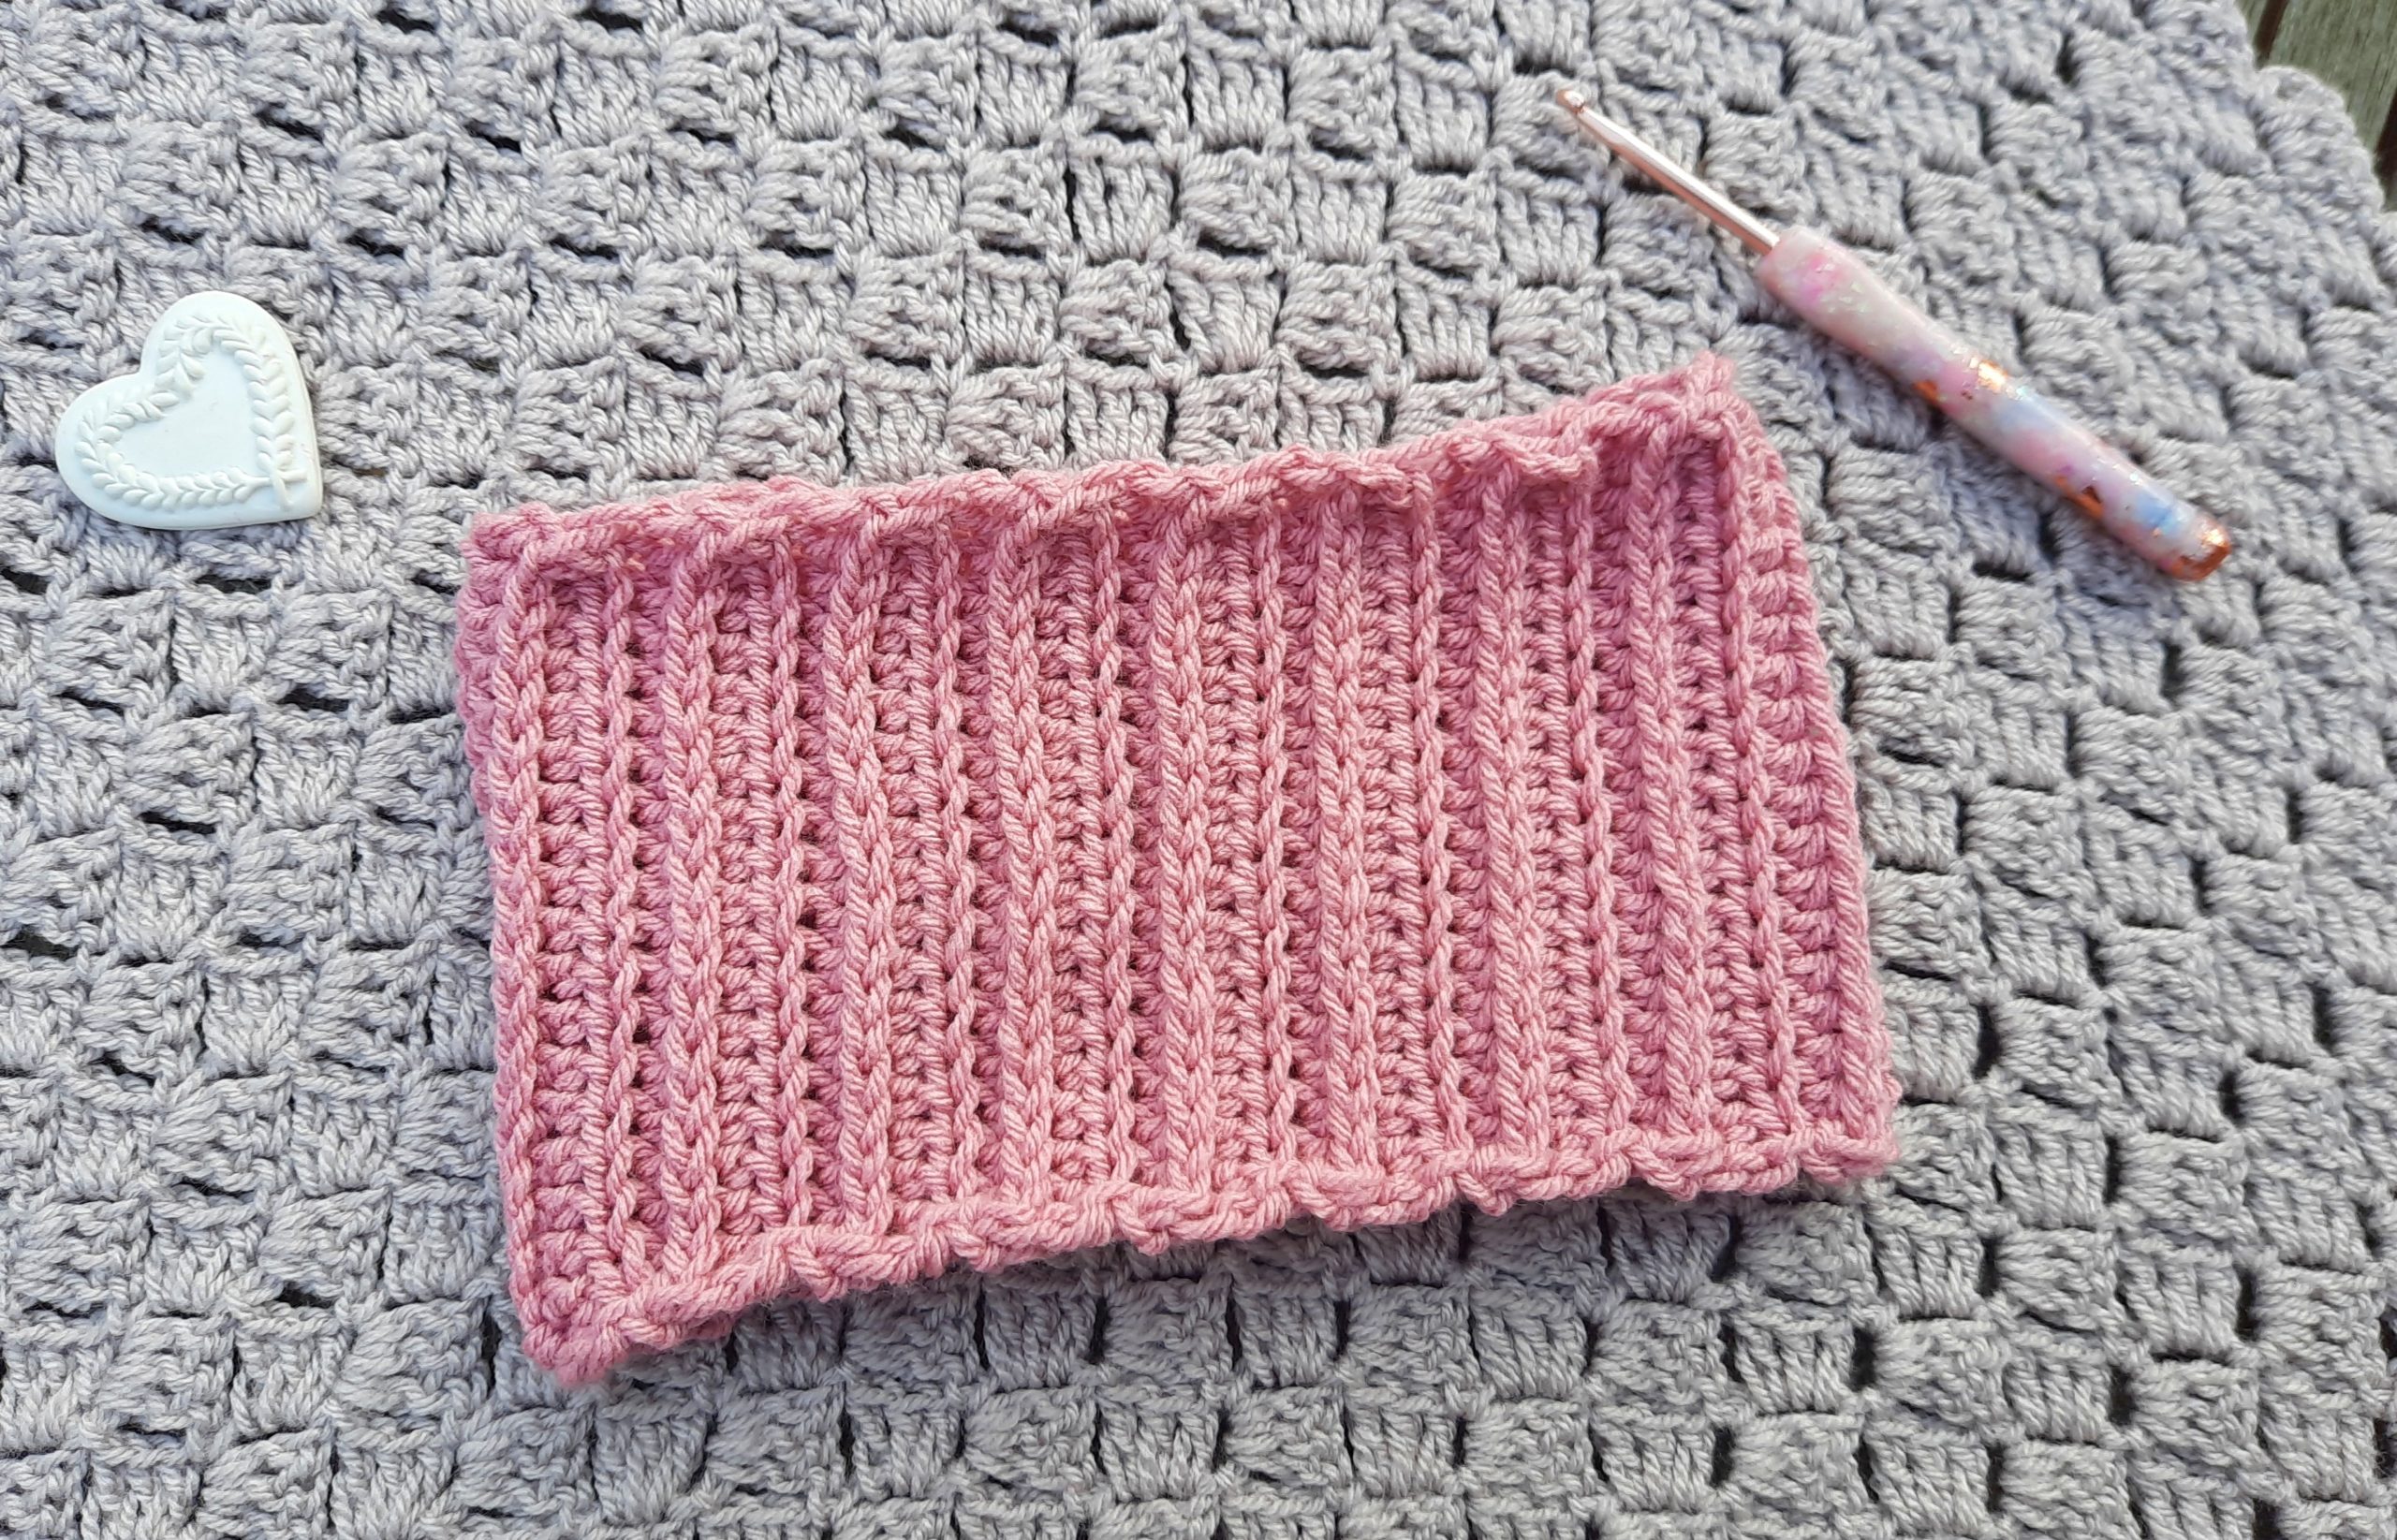
Do you love headbands for Winter as much as I do? I also like to have a few different headbands to wear as I like to have choice.
I recently released another headband tutorial that you can find here: Crochet A Velvet Headband With A Twist
This project from a few weeks ago is a tutorial on how to crochet a velvet headband with a twist, and is also a super quick and beautiful project.
Crochet A Knit Like Headband: the knit like stitch
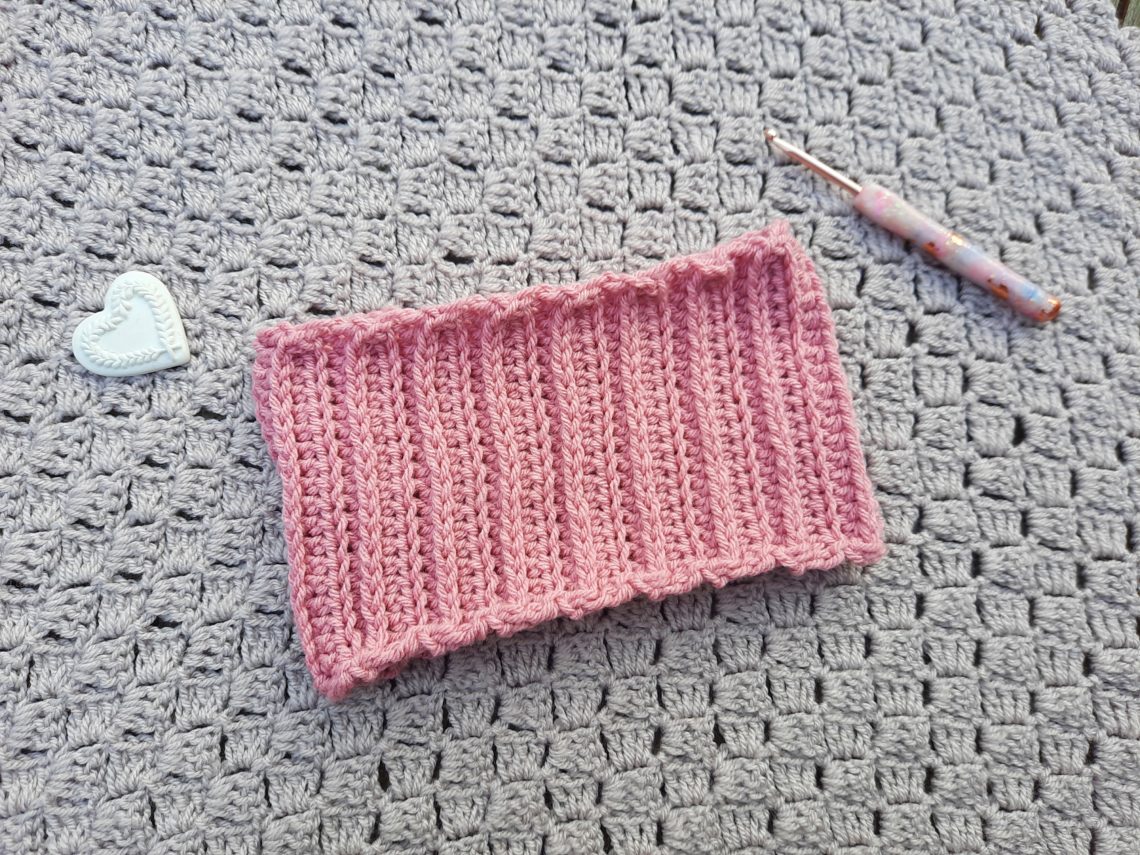
I am absolutely fascinated with the crochet knit stitch. It looks so pretty and does add a little mystery to any project! Is is knit or is it crochet? A knit like stitch can make a simple half double crochet repeat look so much more interesting too. It adds depth and dimension to a project, and in Winter, it is nice to have a warm garment with a tighter woven stitch to wear.
The beauty of crochet lies in it’s versatile and beautiful set of different stitches. I love this stitch especially, as it just looks so wintery and lovely.
I used a chunky 100% acrylic yarn for this project, as I like to have warm headbands. In this instance, I used Stylecraft Special Chunky yarn in shade Pale Rose, which is such a lovely colour. Pale Rose also goes with most colours, which is great for your Winter wardrobe. This yarn is super soft and pretty, and can be substituted very easily with any other chunky yarn of your preference.
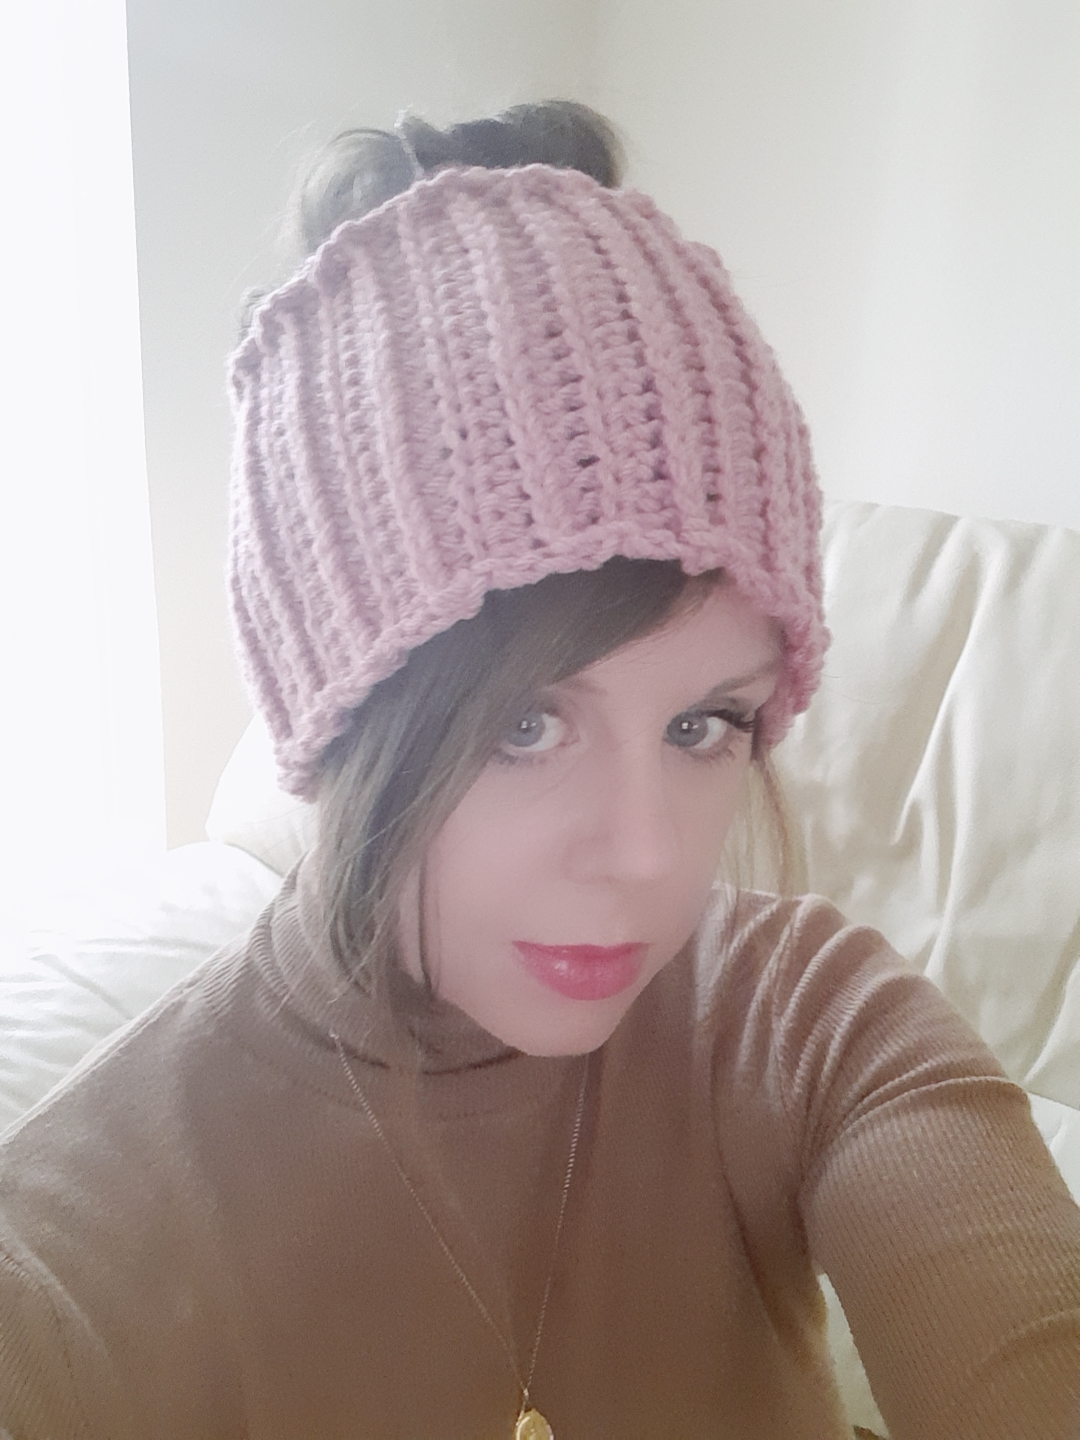
Connecting with you
You can connect with me on here, by messaging me or commenting on a post. You can also follow me on Social Media. I have a Youtube channel, Instagram, Pinterest and Facebook page, and I love nothing more than connecting with you through Social Media. My handle name is Selina Veronique Crochet, and the links to all my Social Media accounts is on my Home Page.
You can also subscribe to my weekly newsletter. You will then be the first to know of a new free crochet pattern release, video tutorial, and giveaways.
Thank you so much for stopping by my blog, take care,
And until next week,
Xoxo Selina.
Crochet A Knit Like Headband: the pattern
You can purchase the ad free, PDF pattern from my Etsy store here: Ad free PDF Pattern for The Knit Like Headband/Messy Bun Hat
Level: Easy/beginner
Notes: I will be using US terms (British terms in brackets)
Gauge:
14 HDC: 4 inches (10 cm)
8 rows: 4 inches (10 cm)
Gauge is not crucial for completion of this project
Size of finished project before sewing:
6 in x 18 in (15 cm x 46 cm)
You will need:
1 skein of Stylecraft Special Chunky in shade Pale Rose 1080 (or 100g of any other chunky weight yarn of your preference)
A 6 mm crochet hook
Tapestry needle
Pair of Scissors
Abbreviations:
ch: chain
sl st: slip stitch
HDC: Half Double Crochet (UK Half Treble Crochet)
To begin:
To start, make a slip knot
Ch 20
Complete rows as follows:
1: HDC in 3rd ch from the hook, HDC into each ch until eor (first 2 ch counts as a HDC)
2: Ch 1 (=turning chain throughout), turn your work, HDC into front facing loop of the bottom of each HDC from previous row (see photo for more details) until eor
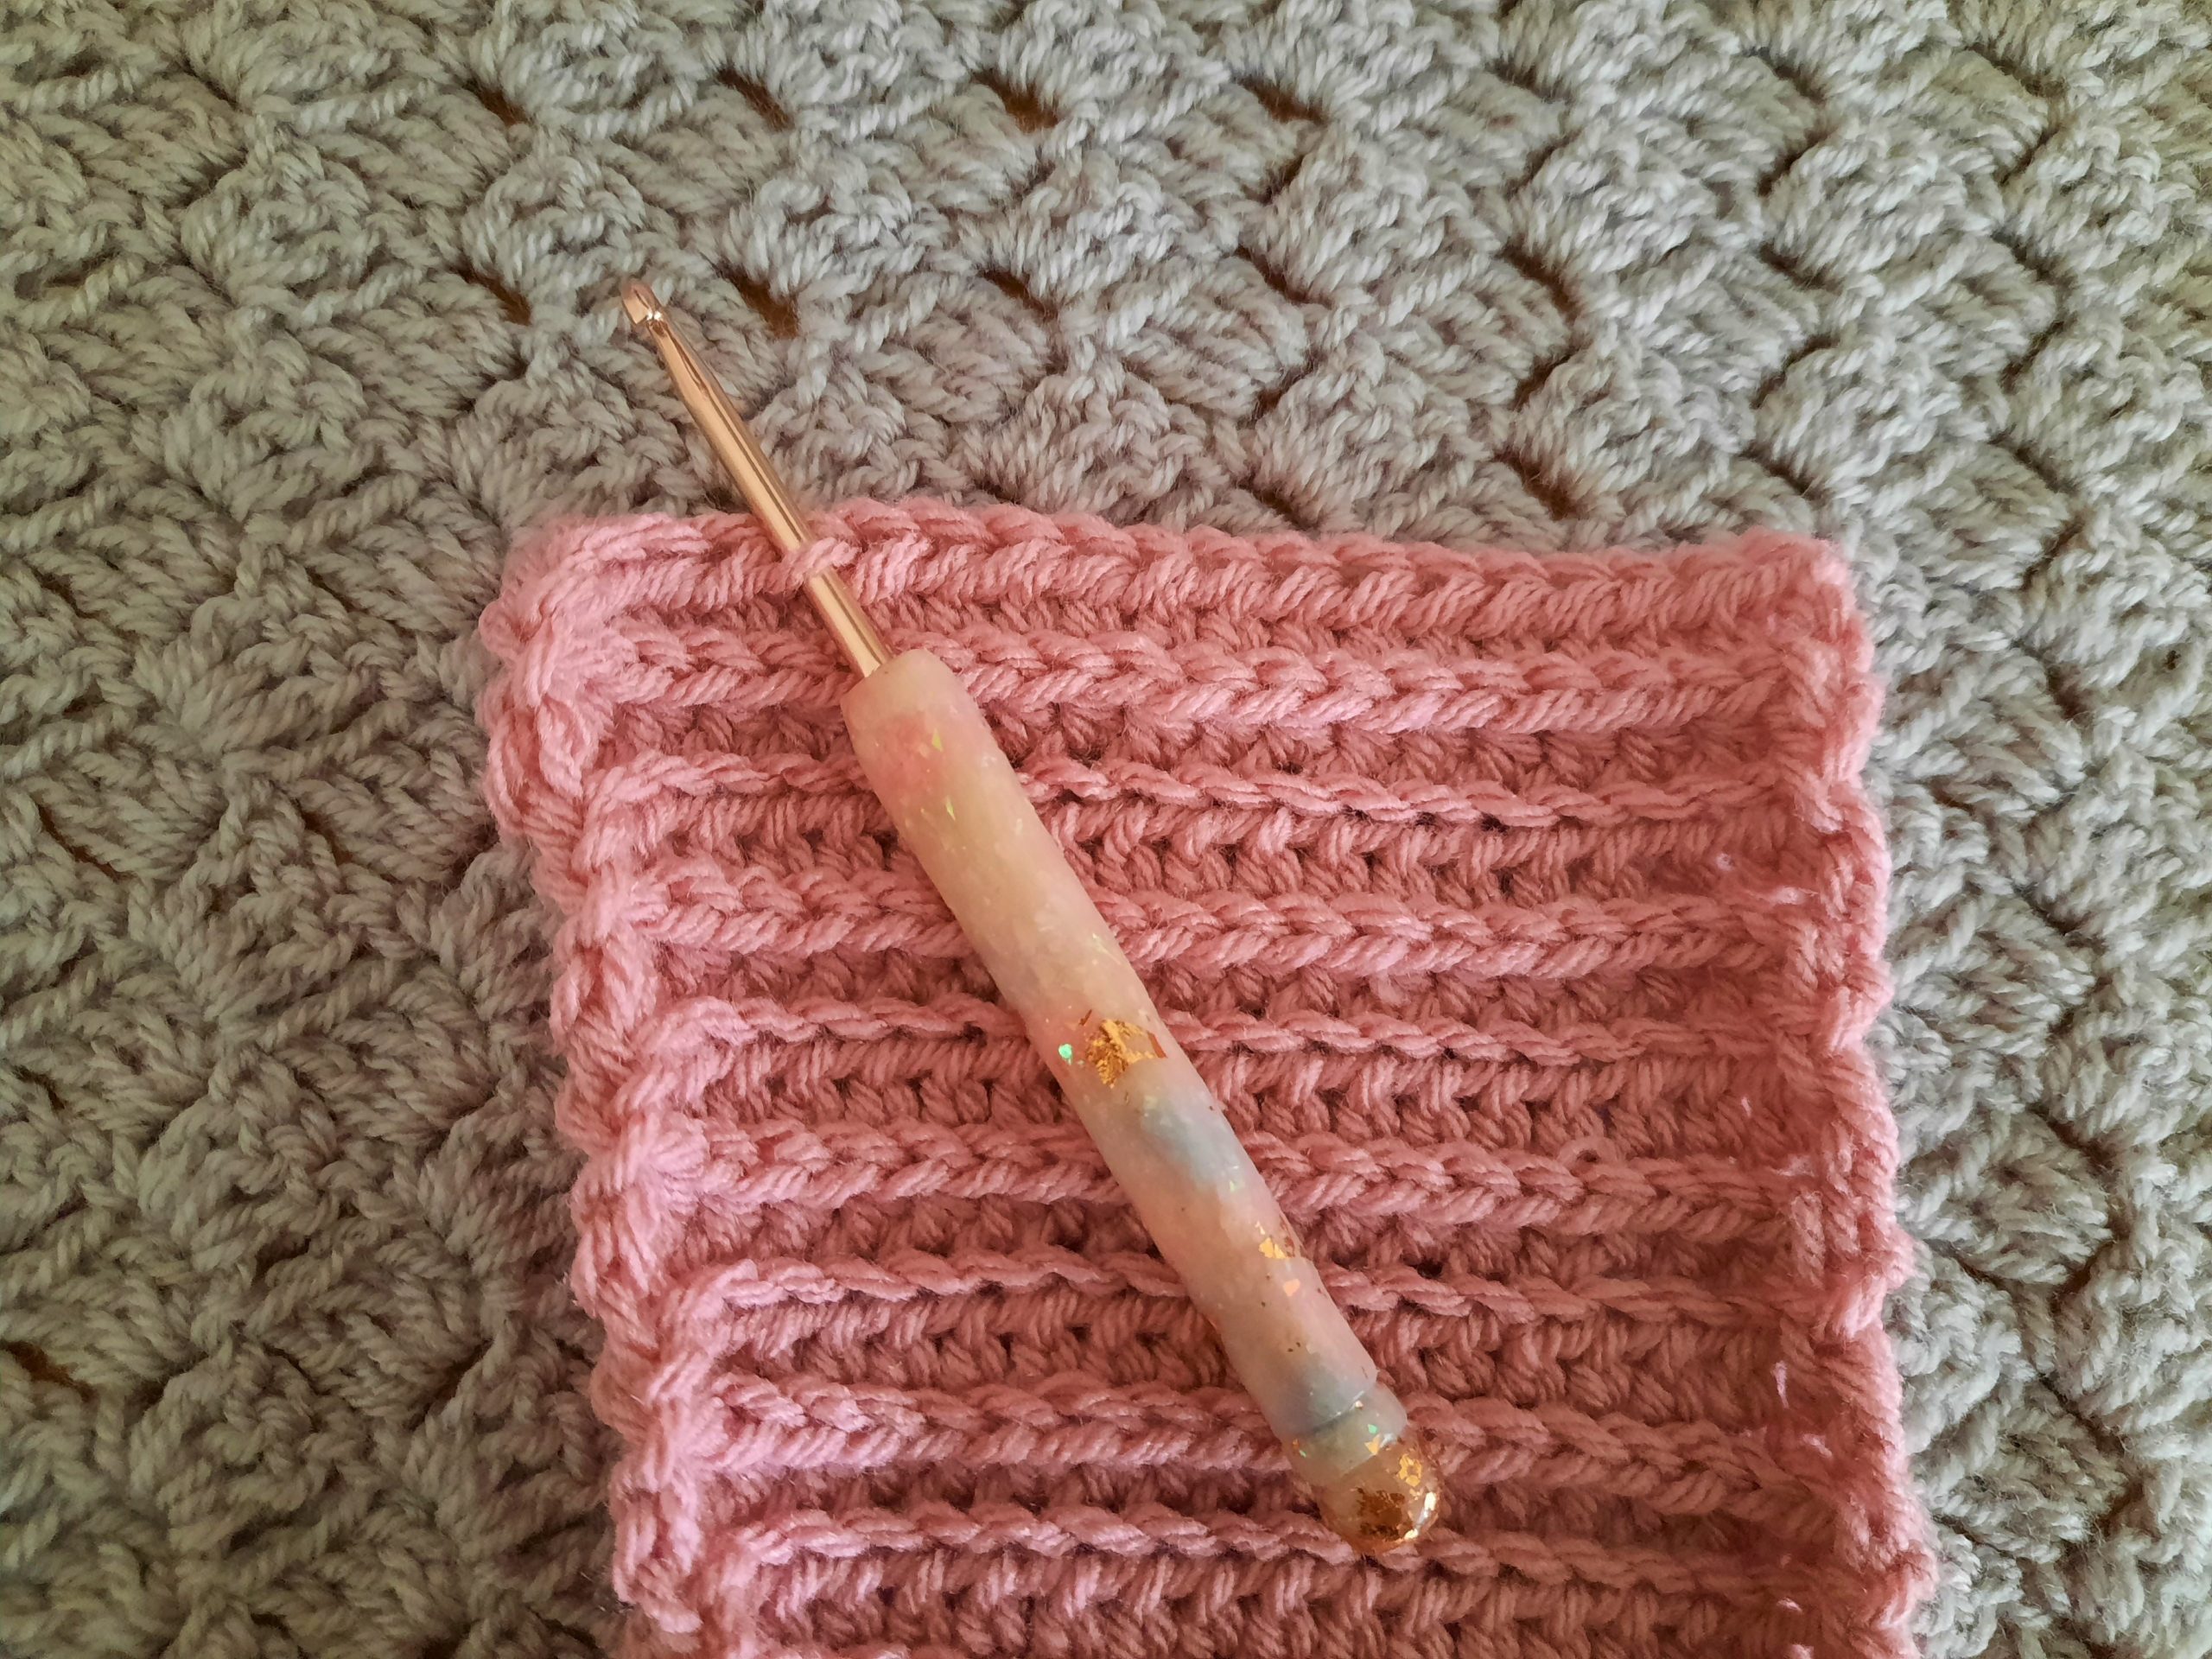
3: Ch 1, turn your work, HDC into the back loop only of each HDC until eor (see photo).
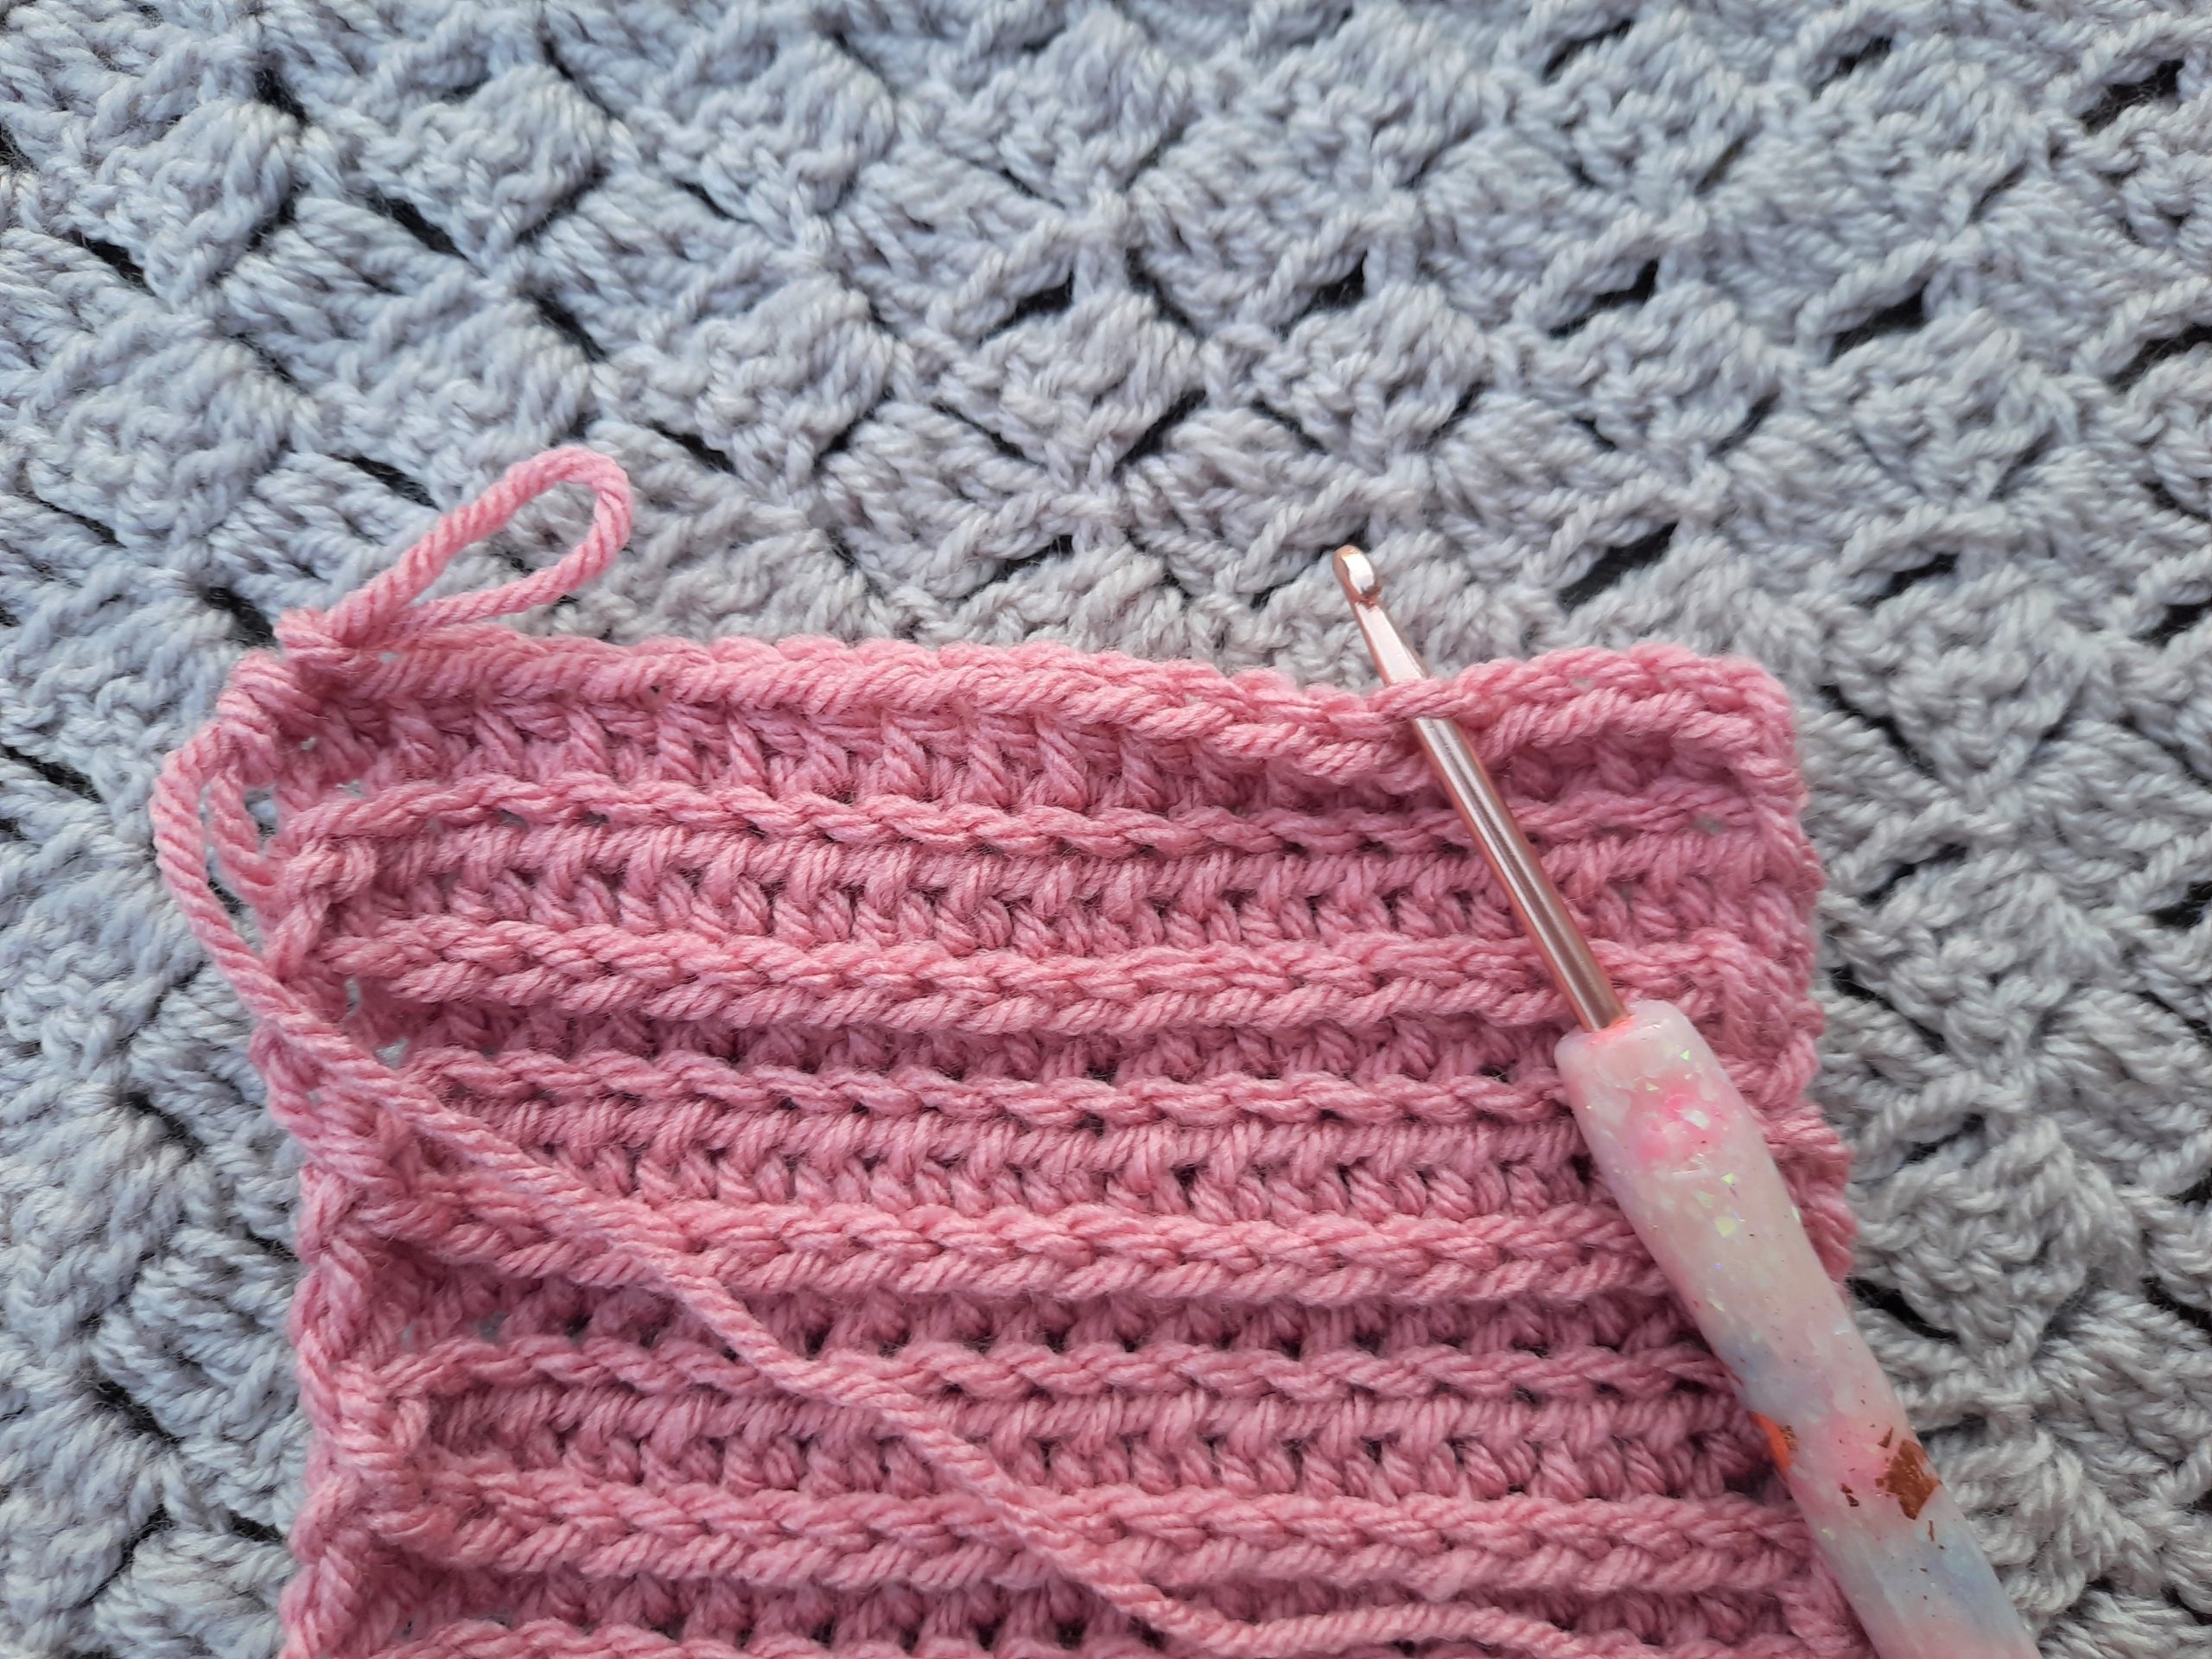
4-33: Alternate rows 2 and 3 until you reach row 33, or until you are satisfied with length of project.
Fasten off, leaving long tail to sew both ends of project to create ear warmer.
Sew your headband together:
Place your headband flat, with the “right” side facing you (this is the side where the knit like stitches are visible).
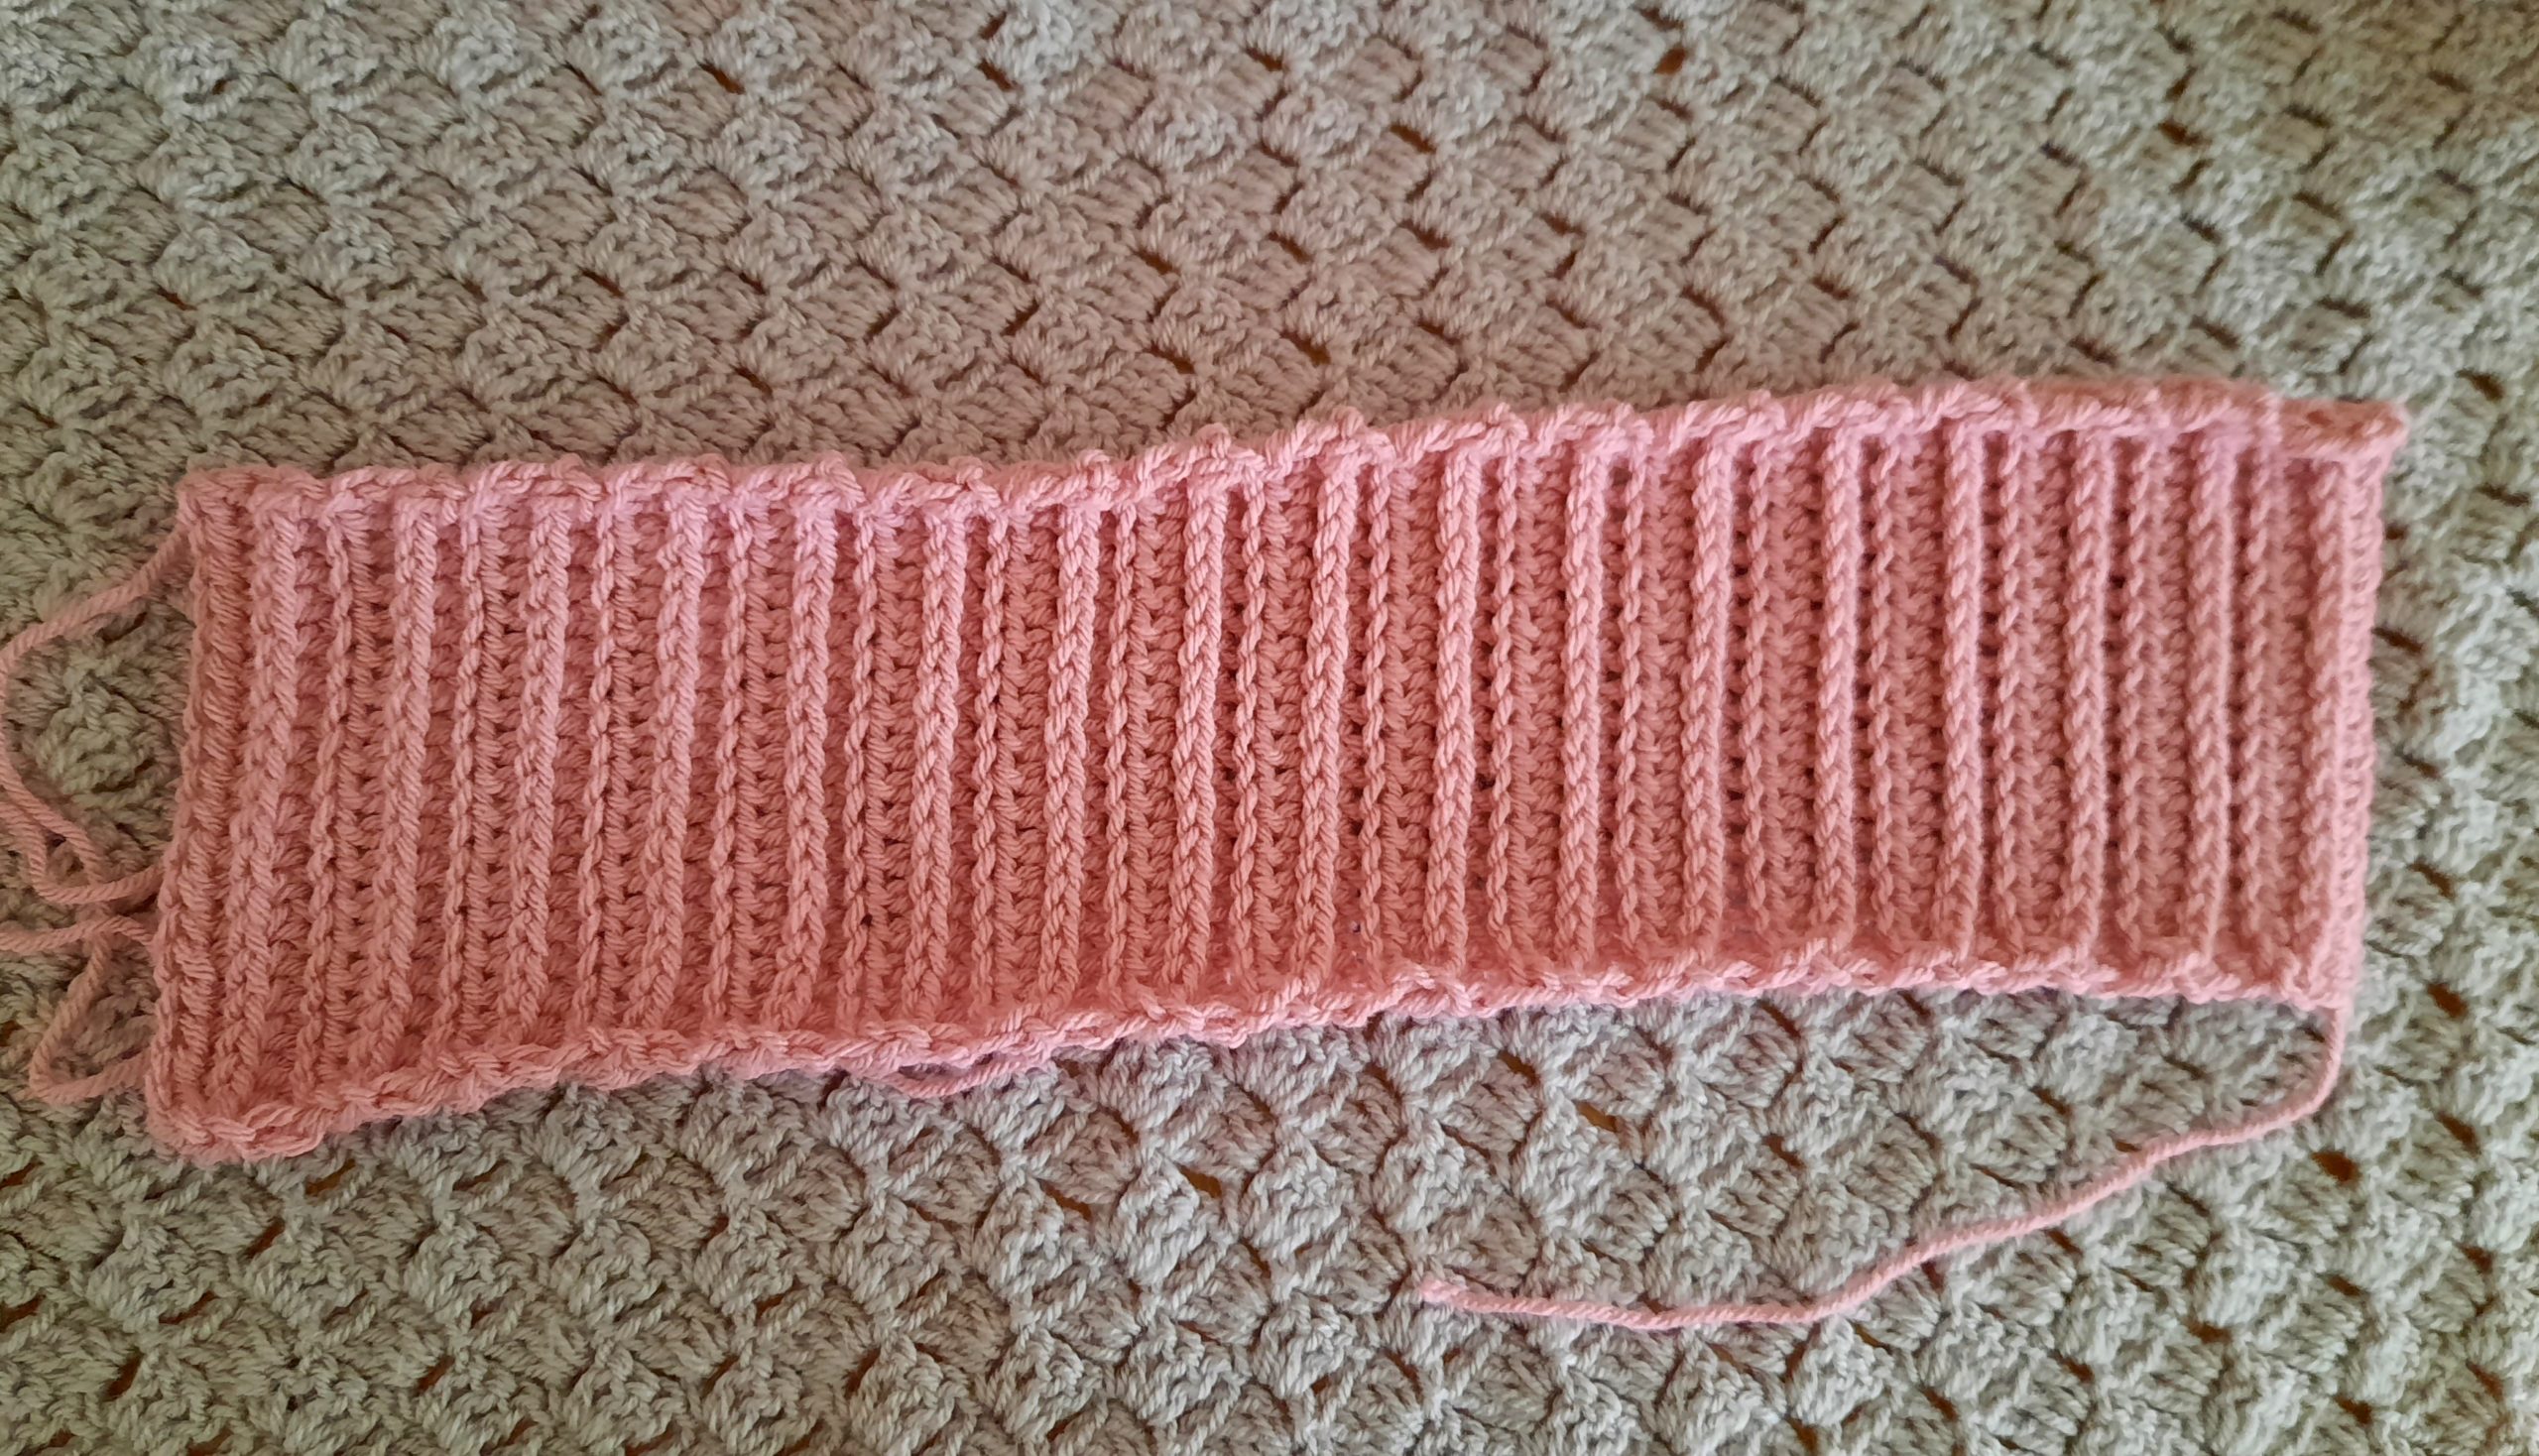
Fold headband in half, and sew the seam of the headband with the mattress stitch to close it together.
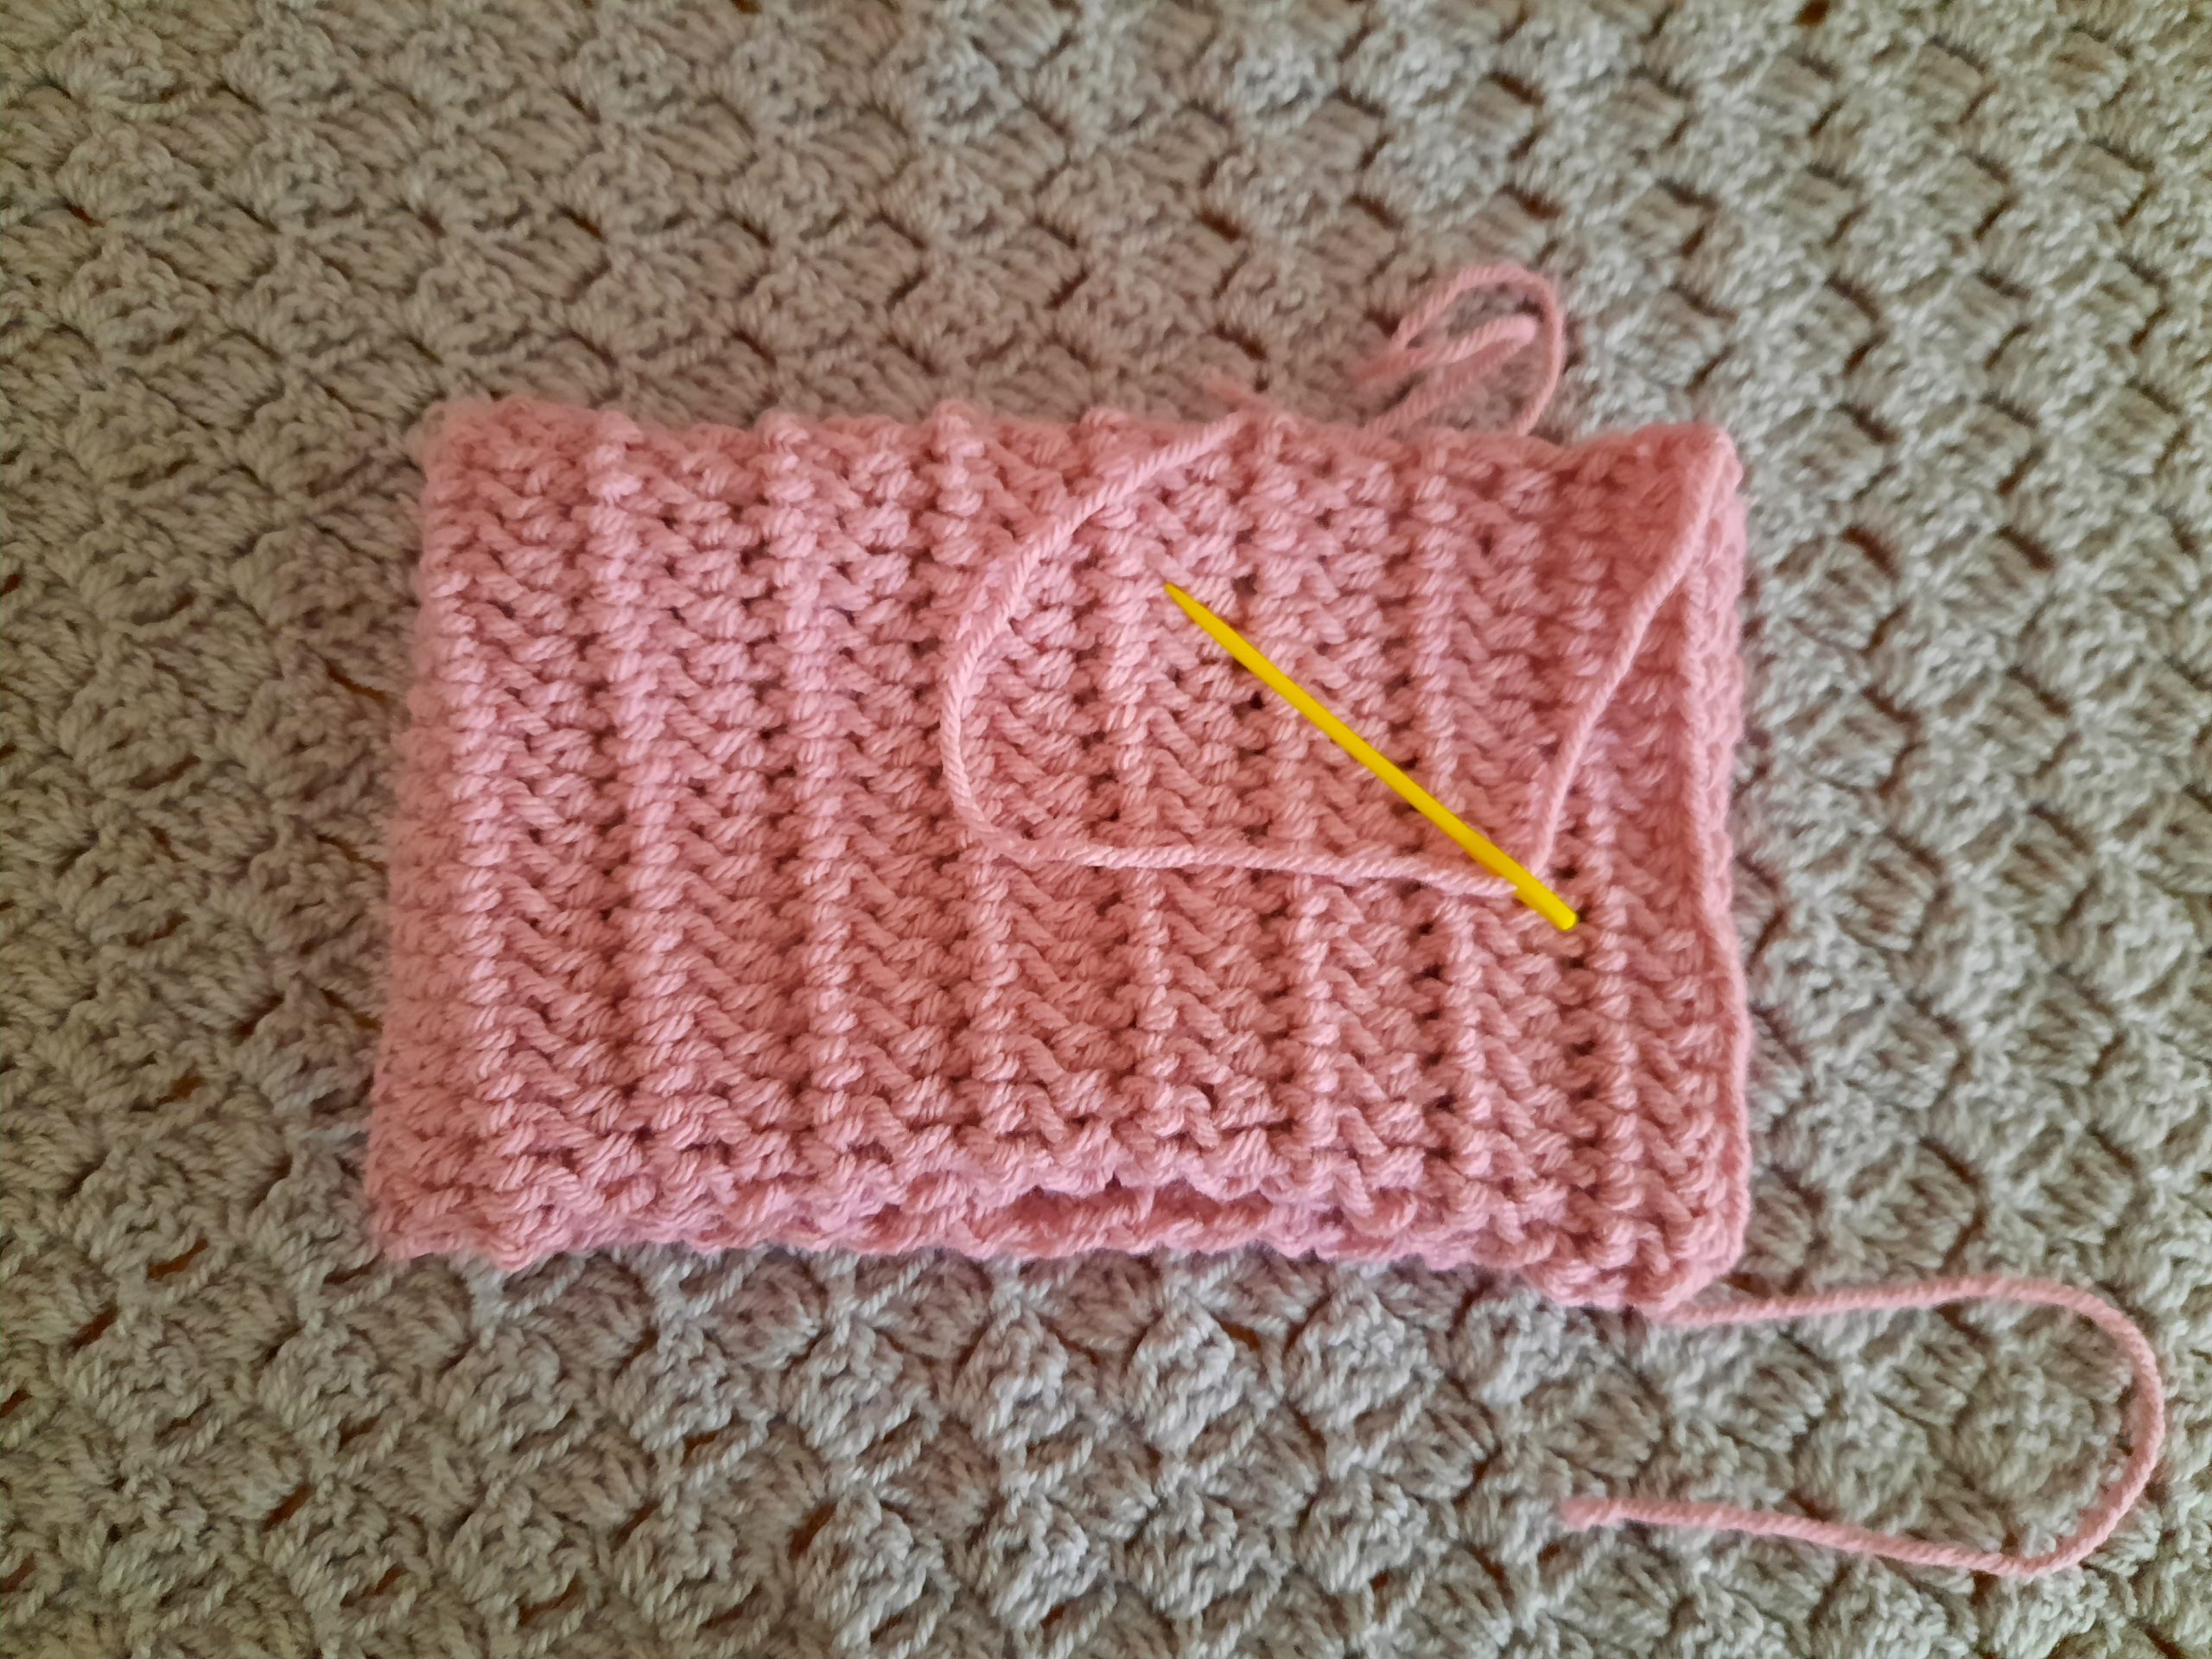
Once you have sewed it together, make a knot, fasten off and tidy up all loose ends.


