Crochet A Pocket Shawl with Hood
Crochet A Pocket Shawl with Hood: The Simple Purity Shawl
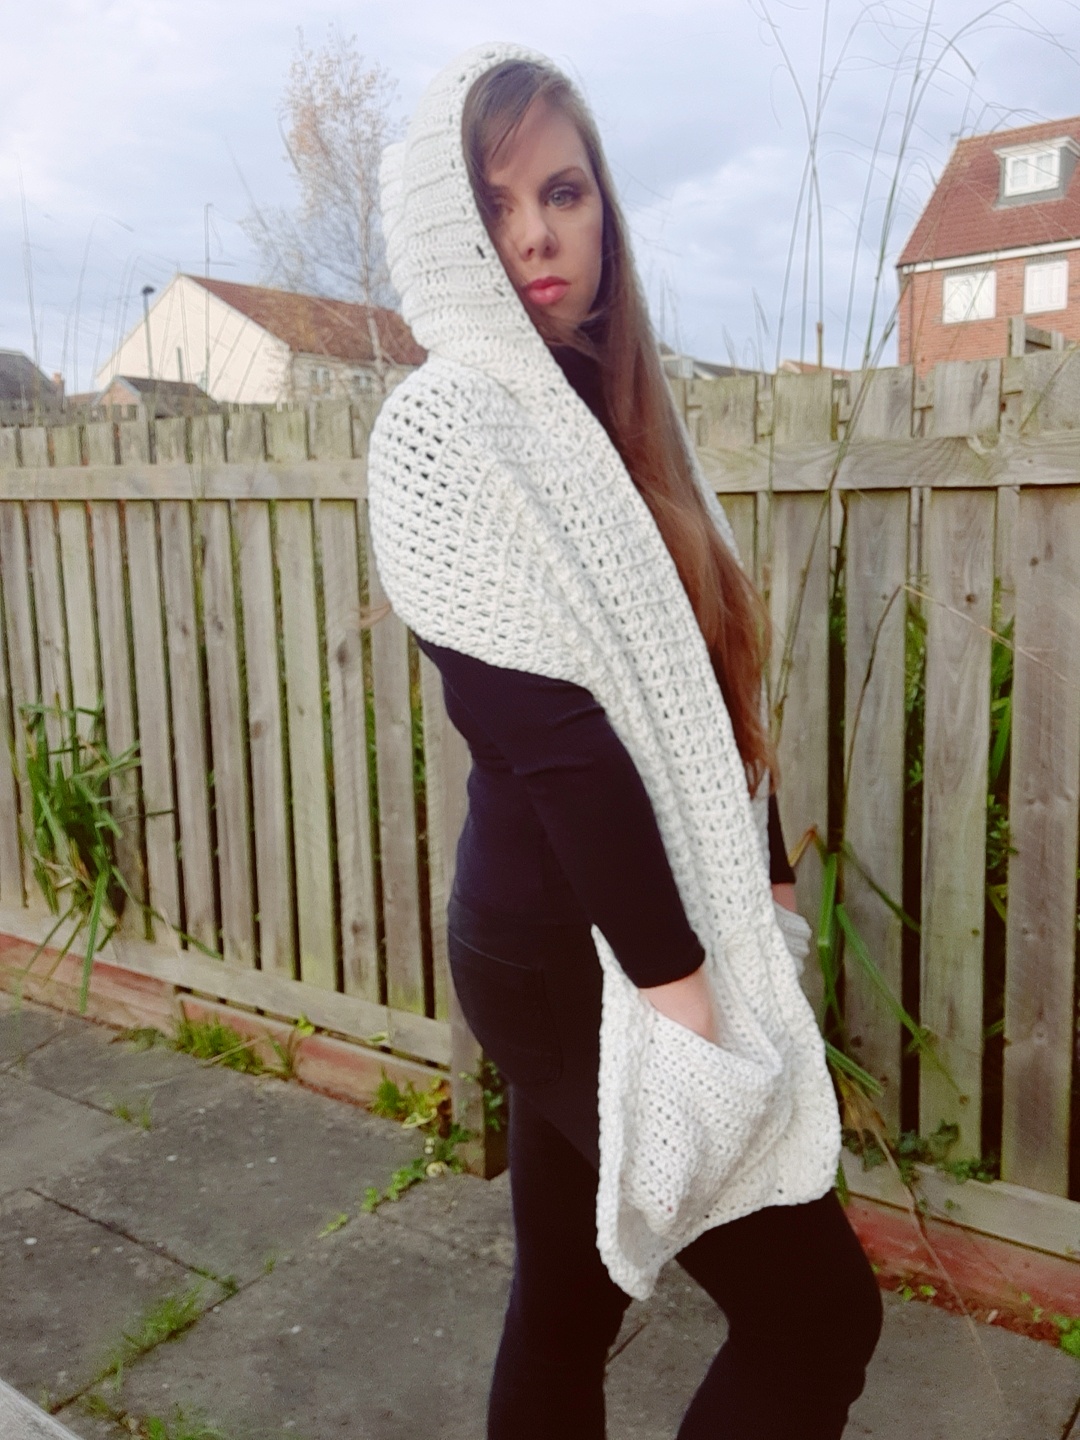
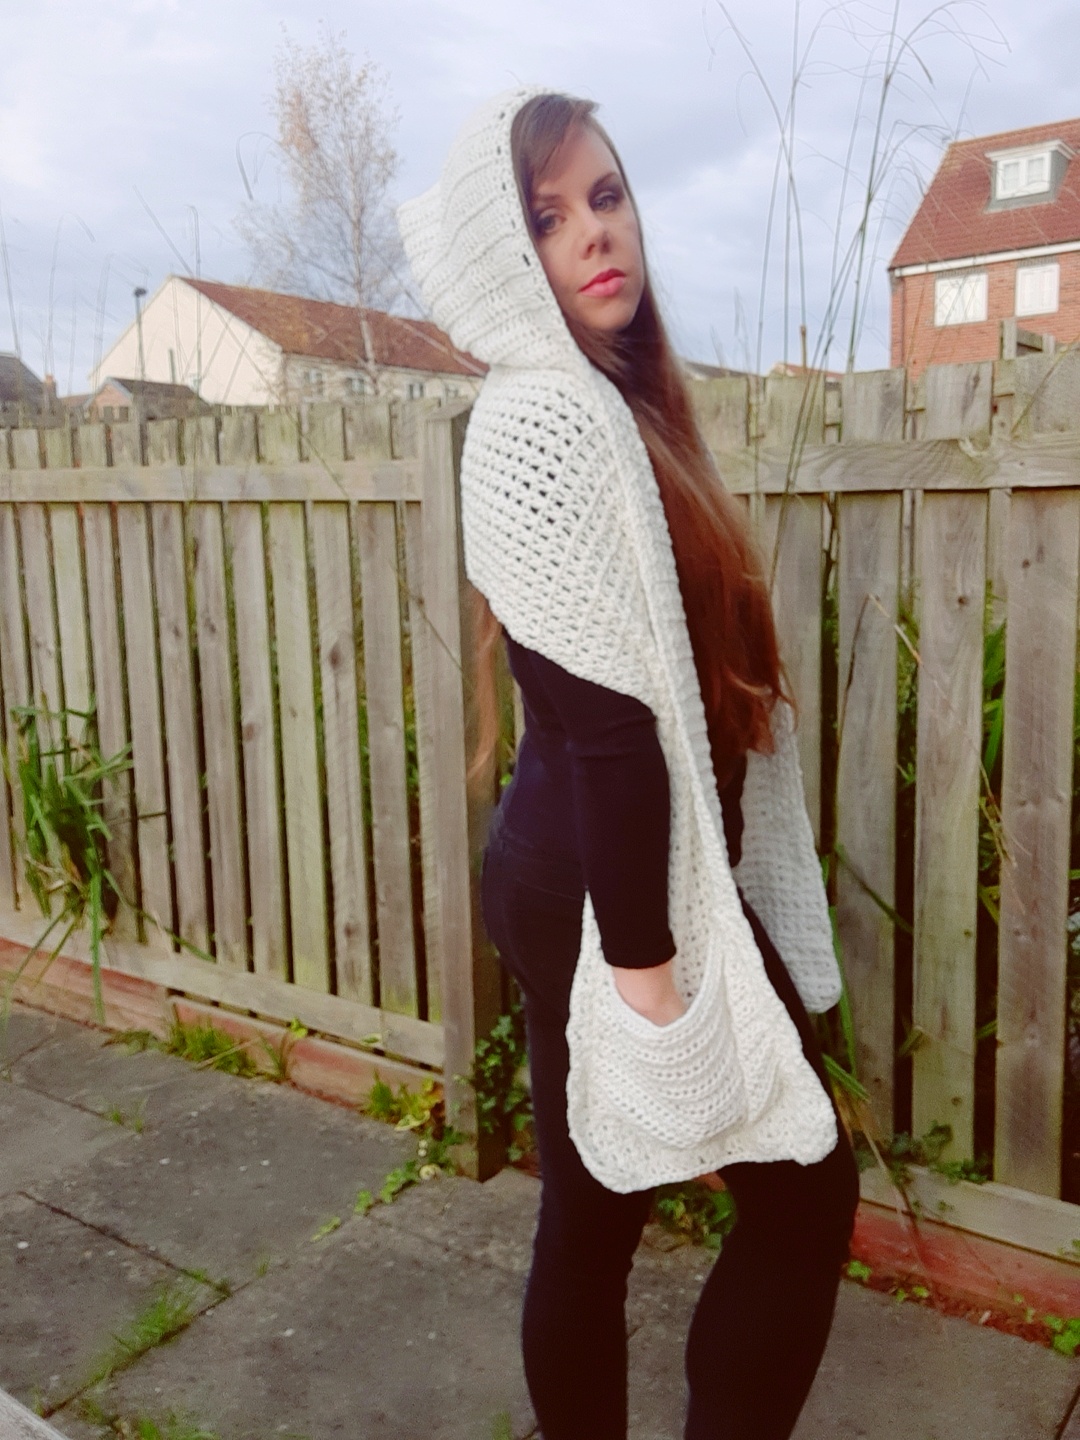
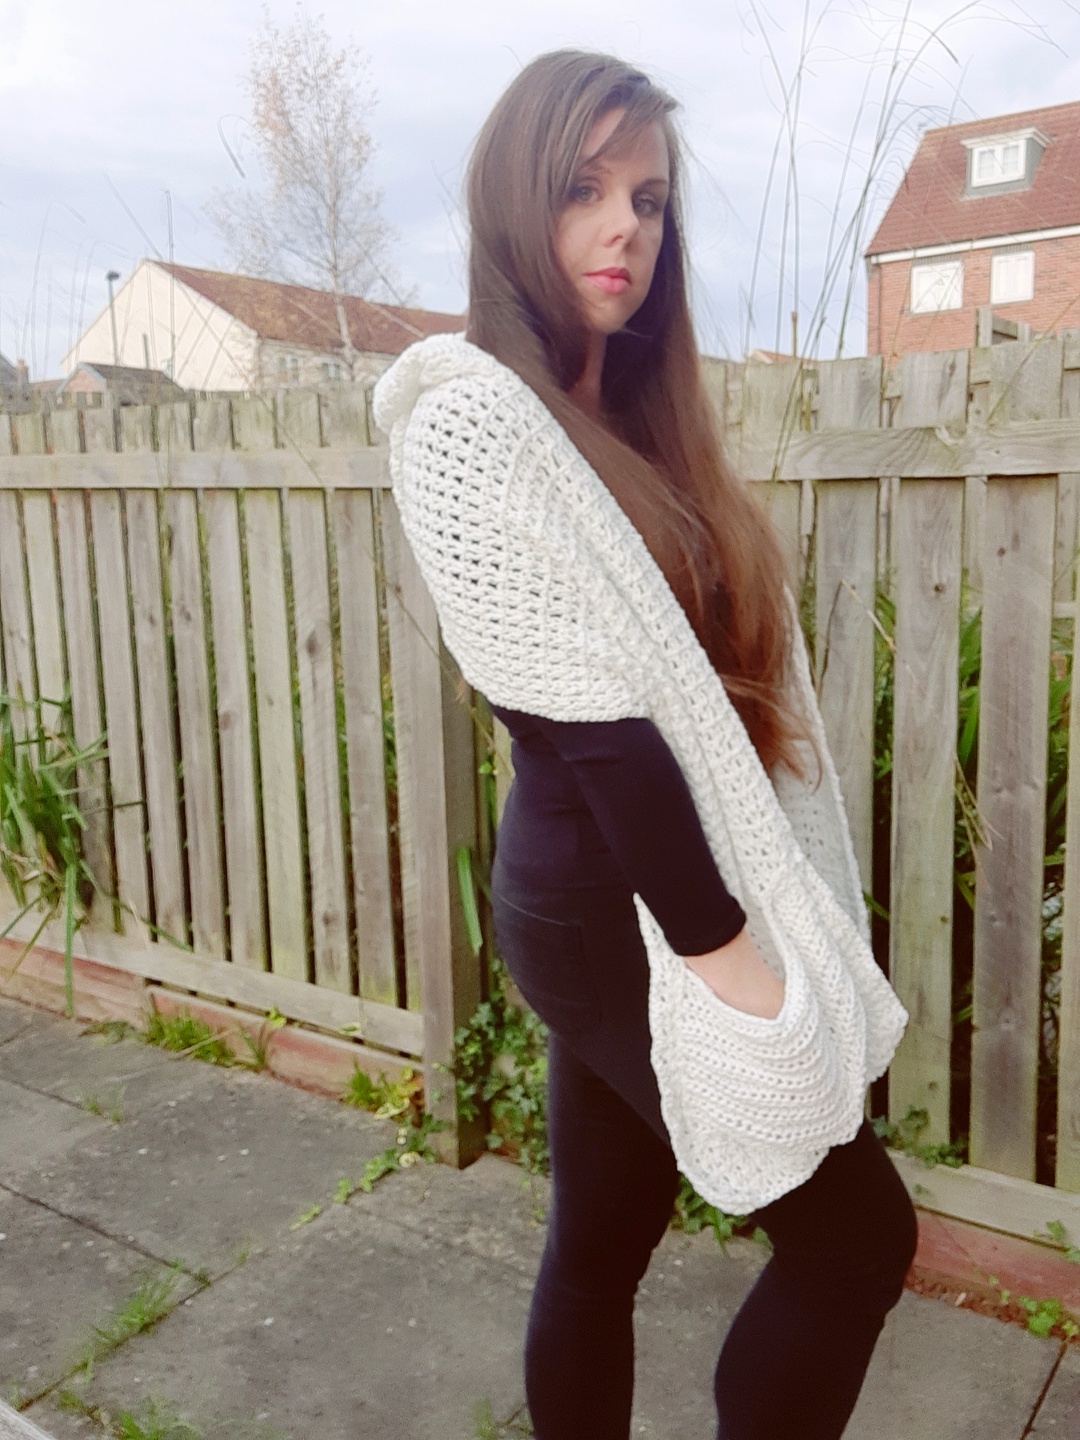
Hello everyone, I hope you are well. Today I am bringing to you a new project on how to crochet a pocket shawl with a hood. I have called this new design The Simple Purity Shawl.
You can find the video tutorial for this project here: Crochet Pocket Shawl with a Hood Video Tutorial
I absolutely loved crocheting this new project, it was very soothing. Also, now that the weather has gone chillier, it will be perfect to wear out and about.
Crochet A Pocket Shawl with Hood: the inspiration
I was inspired to create this new design because I used to have a very similar item in my wardrobe. It was a store bought version though, but I remember vividly wearing it often. I loved the convenience of having not only a scarf/wrap, but also the hood to wrap around my head. The added pockets just make this project even more amazing. It means you can keep your hands warm whilst wearing this garment. So this hooded pocket scarf is a winner all around.
Hoods and pockets seem to be really popular at the moment, which is great because I love these! I really love designing these kinds of projects too.
I have already created a pocket shawl a few months ago, called The Perfectly Pretty Shawl. It’s really easy, and you can find it here: Crochet The Perfectly Pretty Pocket Shawl
Crochet A Pocket Shawl with Hood: Feels like Butta yarn
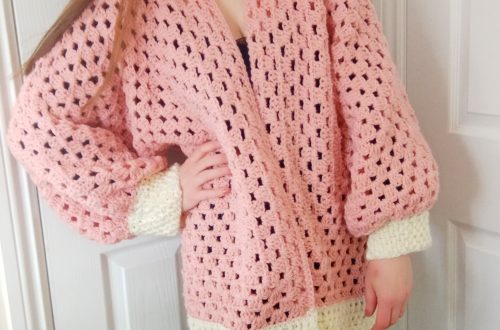
I used Lion Brand’s Feels Like Butta yarn for this project. As you know, I absolutely love Lion Brand yarns, and this one is particularly soft and squishy. I recently made my little boy a cute cardigan with this yarn, and it came out so lovely!
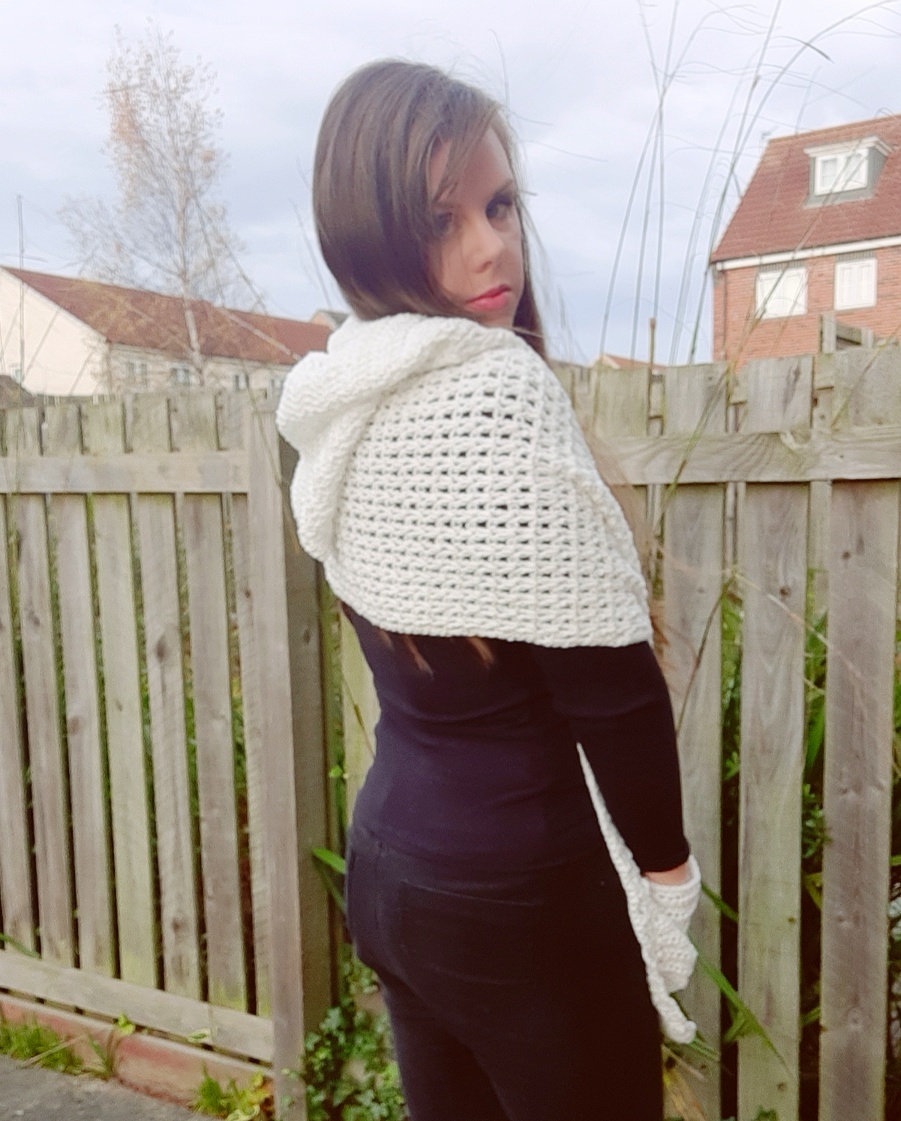
This light worsted yarn is not only soft, but very easy to crochet with. It’s super light and has a very buttery feel to it. I cannot wait to wear my hooded scarf with pockets this season, I know I will feel all snugly in it!
I really love the colour white in Winter. Indeed, the weather is usually so cold and dreary during the Winter months, that I am instinctively attracted to light, feminine colours. I think these colours really uplift my mood and make a big difference when going through the Winter. Do you love light colours as much as I do during these cold months?
Connecting with you
I love nothing more than connecting with you. You can find me on Youtube, Instagram, Pinterest and Facebook, my user name is always Selina Veronique Crochet, and the links to all these accounts are on my Home Page.
I have also recently opened my very own Etsy shop, where I am selling my ad free, PDF patterns (the free written patterns for my projects are of course still available here on my blog). You can find my Etsy shop here: My Etsy shop
I would be delighted if you considered subscribing to my weekly newsletter. You will then be the first to know when I release my new free patterns, video tutorials, and giveaways.
Thank you so much for stopping by!
Take care my dear crochet friends,
Xoxo Selina.
Crochet A Pocket Shawl with Hood: the pattern
You can purchase the ad free, large print, PDF pattern for this project from my Etsy store: Crochet Simple Purity Pocket Scarf with a Hood PDF Pattern
You can purchase the ad free, large print, PDF pattern for this project from my Ravelry store here: Crochet Hooded Pocket Shawl
You can purchase my Pocket Shawl Pattern Bundle here: The Pocket Shawl Pattern Bundle
Level: Easy +
Notes: I will be writing in US terms (British terms in brackets)
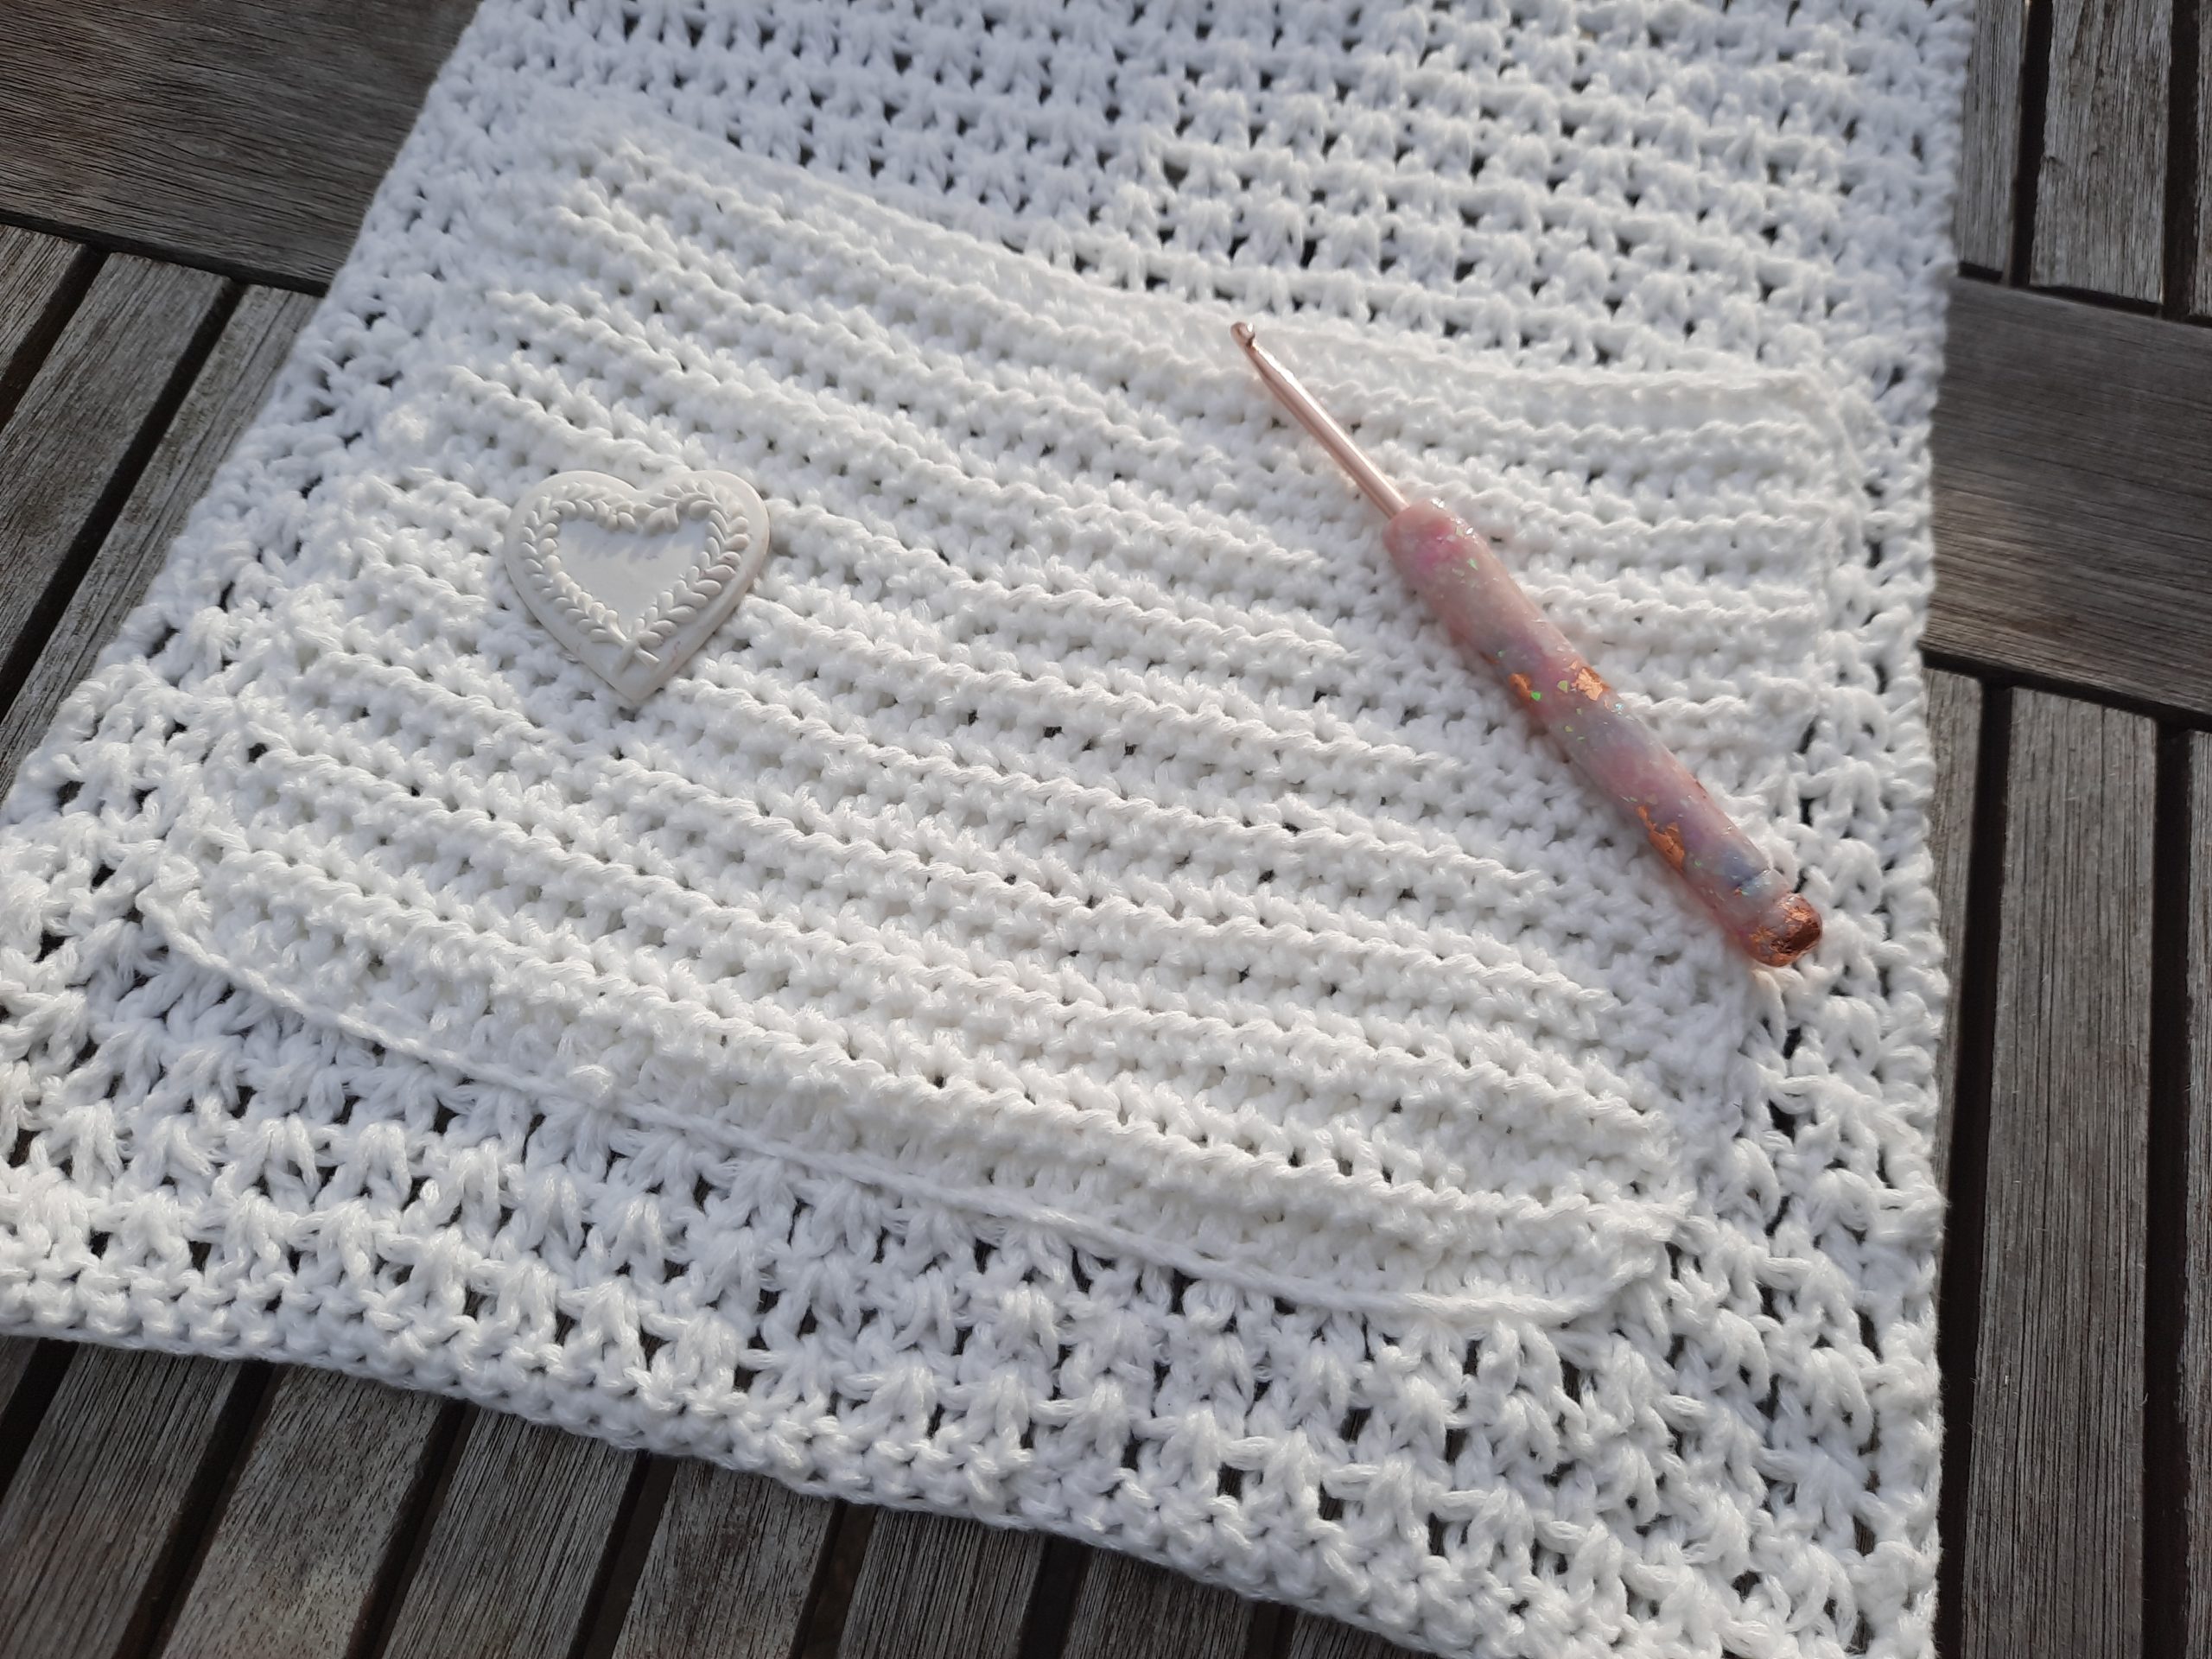
Gauge: 4” (=10 cm) = 7 rows
4” (=10 cm) = 7 V stitch repeats
Please note gauge is not crucial for completion of this project.
Sizes of finished Pocket Shawl: 67”x12” (170 cm x 30 cm)
Size of pockets: 17,5”x10,5” (43×25,5 cm)
Materials:
5 skeins of Lion Brand Feels Like Butta in shade White (or 1100 yards of any other DK/light worsted weight yarn)
5 mm crochet hook
Tapestry needle
Pair of scissors
2 stitch markers
Abbreviations:
ch: chain
sk: skip
SP: space
SC: Single Crochet (UK Double Crochet)
DC: Double Crochet (UK Treble Crochet)
HDC: Half Double Crochet (UK Half Treble)
Sl st: Slip stitch
EOR: End of row
Pattern starts here:
Ch 44 (pattern calls for a multiple of 2 + 2 for base chain)
Note: 2 DC into 1 st=V stitch
Complete rows as follows:
1: Place 2 DC into 4th ch from hook, [sk 1 ch, place 2 DC in next ch] until last 2 ch; sk 1 ch, 1 DC into last ch.
2: Ch 3 (=DC), turn your work. Place 2 DC (=V stitch) into next V stitch from previous row until eor, finishing row by placing a DC into the ch 3 from previous row.
3-120: repeat row 2.
Fasten off, tidy up your loose ends.
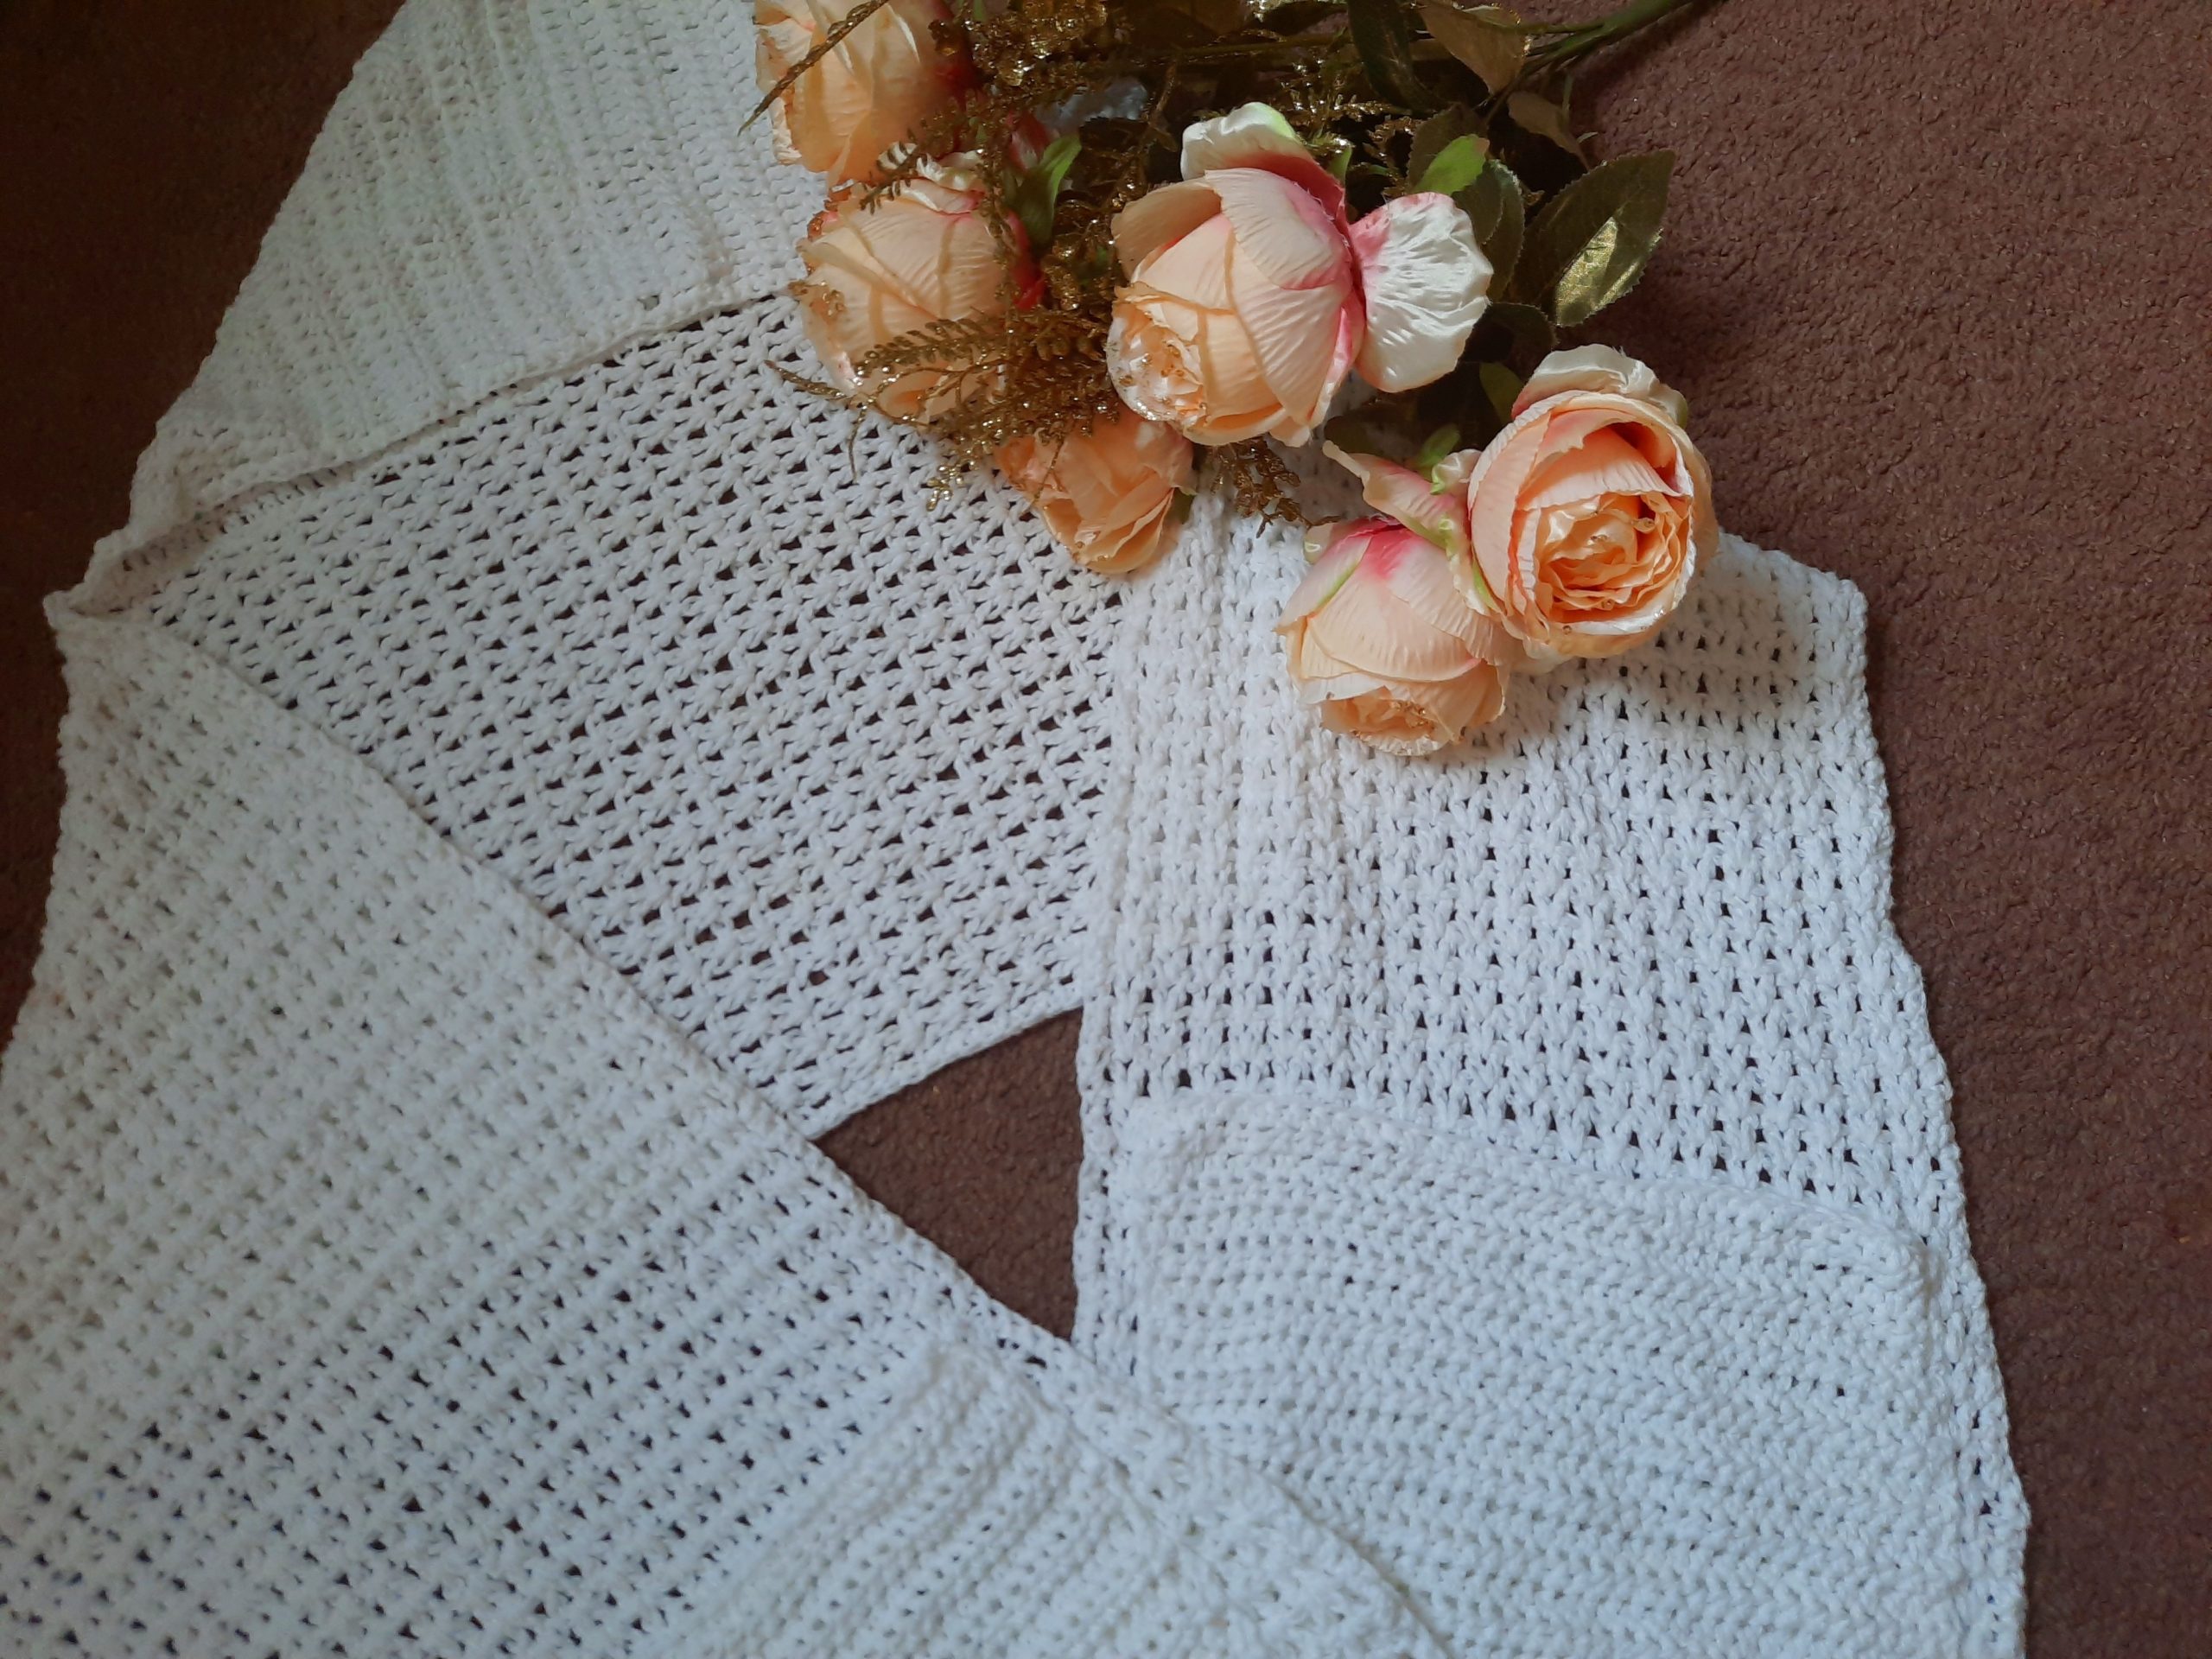
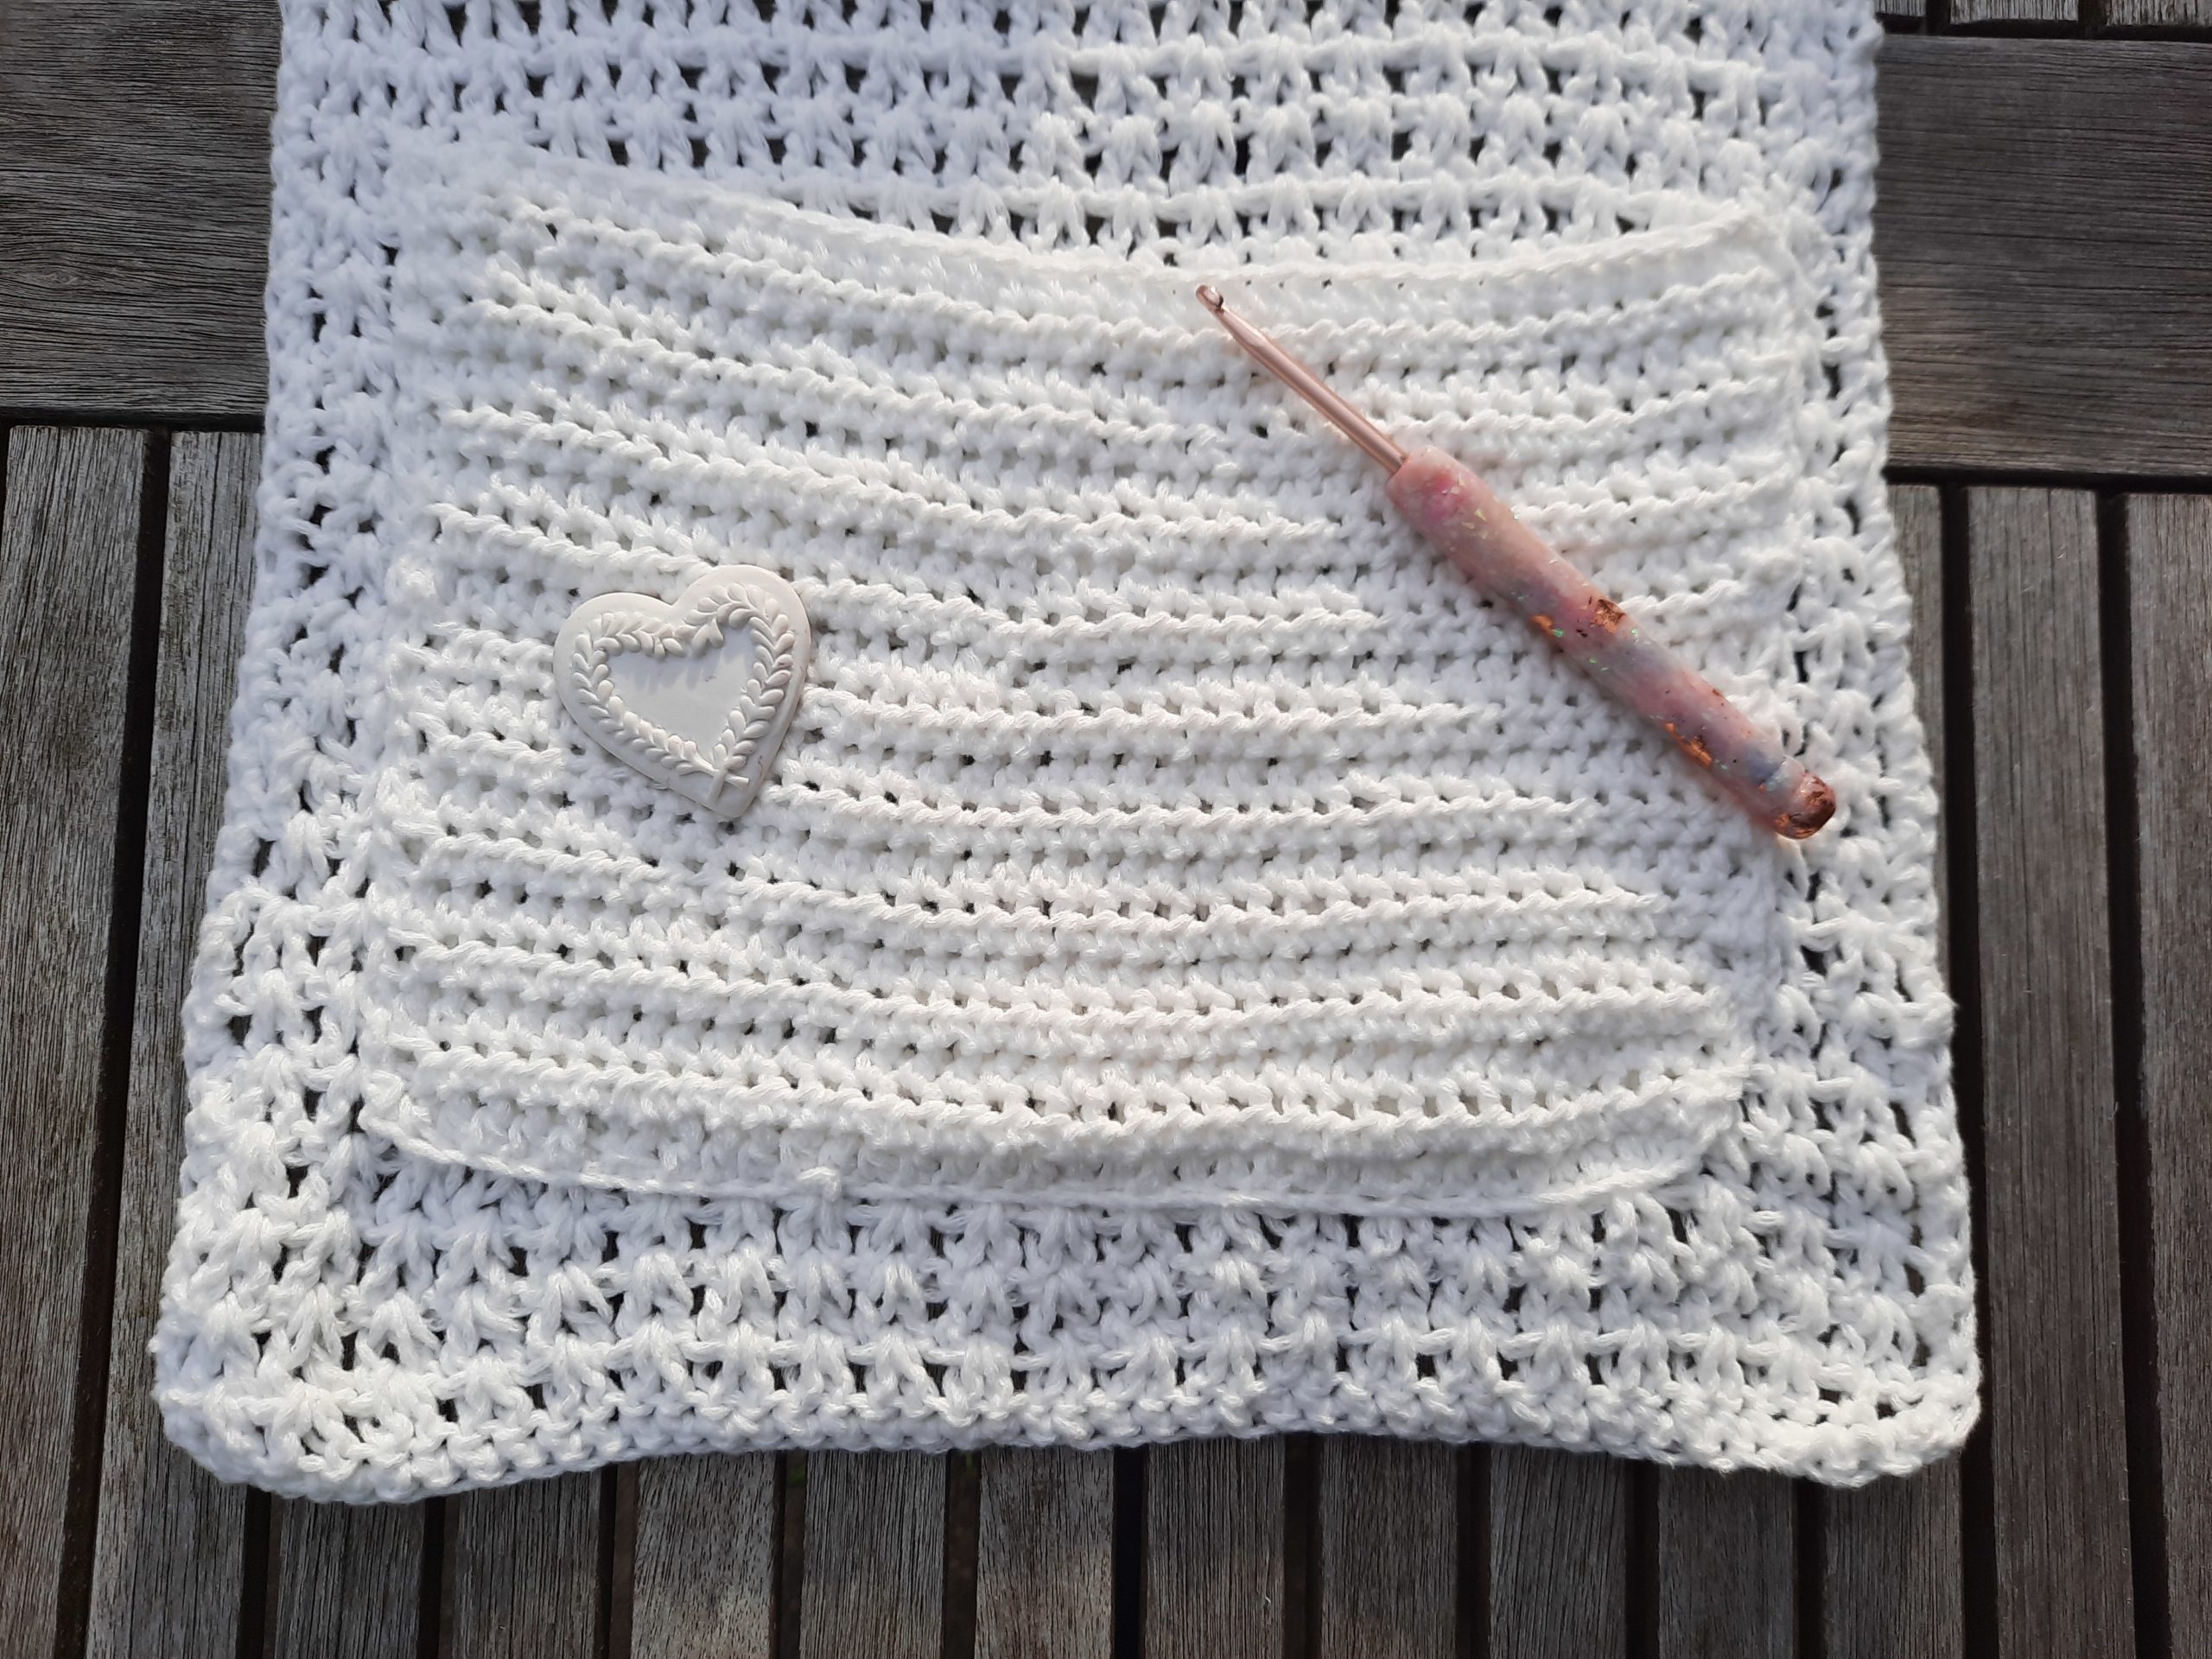
Pockets
Gauge for pockets: 4” (10 cm): 10 rows
4” (10 cm): 14 HDC
Ch 37
Complete rows as follows
1: HDC into 3rd ch from hook (first ch 2 counts as a HDC), and place a HDC into each st until eor.
2: ch 2 (=HDC), turn your work, HDC into 2nd st and every st until eor.
3-23: repeat row 2
Fasten off, leaving a long tail for sewing your pocket onto your shawl.
Sew your pockets onto your shawl:
Place your 1st pocket onto the right side of your shawl, making sure you are placing it as follows. Measure 3 V stitch repeats from the bottom edge, and place your pocket there, making sure you place it at the center. With long tail of yarn, sew in your pocket onto project.
Repeat this onto the other side of shawl.
Hood:
Place your pocket shawl flat on the right side, and fold it in half so as to create a central crease.
With measuring tape, measure 9” (23 cm) from the center crease, and place your first stitch marker. Repeat this process on the other side. Once you have done this, unfold your pocket shawl so you can work along the marked edge of the project.
Complete rows as follows
1: Ch 1 (=SC), and place SCs all along the top of the shawl from one stitch marker to the other. This is the “wrong” side of the stitches, so make sure you place these SC at equal intervals. Make sure you have the same amount of stitches on each side of the center.
2: Ch 3 (=DC), place a DC into each SC from the previous row until eor.
3-17: Ch 3 (=DC), place a DC into each DC from the previous row until eor.
Fasten off, leaving long tail for sewing the hood seam.
Once you have finished your 17 rows of DC, take your hood and fold the top in half, so that you can sew this using the mattress stitch to create the hood.
Fasten off, tidy up all loose ends.
Border of shawl:
Now add border to your shawl.
Attach your yarn to any st of your shawl.
Row 1: Ch 1, and place a SC into each space all around your shawl, as equally as you can. There isn’t a specific amount of SC you have to place, just make sure you place enough SC all around the edge. Sl st to 1st ch sp.
Fasten off, tidy up all loose ends.


2 Comments
Patti Jo Taylor
Love the pocket shawl. Thank you
Selina Veronique
Thank you, really glad you like it!