Crochet Boho Festival Bag
Crochet Boho Festival Bag
Hello my dear crochet friends. Today I am bringing to you a new free pattern and video tutorial. This week’s project is on how to crochet a Boho Festival Bag.
This project is perfect for beginners. It is very easy to crochet.
You can find the video tutorial for this project here:
The inspiration behind this Crochet Boho Festival Bag
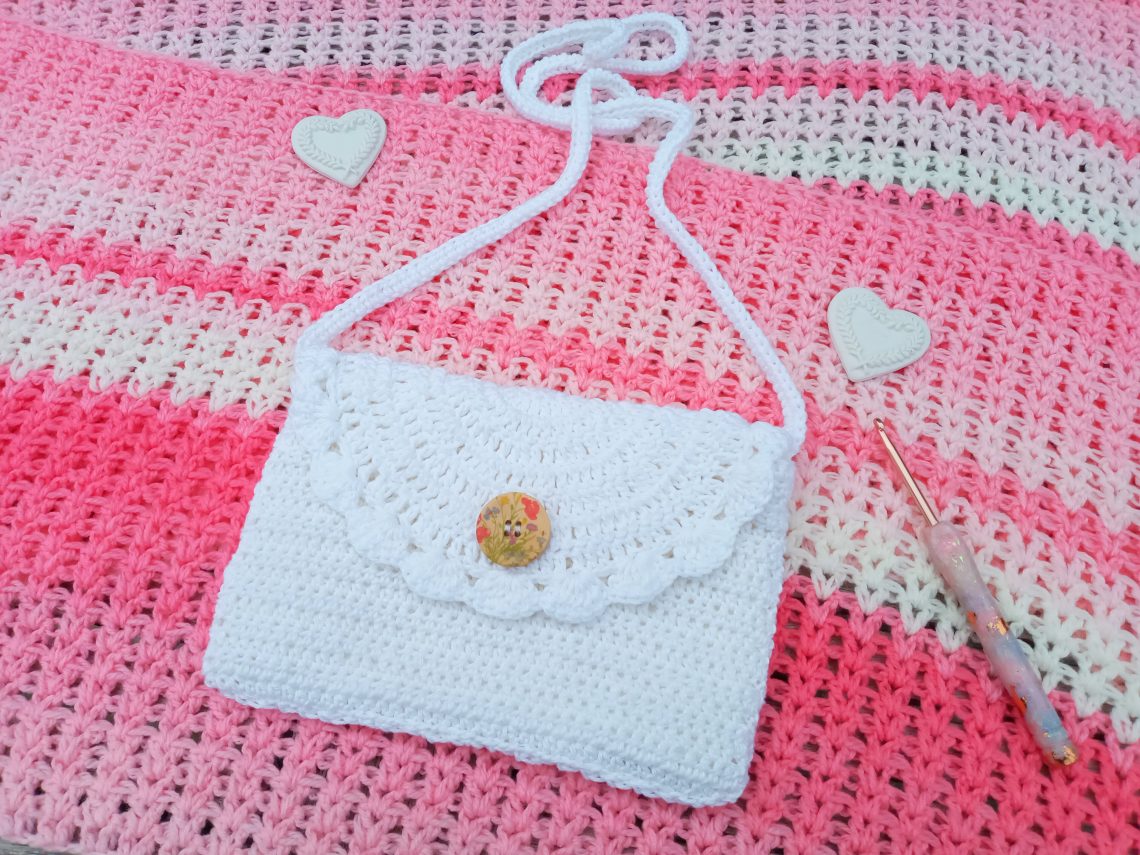
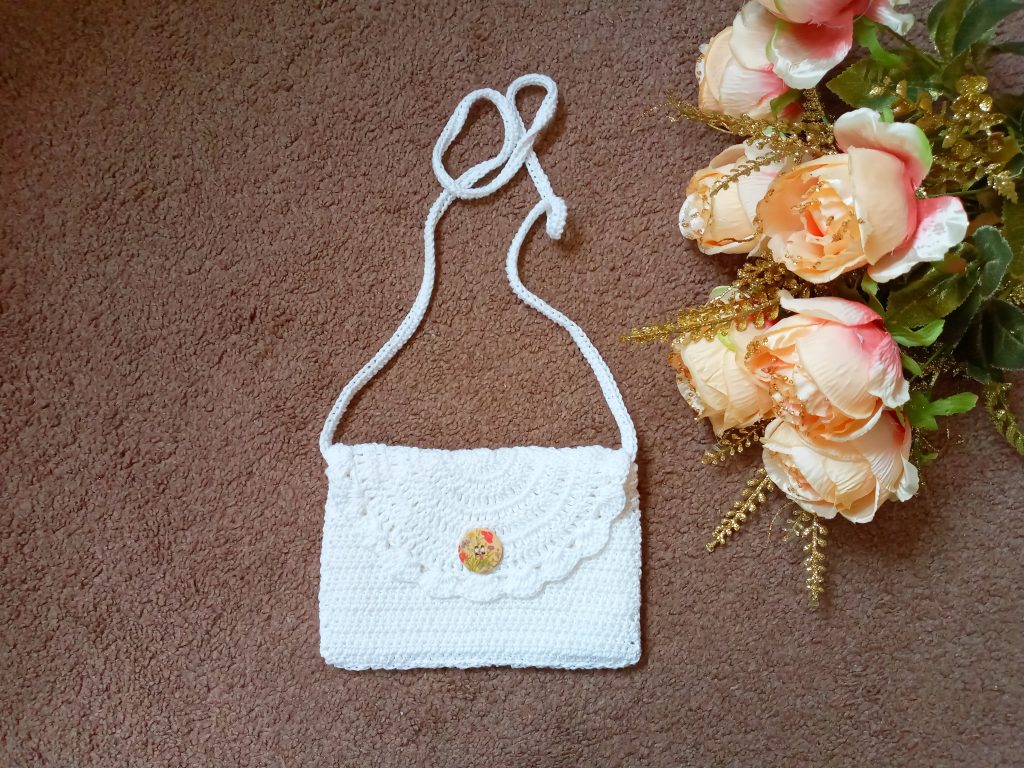
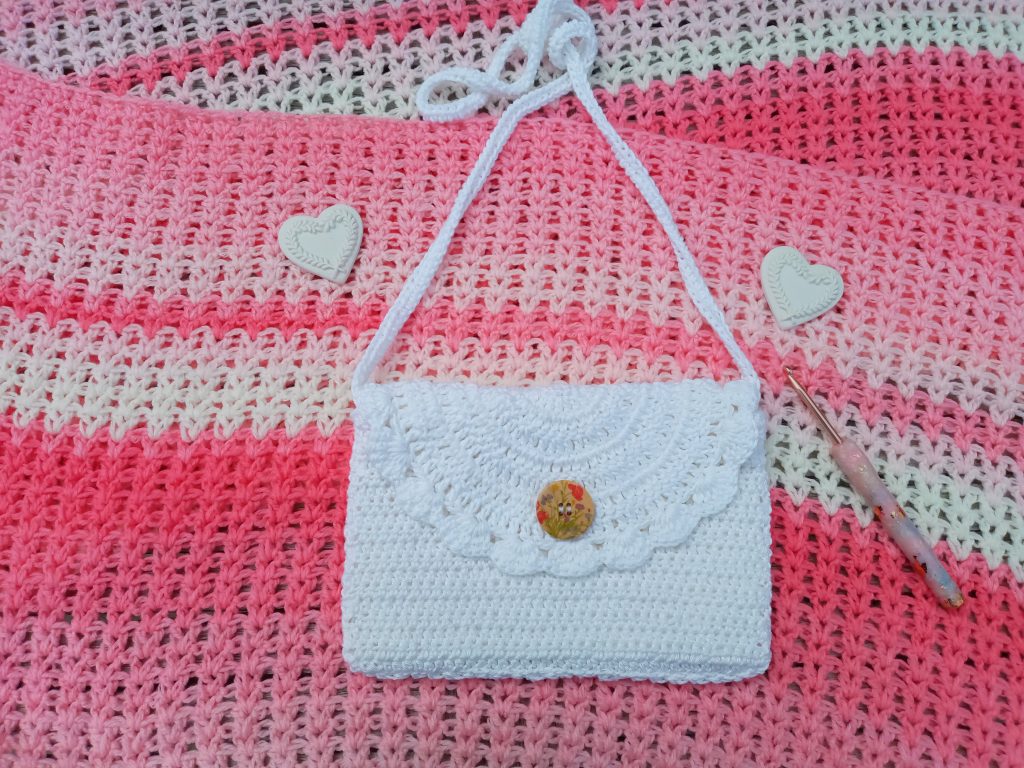
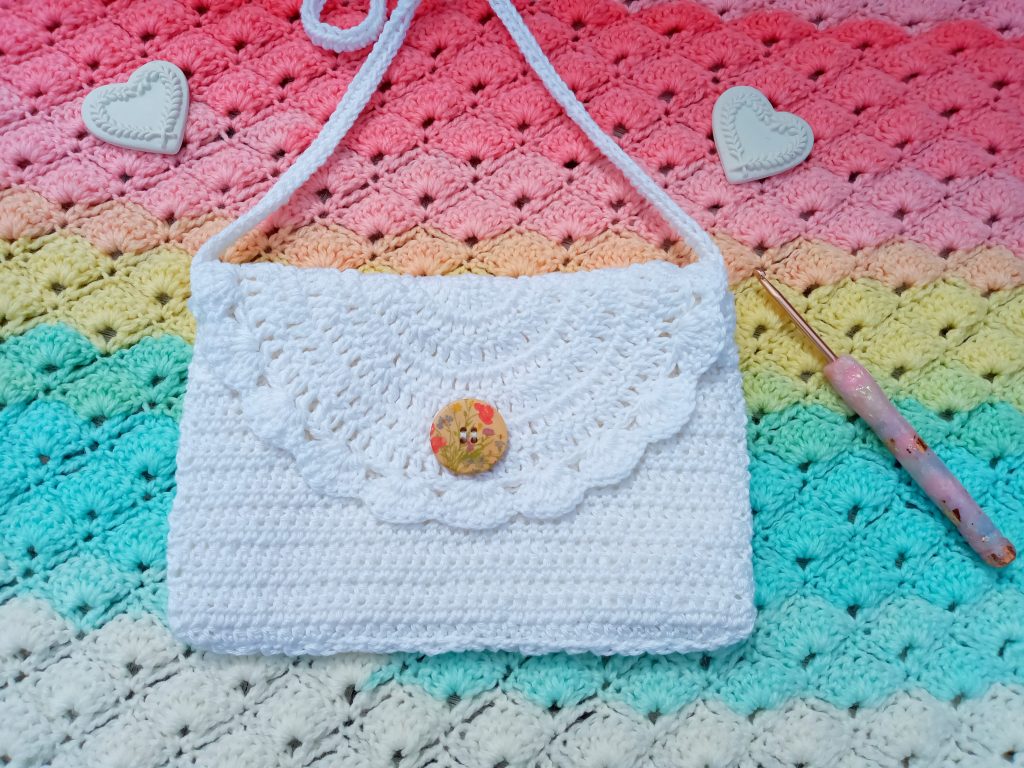
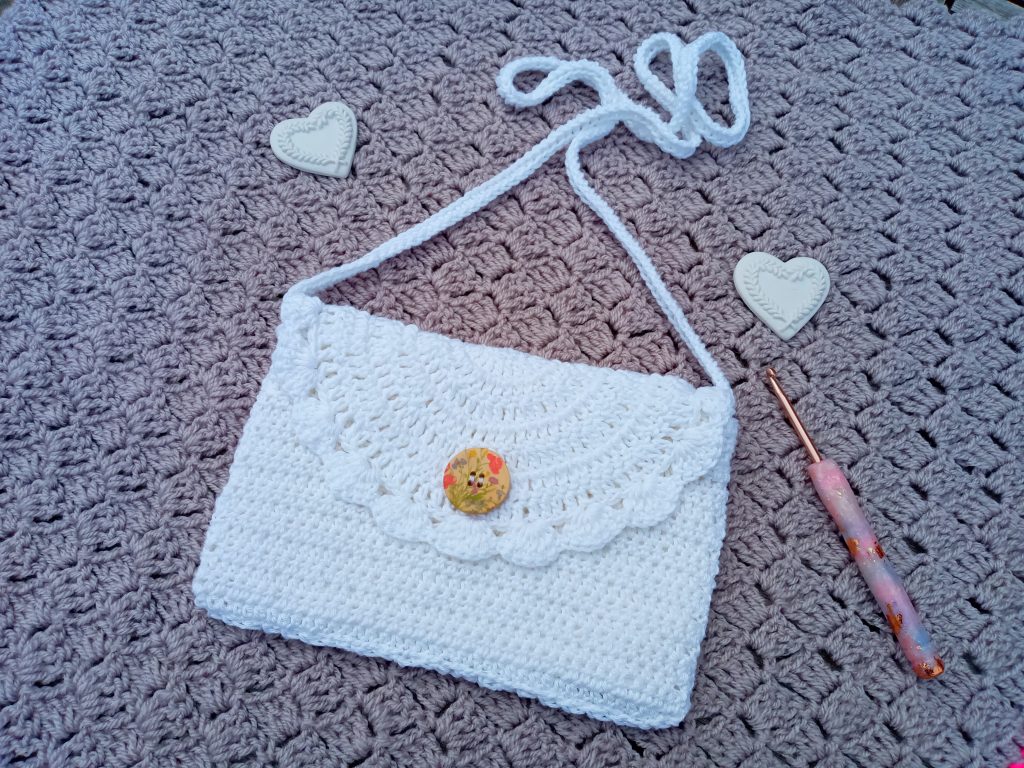
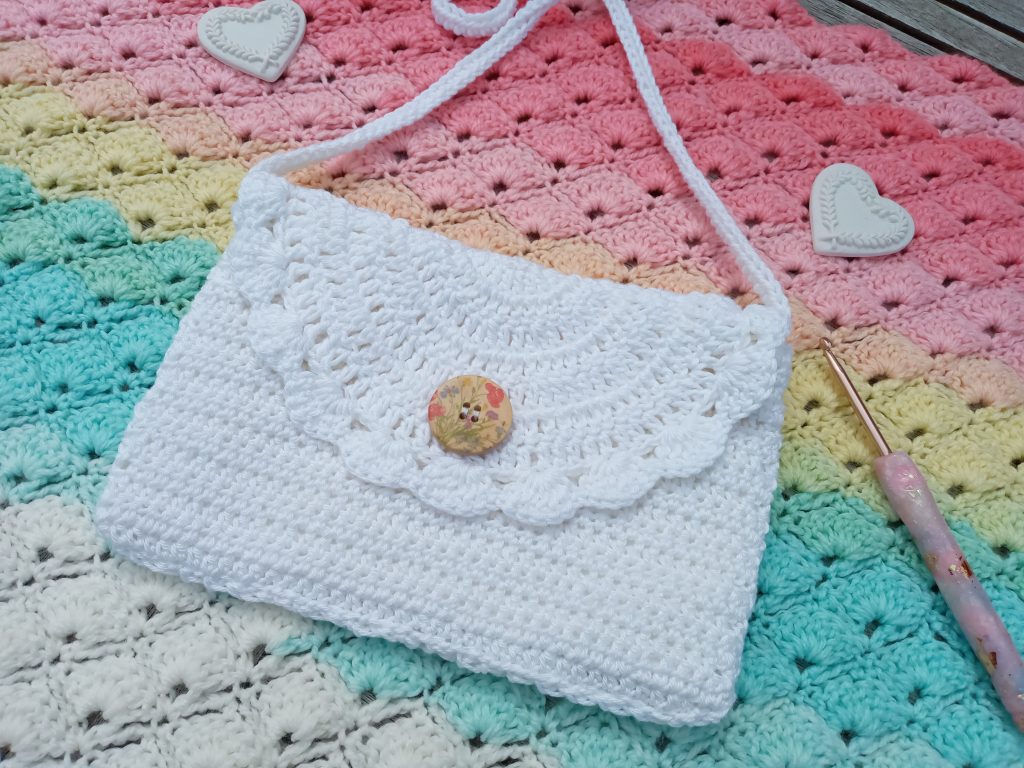
This very stylish bag is a great addition to any wardrobe. It is simple in it’s design, and very feminine. It has a clear Boho Festival vibe. You can wear it as a cross over bag, or simply over one shoulder. The versatility of this design is great.
Bohemian vibes are always very much present with a cotton crochet project. This Boho bag is no exception. I just love how cute and simple it is. It is very reminiscent of the 1960s era. I just love how dainty and feminine the shape of it is too. This era truly is one of my favorites. I am always enchanted when I create a pattern similar to that worn by women then. The floral wooden button adds a lot of flower power vibes to this bag too.
Behind the design
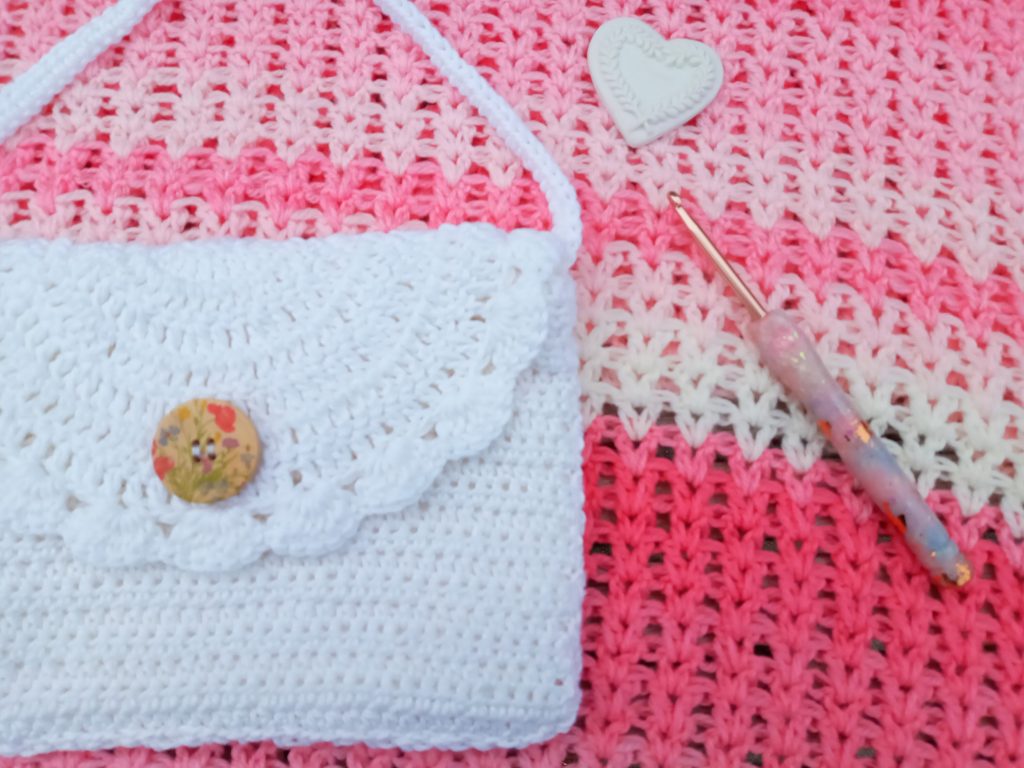
This Boho bag is very easy to crochet. The simple rectangular shape, and round flap look amazing, but are very beginner friendly. The front and back panels are identical. These are crocheted in a repeat of Half Double Crochets. They make for a tightly woven effect. The arc circle flap is later added. This flap looks extra feminine because of the shell edging detail, which is so pretty.
The floral button is later added to the front of the flap for decorative purposes. It really adds a lot of interest to an otherwise very simple design! This button is very simply sewed onto the flap with darning thread.
The yarn
The yarn used to crochet this Boho Festival Bag is 100% cotton. It is also a DK/light 3 yarn, which adds to the delicacy of this project. I love cotton yarn for Summer projects. It just adds so much vibrancy to anything. I used Sirdar Cotton DK, but you can use any other type of 100% light 3 yarn. This will not change the pattern at all.
The strap I made for this bag is also very easy to crochet. This is an added bonus, because it saves you buying rope for this project.
Line your Crochet Boho Festival Bag
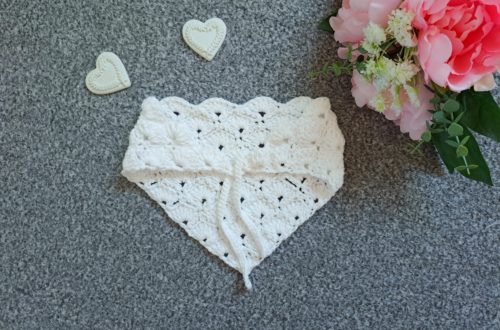
You can line your crochet bag if you like. I made a video tutorial on how to line a crochet bag. You can find it here How to line a bag
This is a very easy to follow tutorial. It really is very simple, so please check it out. I love how lovely a crochet bag looks once lined. You only need a bit of scrap fabric and thread to line a bag. I sew my lining in by hand, so no need for a sewing machine. Let me know if you line your bags too!
Connecting with you
I love to connect with you. You can follow me on Social Media if you wish. You can find the links on my Home page, or look me up. My Social Media accounts are all under the name Selina Veronique. I would love it if you wanted to join my private Facebook group: My Facebook group to connect
Let me know what you thought of this pattern! I love to hear from you, and always answer my comments and messages. Please also consider subscribing to my newsletter here Subscribe to my weekly newsletter
Take care my lovely crochet friends!
Xoxo Selina.
Crochet Boho Festival Bag: The Pattern
You can purchase the ad free, large print, PDF pattern from my Etsy shop: The Boho Crochet Bag PDF Pattern
Level: Easy/beginner
Gauge: 10 cm (4”)=13 rows and 10 cm(4”)=18 HDC
Size of finished project: 15 cm (6”) high and 23 cm (9”) wide
Notes :
I will be using US terms (British terms in brackets)
Materials:
1 skein of Sirdar Cotton DK (or any other DK/Size 3 light yarn in 100% cotton)
3,5 mm crochet hook
Pair of scissors
Stitch marker
Tapestry needle
2 sewing pins to secure project while sewing
A 30 mm Floral Wooden Button
Darning needle and thread
Abbreviations :
Ch : chain
Sl st : slip stitch
HDC: Half Double crochet (UK Half Treble)
DC: Double Crochet (UK Treble Crochet)
EOR: End of row
Front and back panels (both identical):
To start, make a slip knot.
Ch 41
Row 1: HDC in 3rd ch from hook (first ch 2 counts as a HDC), HDC into each ch until eor
Row 2: Ch 2 (=HDC), turn your work, HDC into 2nd HDC from previous row, and into each HDC until eor (including ch 2 from previous row)
Rows 3-19: Repeat row 2
Fasten off, leaving long tail for sewing bag together
Flap:
Ch 4, sl st through first ch to form a ring
Complete rows as follows:
1: Ch 3 (=DC), 6 DC into ring (=7 DC in total)
2: Ch 3 (=DC), turn your work, place a DC into 1st DC from previous row (=2 DC in same stitch), 2 DC into each DC from previous row
3: Ch 3 (=DC), turn your work, place a DC into 1st DC from previous row (=2 DC in same stitch), [DC into next DC, 2 DC into next DC] until eor
4: Ch 3 (=DC), turn your work, place a DC into 1st DC from previous row (=2 DC in same stitch), [DC into next 2 DC, 2 DC into next DC] until eor
5: Ch 3 (=DC), turn your work, place a DC into 1st DC from previous row (=2 DC in same stitch), [DC into next 3 DC, 2 DC into next DC] until eor
6: Ch 3 (=DC), turn your work, place a DC into 1st DC from previous row (=2 DC in same stitch), [DC into next 4 DC, 2 DC into next DC] until eor
7: Ch 3 (=DC), turn your work, place a DC into 1st DC from previous row (=2 DC in same stitch), [DC into next 5 DC, 2 DC into next DC] until eor
8: Ch 3 (=DC), turn your work, place a DC into 1st DC from previous row (=2 DC in same stitch), [DC into next 6 DC, 2 DC into next DC] until eor
9 (shell stitch edging row): Ch 3 (=DC), [sk 3 st, 7 DC in next st] until last 4 stitches. Sk 3 st, 1 DC into last stitch.
Fasten off, leaving long tail for sewing
Strap :
Ch 202
HDC into 3rd ch from hook and into each ch until eor, fasten off, leaving long tail for sewing into project
Sew project together:
Place both front and back panel on top of each other, making sure they are symmetrically placed (this will be the inside of the bag as we will be turning it inside out to hide seam). Start sewing up one side, onto the bottom side, and then up the second side. Fasten off, tidy up loose ends.
Sew on the flap to the back panel: turn your project inside out, and secure your flap onto the back panel with the pins. Sew the flap onto back panel, fasten off and tidy up loose ends.
Place strap into bag, inside the side of each side of the project, making sure you have 4 cm (=1,5 inches) inside the bag.
If using the cotton strap from this pattern, sew into project with cotton yarn.
Make sure you sew the strap very securely onto project.
Sew your 30 mm button onto flap:
Measure the exact centre near the bottom edge of the flap. Place your button and sew it onto the flap with darning needle and thread.
Fasten off, tidy up all loose ends and line bag if you wish.
Disclaimer: This post may contain affiliate links, which means I’ll receive a commission if you purchase through my link, at no extra cost to you.


One Comment
Paula Conner
Thank You!