Crochet Coffee Cup Cozy
Crochet Coffee Cup Cozy
Hello everyone, this week I am bringing to you a tutorial on how to crochet a coffee cup cozy. This project is super easy. It is quick to crochet, and makes a great gift! I hope you enjoy this fun crochet project. Indeed, I loved making it. It is a very easy and beautiful way to decorate a coffee cup.
You can find the video tutorial for this project here:
Crochet Coffee Cup Cozy: the inspiration
I have been inspired to make a coffee cup cozy for a long time now! It is fun, and creates a lovely crochet gift for a loved one. A lot of people are now using a reusable take away coffee cup around the world, instead of a disposable one. This has created the need for reusable and washable cup cozies. This is a one size fits most coffee cups, and can be tailored and customized for men and women. Indeed, if you are crocheting this coffee cup cozy for a man, you can easily skip the frilly shell stitch edging. This cup cozy will instantly become more masculine!
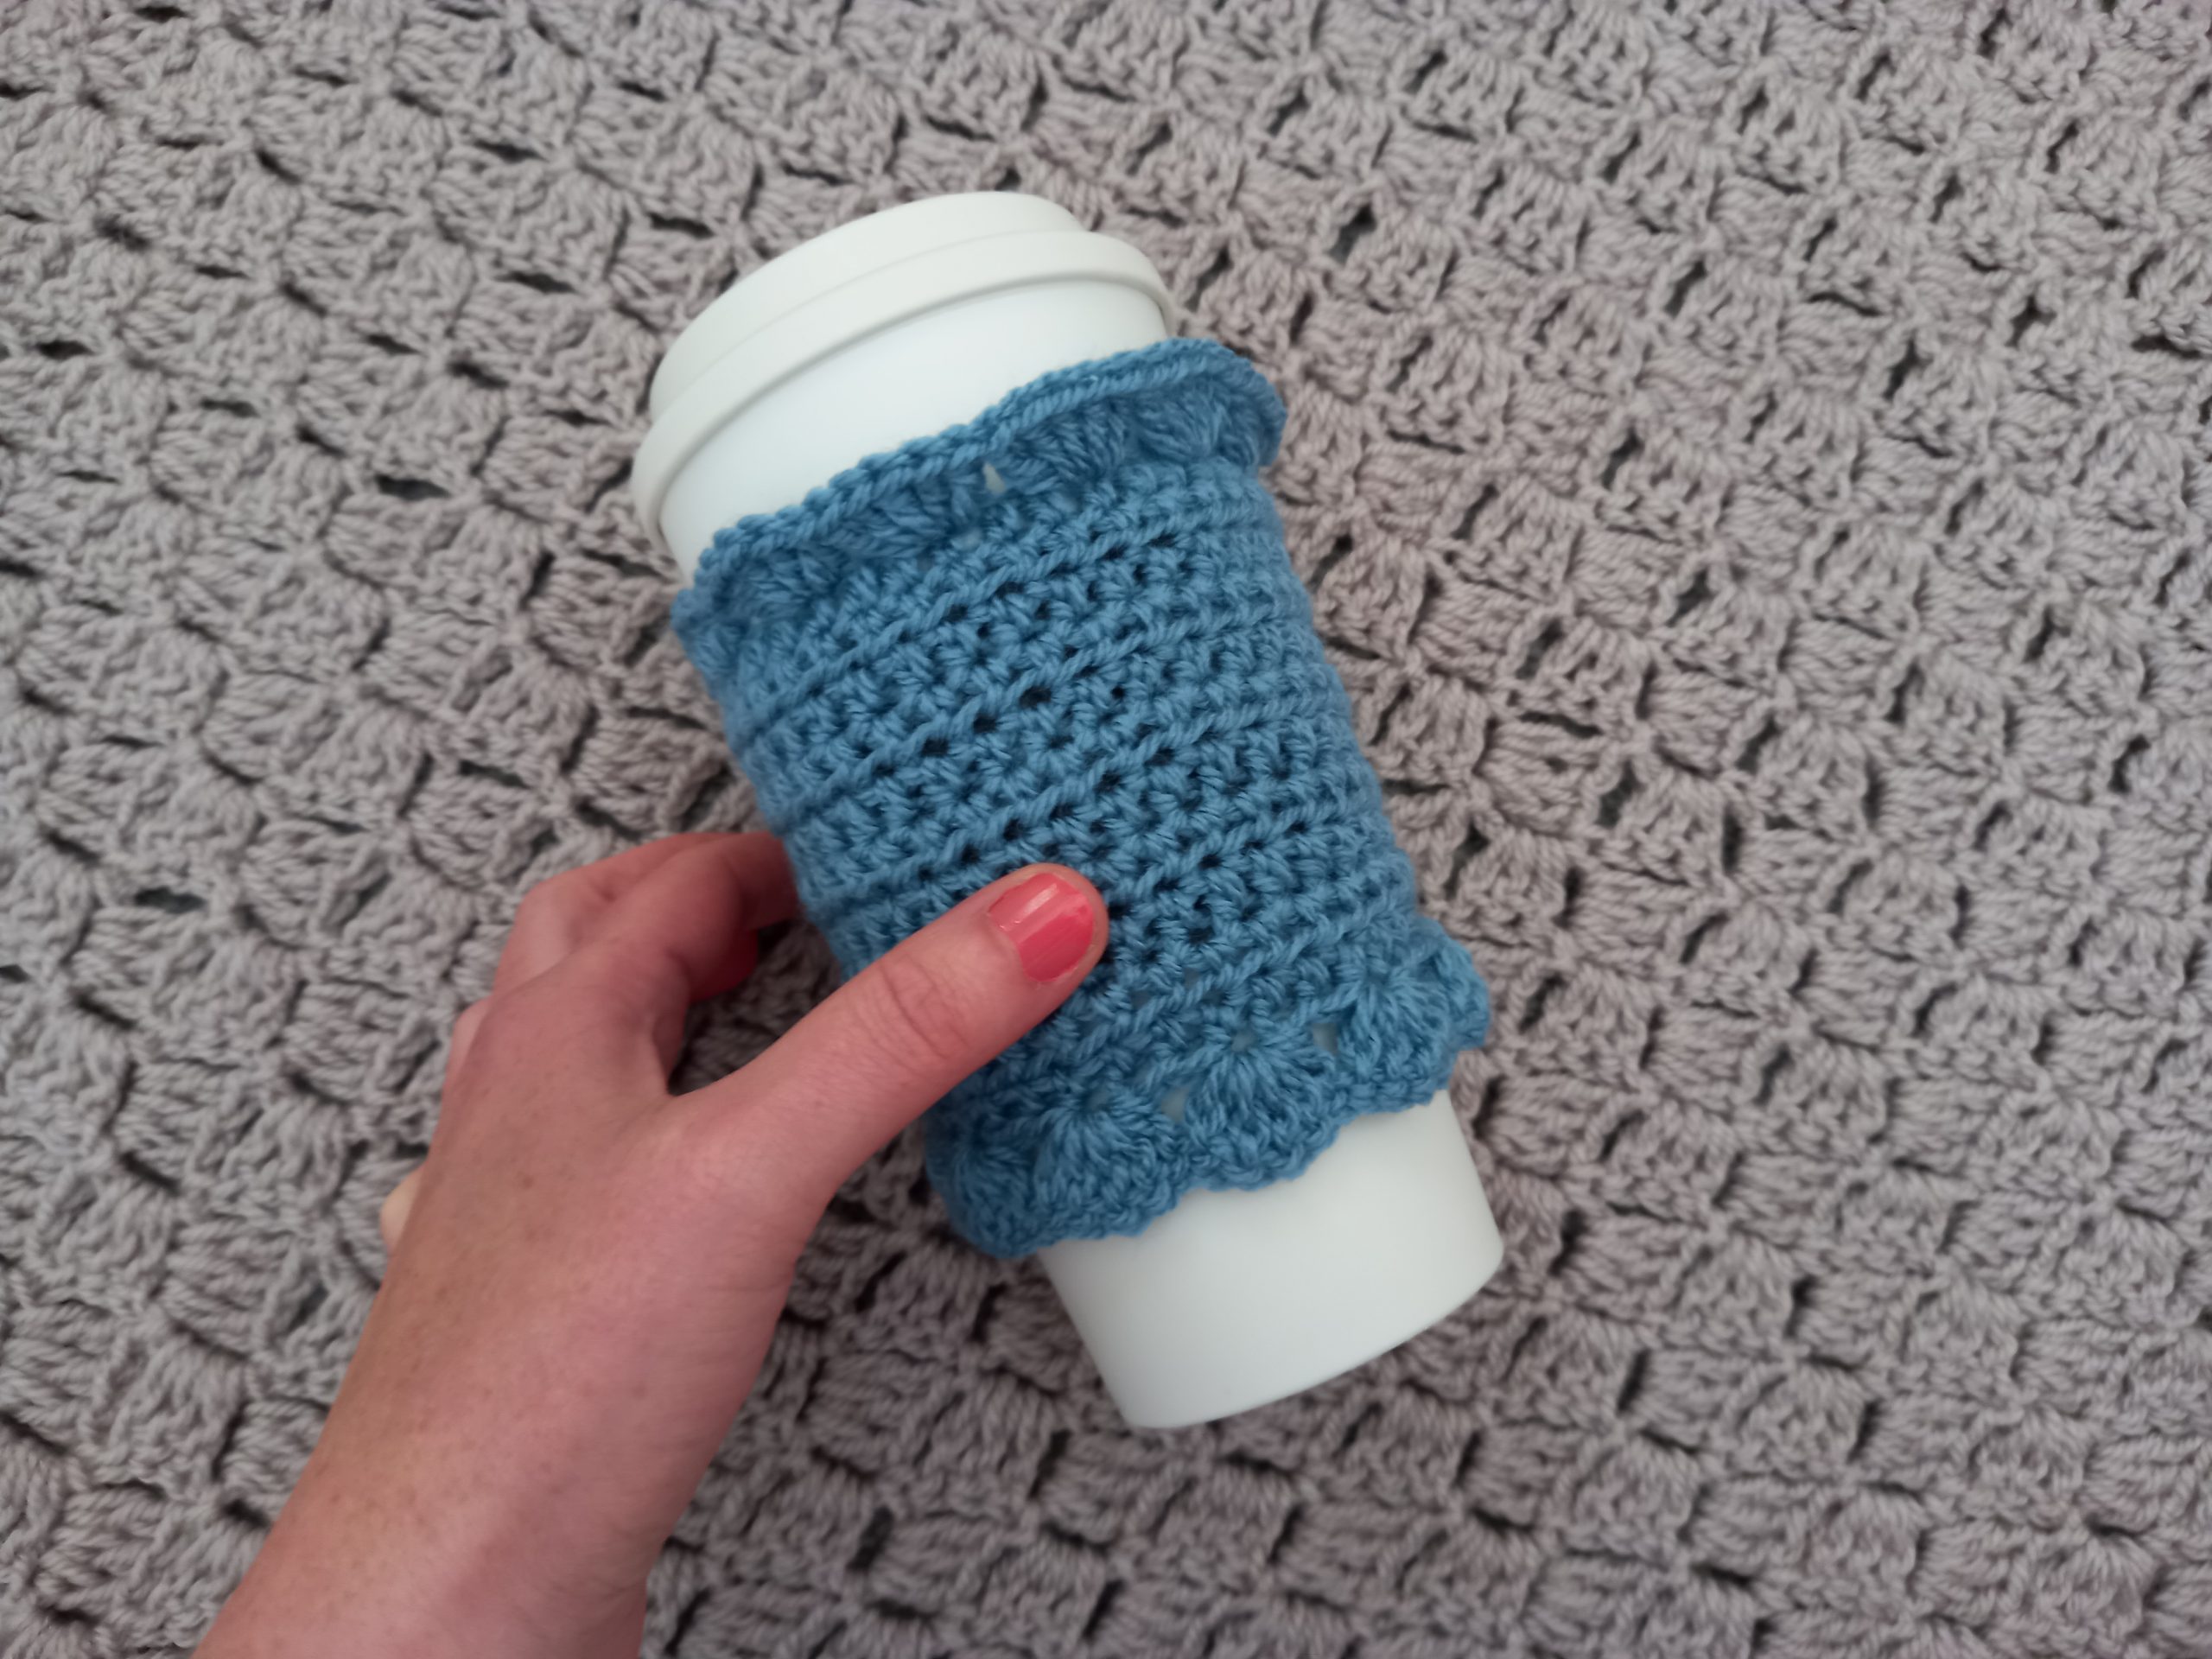
You can also switch up the colors with this project. The best part is, you can make it in a lot of different shades. You can then have a variety of cup cozies available every time you need one!
Crochet Coffee Cup Cozy: the yarn
This project uses basic and good quality 100% acrylic yarn for ease of use. Indeed, in this type of project, you need the yarn to be solid and easily washable. I used Scheepjes Colour Crafter DK yarn in shade 1722 Alphen for one of my cup cozies. For the second one I created, I used Stylecraft Special DK in shade Fiesta, one of my favorite yarns and shades. I love how these colors just pop! These are both DK/light 3 yarns, and you can substitute these with any of your preferred yarns and brands.
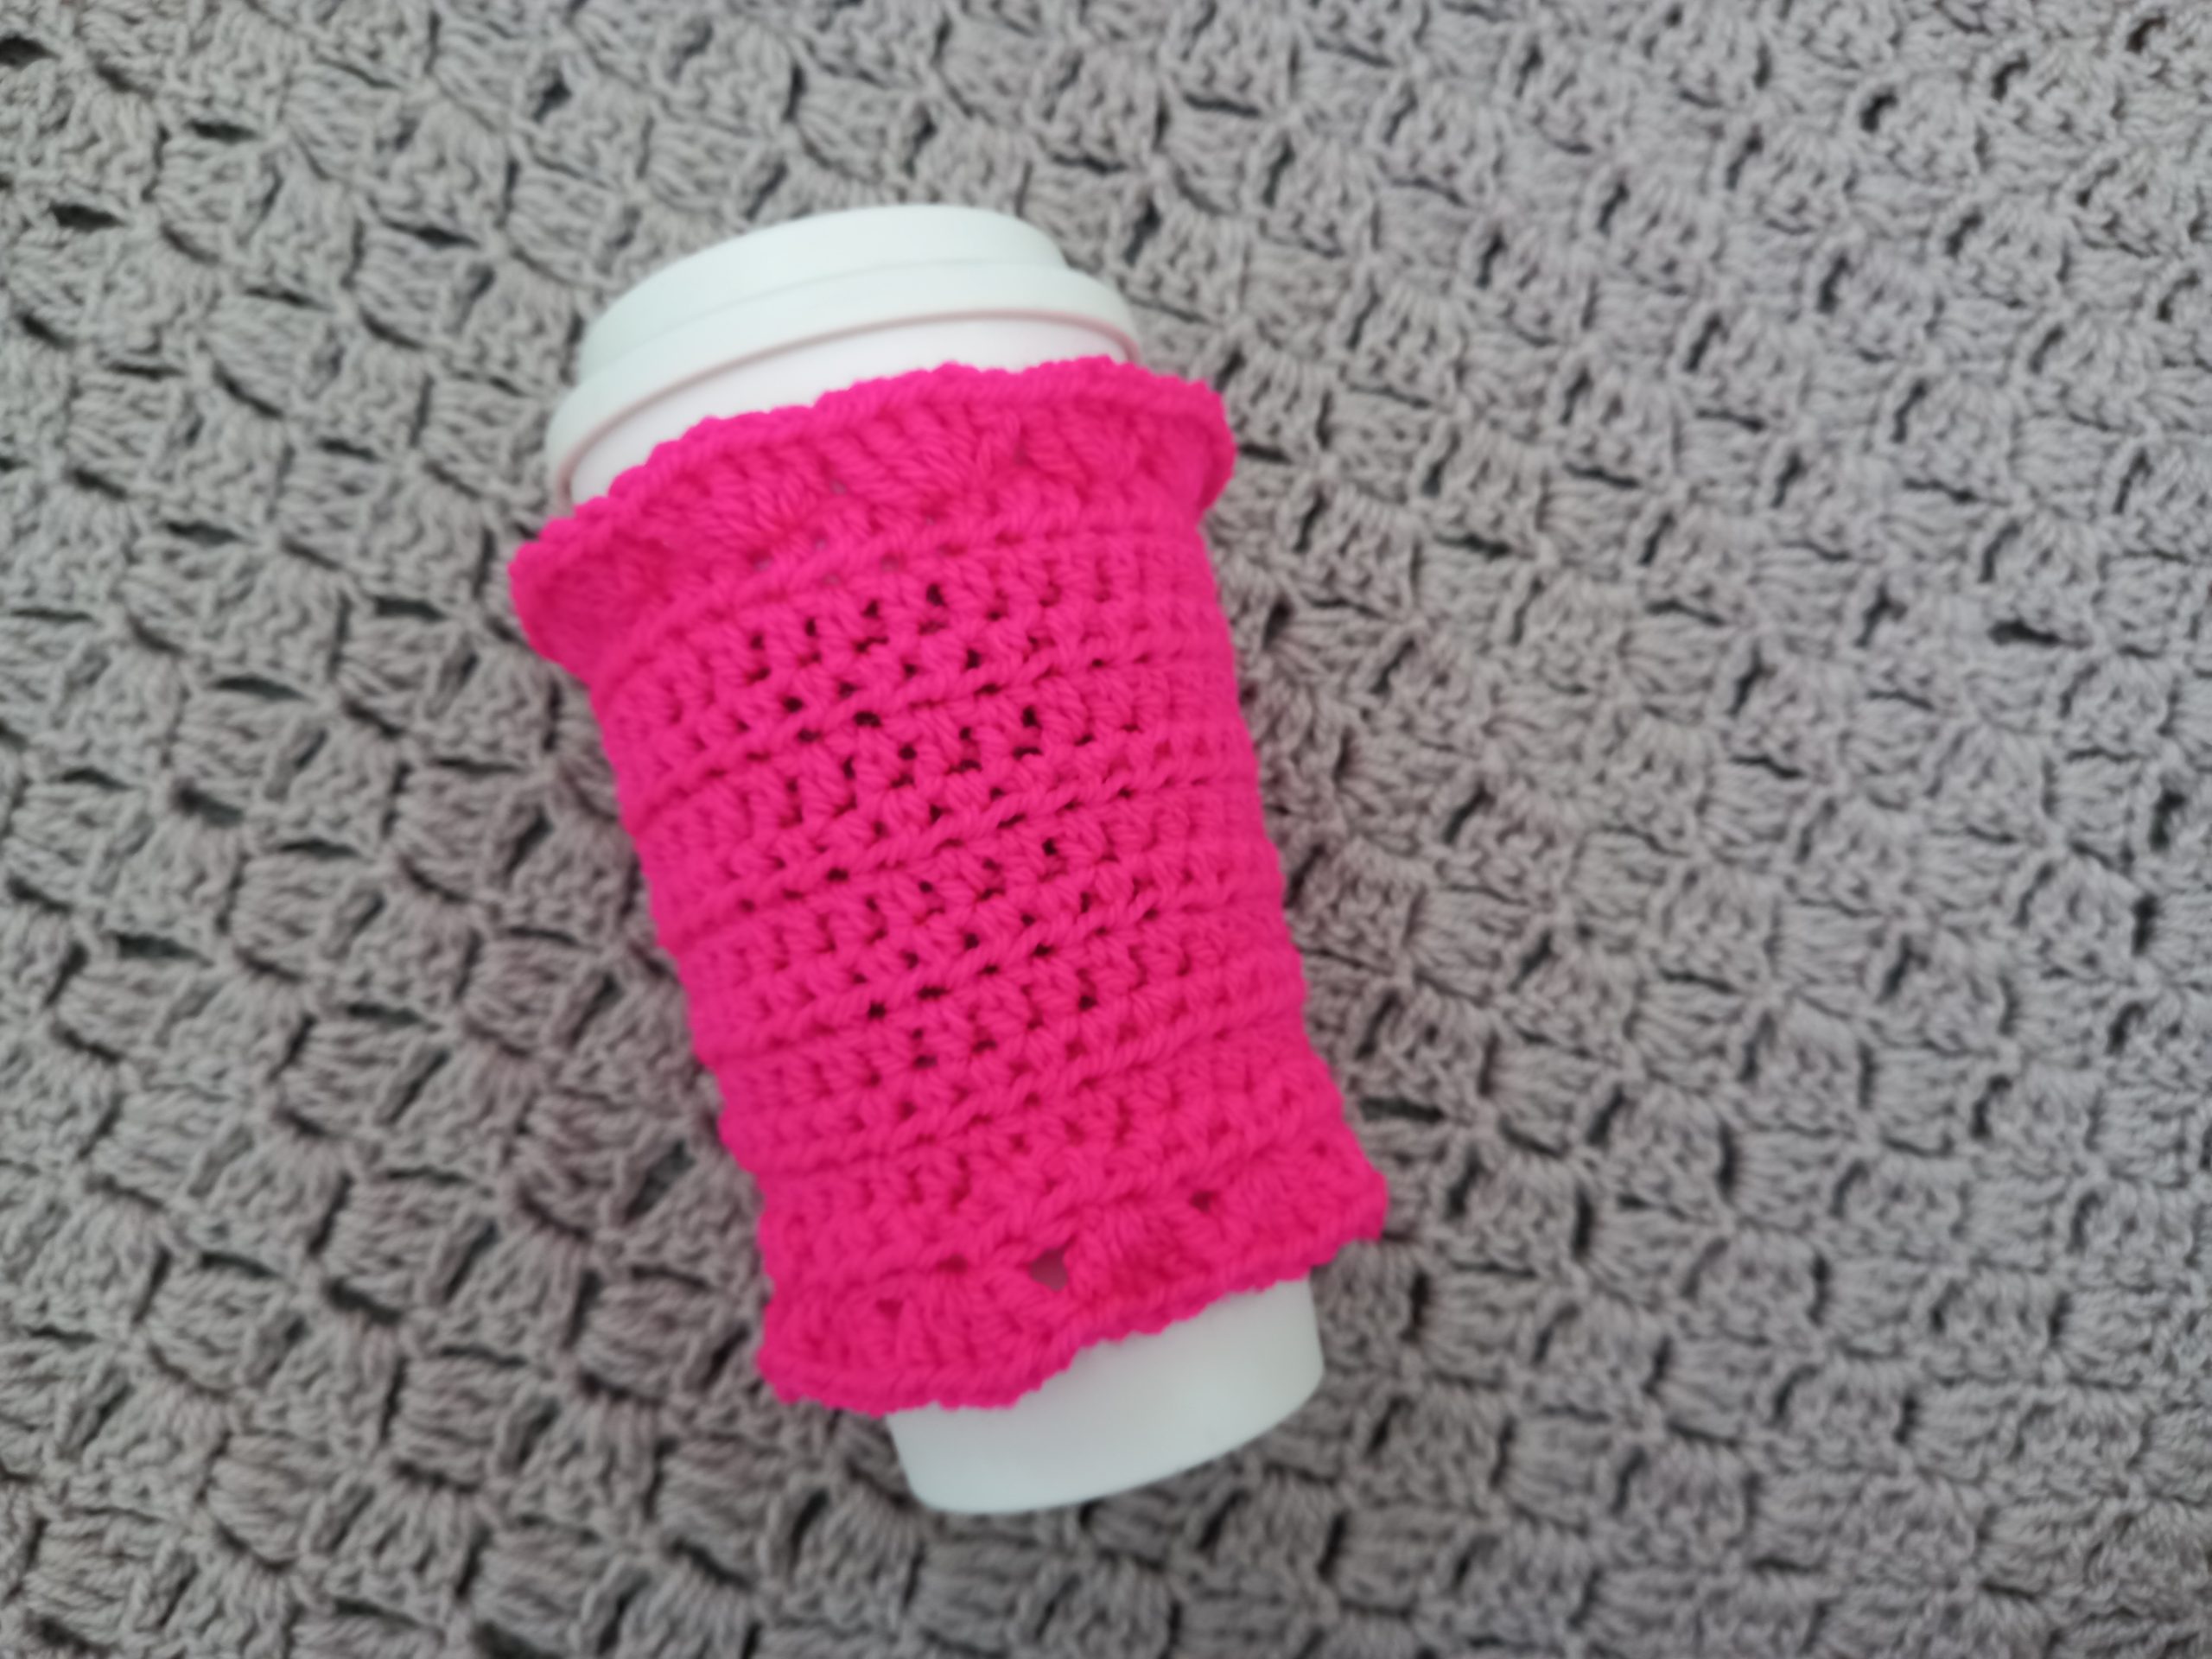
The versatility this crochet pattern creates is perfect for customizing. I love being able to offer a pattern that can be modified to suit your needs and your tastes.
As I previously said, this crochet project is perfect for everyone. If you want to make this cup cozy more masculine, or simply less feminine, you can just skip the frilly shell stitch edging. You will then have a basic and easy to transport cup cozy.
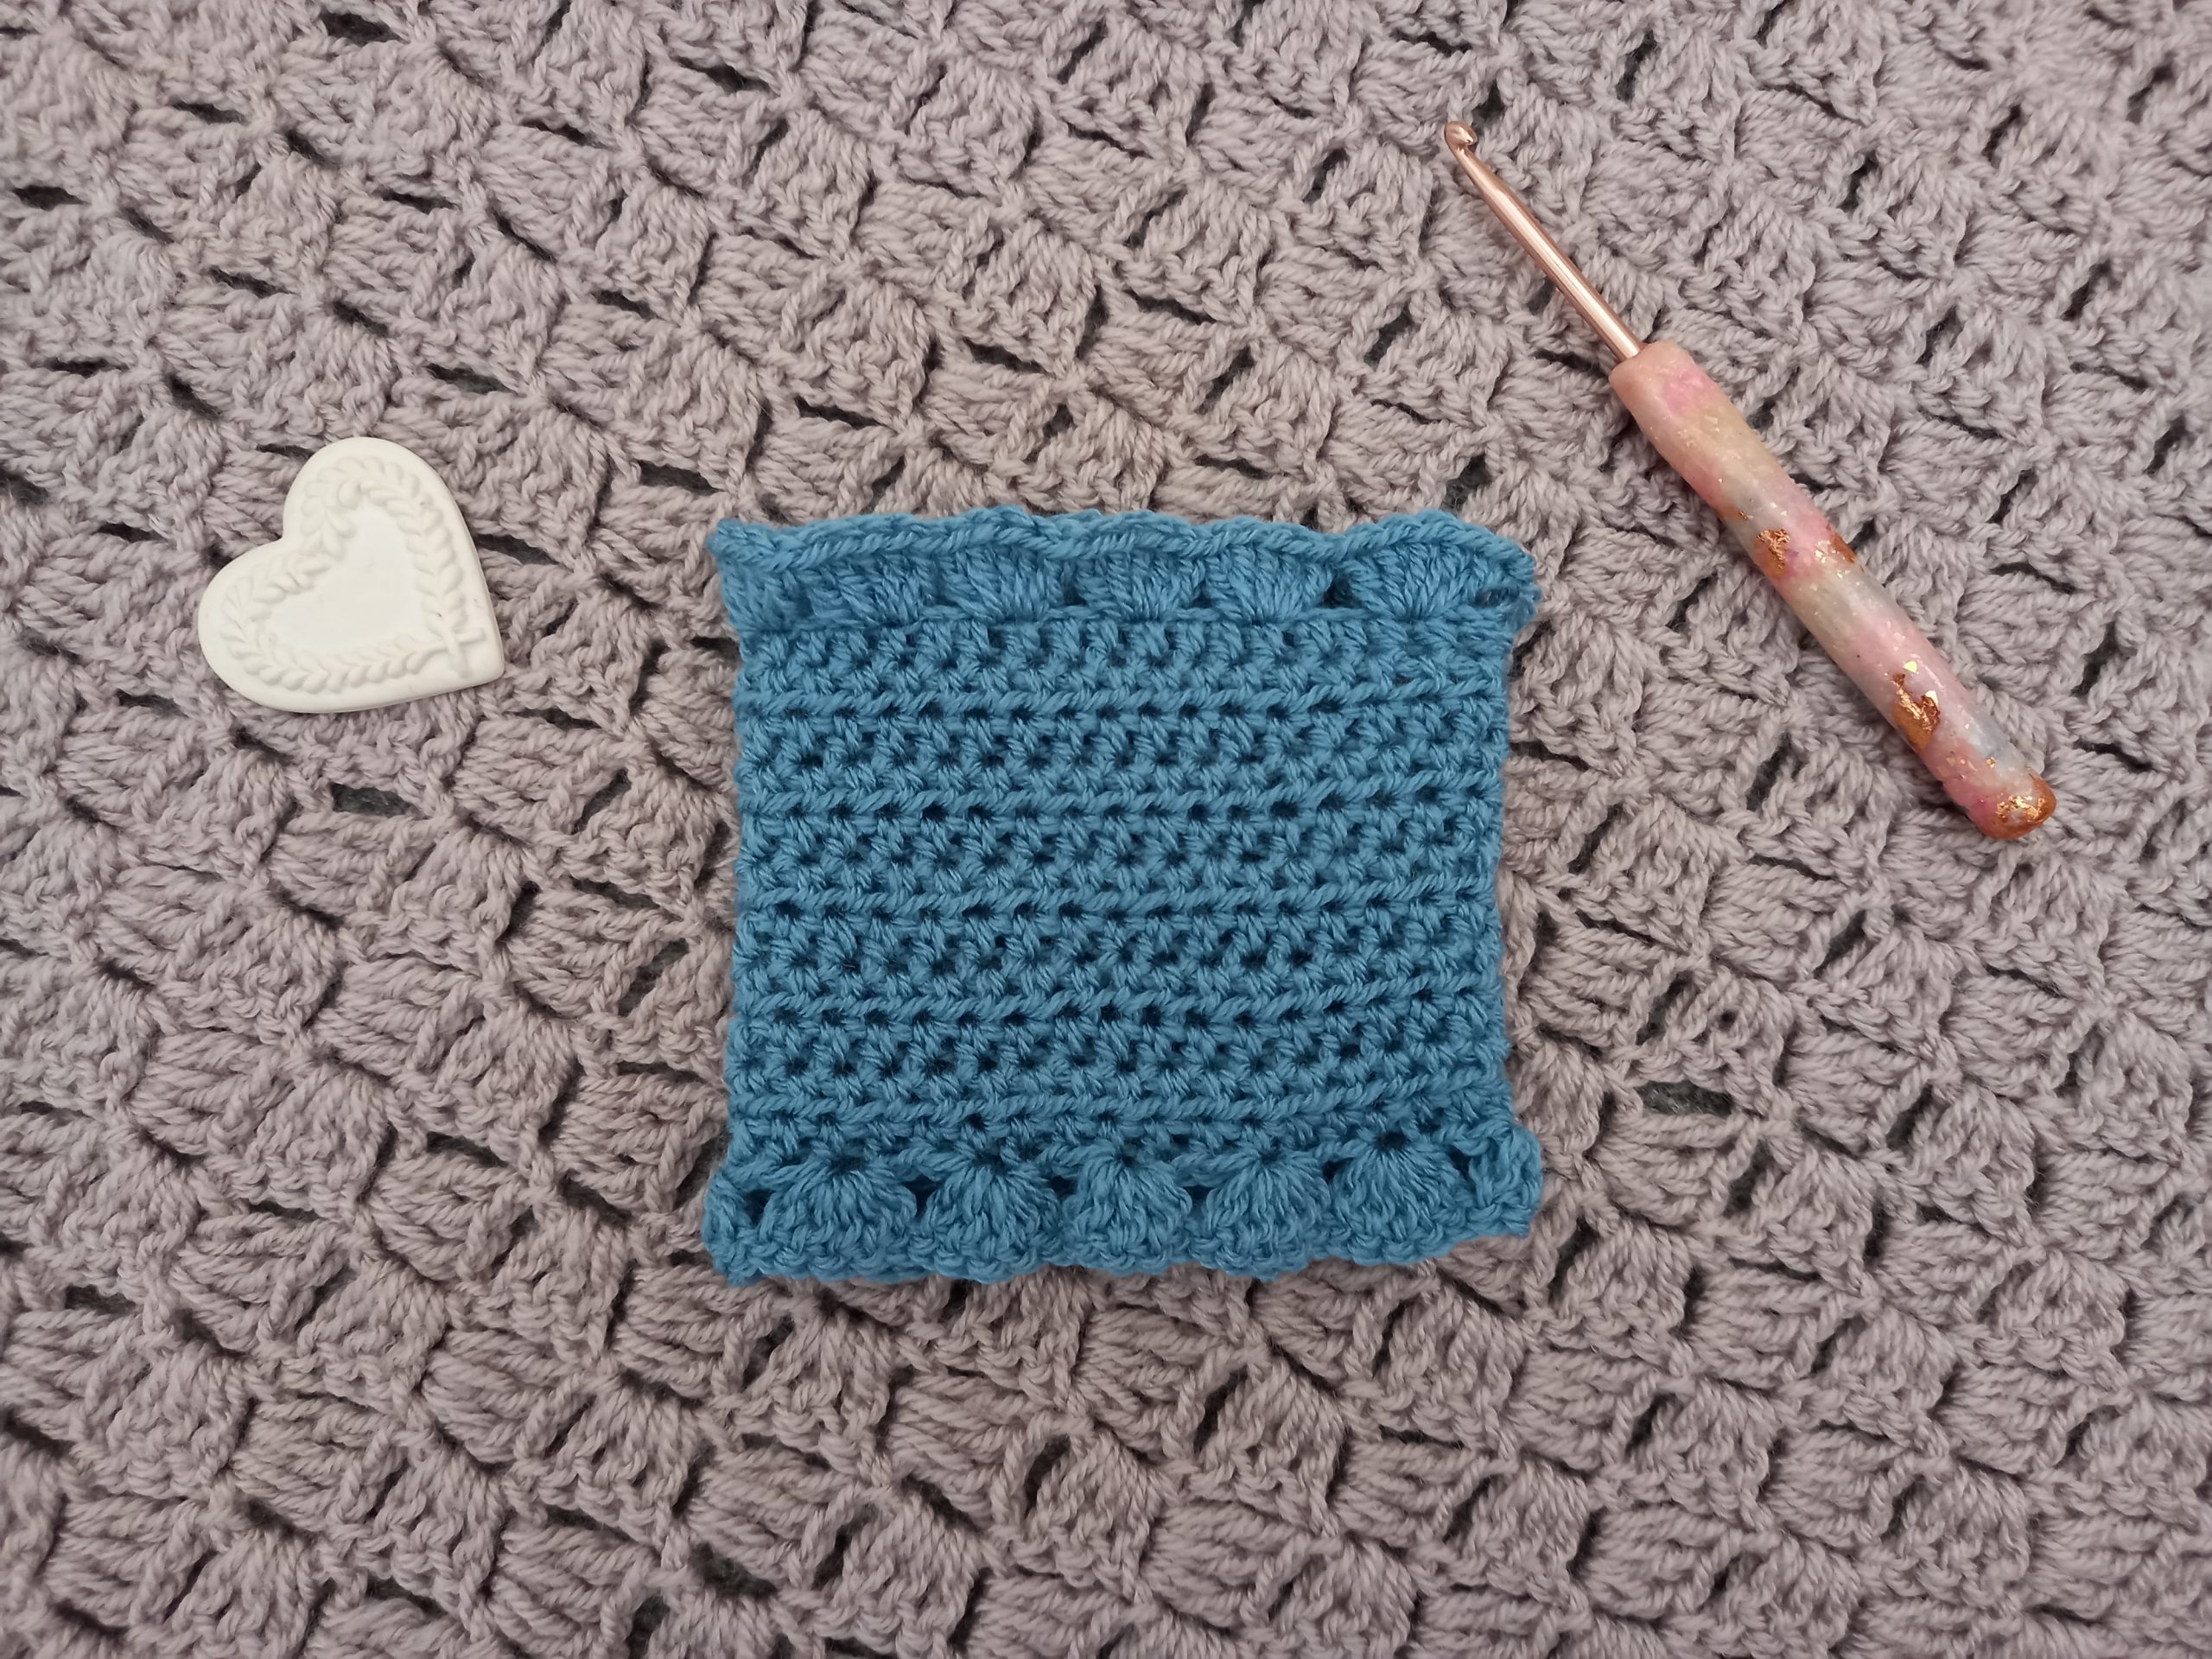
The shell stitch edging however does add a little je ne sais quoi which makes this project special. It elevates the look and creates a cute and feminine vibe. I know I love it!
Let me know what you think of this project. A crochet cup cozy has been on my “to do” list for a long time, and I am very pleased with how it’s turned out. I will be making plenty more different cup cozies in the future, so watch this space!
Connecting with you
My dear crochet friends, I love connecting with you through social media. You can find me on Youtube, Instagram, and Pinterest. I would love to connect with you on these platforms.
You can also join my private Facebook group to connect.
Please consider subscribing to my weekly newsletter so that you never miss a stitch!
Thank you for stopping by my blog,
Lots of love,
Selina.
The Pattern
You can purchase the ad free, large print, PDF pattern from my Etsy store here: Crochet Easy Cup Cozy PDF Pattern
Level: Easy
Notes: I will be writing in US terms (British terms in brackets)
Gauge
4″ (10 cm): 15 HDC
4″ (10 cm): 12 rows
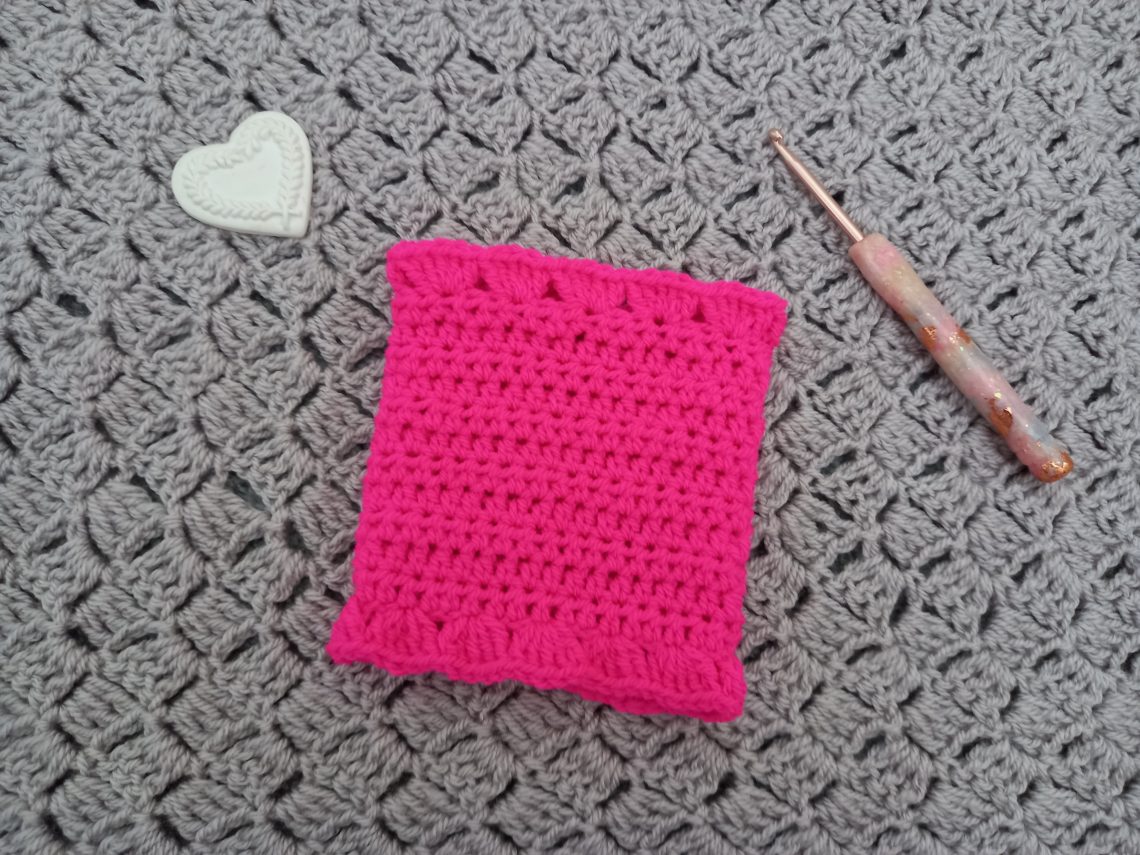
Size of project before sewing (and after the shell stitch edging has been added):
5″ (13 cm) x 9.5″ (24 cm)
Materials
1 skein of Scheepjes Colour Crafter DK in shade Alphen of Stylecraft Special DK in shade Fiesta (or any other yarn in a light 3/DK weight)
4 mm crochet hook
Tapestry needls
Pair of Scissors
Abbreviations
Ch: chain
HDC= Half Double Crochet (UK Half Treble Crochet)
Sl st: Slip stitch
St: Stitch
Sk: skip
EOR: End of row
Begin pattern here
Make a slip knot, and ch 36
1: HDC into 3rd chain from hook, and into every ch until eor (first ch 2=HDC)
2: Ch 2 (=HDC), turn your work, HDC into 2nd st and into every st until eor.
3-11: Repeat row 2.
Do not fasten off.
Shell stitch border
CH 3 (=DC), place 2 DC into same 1st stitch (=3 DC in same stitch), [sk 2 stitches, 5 DC in next stitch] until last 3 stitches. Sk 2 stitches, 3 DC in last stitch.
Fasten off, leaving long tail for sewing in project
Now attach yarn to the bottom of project to create shell edging on that bottom edge. Attach yarn to the 1st ch you made at beginning of project).
CH 3 (=DC), place 2 DC into same 1st stitch (=3 DC in same stitch), [sk 2 stitches, 5 DC in next stitch] until last 3 stitches. Sk 2 stitches, 3 DC in last stitch.
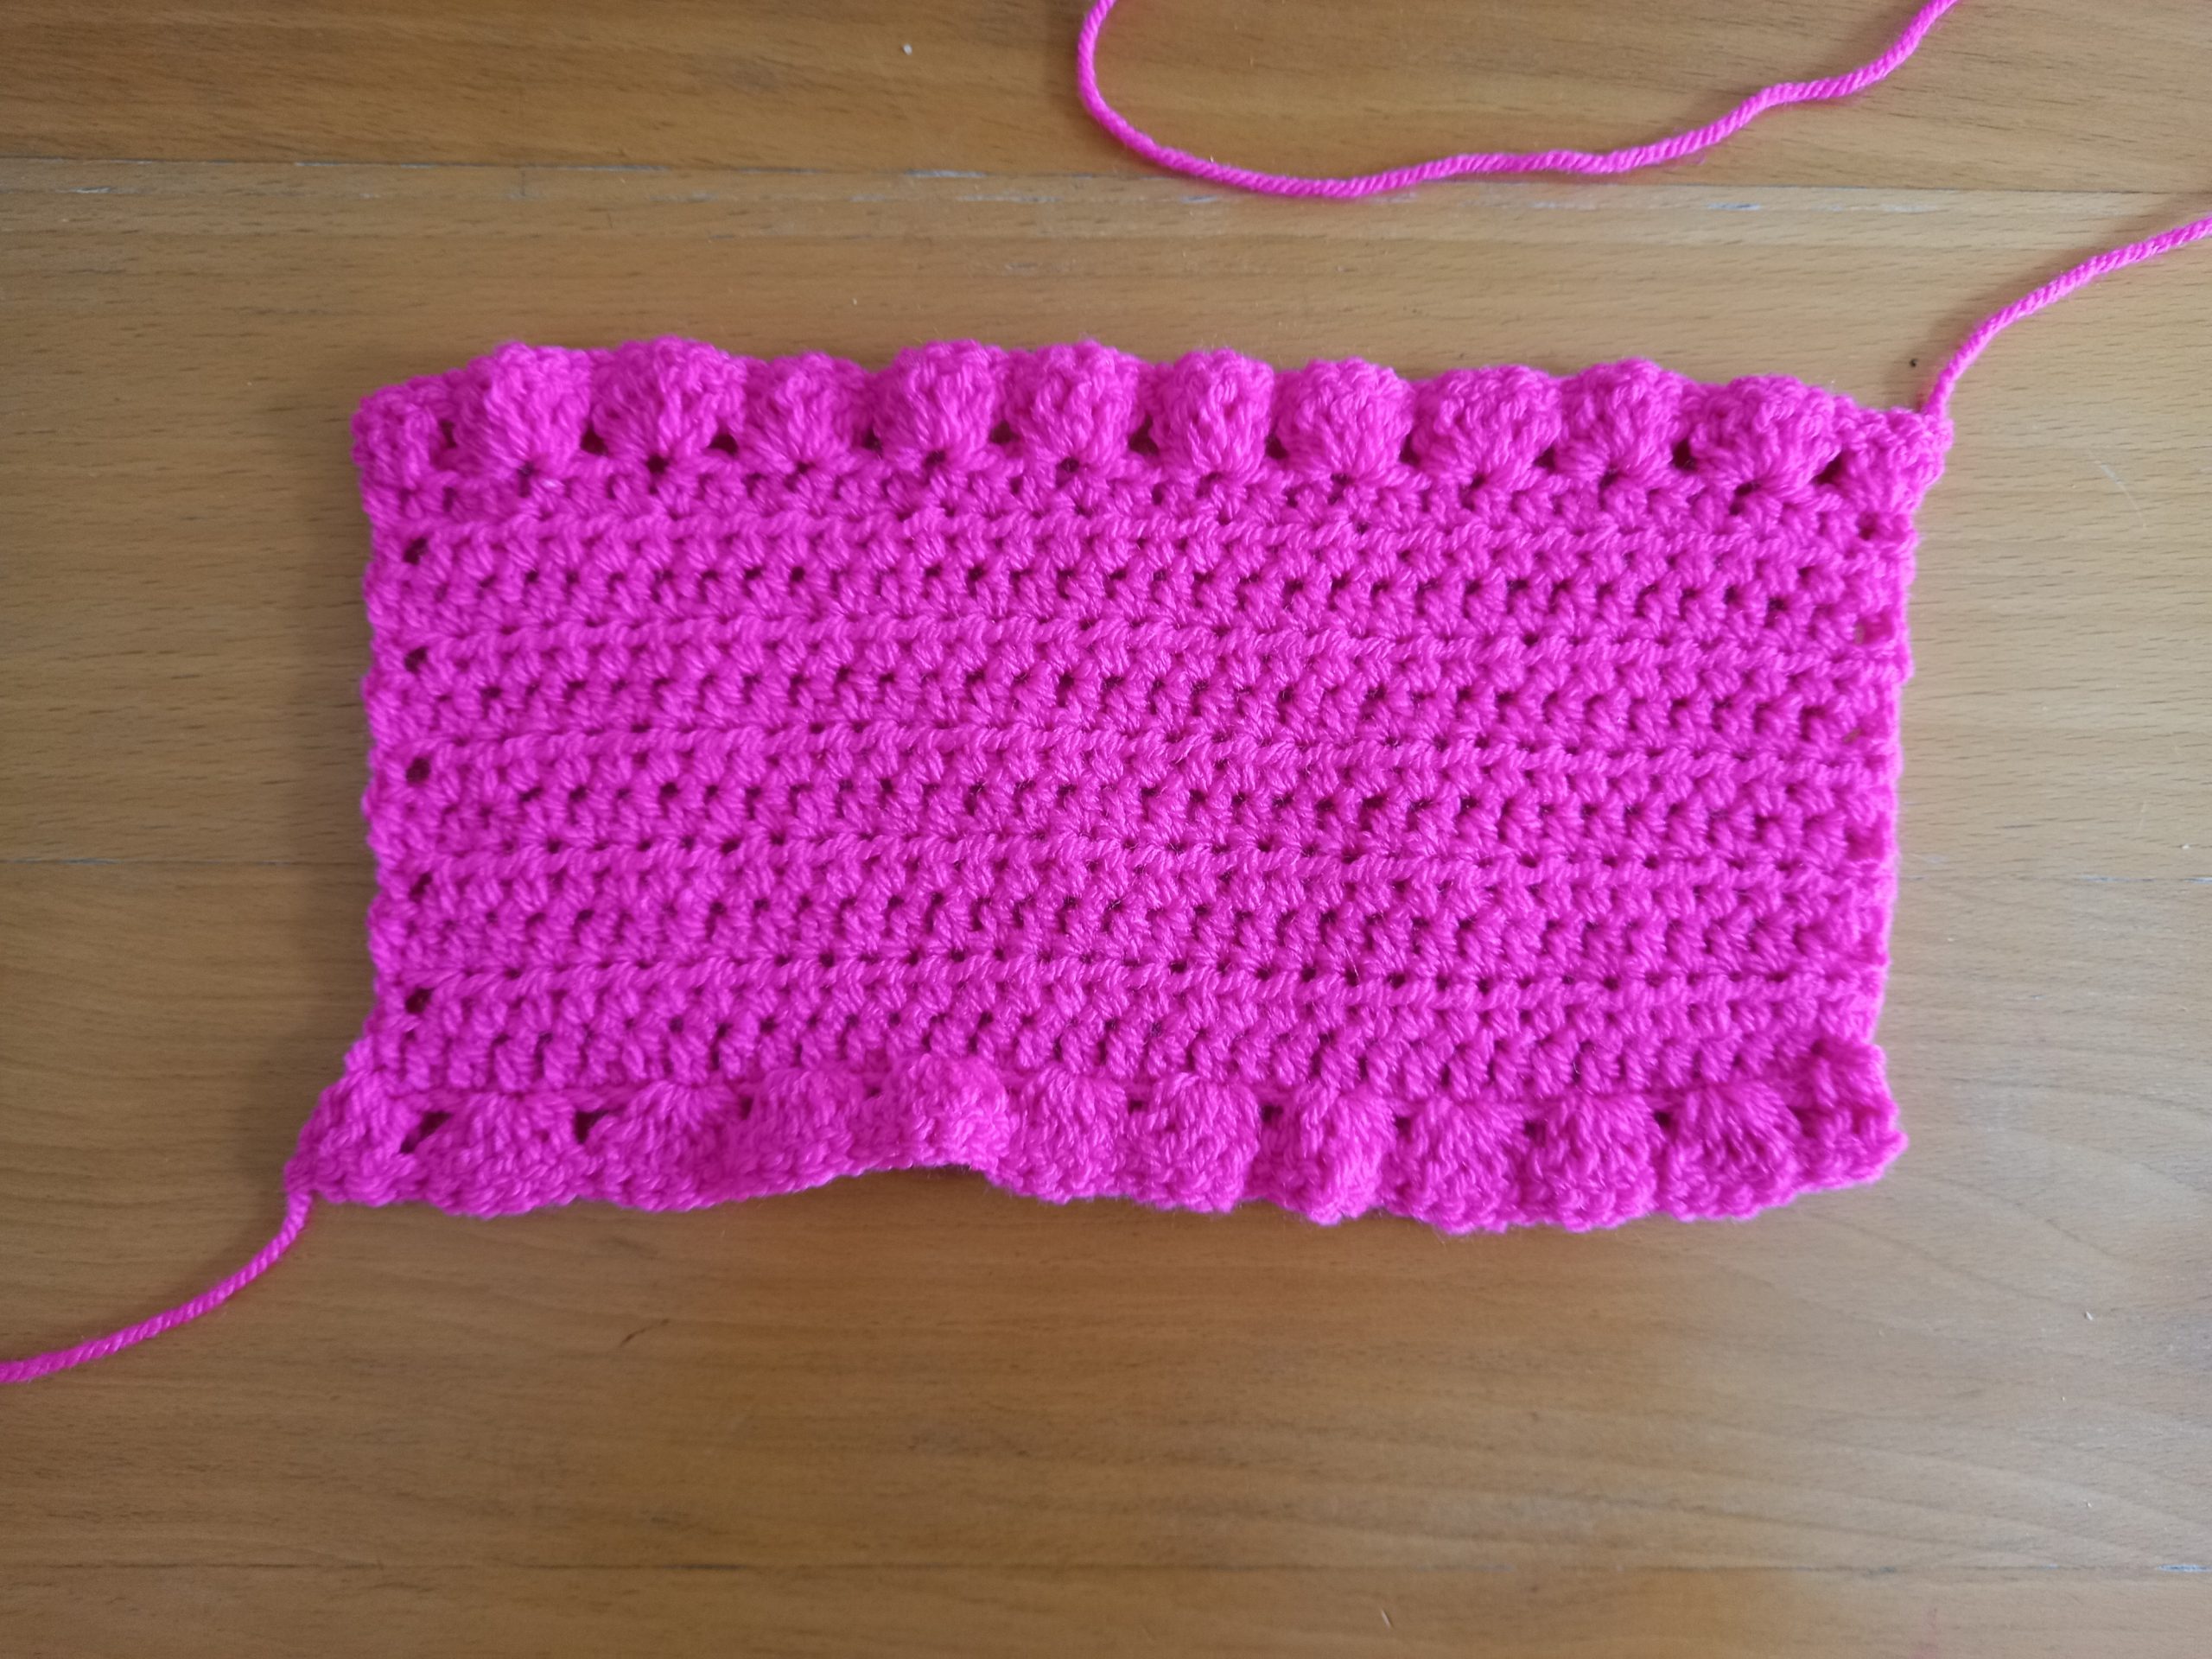
Fasten off and tidy up all your loose ends.
Sewing and finishing off your cup cozy:
Fold project in half, and sew both sides together using the mattress stitch.
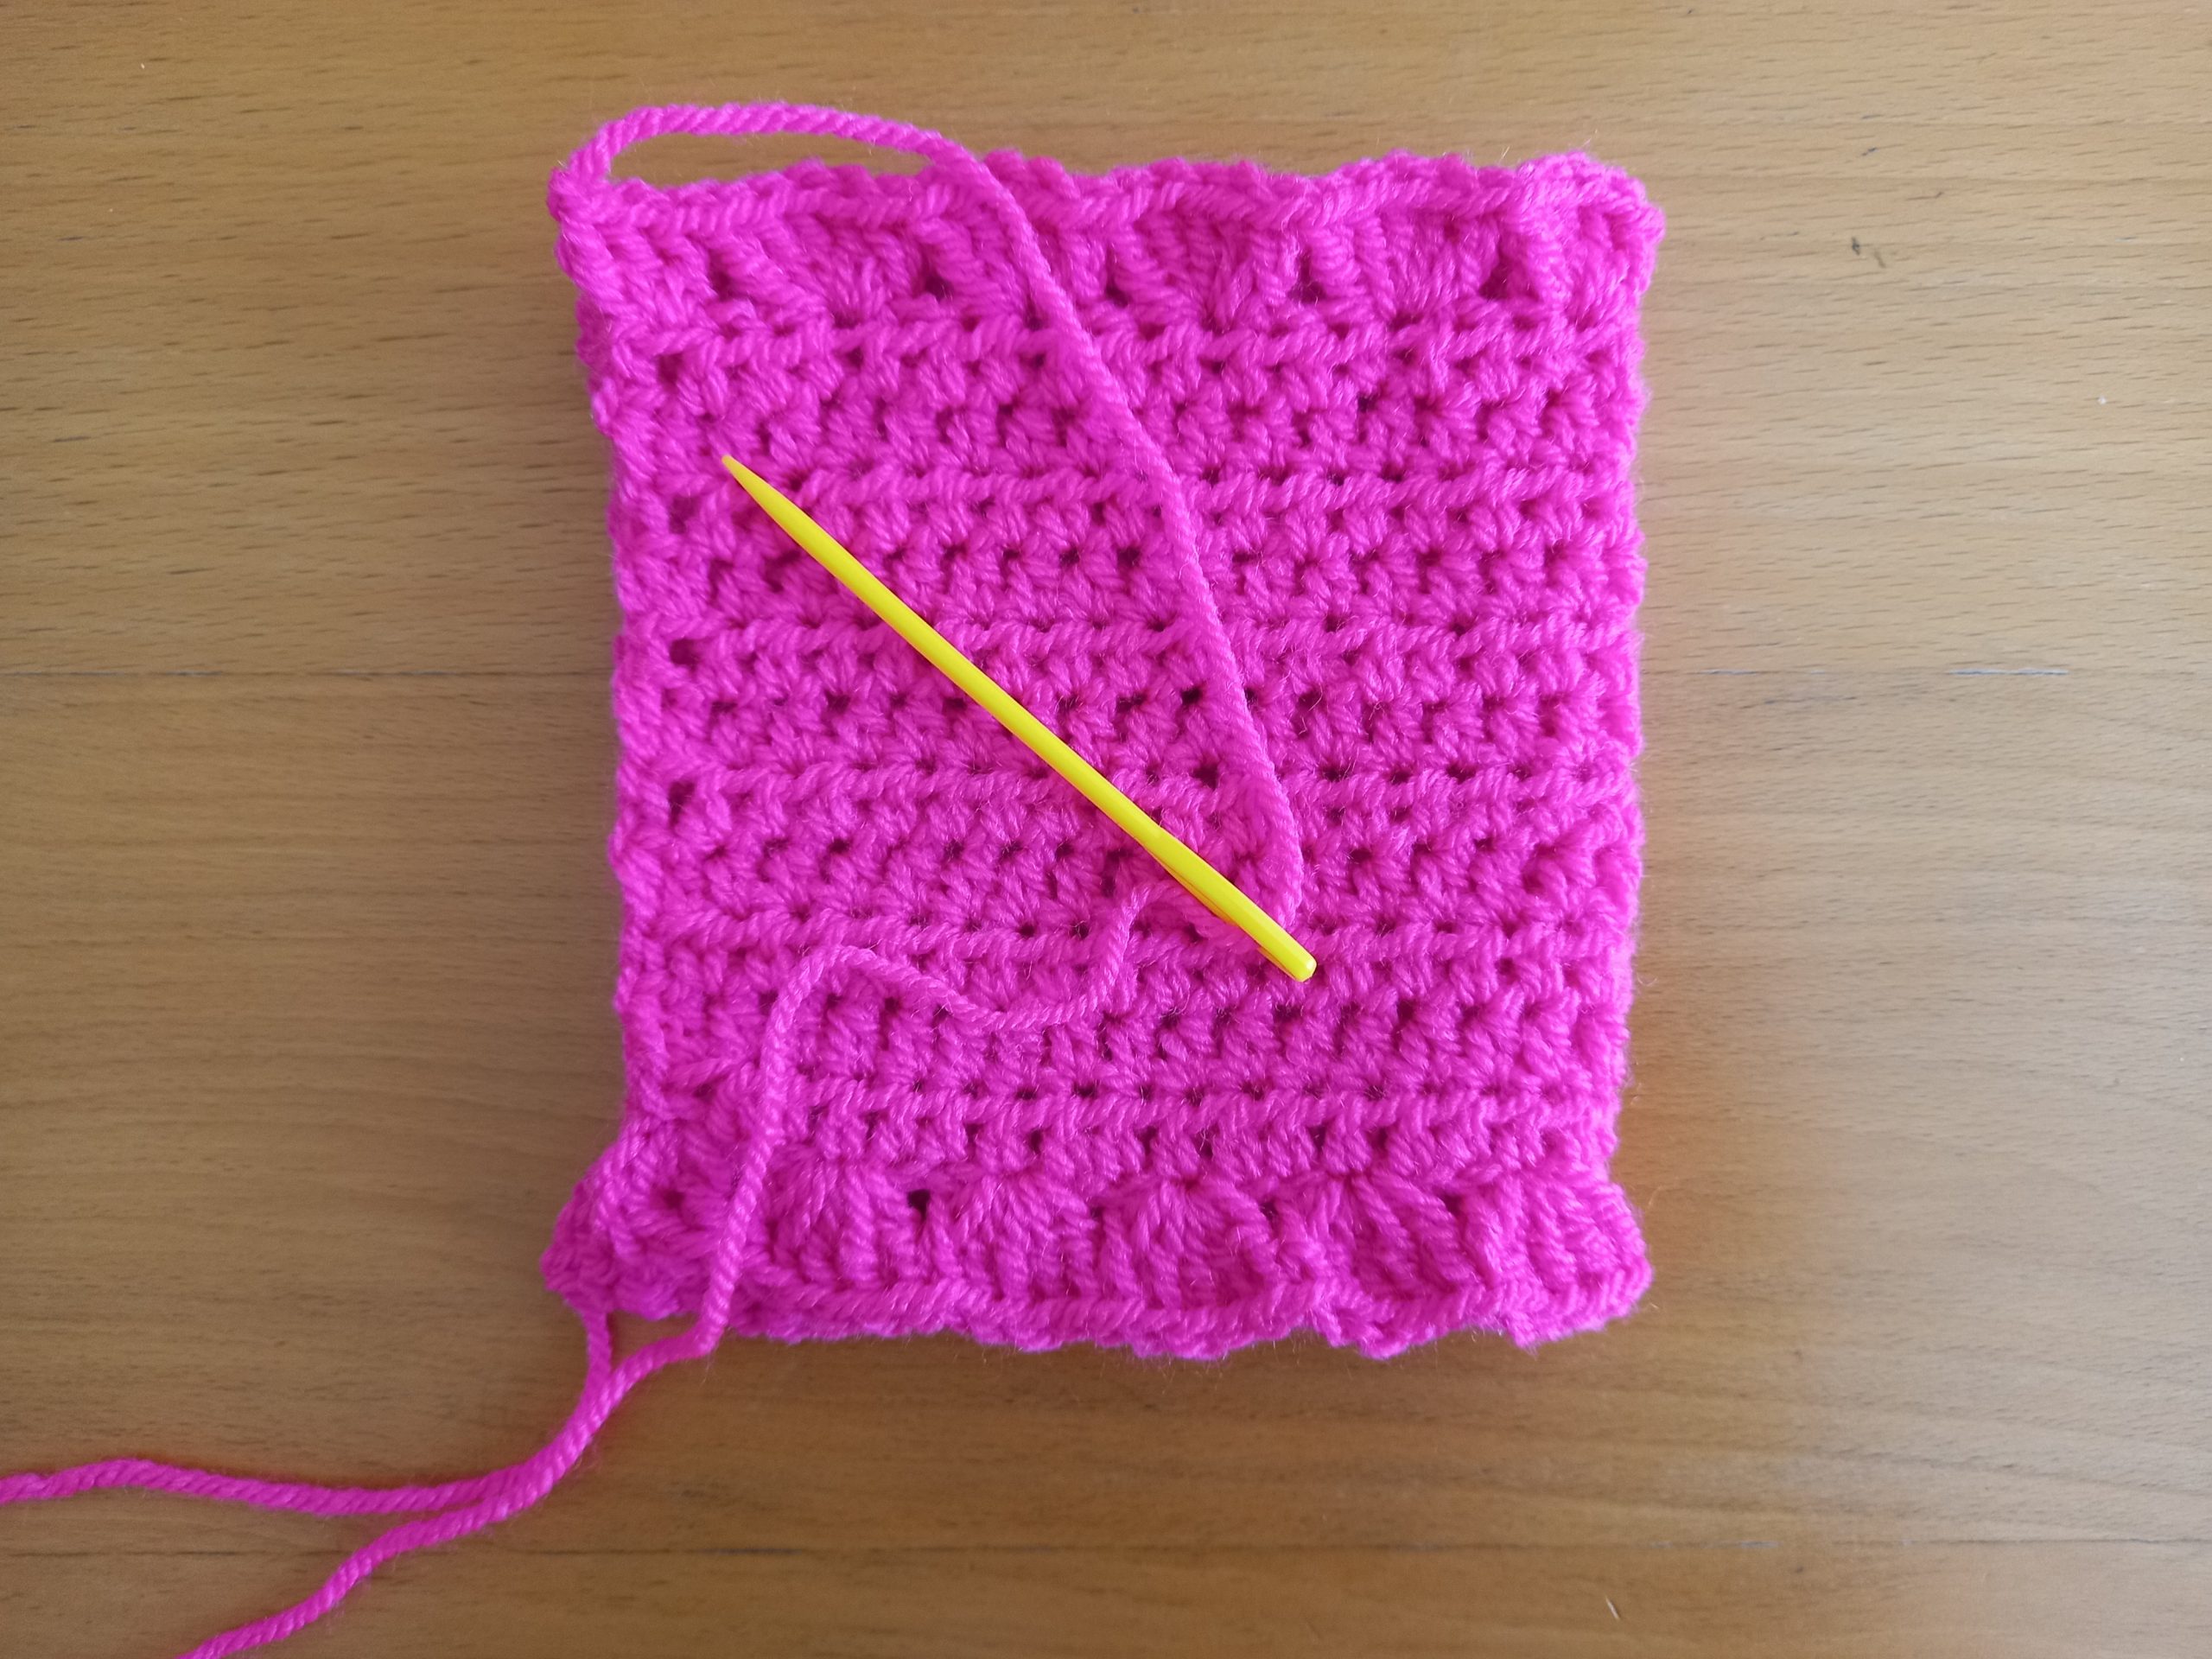
Fasten off, tidy up all your loose ends.


