Crochet Easy Twist Headband
Crochet Easy Twist Headband
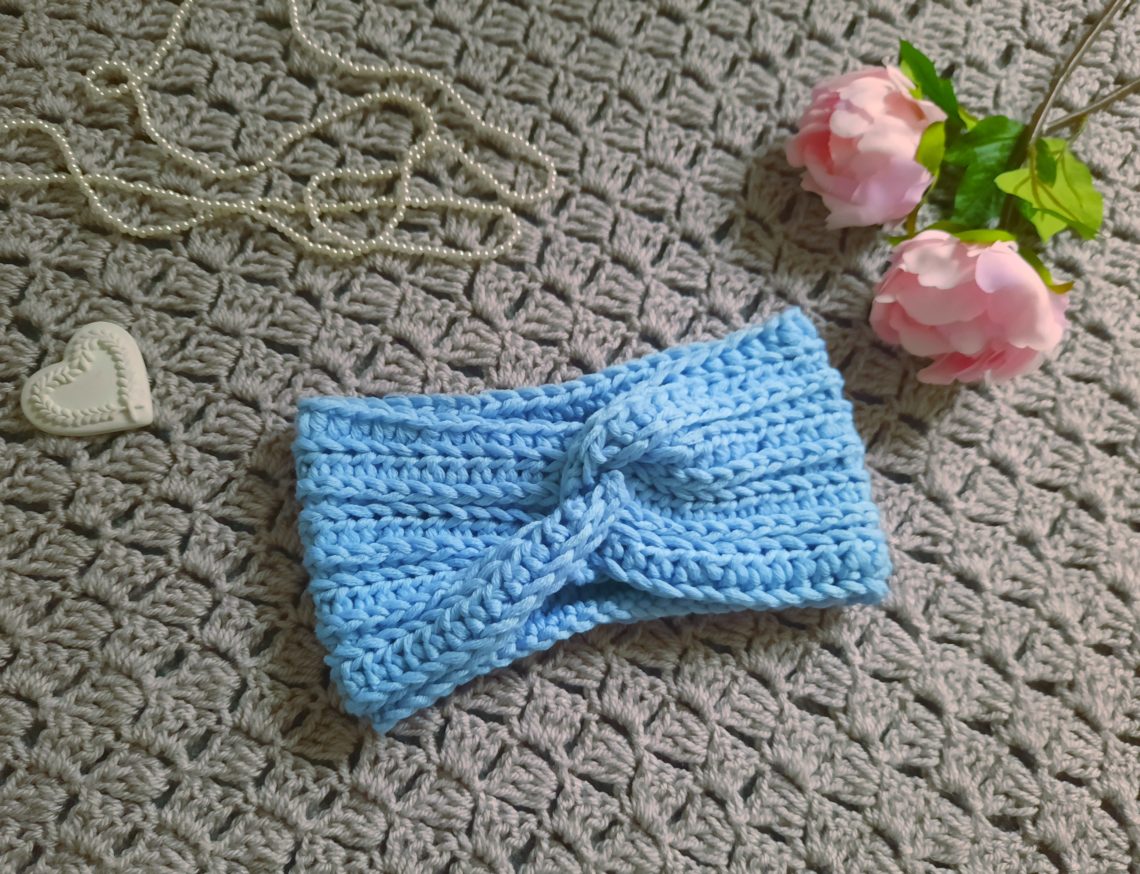
Hello everyone! This week I am bringing to you a brand new tutorial, on how to crochet the Easy Twist Headband. This easy and quick crochet project is perfect to gift to someone.
You can find the video tutorial for this project here: Crochet Easy Twist Headband Video Tutorial
This is such a quick crochet project to whip up. I made mine in less than an hour, and it came out beautiful. This project is also super feminine and high quality, due to the 100% merino yarn.
Crochet Easy Twist Headband: the yarn
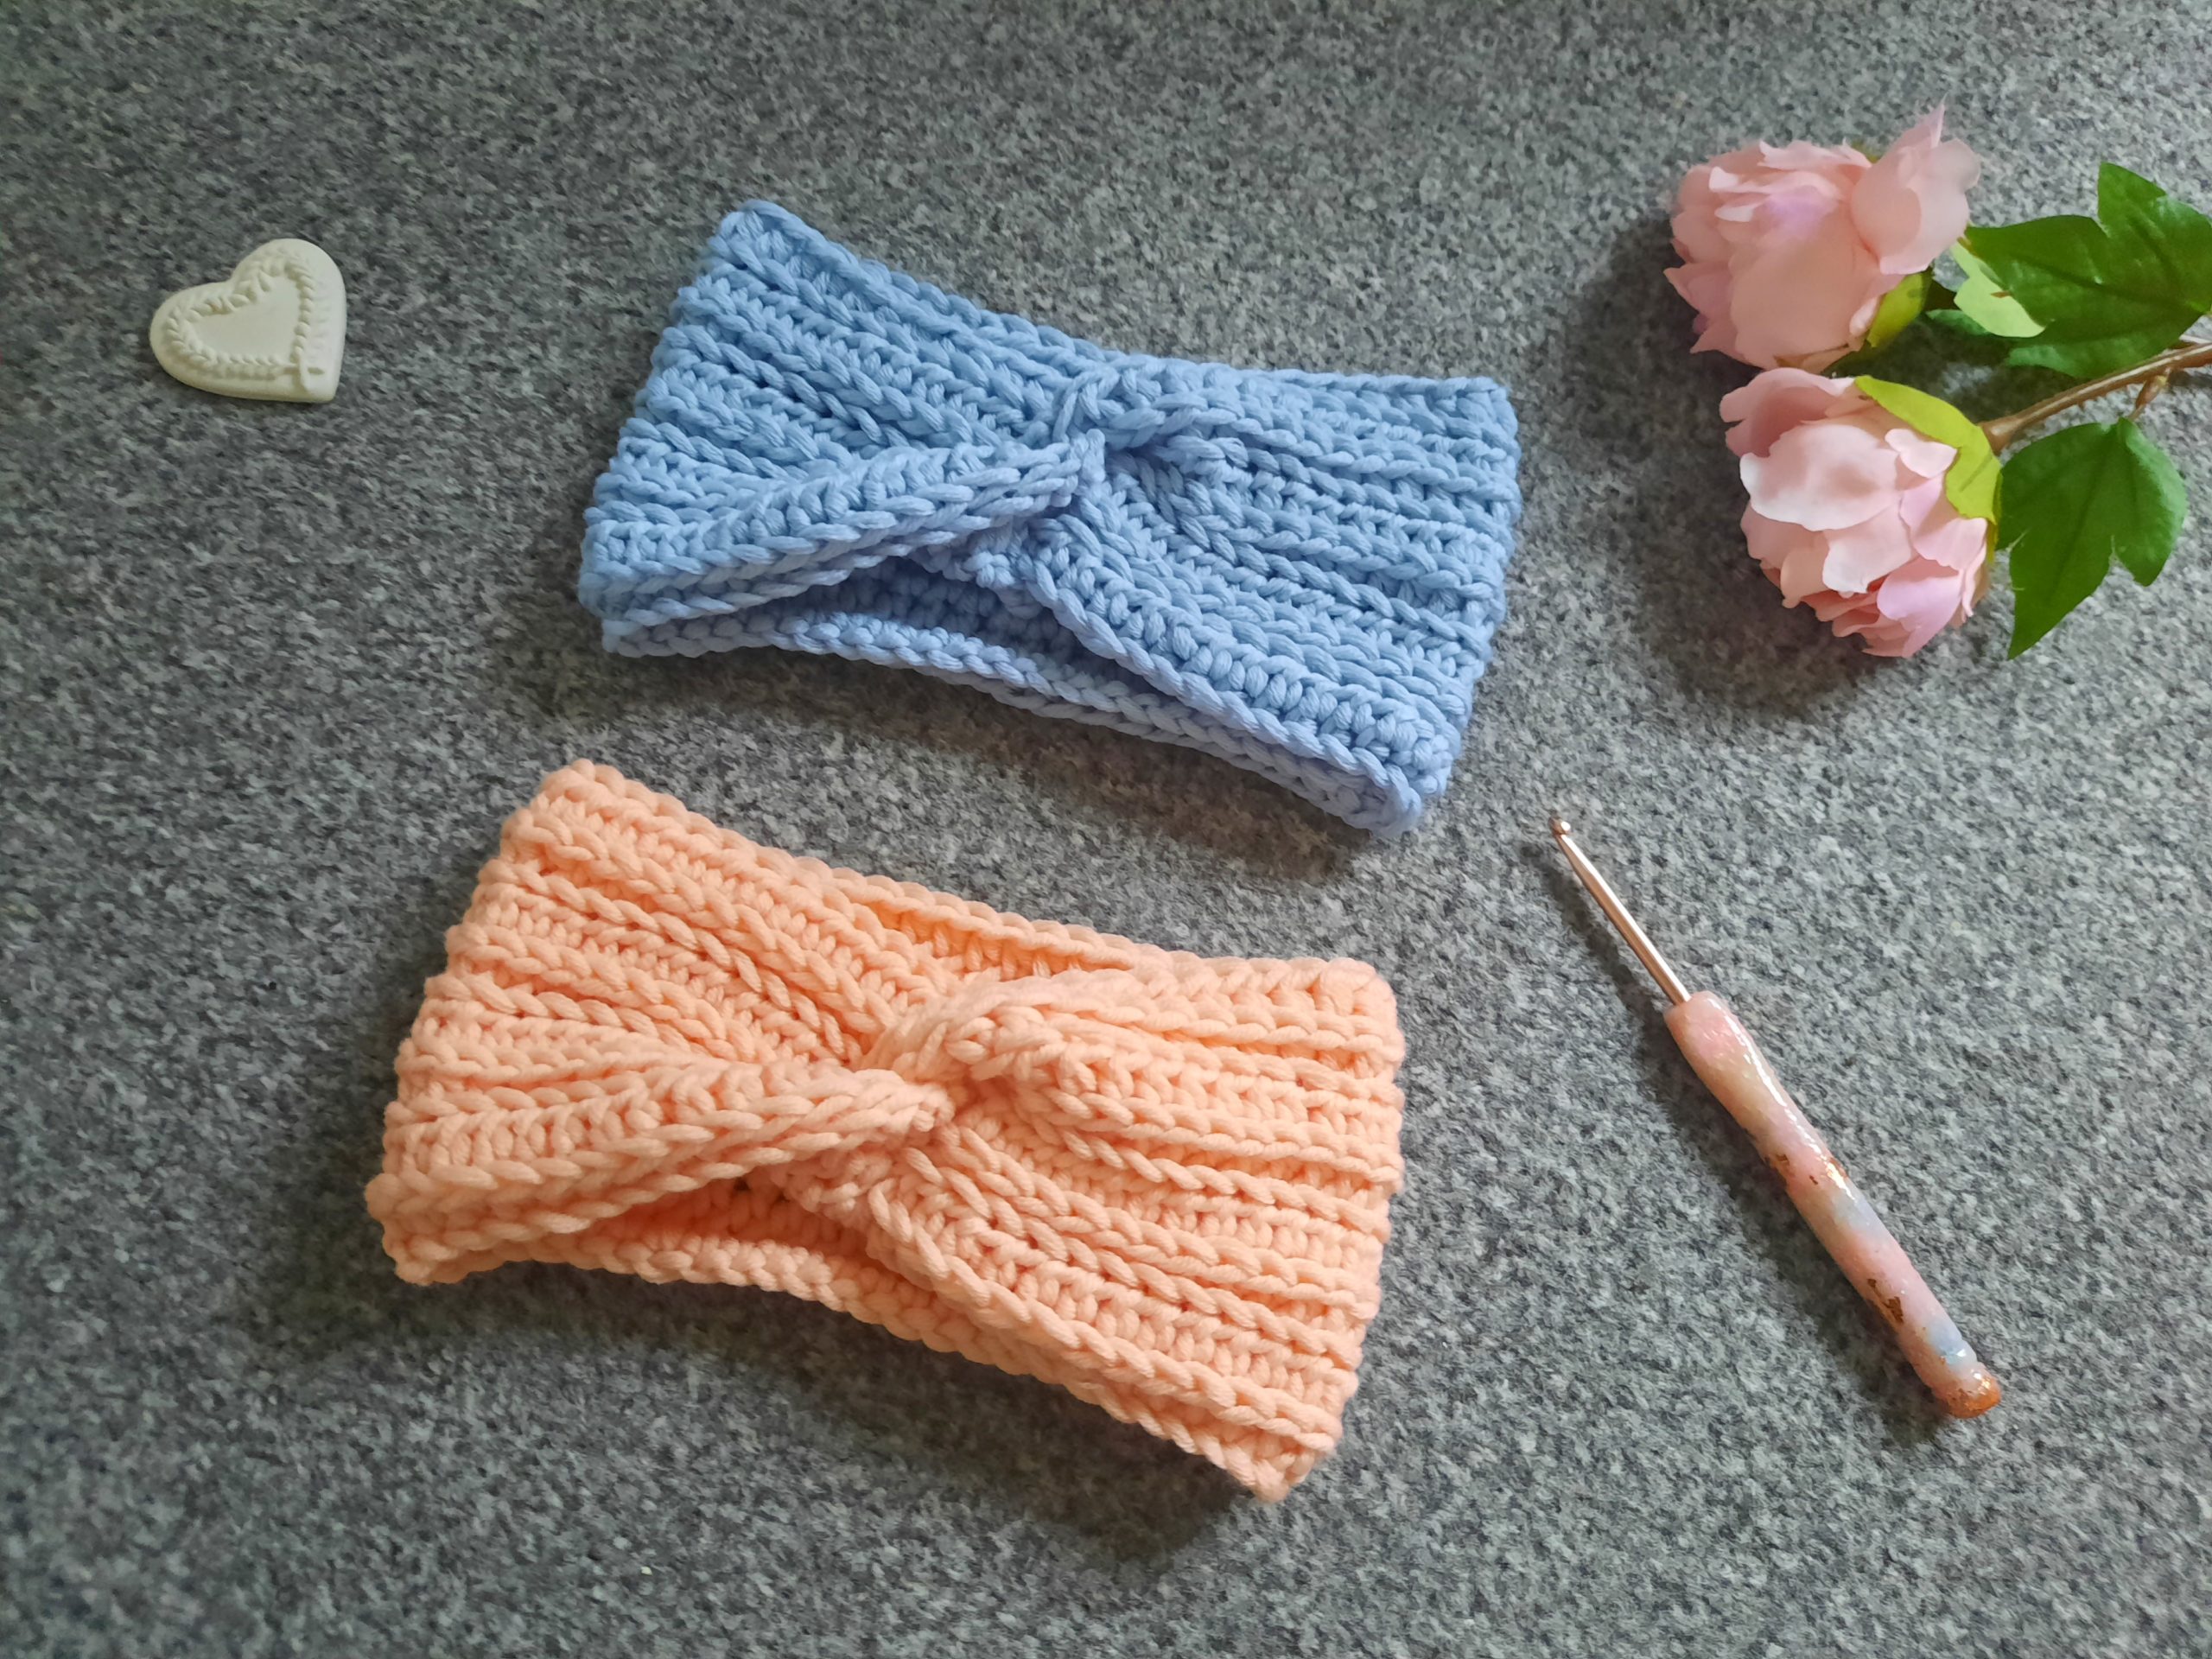
This quick crochet project is made with Stitch and Story 100% merino yarn. It’s called Lil’ Merino yarn, and comes in beautiful soft shades and hues. It is also super soft and feminine. I made one in a baby blue shade, and another in a soft pink. I love both equally! They look absolutely perfect with any outfit, and the fact they are 100% merino yarn make them look very high end.
It was the first time I used yarn by Stitch and Story, and I am not disappointed at all. It is absolutely lovely and high quality, and well worth the price. This project only necessitates a 50 gram ball of yarn, so it is quite economical.
Crochet Easy Twist Headband: a beautiful knit like stitch
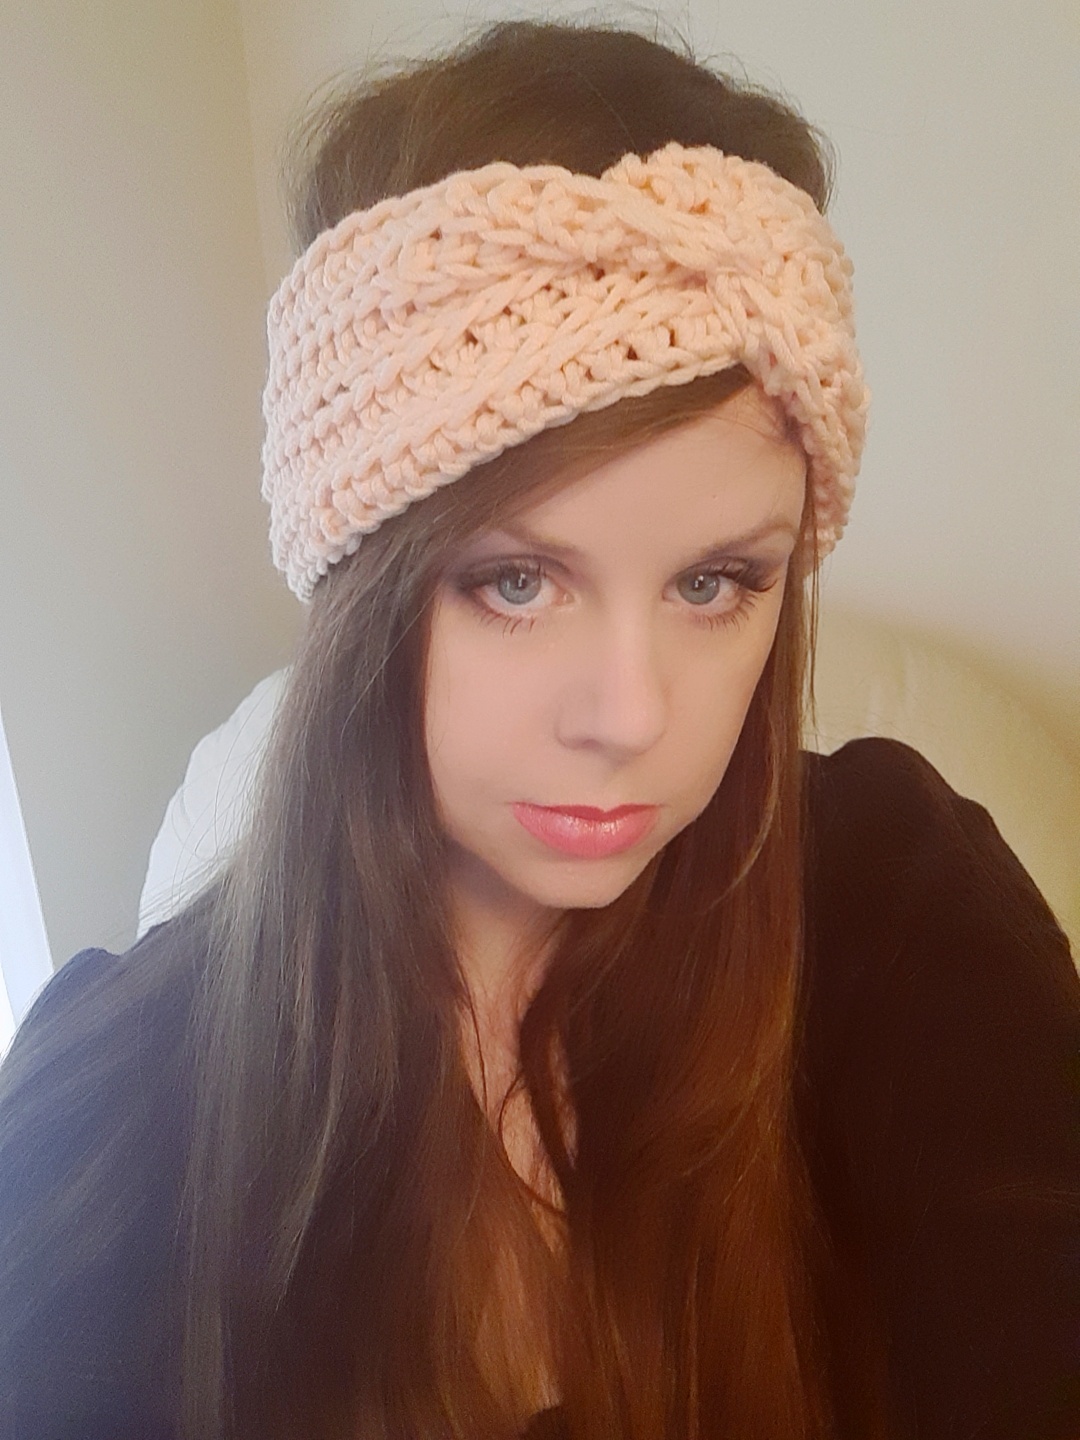
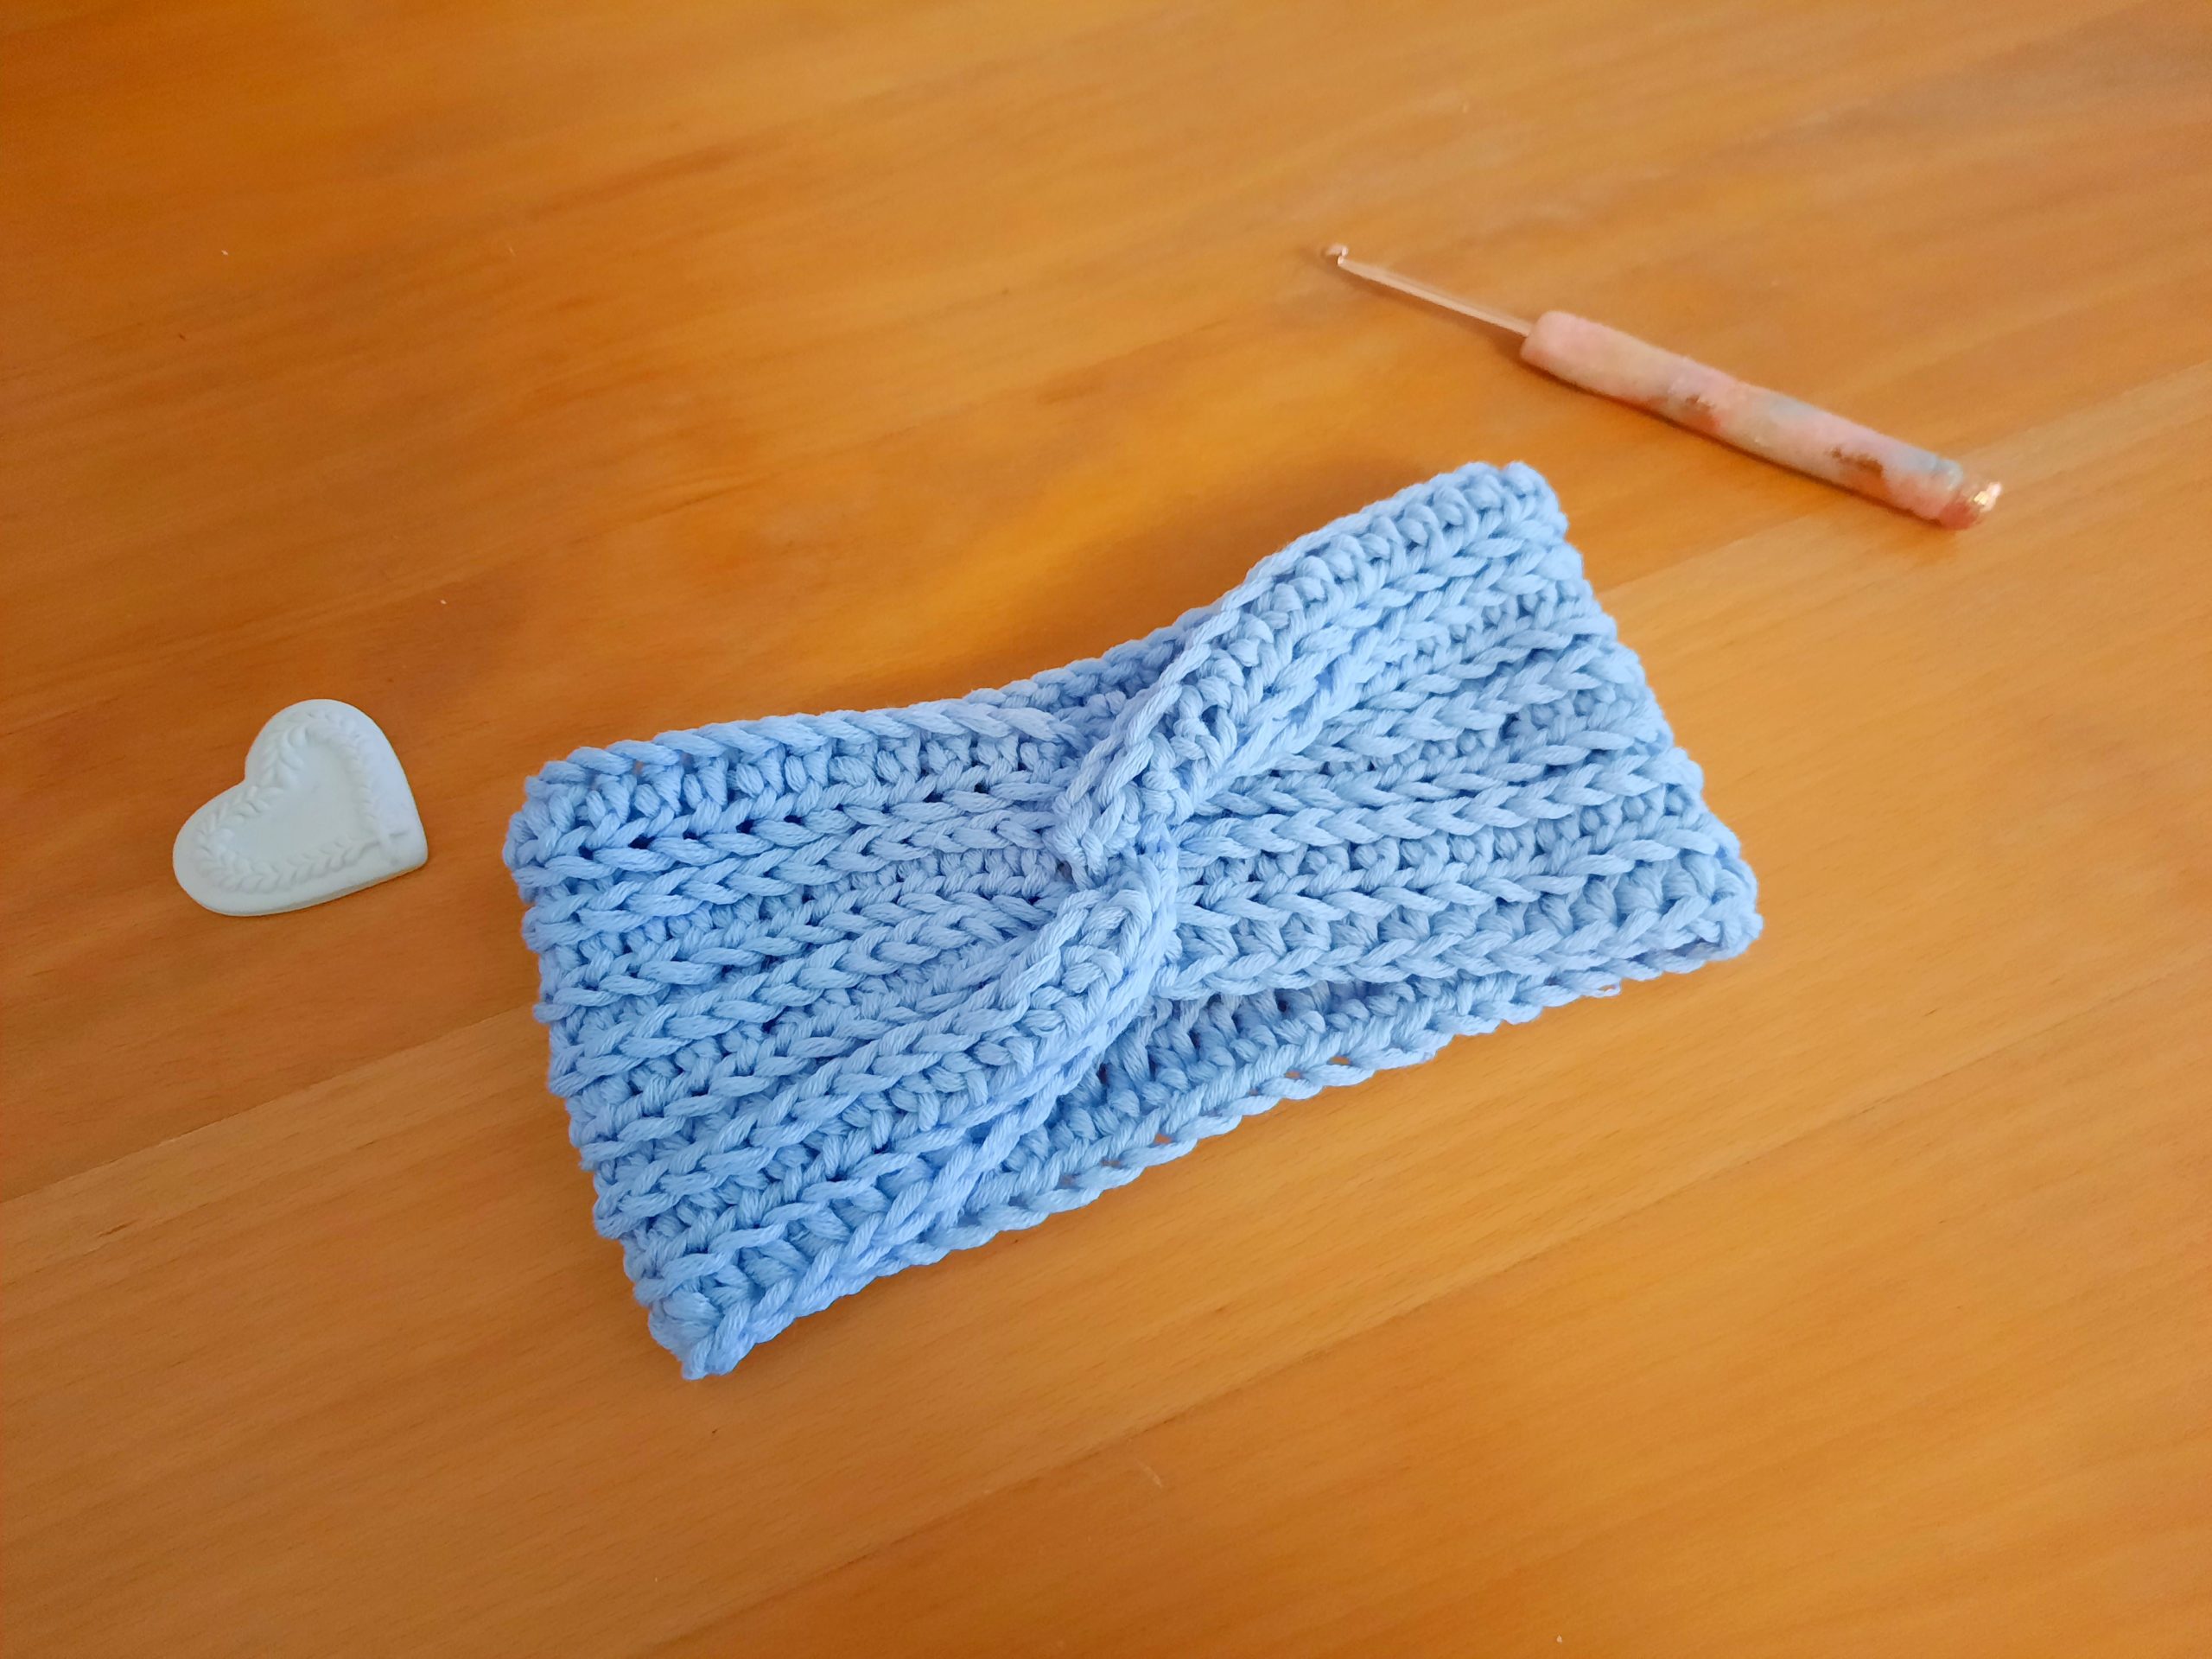
This crochet headband is made with a knit like stitch. Indeed, this pattern creates a tightly woven stitch, perfect for extra warmth. I also love the knit like look of this project, because it looks very neat and pretty.
Once the headband is created, we then seam it by creating a feminine and elegant twist at the front. I love the look of this knit stitch finished with this twist. It just adds so much elegance and daintiness to the project. It also adds a certain “je ne sais quoi” that elevates the whole look of this project.
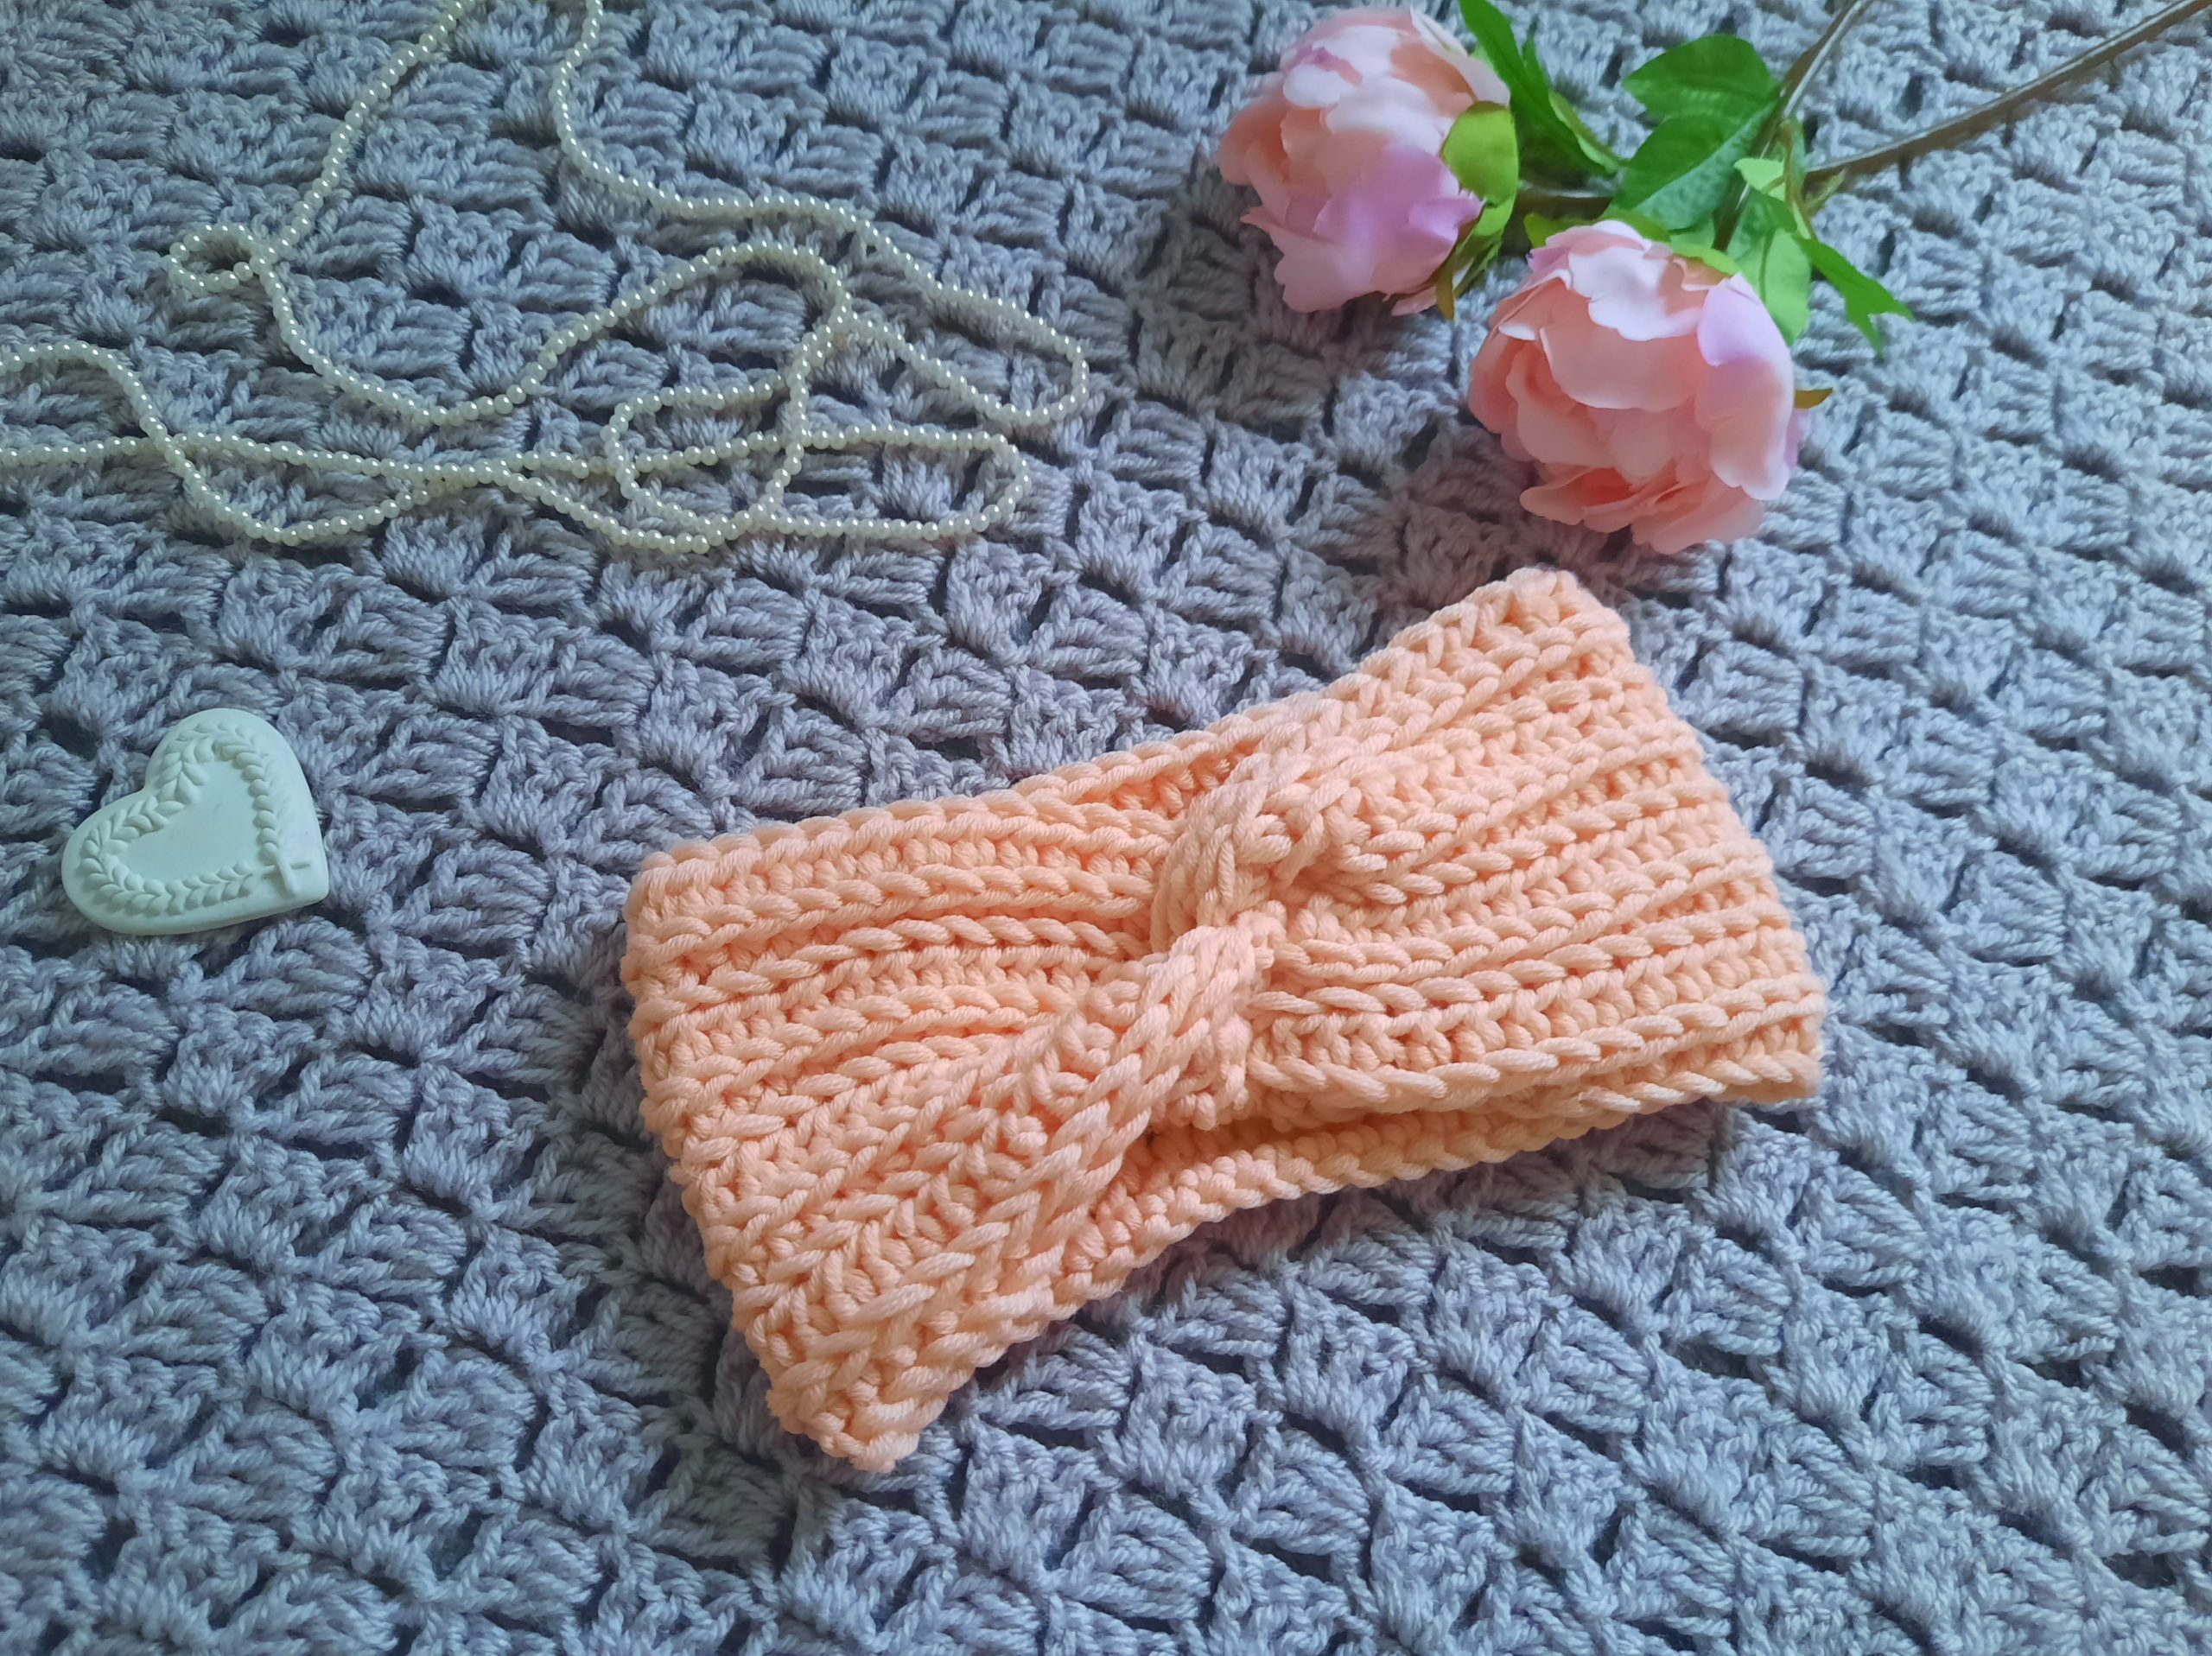
Let me know if you enjoyed making this project as much as I enjoyed creating it!
Connecting with you
I love connecting with you. If you fancy following me on Social Media I would be delighted. My Social Media accounts include Youtube, Instagram, Pinterest, and Facebook. You can find me under the user name Selina Veronique Crochet (it’s the same for all my Social Media). The direct links to all my accounts can be found on the Home Page of this blog.
You can also join my private Facebook group here: Selina Veronique’s Crochet Corner Facebook Group
You can subscribe to my weekly newsletter here. I will then let you know when my new free patterns are released, as well as video tutorials and give-aways.
Crochet Easy Twist Headband: the pattern
You can purchase the ad free, PDF pattern from my Etsy store here: Crochet Headband with a Twist PDF Pattern
I truly appreciate it, and it does help in supporting my small business.
Level: Easy/beginner
Notes
I will be using US terms (British terms in brackets)
Gauge
4 in (10 cm) = 14 stitches
4 in (10 cm) = 8 rows
Gauge is not crucial for completion of this project
Size of finished project before sewing
4 in x 17 in (10 cm x 43 cm)
You will need
1 skein of Stitch and Story Lil’ Merino 100% merino yarn (or 50g of any other chunky weight yarn of your preference)
6 mm crochet hook
Pair of scissors
Tapestry needle
Abbreviations
Ch : chain
Sl st : slip stitch
HDC: Half Double crochet (UK Half Treble Crochet)
EOR : end of row
To begin
To start, make a slip knot.
Ch. 56
Complete rows as follows:
1: HDC in 3rd chain from the hook, HDC into each ch until end of row (first ch 2 counts as a HDC)
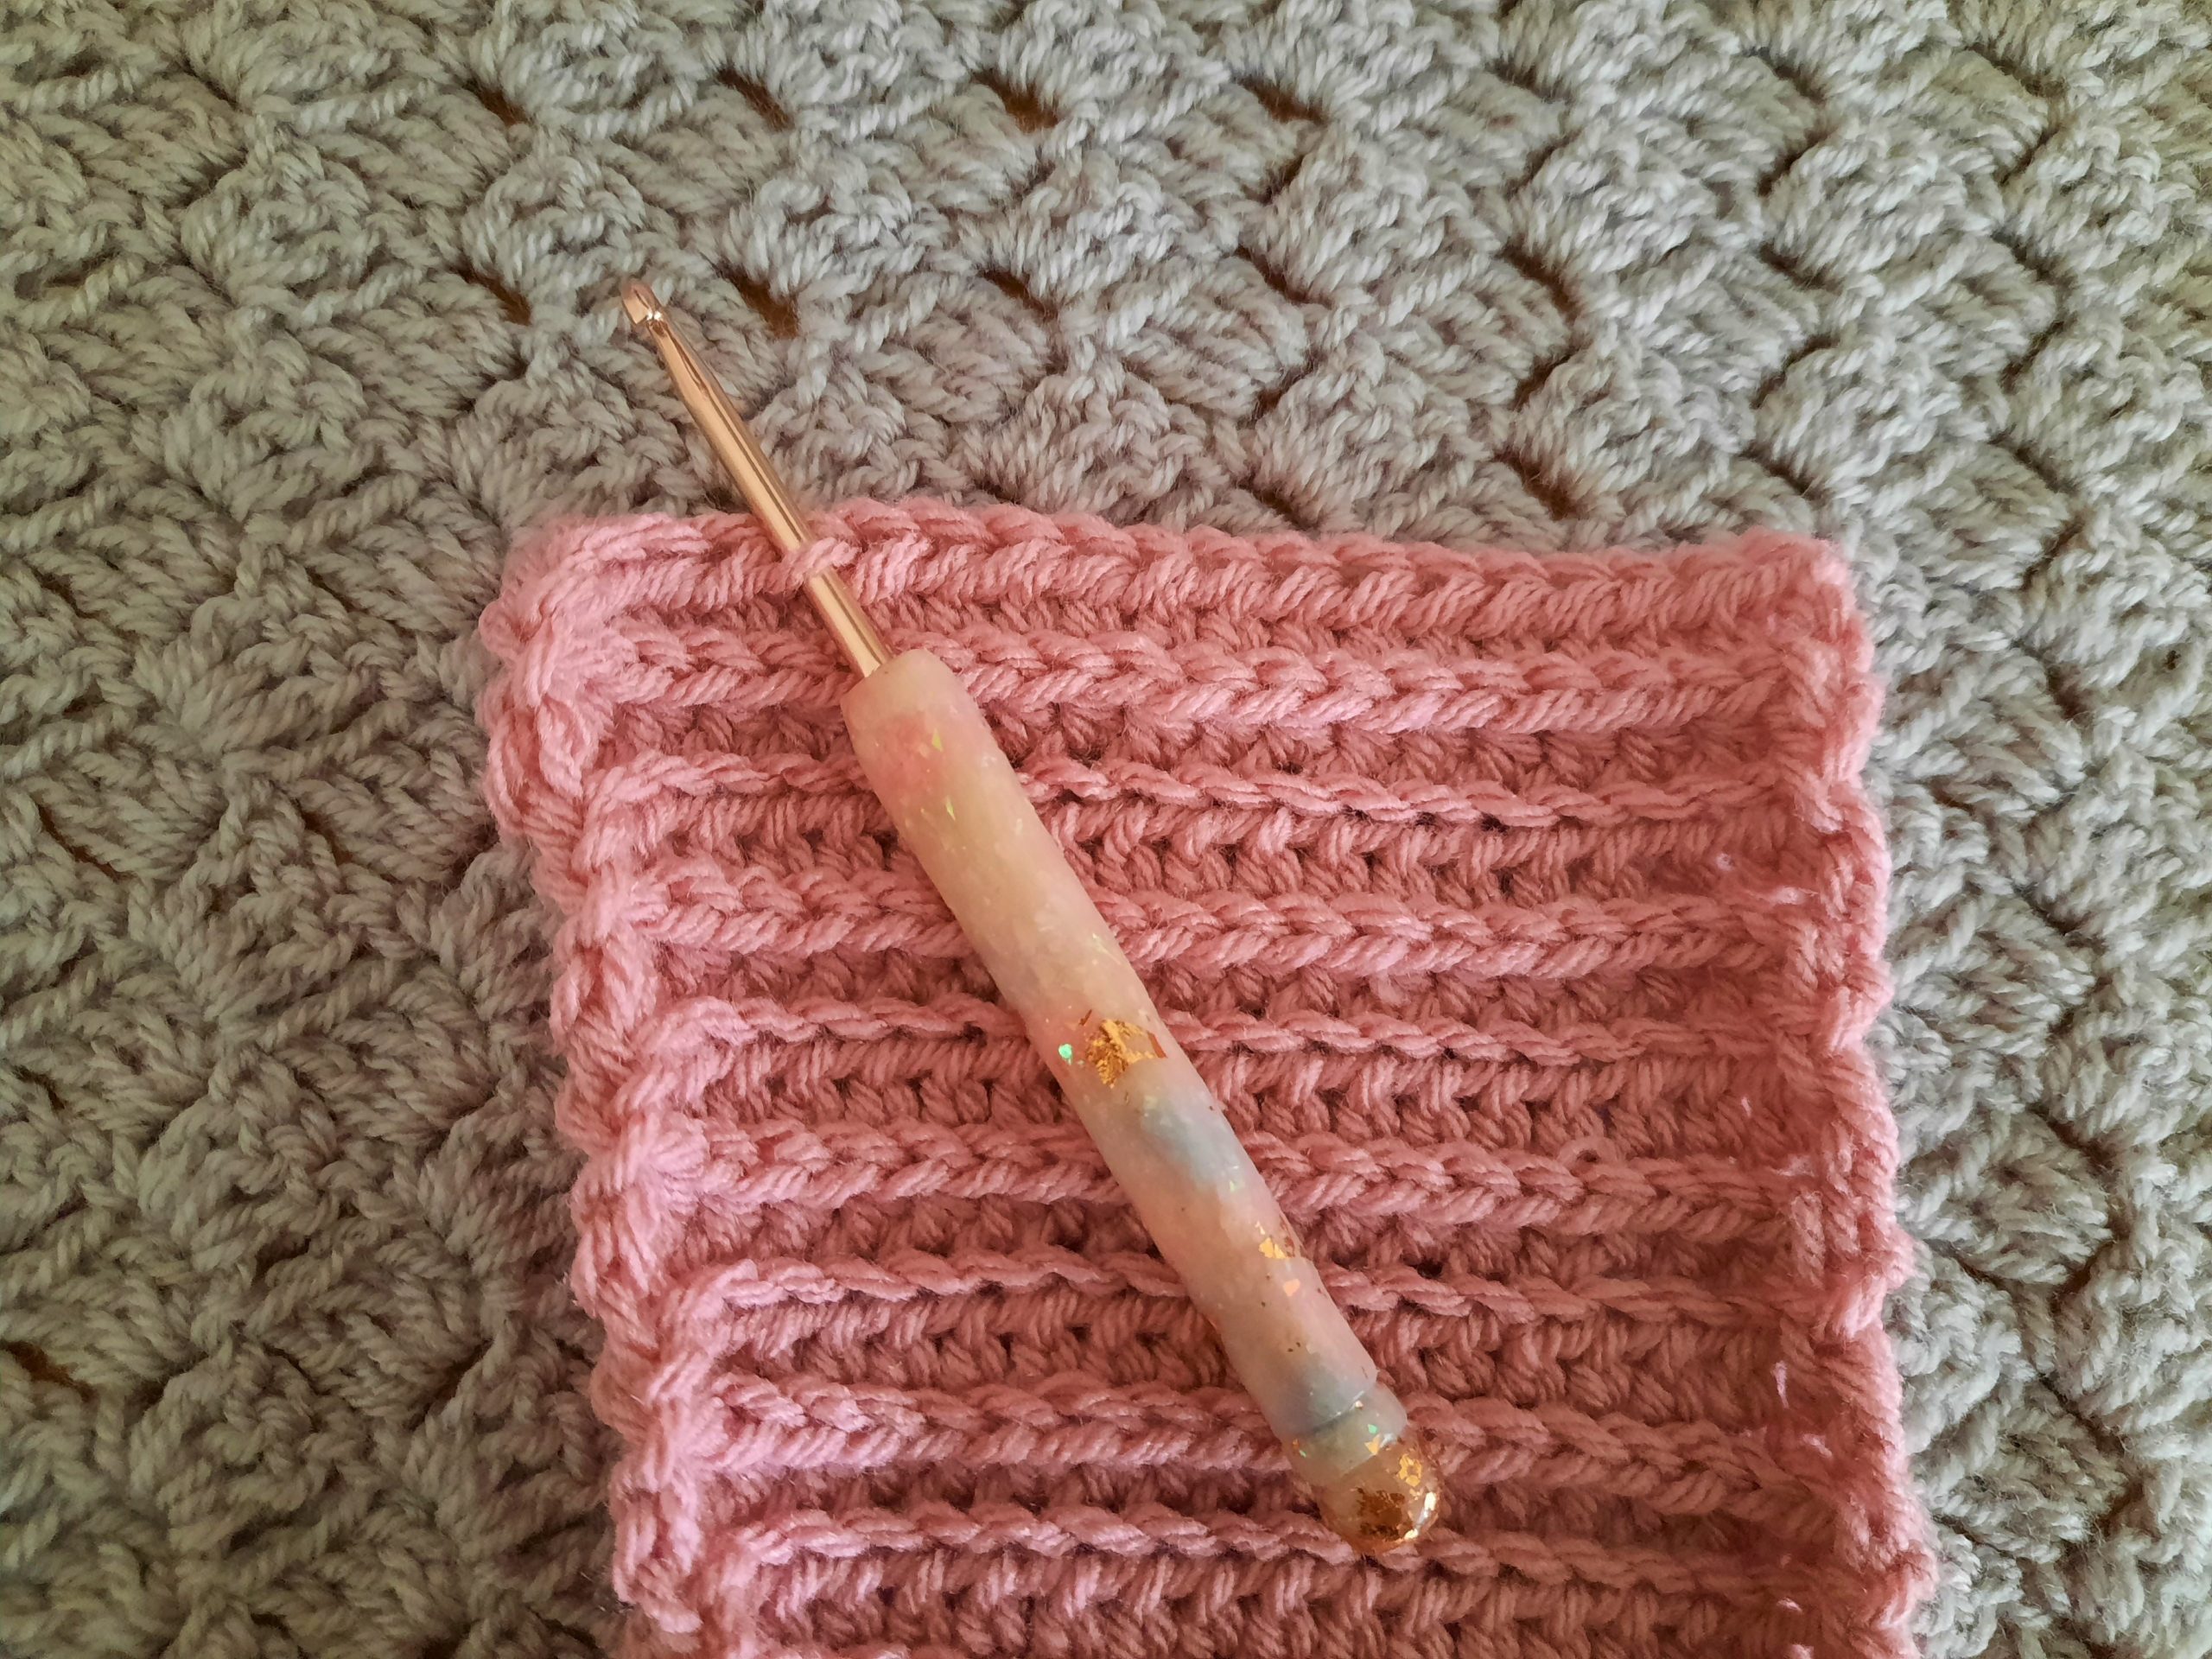
2: Ch 1 (=turning chain throughout), turn your work, HDC into front facing loop of the bottom of each HDC from previous row (see photo below for more details) until eor
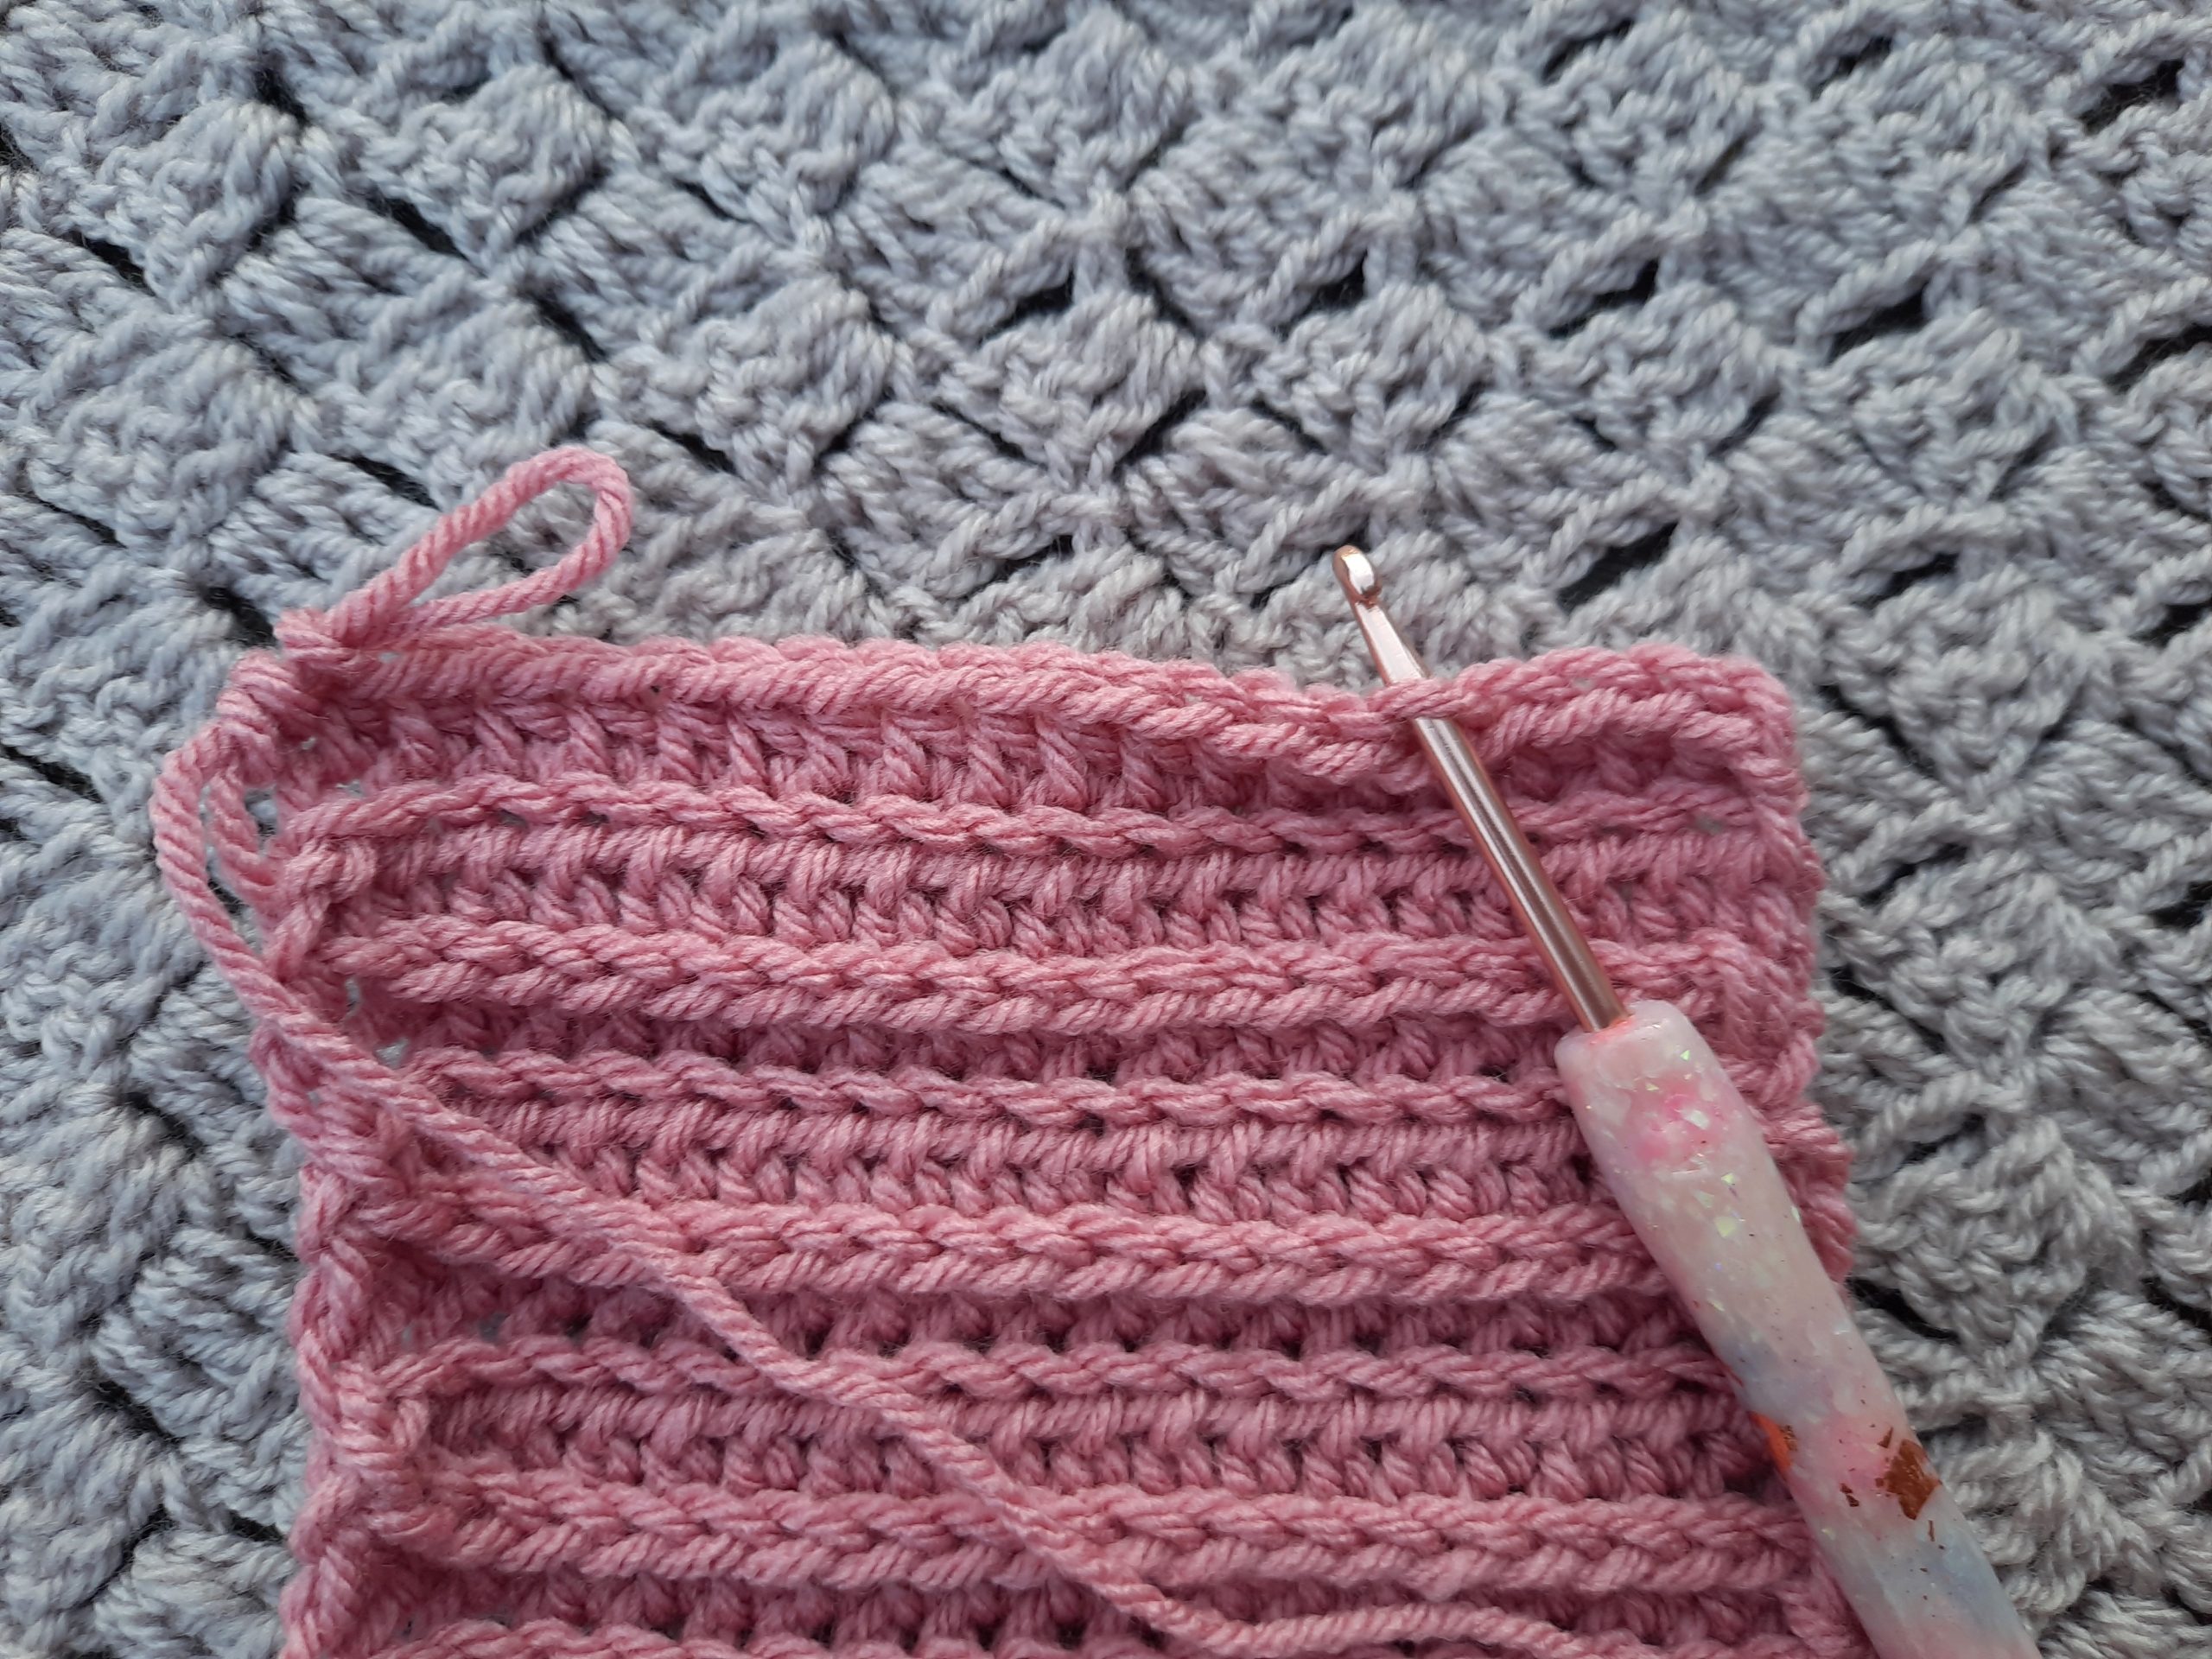
Row 3: Ch 1, turn your work, HDC into the back loop only of each HDC until eor (see photo)
4-9: Alternate rows 2 and 3.
Fasten off, leaving long tail to sew both ends of project to create ear warmer.
Sew your headband together
Place your project flat with the right side facing you (the knit stitch), and fold in two lengthwise (see photo below)
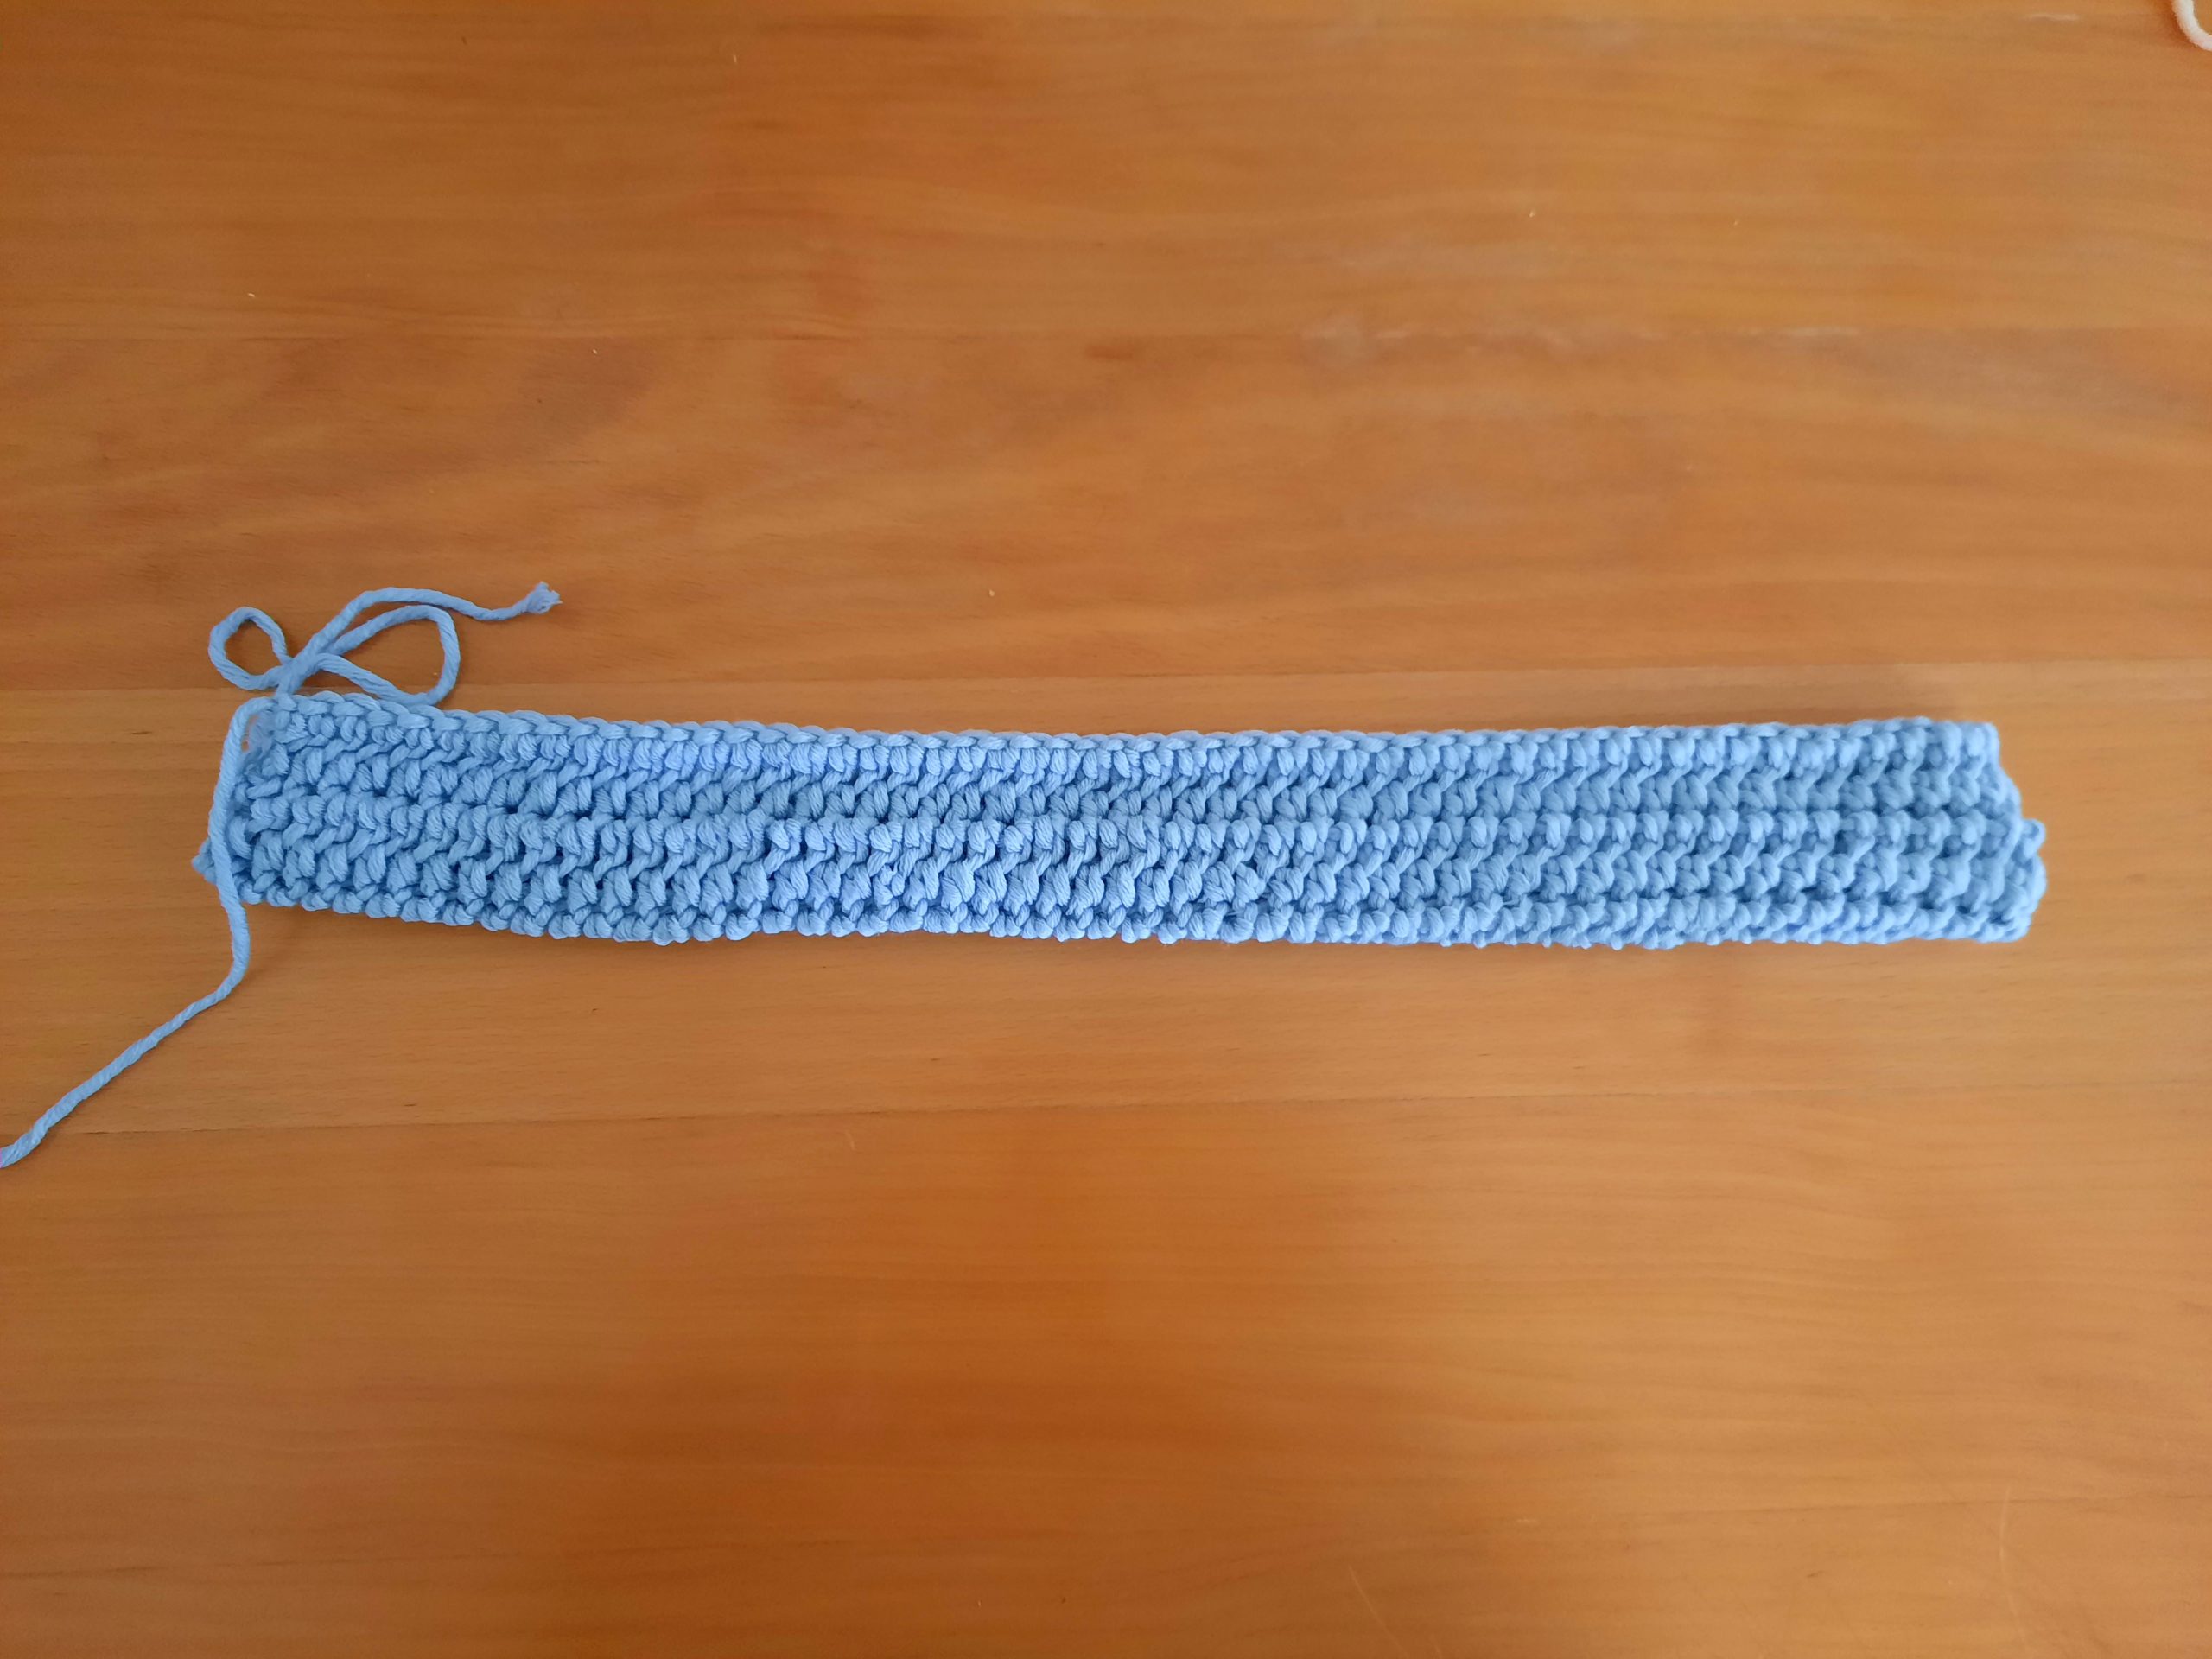
Make sure project is neatly folded, then fold the two sides of your project to create a center fold.
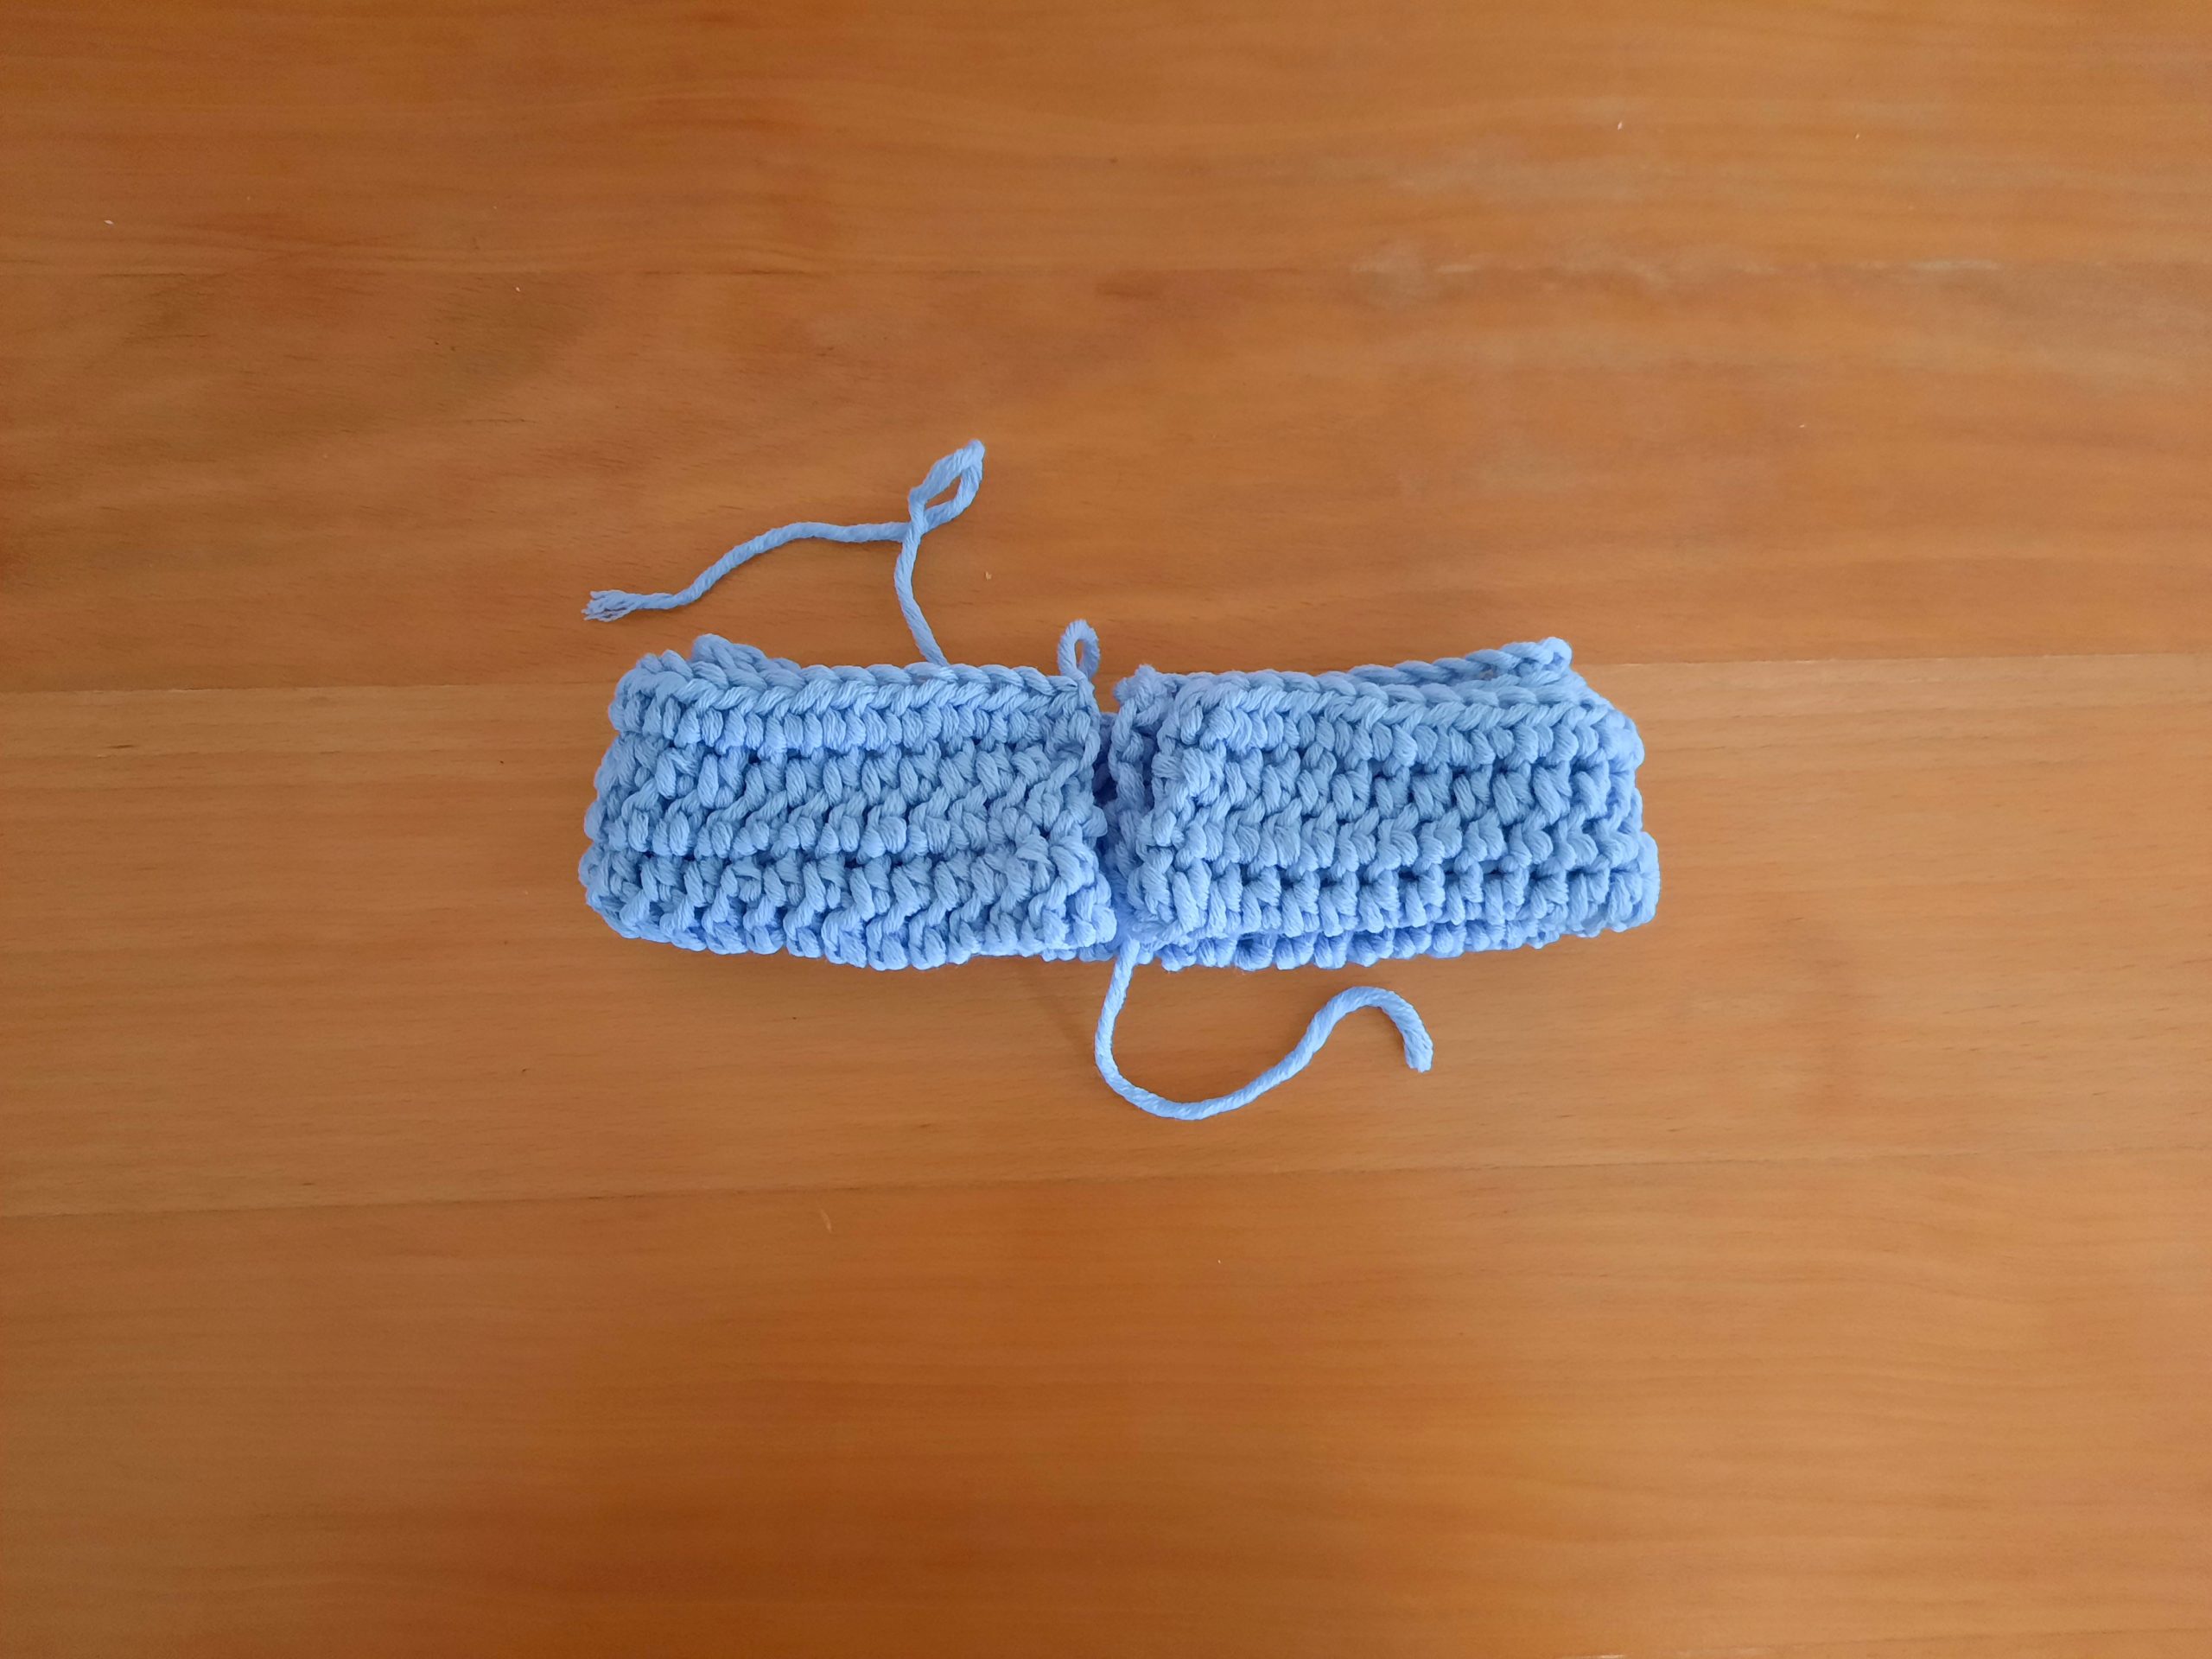
Take one side and twist it so that it creates a twist on one side.
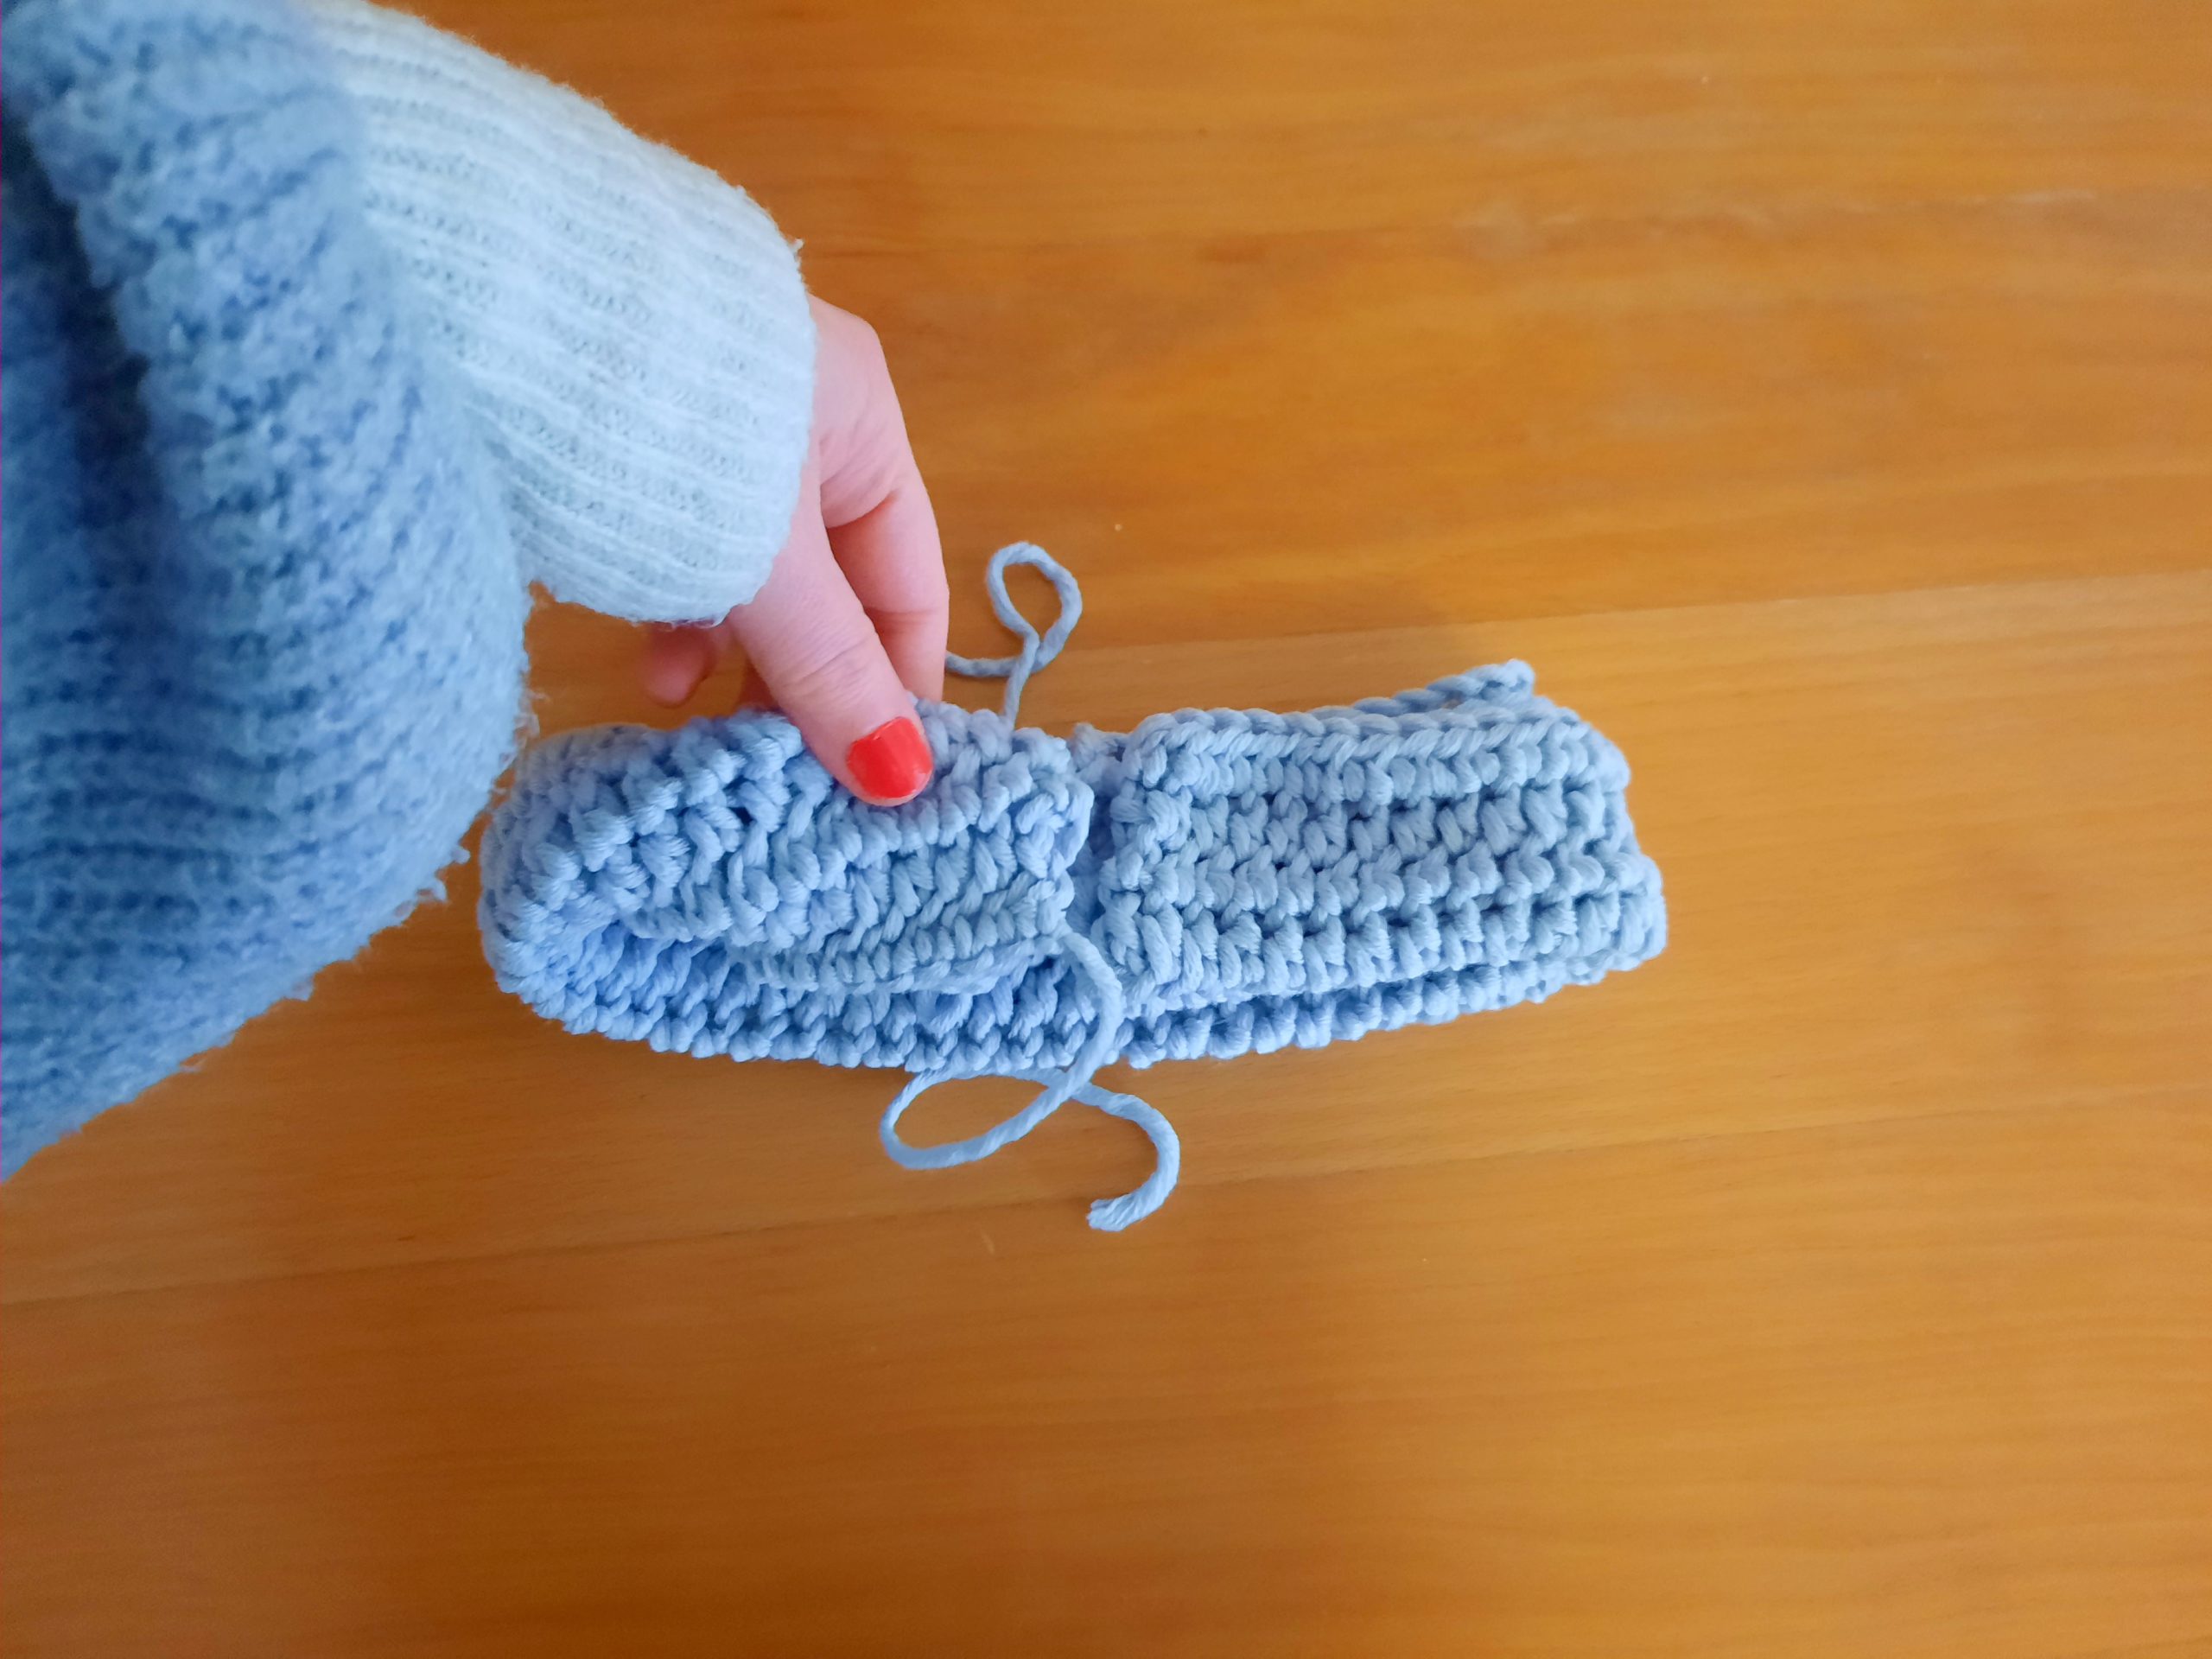
Once this is done, take both sides and place them facing you, and slide each side into the opposite side.
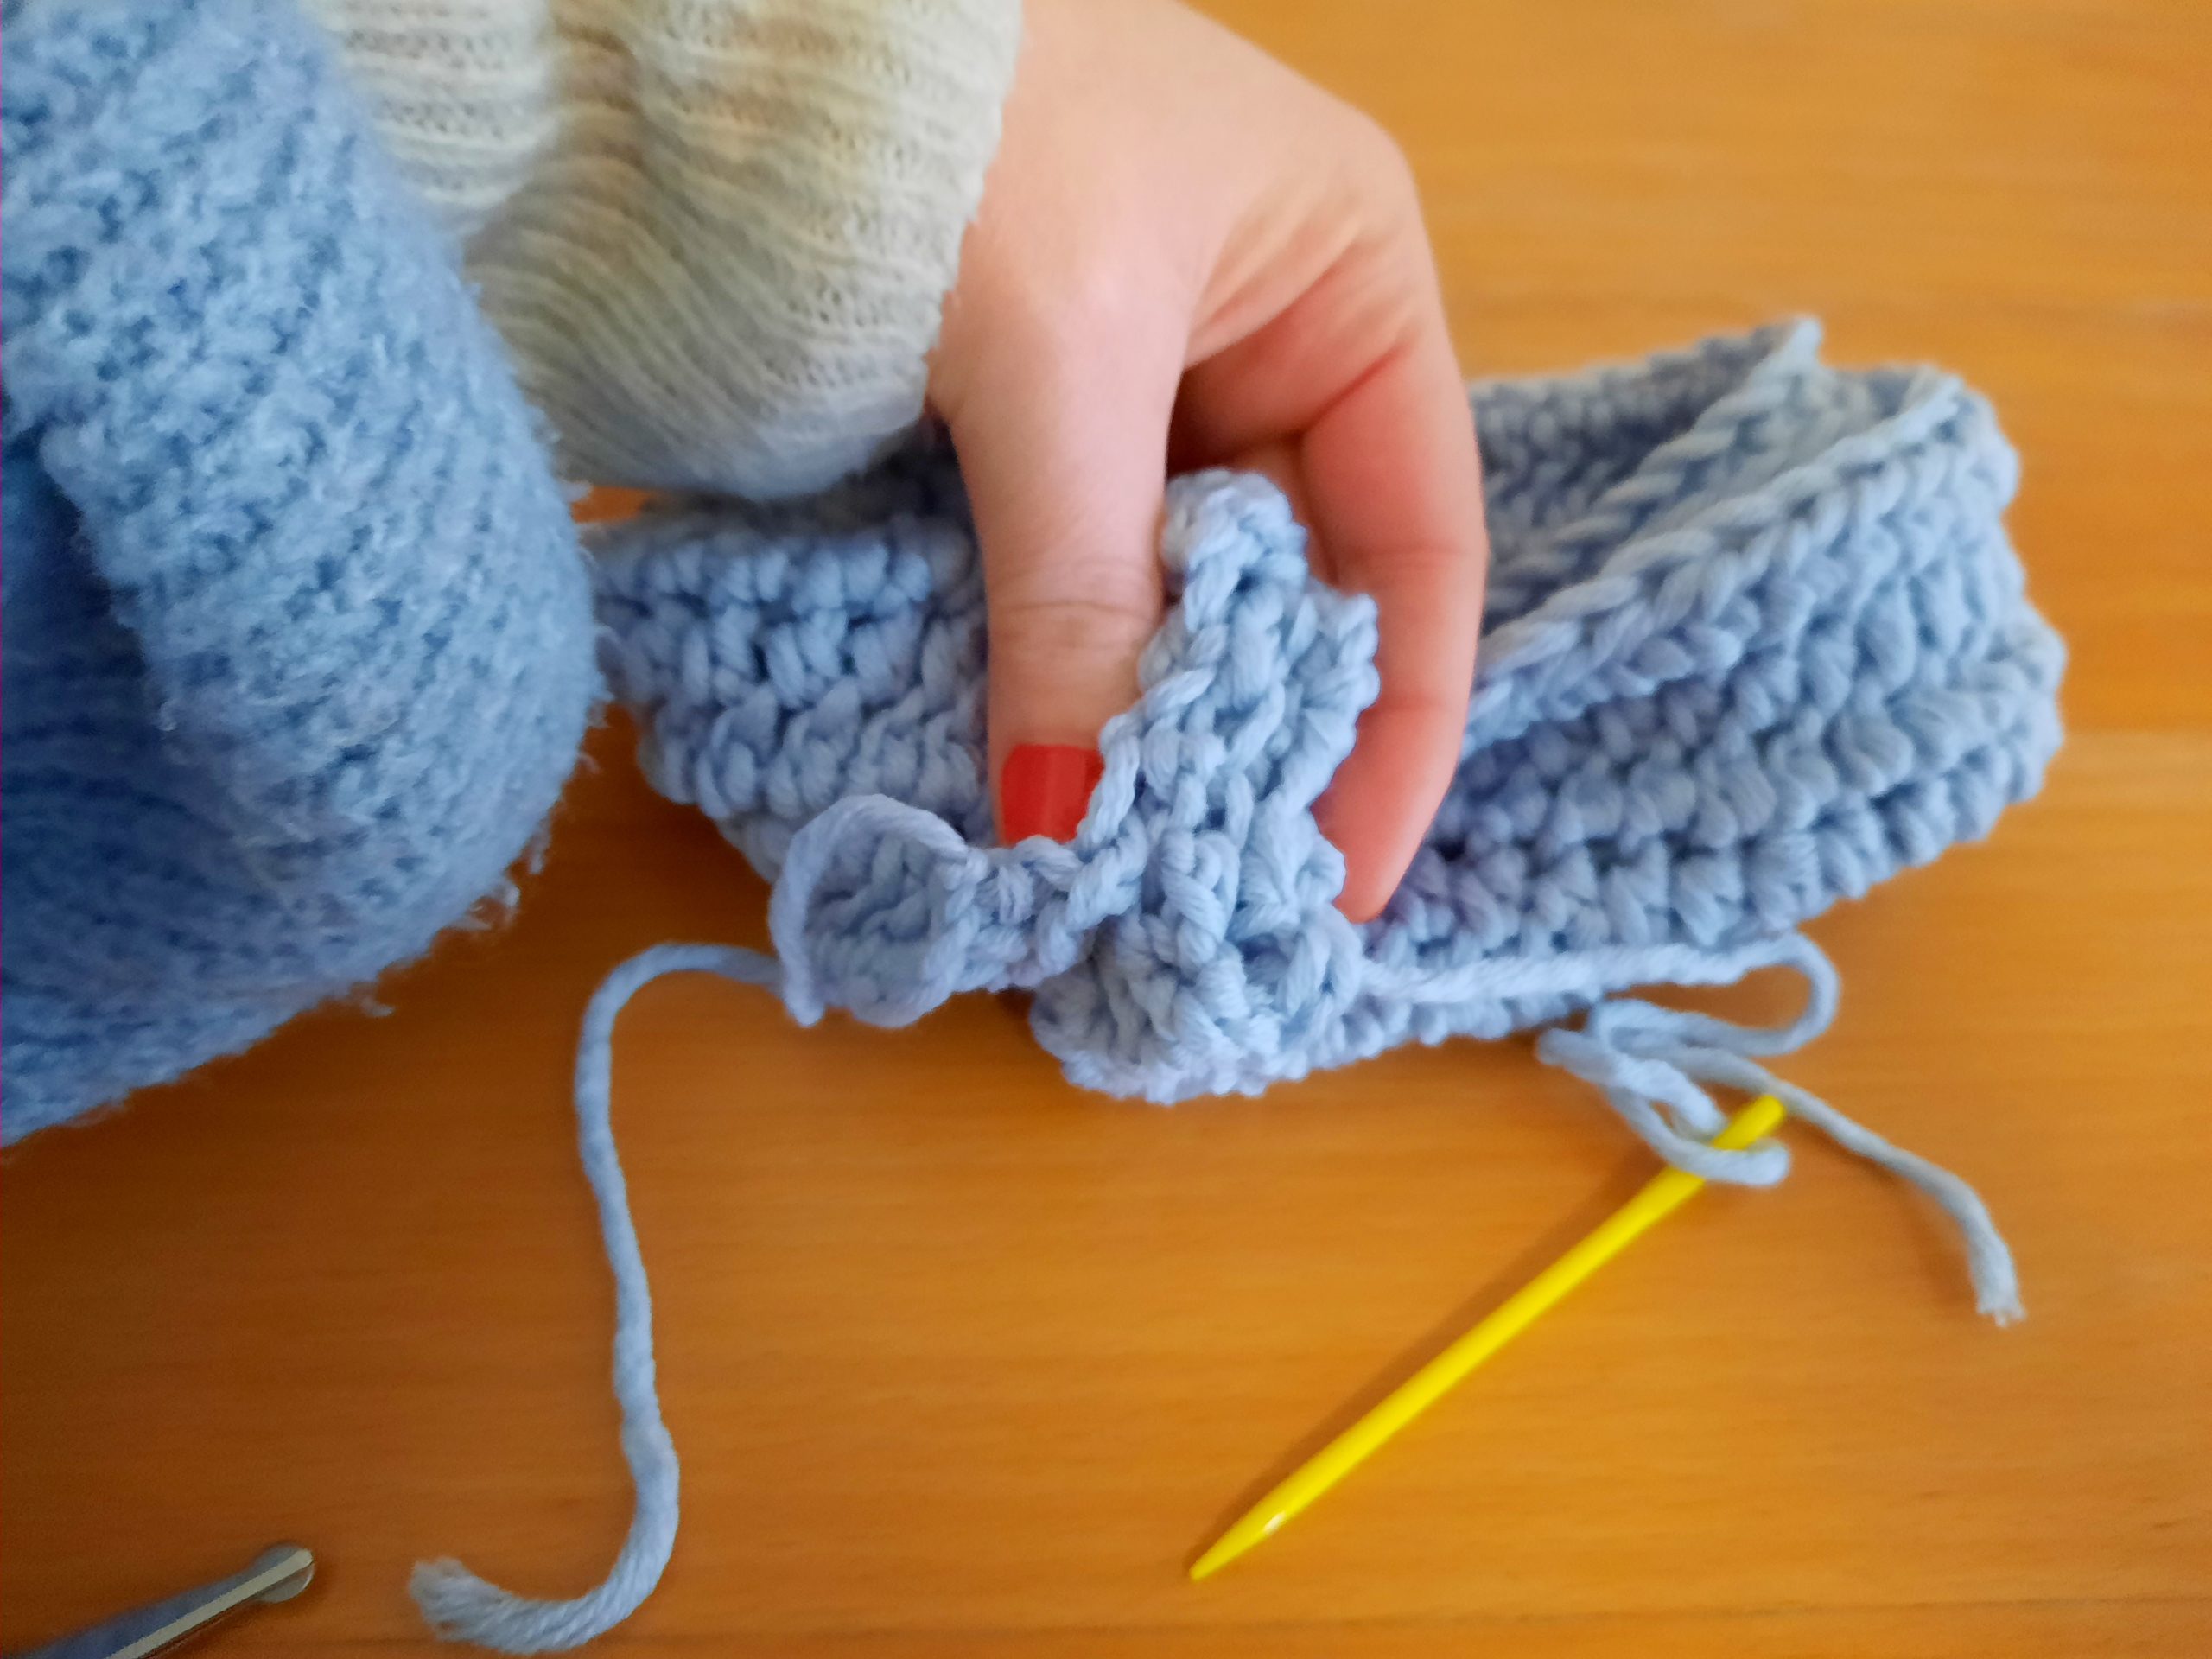
You now have four layers to stitch together.
With tapestry needle and loose end, sew these layers together securely. You can sew this seam in twice if you wish (I did).
Create a knot once you have finished seaming the project, fasten off and tidy up all loose ends.
Thank you so much for stopping by, I hope you enjoyed this tutorial,
Xoxo Selina.


