Crochet Easy Winter Headband Free Pattern
Crochet Easy Winter Headband Free Pattern
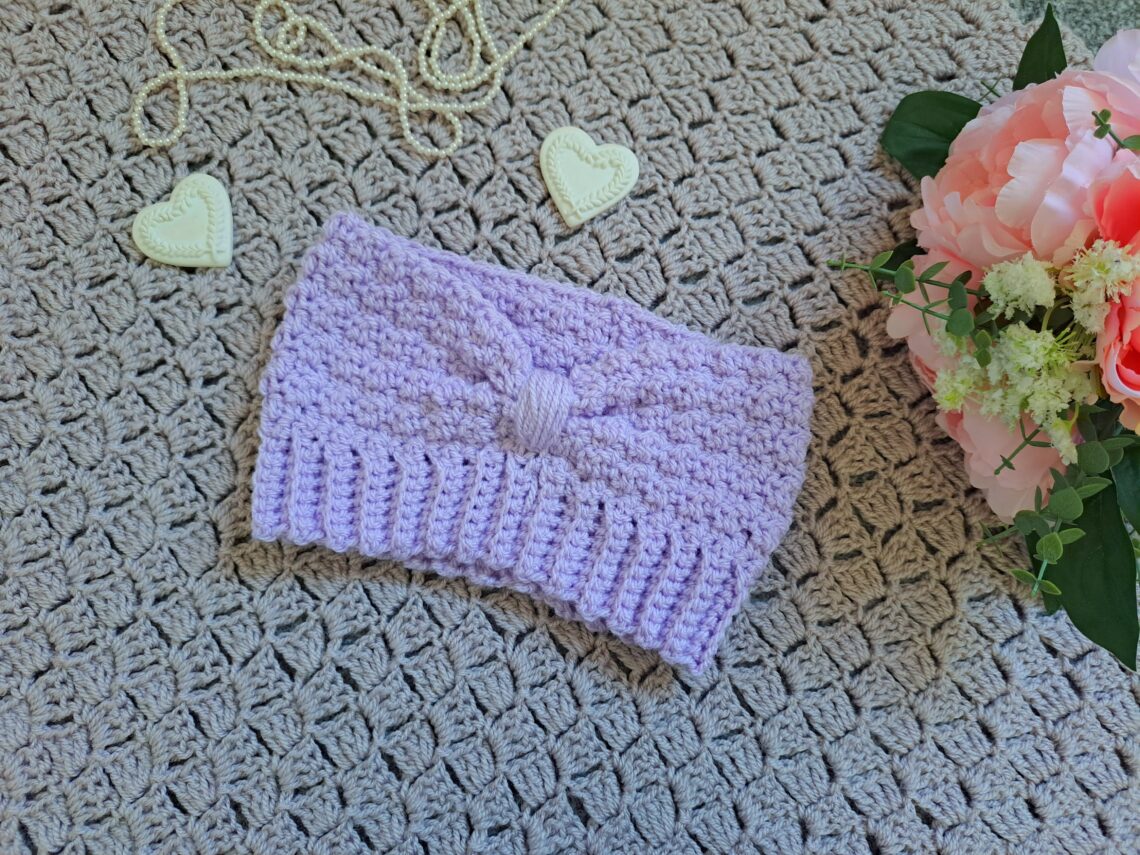
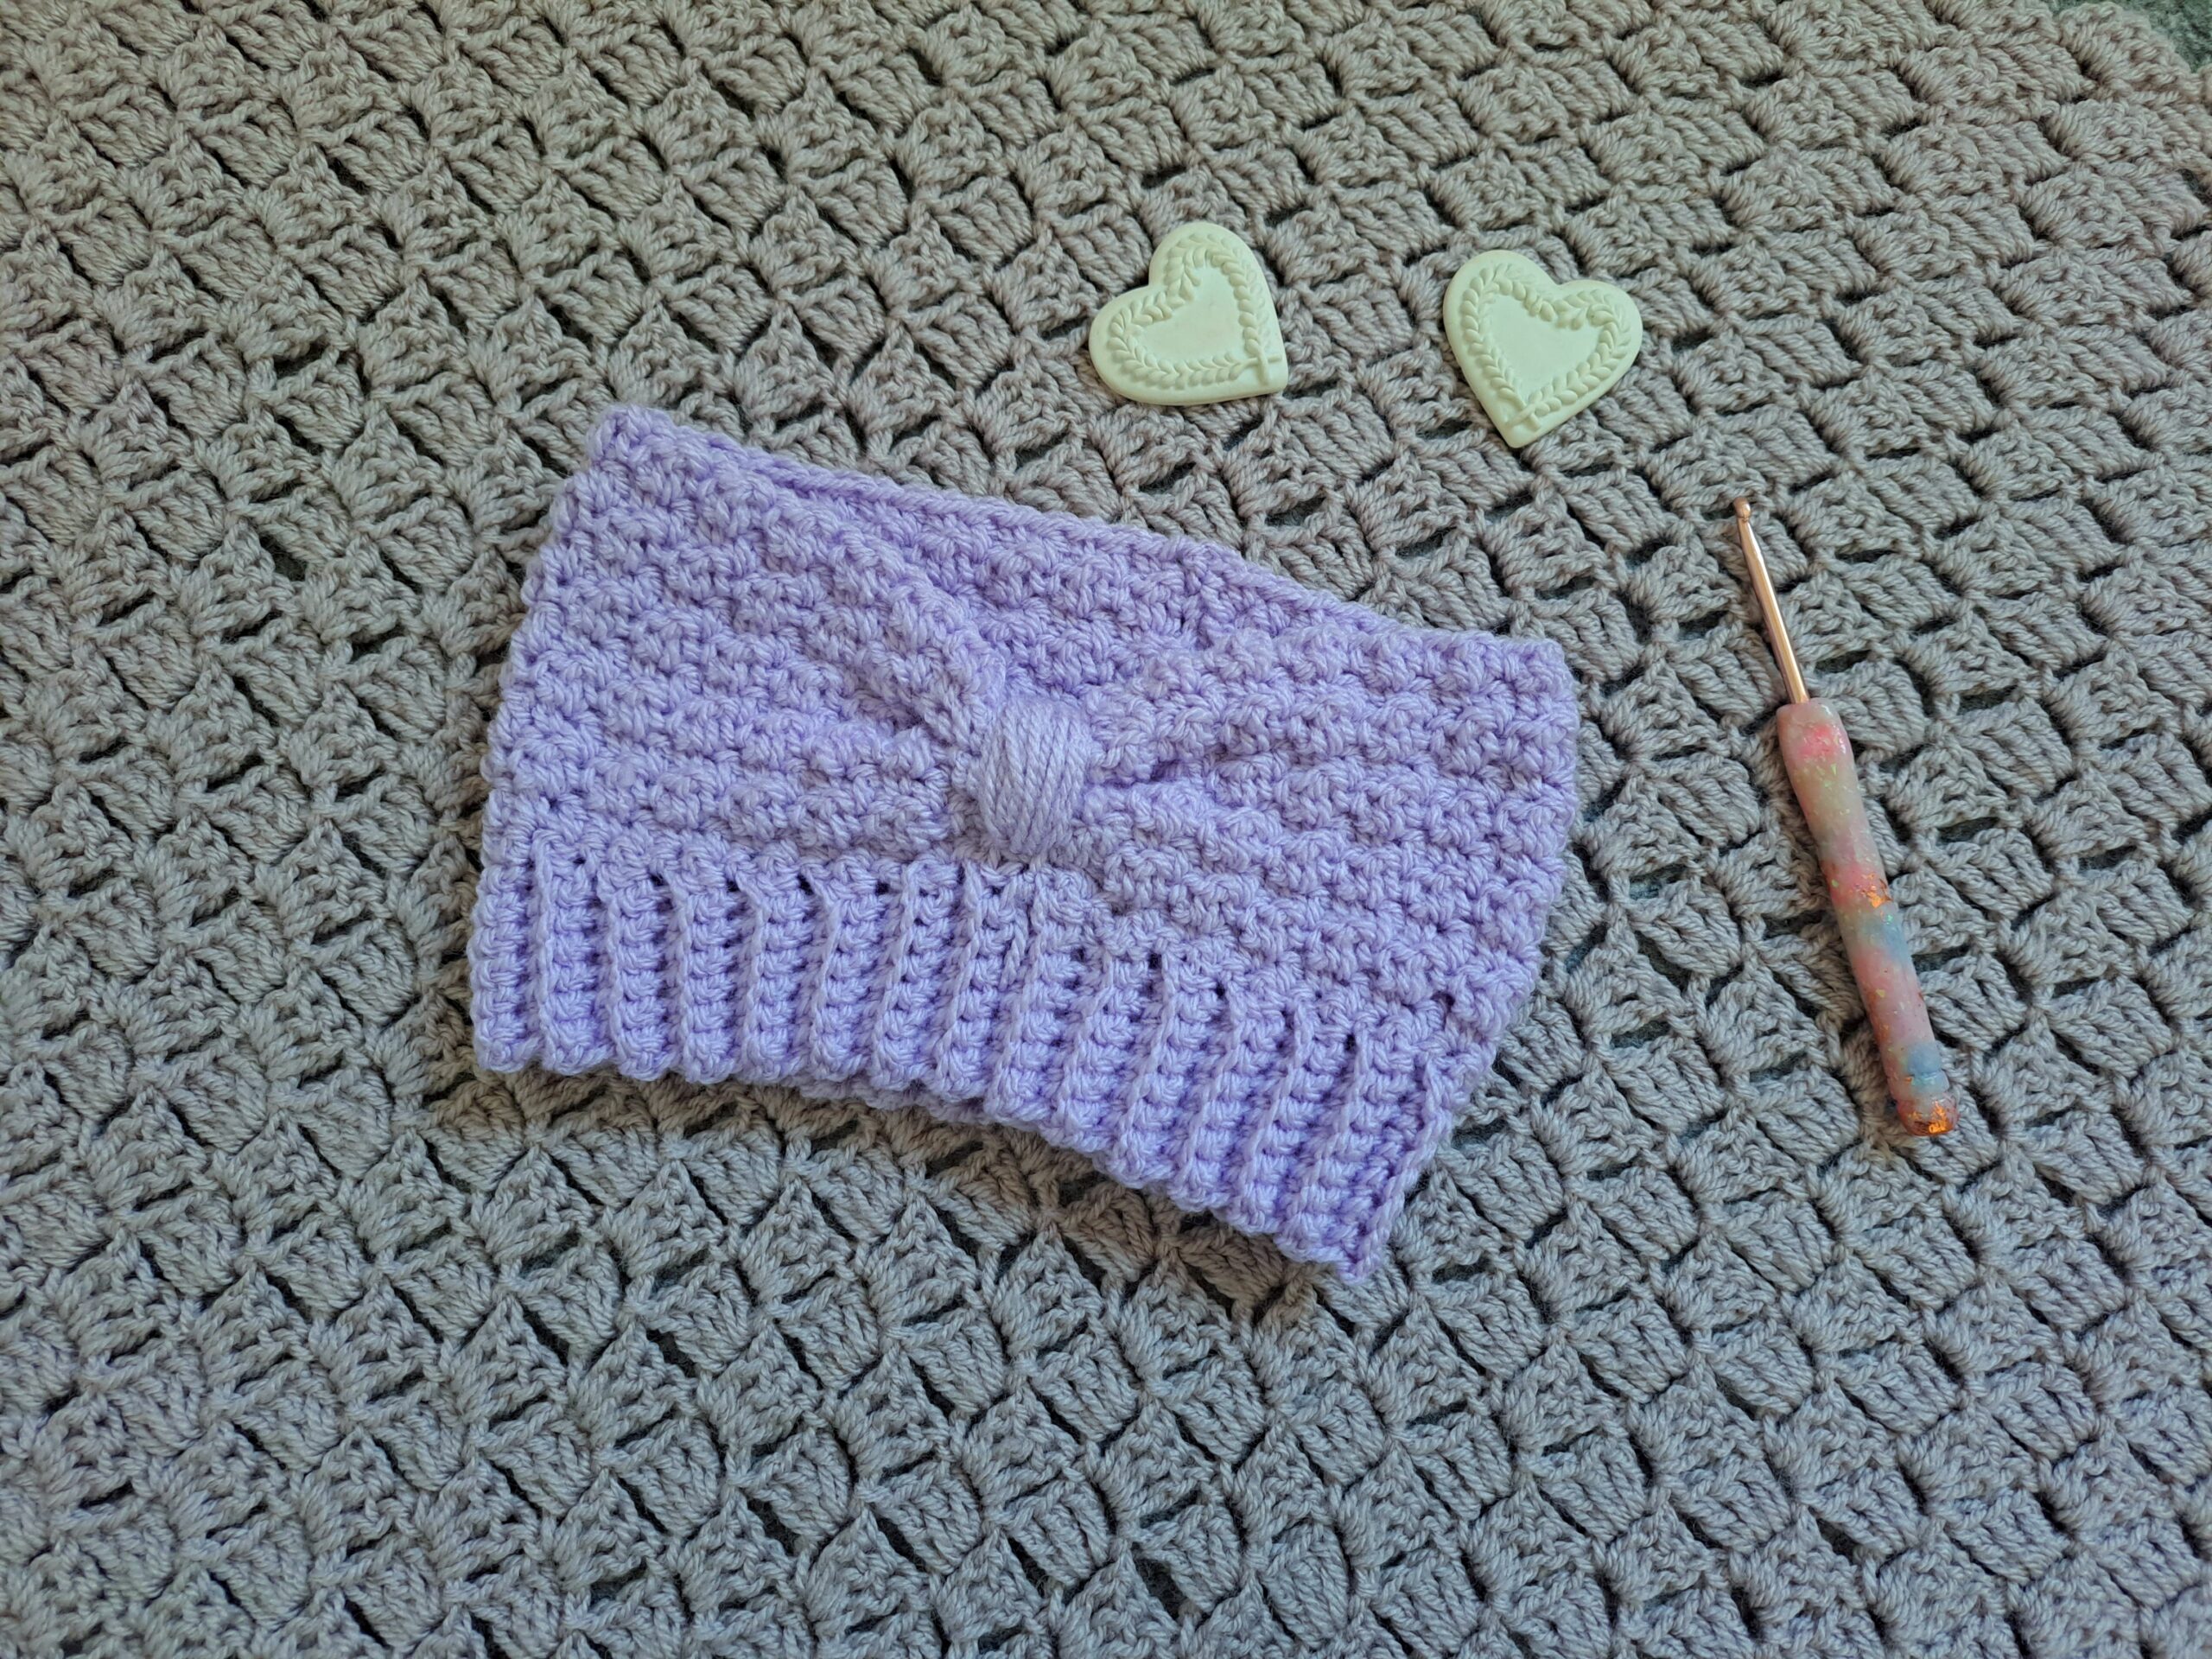
Hi everyone, today I am going to show you how to crochet an easy winter headband (free pattern). This is a great project for beginners. It is a fast and feminine crochet project, perfect for you or a loved one. This crochet earwarmer headband is so pretty, and the design is simple to reproduce. I made this crochet headband in a few different colors, and I love each and every one of them!
You can find the video tutorial for this project here:
https://www.youtube.com/watch?v=qk51OUs70NU
Crochet Easy Winter Headband Free Pattern: A Winter Staple
So I do love crocheting both Winter headbands and hats. I actually love crocheting hats and scarf sets for my little boy, mostly. Lucky for me, my little Aquarian boy loves nothing more than to wear the hats I make him! He loves hats, especially beanies, and wears them everywhere, even at home. And I love that he appreciates my crochet hats and accessories so much. If you enjoy crocheting headbands, you can find this feminine and delicate headband I made last year.
As for myself, I feel I never have time to make myself anything. I think this is a general problem with crocheters and knitters: we are always so busy making things for others that we never make anything for ourselves. To be honest, I do love Winter as this is the time I can make lots of headband and hat designs, and then hopefully keep them! I am long overdue to crochet a new hat design, and have ordered yarn over the week-end to do just that. I can’t wait, and I am going to make this hat in a cream color. Watch this space as the tutorial will be coming very soon. I will probably make a matching scarf too, as I am long overdue for making one of those too. The Snow Princess Hat from last year is perfect if you are looking for an easy and feminine hat to crochet.
A scarf or headband is definitely a Winter staple, and I cannot wait to make more of these soon.
Crochet Easy Winter Headband Free Pattern: The Design
This crochet design is inspired by a contemporary trend in the crochet world. Indeed, this headband-which looks a lot like a hat- is a trend that has been popular in the crochet world since last Winter. And I love it! When I spotted this trend, I knew I had to create my own version.
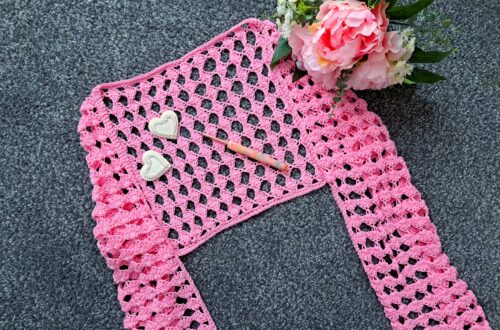
This headband design begins with a ribbed edging, such as can be seen on a classic crochet hat. Once this border is done, the actual headband pattern is created. I used the Griddle stitch for this part (also known as the Lemon Peel stitch). As you know, I love this stitch so much. The Pink Ballerina Headband also features the Griddle Stitch that I love so much. To complete the look, you can also make The Pink Ballerina Infinity Scarf.
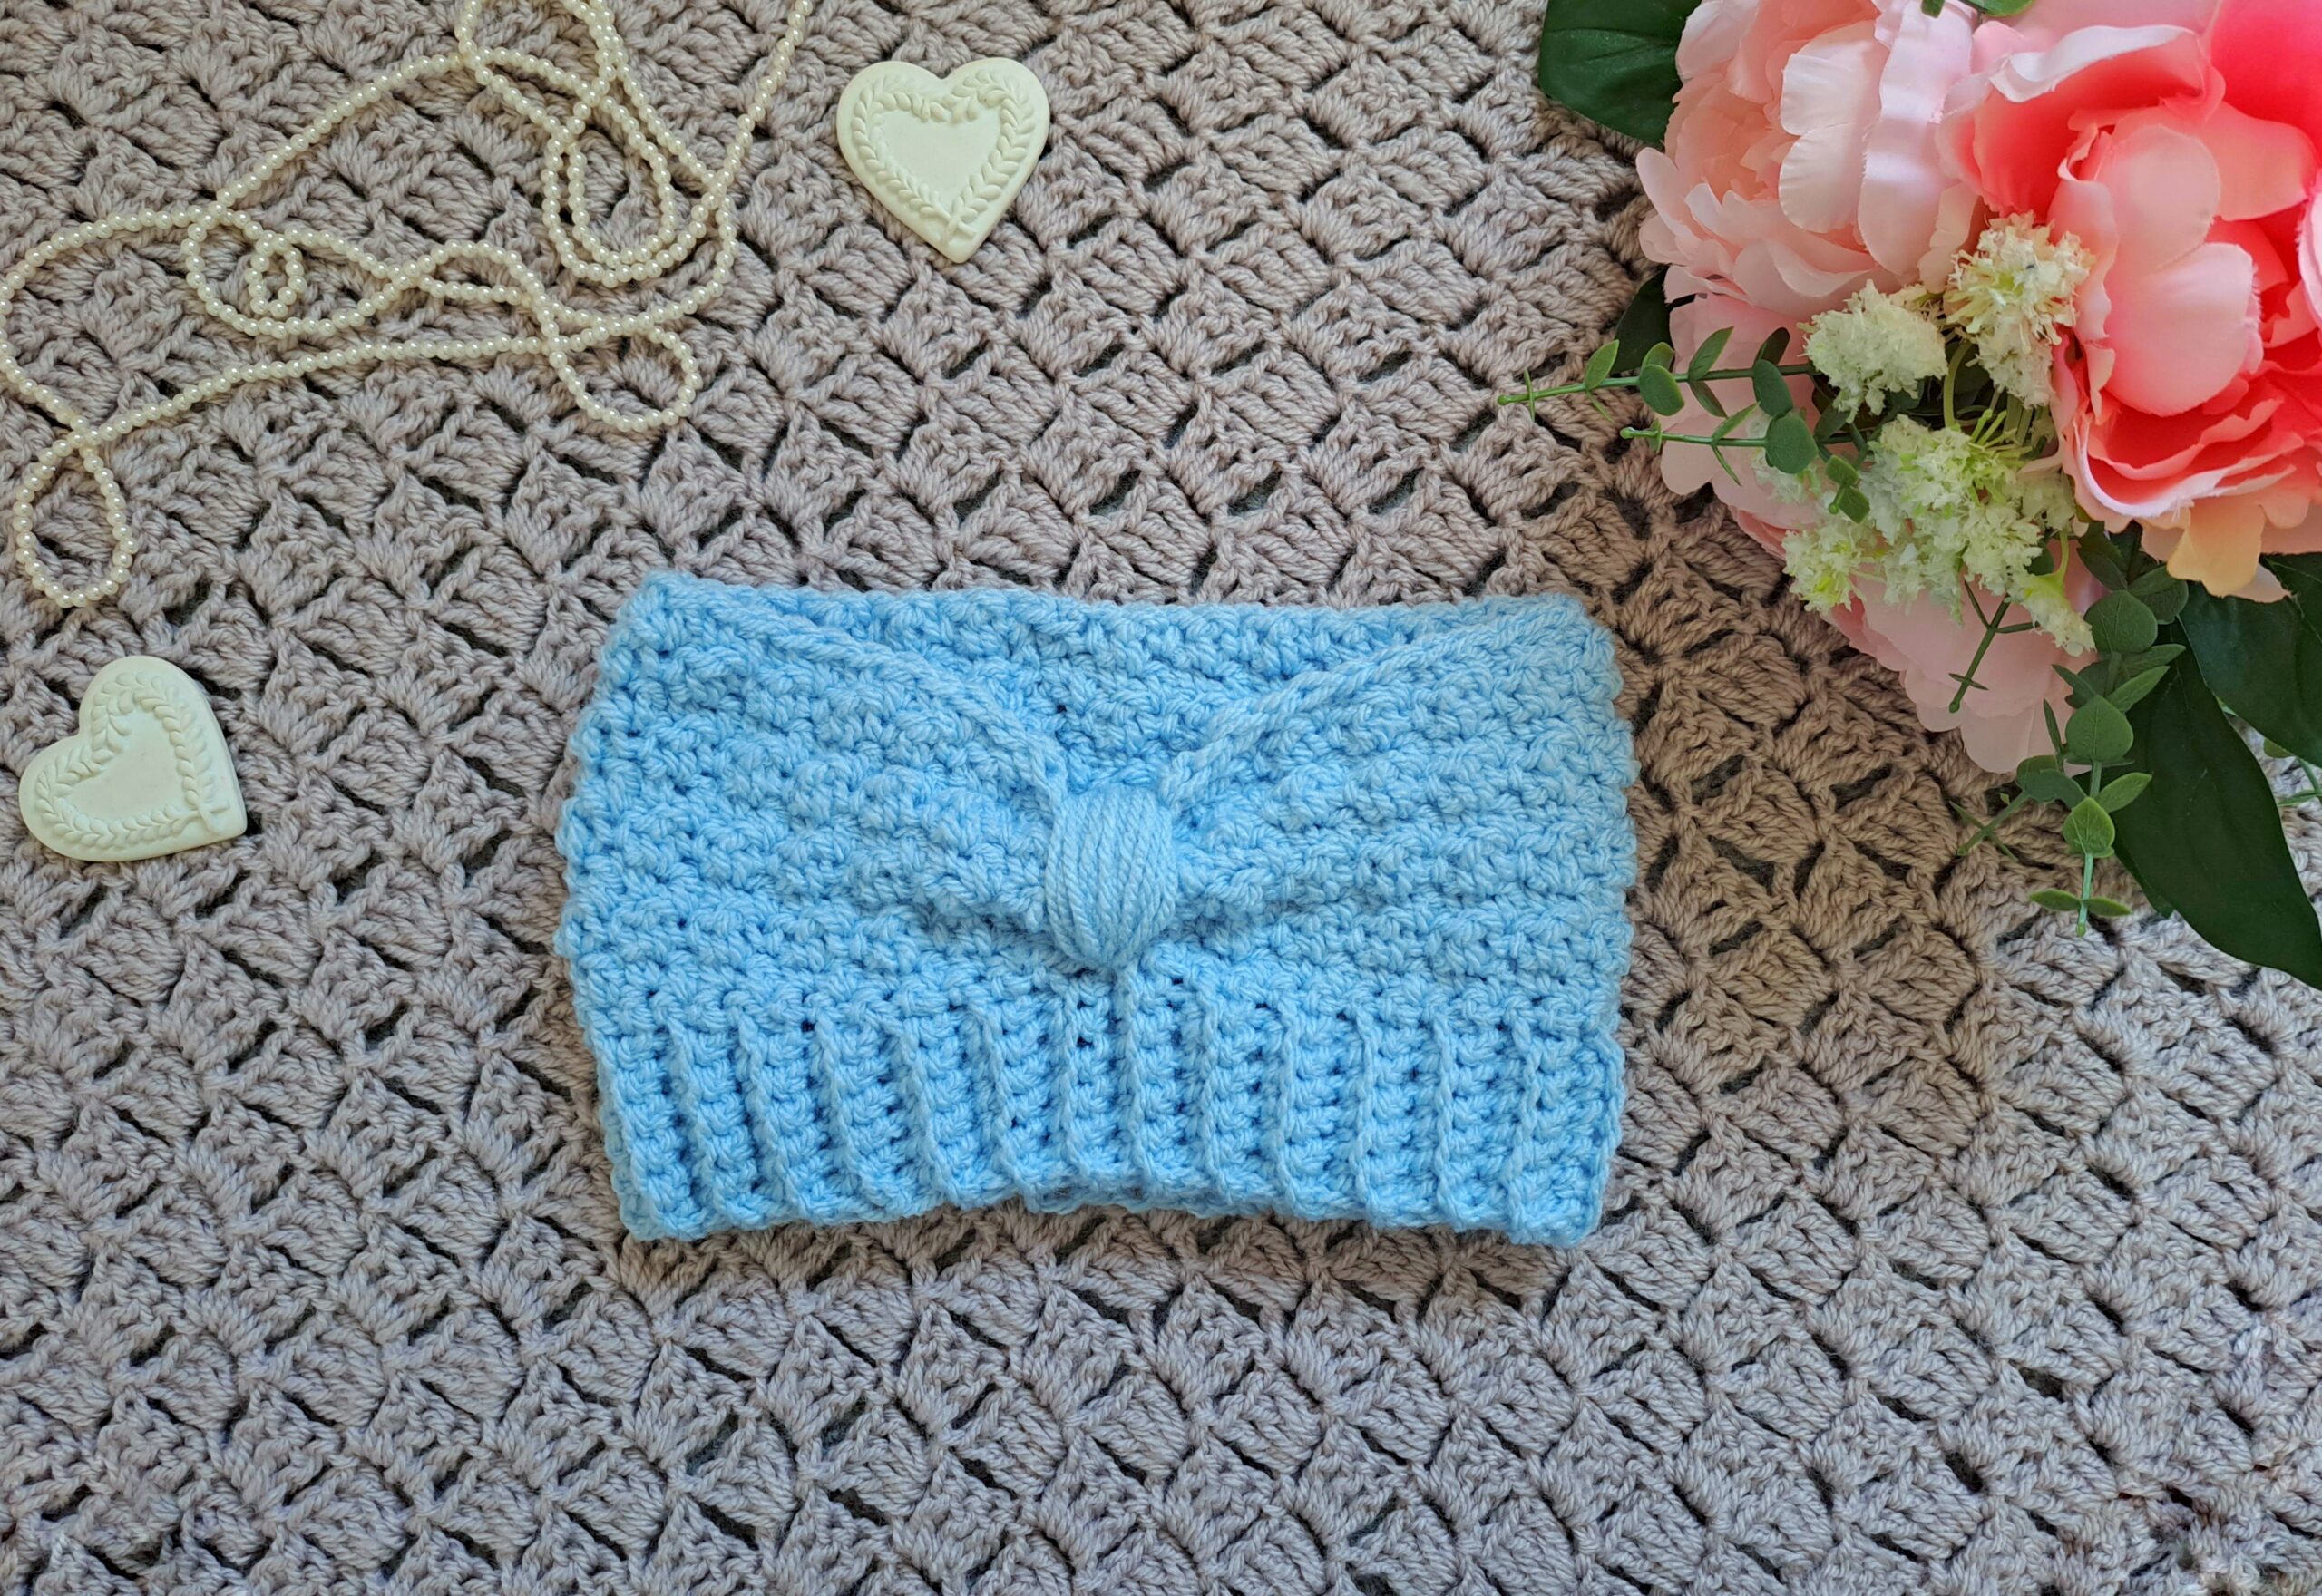
Once the headband is completed, then you can add the finishing touches to it. A lovely centerpiece is created at the center of this headband, adding a little extra touch to the whole project.
If you are looking for more headband patterns, you can also check out The Delicate Rose Chunky Headband which I made a year ago. This is a super fast and warm chunky Winter headband.
Connecting with you
I would like to take a moment to thank every single one of you, for supporting me and my crochet journey. Indeed, I absolutely am so touched by all your messages, comments, and every person who has become a patron of my work through Patreon. Thank you!
I love connecting with my Crochet Community through my blog and Social Media. You can find me on Youtube, Instagram, and Pinterest. I would love to connect with you on these platforms.
You can also join my private Facebook group to connect.
Join my exclusive and fun Patreon community, a haven for feminine crochet and so much more!
Subscribe to my weekly newsletter so that you never miss a stitch!
Crochet Easy Winter Headband: The Pattern
You can purchase the ad free, large print, PDF pattern from my Etsy store here: Crochet Feminine Winter Headband PDF Pattern
Level: Easy/beginner +
Gauge
4” (10 cm)= 15 stitches
4” (10 cm)= 9 rows
Size of finished headband (before sewing and including bottom ribbing)
5,5” (14 cm) in height and 19” (49.5 cm) wide
Notes
I will be using US terms (British terms in brackets)
You will need
1 skein of Stylecraft Special Aran in shade Cream (or any other Aran/Medium 4 yarn of your preference, such as Paintbox Simply Aran)
5 mm crochet hook
A pair of scissors
A tapestry needle
Abbreviations
Ch: chain
St: Stitch
Sl st: slip stitch
Sk: Skip
SC: Single Crochet
DC: Double Crochet
BLO: Back Loop Only
EOR: End of row
To begin
We will start by making the bottom ribbing of the headband.
Make a slip knot.
Ch 8
Complete rows as follows:
1: SC into 2nd ch from hook, and SC into next ch until eor (=7 SC total).
2: Ch 1 (=SC), SC into BLO (=Back loop only) of next stitch until eor (=7 SC total).
3-57: Repeat row 2.
Do not fasten off.
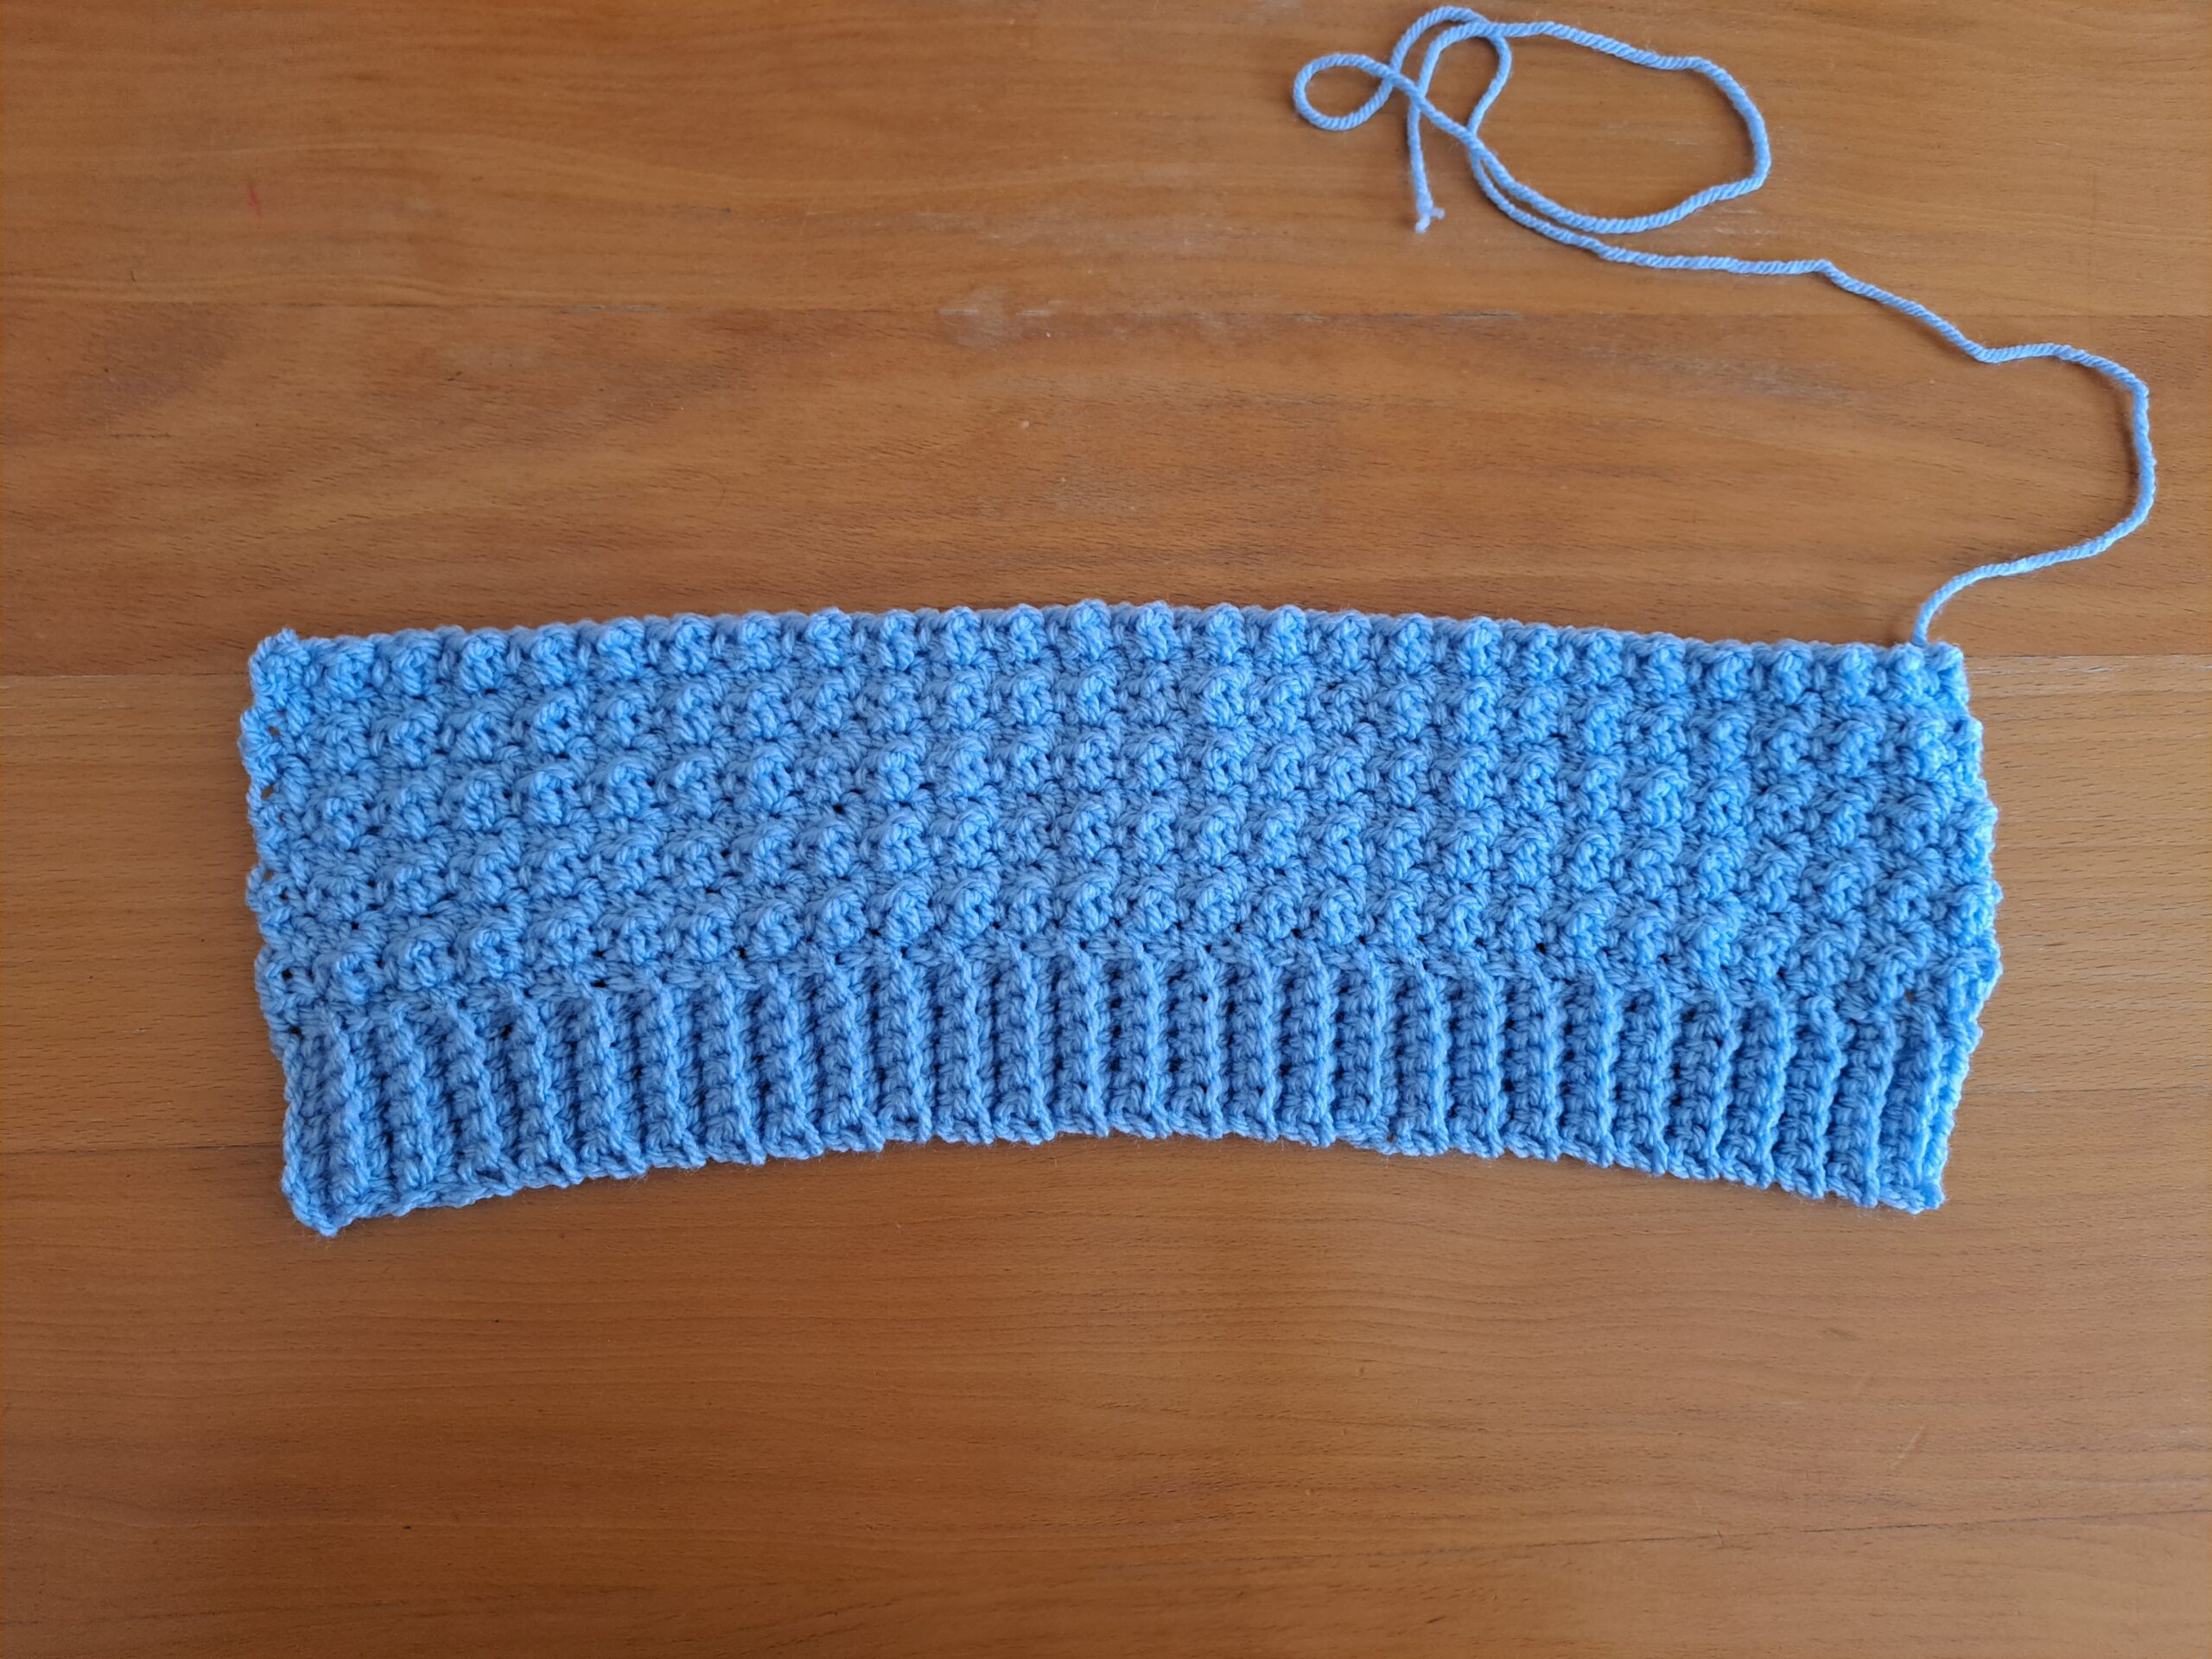
Creating the Griddle Stitch pattern on headband:
Placing your project horizontally, ch 1 (=SC), you will be placing a SC into every stitch (which corresponds to a row as we have switched the project around) across until eor (=57 SC).
Row 1: ch 3 (=DC), [SC into next stitch, DC into next stitch] until eor, finishing on a Single Crochet.
Row 2-9: Repeat row 1.
Fasten off.
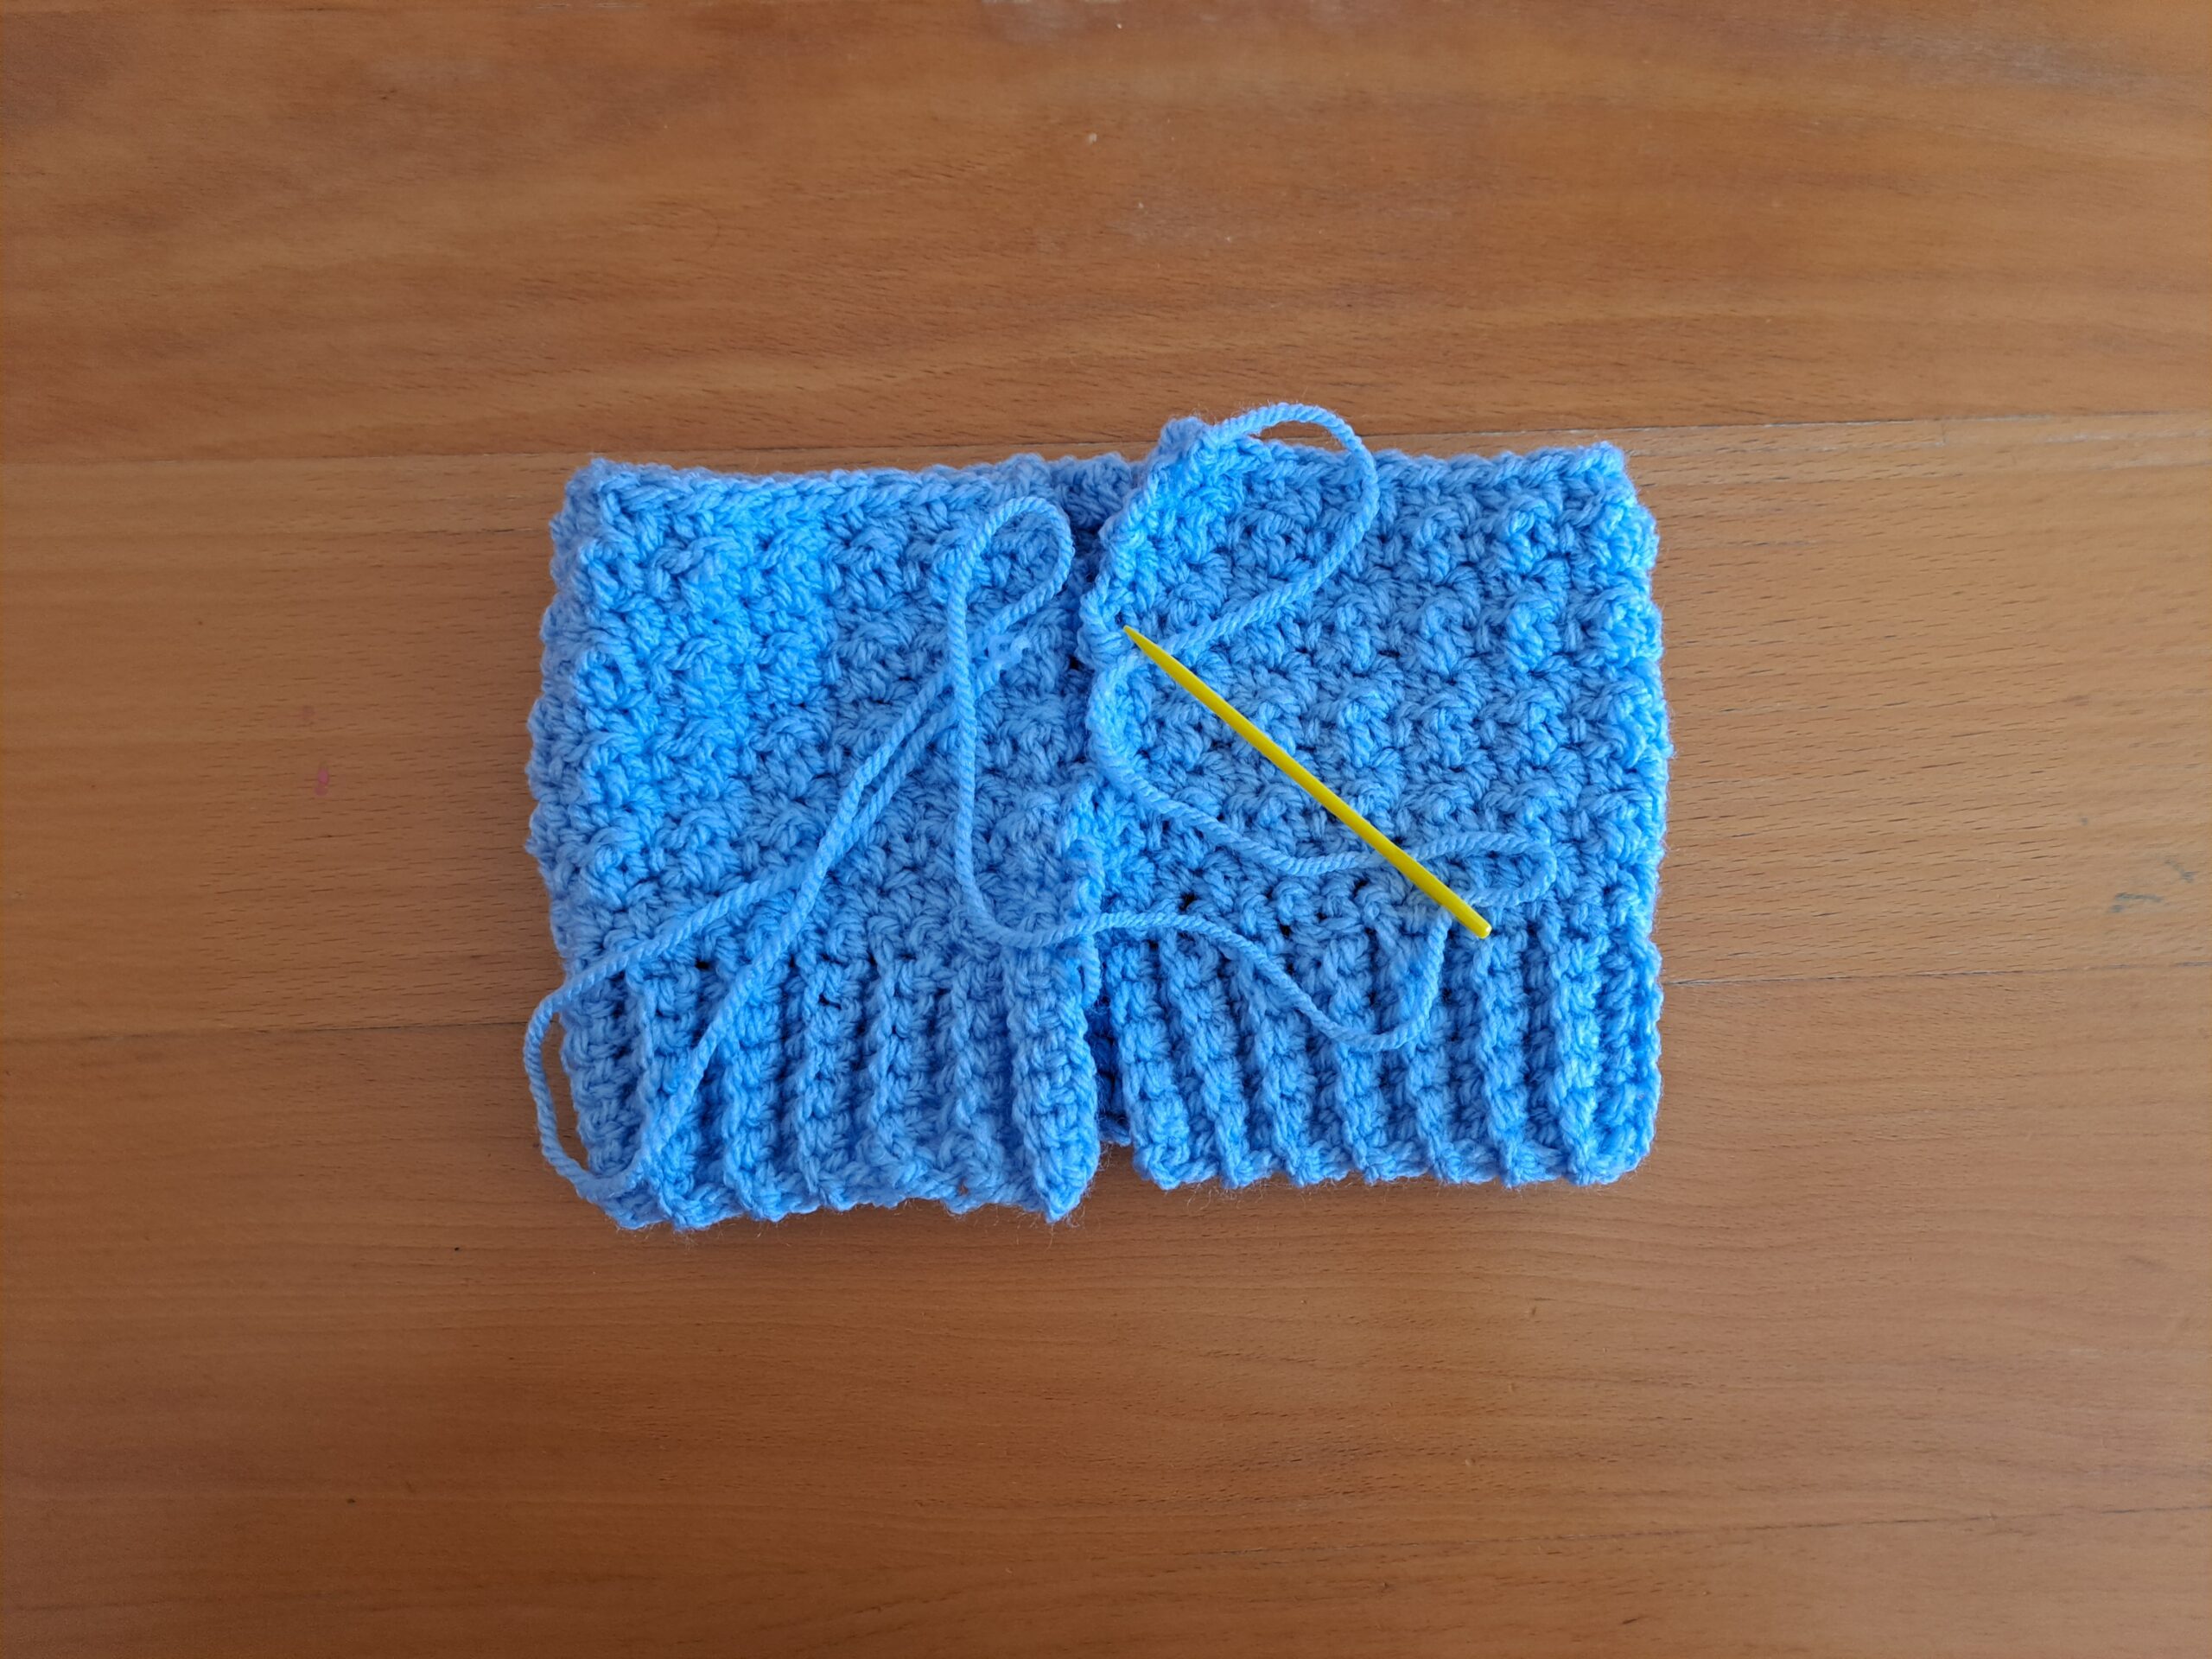
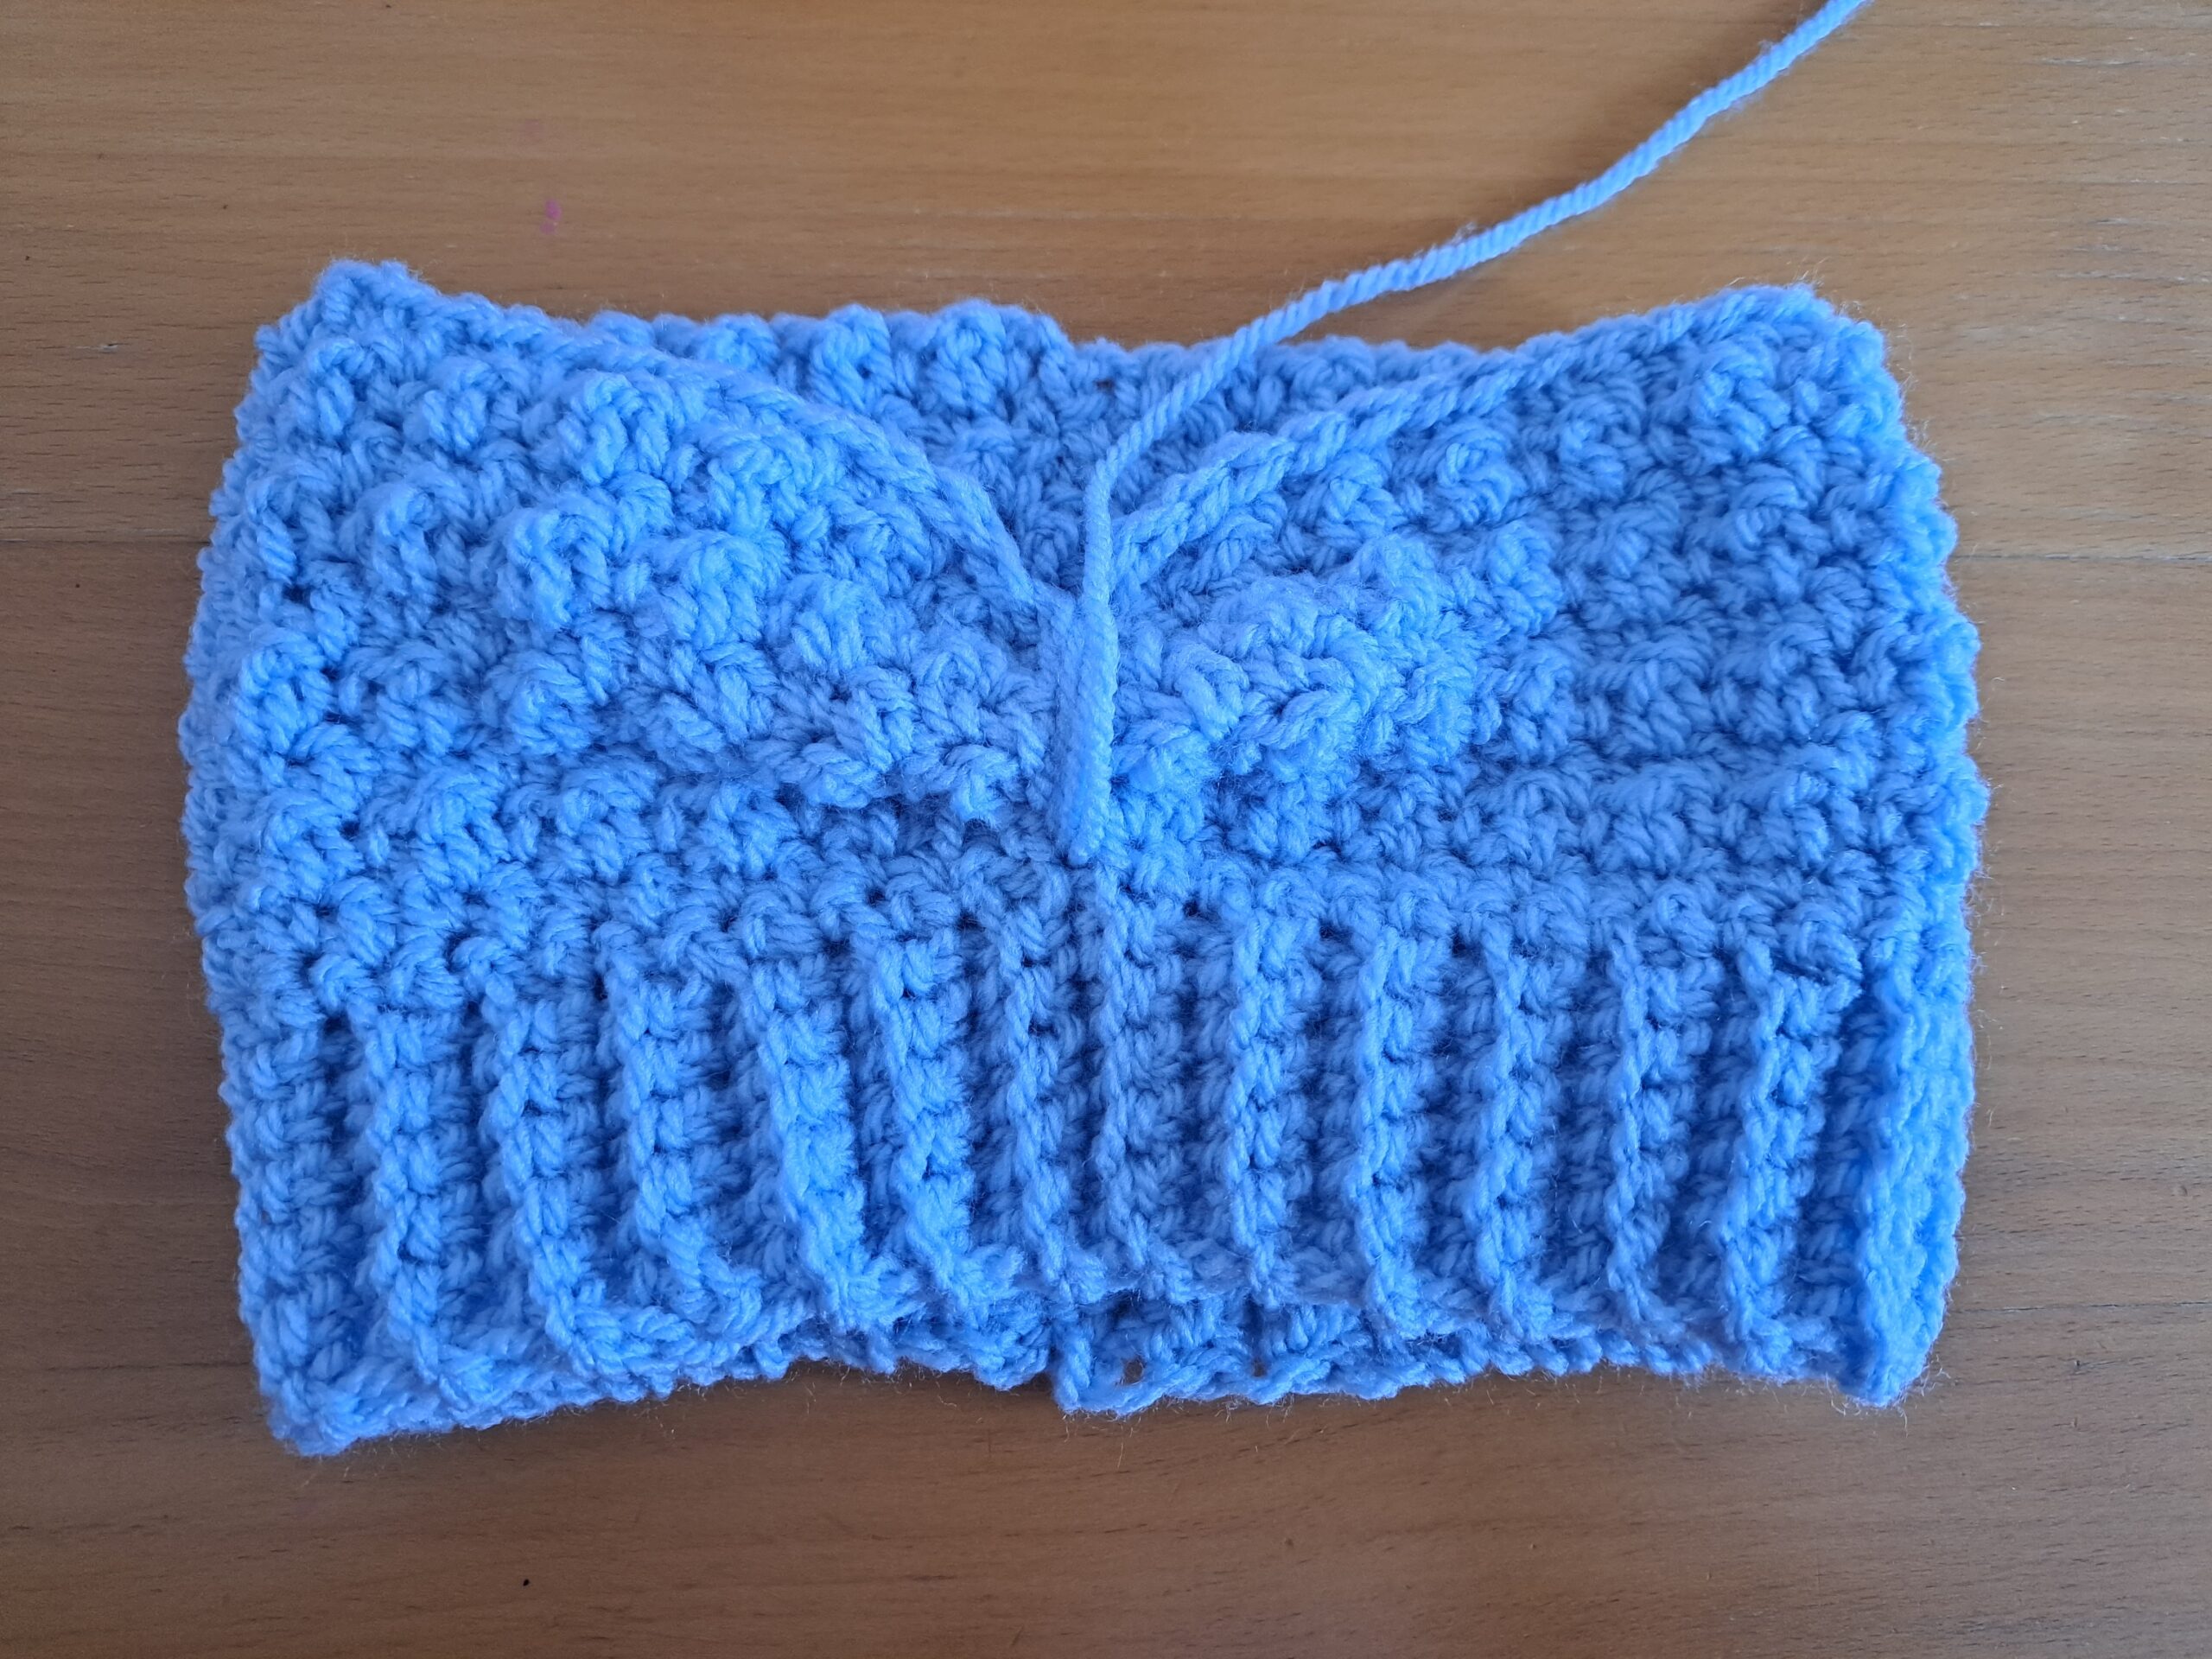
Sewing your headband together
Place your hat width wise on a flat surface, with the ribbed edging facing down.
Fold the headband over width wise, so as to create a seam on one side (this will be the back of the hat later on). Once your headband is symmetrically closed in half, with tapestry needle and yarn, start sewing up your hat using the mattress stitch, from the bottom and going up.
Now just fasten off your yarn and tidy up your loose end.
Create the central fold effect:
Turn project inside out. Attach yarn just above the ribbed edging, at the center of project.
With your tapestry needle, measure about 1” and go into the project. Go in and out of the project measuring about 1” each time, until you reach the top and your headband looks “scrunched up”. Repeat this process twice, or until you are satisfied with the effect.
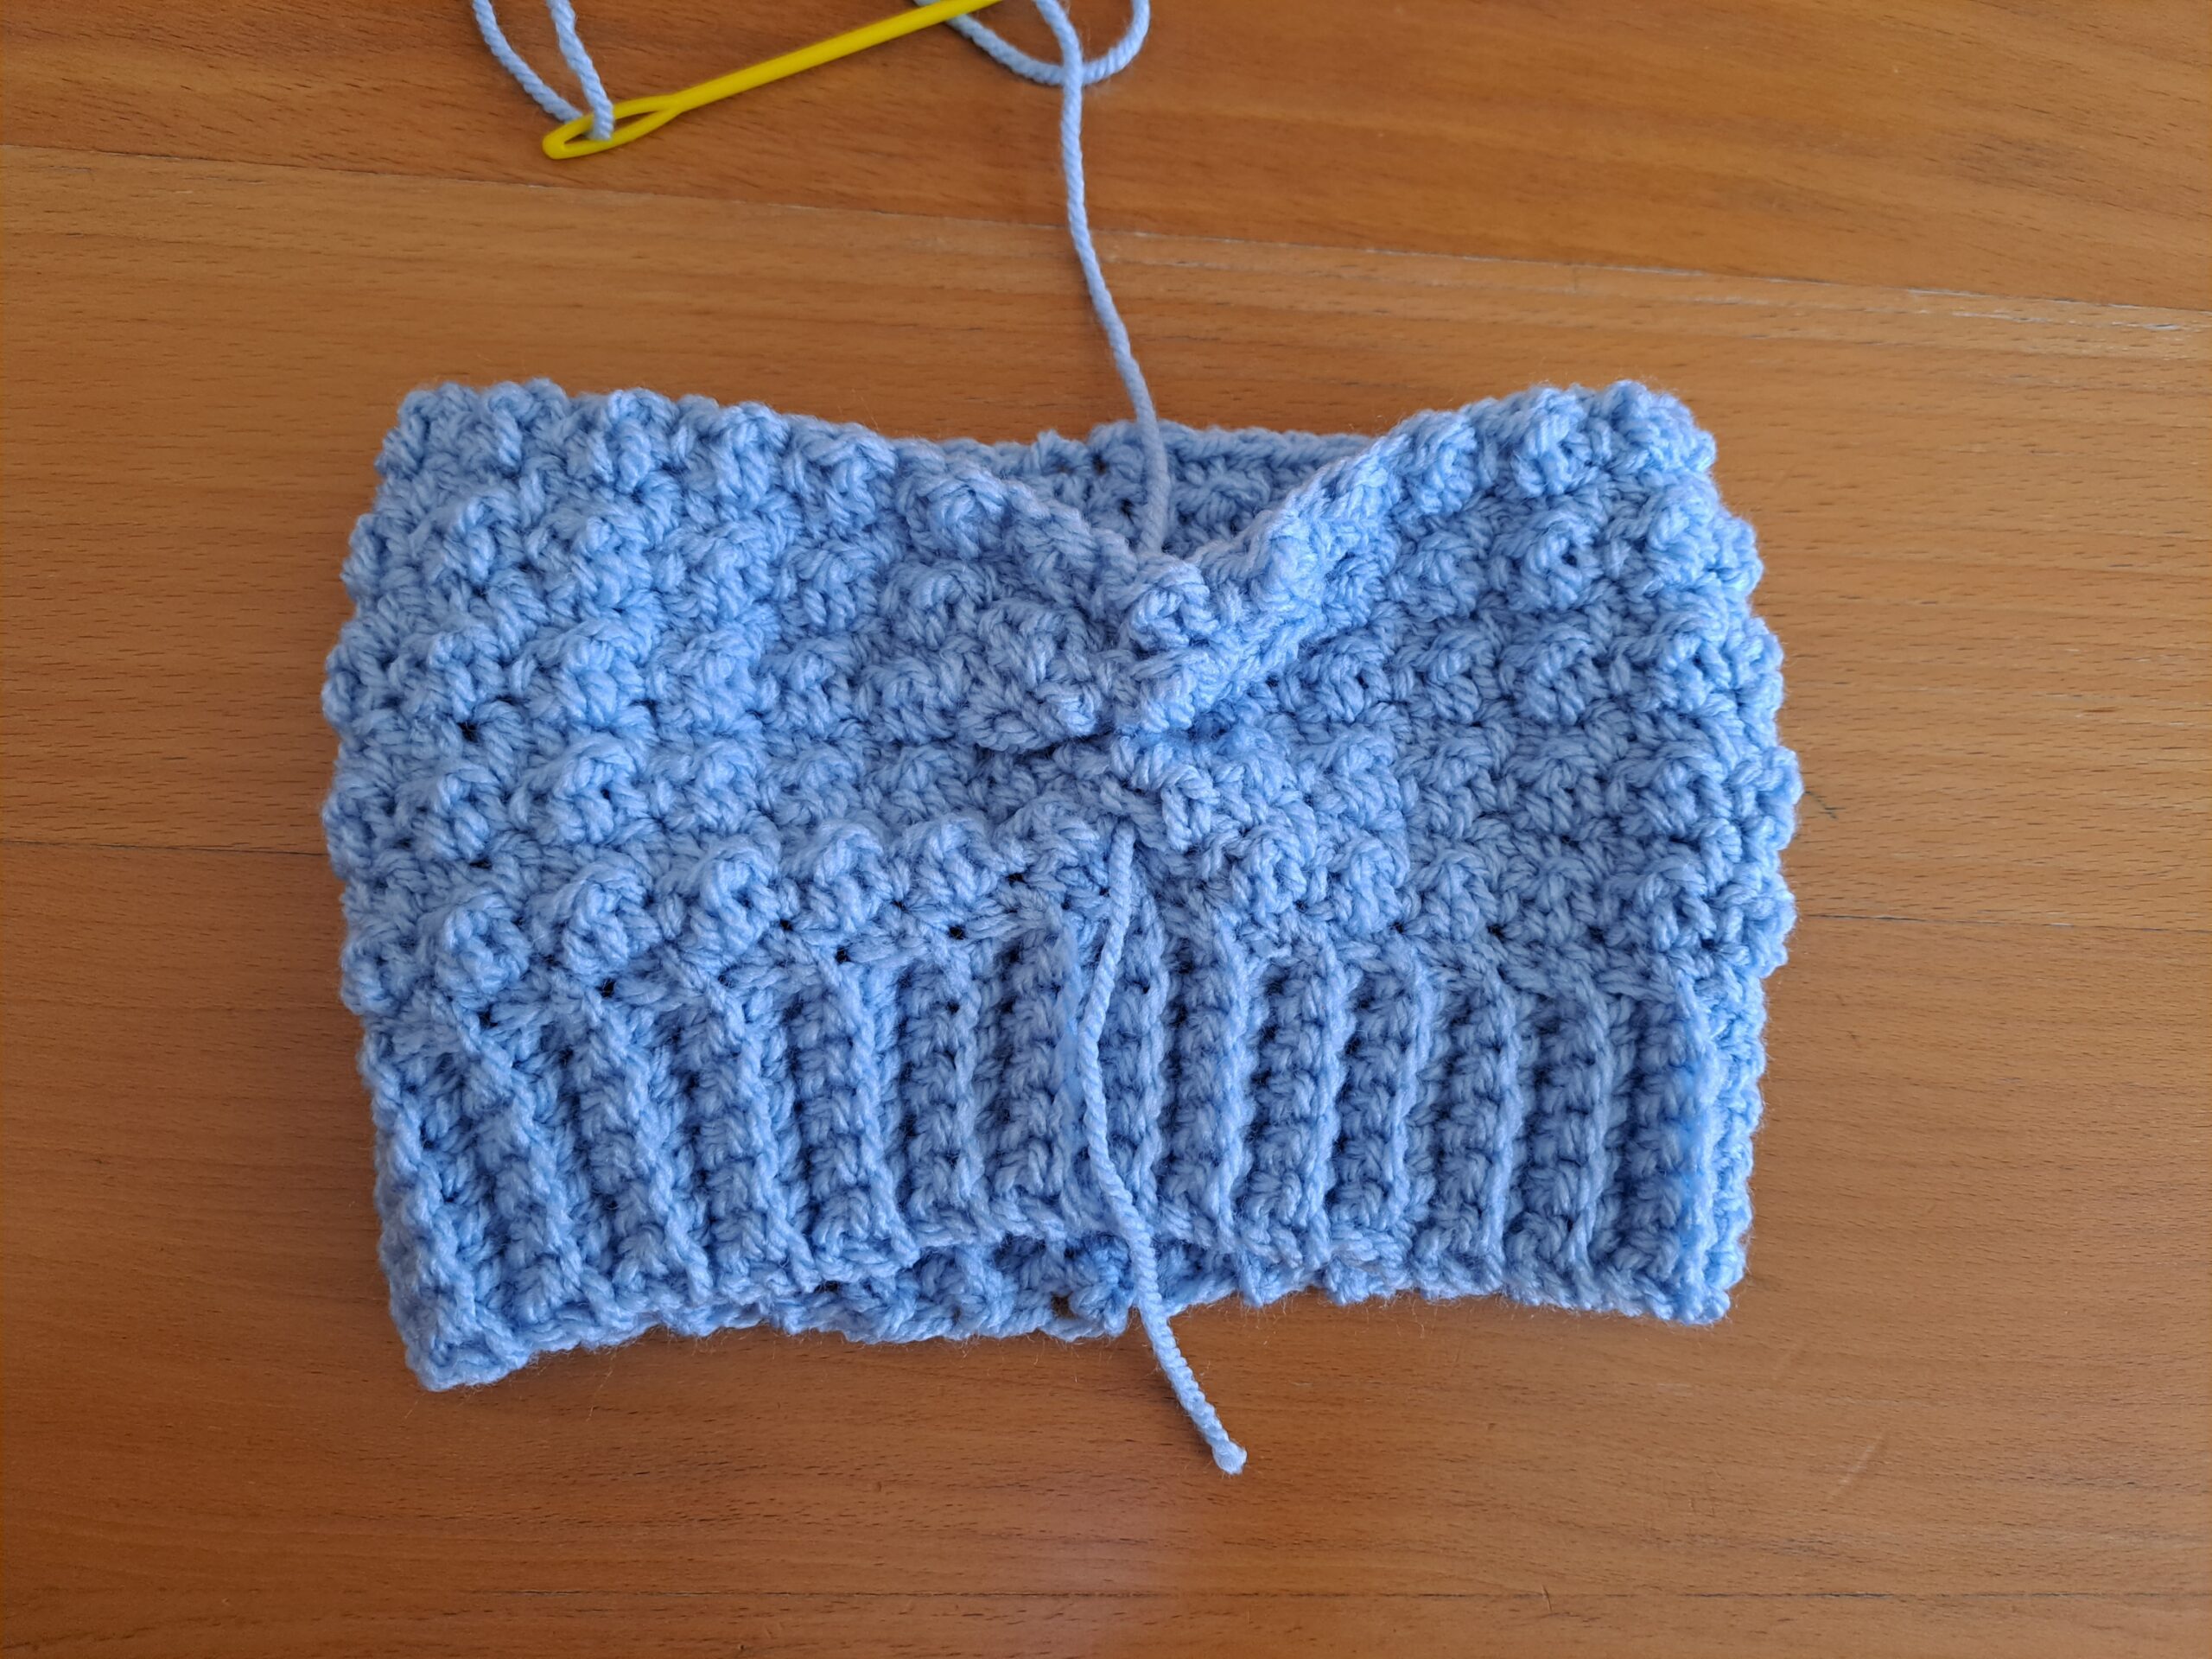
Fasten off and tidy up loose end.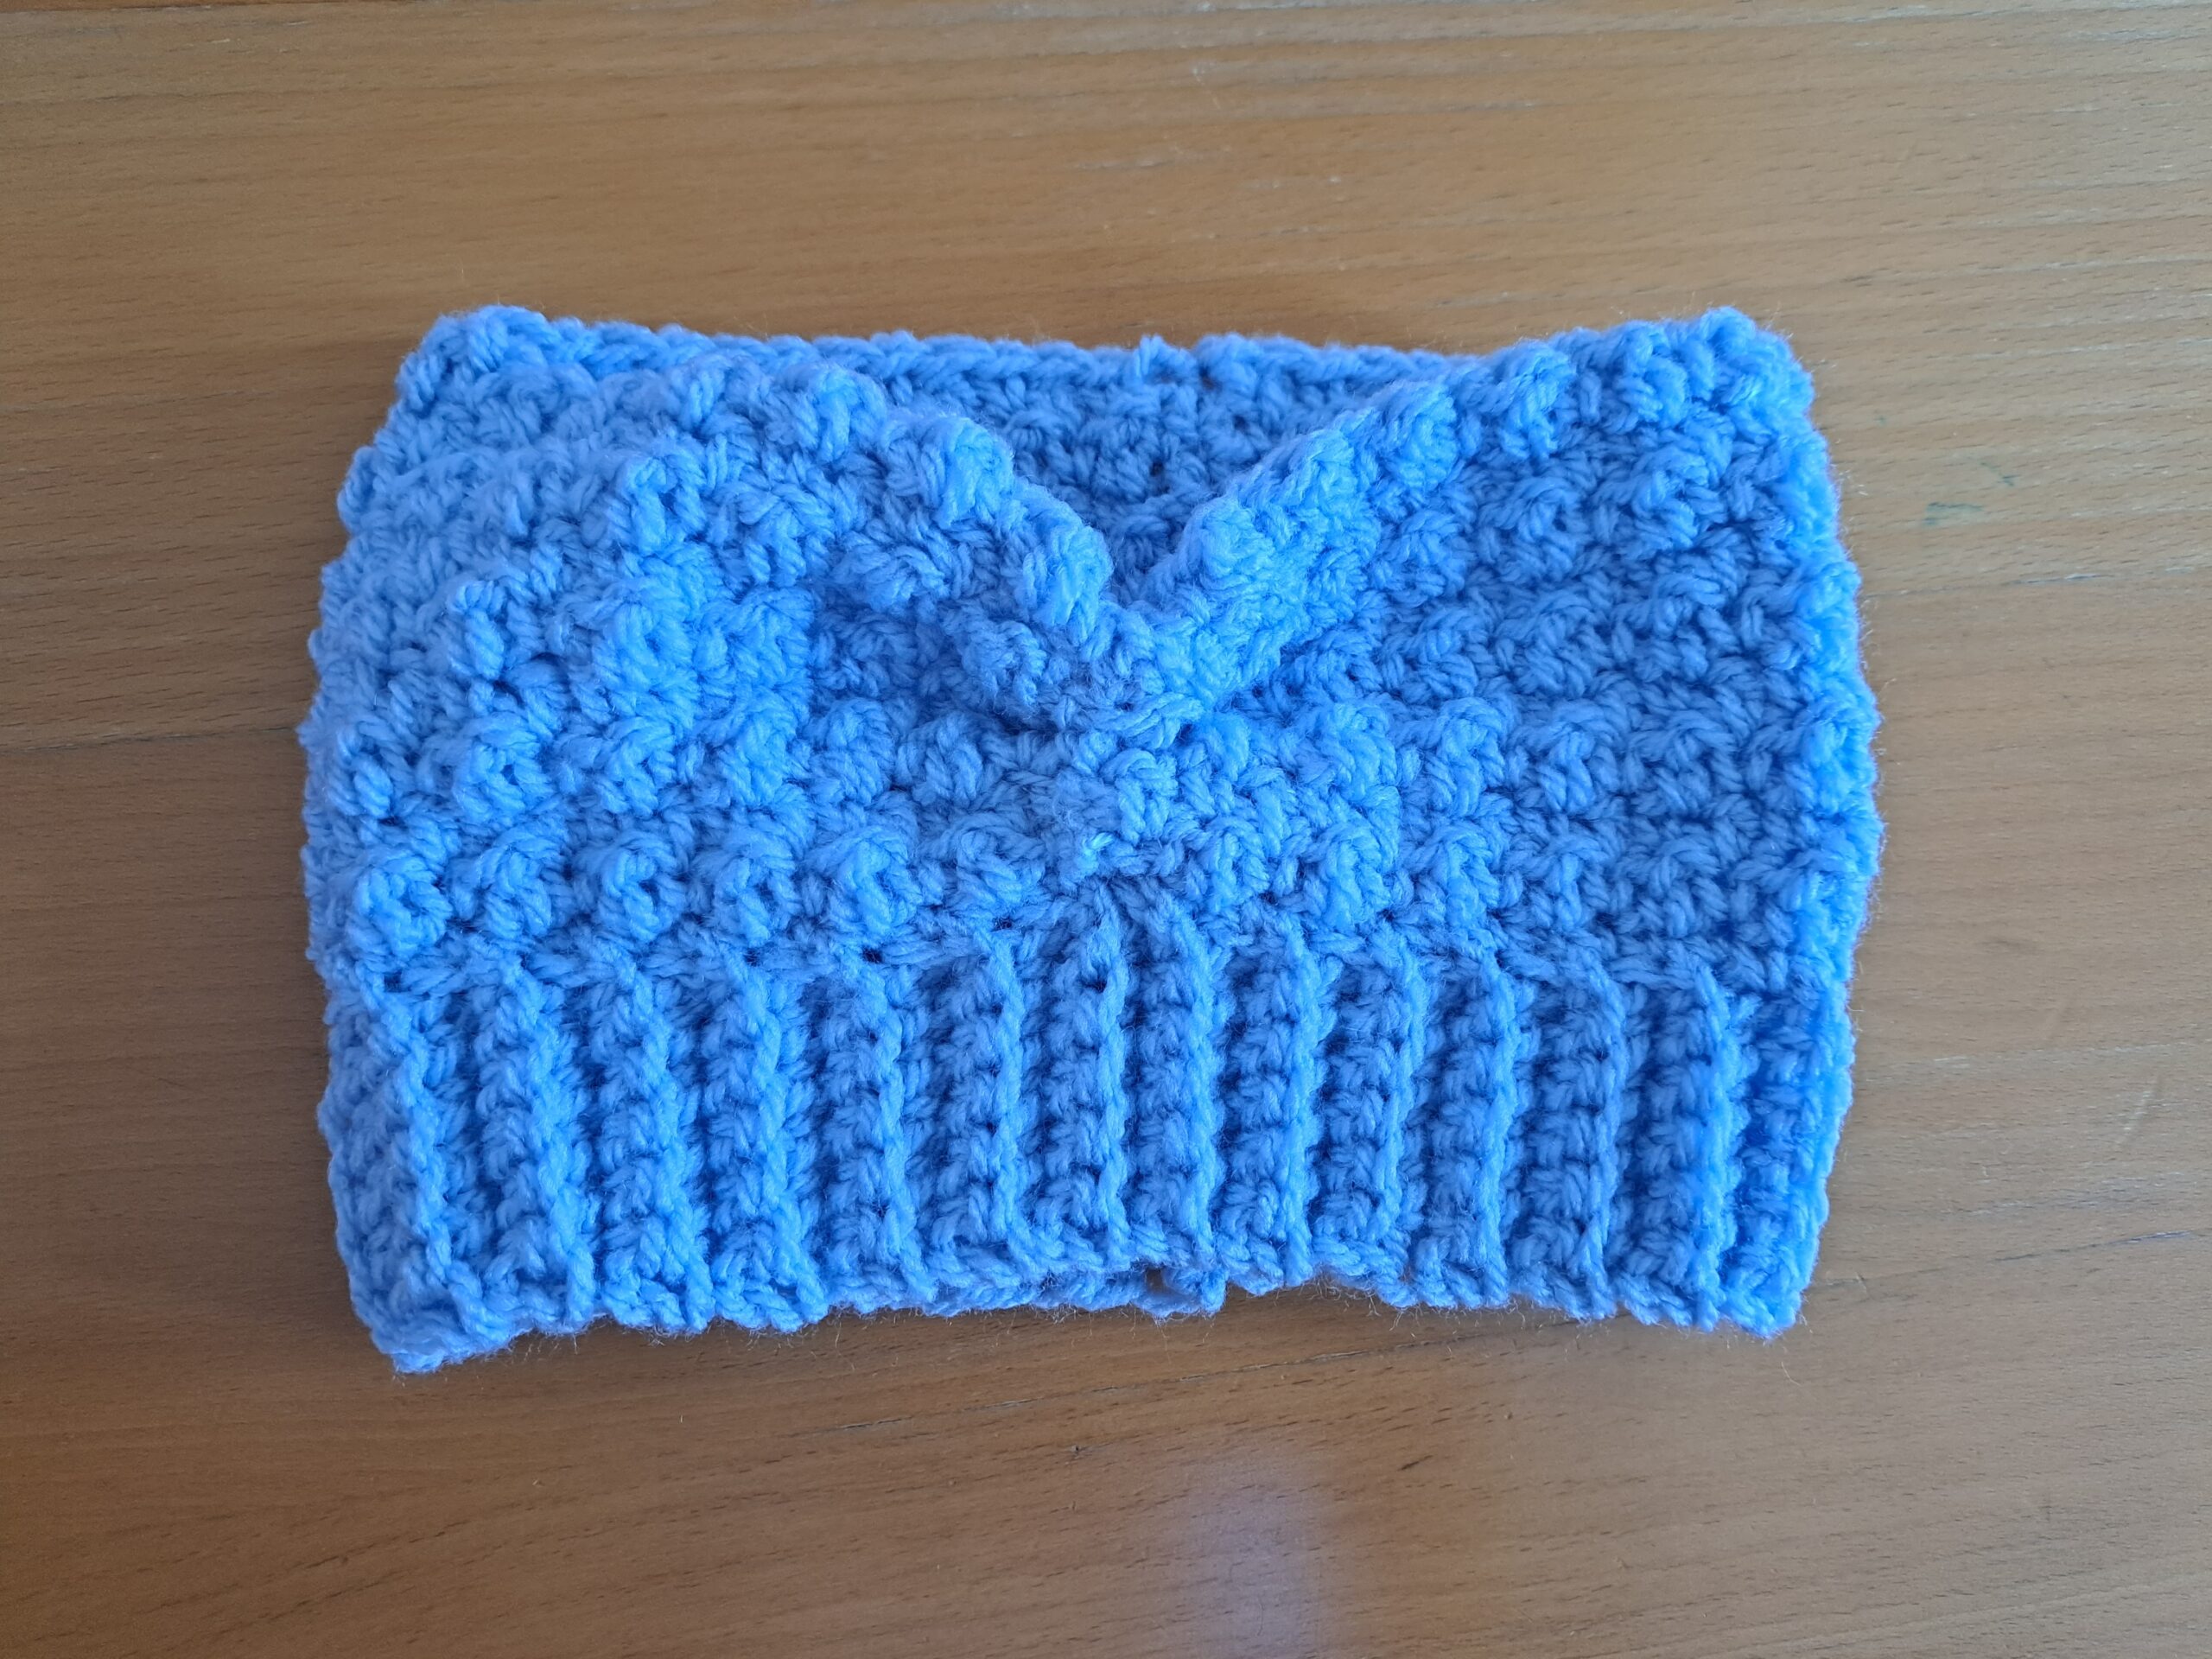
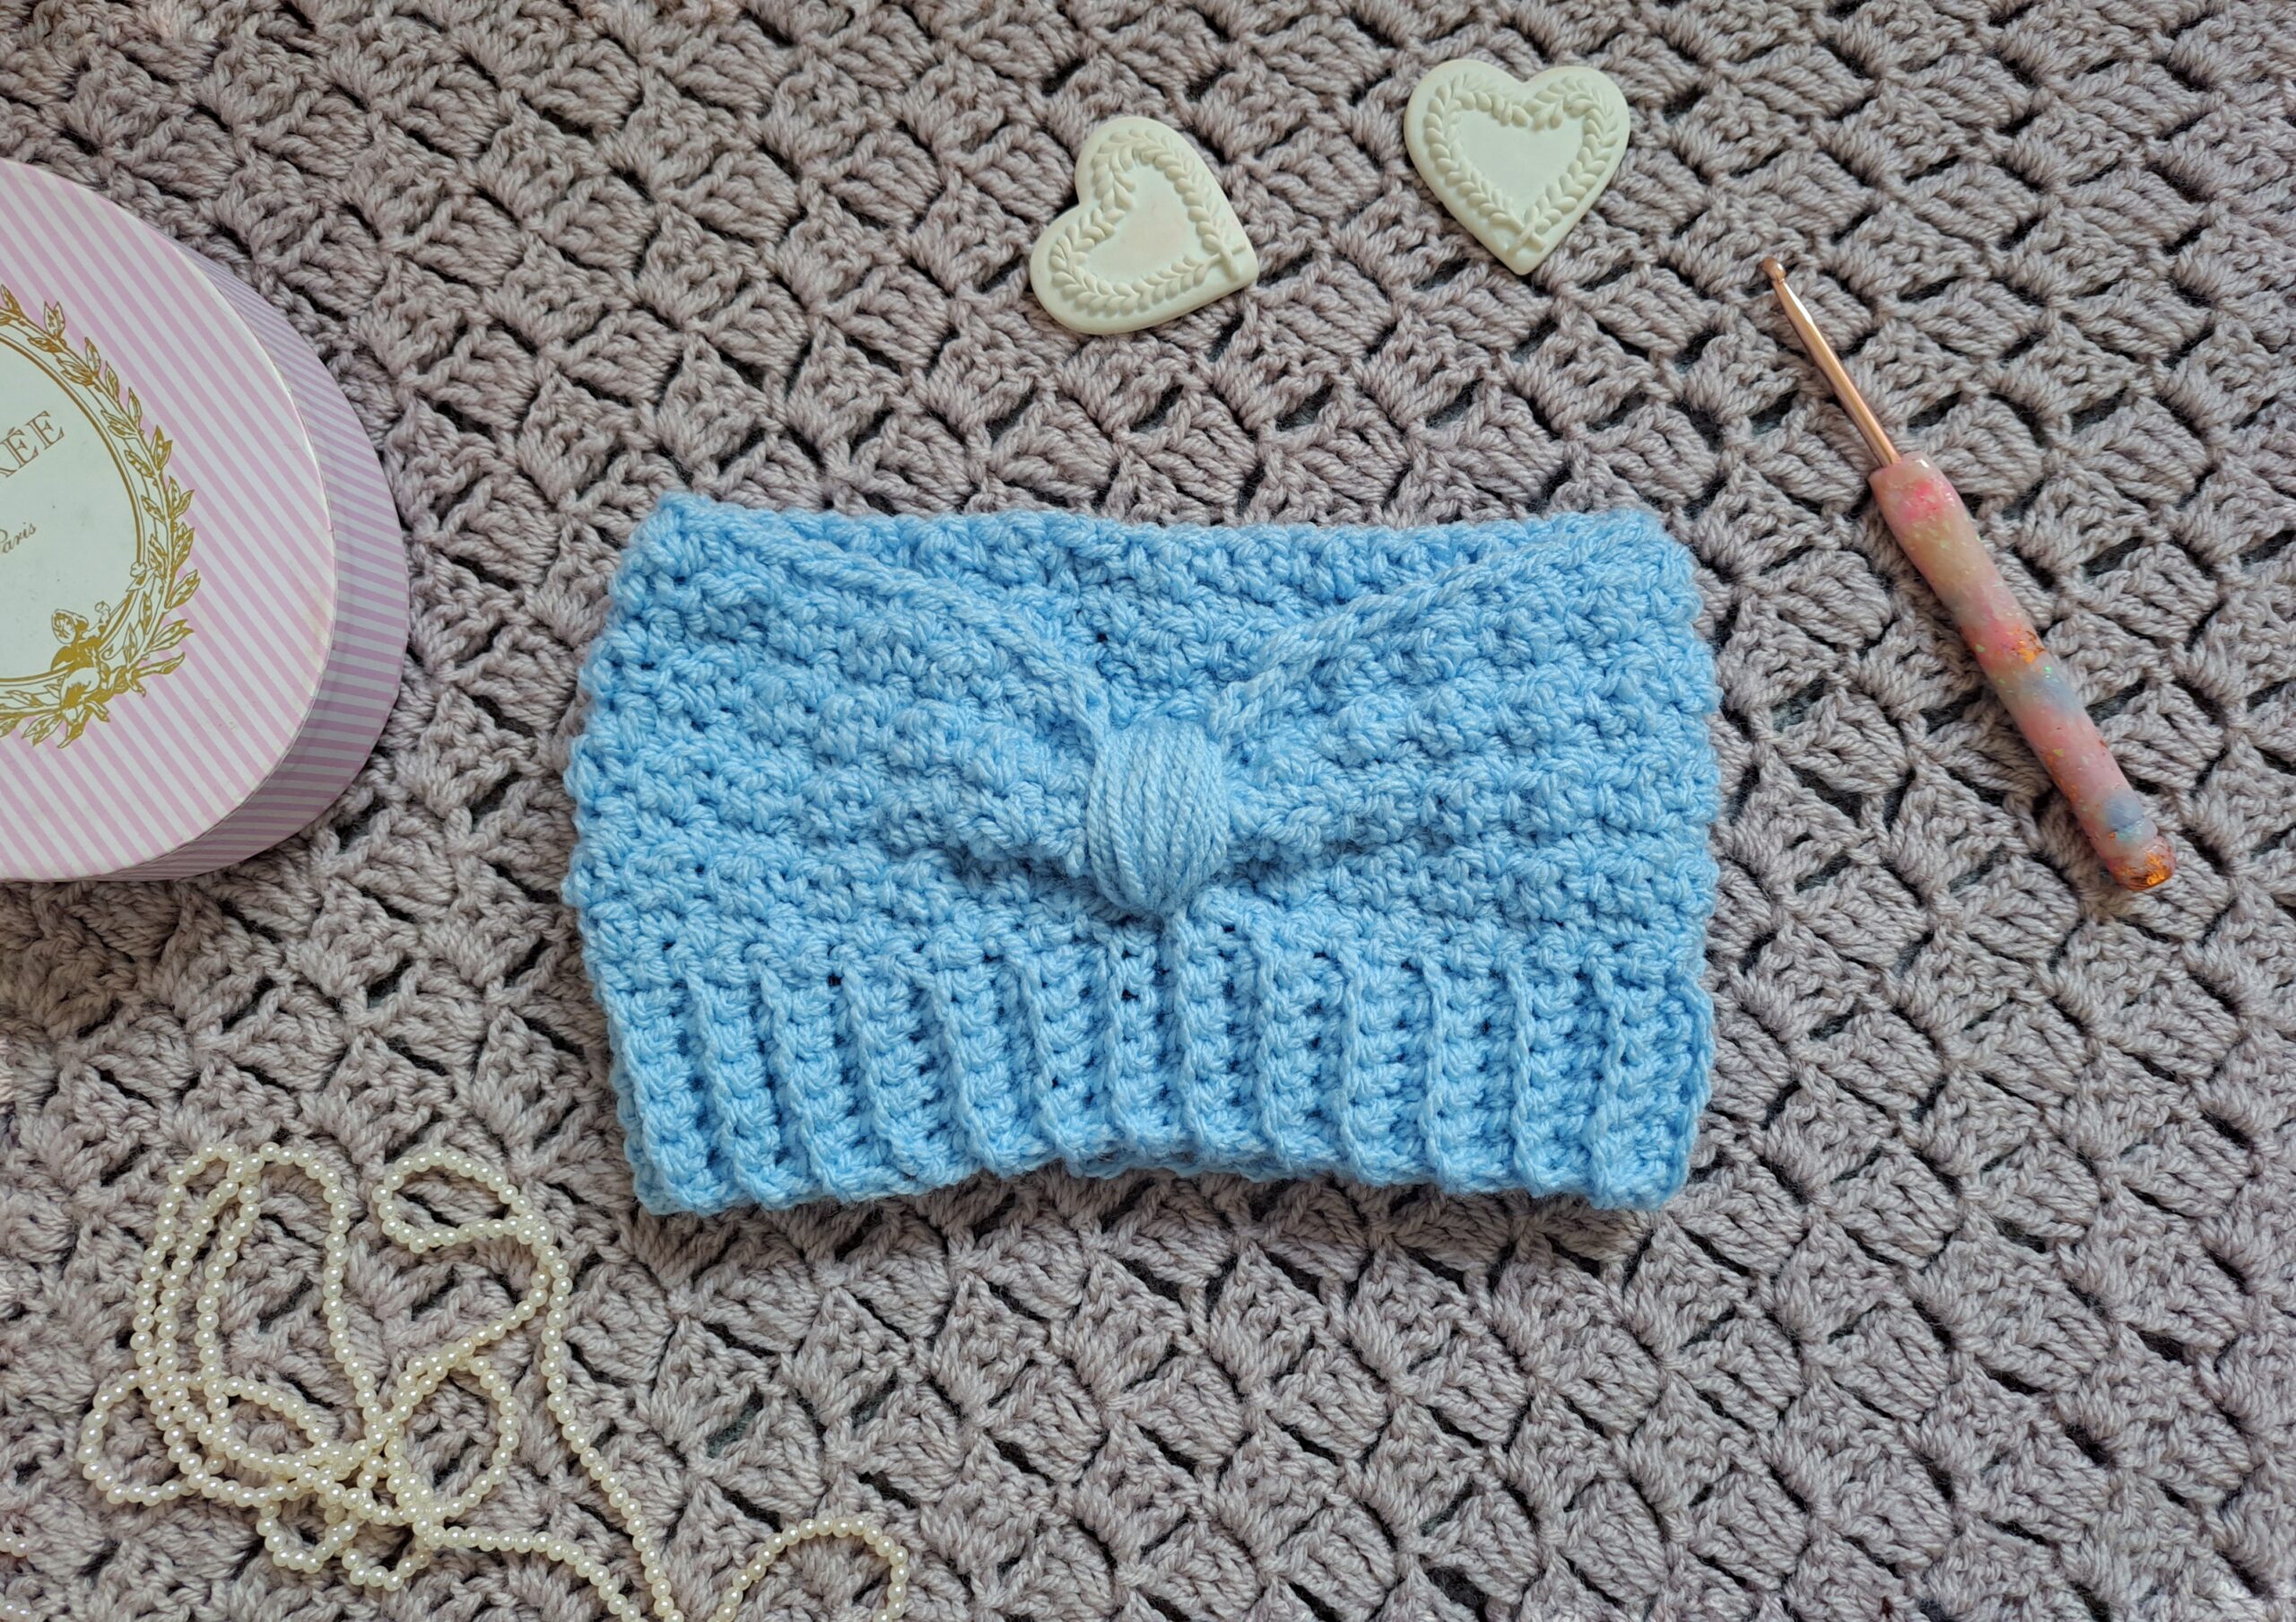
Attach a long piece of yarn to the project, again just above the ribbed edging (at the same place you previously attached the yarn to create “scrunched up” effect).
With tapestry needle, go around the whole “scrunched up” section of project about 20 times, or until you are happy with the effect. Tie a knot on the inside of project, fasten off and tidy up loose end.


You May Also Like
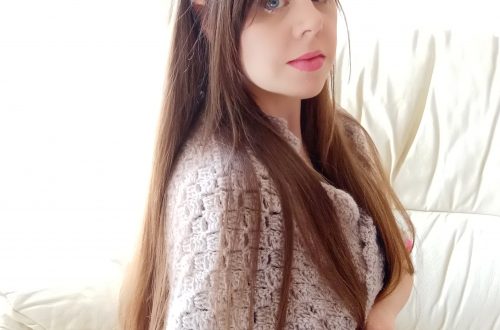
Crochet The Back To The 80’s Shawl
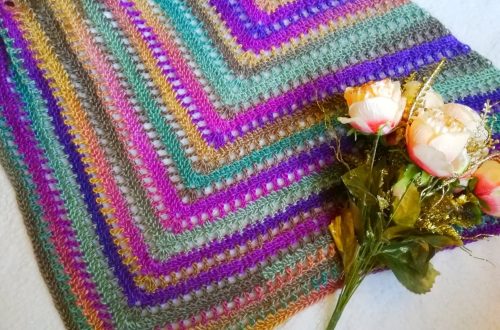
Crochet The Beautiful Maiden Wrap