Crochet Feminine Vintage Collar
Crochet Feminine Vintage Collar
Hello everyone, today I am bringing to you a new tutorial on how to crochet a feminine vintage collar. I am very excited to share this easy crochet project with you. This easy to follow pattern also marks the return of my vintage crochet series. The vintage crochet series is very popular, and I wanted to update it with this sweet and feminine crochet collar.
You can find the video tutorial for this project here:
Crochet Feminine Vintage Collar: the Vintage Crochet Series new installment
This easy and beautiful crochet collar is the new installment in the Vintage Crochet Series. I had wanted to update the vintage crochet series in a long time, and this pattern is the perfect vintage accessory! It is simple yet beautiful. This crochet pattern is very simple to make. The pattern is perfect if you are a beginner too. It works up quickly and beautifully.
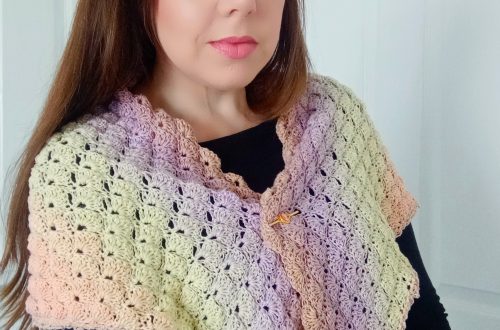
The last vintage crochet series project I made was the Daphne Regency Era Wrap, inspired by the Bridgerton series. It is a beautiful shawl inspired by the Regency Era.
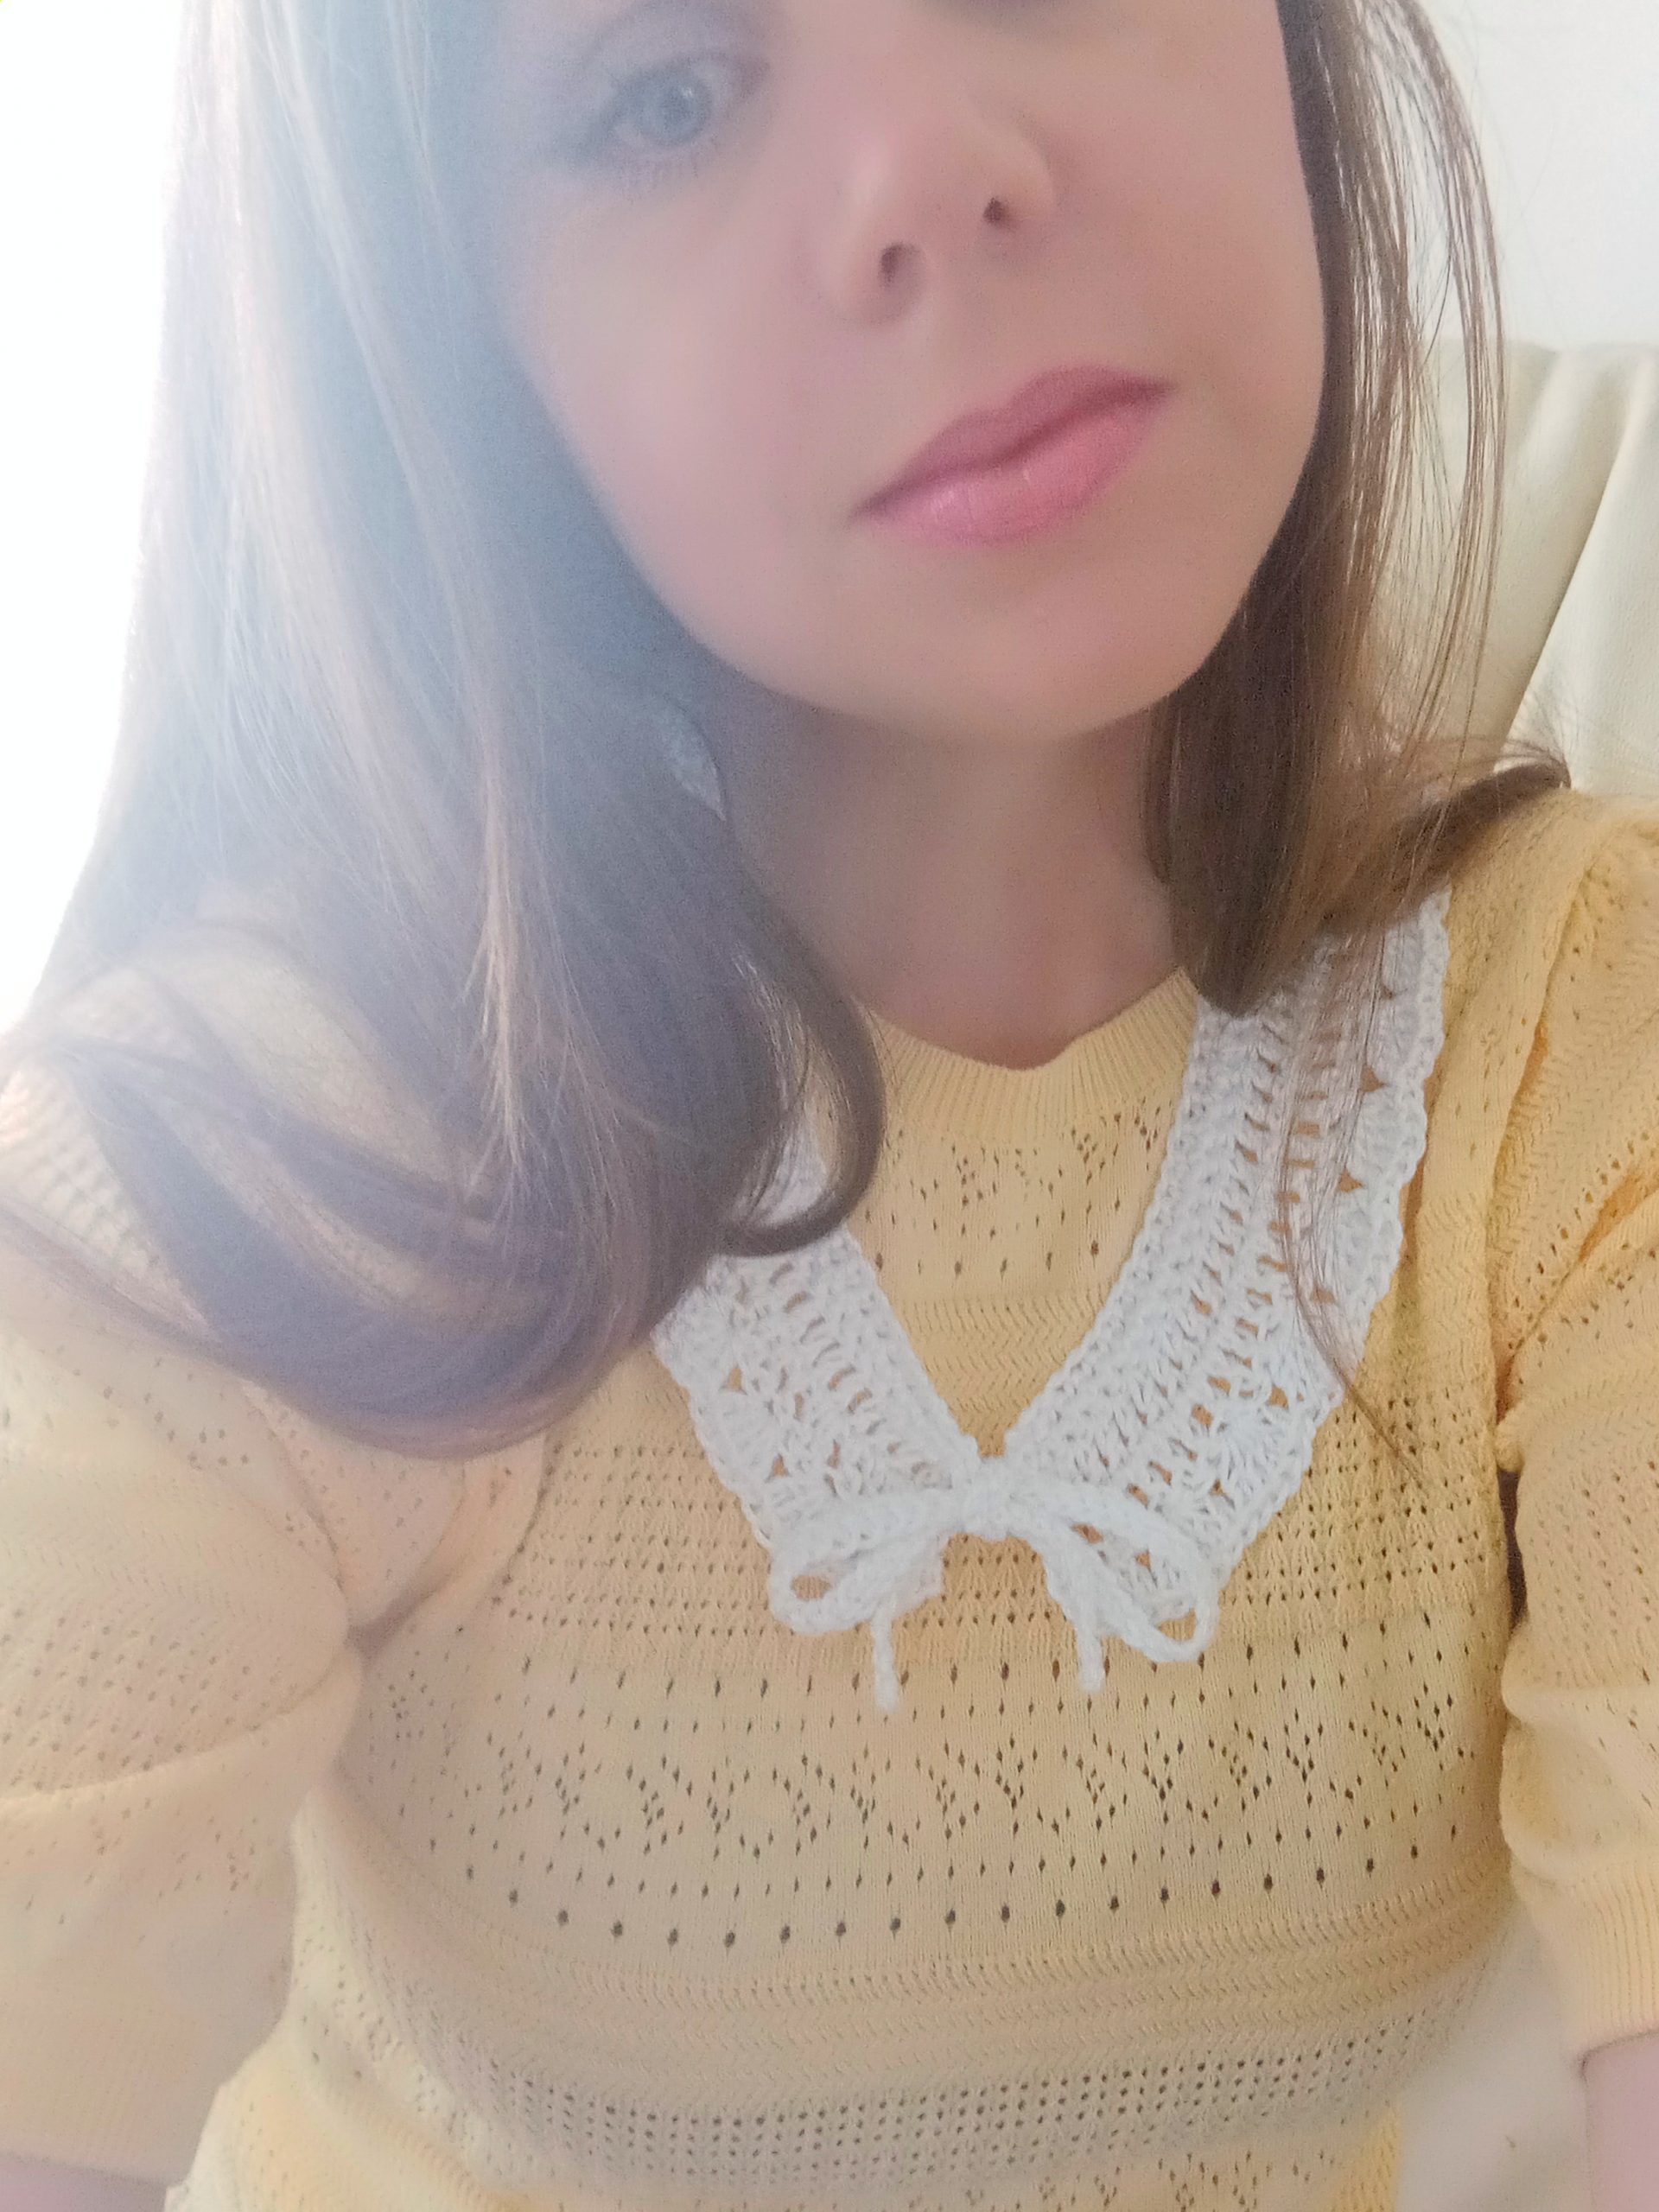
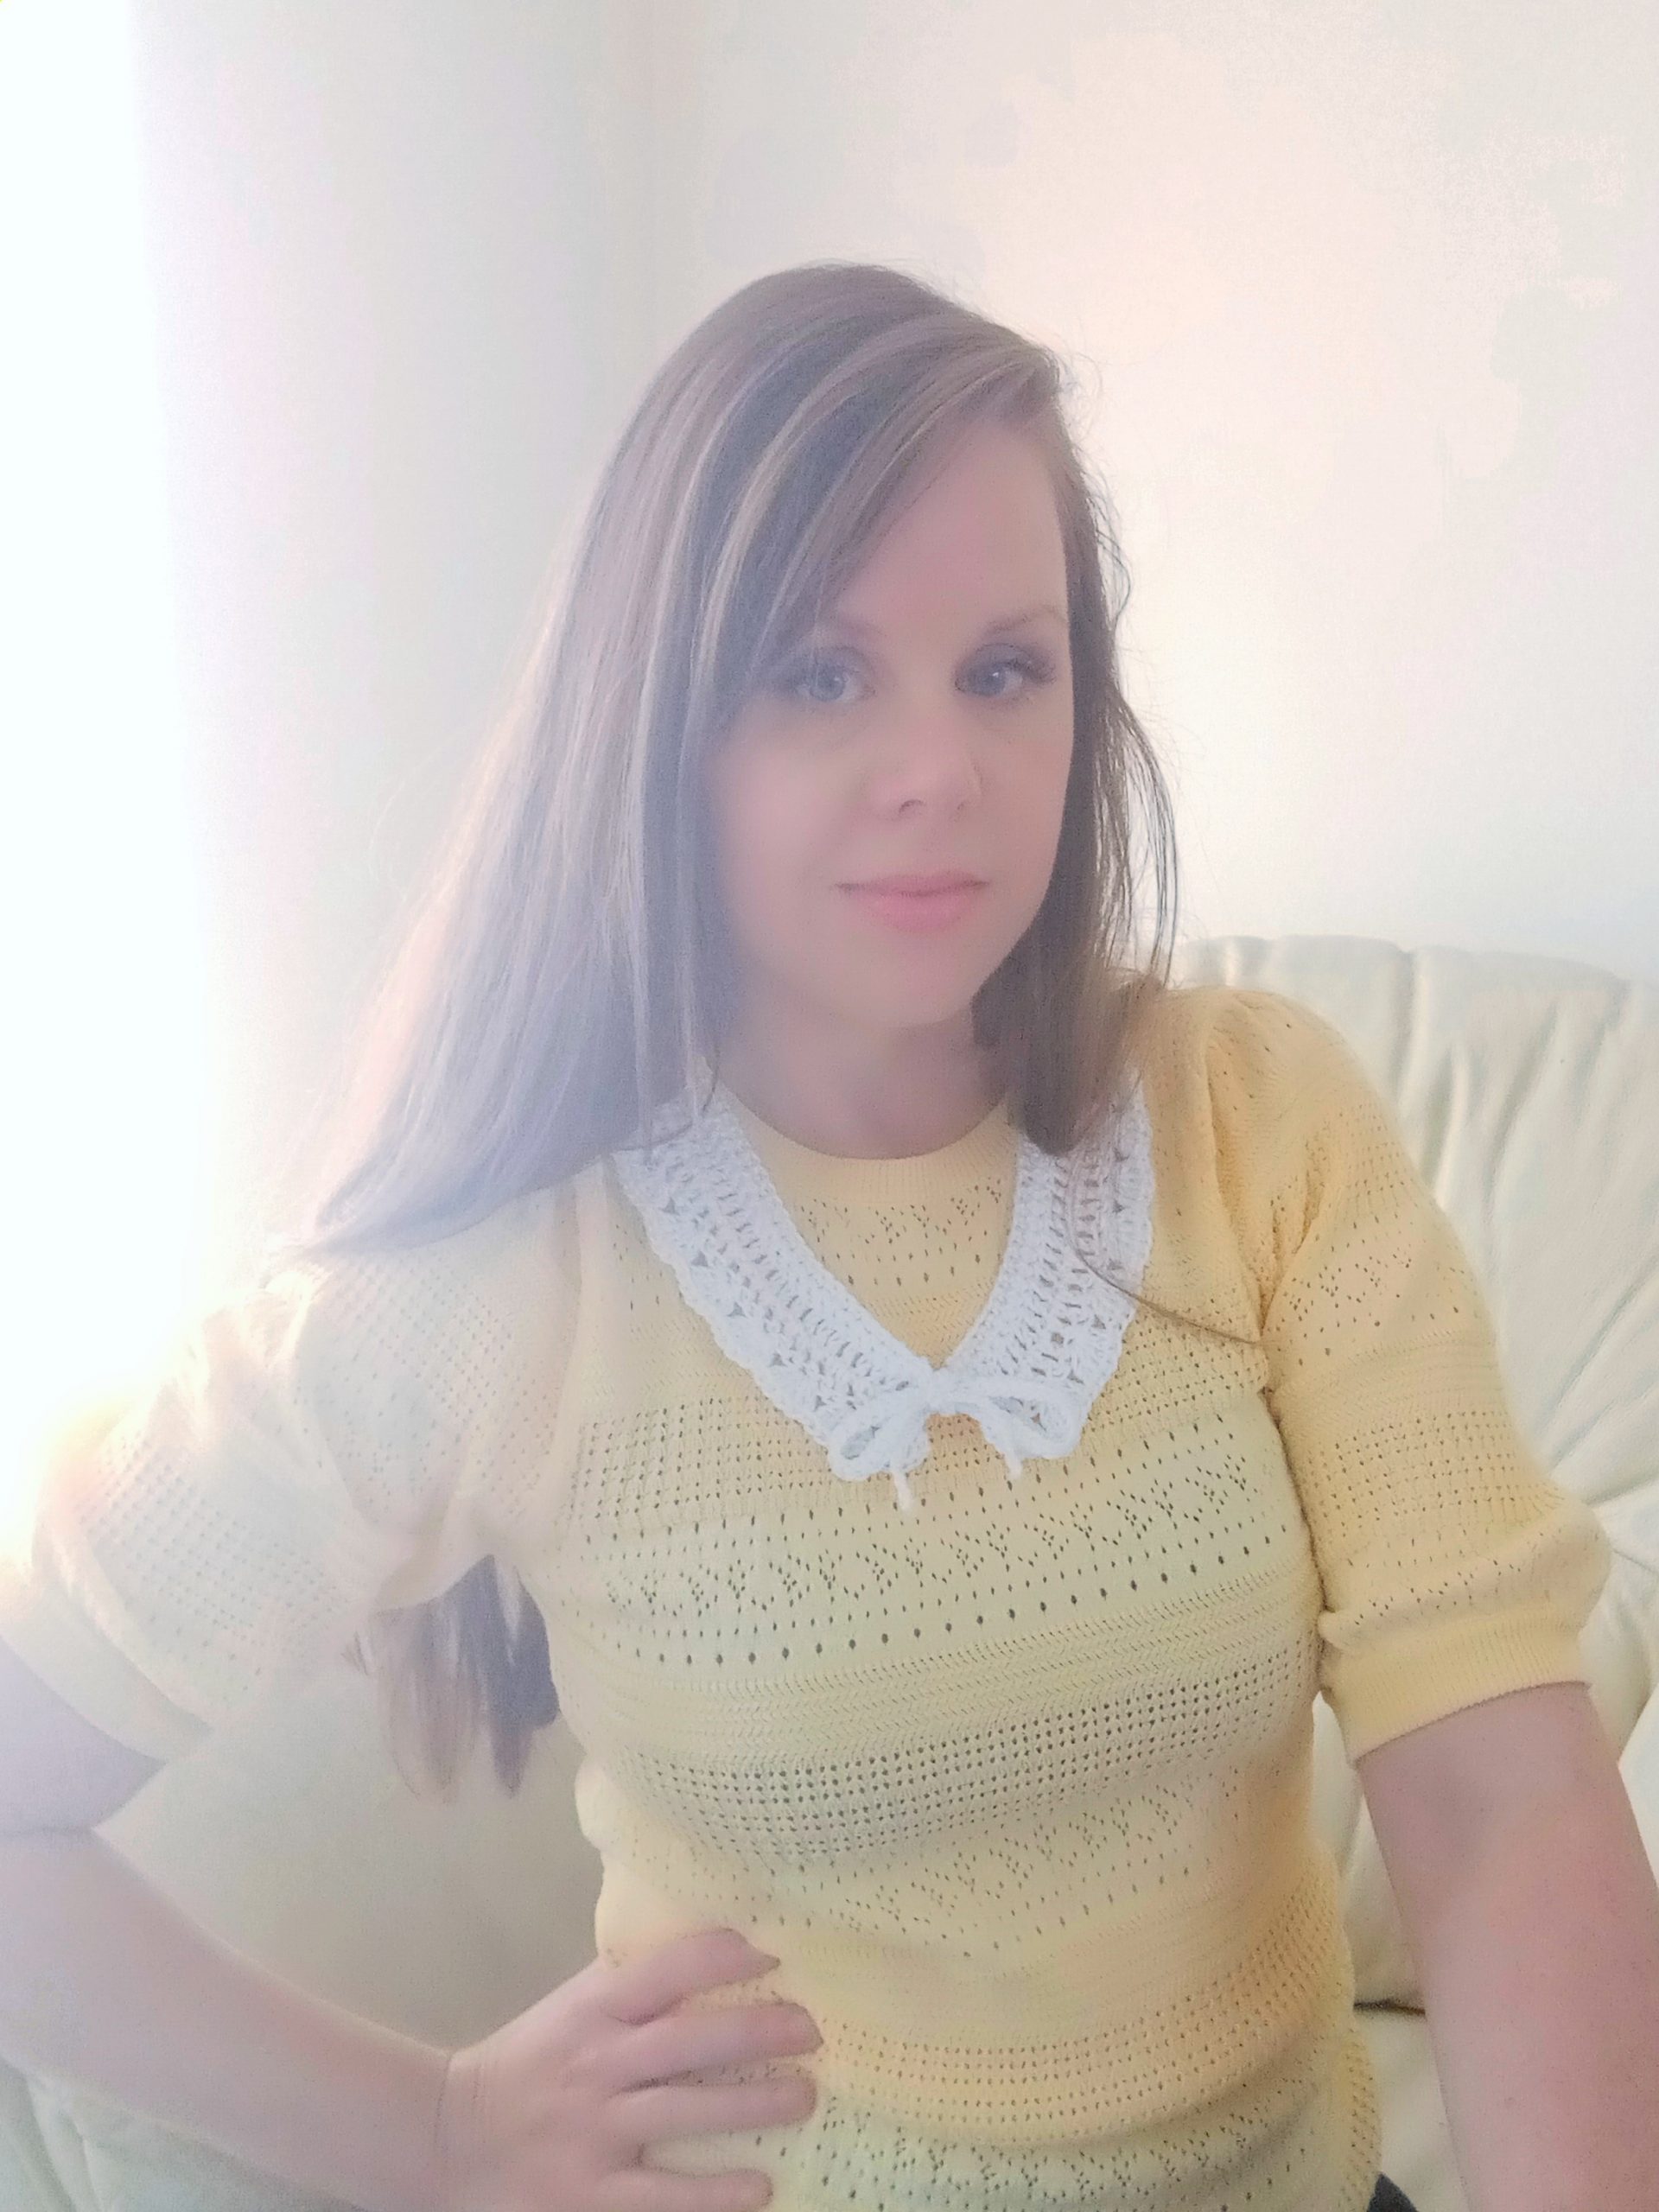
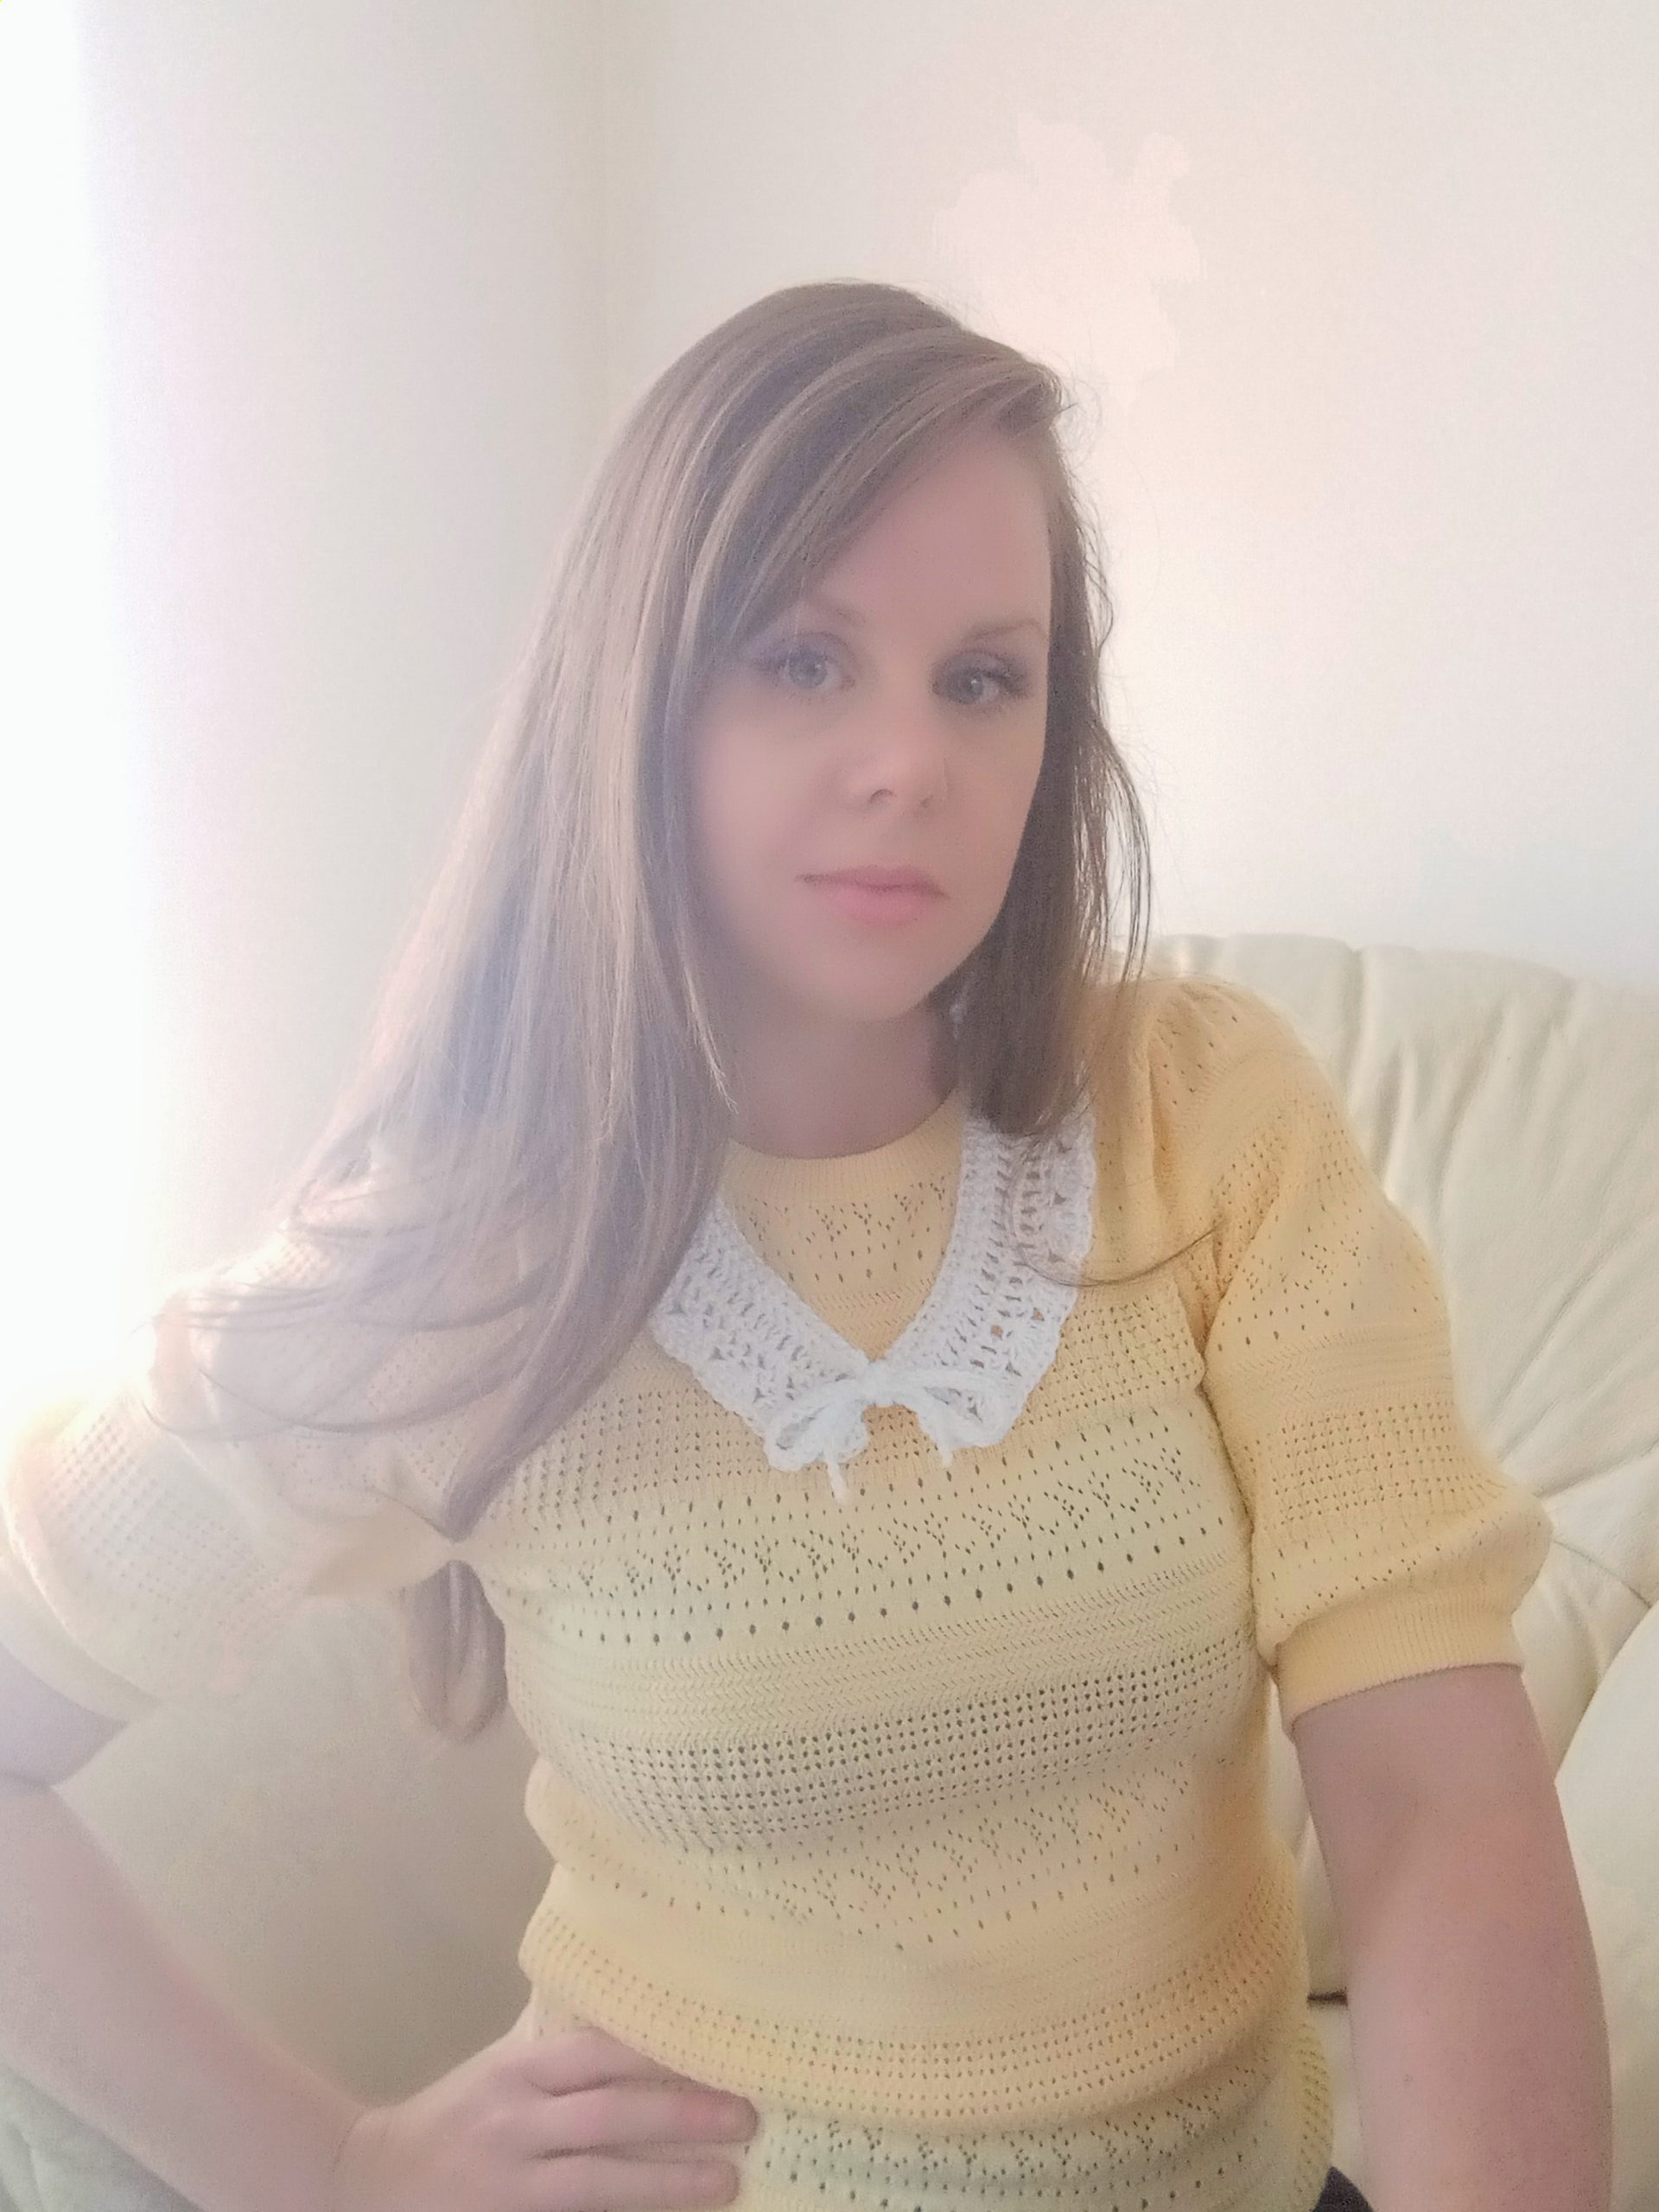
Vintage collars are all over, and very much in fashion. They are very trendy, and look beautiful when added to any garment and top. I have been wanting to create vintage collars for a long time. They look so perfect on any dress or top.
I was surprised at how easy it was to crochet this piece. Indeed, I used a 100% cotton DK yarn (a light 3 yarn), along with a 4 mm crochet hook. Once I started, it was easy to not only create one collar, but a few different ones! I cannot wait to release these future projects very soon.
Crochet Feminine Vintage Collar: a beginner crochet friendly project
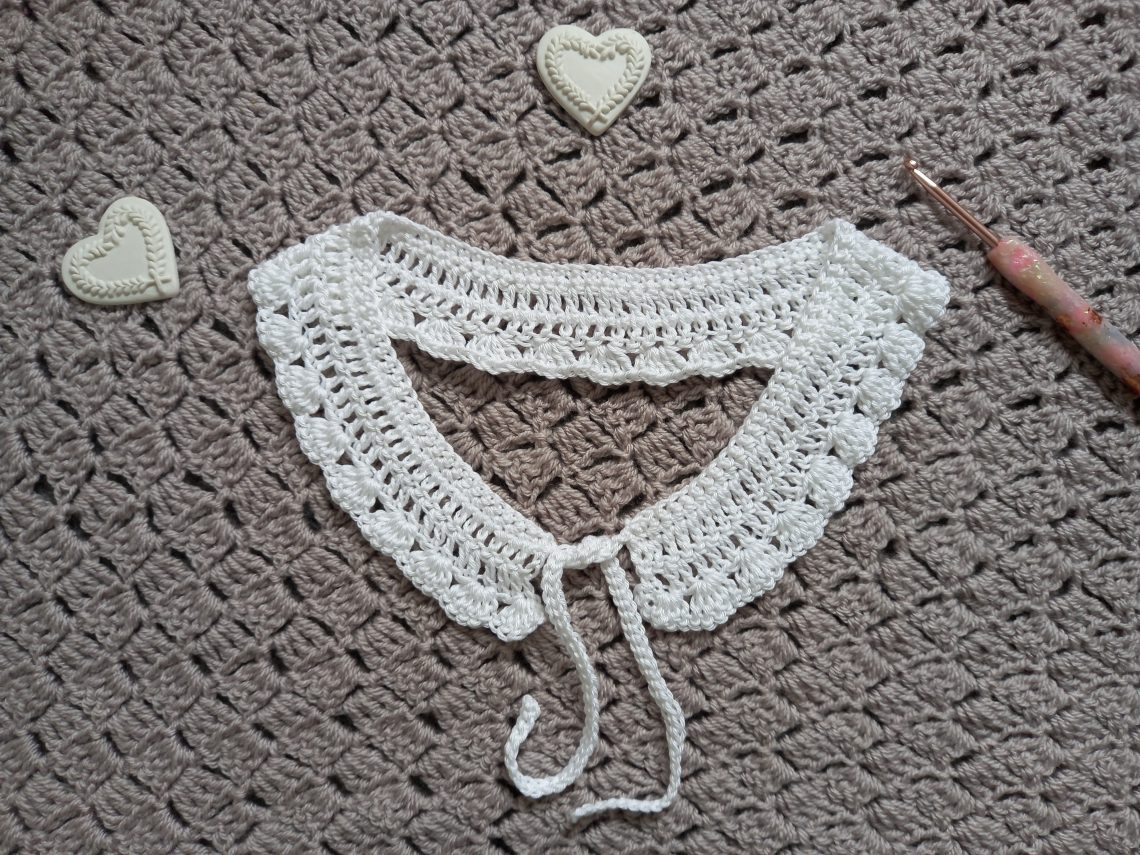
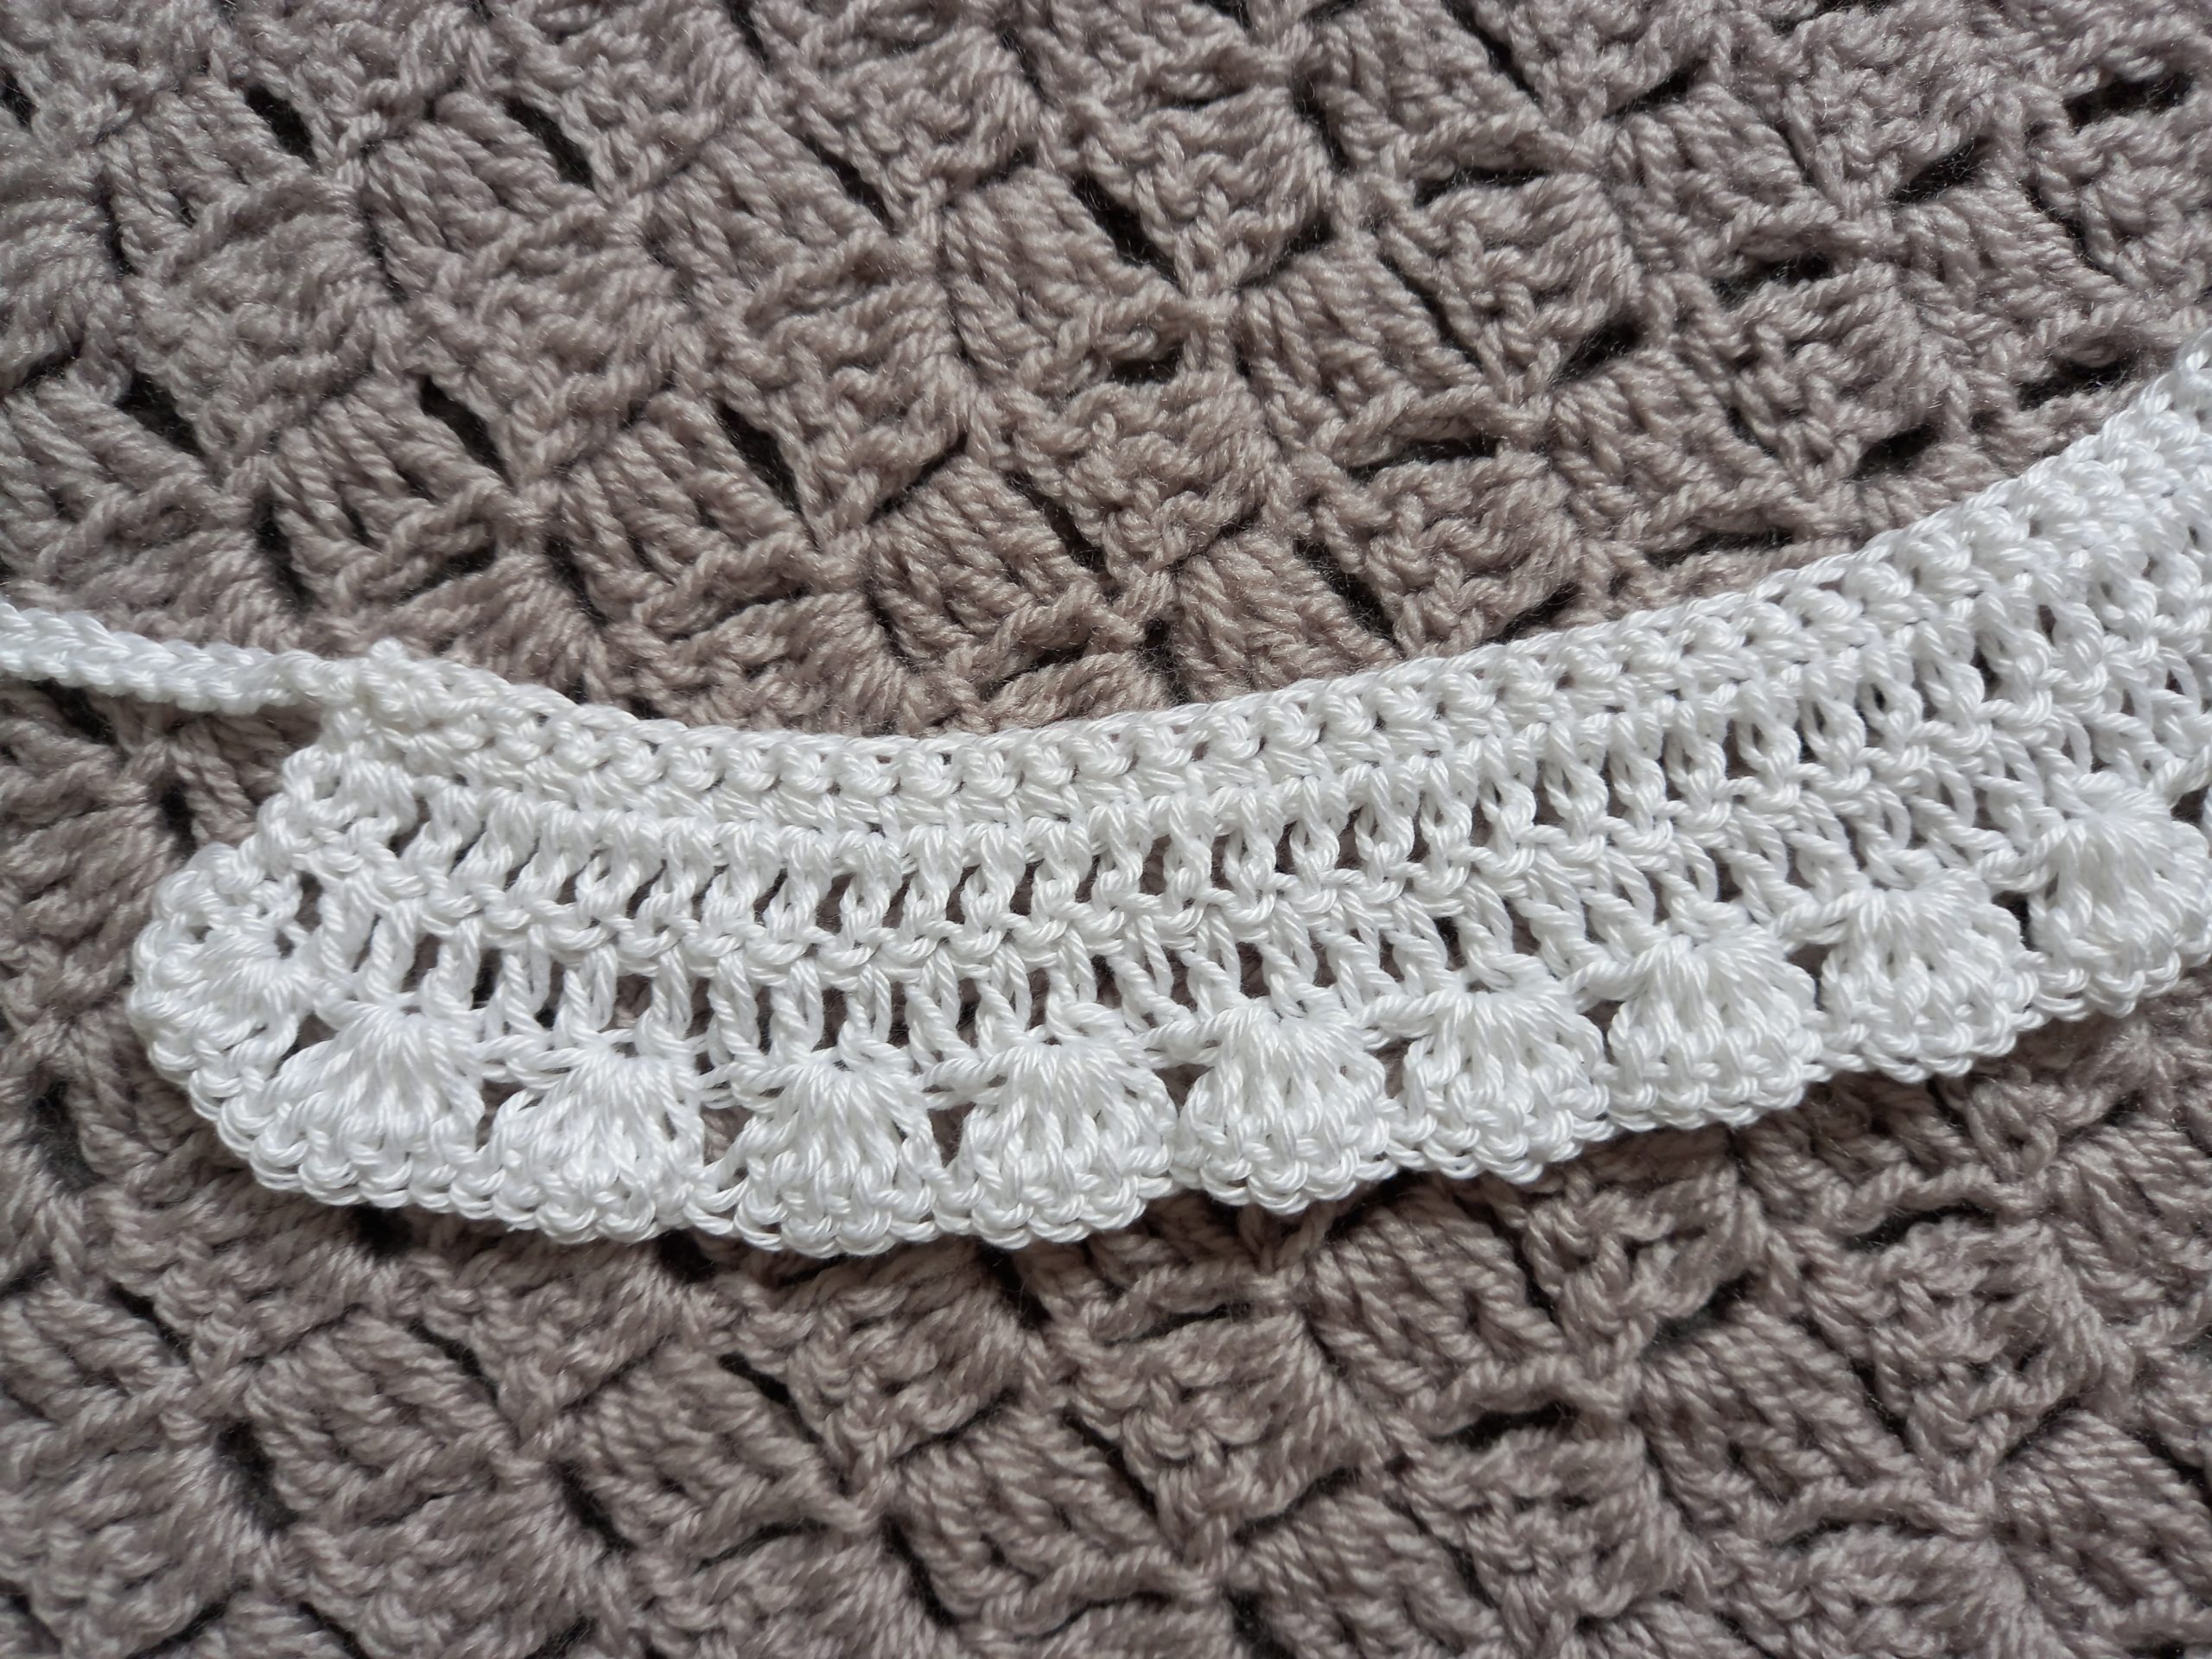
This crochet project is perfect for beginners. It is very easy to crochet, and requires simple crochet skills to complete. It is created with simple rows of Single Crochets and Double Crochets. After the main rows are completed, the finishing row is crocheted with shell stitches.
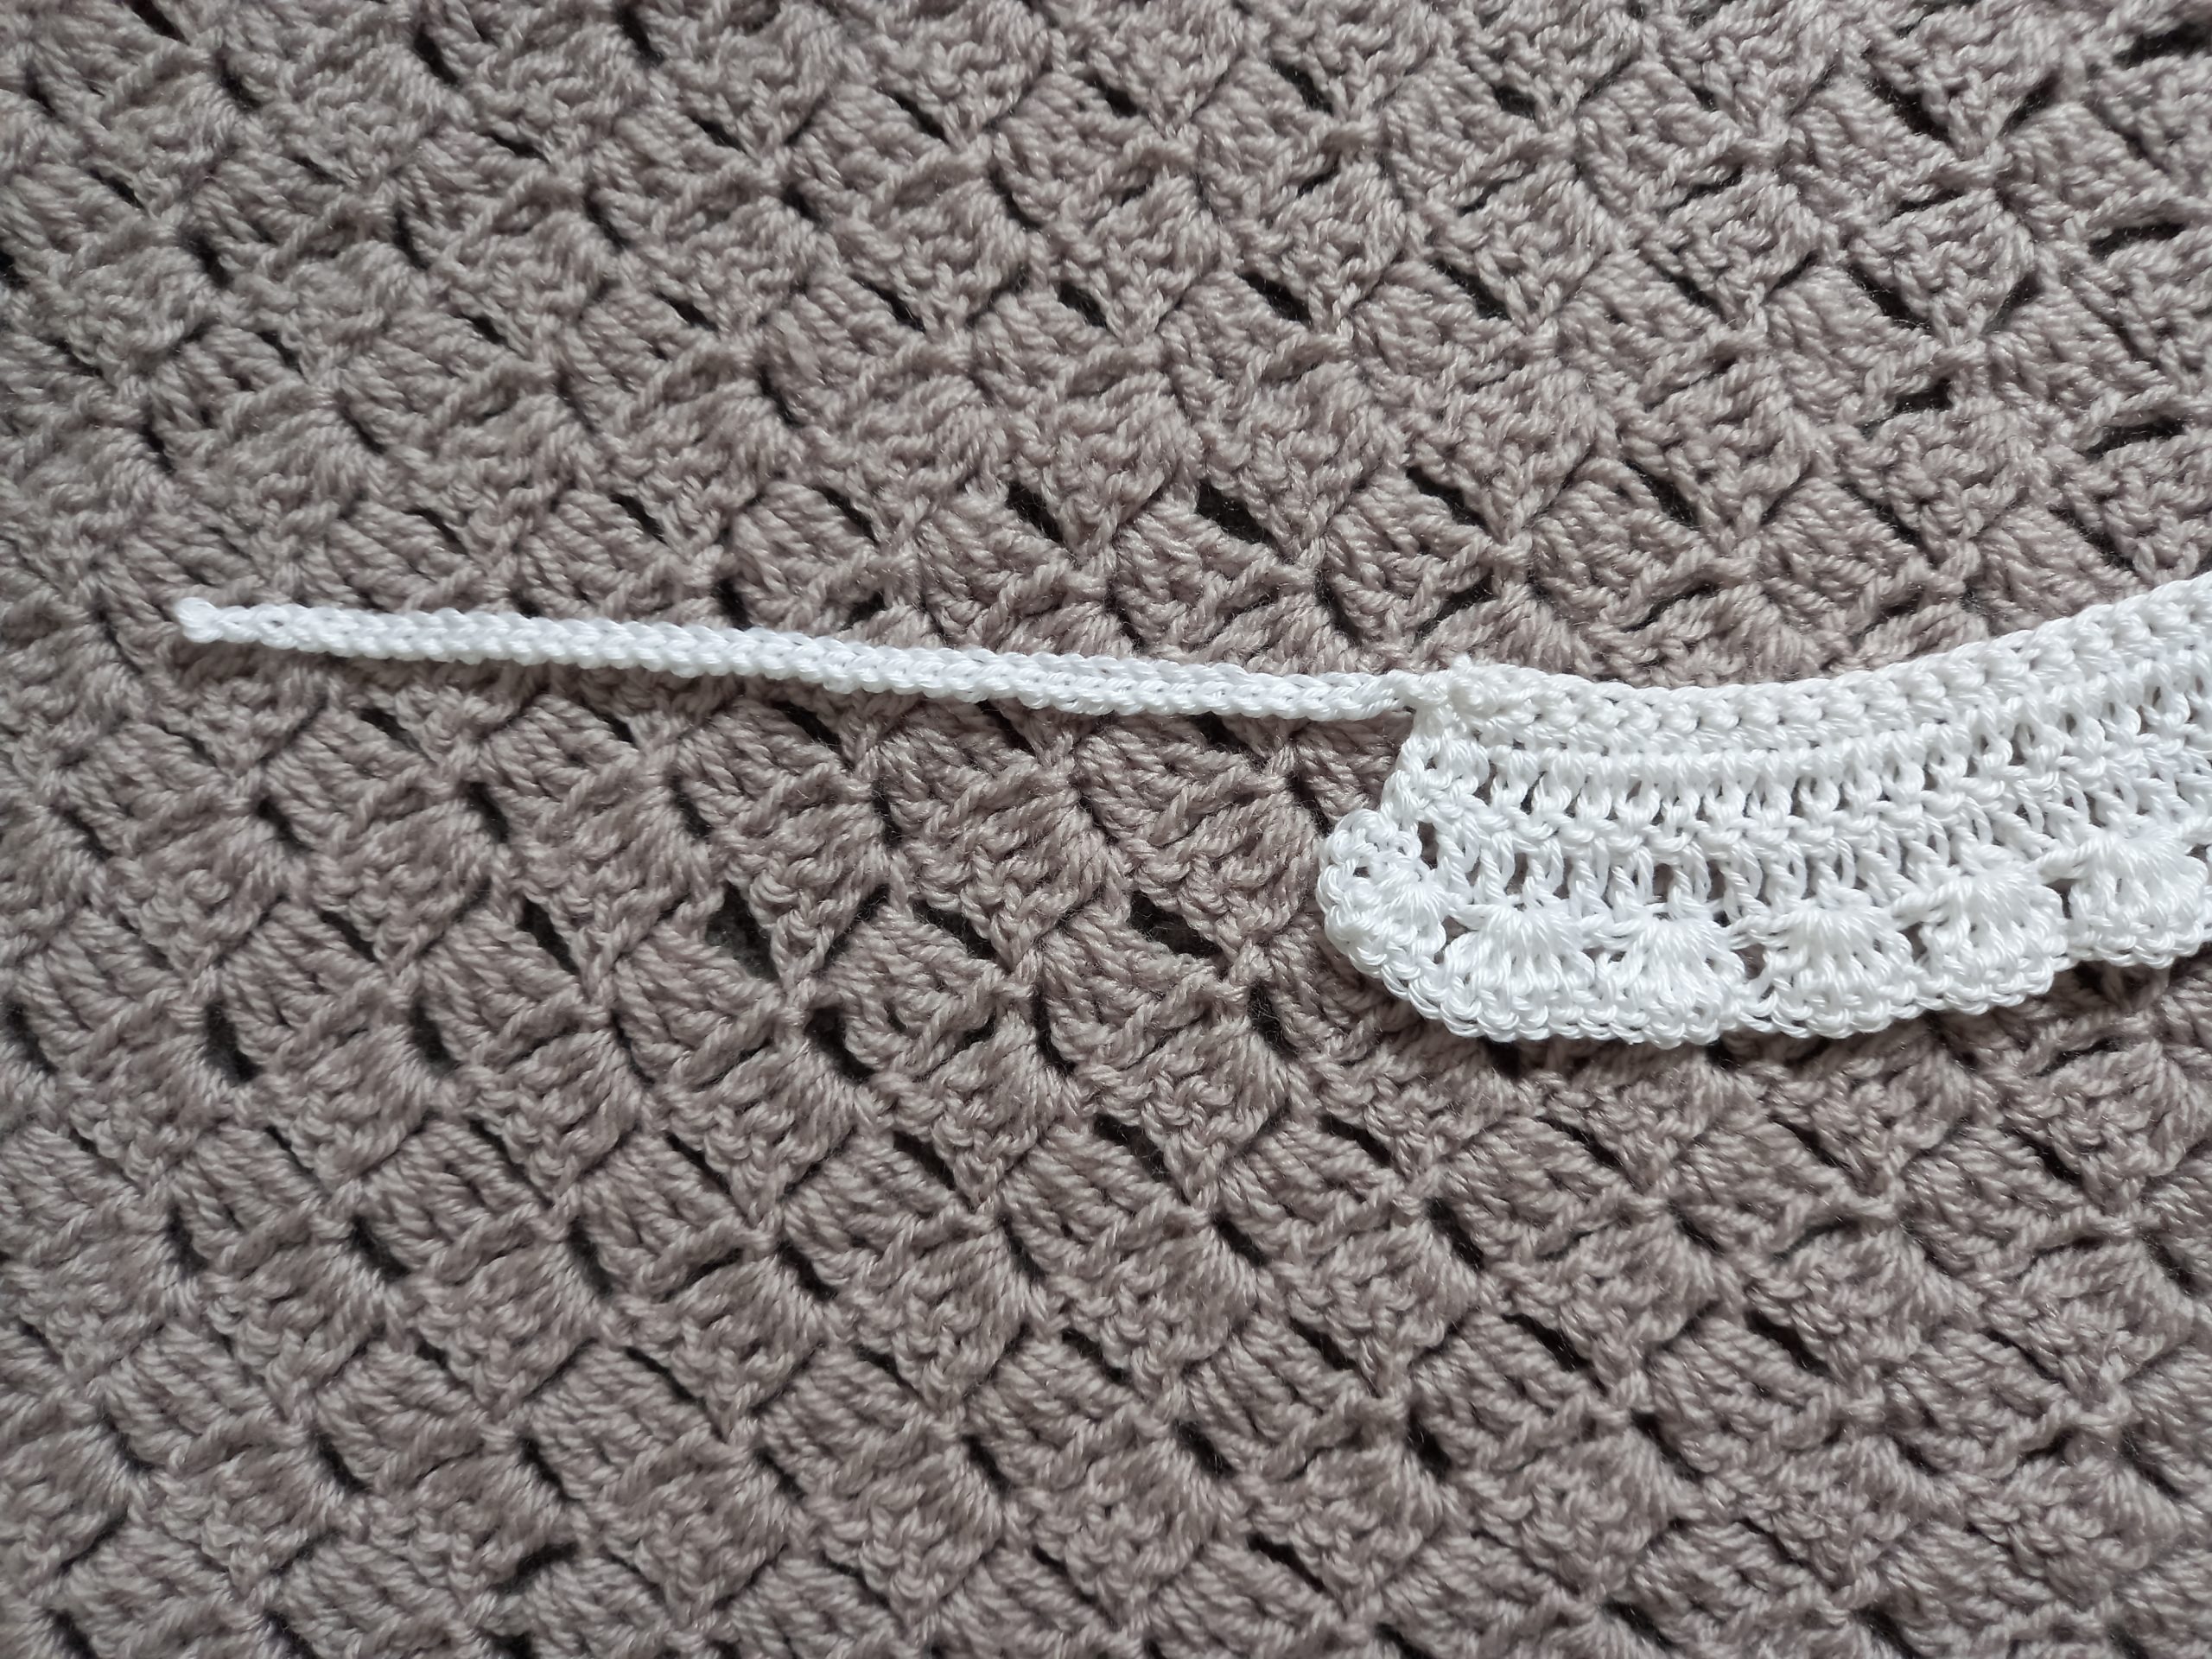
Two straps on either side of the collar are added throughout the creating process of this collar, in one piece. So no sewing or reattaching yarn is even required for this project. I hope you enjoy this tutorial. If you did, then please do share your thoughts in the comments section down below.
Connecting with you
I love nothing more than connecting with you. You can find me on Youtube, Instagram, Facebook and Pinterest. The direct links to these can be found on my Home Page. My handle name is always Selina Veronique Crochet, so you can find me by typing my name too.
My private Facebook group is very welcoming, and I would be delighted if you would consider joining: My Facebook group to connect
You can join my weekly subscription newsletter if you wish. In this case you will never miss a stitch or free pattern, as well as my new tutorials and giveaways.
Crochet Feminine Vintage Collar: the pattern
You can purchase my large print, ad free, PDF pattern here: Crochet The Vintage Collar PDF Pattern
Level: Easy/beginner
Gauge: Gauge is not crucial for completion of this project
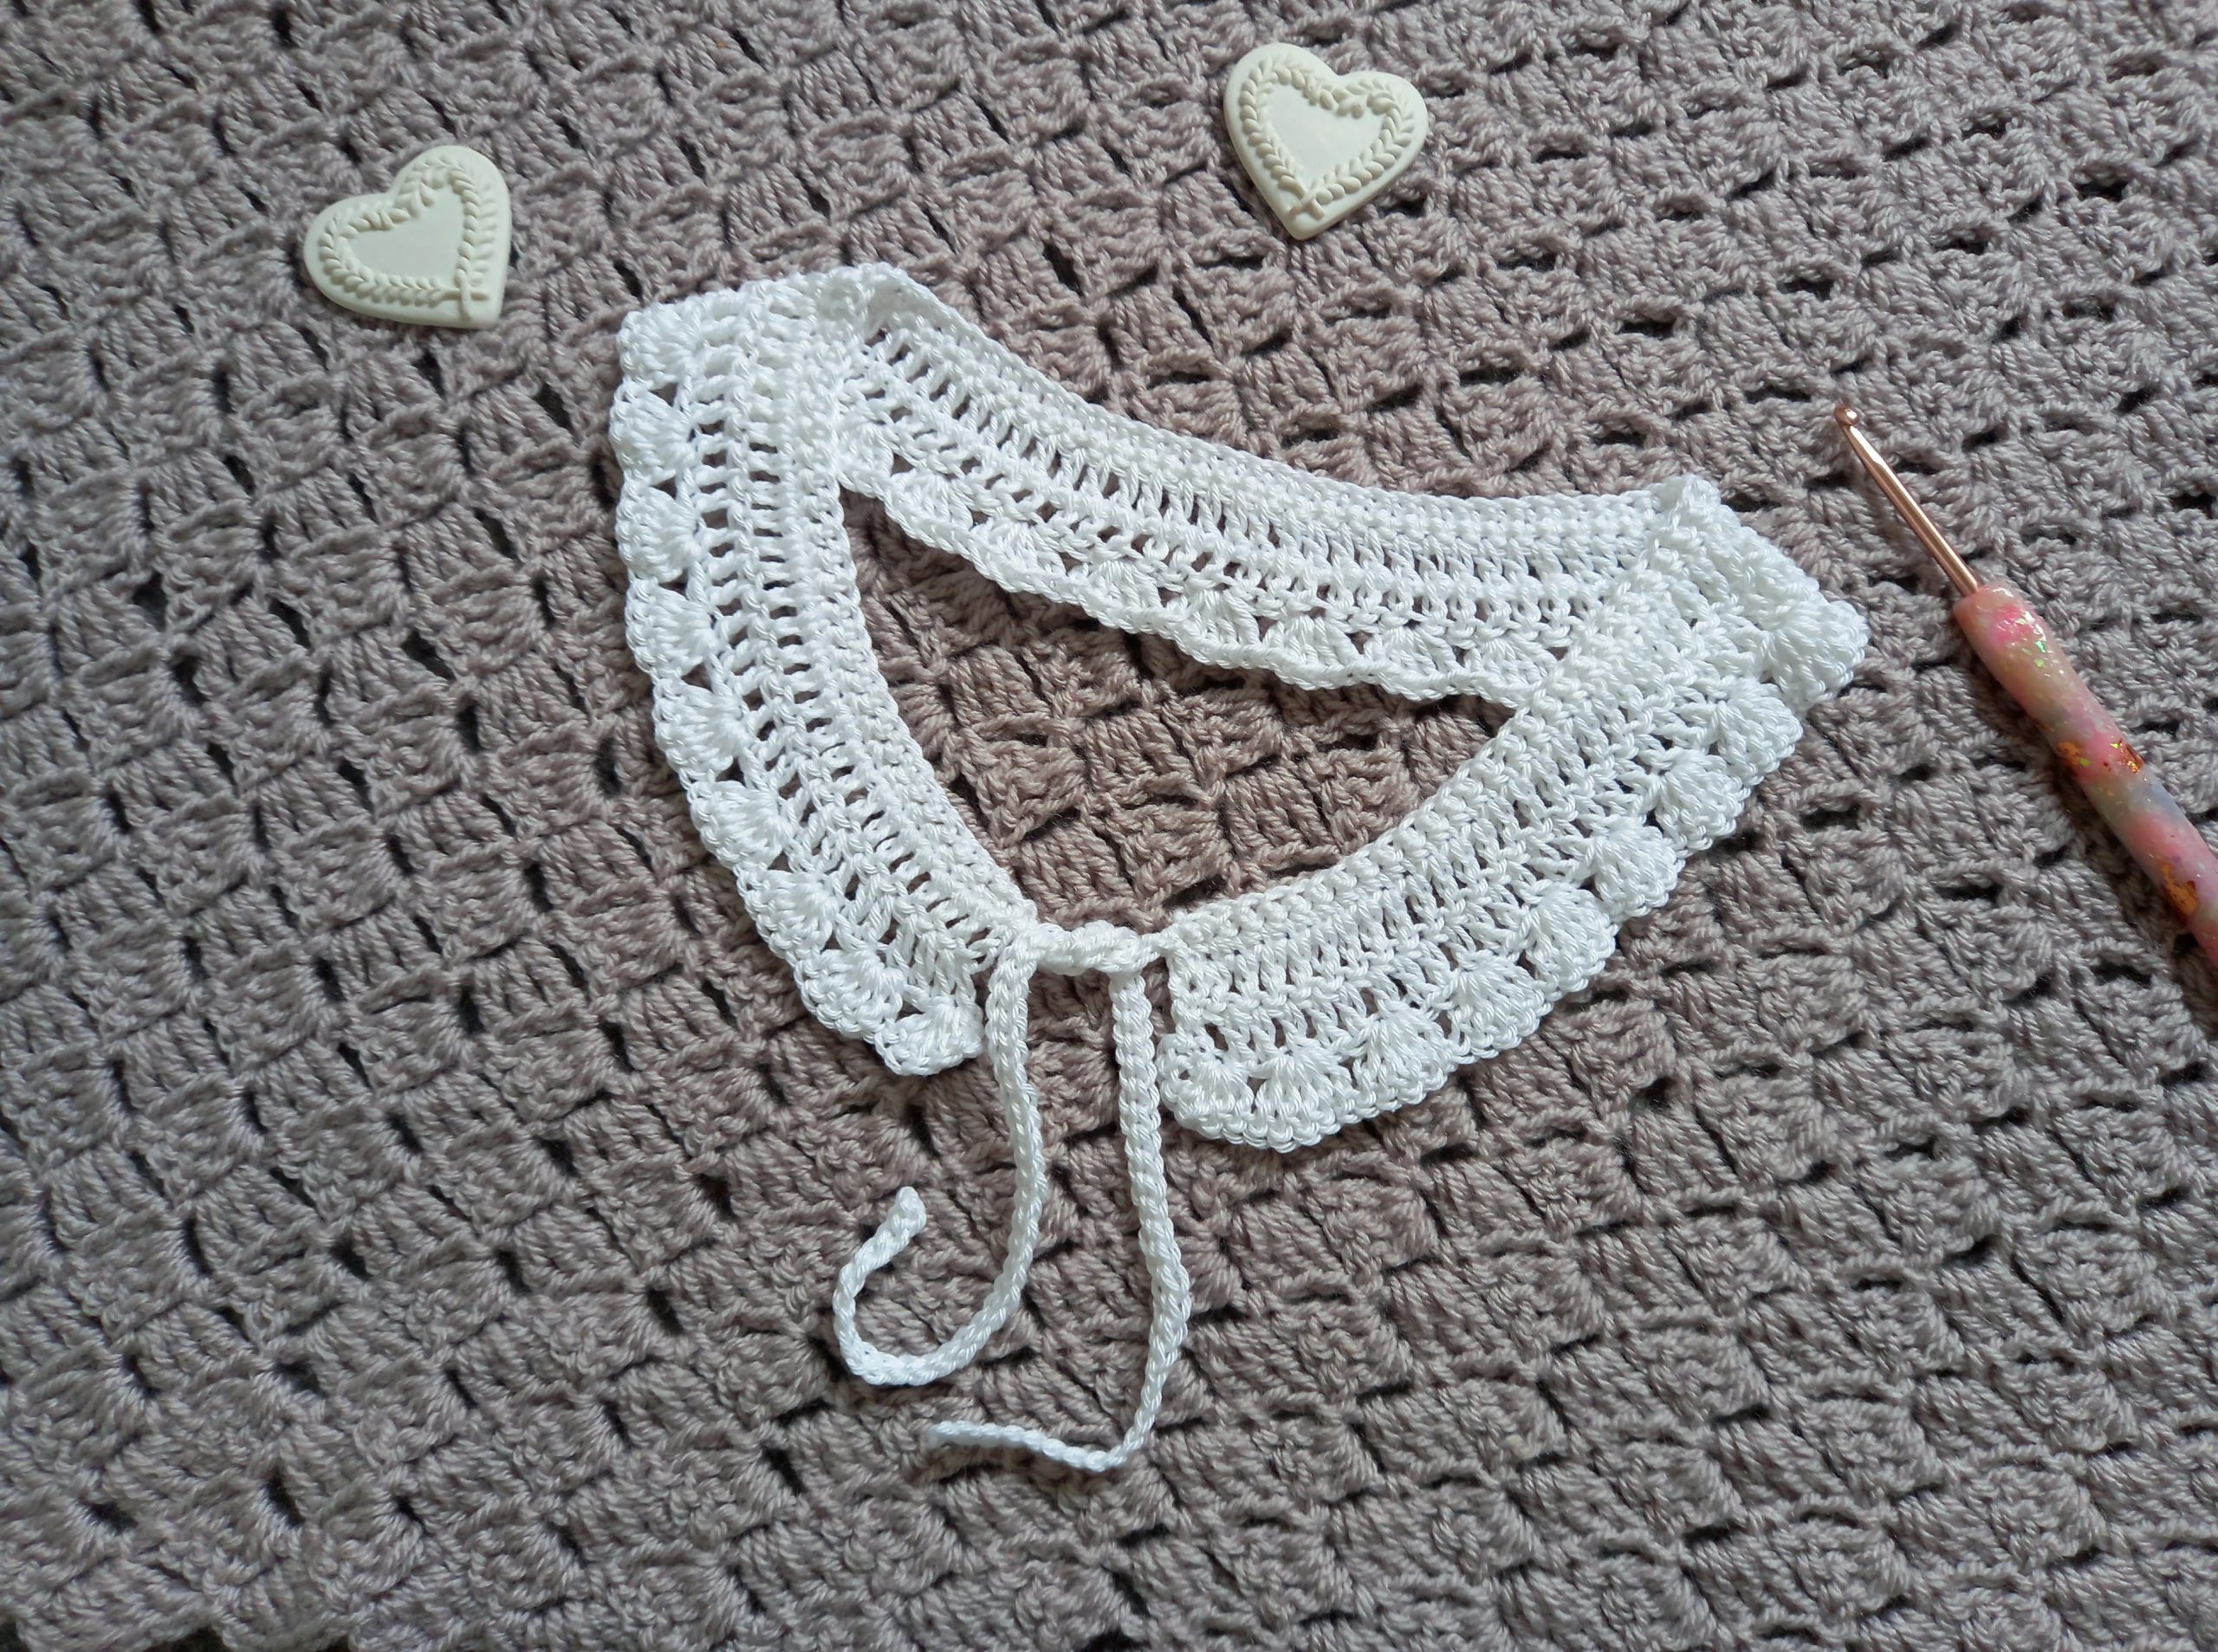
Size of finished collar
2”x21,5” (5 cm x 55 cm)
Notes
I will be using US terms (British terms in brackets)
You will need
1 skein of Patons 100% cotton DK in shade White (or any other 100% cotton DK/Light 3 yarn of your choice)
4 mm crochet hook
Pair of scissors
Tapestry needle
1 Stitch marker
Abbreviations
Ch : chain
Sl st : slip stitch
DC: Double Crochet (UK Treble)
SC: Single Crochet (UK Double)
Sk: skip
EOR: End of row
To begin
To start, make a slip knot.
Ch 132
Place a stitch marker in 92nd chain.
Complete rows as follows:
1: Slip stitch into 2nd chain and into each chain until you reach the stitch marker. Once you reach the stitch marker, skip one stitch and place a SC into 2nd chain from stitch marker (first chain counts as a SC). Place a SC into each stitch across until eor (=92 SC total).
Leave stitch marker in project.
2: Ch 1 (=SC), SC into each stitch until eor.
3: Ch 3 (=DC), DC into each stitch until eor.
4-5: repeat row 3.
6: Ch 3 (=DC), place 4 DC into same 1st stitch (=5DC and first shell stitch), [sk 2 stitches and place 5 DC into next stitch] until eor.
Do not fasten off.
Create side strap
Turn your work in a perpendicular way, so that the end of the collar is facing up. Slip stitch through stitches until you reach the top edge of the collar to create the other side strap of the collar (it should be on the same row as the first one we created at the beginning of the project through slip stitching).
Chain 40. Once you have finished chaining, sl st through the 2nd chain and into each chain across. Once you reach the top side of the collar once again, sl st through the project to secure second strap.
Fasten off and tidy up your loose end.


You May Also Like
Crochet a Feather
Crochet Easy Scrunchie Free Pattern