Crochet Granny Triangle Pattern
Crochet Granny Triangle Pattern
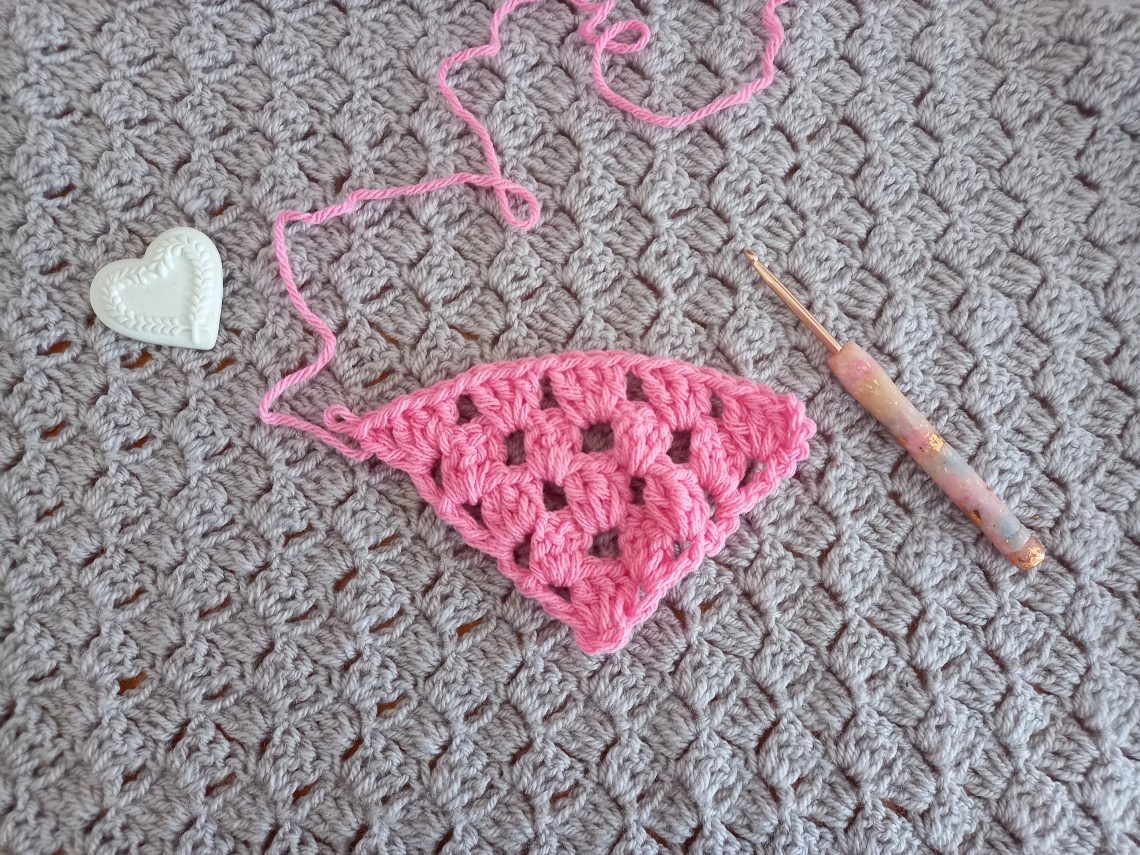
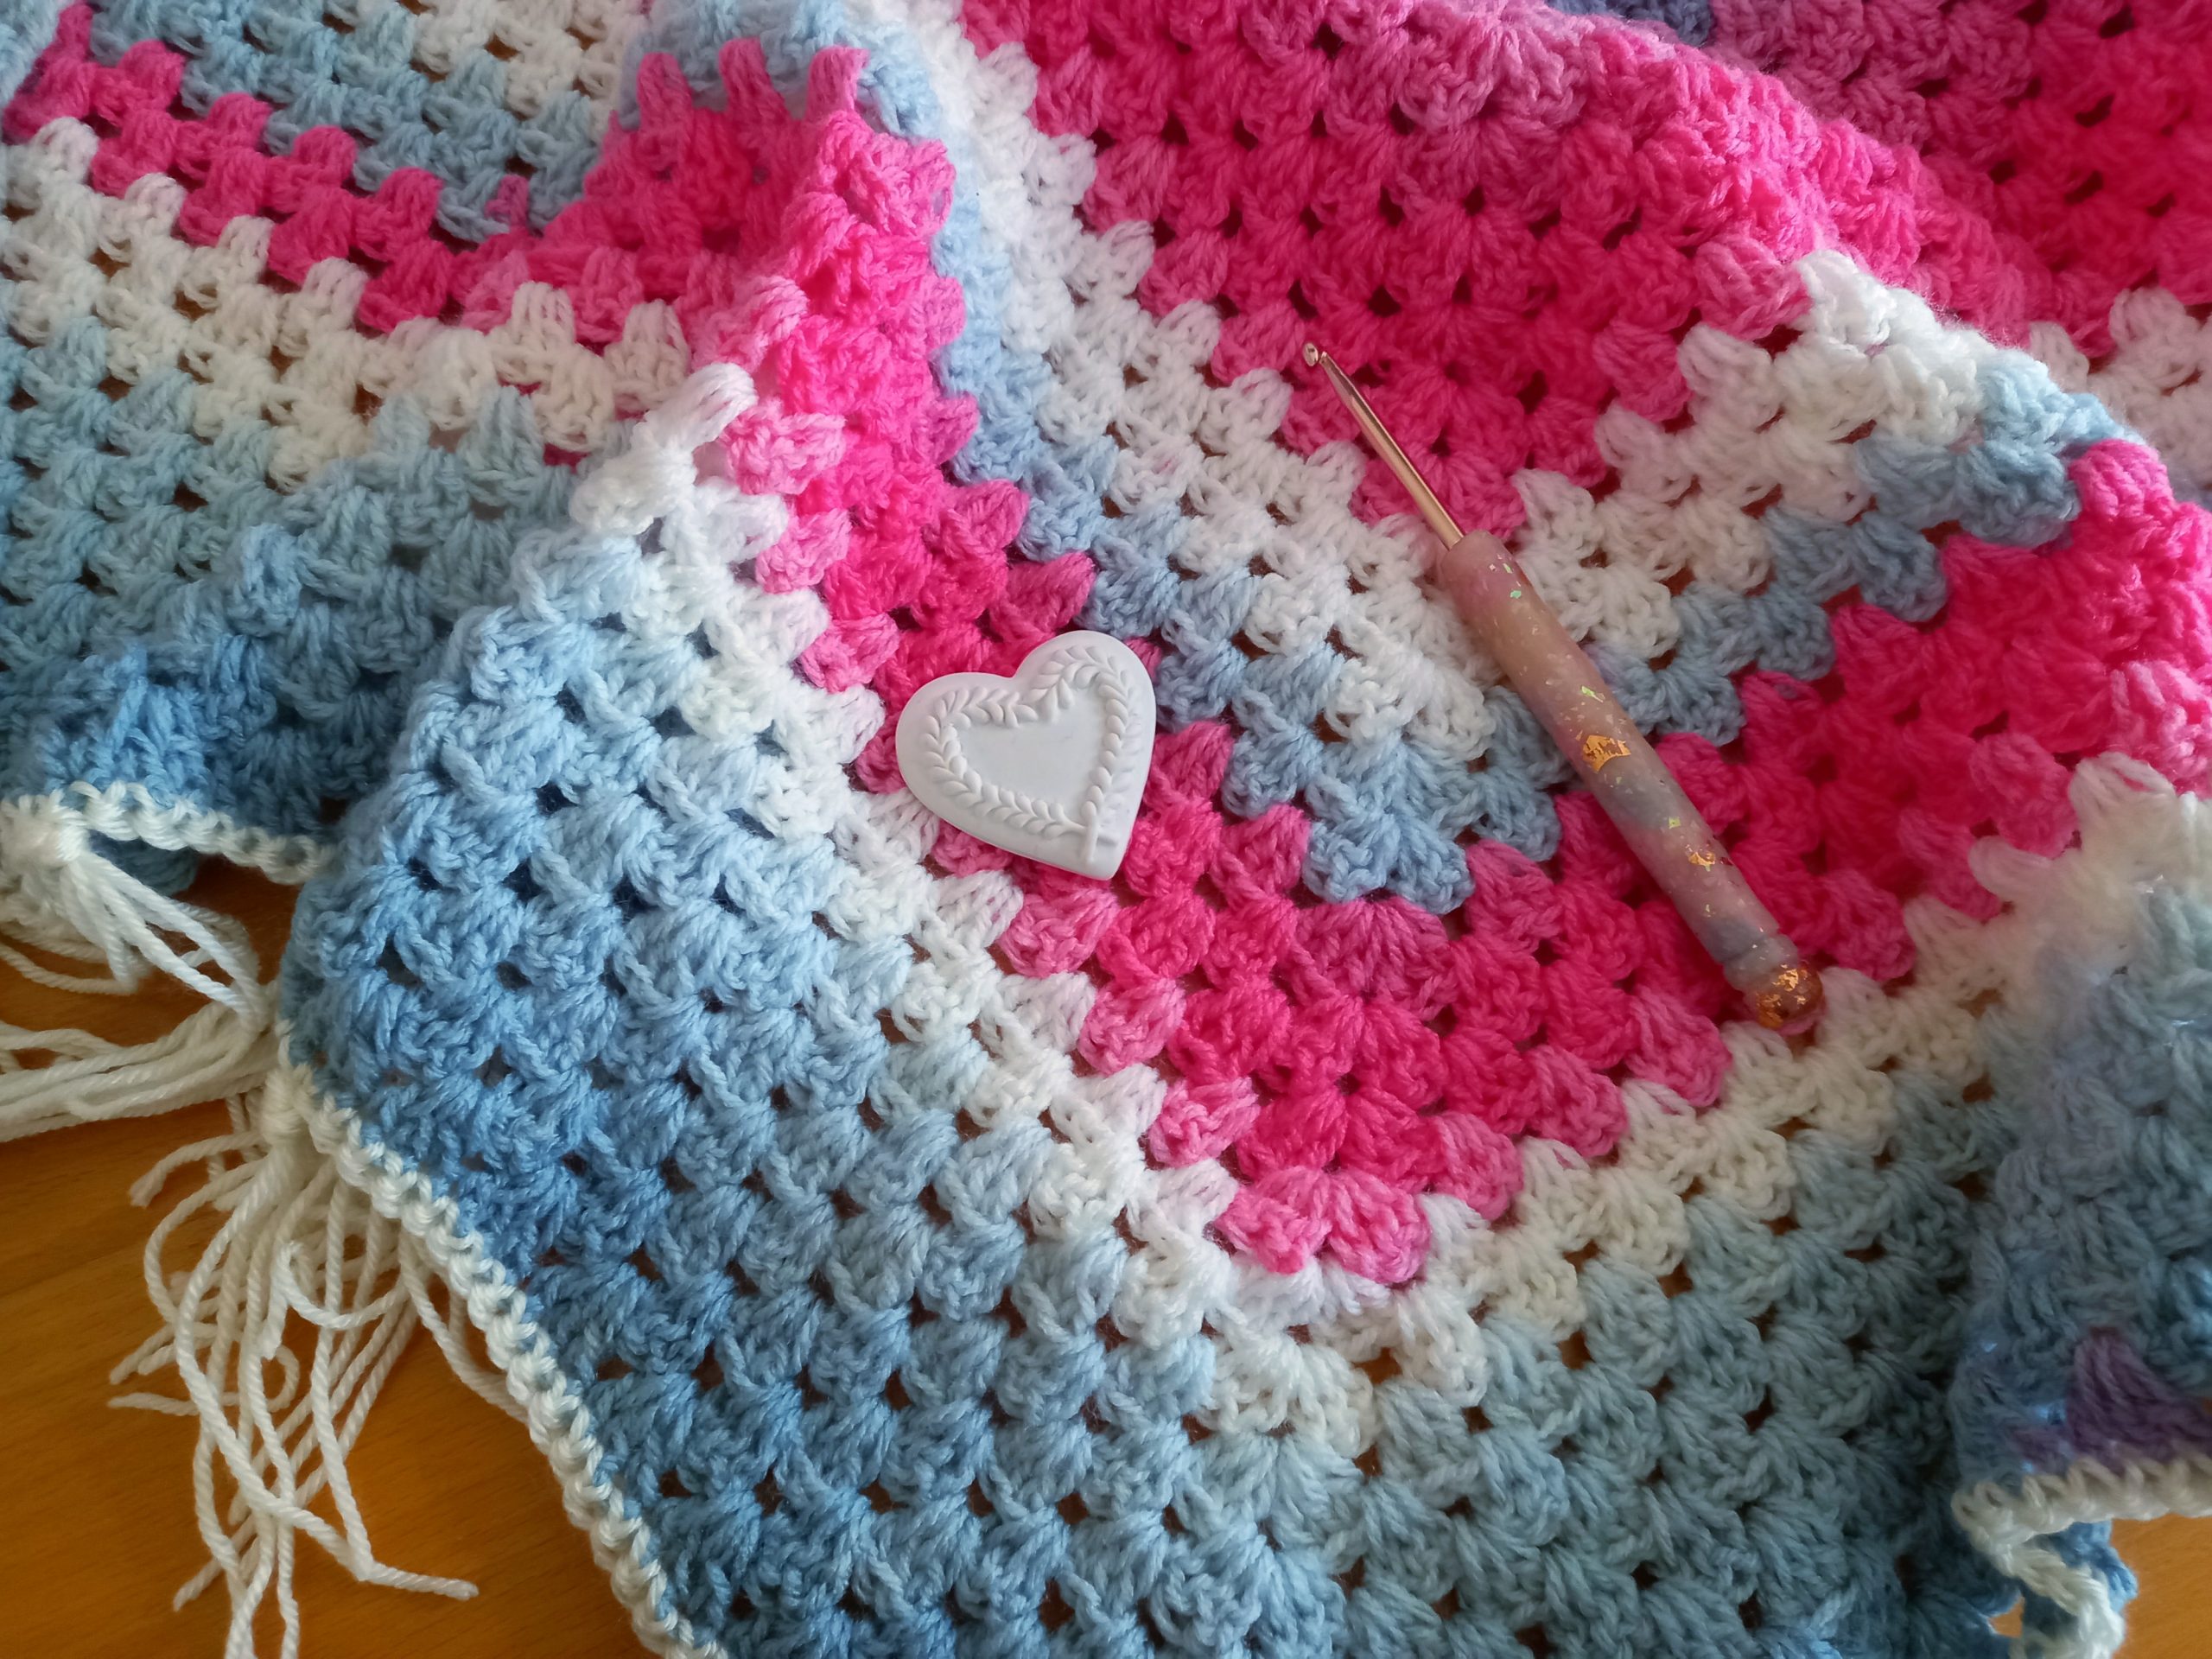
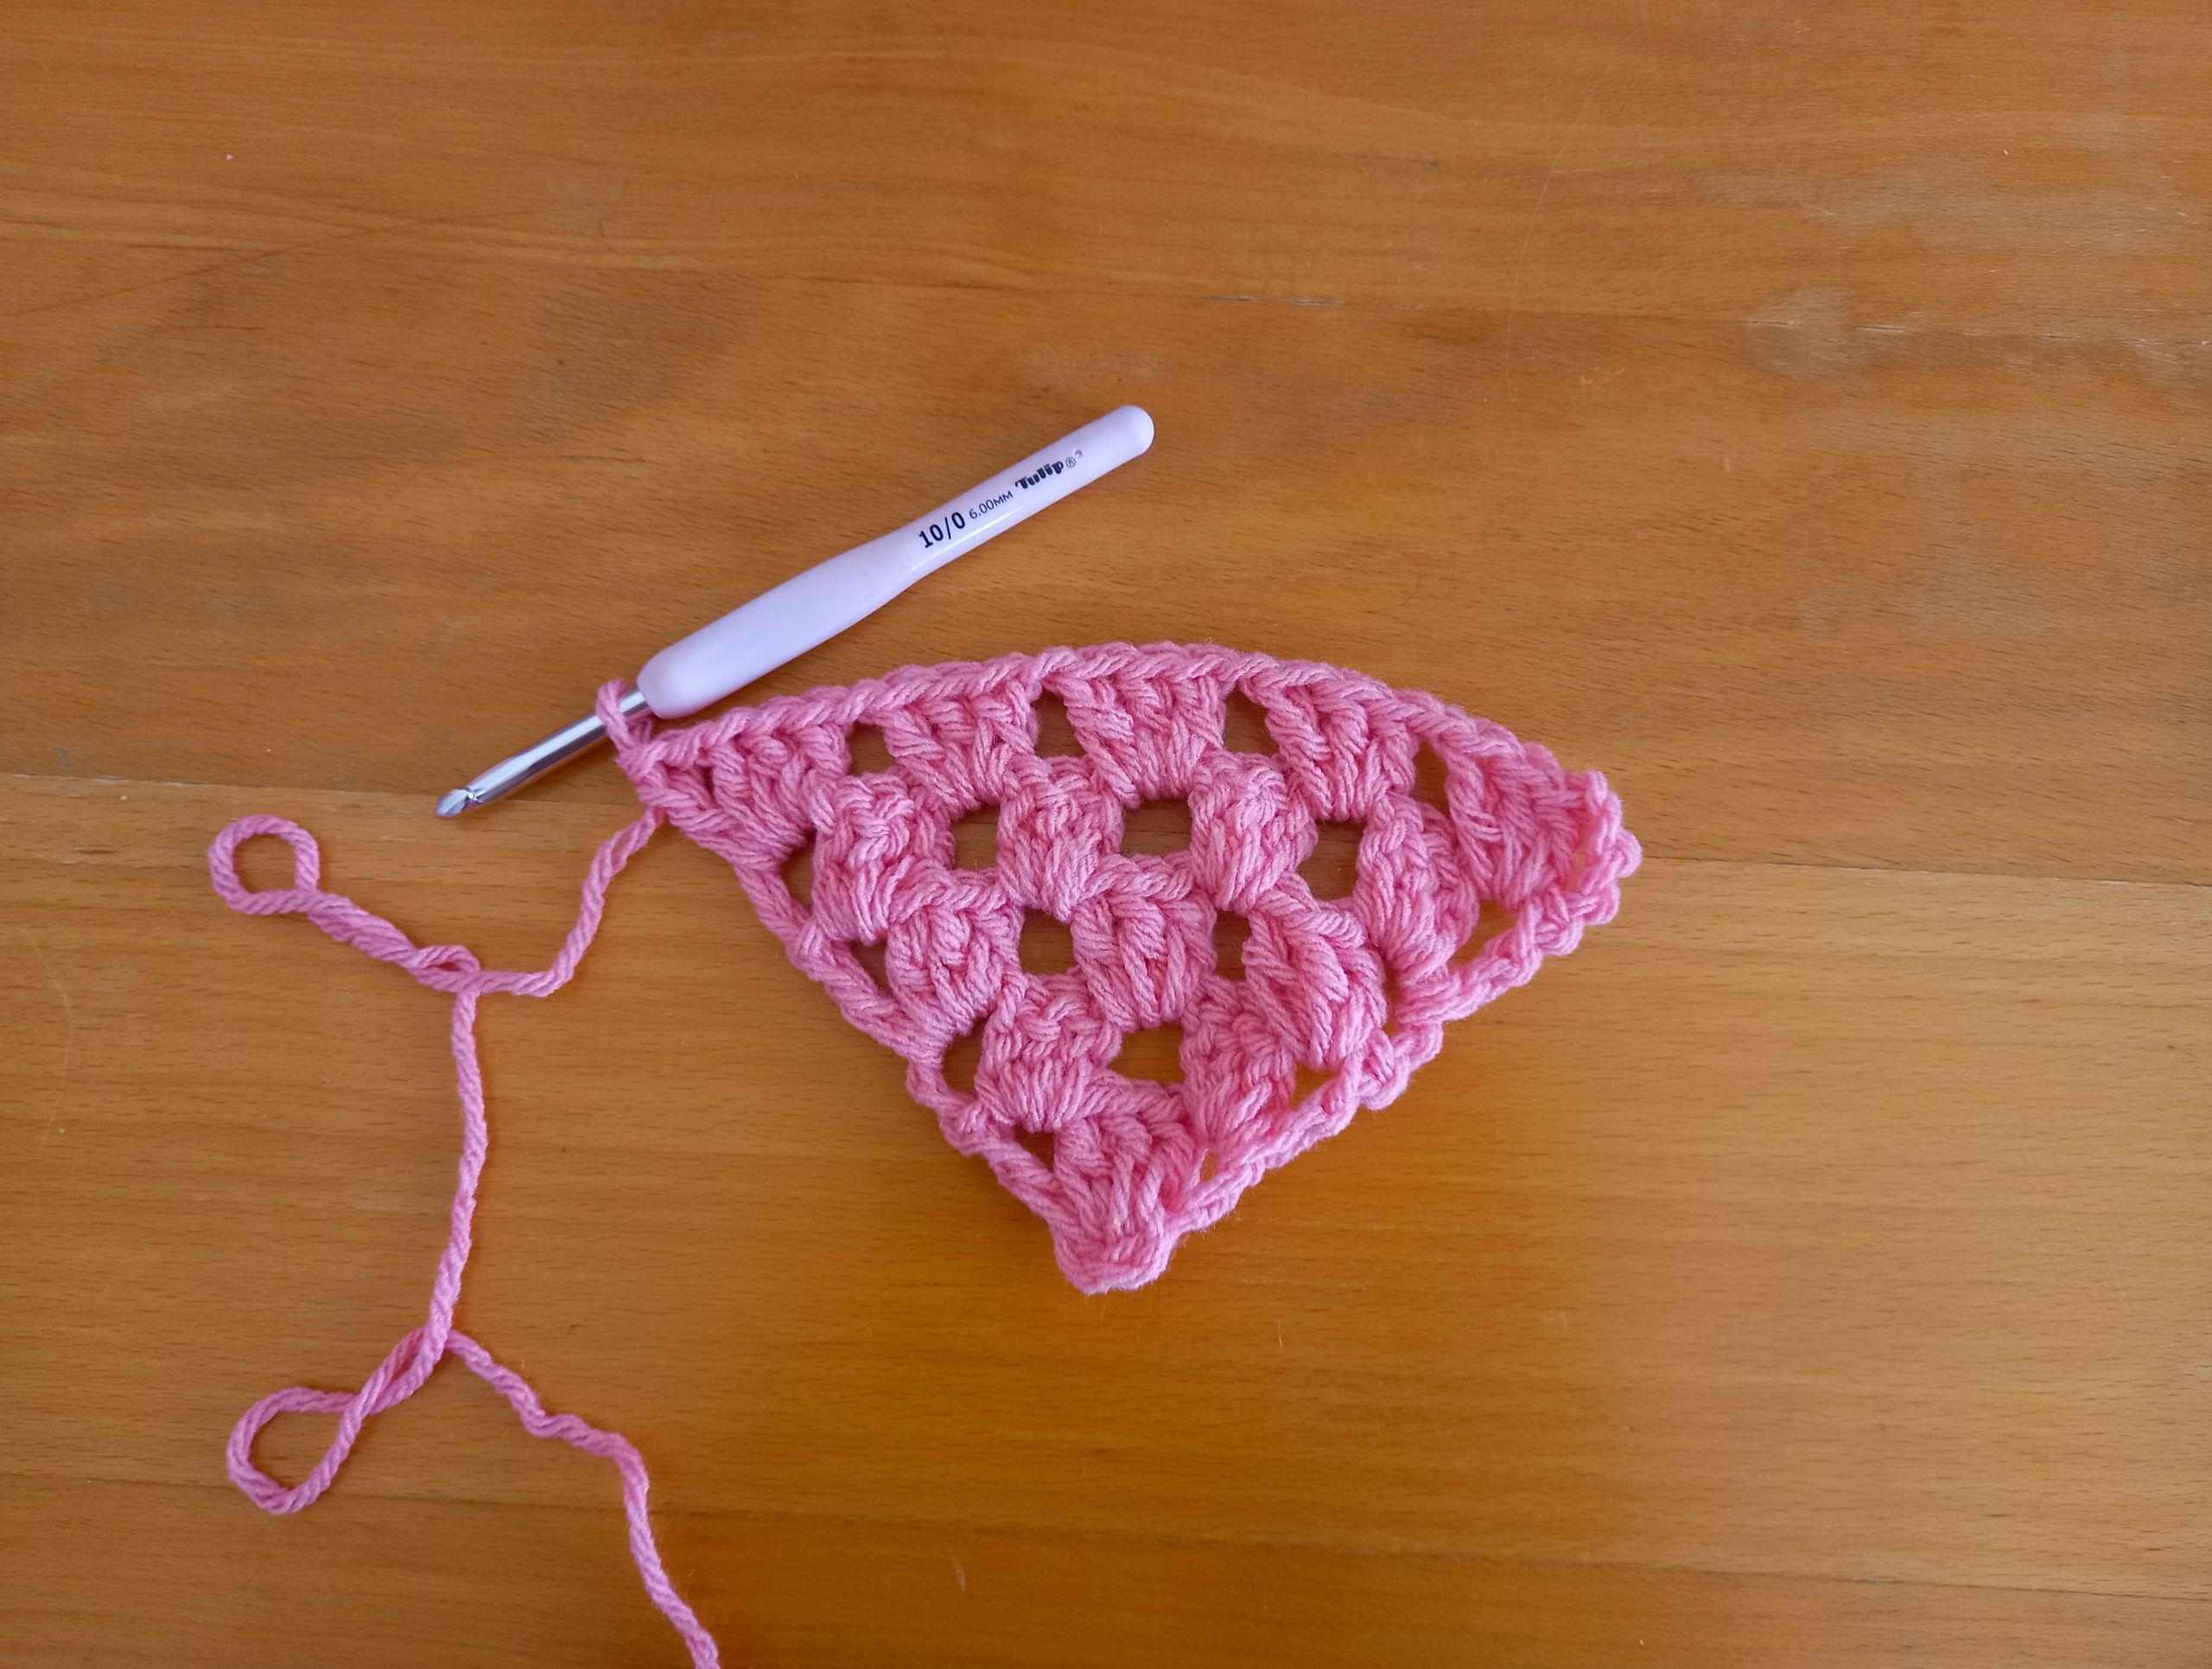
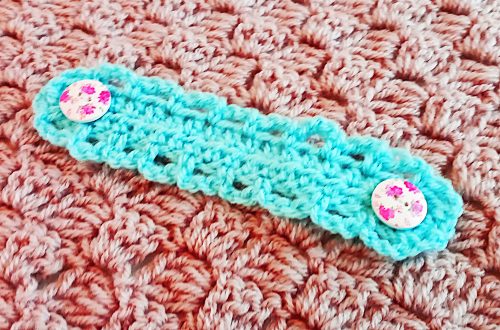
Hello everyone, this week I am bringing to you a brand new tutorial on how to crochet the granny triangle pattern. This crochet pattern is perfect for shawls. You can also use this technique for bandanas and so many more beautiful projects.
You can find my Youtube tutorial for this project here:
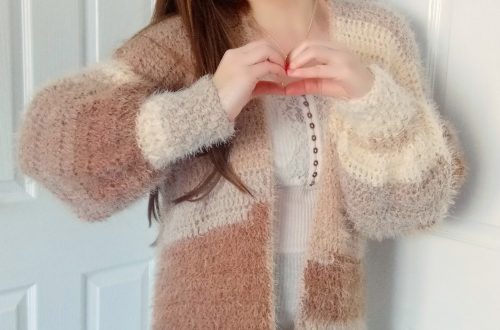
I recently used this technique for the Elenena Boho Shawl. This is a super easy project, perfect for all seasons. It works up very easily and looks wonderfully modern and vintage all at once!
For this project, you can use any yarn and crochet hook that you prefer. It is a very versatile crochet pattern, which can be adapted to any project you want to make.
Connecting with you
I love connecting with you more than anything. This crochet community means so much to me, so please don’t hesitate to send me a message or leave a comment. I will always get back to you.
Please consider following me on Social Media, I am on Youtube, Instagram, Facebook and Pinterest. My user name is Selina Veronique Crochet across all my social media platforms, you can also find the direct links on my Home Page.
I would be delighted if you wanted to subscribe to my weekly newsletter. You will then be the first to know when I release my new free crochet patterns and video tutorials.
Crochet Granny Triangle Pattern: the pattern
Level: Easy/Beginner
Notes: I will be using US terms
You will need:
A skein of yarn of your choice
The corresponding crochet hook
A tapestry needle
A pair of scissors
Abbreviations:
Ch: chain
Sl st: slip stitch
DC: Double Crochet (UK Treble)
SC: Single Crochet (UK Double)
To begin:
To start, make a slip knot
Ch 4, sl st through 1st chain to form a ring
Repeat rows as follows:
1: Ch 4 (DC + ch space); 3 DC in the circle, ch 2, 3 DC in the circle; ch 1; 1 DC
2: Turn your work; ch 4 (1 DC + ch space). In next chain space from previous row, place 3 DC; ch 1. Now, in next space (which is also the center), 3 DC, ch 2, 3 DC, ch 1; in next ch space, 3 DC, ch 1, 1 DC.
3: Turn your work, ch 4 (1 DC + ch space), 3 DC in ch space, ch 1. In next space, 3 DC, ch 1; then, in next space (center) 3 DC, ch 2, 3 DC, ch 1; in next ch space, 3 DC, ch 1; inside next chain space, 3 DC, ch 1, 1 DC.
4-end: Repeat row 3, following the repeat pattern explained above. The wrap will naturally increase following this pattern.
Fasten off, tidy up all loose ends.
Thank you so much for stopping by my blog,
Have a lovely week,
Xoxo Selina.


2 Comments
Cynthia Avalos
Thank you for the instructions Selina. I’m currently making the shawl in a pale pink yarn. Do you think it would look nice to add an edge to it all around?
Selina Veronique
Hi, and thank you for stopping by! Yes I am sure that would look lovely,
xoxo Selina