Crochet Romantic Headband with Flowers
Crochet The Romantic Boho Headband with Flowers.
Hi everyone! Today we will learn how to crochet The Romantic Boho Headband with Flowers.
I hope you are well. These days I have felt extra inspired so I have so many crochet project coming that are making me so excited. I cannot wait to share them with you as this is what makes me most happy.
My Youtube video tutorial is available here:Crochet Headband with Flowers Video Tutorial
The Inspiration for the Romantic Boho Headband with Flowers
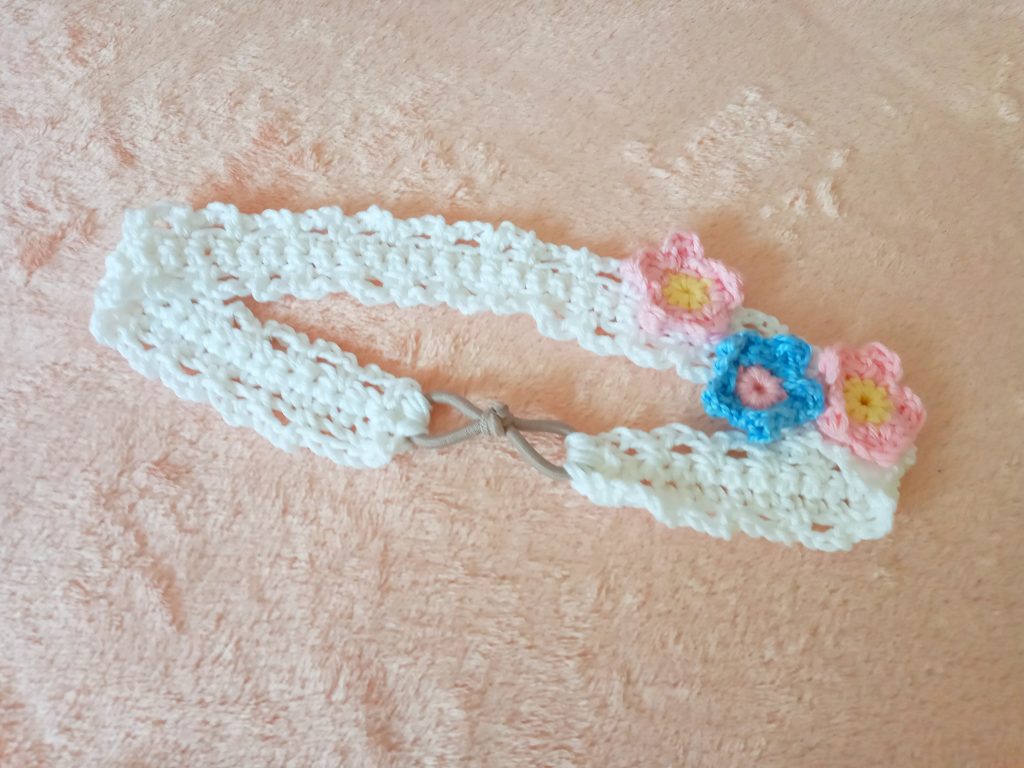
Today I am bringing to you a new pattern for a Boho crochet headband with flowers, which is super easy to make, and quick. This is such a staple Spring/Summer piece for any wardrobe. I hope you enjoy making is as much as me. It uses different shades of 100% Cotton DK yarn (size light 3 yarn in American terms), so you can make yours in any shade you want. You can also use any yarn in that category to make your own headband.
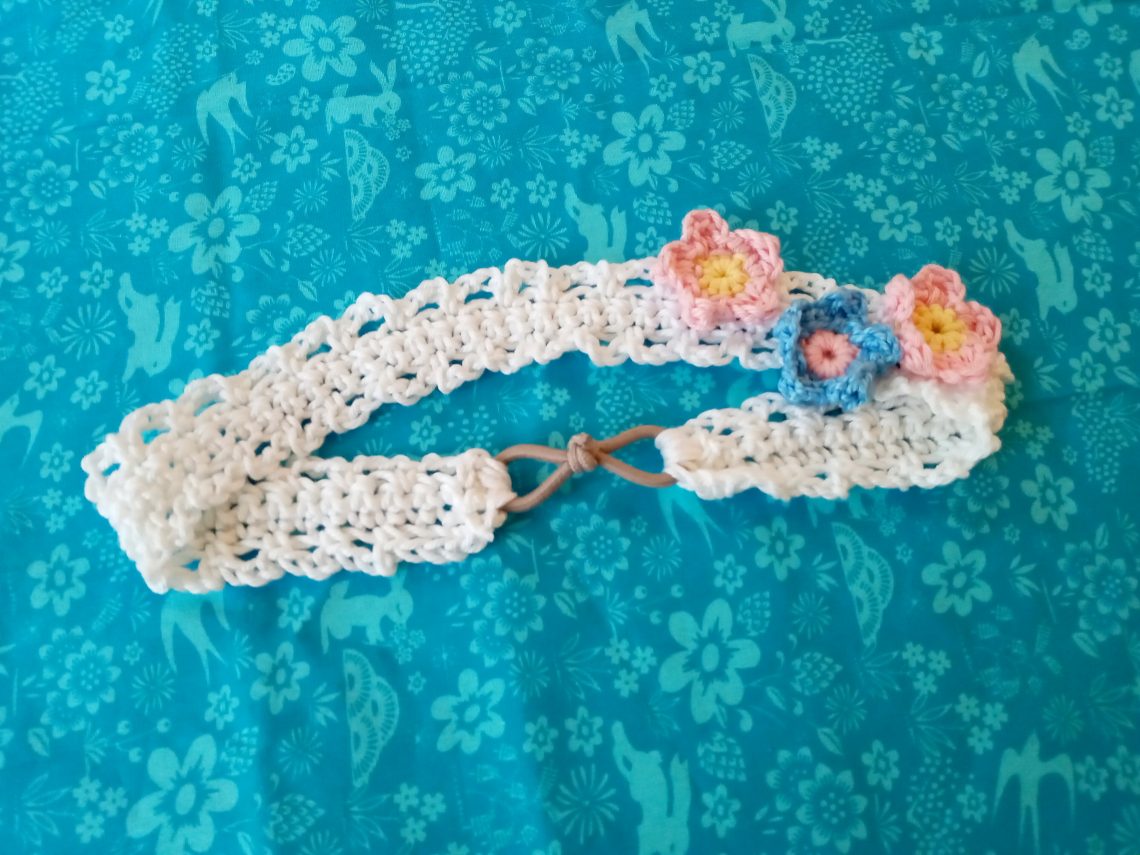
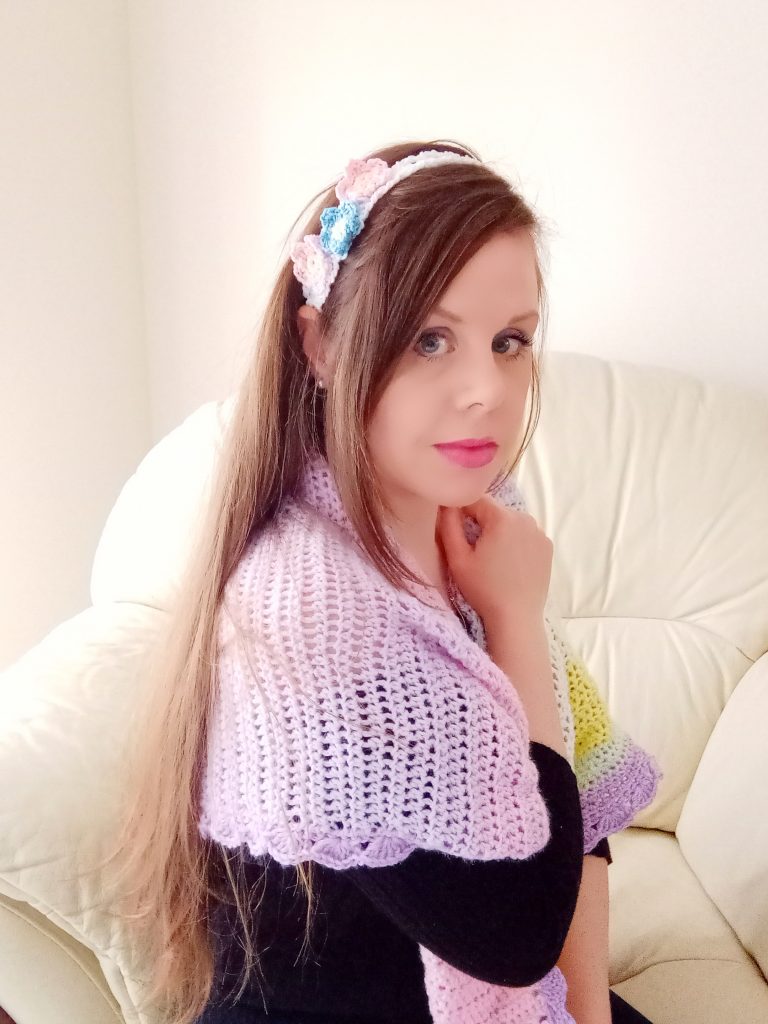
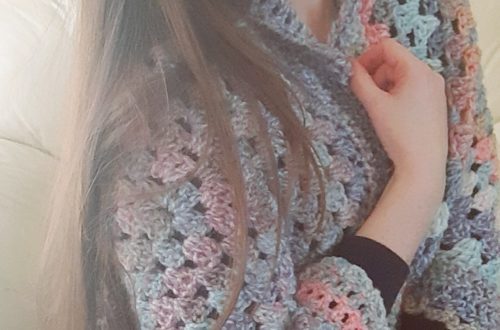
This beautiful hairband is crocheted very simply, first by making the romantic and lacy headband, then by creating three flowers placed on the side of the project. It is a very quick and super feminine accessory, very reminiscent of the 1960s Flower Power Era, my favourite era to be honest! Actually I have quite a few different historical eras that I love, but the bohemian hippie fashion is definitely one that I absolutely adore. It reminds me of a time where things seemed simpler, less complicated. Do you have a favourite era in history that you love?
Past Fashion
I love the different fashions from past eras, so please do let me know if there is a specific crochet project or era you would like me to create a pattern for. You can check out my Vintage Crochet Series on this blog for different crochet projects from the Regency Era up until the 1970s.
Free Pattern on how to crochet The Romantic Boho Headband with Flowers
I have listed all the different colours and references of the yarn I have used in the pattern, so please do download it here for free: Crochet Flower Headband by Selina Veronique
Please do not hesitate to contact me or leave me a comment, I always answer any question or message you leave me.
Au revoir and take care my lovelies, and don’t forget to subscribe to my Youtube channel, like my Facebook page. You can also join my Facebook group to connect, it’s called Selina Veronique’s Crochet Corner.
Lots of love,
Selina.
The Pattern
Level: Easy
Size of headband before sewing onto elastic band: 3cm x 46 cm (1,5”x18”)
Materials:
1 skein of Sirdar Cotton DK in shade white (or any other cotton yarn in DK/Light 3 yarn)
1 skein each of Ricorumi DK 100% cotton in shades 011 pink, 032 Blue, 062 Pastel Yellow (or any other DK/light weight size 3 yarn)
3 mm and 4 mm crochet hooks
Basic hair elastic to sew onto project
Tapestry needle
Pair of scissors
Abbreviations:
I will be writing in US terms
Ch: chain
Sk: skip
Sp: space
St: stitch
Sl st: Slip stitch
SC: Single Crochet
DC: Double Crochet
EOR: End of row
Begin pattern here:
With 4 mm crochet hook and Sirdar Cotton yarn, make a slip knot.
Ch 61
Complete rows as follows
1: SC into 2nd ch from hook, SC into each ch until eor
2: Ch 1 (=SC), SC in 2nd SC from previous row and into each SC until eor
Chain arch edging:
Ch 1, SC into 1st SC, [ch3, sk 1 ch, SC into next SC] until eor
Turn the headband so you are facing its width, and sl st through the 2 rows (=2 slip stitches), turn project so you are facing the other length of headband. Ch 1, SC into 1st SC, [ch 3, sk 1 ch, SC into next SC] until eor. Once you reach the eor, turn your work again so you are facing the width, sl stitch through both rows (=2 slip stitches). Fasten off, leaving long tail for sewing elastic onto project.
Flower (make 3):
With 3 mm hook and yellow yarn, make a slip knot
Ch 4, sl st into 1st ch to form a ring
1: Place 10 SC into ring. Pull on center loose end to tighten ring, and if you are changing colour, fasten off.
2: Sl stitch into any SC, attach yarn. Ch 2, yarn over, go into stitch, pull up a loop (3 loops on your hook), yarn over and pull through 2 loops (2 loops left on hook). Yarn over and go through next stitch, yarn over and pull through 2 loops, yarn over and pull through 3 last loops. Ch 2 and sl st through base of stitch (= first petal). *Sl st into next st, ch 2, yarn over, go into stitch, pull up a loop (3 loops on your hook), yarn over and pull through 2 loops (2 loops left on hook). Yarn over and go through next stitch, yarn over and pull through 2 loops, yarn over and pull through 3 last loops. Ch 2 and sl st through base of stitch*
Repeat from * until eor, you should have 5 petals in total. Fasten off, leaving long tail for sewing onto project.
Once you have your three flowers, position them so that the flower on the outer edge of headband is located approximately at 10 cm (4”) from edge. Sew the flowers on using the long tail, tidy up all loose ends.
Sewing project together
To sew project together with elastic:
Take elastic and place a knot into the middle of this. Sew one side of headband to the elastic with tapestry needle. Make sure you sew the entire width of bandeau to elastic. Making sure you don’t twist project, sew on second side to other side of elastic.
Fasten off, tidy up all loose ends.


One Comment
Pingback: