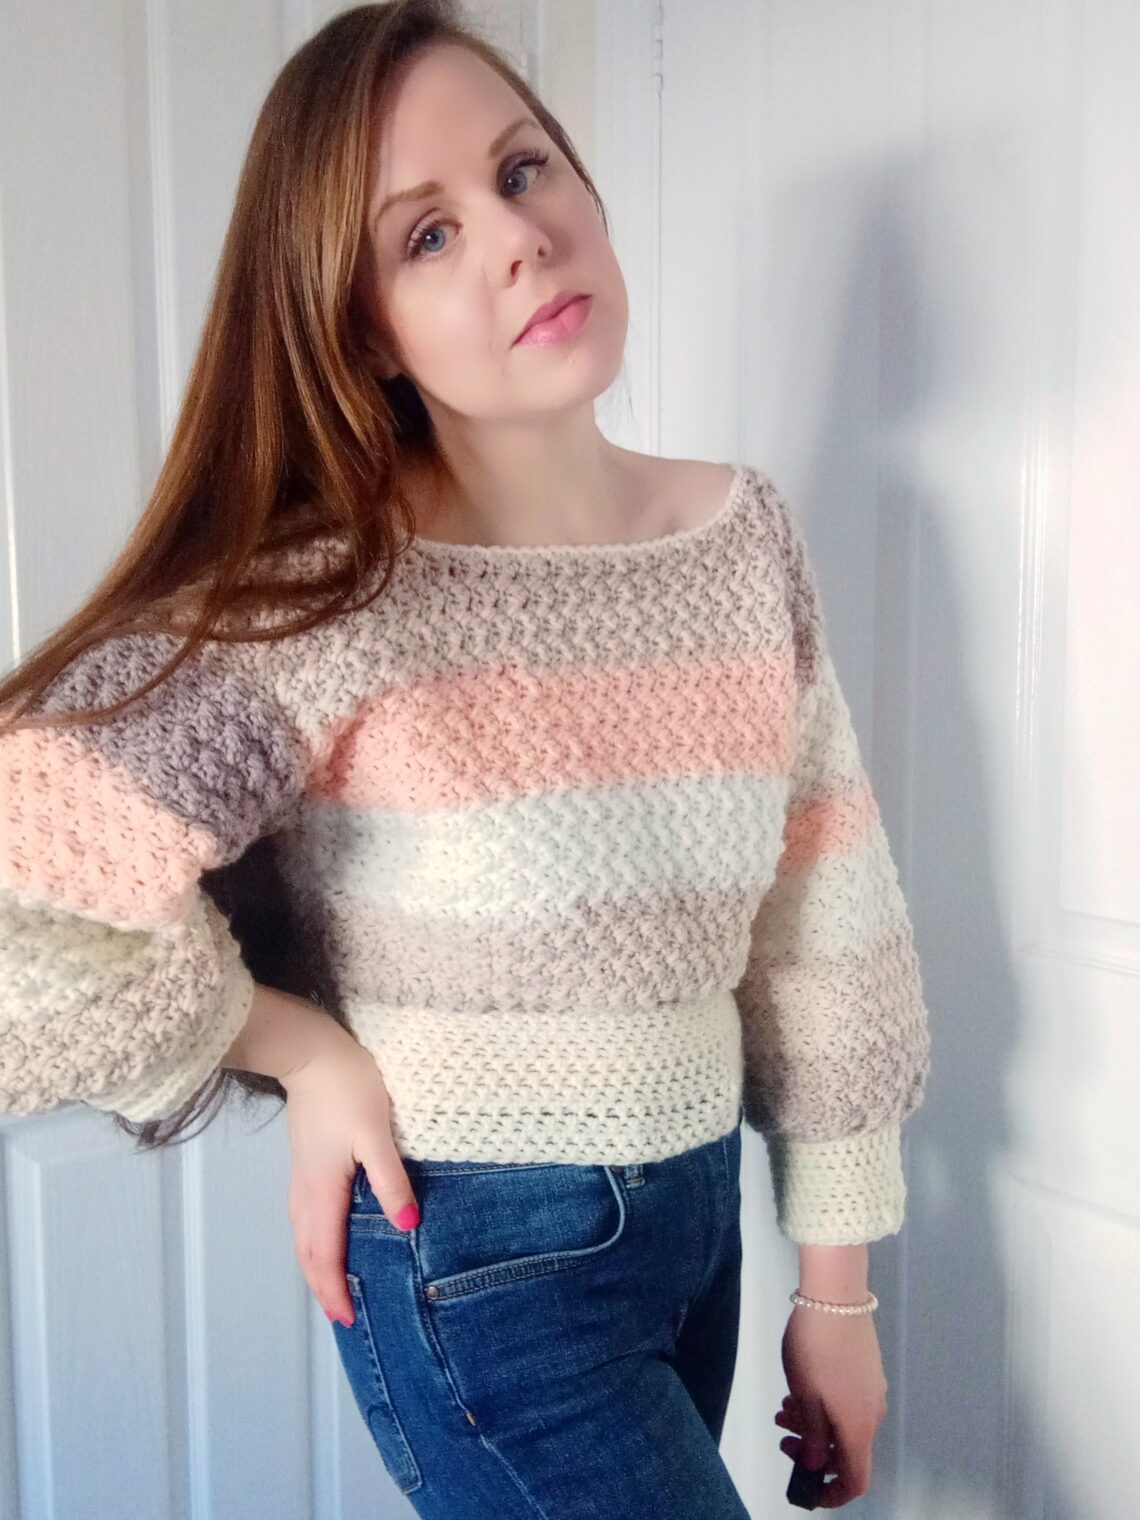
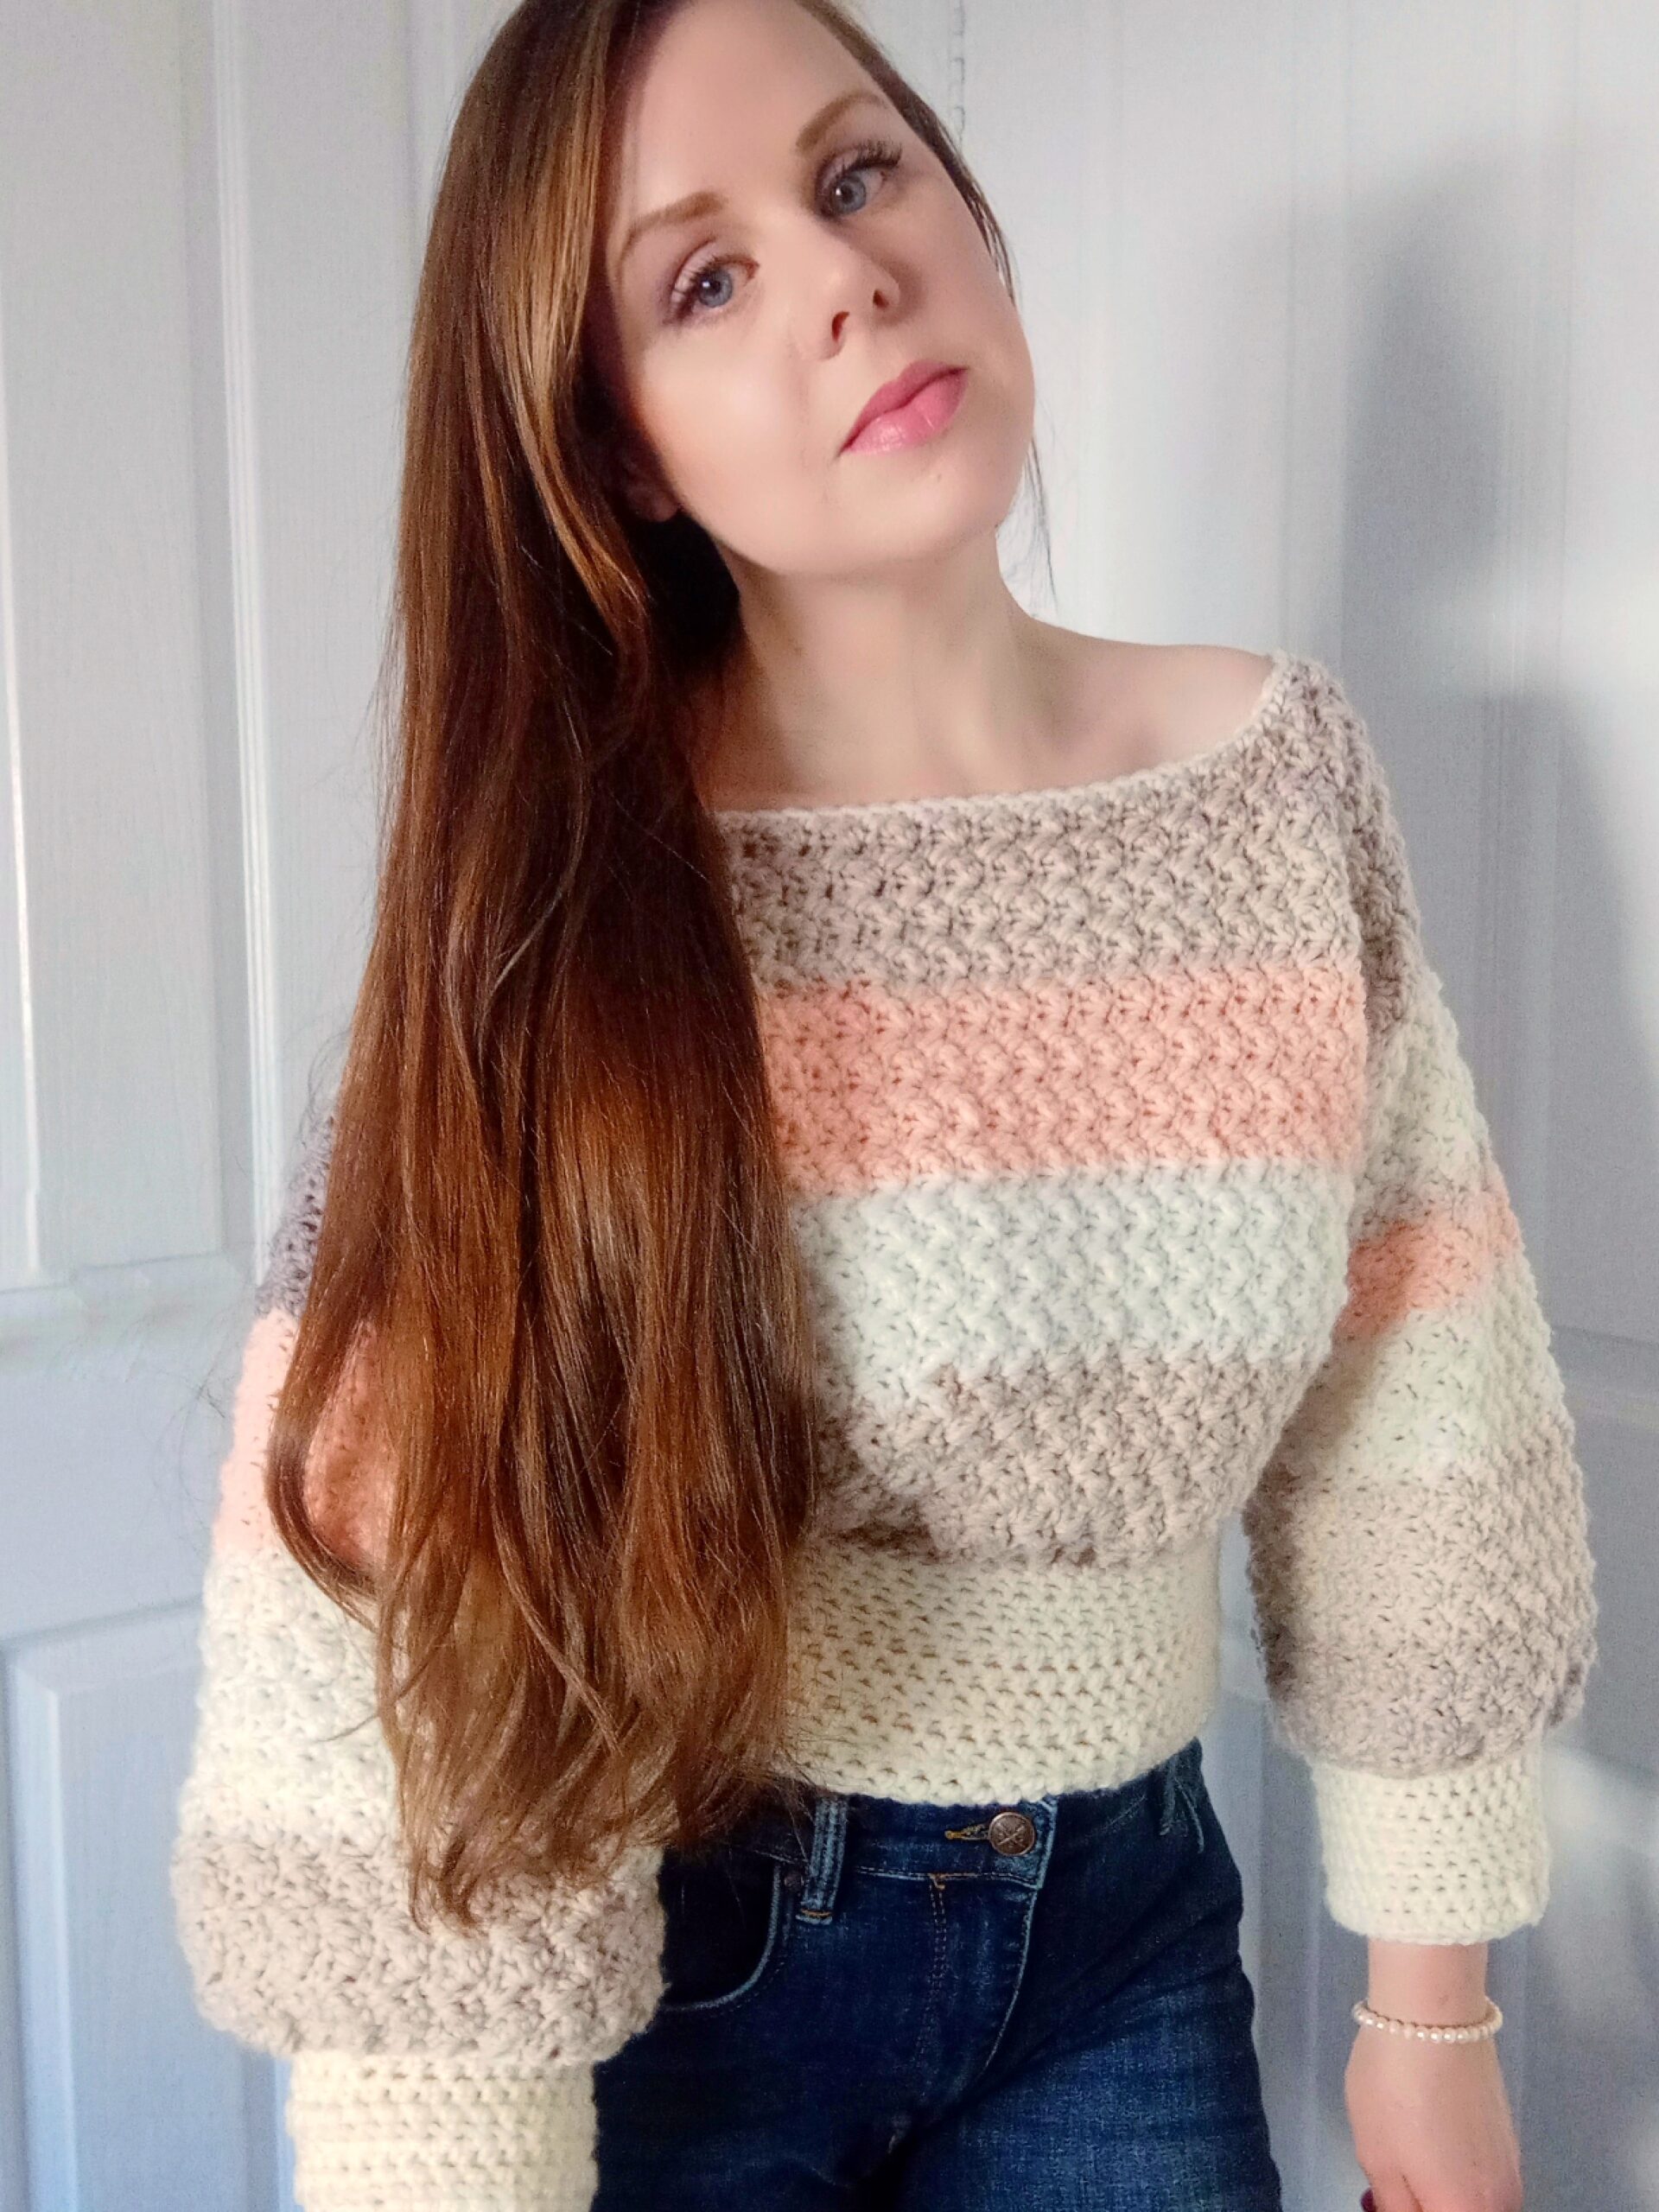
Crochet Solange Cropped Sweater Free Pattern
Crochet Solange Cropped Sweater Free Pattern
Hi everyone! This week I am bringing to you the Crochet Solange cropped sweater (free pattern). This is a new sweater project that I really enjoyed making. I hope you enjoy crocheting this easy and feminine cropped sweater as much as I did!
The video tutorial for this project can be found here:
Crochet Solange Cropped Sweater Free Pattern: The Yarn
I loved crocheting this sweater so much! The reason is because I love using Caron baby Cakes, one of my favorite yarns ever. I have used this yarn many times in the past, in many different colors. Indeed, I have used Caron Baby Cakes yarn for many different projects, including The Vintage Baby Blanket. I also crocheted The Louis Baby Blanket with this yarn, which is so soft and perfect for baby projects.
This very soft and delicate yarn can be used for a variety of project, including accessories. I made both The Pink Ballerina Infinity Scarf with this yarn, and the matching headband. A few years ago, I also made this easy ribbed scarf, which is perfect for beginners too.
This yarn is so soft and beautiful. It is made from 82% acrylic and 18% nylon. It is a medium 4/Aran weight yarn, making it a perfect yarn for many projects.
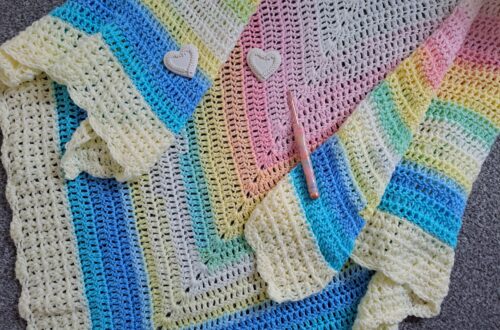
This is a self striping variegated yarn with different shades that are soft and pastel. This makes for a delicate and subtle transition while crocheting up different projects. For this sweater, I decided to use shade Dreamy Peach, which is a soft blend of greys, creams and peach pinks. I love how beautiful these shades look on this sweater! As stated above, it creates a delicate and feminine variation that is subtle and beautiful.
Crochet Solange Cropped Sweater Free Pattern: The Inspiration
I was inspired to crochet this delicate cropped sweater as I have been wanting to create larger crochet projects recently. Indeed, I released a classic red French beret last week, which I absolutely love! I also released this easy and fine filet crochet scarf a few weeks ago, which is a great project for this coming Spring and Summer.
For a few weeks now, I have been wanting to crochet more Spring/Summer projects too. Even thought the weather is still very cold here in the UK, I definitely want to put Winter behind me. I really want to start crocheting more festival and brighter projects, made with cotton yarn too. Please let me know if you are excited about Spring and Summer projects too! I can’t wait to make these in the coming months.
Crochet Solange Cropped Sweater Free Pattern: The Suzette Stitch
This new crochet sweater project is made using the Suzette stitch. I absolutely love this stitch, which is so beautiful and fun to work with. It gives a lot of texture to simple crochet projects, while staying simple in it’s form. Indeed, it is a simple one row repeat throughout, which makes it perfect as a relaxing project.
I have already used the Suzette stitch recently for this Boho festival bag I made a few weeks ago. Also, I had used this stitch a few years ago for The Heart of Me pompom hat. I hope you enjoy this simple tutorial, perfect for Spring and Summer.

Crochet Solange Cropped Sweater: The Pattern
You can purchase the ad free, large print, PDF pattern for this sweater from my Etsy store: Crochet Easy Cropped Sweater PDF Pattern
You can purchase the ad free, large print, PDF pattern from my Ravelry store here: Crochet Solange Cropped Sweater Pattern
Level: Easy +
Notes: I will be writing in US terms (British terms in brackets)
Gauge
4” (10 cm) = 12 stitches
4” (10 cm) = 10 rows
Sizes of finished jumper
These are the sizes measured once jumper has been assembled and all edgings and borders have been added. Size of sleeves given once they have been sewed onto project and edging added:
S:
Body of jumper: 17,50” (44,50 cm) in length x 18” (45,50 cm) in width
Sleeves: 8,5” (21,50 cm) in width x 15” (38 cm) in length
M:
Body of jumper: 19” (48 cm) in length x 19,5” (50,50 cm) in width
Sleeves: 9,25” (24 cm) in width x 15” (38 cm) in length
L:
Body of jumper: 20,50” (52 cm) in length x 21” (53 cm) in width
Sleeves: 10” (25,50 cm) in width x 15” (38 cm) in length
XL:
Body of jumper: 21,50” (55,50 cm) in length x 22,50” (57 cm) in width
Sleeves: 10,75” (27 cm) in width x 15” (38 cm) in length
XXL:
Body of jumper: 23” (58,50 cm) in length x 24” (61 cm) in width
Sleeves: 11,50” (29 cm) in width x 15” (38 cm) in length
XXXL:
Body of jumper: 24,50” (62 cm) in length x 25,50” (65 cm) in width
Sleeves: 12,75” (33,50 cm) in width x 15” (38 cm) in length
Materials
S-M: 4 skeins of Caron Baby Cakes in shade Dreamy Peach; 1 skein of Stylecraft Special Aran in shade Cream (you can substitute with 1 skein of Paintbox Simply Aran in shade Cream)
L-XL: 5 skeins of Caron Baby Cakes in shade Dreamy Peach; 2 skeins of Stylecraft Special Aran in shade Cream (you can substitute with 2 skeins of Paintbox Simply Aran in shade Cream)
XXL-XXXL: 6 skeins of Caron Baby Cakes in shade Dreamy Peach; 3 skeins of Stylecraft Special Aran in shade Cream (you can substitute with 3 skeins of Paintbox Simply Aran in shade Cream)
A 6 mm crochet hook
5 mm crochet hook
A tapestry needle
A pair of scissors
Abbreviations
ch: chain
St: stitch
sk: skip
SP: space
SC: Single Crochet (= UK Double Crochet)
DC: Double Crochet (=UK Treble Crochet)
HDC: Half Double Crochet (=UK Half Treble Crochet)
Sl st: Slip stitch
EOR: End of row/end of round
Sizes will be indicated like this
S, (M), [L], {XL}, *XXL*, XXXL
General notes concerning this pattern
Each step of this project is explained in detail throughout the pattern; this is just to give you a brief explanation of what is to be expected before starting the project.
To begin, we will be making both the front and back panels of this jumper (these two are identical).
Then we will be crocheting the sleeves (2 sleeves). Once this is done, we will seam each sleeve, place all the elements of the sweater together and sew this sweater together.
Once this is completed, we will be adding the bottom and sleeve edgings, as well as crocheting the neck edging also.
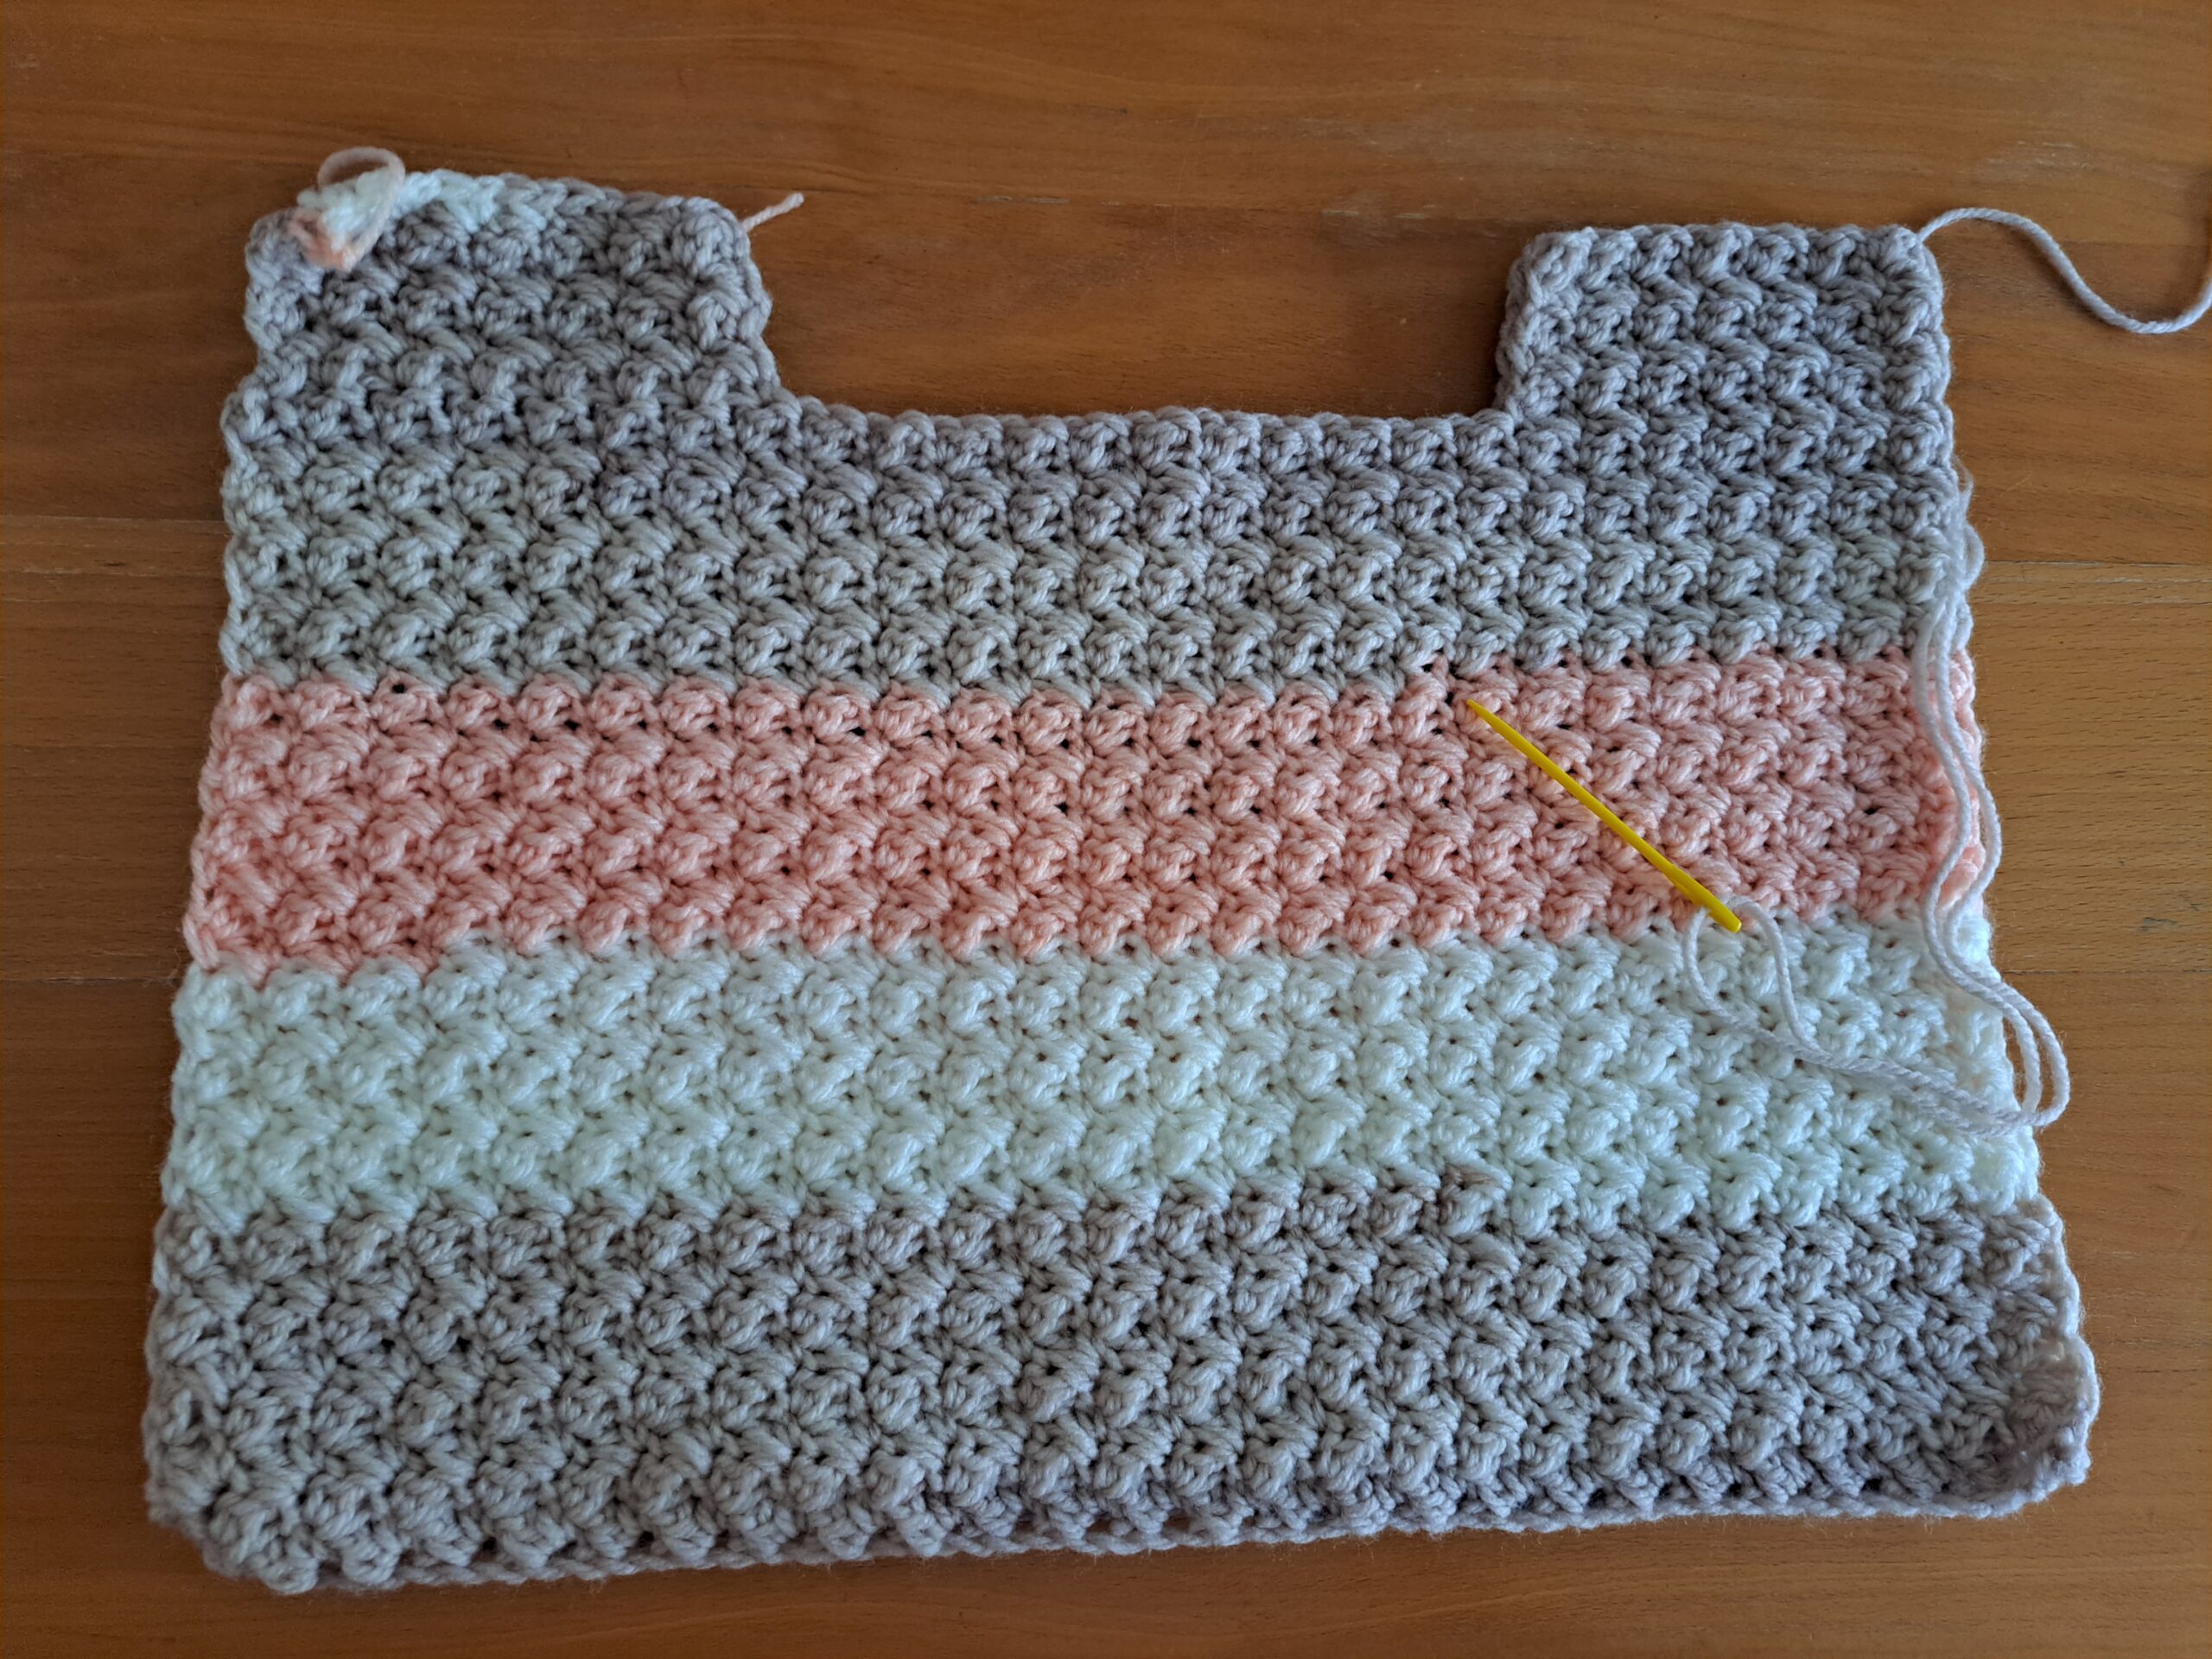
Front and Back of Jumper (2 identical panels)
With 6 mm crochet hook and Caron Baby Cake:
Ch 55 (59) [63] {67} *71* 75
1: Miss 2 ch (=SC), place DC into next ch, sk 1 ch, place 1 SC and 1 DC into next ch until last 2 ch. Sk 1 ch, 1 SC into last ch.
2: Ch 1 (=SC), turn your work, place 1 DC in same 1st st; *sk 1 st, place 1 SC and 1 DC into next SC from previous row*. Repeat from * to last 2 st, sk 1 st, 1 SC into last stitch.
3-32 (36) [40] {44} *48* 52: Repeat row 2.
Do not fasten off.
Create neck and shoulder shape:
First side, using yarn still attached to project, just continue crocheting following the pattern explained below depending on the size you are making.
Size S:
Row 33: Ch 1 (=SC), turn your work, place 1 DC in same 1st st; *sk 1 st, place 1 SC and 1 DC into next SC from previous row*. Repeat from * 6 times (=14 stitches total); place 1 SC into last stitch.
Rows 34-38: Repeat row 33.
Fasten off, leaving long tail for sewing project together later on.
Size M:
Row 37: Ch 1 (=SC), turn your work, place 1 DC in same 1st st; *sk 1 st, place 1 SC and 1 DC into next SC from previous row*. Repeat from * 7 times (=16 stitches total); place 1 SC into last stitch.
Rows 38-42: Repeat row 37.
Fasten off, leaving long tail for sewing project together later on.
Size L:
Row 41: Ch 1 (=SC), turn your work, place 1 DC in same 1st st; *sk 1 st, place 1 SC and 1 DC into next SC from previous row*. Repeat from * 8 times (=18 stitches total); place 1 SC into last stitch.
Rows 42-46: Repeat row 41.
Fasten off, leaving long tail for sewing project together later on.
Size XL:
Row 45: Ch 1 (=SC), turn your work, place 1 DC in same 1st st; *sk 1 st, place 1 SC and 1 DC into next SC from previous row*. Repeat from * 9 times (=20 stitches total); place 1 SC into last stitch.
Rows 46-50: Repeat row 45.
Fasten off, leaving long tail for sewing project together later on.
Size XXL:
Row 49: Ch 1 (=SC), turn your work, place 1 DC in same 1st st; *sk 1 st, place 1 SC and 1 DC into next SC from previous row*. Repeat from * 10 times (=22 stitches total); place 1 SC into last stitch.
Rows 50-54: Repeat row 49.
Fasten off, leaving long tail for sewing project together later on.
Size XXXL:
Row 53: Ch 1 (=SC), turn your work, place 1 DC in same 1st st; *sk 1 st, place 1 SC and 1 DC into next SC from previous row*. Repeat from * 11 times (=24 stitches total); place 1 SC into last stitch.
Rows 54-58: Repeat row 53.
Fasten off, leaving long tail for sewing project together later on.
Repeat this process on the other side of the front and back panels. This means you will be attaching your yarn to the other side of the project, at the top corner (first stitch). Now repeat rows as explained above to create the exact same pattern on the other side of the front and back panel.
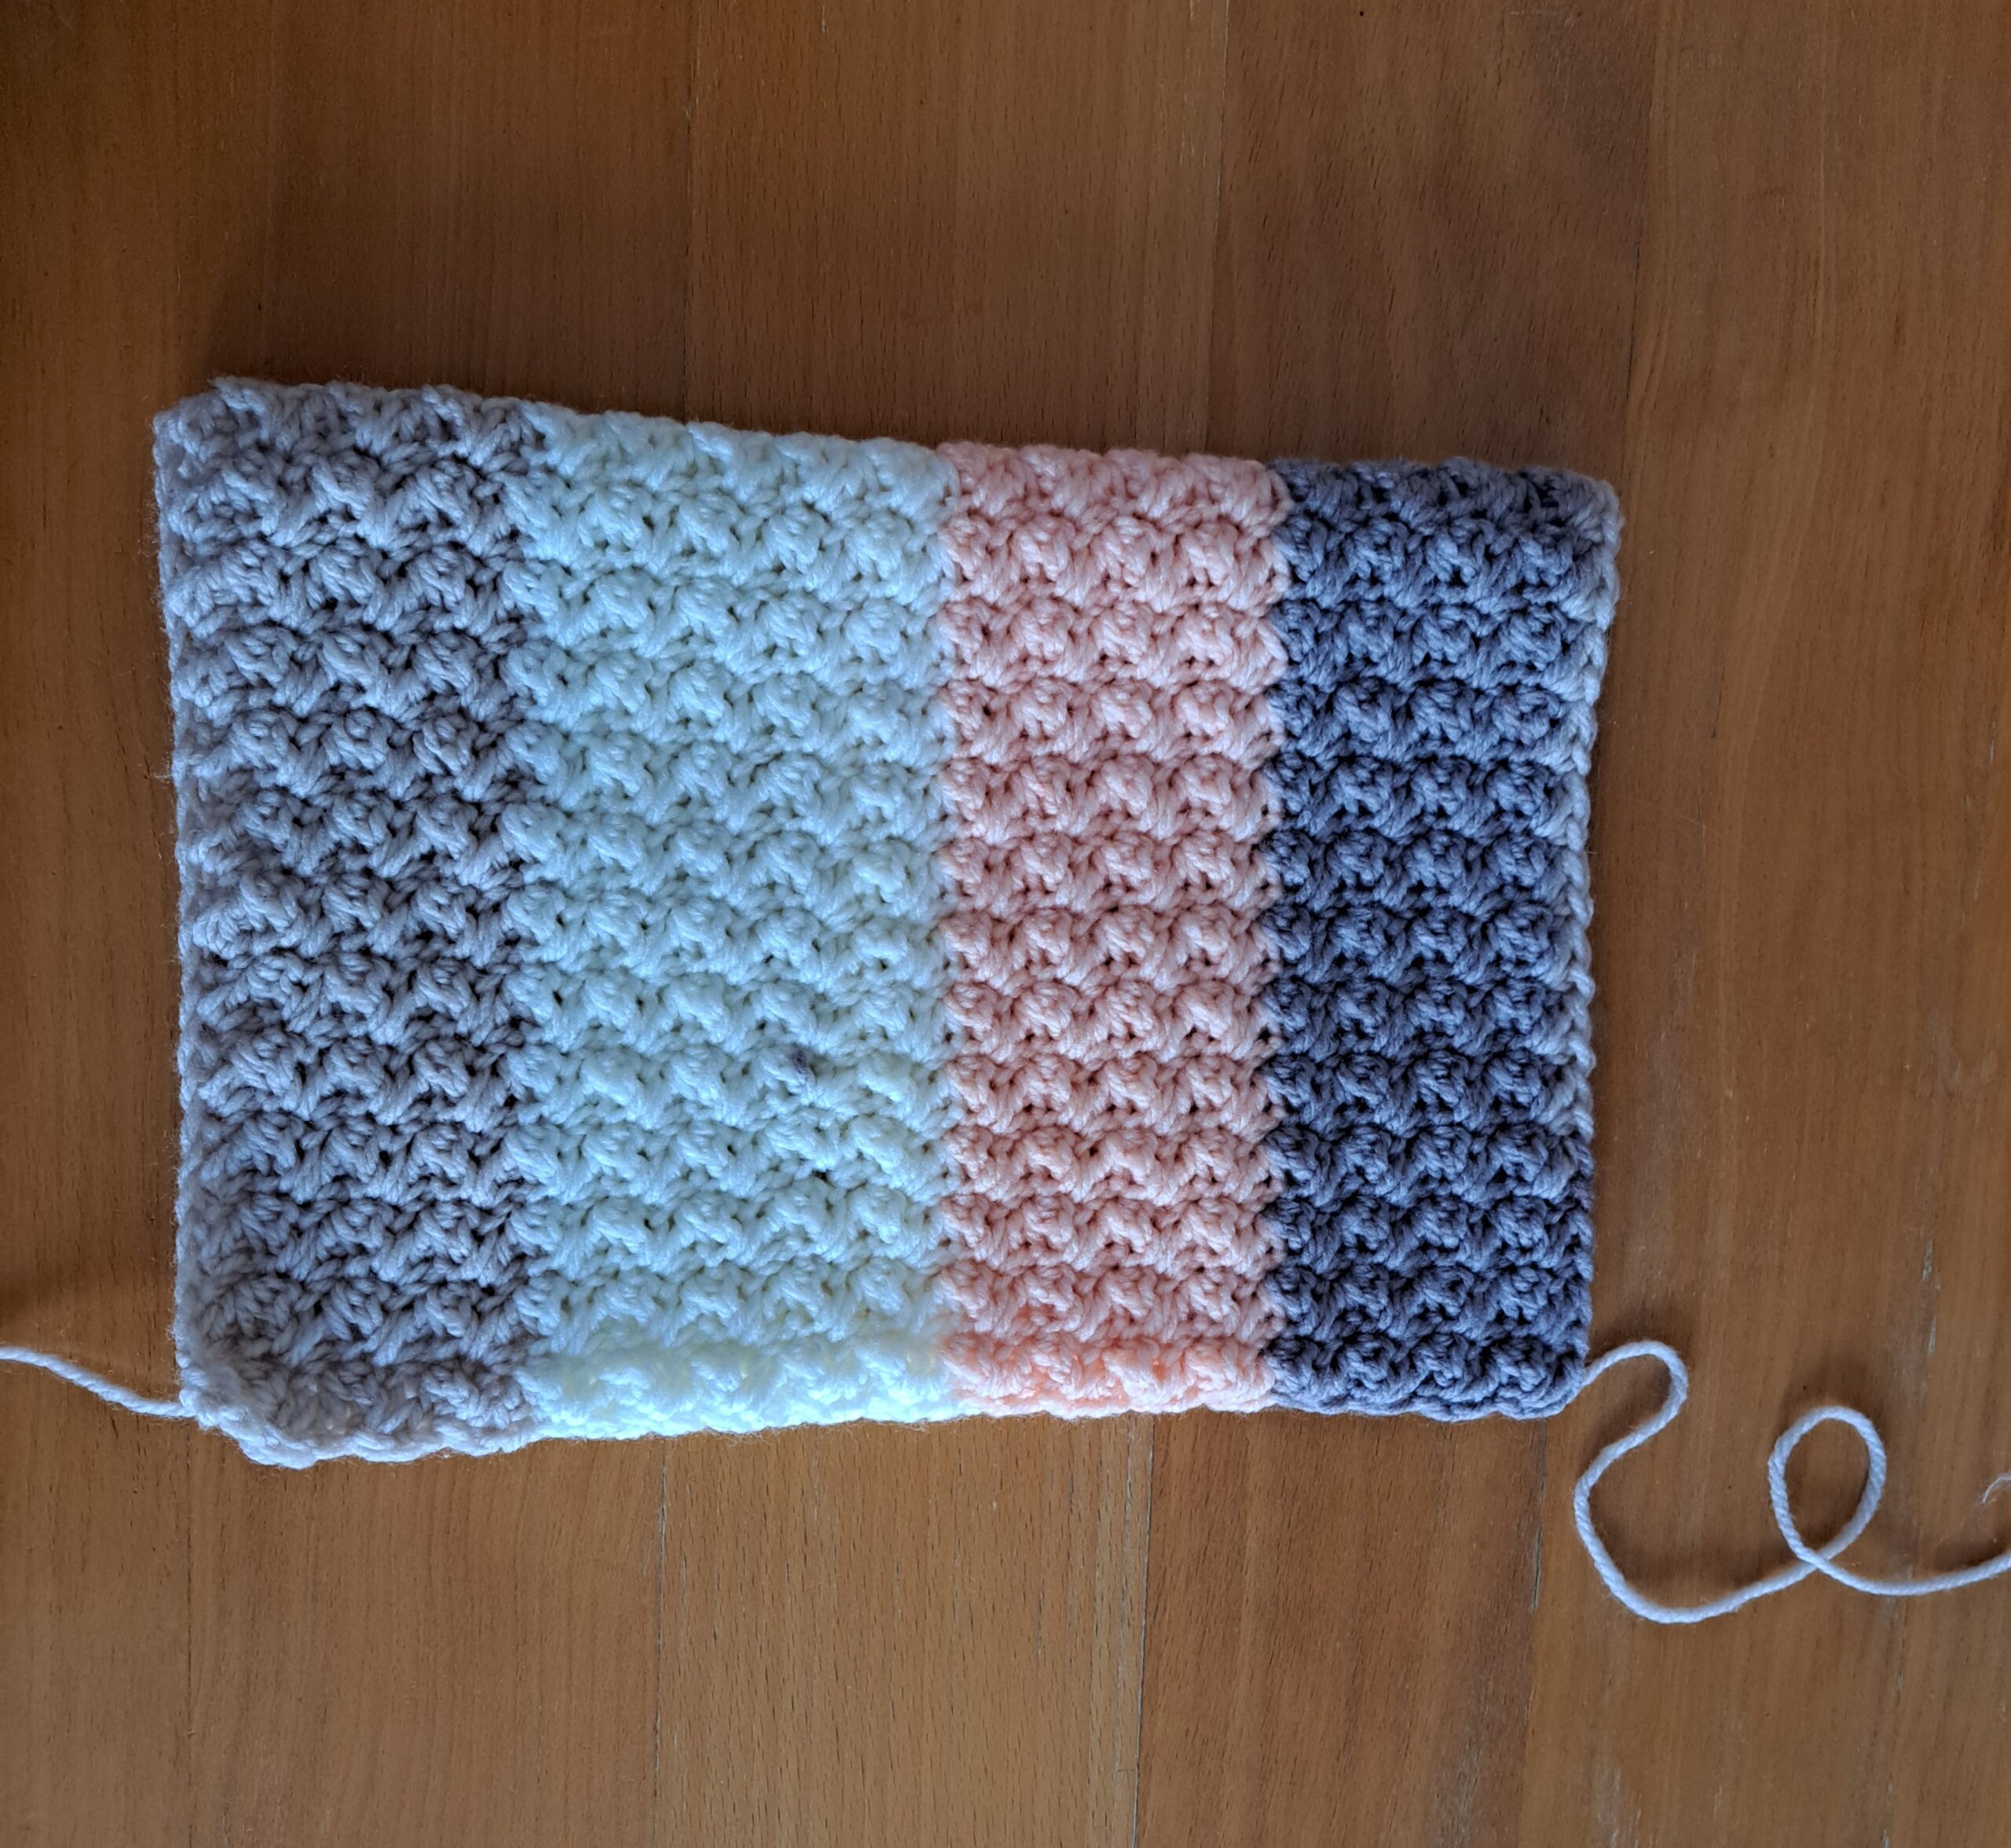
Sleeves (make 2)
With 6 mm crochet hook and Caron Baby Cake.
Ch 55 (59) [63] {67} *71* 75
1: Miss 2 ch (=SC), place DC into next ch, sk 1 ch, place 1 SC and 1 DC into next ch until last 2 ch. Sk 1 ch, 1 SC into last ch.
2: Ch 1 (=SC), turn your work, place 1 DC in same 1st st; *sk 1 st, place 1 SC and 1 DC into next SC from previous row*. Repeat from * to last 2 st, sk 1 st, 1 SC into last stitch.
3-33 (37) [42] {45} *49* 52: Repeat row 2.
Fasten off, leaving long tail for seaming the sleeves.
Once you have these 4 elements, you can start assembling your jumper together.
Assembling your jumper together
Start by folding sleeves in half width wise, and seaming the sleeves together, using tapestry needle and loose end.
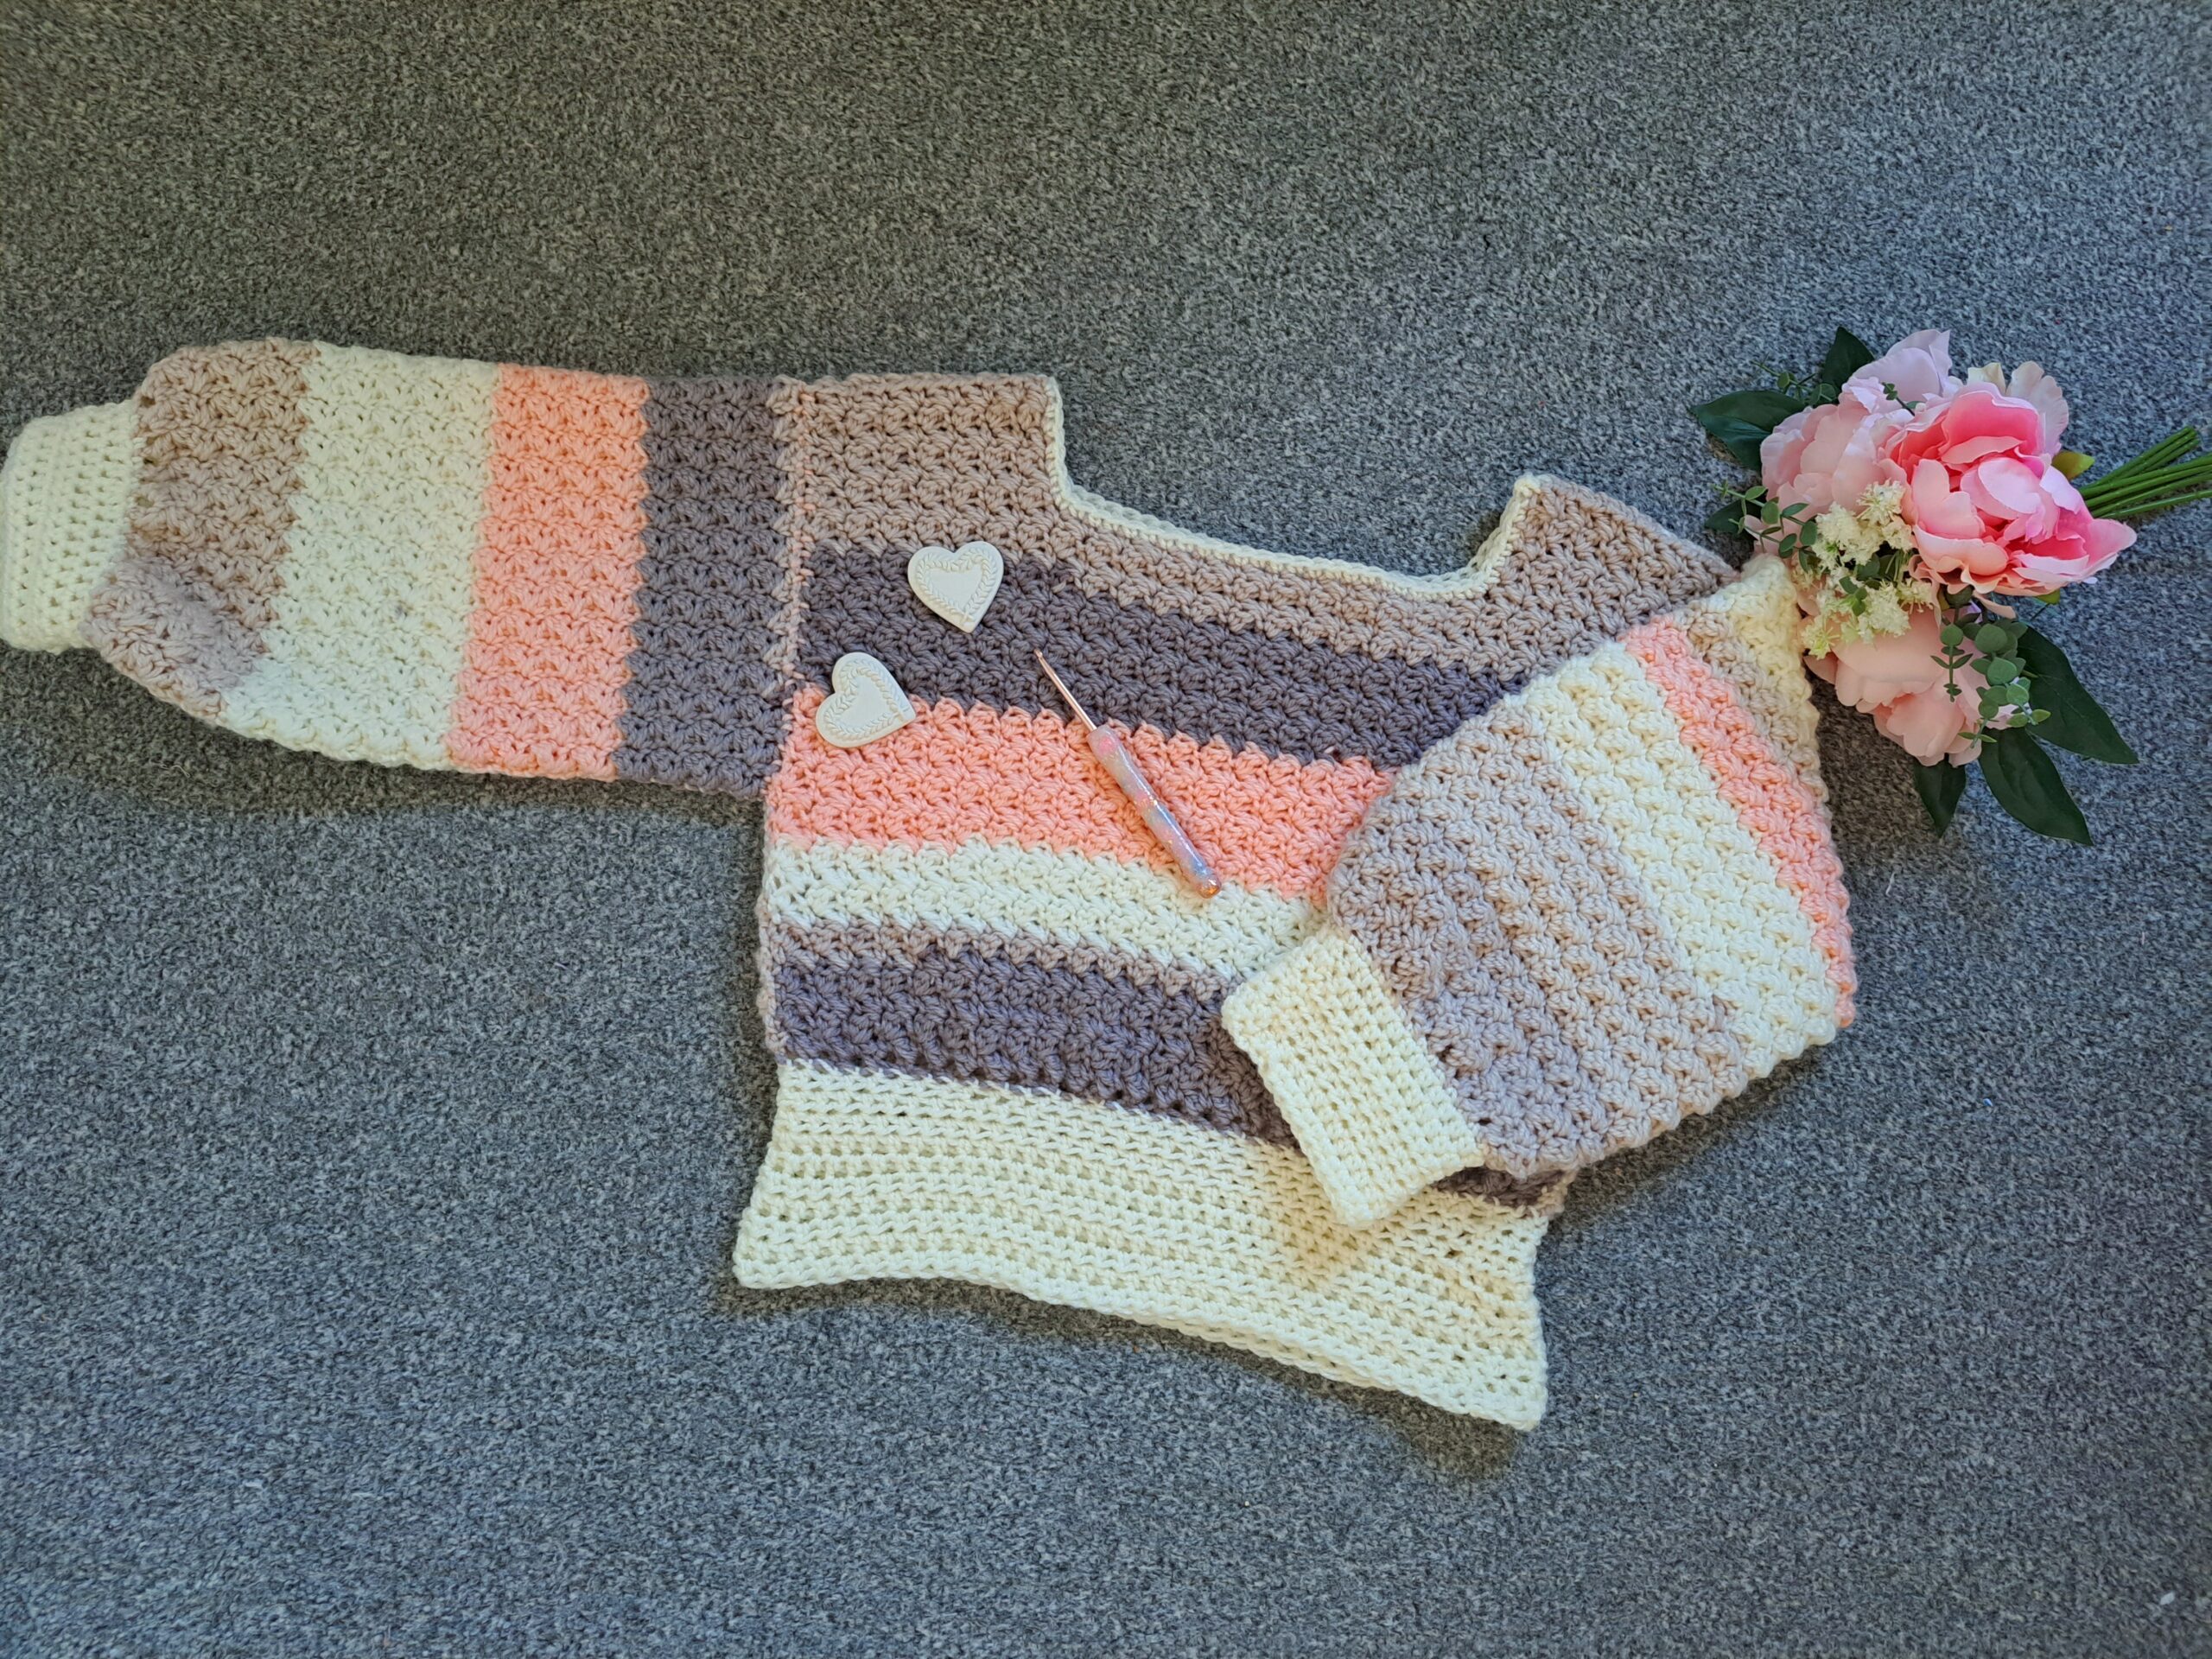
With wrong side facing, place the back of your jumper onto a flat surface. Now place both front panels flat onto the back of the jumper. There is no gap for the neck and front part, meaning the back and front panels are completely on top of the other (see photo above).
Now sew the shoulder seams at the top of the jumper, using the mattress stitch.
Then place sleeves to each side of the jumper, and start sewing sleeves from the top of project, working all the way down to the bottom of the jumper. Make sure you place the seam of the sleeves facing down.
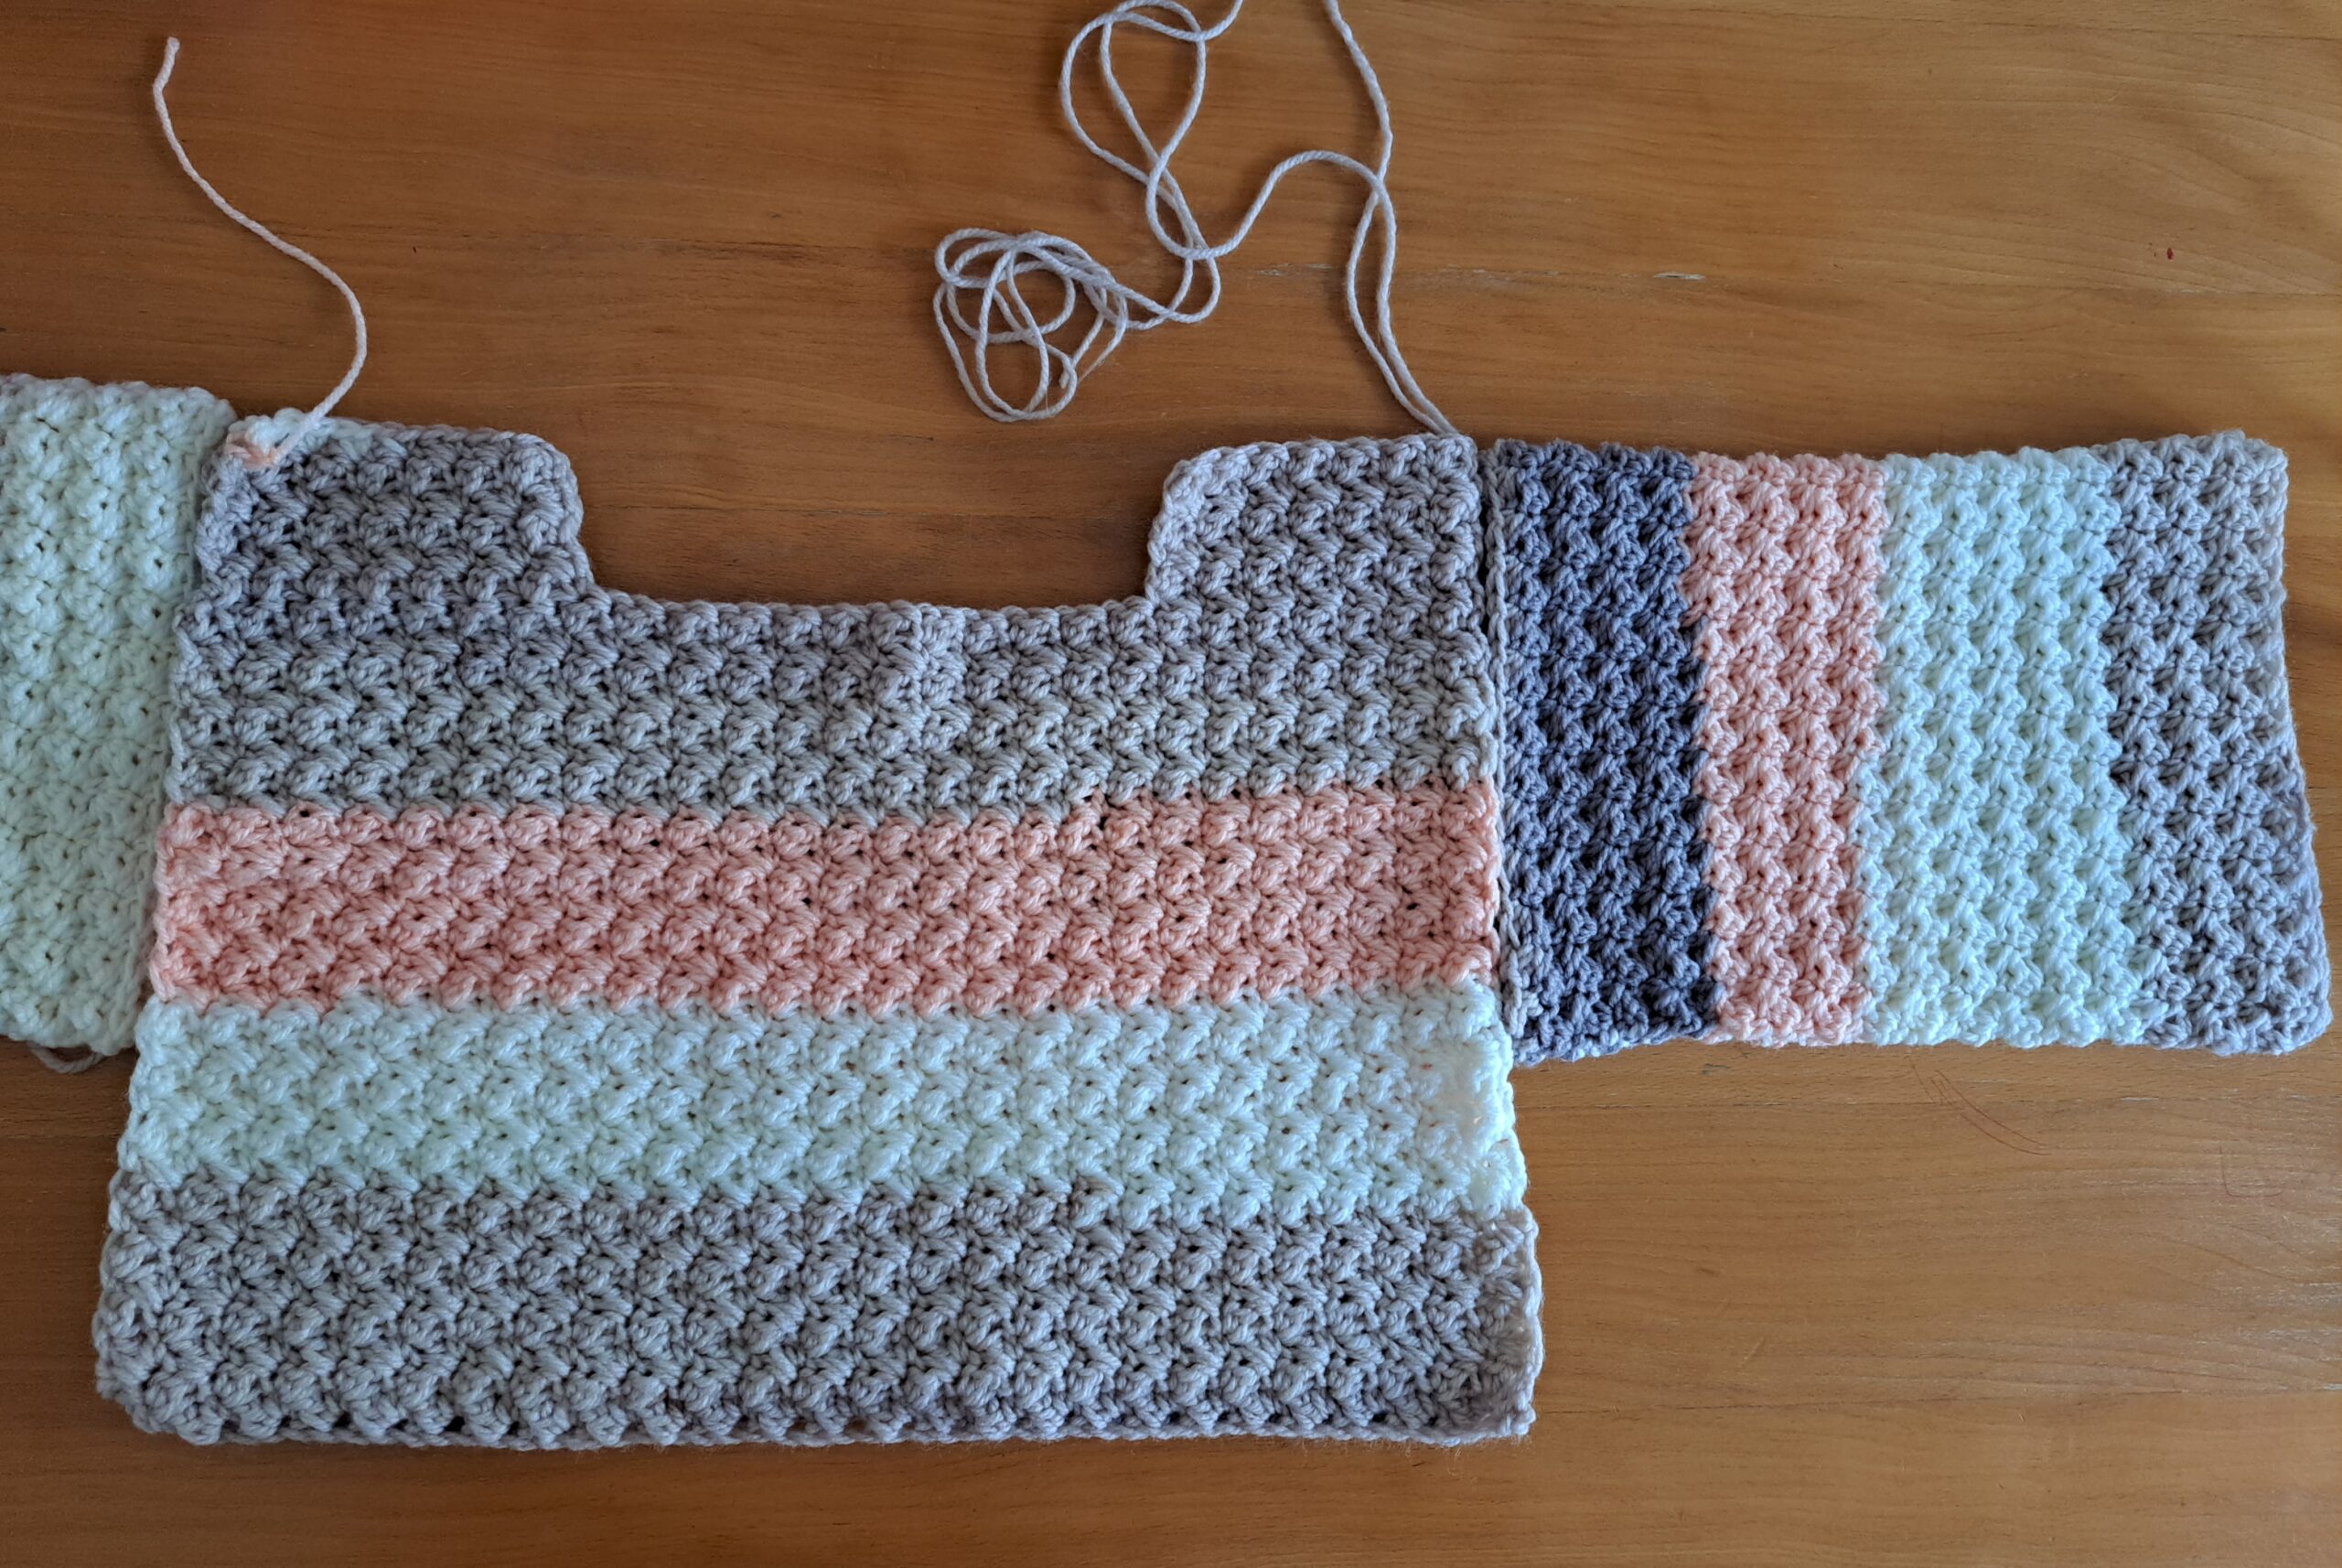
You can then sew the “back” side of the sleeve to the back side of the project by flipping the project around. This creates a more seamless stitching.
Do this on both sides of the jumper for each sleeve and side of project.
Fasten off, tidy up all loose ends.
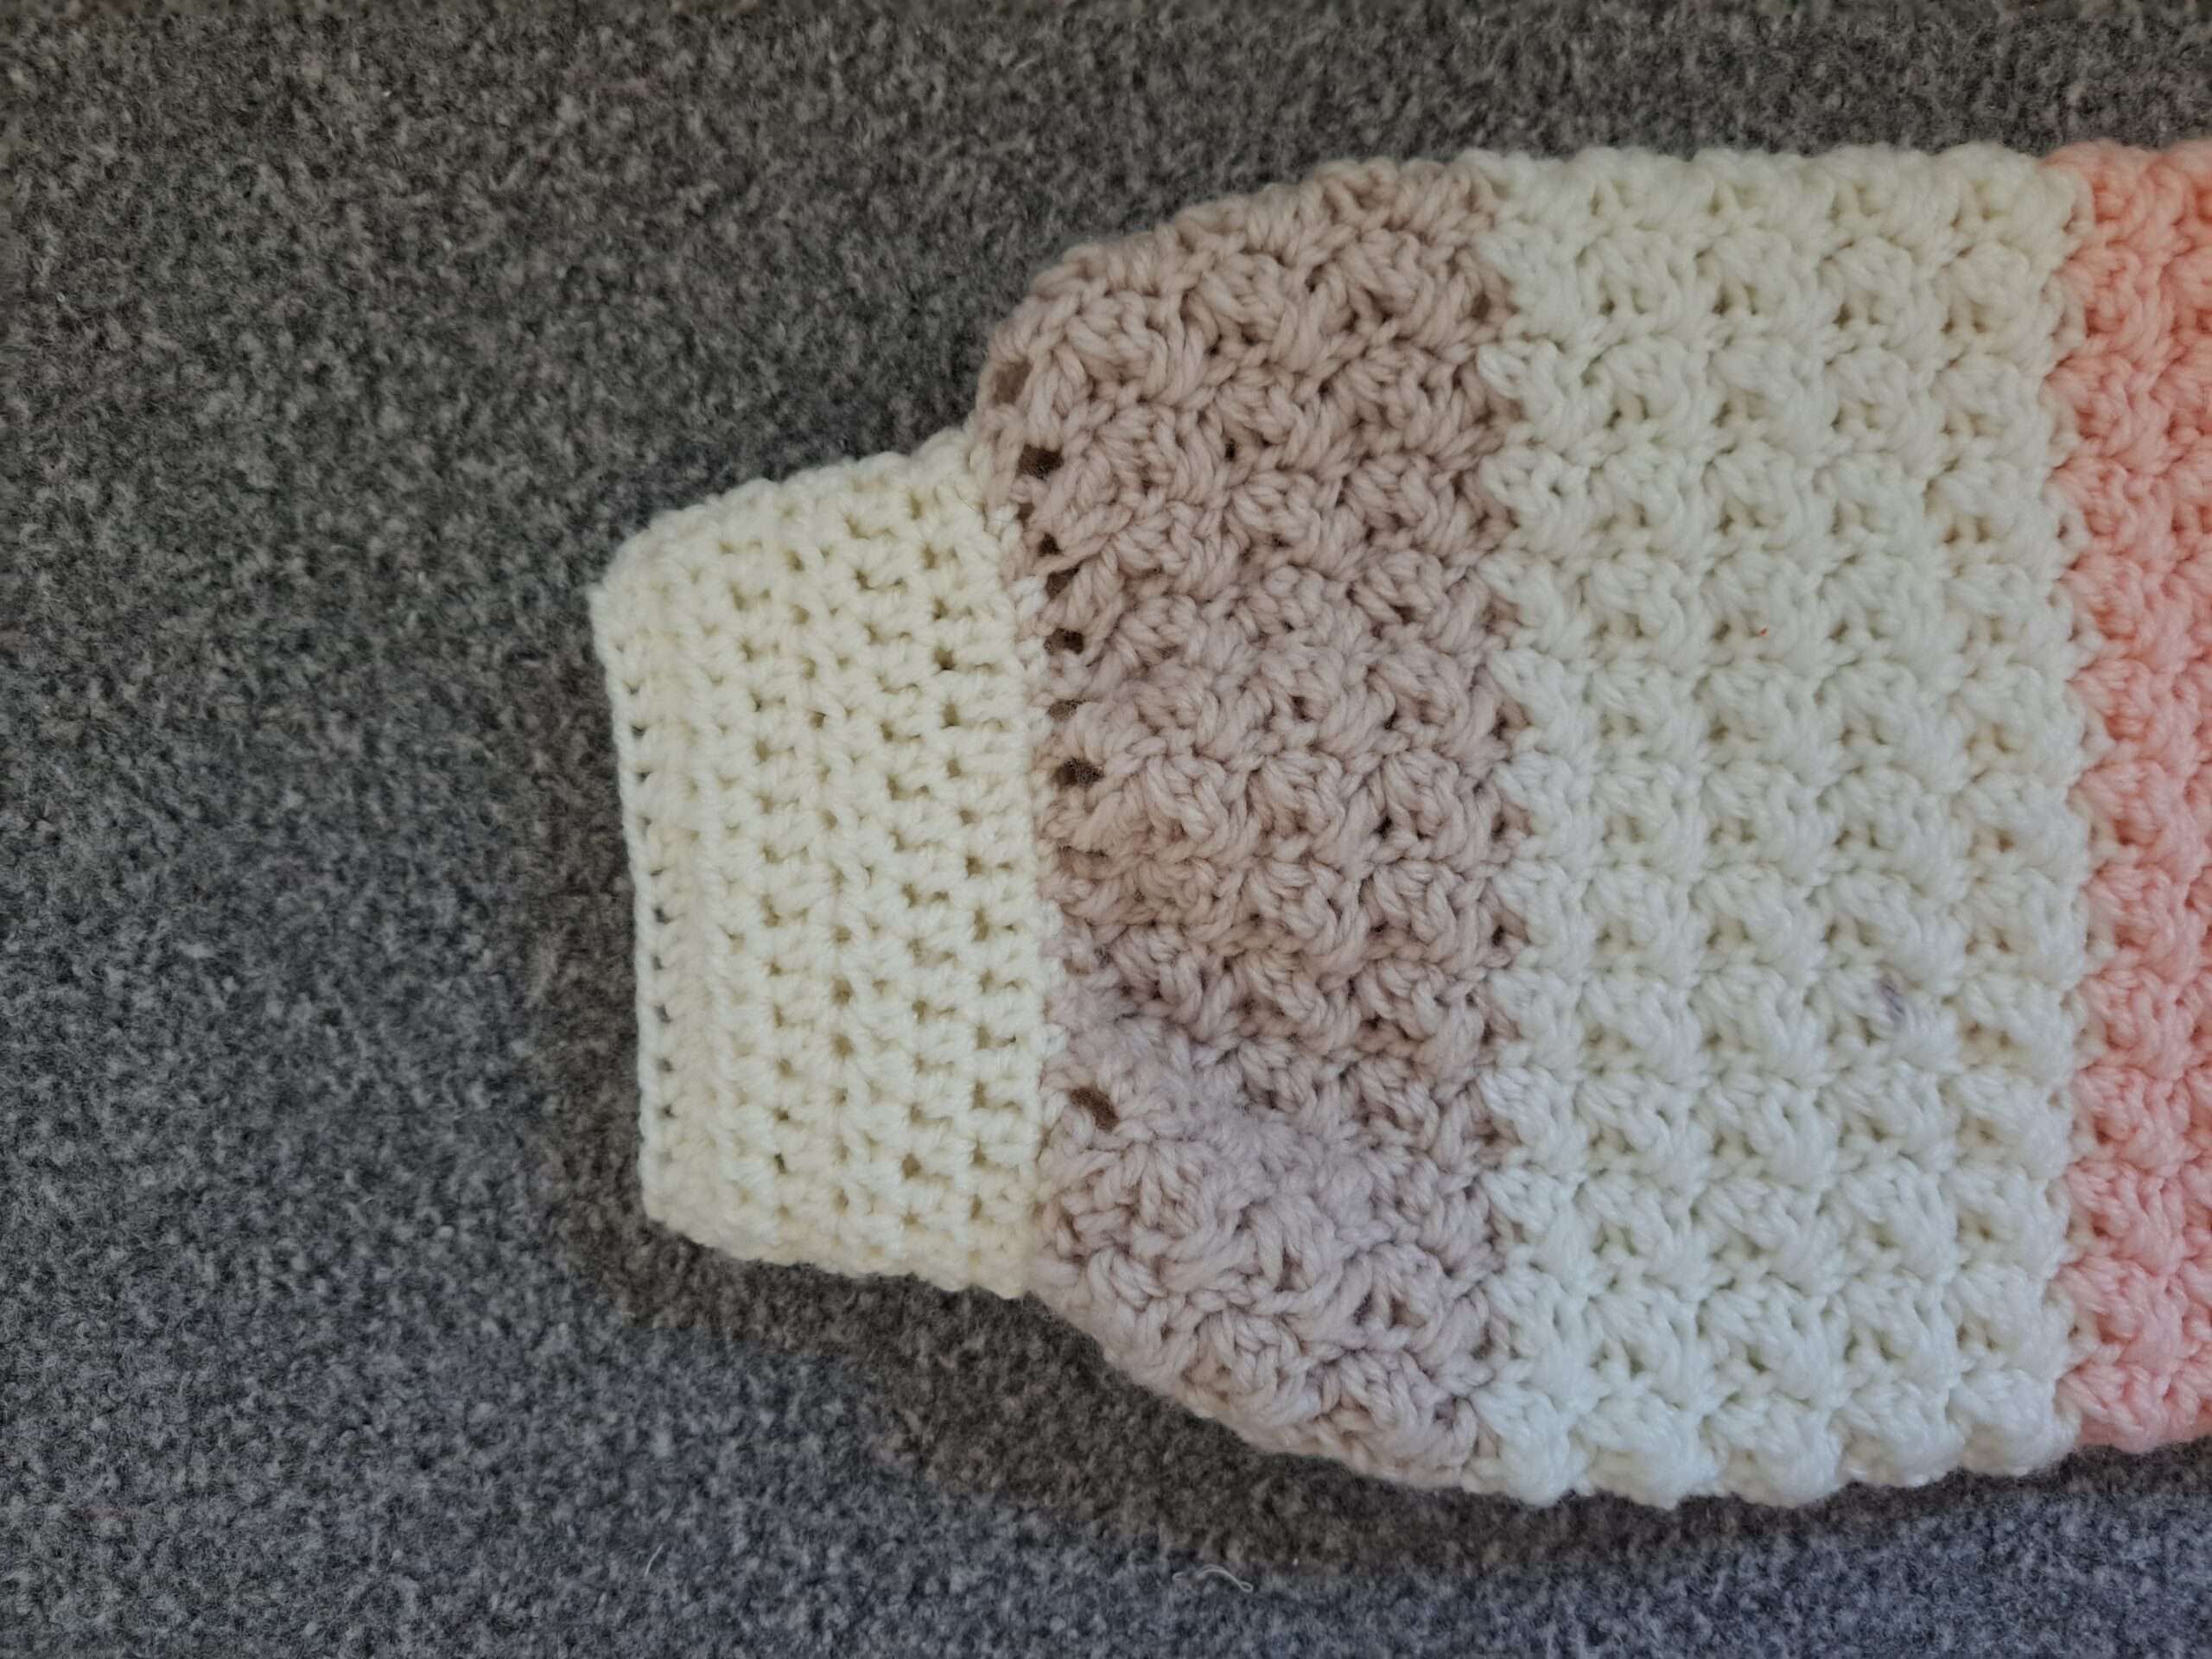
Sleeve cuffs
Repeat this process on each sleeve. We will be working this part of the project in the rounds.
With 5 mm crochet hook and stylecraft Special Aran in shade Cream:
Attach yarn to any stitch on the edge of the 1st sleeve.
1: Ch 1 (=SC), [sk 1 st, SC into next st] until eor. Once you reach the beginning ch 1, sl st to ch 1 to close off round.
2: Ch 2 (=HDC), place a HDC into next st until eor; sl st to first ch 2 to close off round.
3-7: Repeat row 2.
Fasten off, tidy up all loose ends.
Repeat process on the other sleeve cuff.
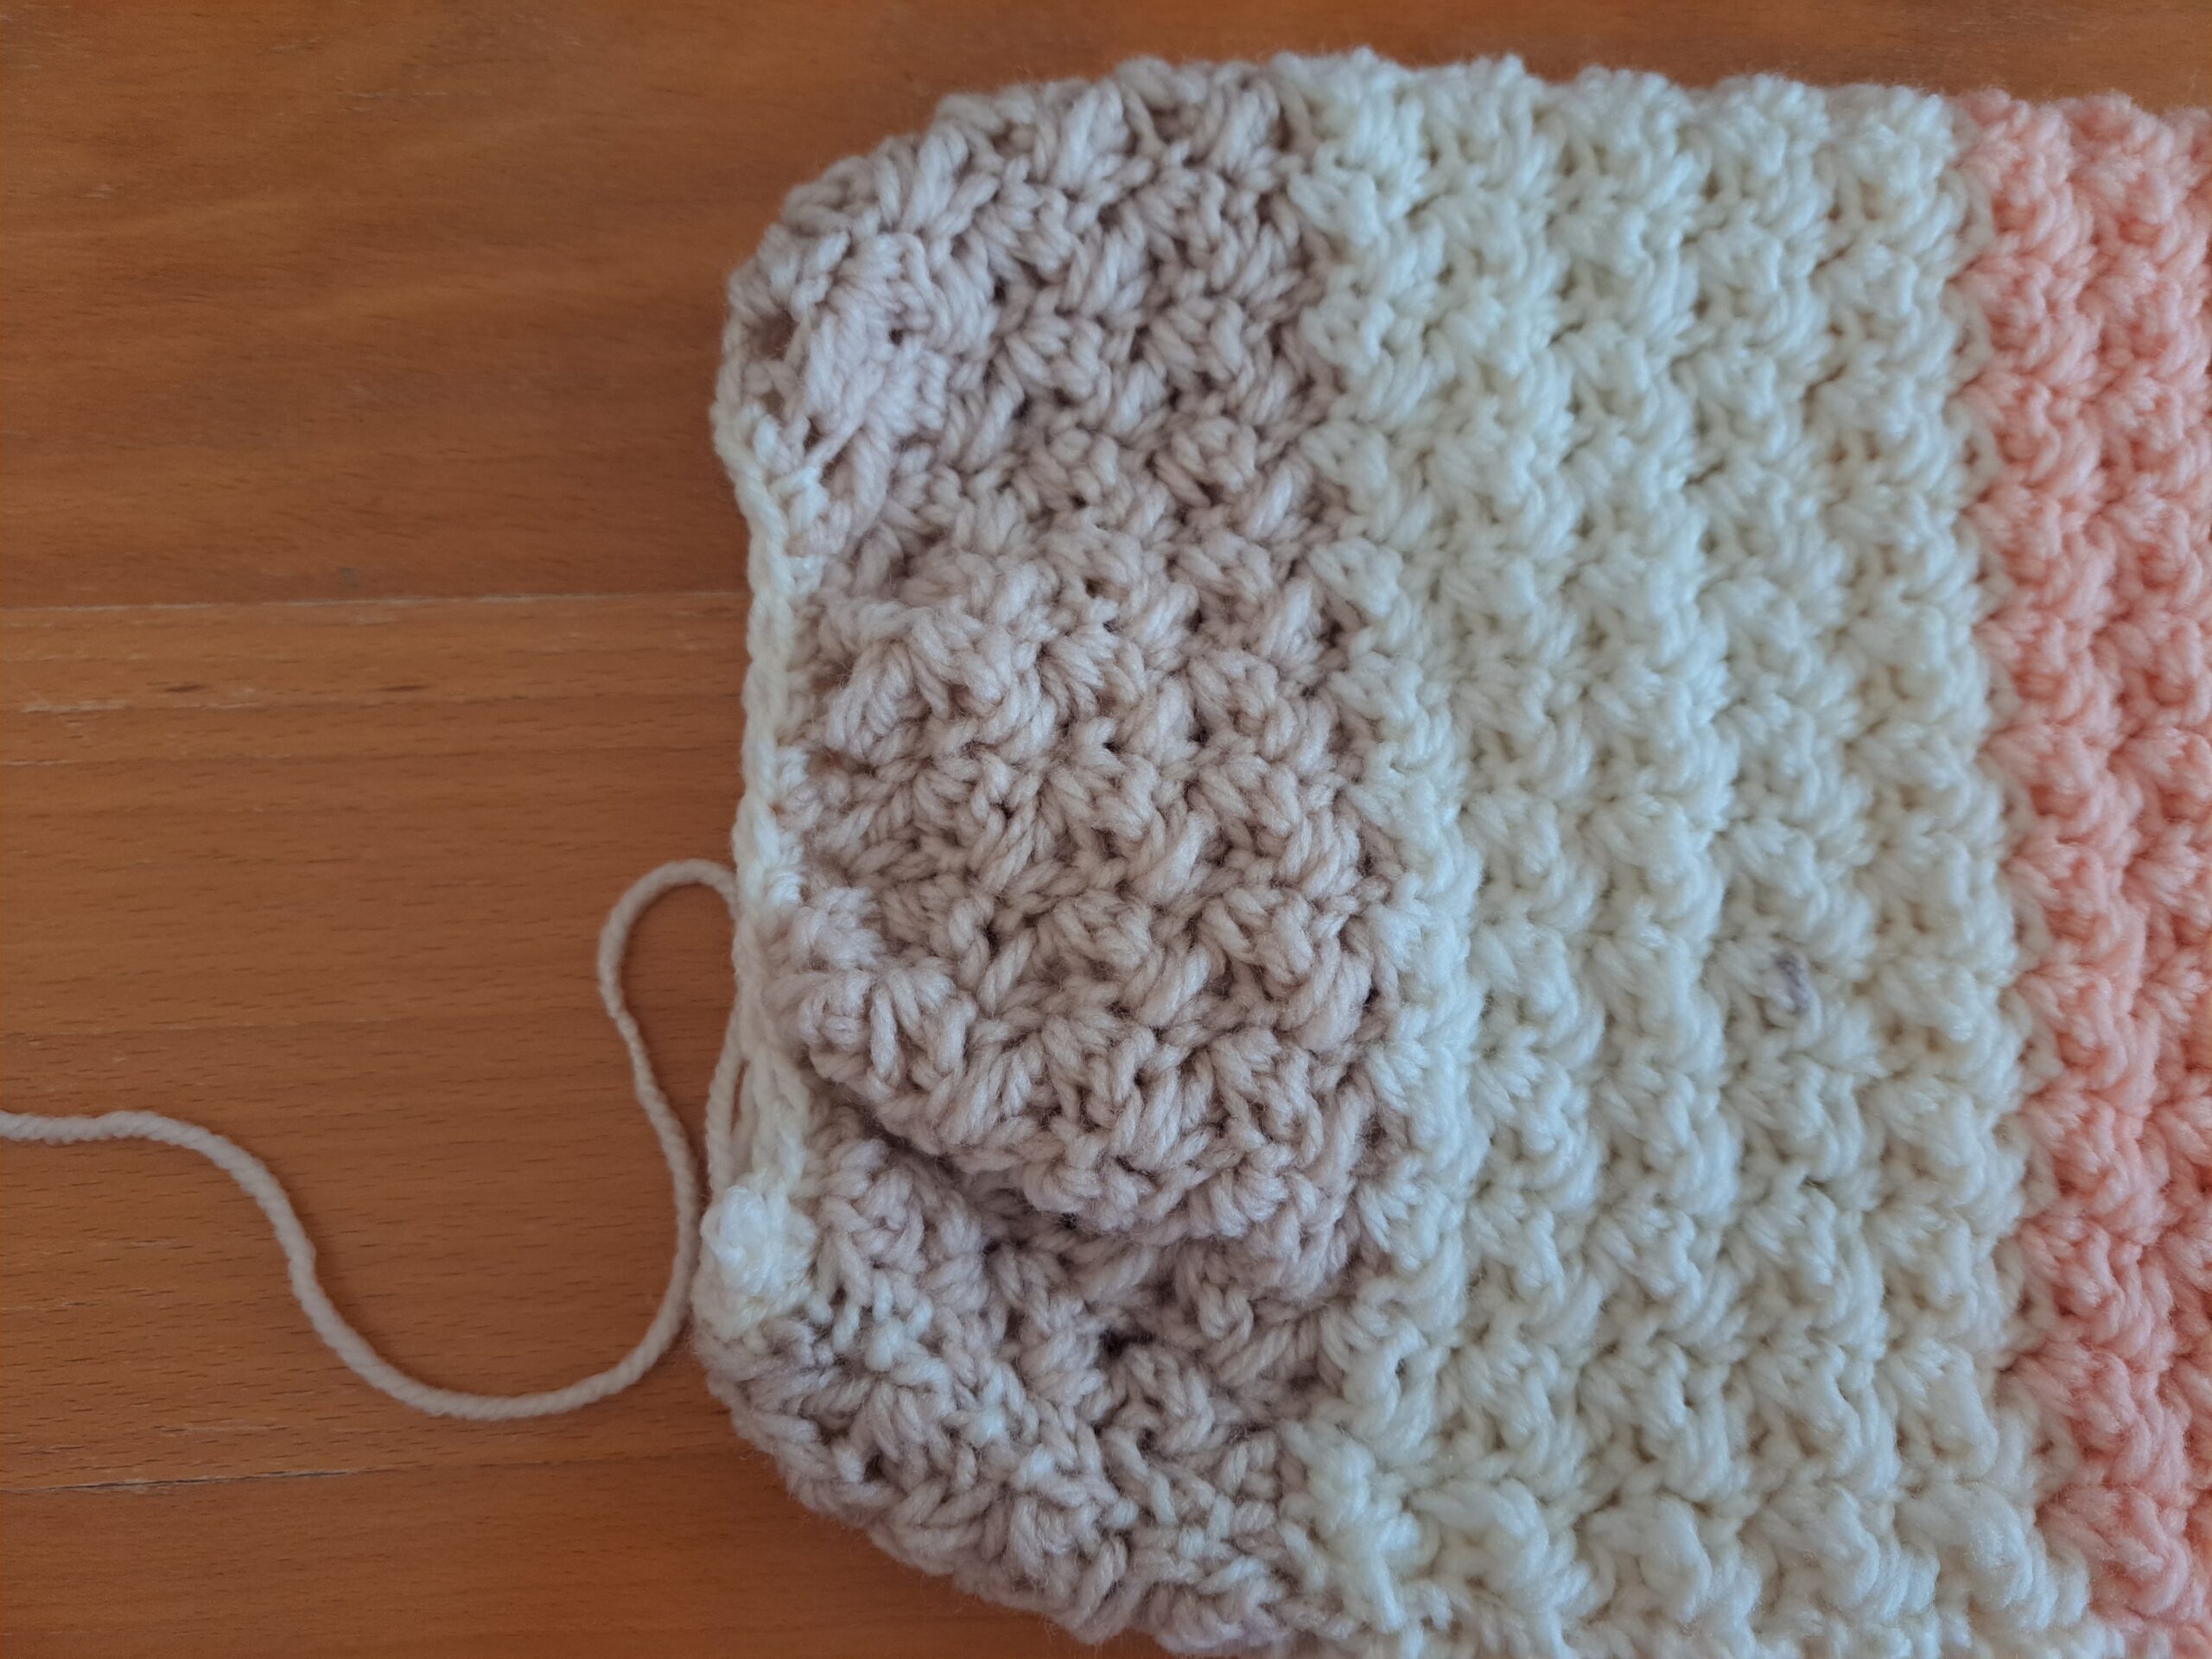
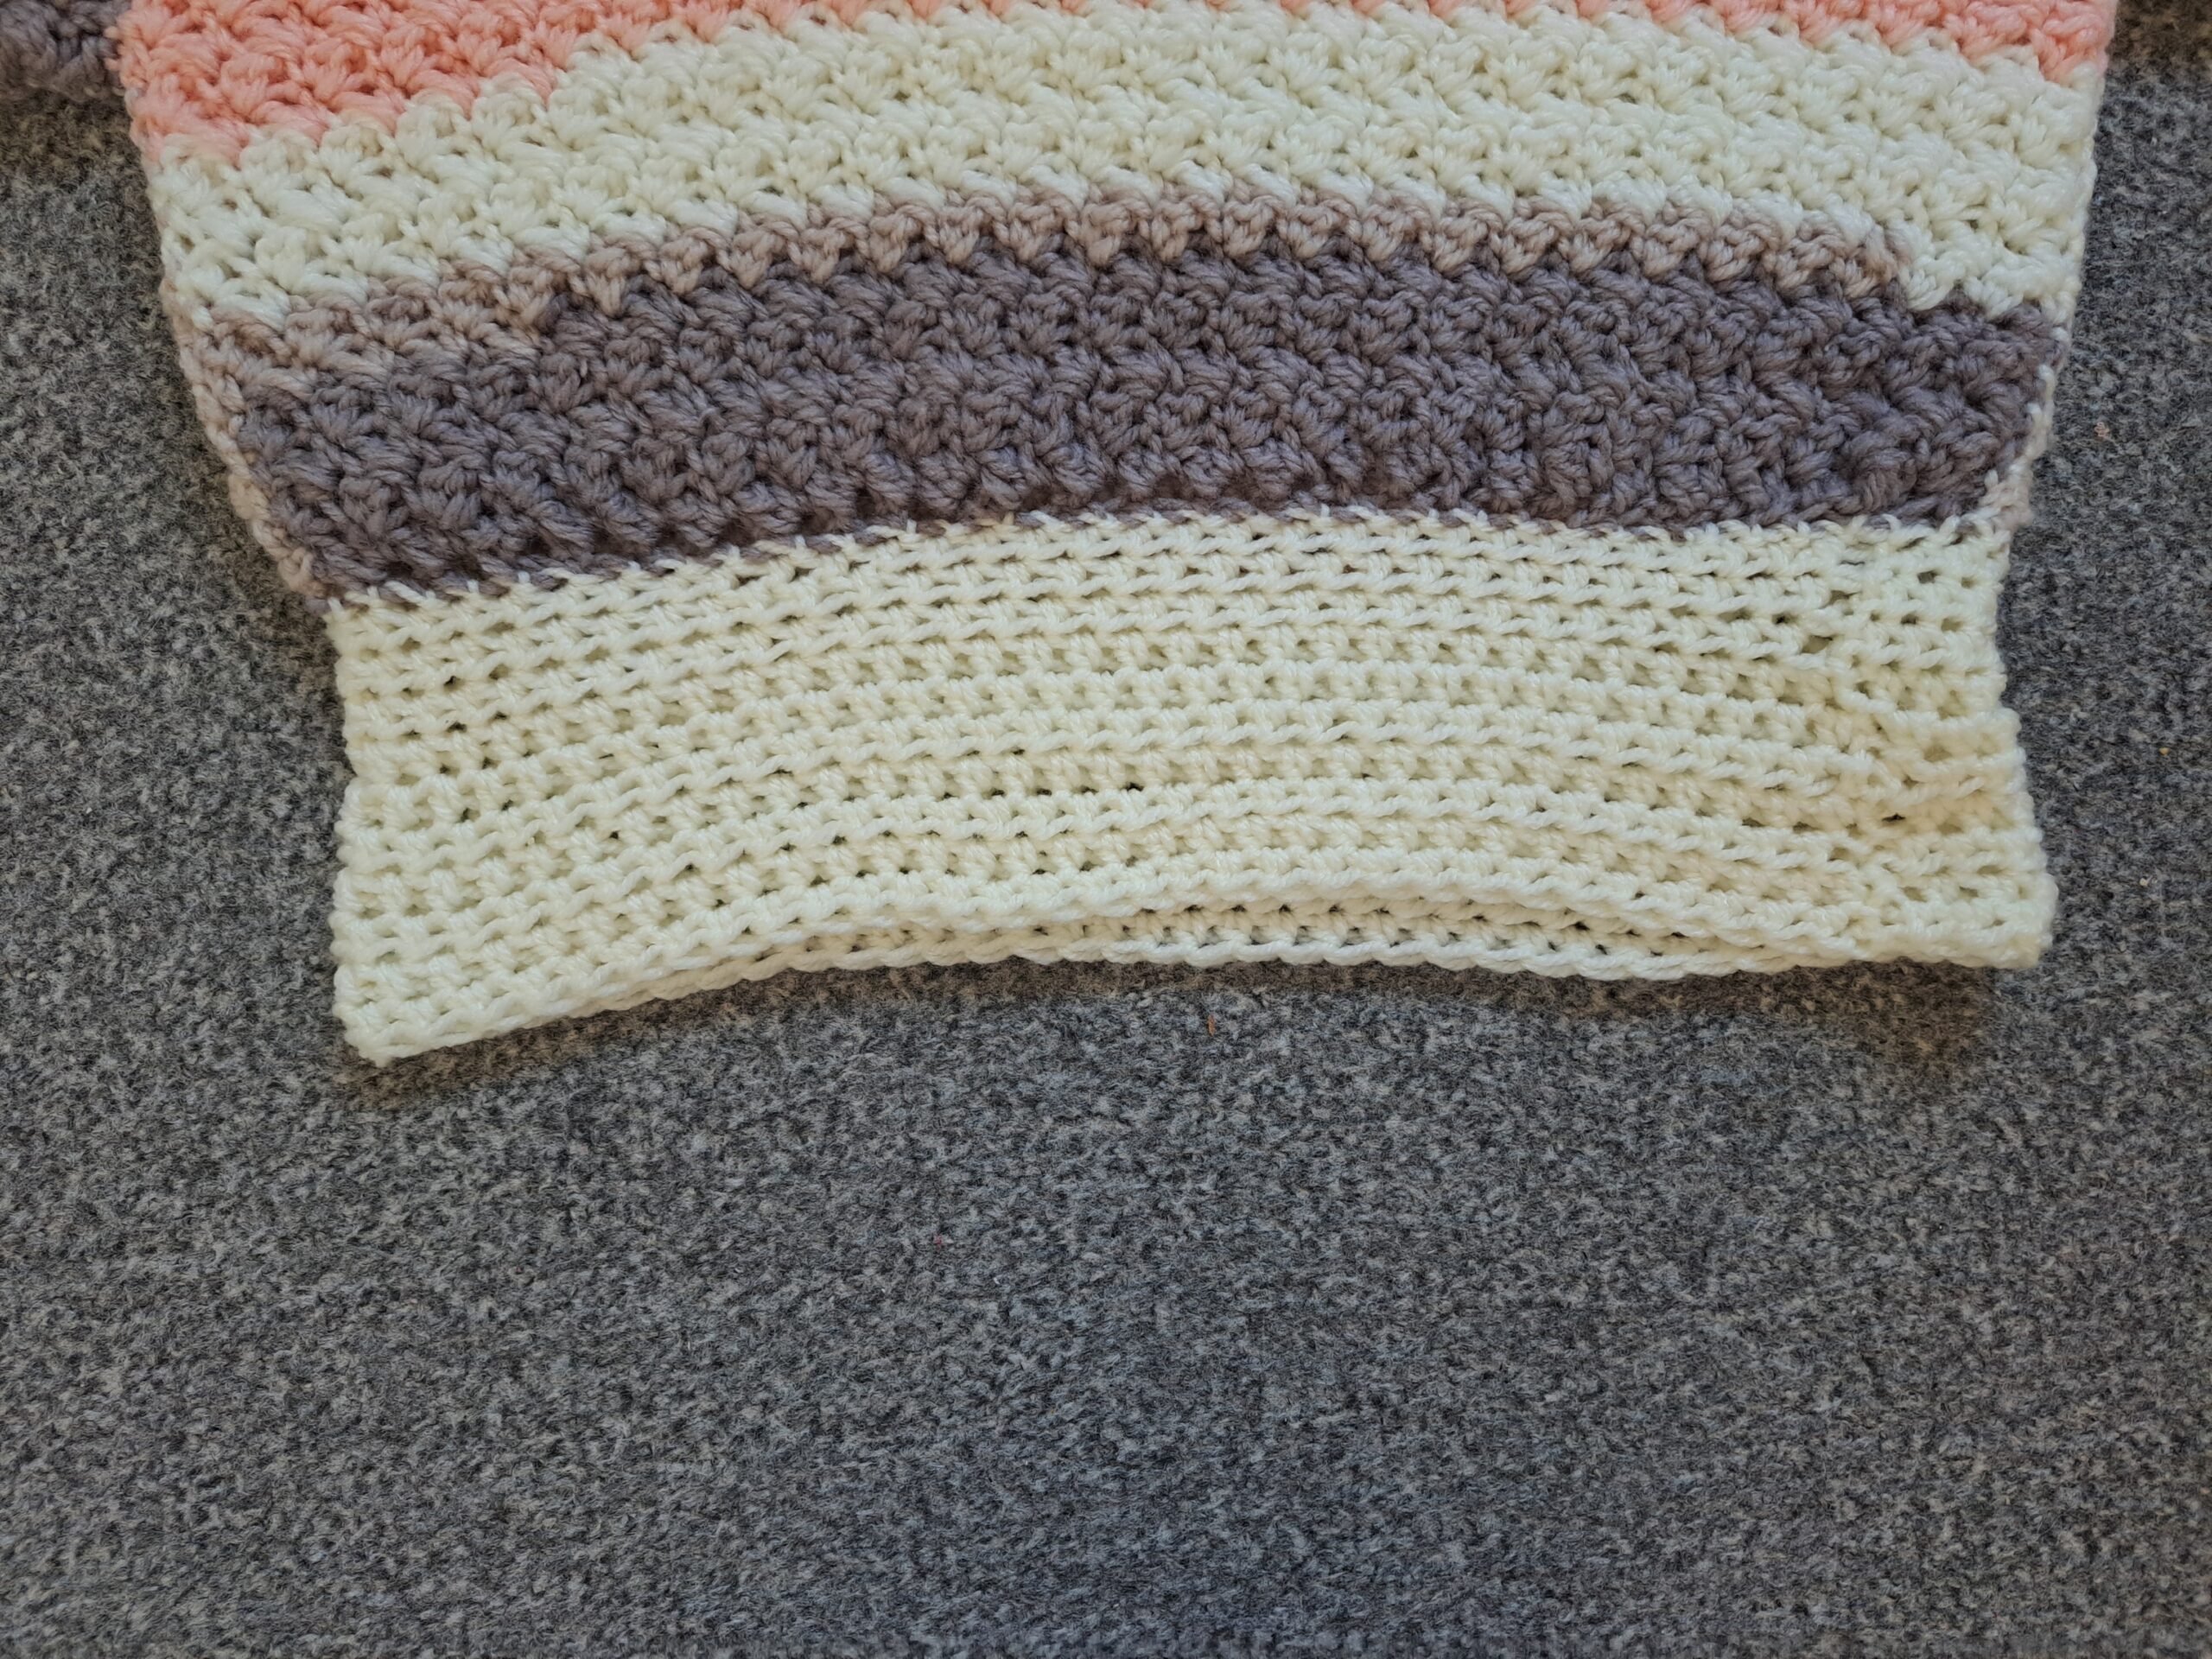
Bottom edging
We will be working this part in the rounds.
With 5 mm crochet hook and Stylecraft Special Aran (or Paintbox Simply Aran):
Attach yarn to the bottom edging of the jumper.
1: Ch 1 (=SC), SC into next st, [sk 1 st, SC into next 2 stitches] until eor. Sl st to first ch 1 to close off round.
2: Ch 2 (=HDC), place a HDC into next st until eor; sl st to first ch 2 to close off round.
3-11: Repeat row 2.
Fasten off, tidy up all loose ends.
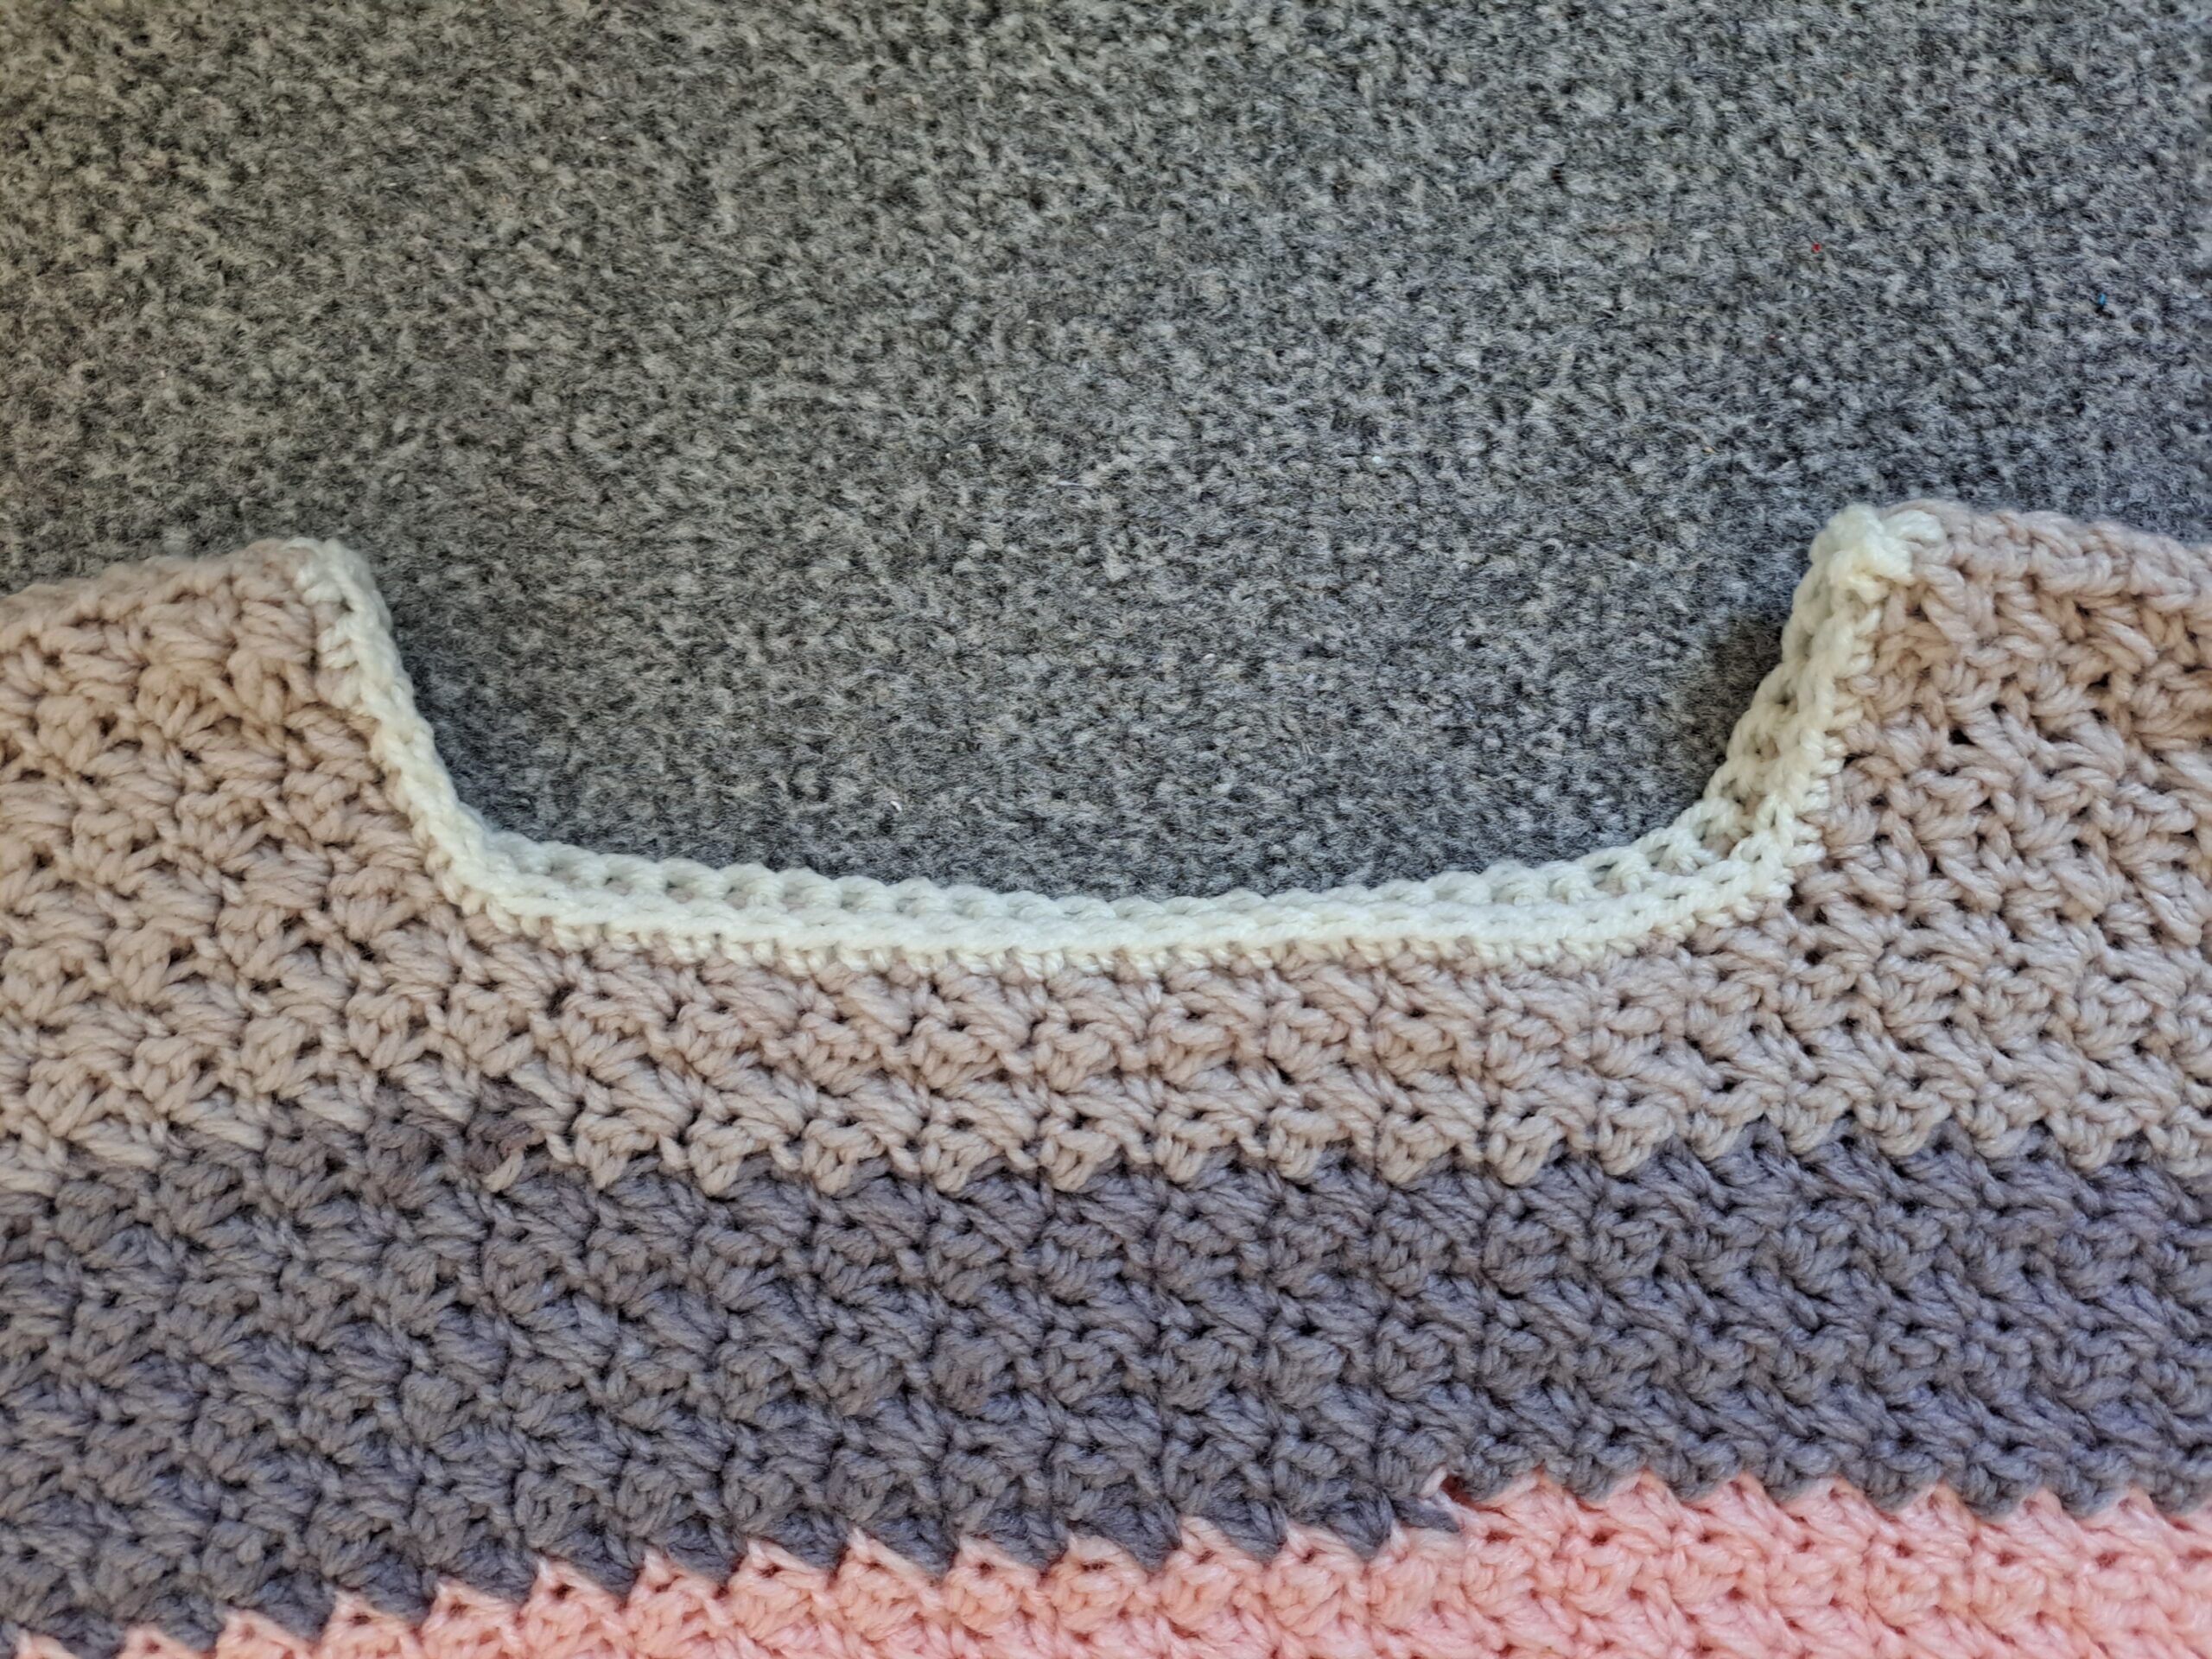
Neck edging
With 6 mm crochet hook and Stylecraft Special Aran yarn:
Attach yarn to any stitch at the top of the neck opening.
Ch 1 (=SC), SC into next st until eor, making sure you place your SC evenly across the neck opening. Make sure you are not tightening the neck opening too much. Sl st to first ch 1 to close off round.
Fasten off, tidy up all loose ends.


You May Also Like
Crochet The Sweet and Innocent Headband

Crochet Beautiful Lilac Cardigan with Ribbed Edging