Crochet The Aquamarine Poncho Pattern
Crochet The Aquamarine Poncho Pattern
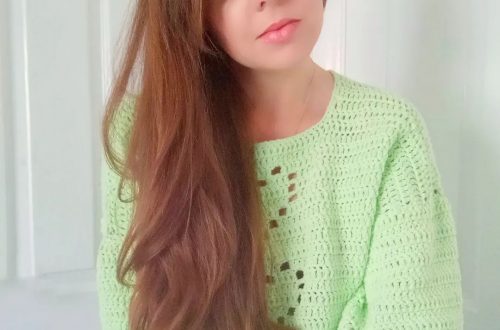
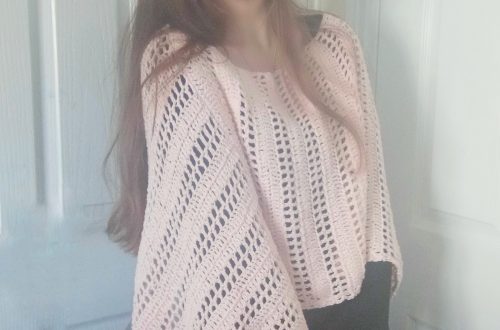
Hi everyone, this week I am bringing to you the crochet Aquamarine Poncho pattern. This very easy crochet project is beautiful and perfect for beginners. Crocheted fast using Lion Brand’s Vanna’s Choice yarn, it is a very dainty oversized poncho pattern. I hope you enjoy this easy tutorial!
The video tutorial can be found here:
Crochet The Aquamarine Poncho Pattern
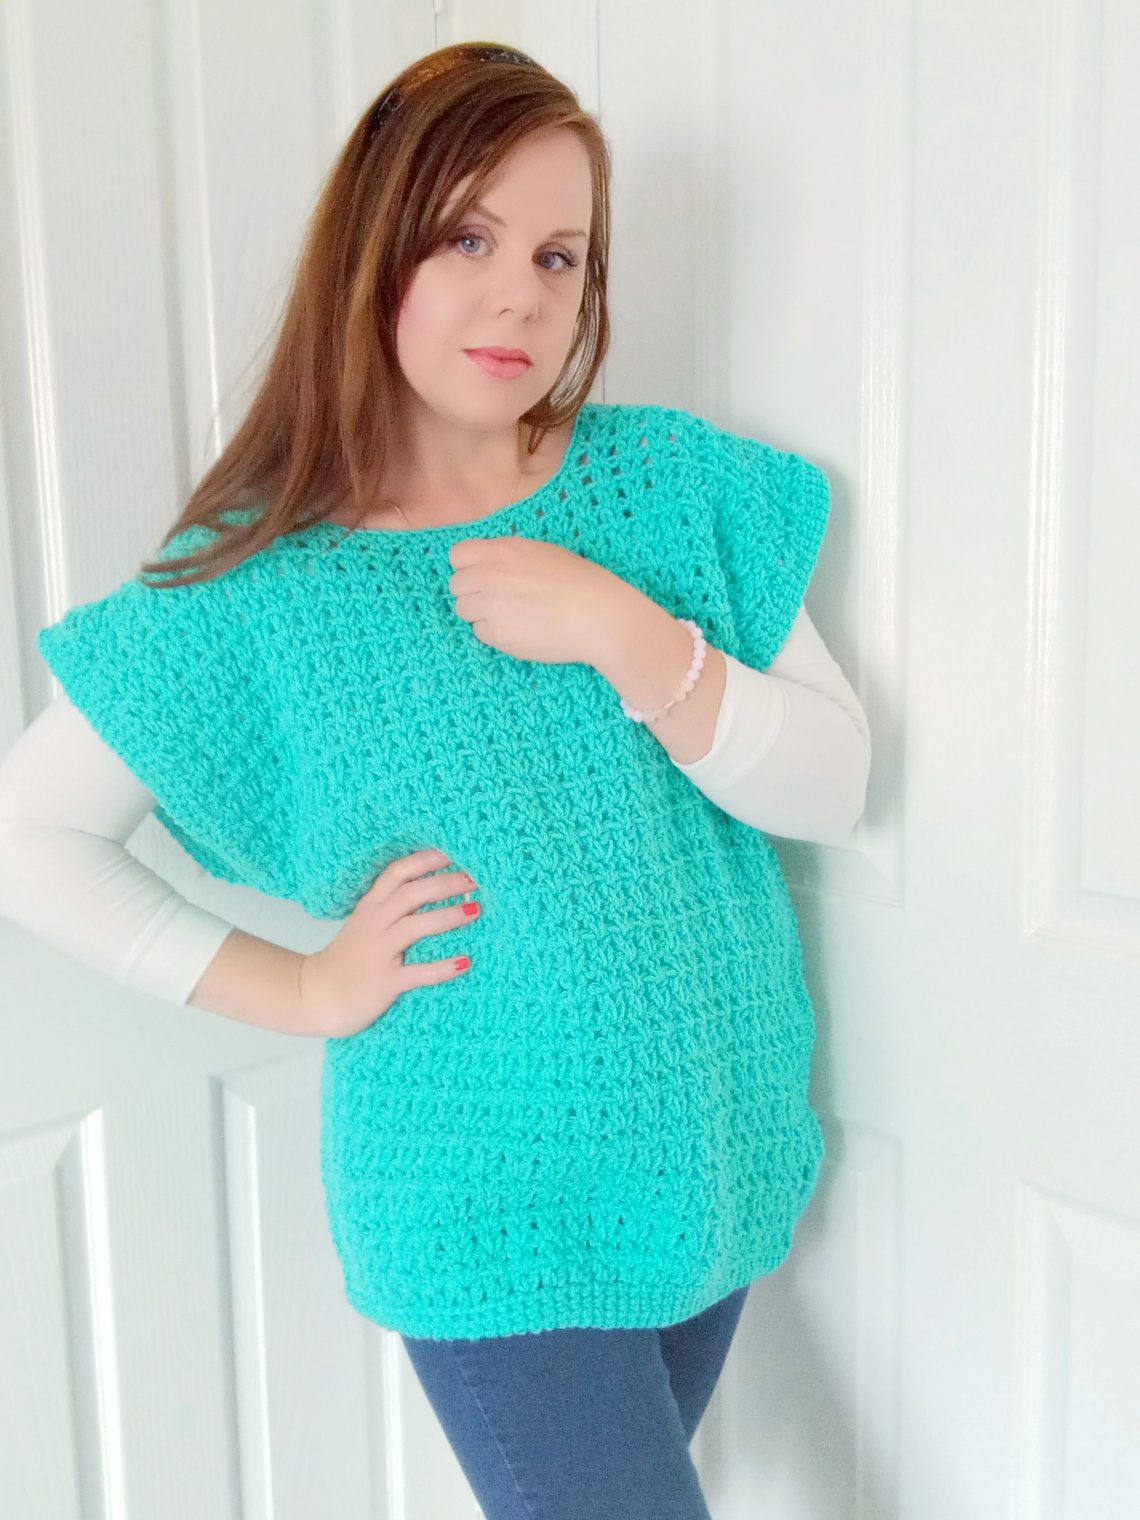
I am so happy to bring to you this easy crochet poncho. Indeed, I love the slightly oversized, yet feminine, shape of this poncho. This crochet poncho looks beautiful in every season. It is crocheted following a very simple pattern. I am absolutely in love with this crochet project. It is very easy to crochet, and beginners can make this tutorial too.
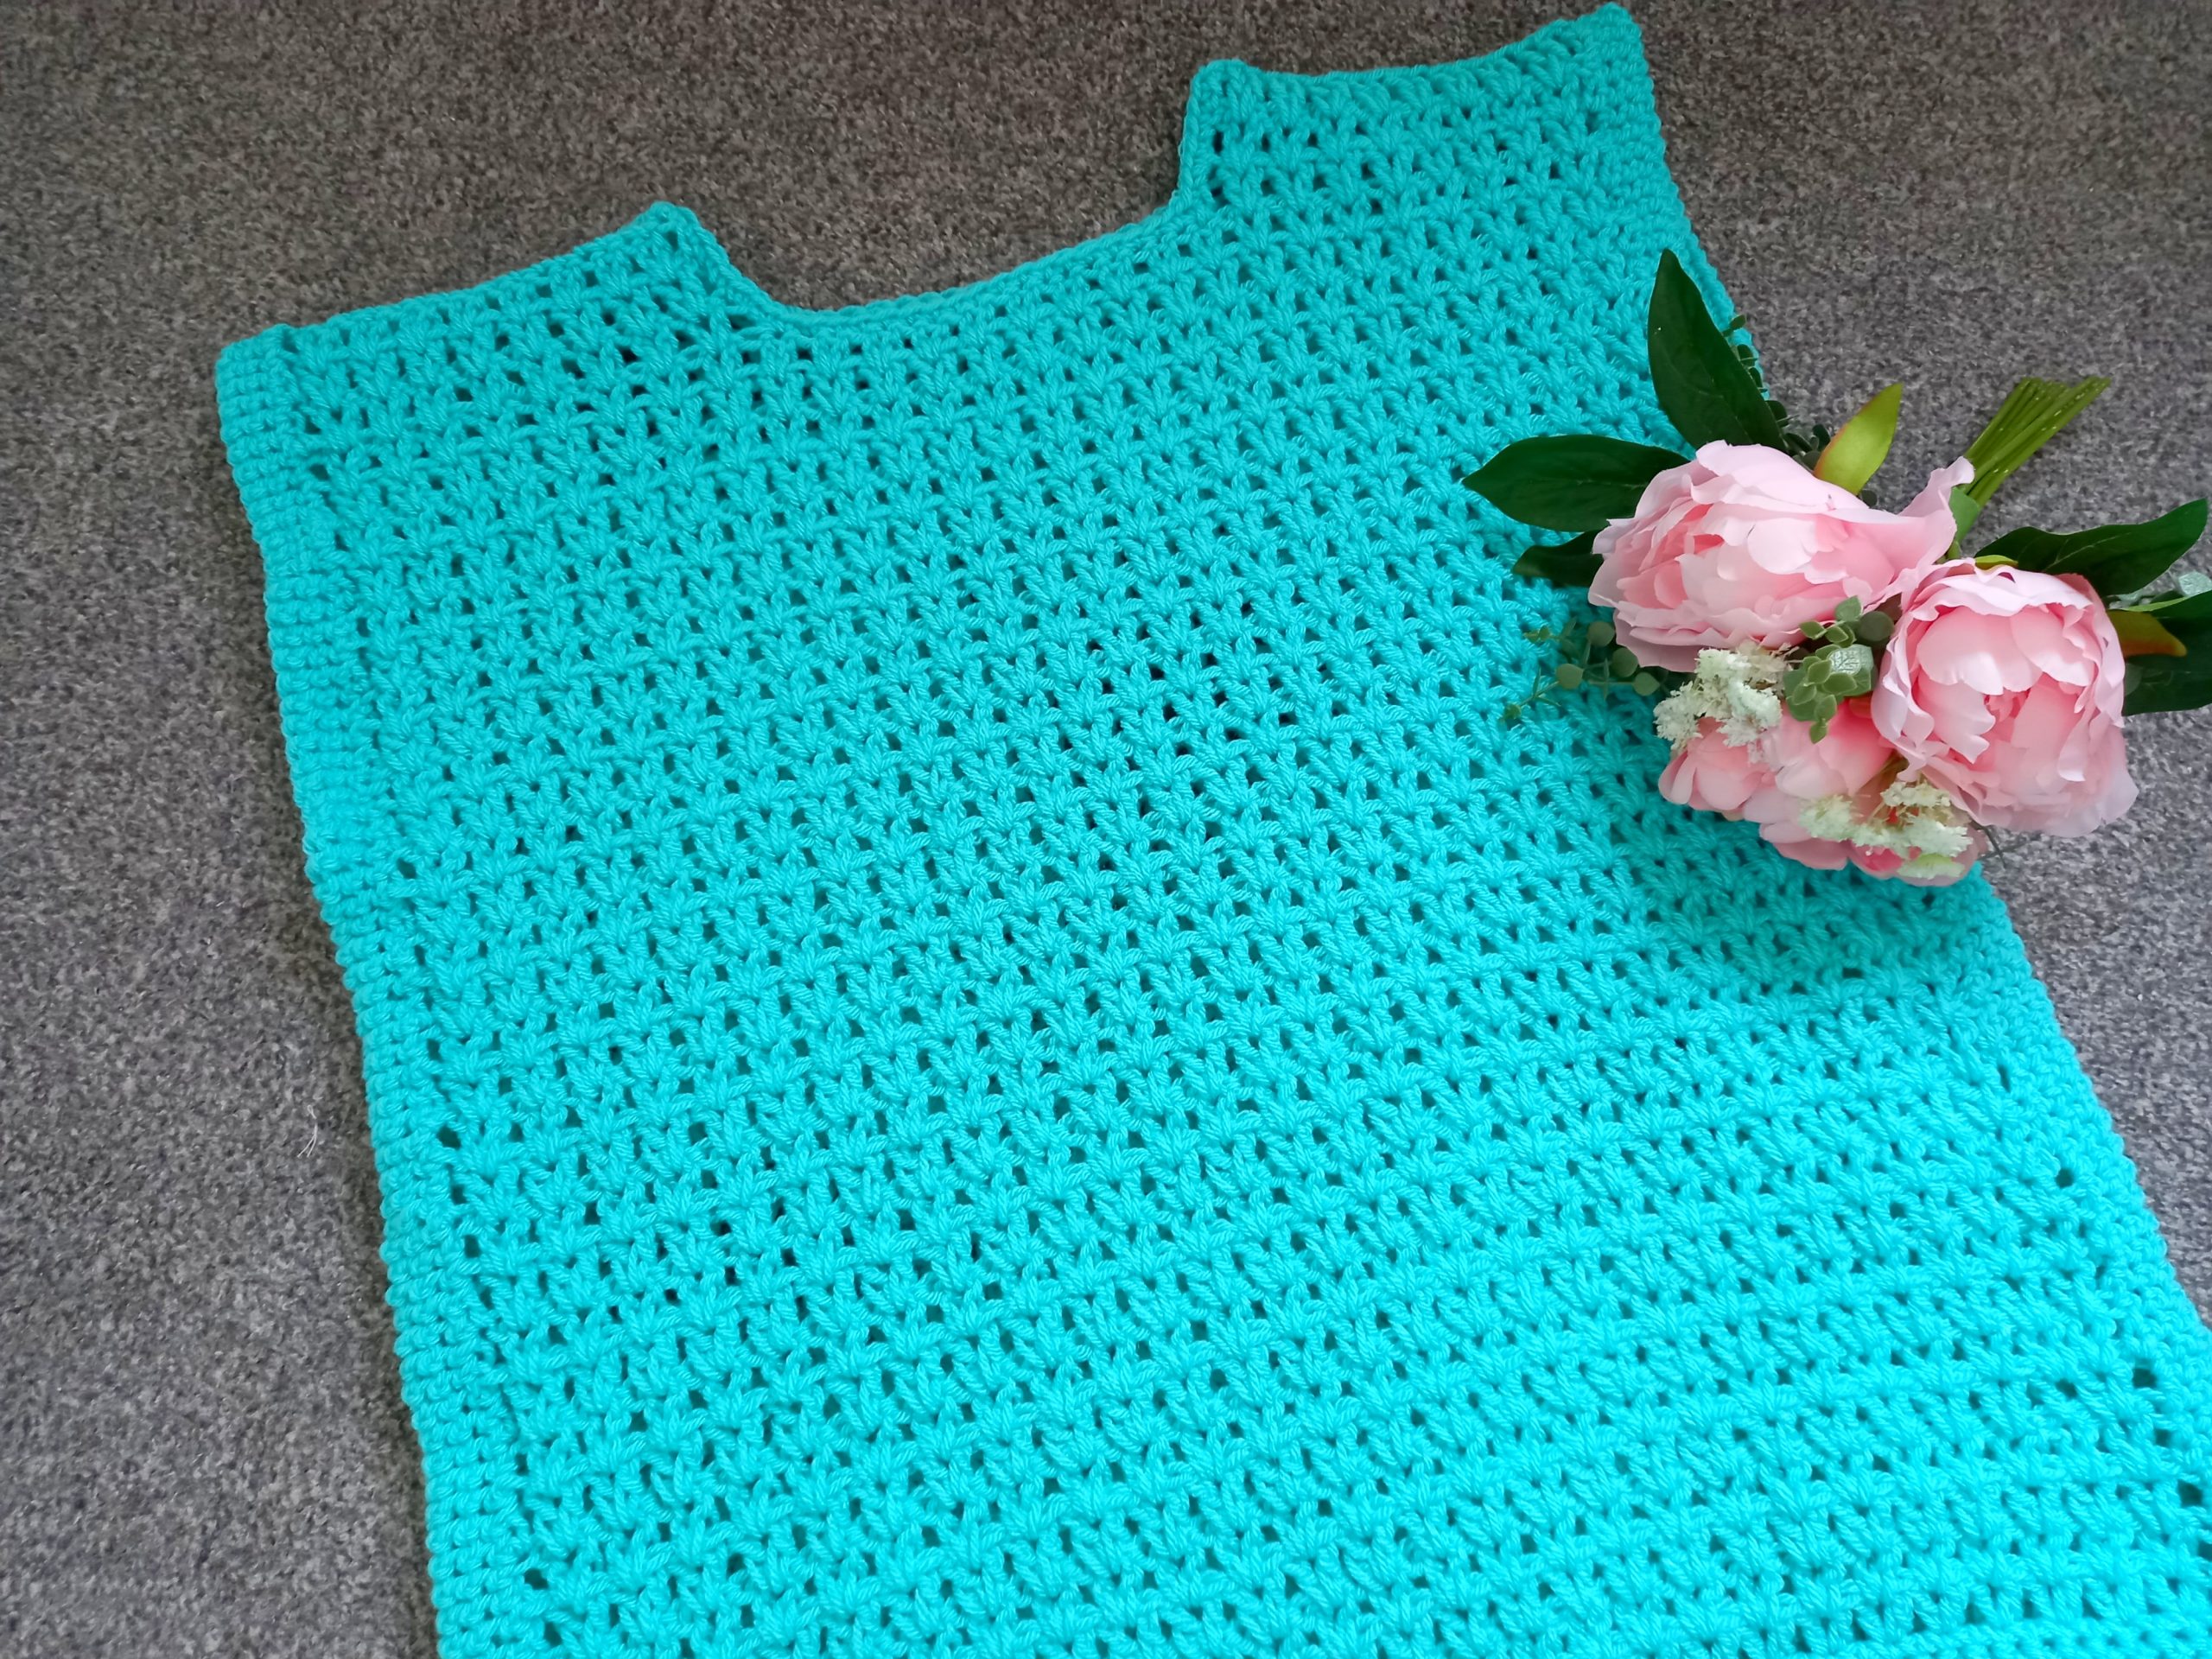
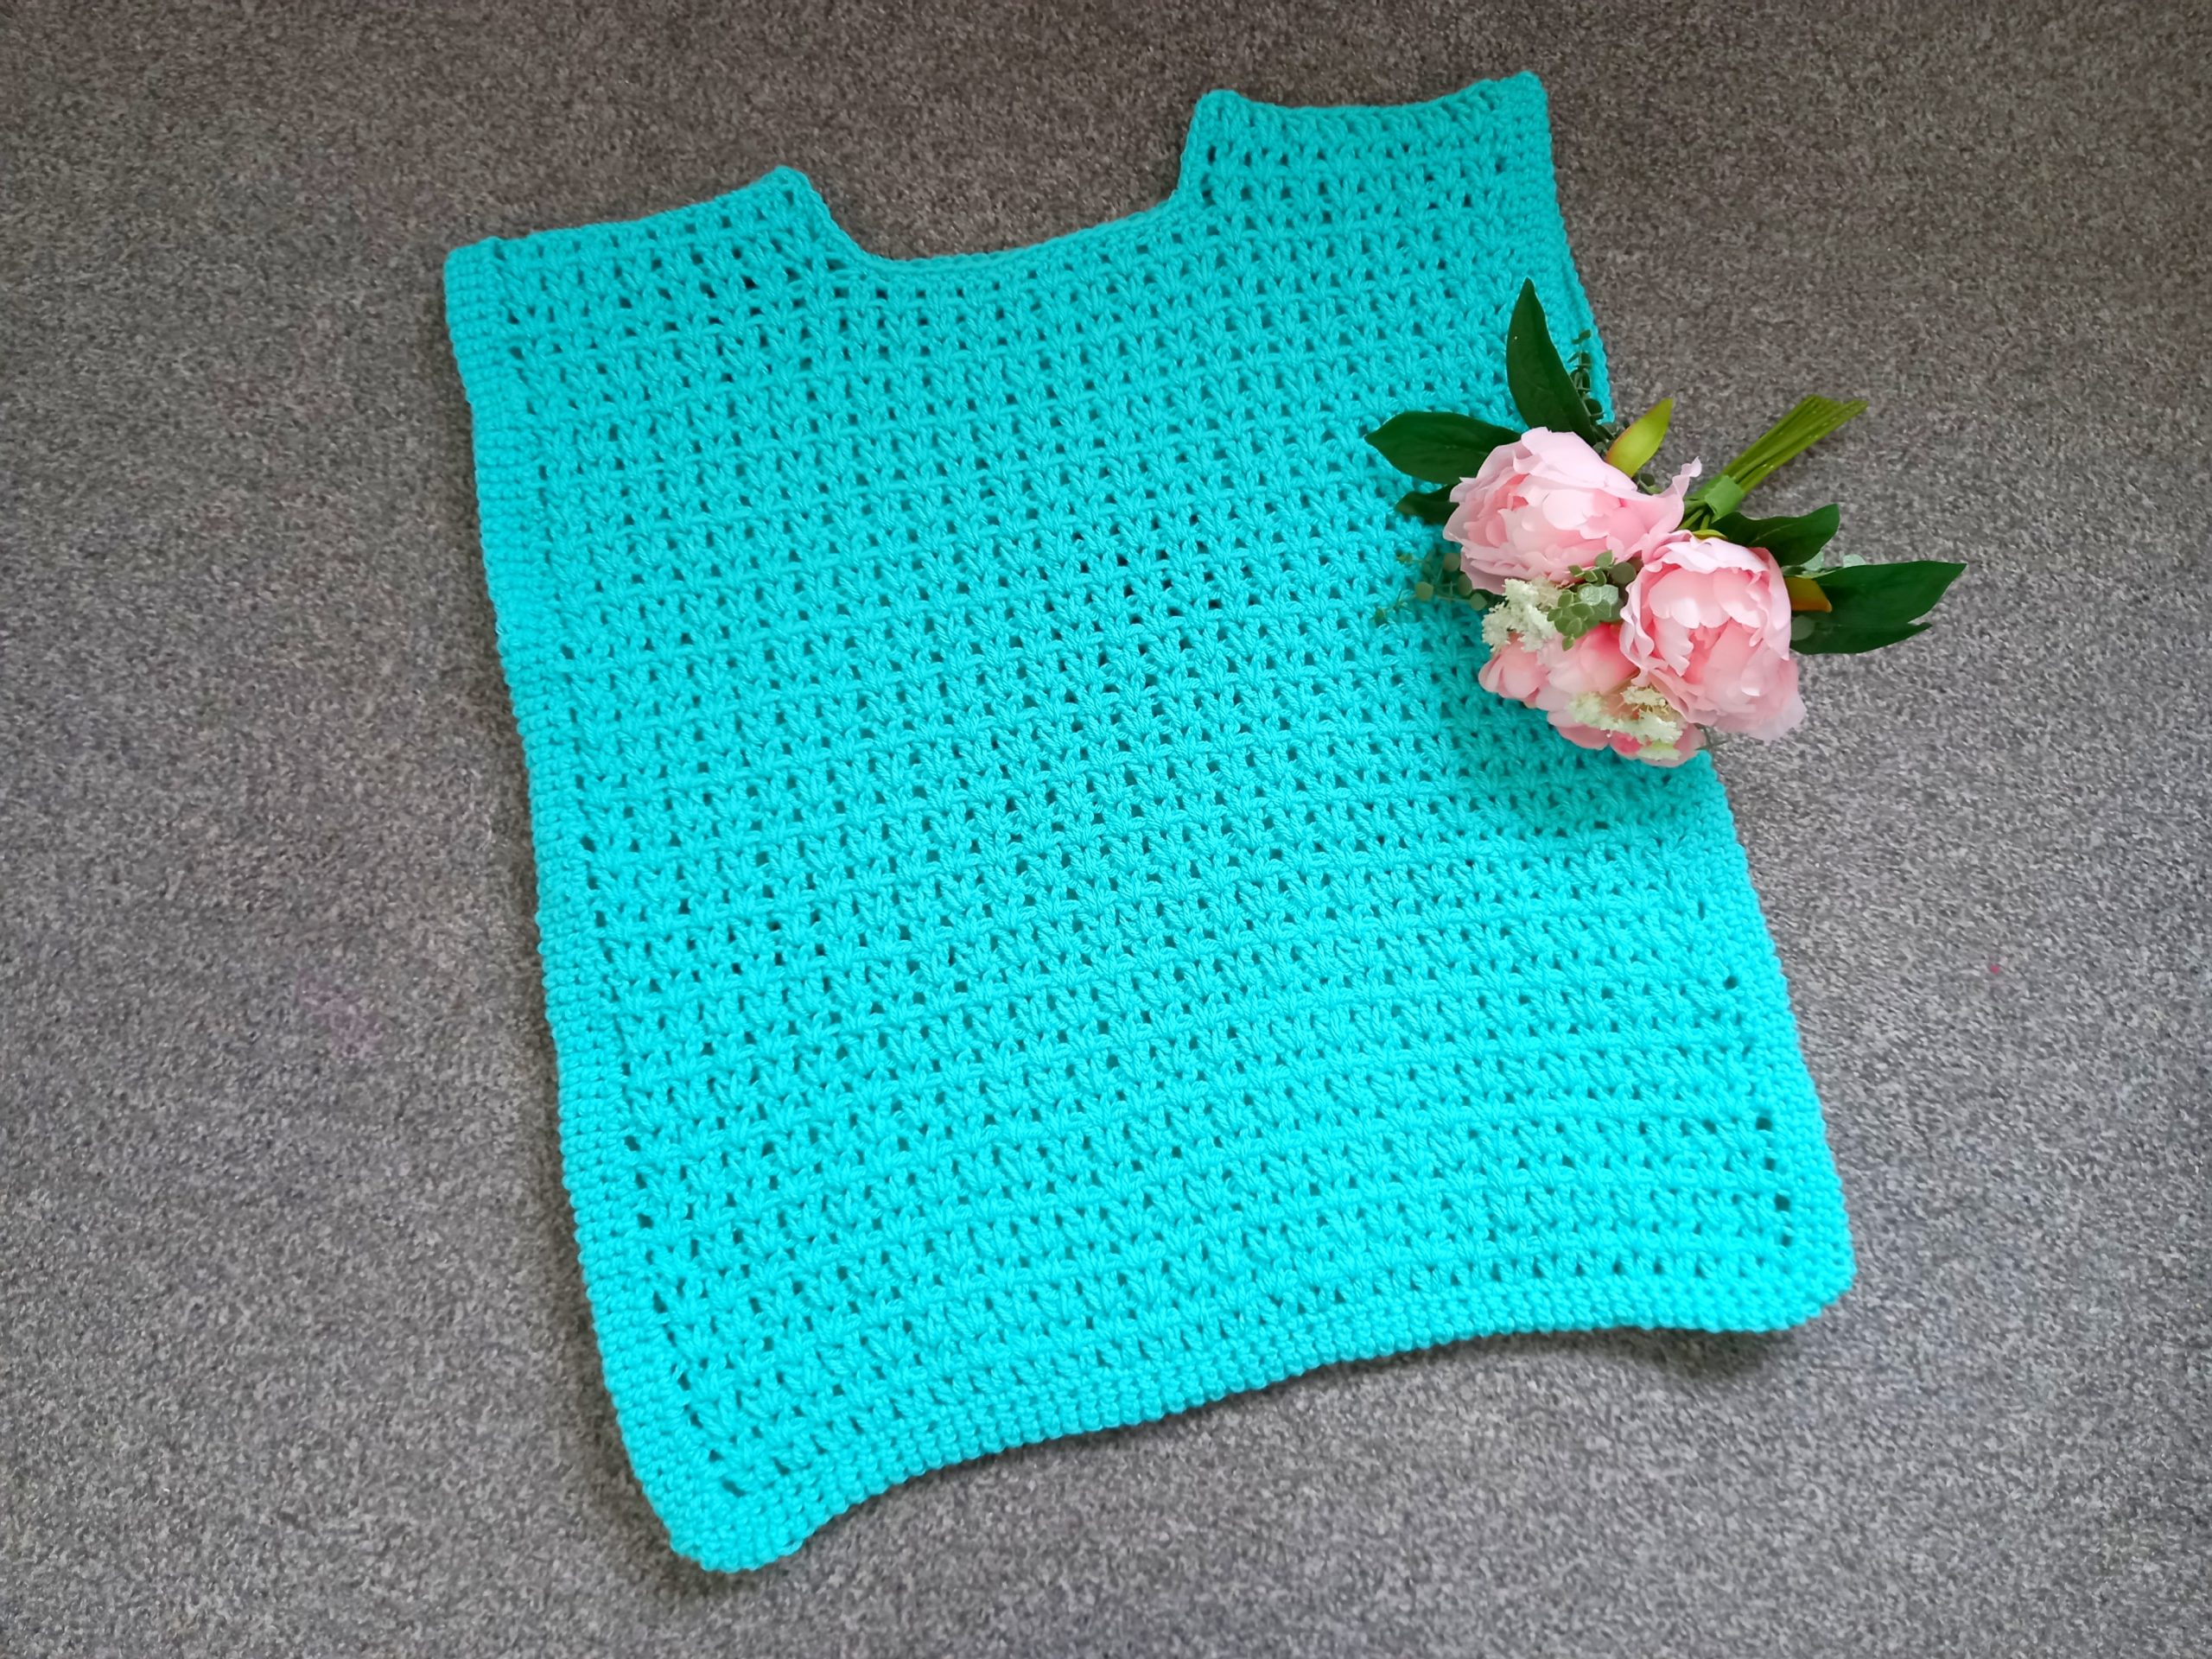
A simple one row repeat creates the body of this poncho. After having created this main part of this poncho, a simple single crochet border is then added. This process is repeated twice. After both panels are crocheted, they are then sewed together to create this very elegant poncho.
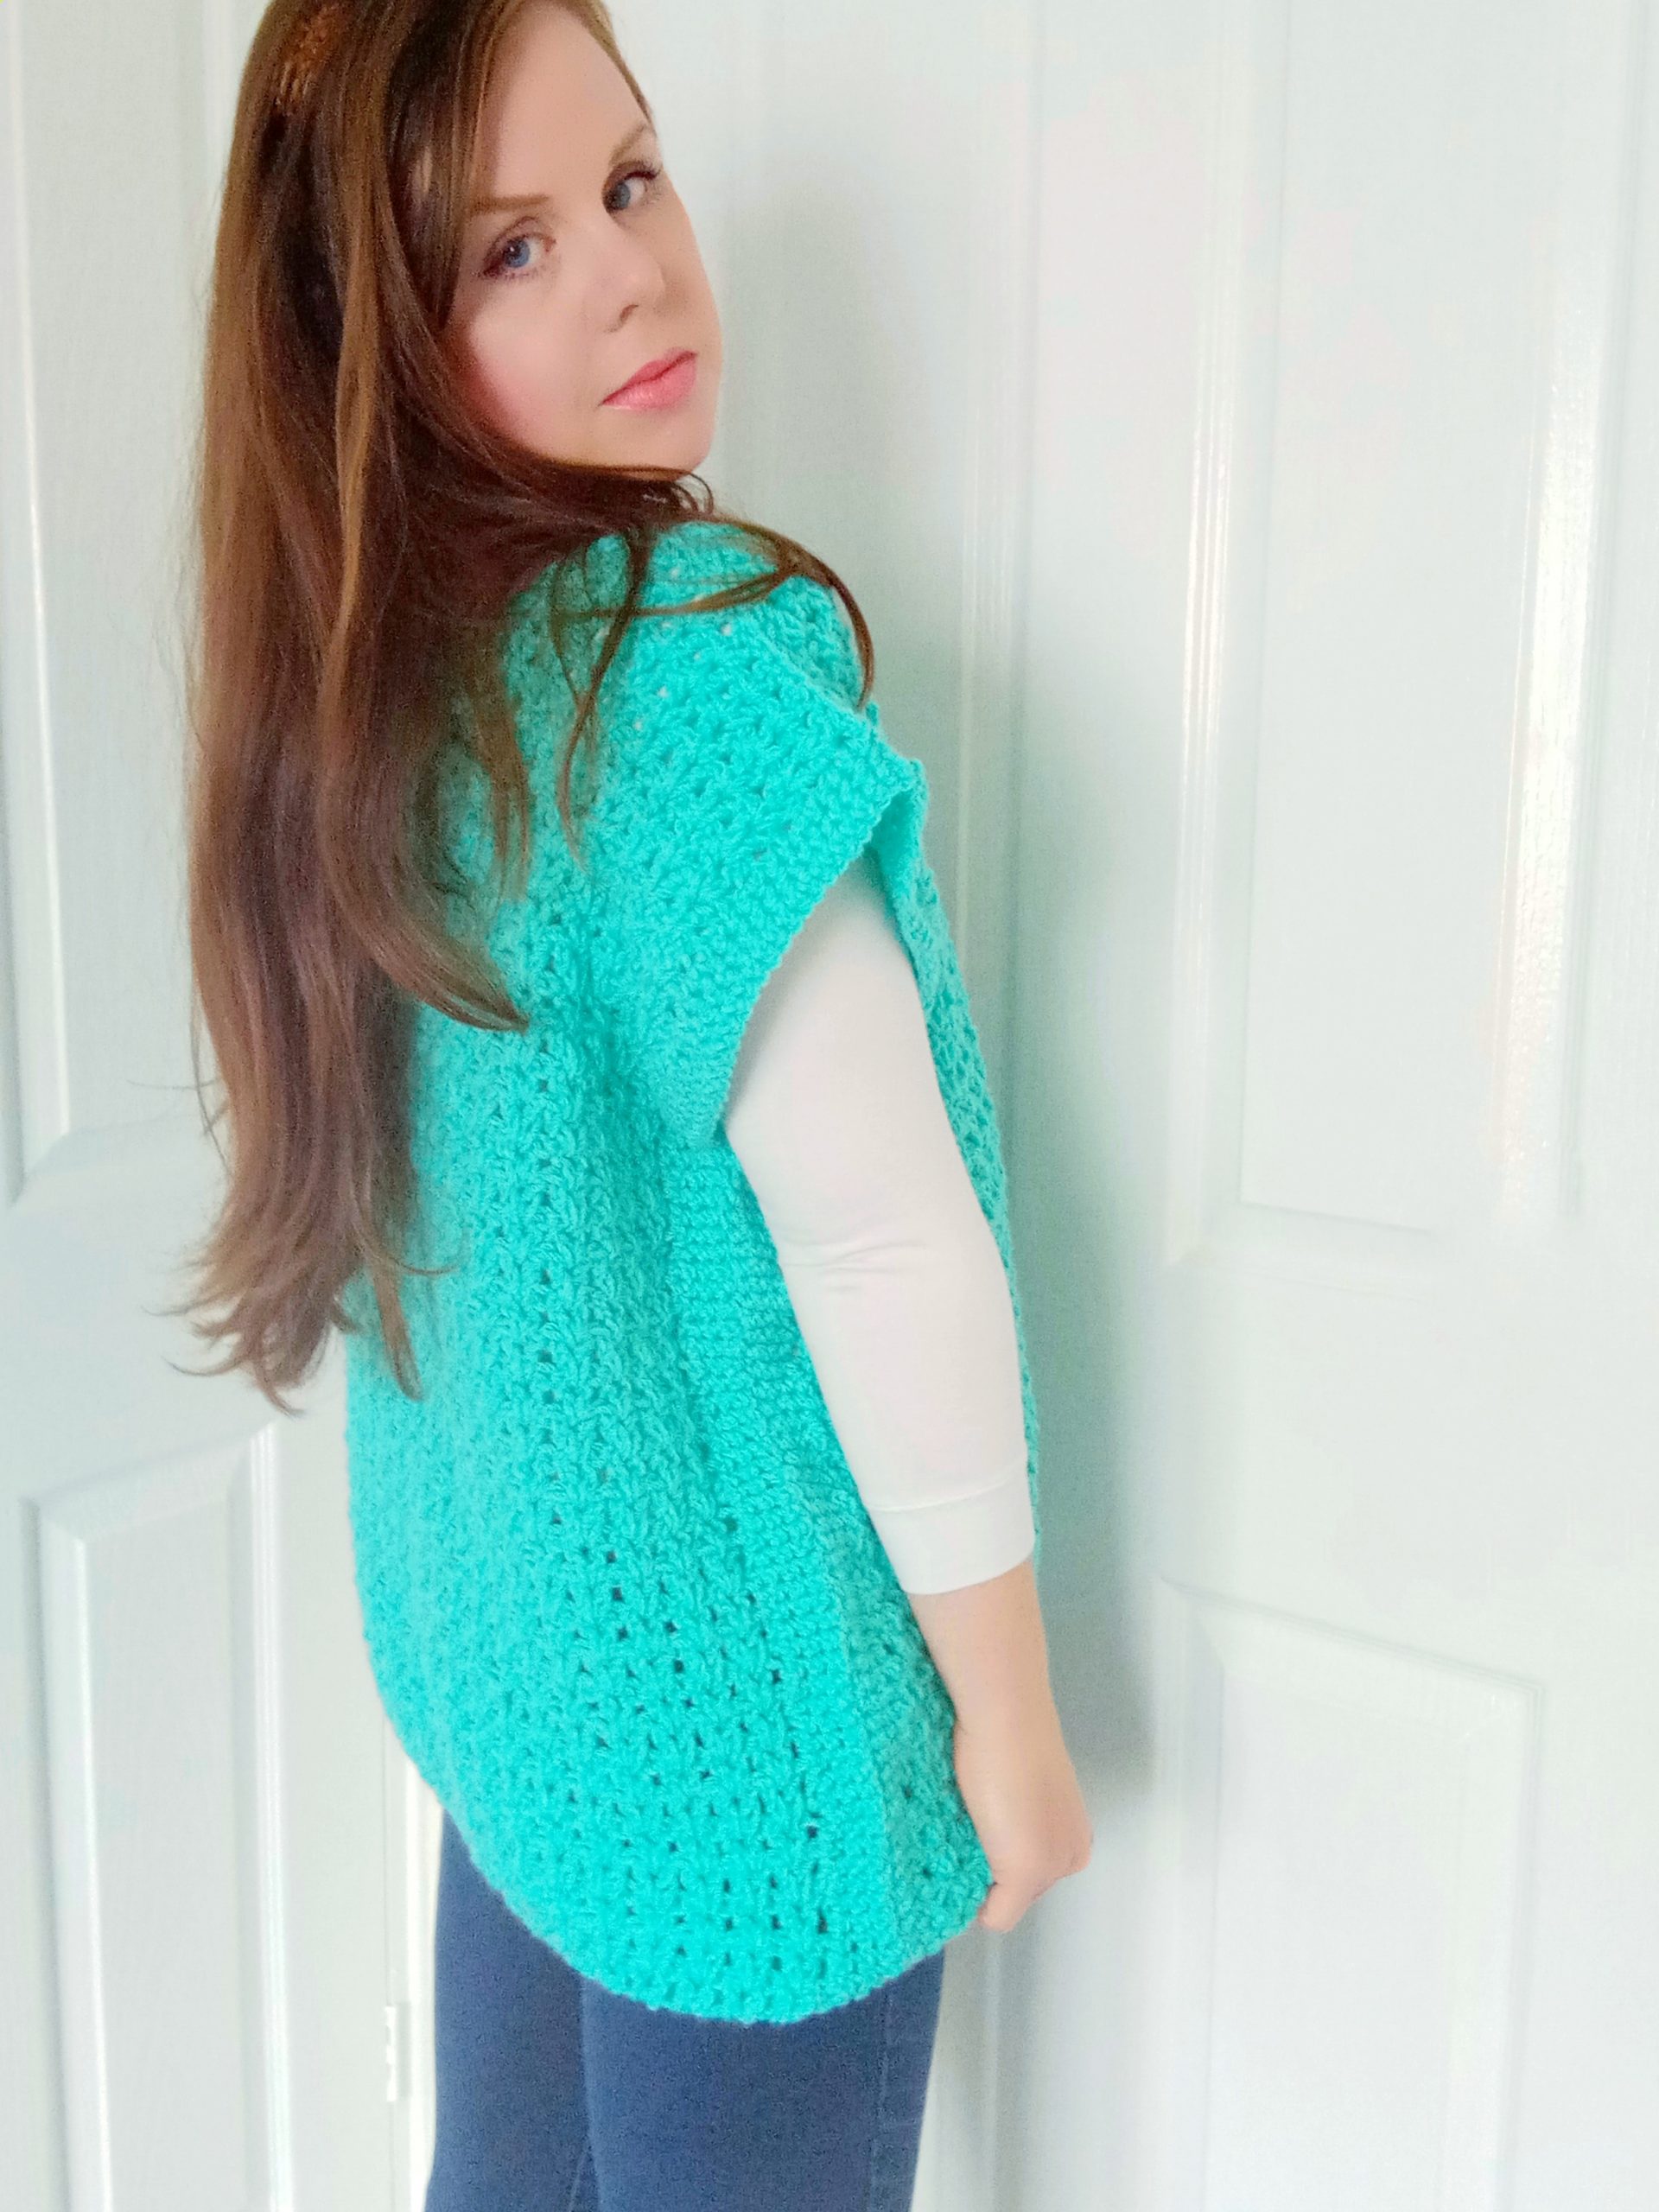
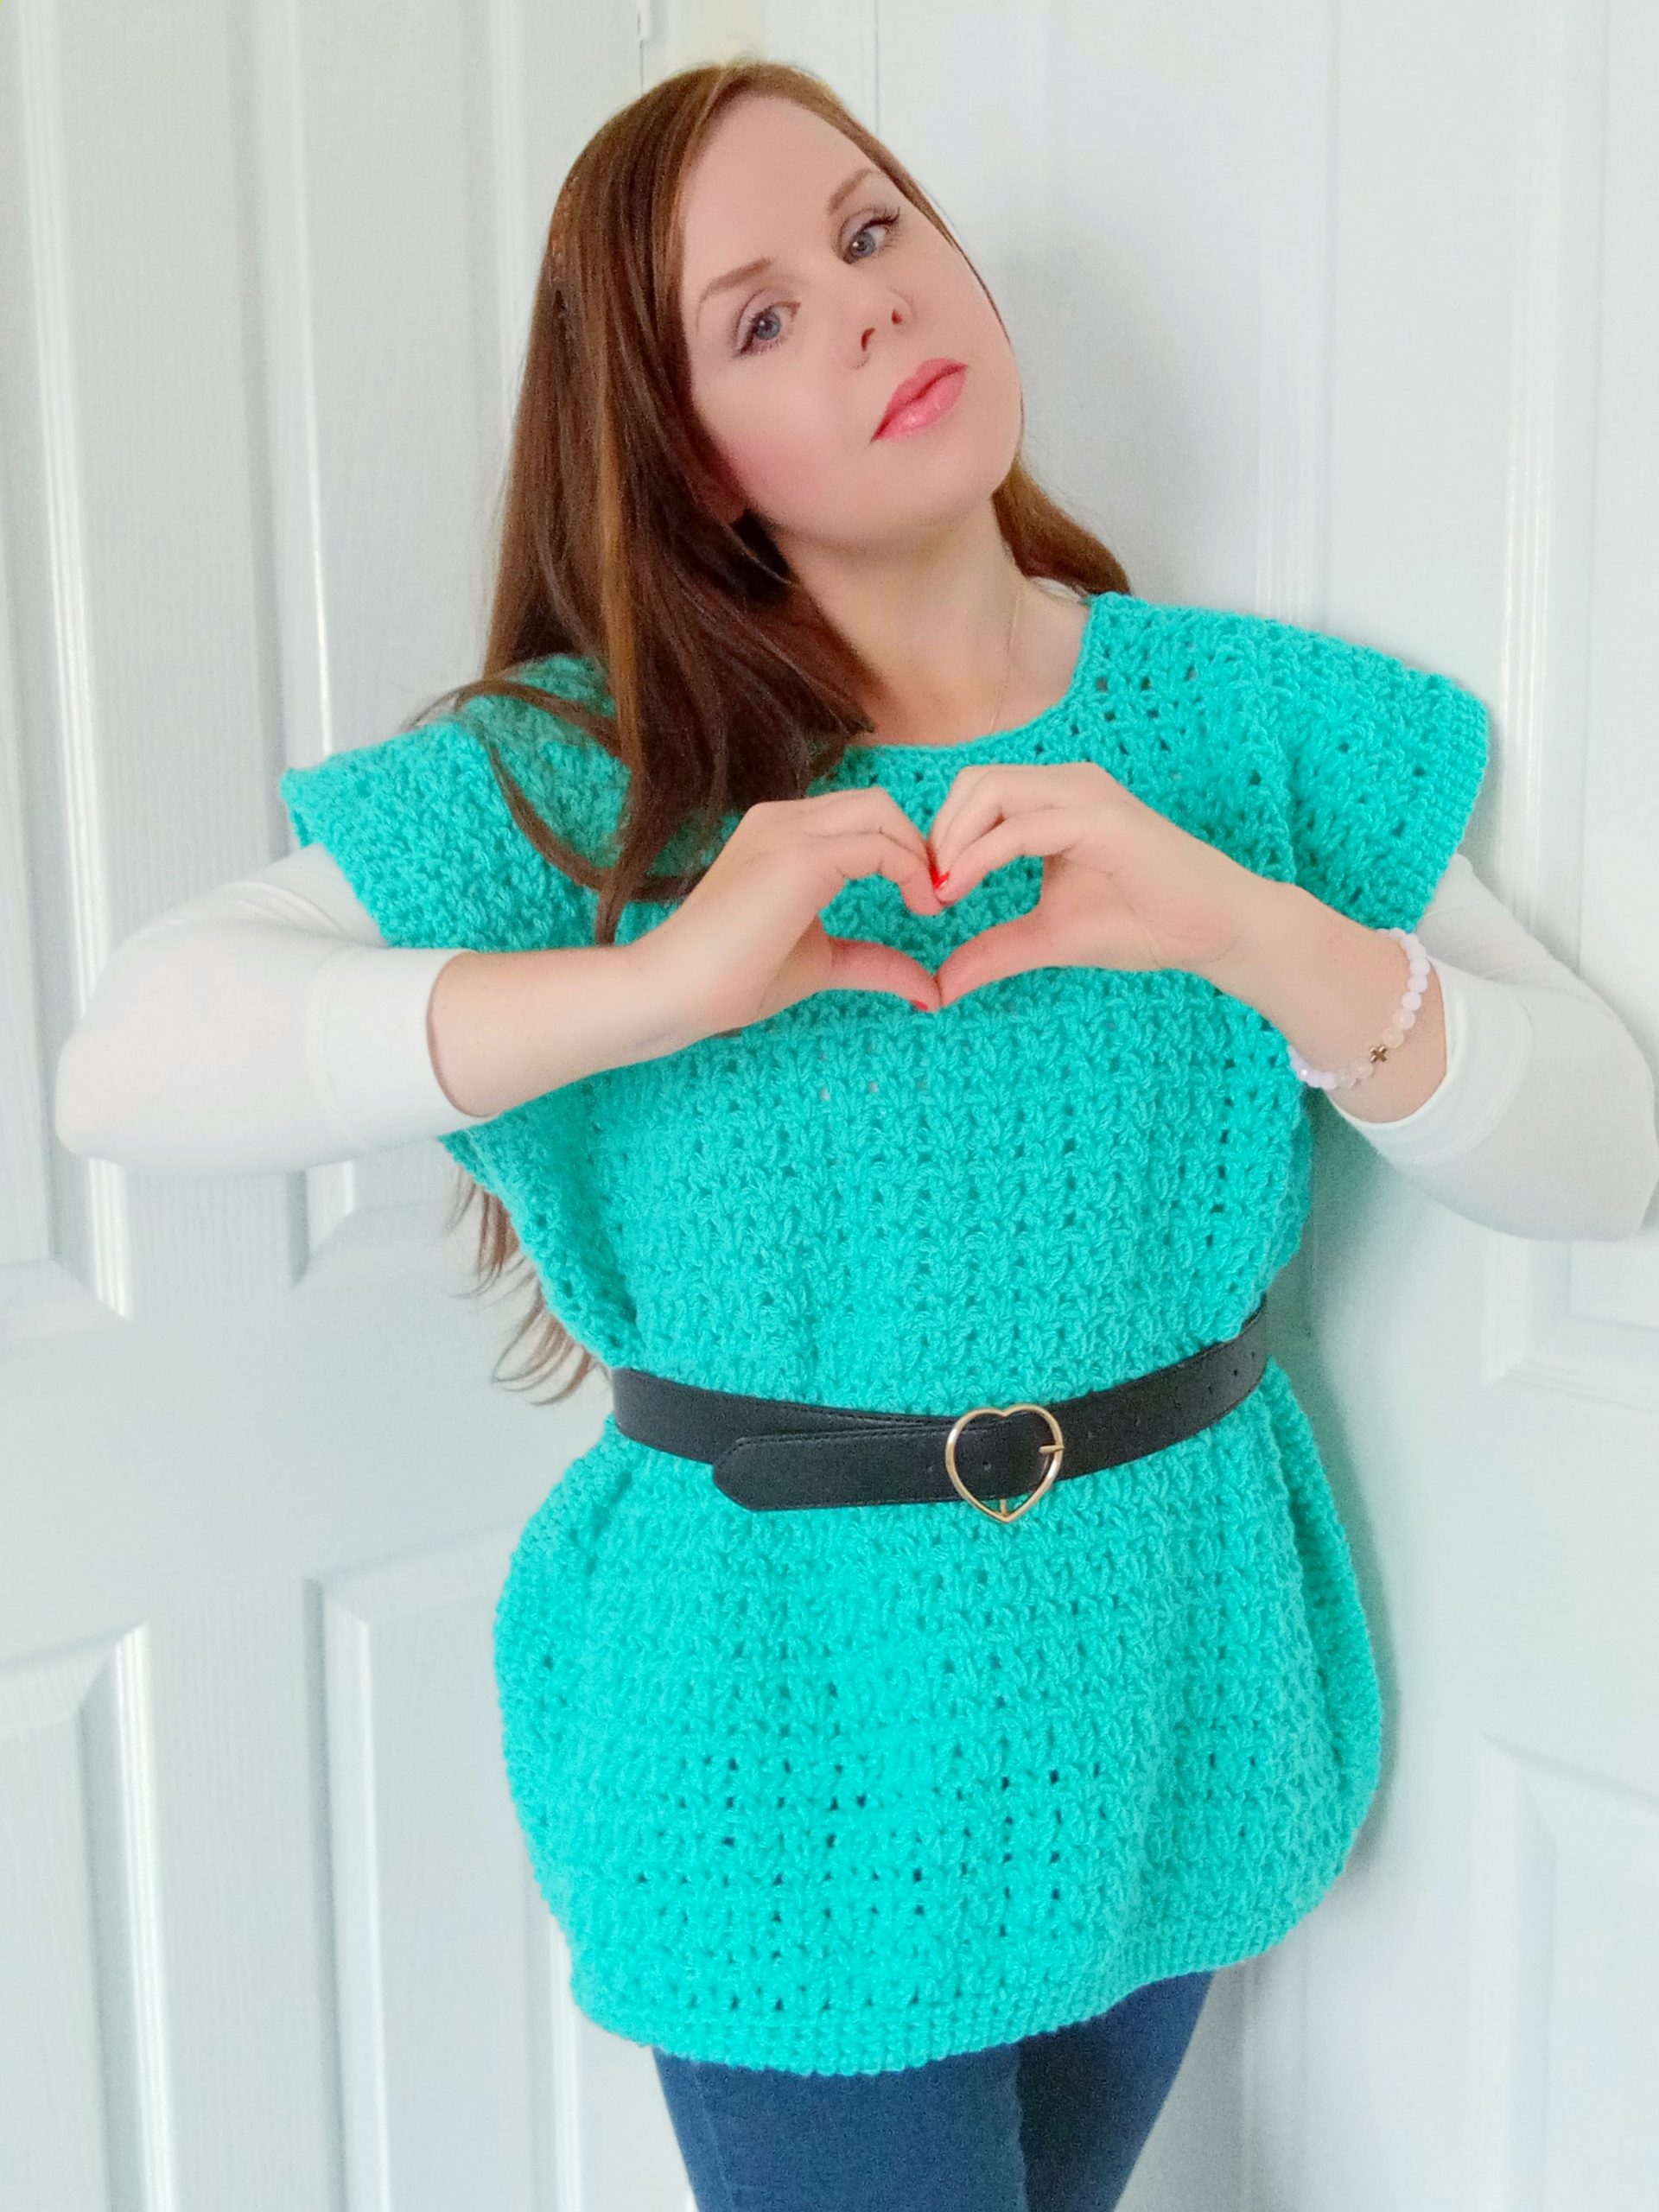
I love ponchos! Indeed, I had wanted to crochet a slightly oversized and snugly poncho for a while now. When I first encountered this yarn (Vanna’s Choice in shade Aquamarine), I knew I had found the right yarn for myself. I love how beautiful and elegant this poncho looks. It can be worn simply over the shoulders, or it can be accessorized with a simple belt for example.
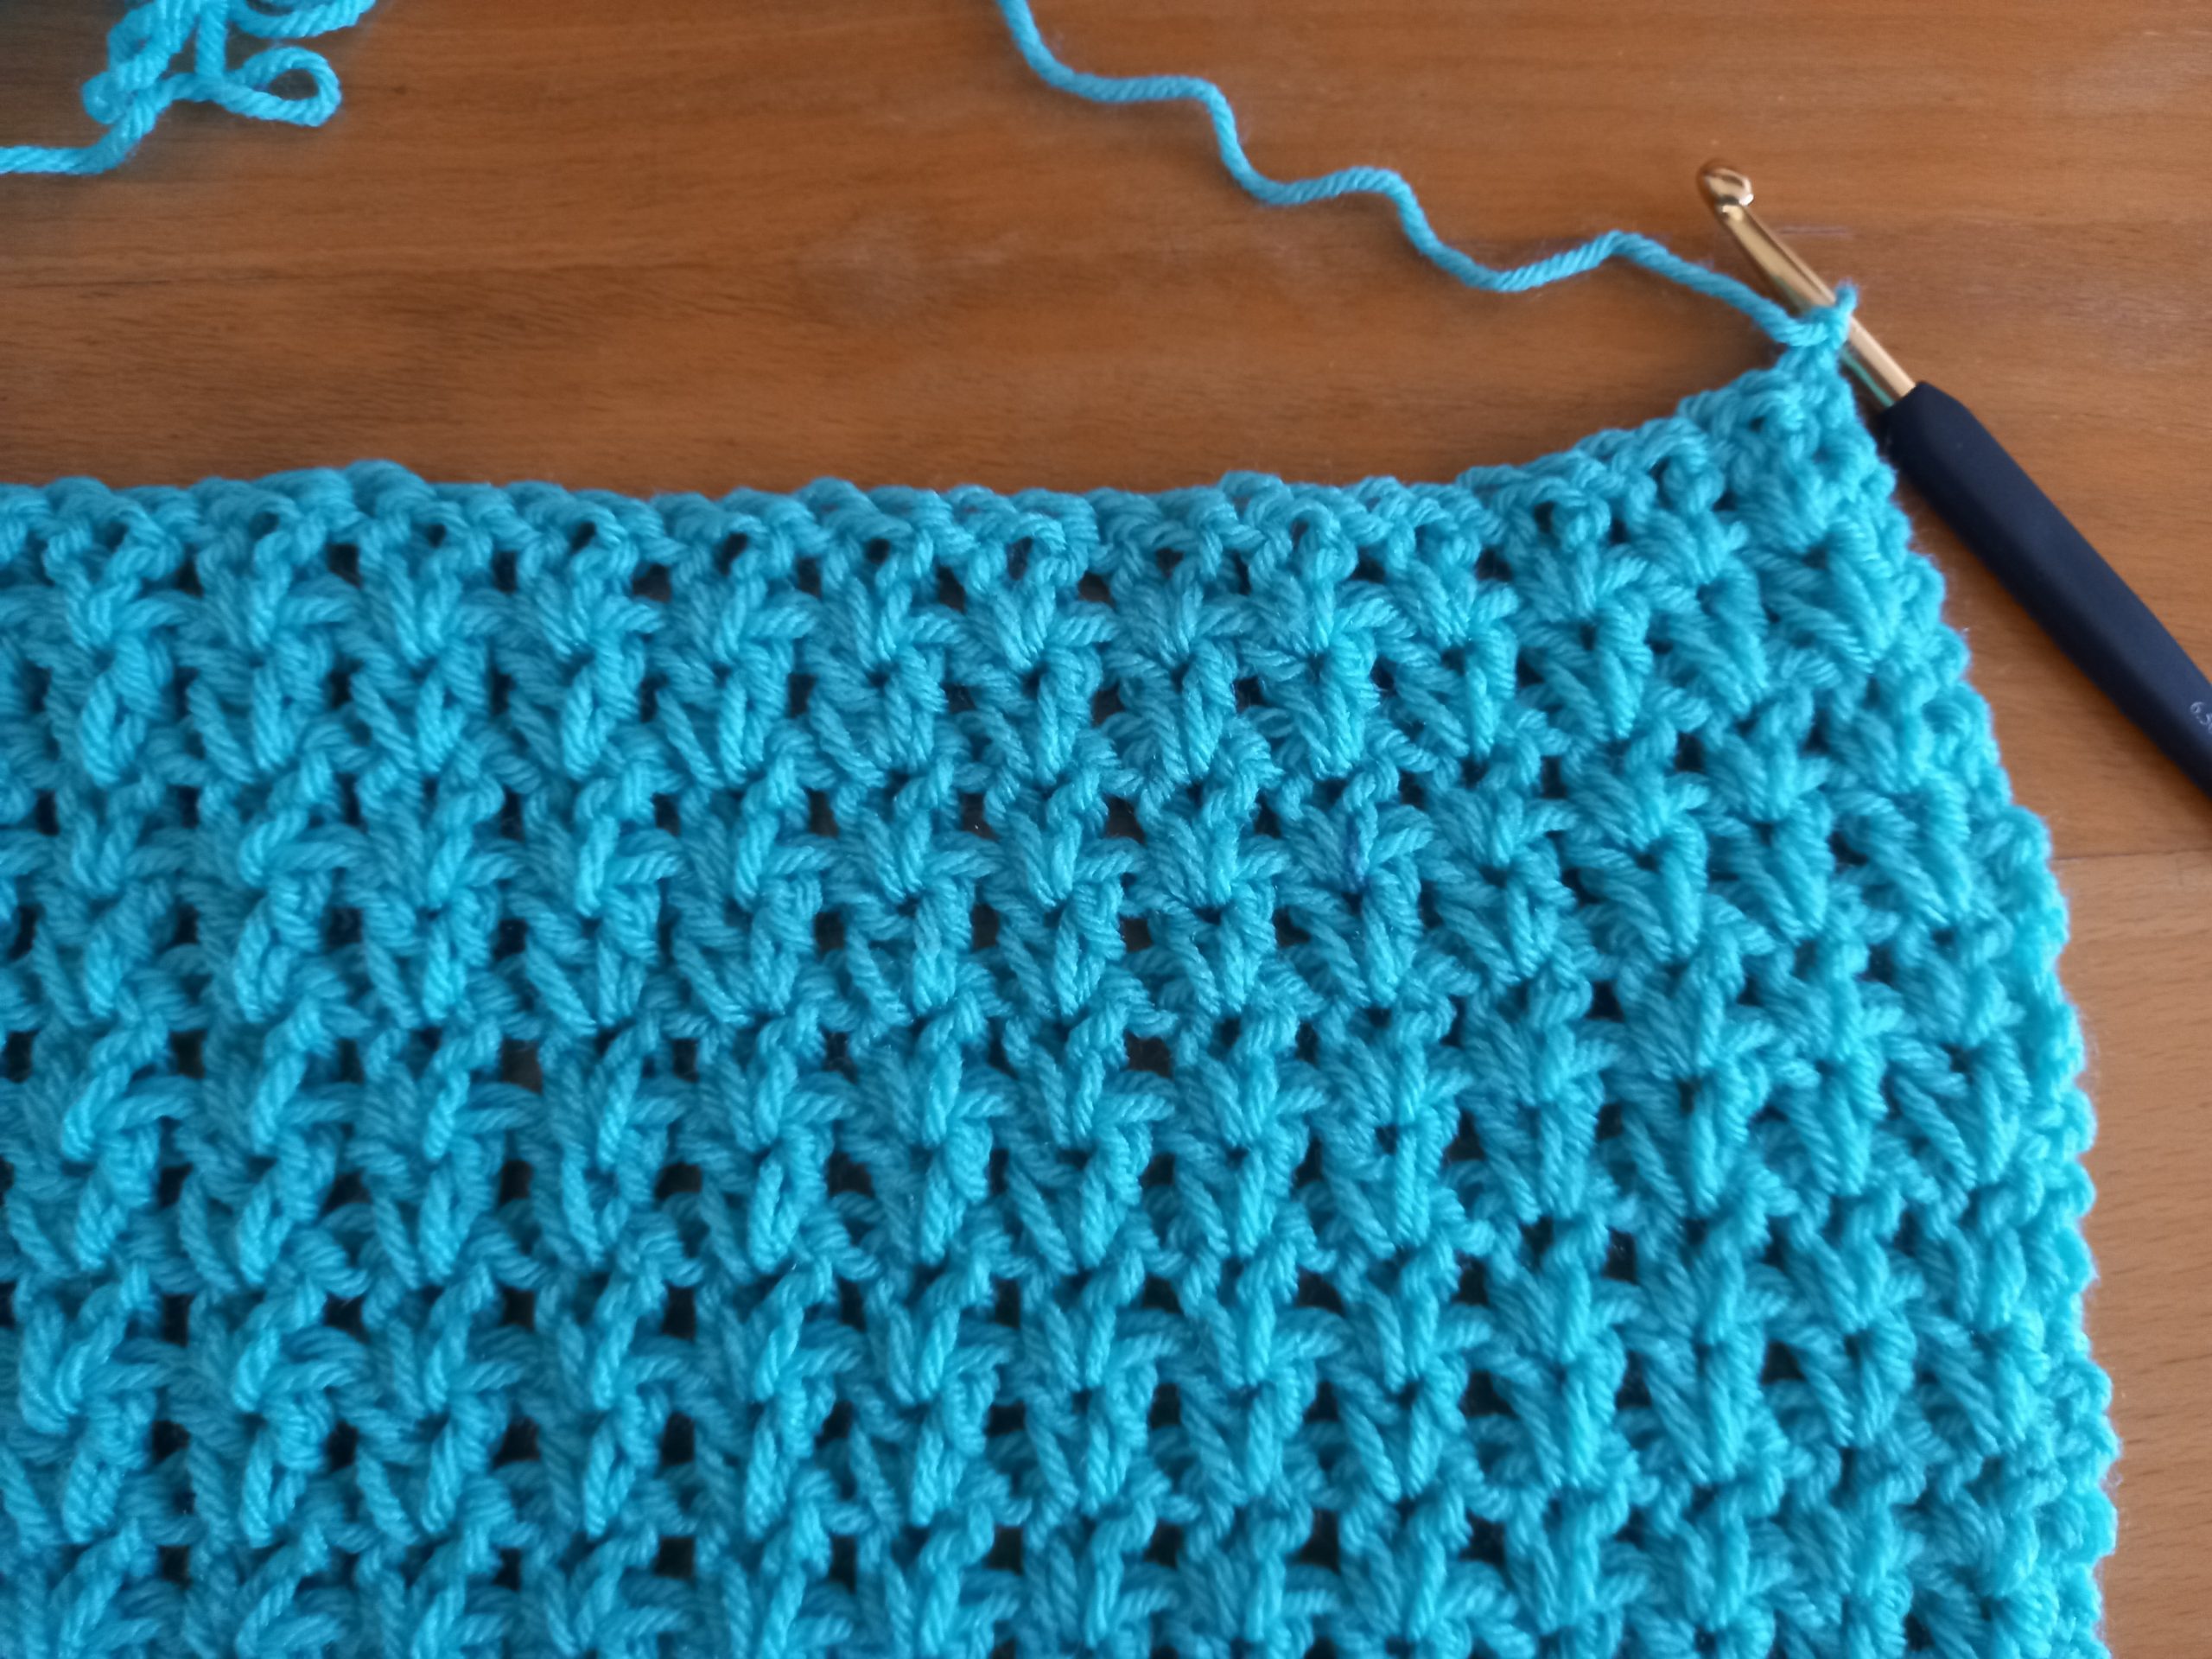
This crochet pattern is inclusive when it comes to sizes. It can be made in sizes from S to XXXL, as indicated in my pattern. The simple V stitch pattern present for much of this poncho is very easy to crochet, and looks stunning too.
Crochet The Aquamarine Poncho Pattern: the inspiration
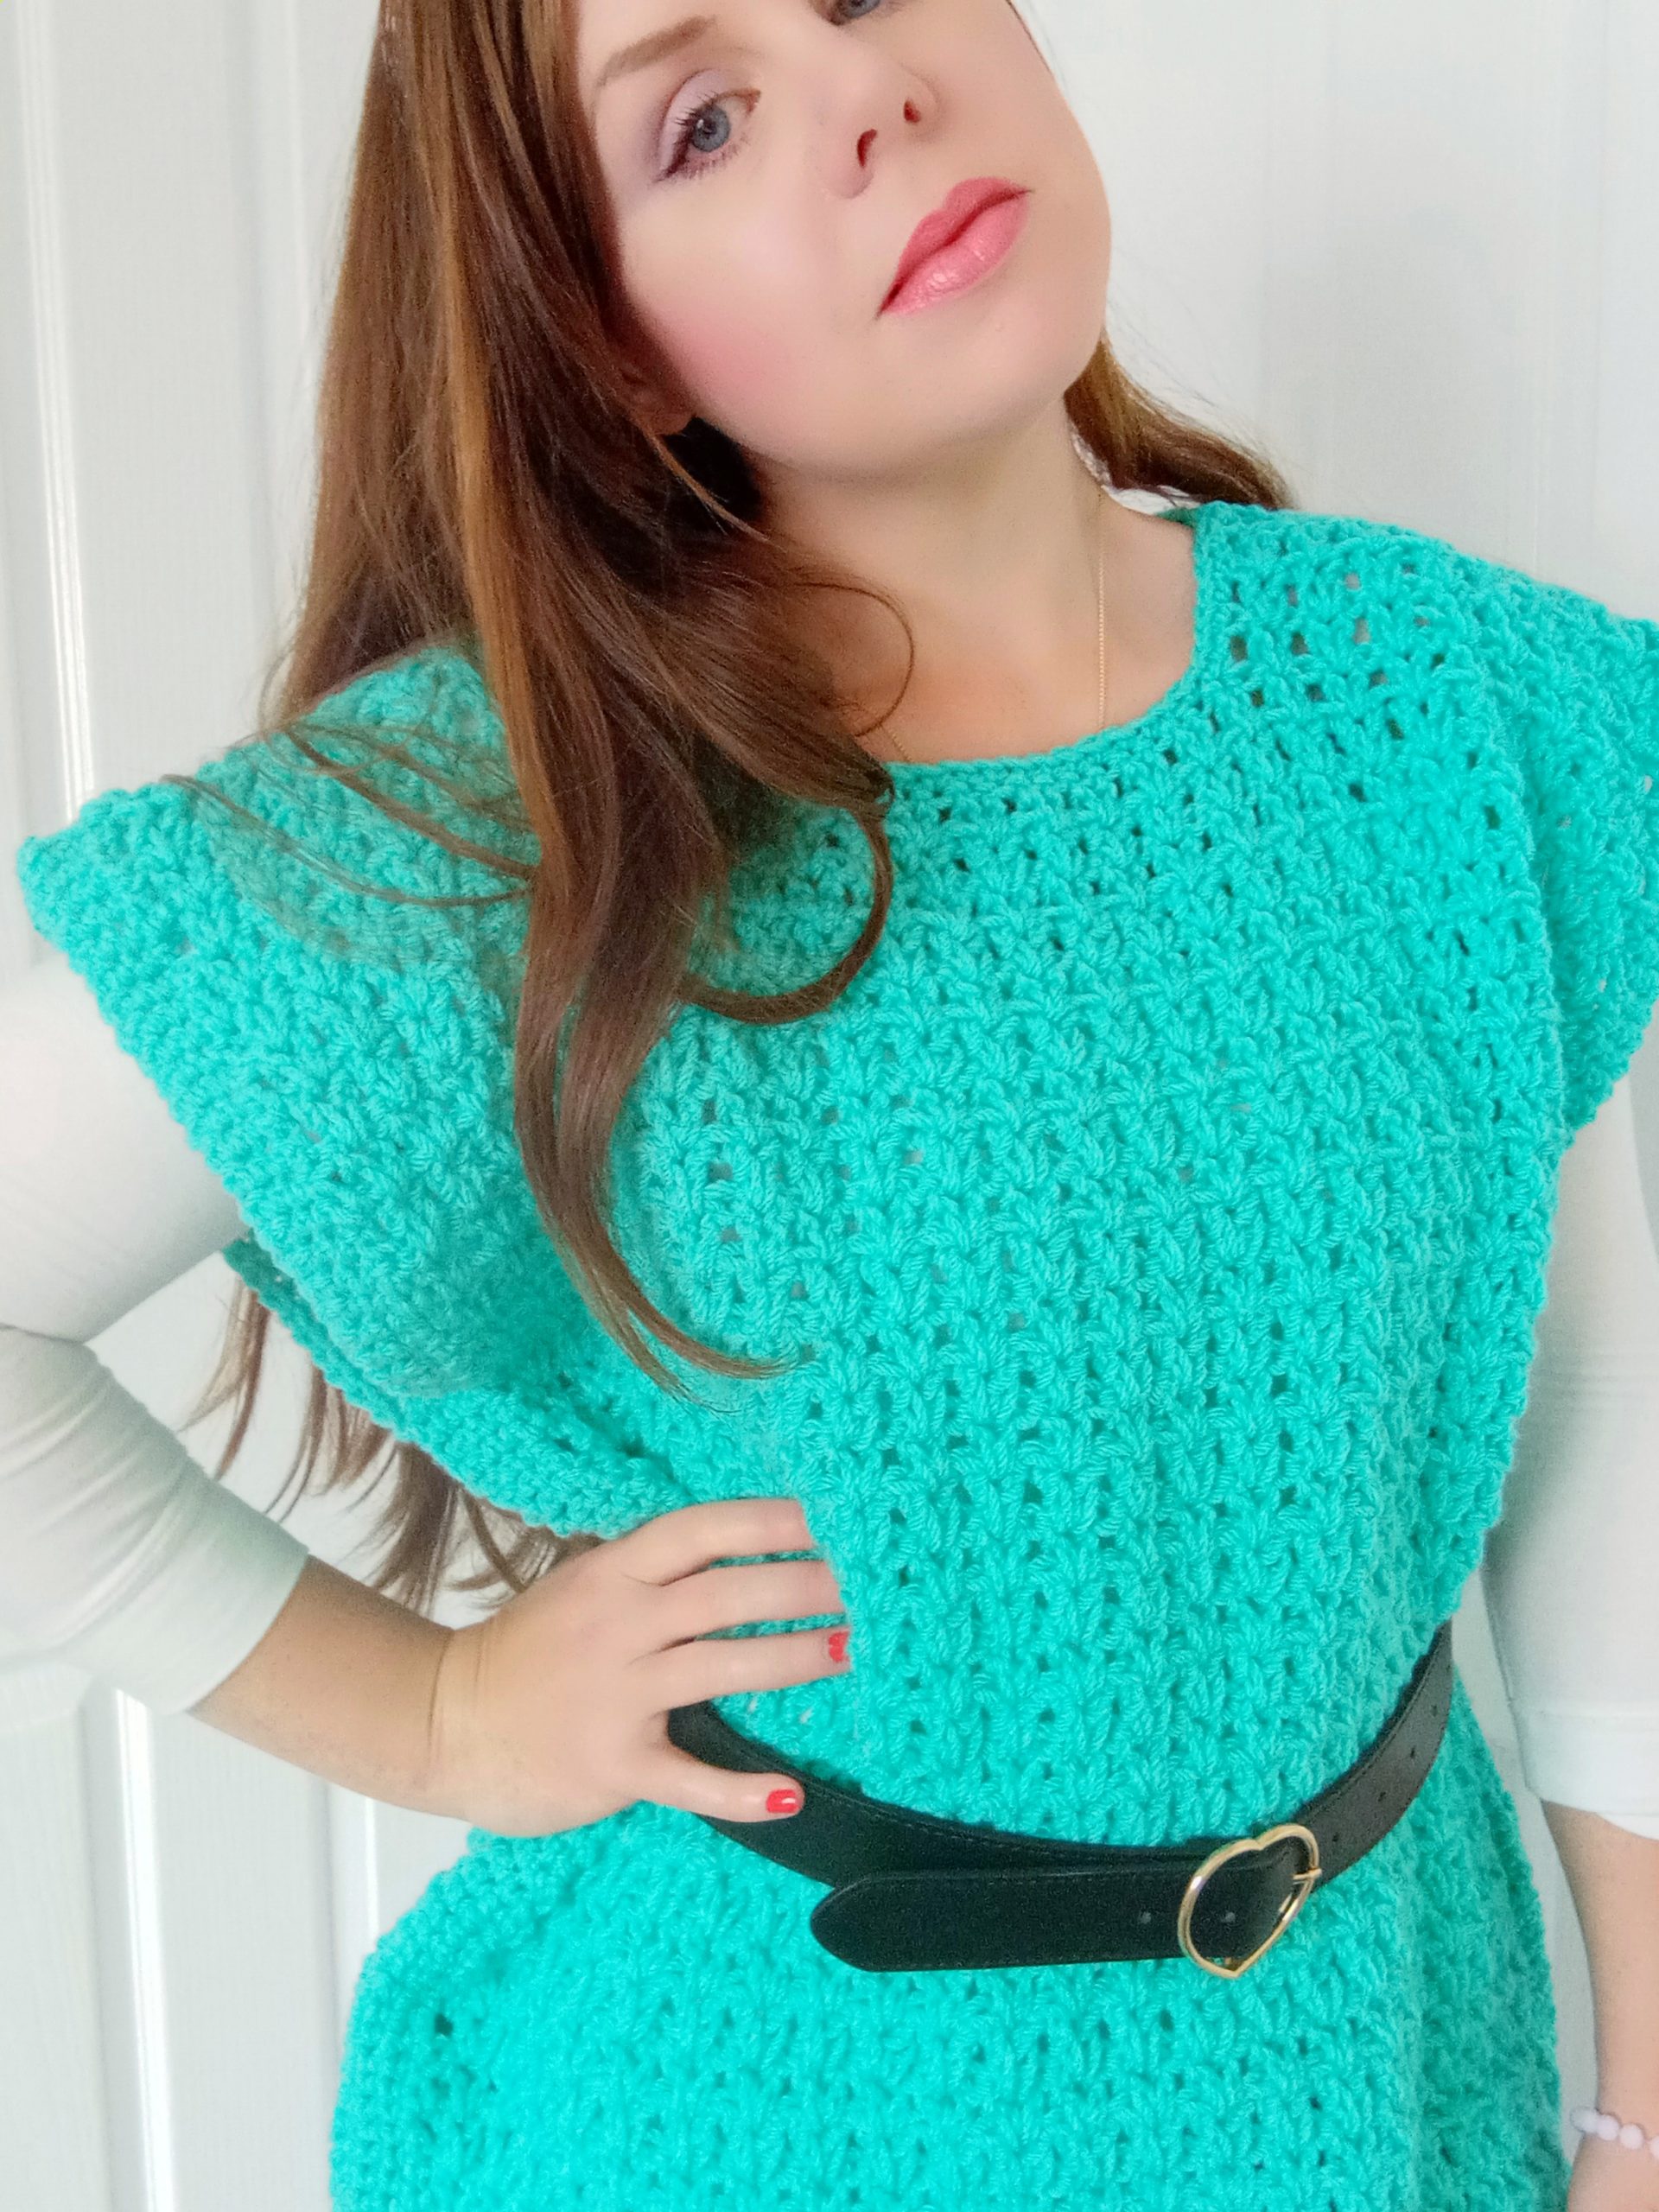
As I said previously, I had wanted to create an oversized yet feminine poncho for quite a while now. I love the look of a beautiful and elegant poncho, and this one is perfect for Autumn. It looks very pretty in all seasons however. Featuring a lovely round collar, it is very comfortable to wear on any occasion.
I have already created a few crochet ponchos in the past, such as The Natalia Poncho. I also crocheted The Summer Pink Poncho more recently. Both these crochet ponchos are beautiful and easy to crochet.
The Aquamarine Poncho is slightly reminiscent of the eighties. Indeed, it features a slightly boxy oversized shape, and can be accessorized by a belt at the waist-just like in the 1980s! I love the feel of it so much.
Have you every used Lion Brand’s Vanna’s Choice yarn for your projects? I love this yarn and how it feels. It is perfect for accessories such as ponchos and shawls.
Connecting with you
I love connecting with my Crochet Community through my blog and Social Media. You can find me on Youtube, Instagram, and Pinterest. I would love to connect with you on these platforms.
You can also join my private Facebook group to connect.
Please consider subscribing to my weekly newsletter so that you never miss a stitch!
Thank you so much for stopping by and supporting my crochet work, I truly appreciate it!
Lots of love,
Selina.
Crochet The Aquamarine Poncho: the pattern
You can purchase the ad free, large print, PDF pattern from my Etsy store here: Crochet The Aquamarine Poncho PDF Pattern
Level: Easy/beginner
Notes
I will be using US terms (British terms in brackets)
Gauge
4” (10 cm): 5 V stitch repeat
4” (10 cm): 6 rows
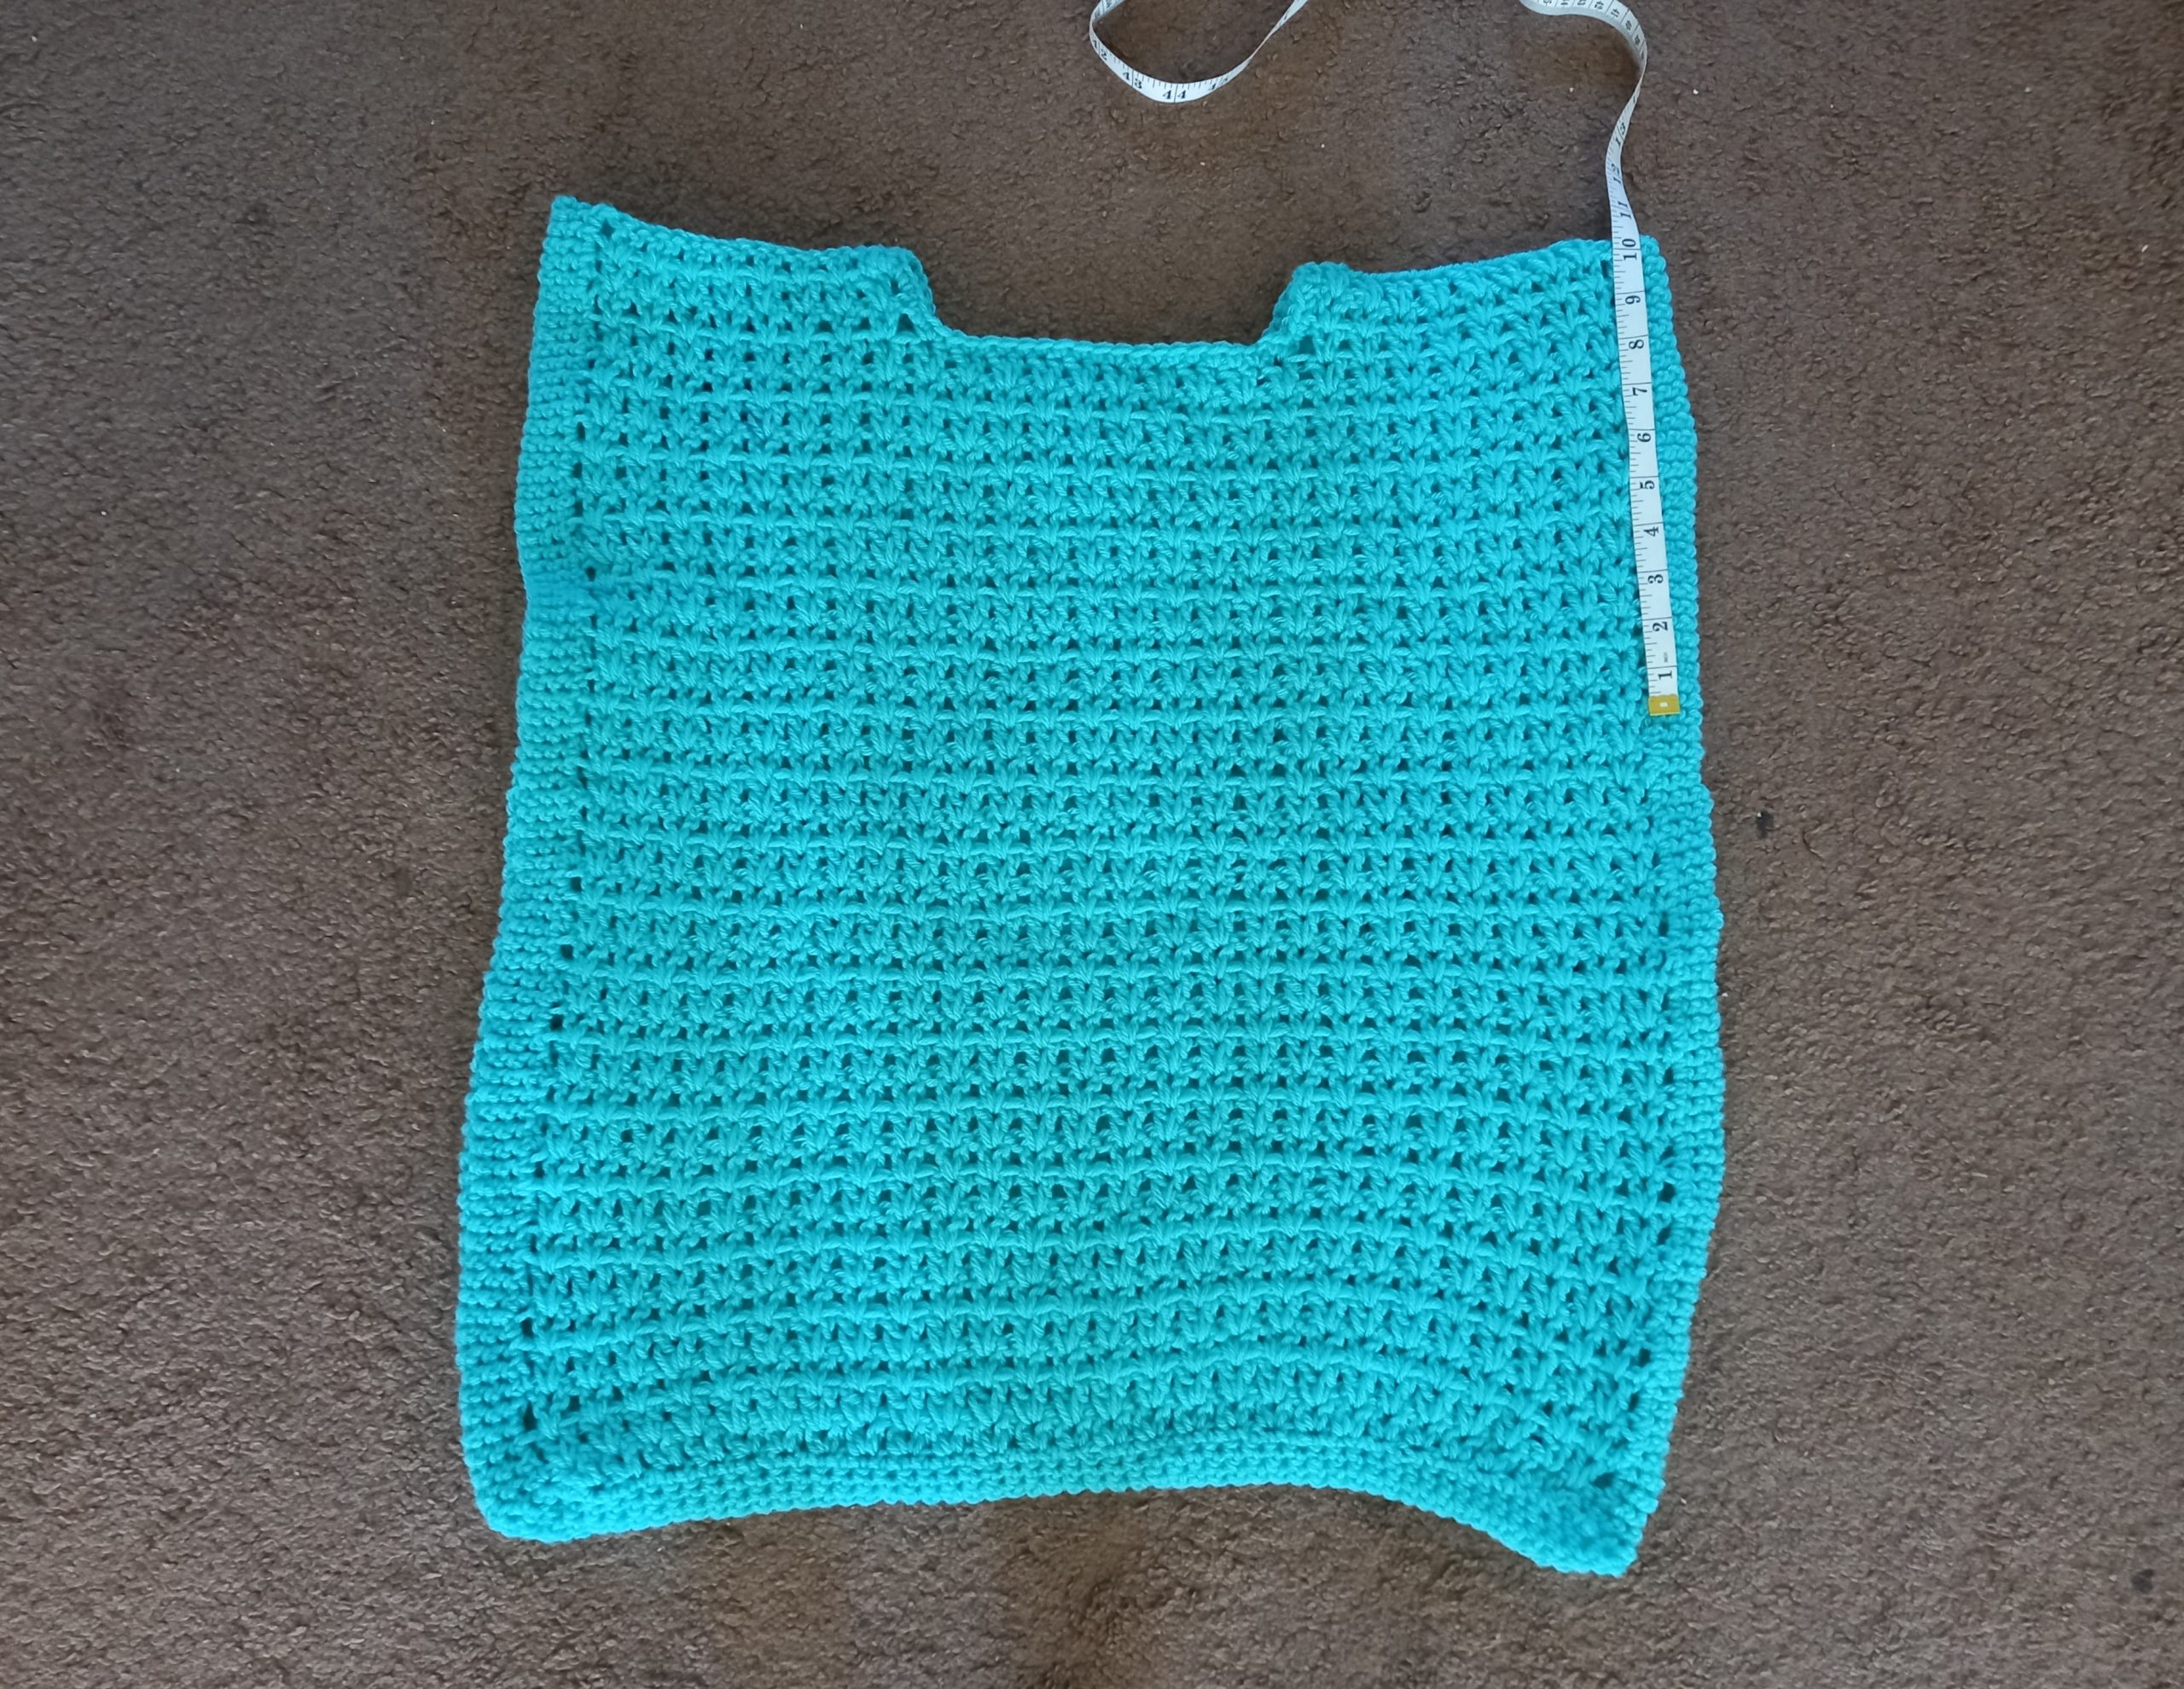
Size of finished poncho (including border)
S/M:
27” (69,5 cm) in height
24,5” (63,5 cm) in width
L/XL:
29” (73 cm) in height
28,5” (72 cm) in width
XXL/XXXL:
31” (79 cm) in height
32,5” (82.5 cm) in width
You will need
5 skeins (sizes S/M, L/XL) or 6 skeins (size XXL/XXXL) of Lion Brand’s Vanna’s Choice in shade 106 Aquamarine.
6.5 mm crochet hook
A pair of scissors
A tapestry needle
Measuring tape
2 stitch markers
Abbreviations
Ch: chain
St: Stitch
Sl st: slip stitch
Sk: Skip
SC: Single Crochet (UK Double Crochet)
DC: Double crochet (UK Treble Crochet)
EOR: End of row
BLO: Back loop only
To begin
Note: 2 DC into 1 st=V stitch
You will be making 2 identical panels before sewing them together to create poncho, so please repeat process explained below twice.
To start, make a slip knot.
Ch 56 (S/M), ch 66 (L/XL), ch 76 (XXL/XXXL)
Repeat rows as follows:
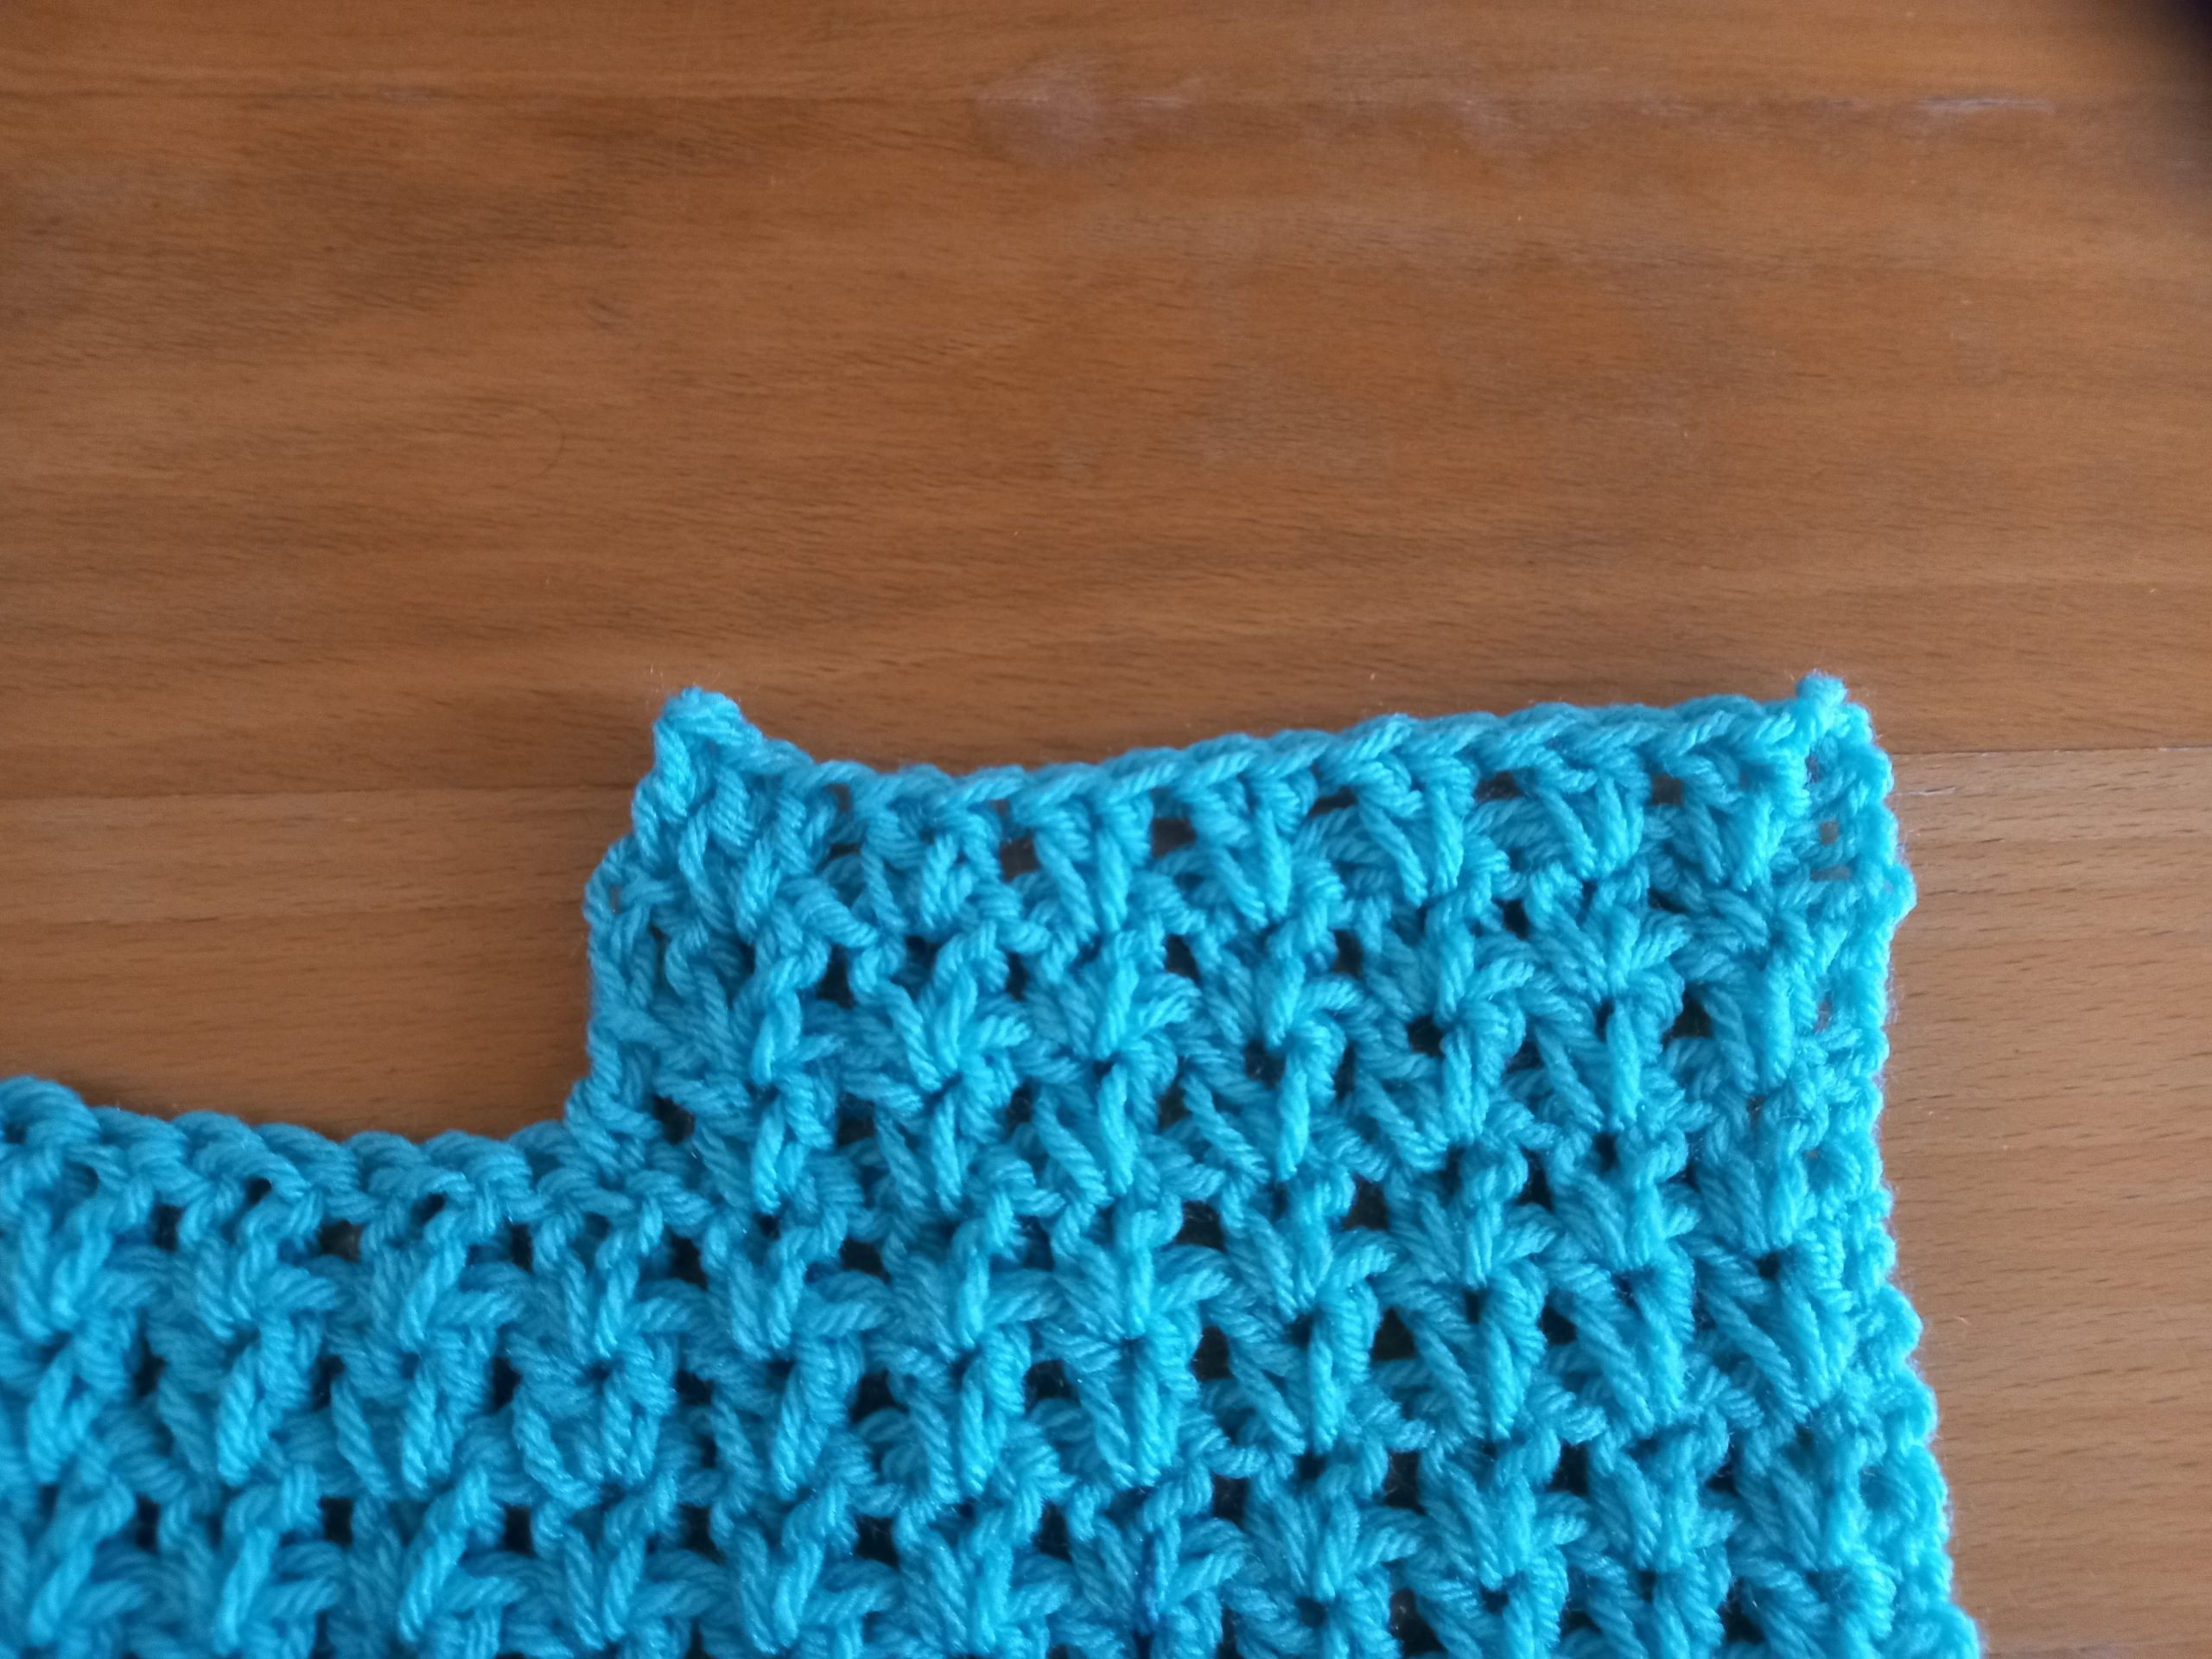
1: Place 2 DC into 4th ch from hook, [sk 1 ch, place 2 DC in next ch] until last 2 ch; sk 1 ch, 1 DC into last ch.
2: Ch 3 (=DC), turn your work. Place 2 DC (=V stitch) into next V stitch from previous row until eor, finishing row by placing a DC into the ch 3 from previous row.
For size S/M
3-34: repeat row 2.
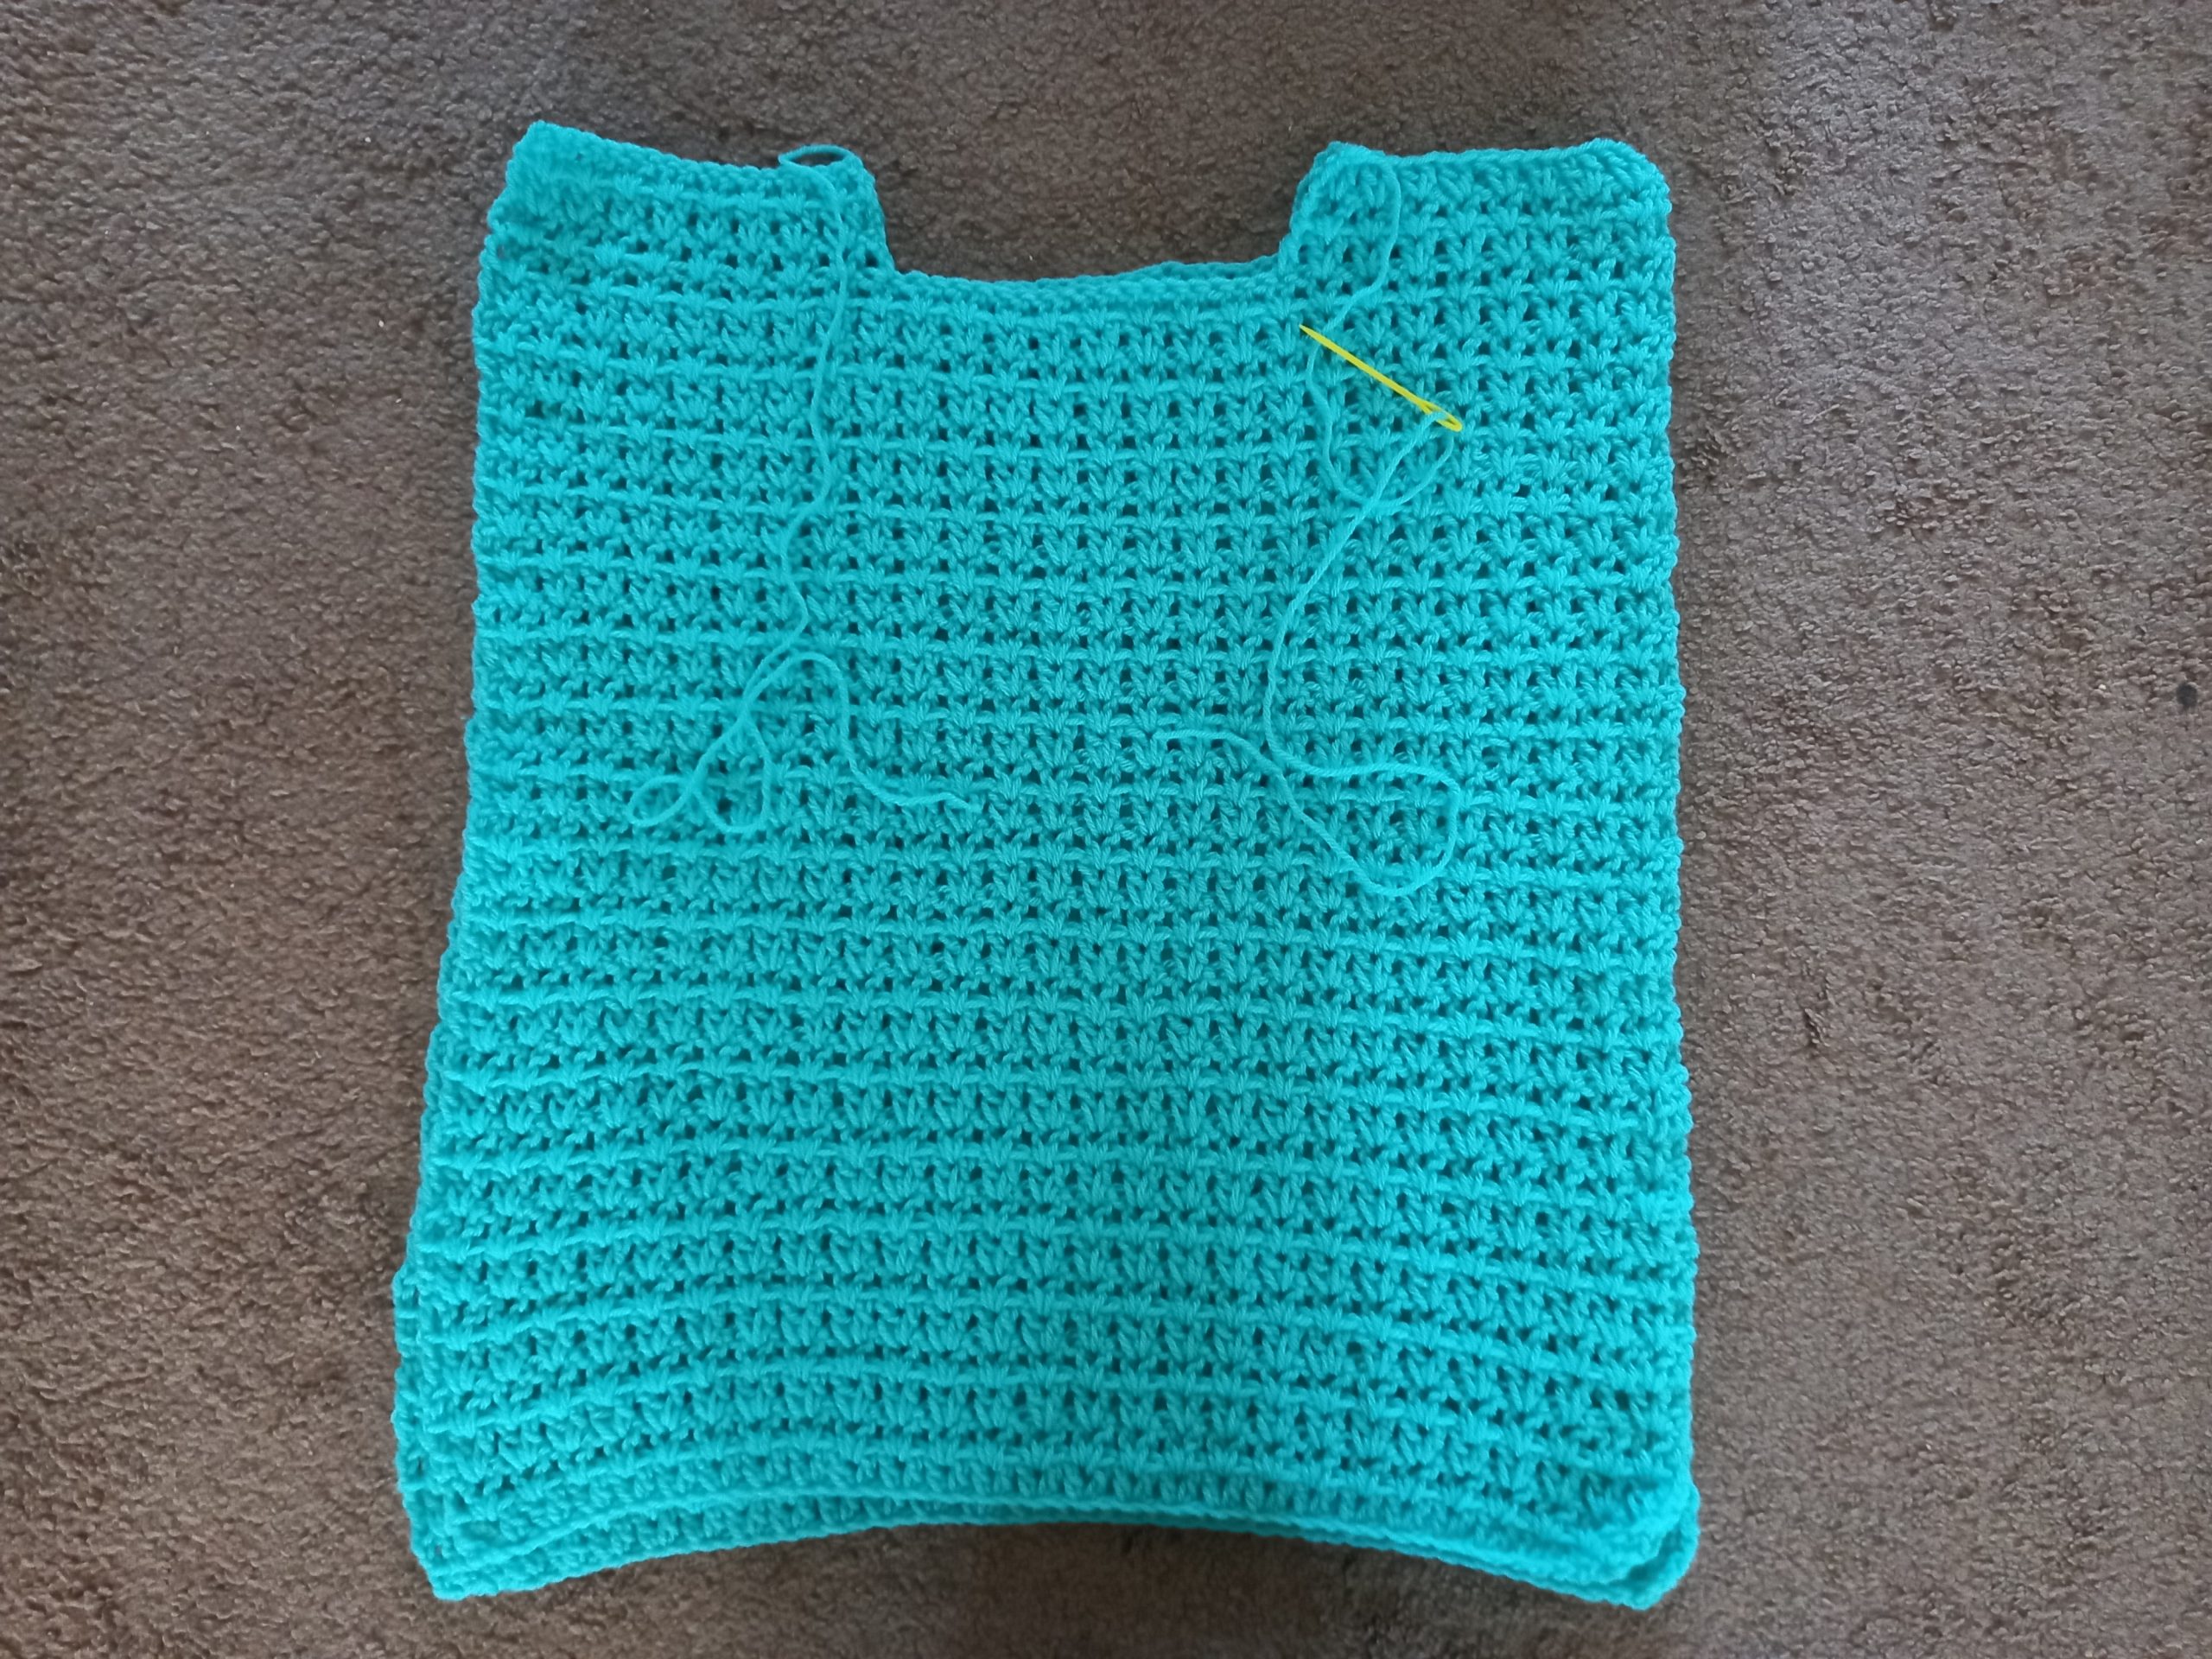
35: Ch 3 (=DC), turn your work. Place 2 DC (=V stitch) into next V stitch from previous row 8 times (=8 V stitches). Place a DC into next V stitch from previous row to finish row.
36: Ch 3 (=DC), turn your work. Place 2 DC (=V stitch) into next V stitch from previous row until eor, finishing row by placing a DC into the ch 3 from previous row.
37: Repeat row 36, fasten off, leaving a long tail for sewing.
For size L/XL
3-37: repeat row 2.
38: Ch 3 (=DC), turn your work. Place 2 DC (=V stitch) into next V stitch from previous row 10 times (=10 V stitches). Place a DC into next V stitch from previous row to finish row.
39: Ch 3 (=DC), turn your work. Place 2 DC (=V stitch) into next V stitch from previous row until eor, finishing row by placing a DC into the ch 3 from previous row.
40: Repeat row 36, fasten off, leaving a long tail for sewing.
For size XXL/XXXL
3-40: Repeat row 2
41: Ch 3 (=DC), turn your work. Place 2 DC (=V stitch) into next V stitch from previous row 12 times (=12 V stitches). Place a DC into next V stitch from previous row to finish row.
42: Ch 3 (=DC), turn your work. Place 2 DC (=V stitch) into next V stitch from previous row until eor, finishing row by placing a DC into the ch 3 from previous row.
43: Repeat row 36, fasten off, leaving a long tail for sewing.
Sewing both panels together:
Lay both identical panels on top of each other on a flat surface.
Sew first one side of the top shoulder part to the other with the help of your loose end and tapestry needle, using the mattress stitch.
Once this part is securely stitched together, fasten off, tidy up all loose ends.
Now sew the other side of the top shoulder part as explained above. Fasten off, tidy up all loose ends.
Create border around all the poncho:
Open up your poncho completely and lay it on a flat surface.
Fasten on yarn to any top corner stitch on the project.
Round 1: Ch 1 (=SC), and place a SC all around each side of the project continuously, making sure you place them evenly along each side. Place 2 SC when you reach each corner (so place 2 SC into each of the 4 corners).
Once you have gone all the way around, slip stitch to first ch 1 to finish round.
Round 2: Ch 1 (=SC), place a SC into BLO (=back loop only) of next SC from previous row until eor. Place 2 SC BLO when you reach each corner (so place 2 SC BLO into each of the 4 corners).
Sl stitch to first ch 1 to close off round.
Round 3: Repeat round 2.
Fasten off, tidy up all loose ends.
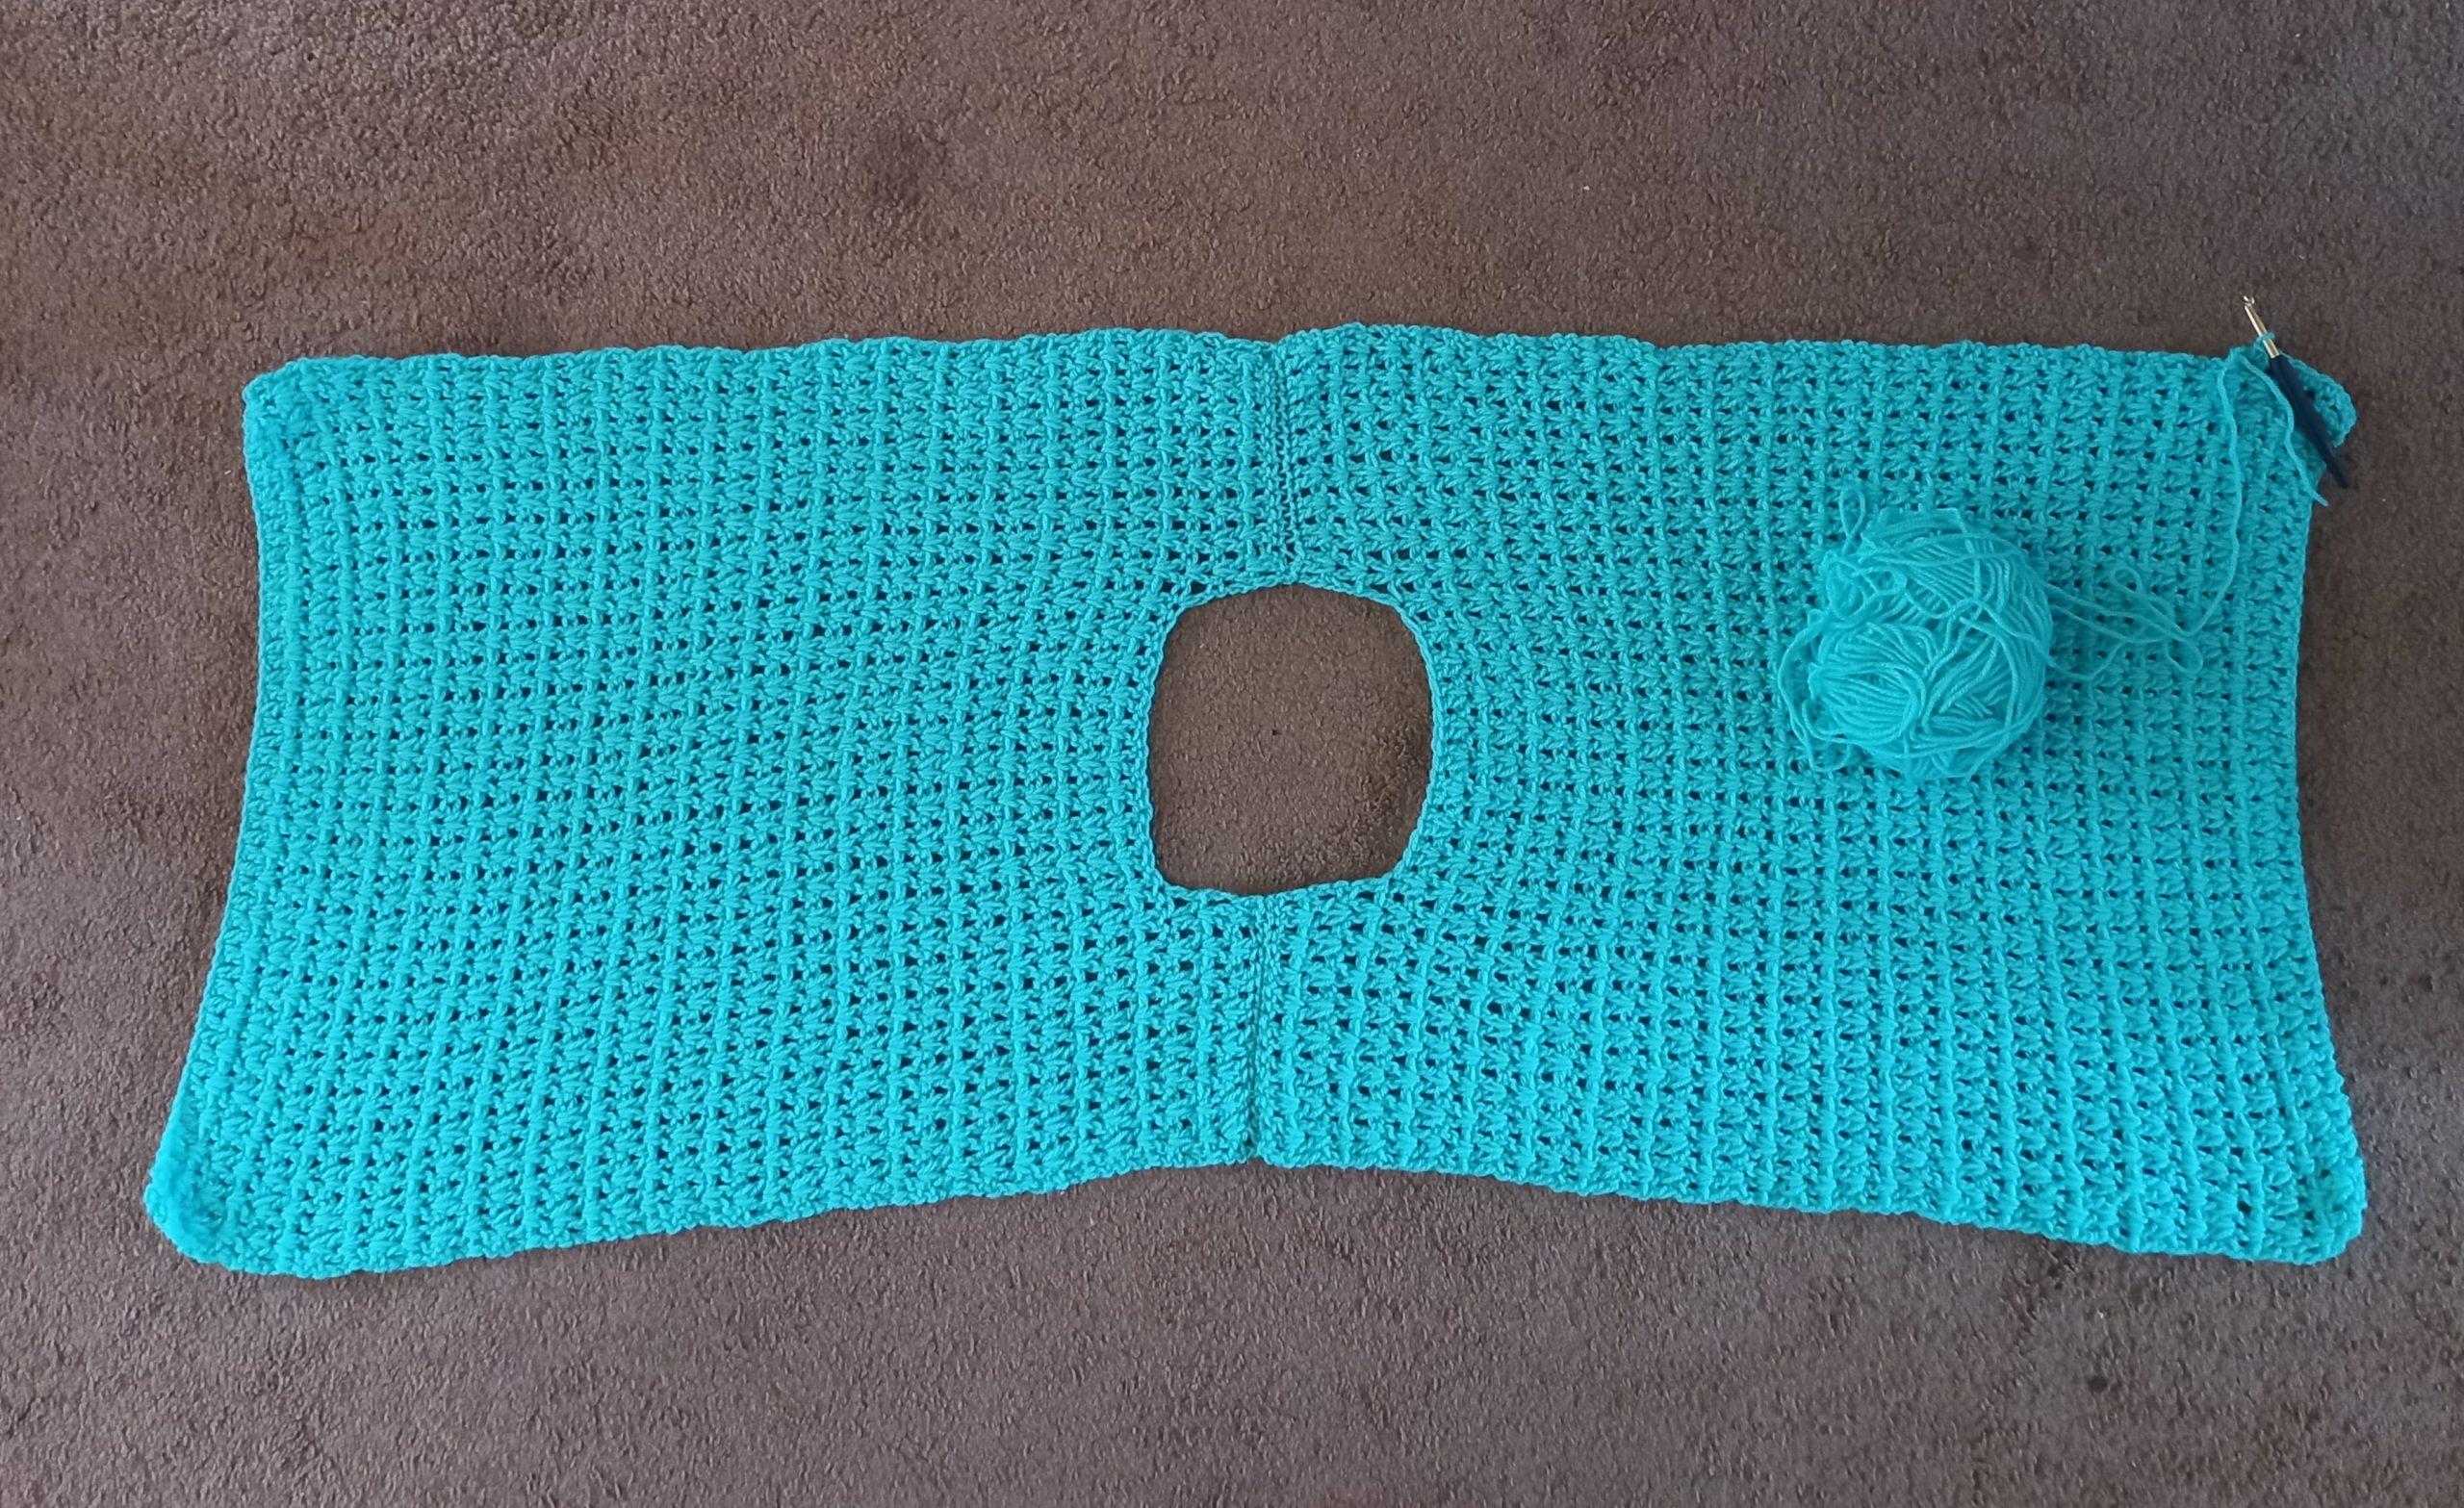
Finish off sewing your poncho together to create armholes:
Fold your poncho over so that both panels are lying symmetrically on top of one another.
Now with a measuring tape, measure 10” from the top of the side of the poncho. At 10”, place a stitch marker. This creates the armholes.
Using the mattress stitch, sew from the very bottom side of the poncho to the stitch marker. Fasten off, tidy up all loose ends.
Repeat this process on the other side of the poncho to create second armhole.
Neck edging:
Fasten on yarn to a stitch on one corner of the neck edging.
Ch 1 (=SC), place SC evenly all along the neck edging, until you reach the ch 1 from the beginning (there is no specific number of stitches needed here). Sl st through this ch 1 to finish off round.
Fasten off, tidy up all loose ends.


You May Also Like
Crochet Summer Pink Poncho

Crochet Lovely Flower Headband Free Pattern