Crochet The Beautiful Rose Shrug
Crochet The Beautiful Rose Shrug/Cardigan
Hello everybody, and welcome back to my blog! Today I am bringing to you a pattern on how to Crochet The Beautiful Rose Shrug/Cardigan.
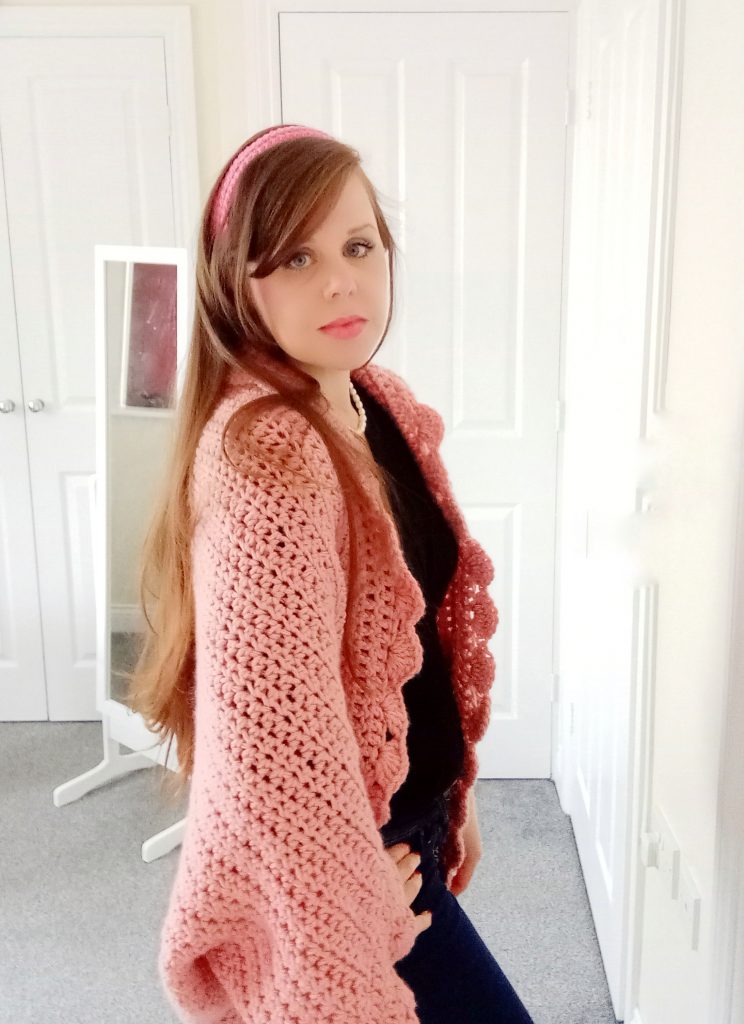
The weather here in the UK has been quite cold and very windy, so I thought I would bring you this soft and very warm and cosy cardigan design. This versatile and soft shrug/cardigan is absolutely perfect for those chilly days or evenings, while adding a little bohemian and feminine vibe. It’s perfect for all occasions and seasons, and the simple yet stylish design are a joy to work up.
The video tutorial can be found here: Crochet Beautiful Rose Video Tutorial
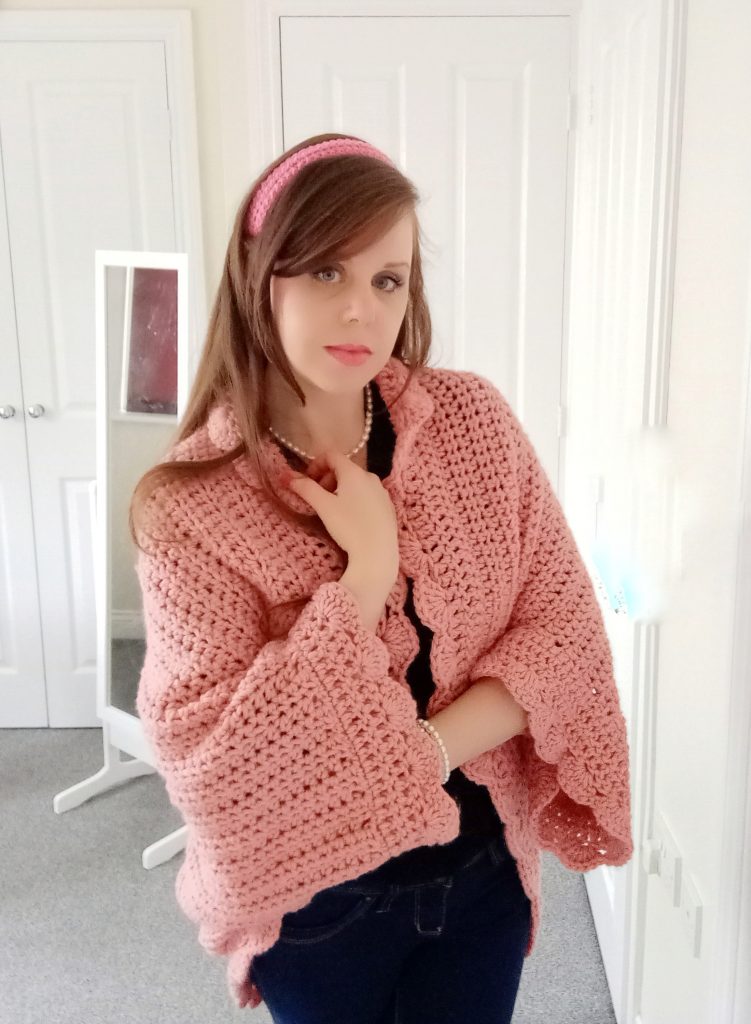
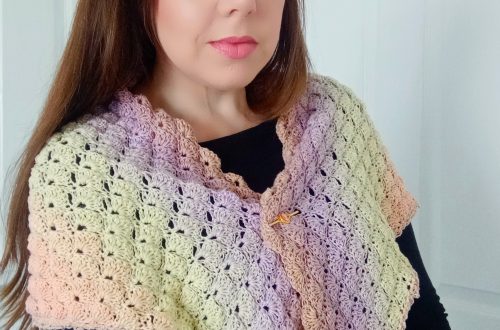
A very feminine crochet cardigan
This lovely and feminine project is easy and so relaxing to crochet, and because the yarn I used is Hayfield Chunky with wool. It is soooo warm, perfect for staying cosy during a long winter walk in the fresh air, or just to chill out at home in front of the fire whilst you read (or crochet!).
Crochet The Beautiful Rose Shrug : a very easy crochet pattern
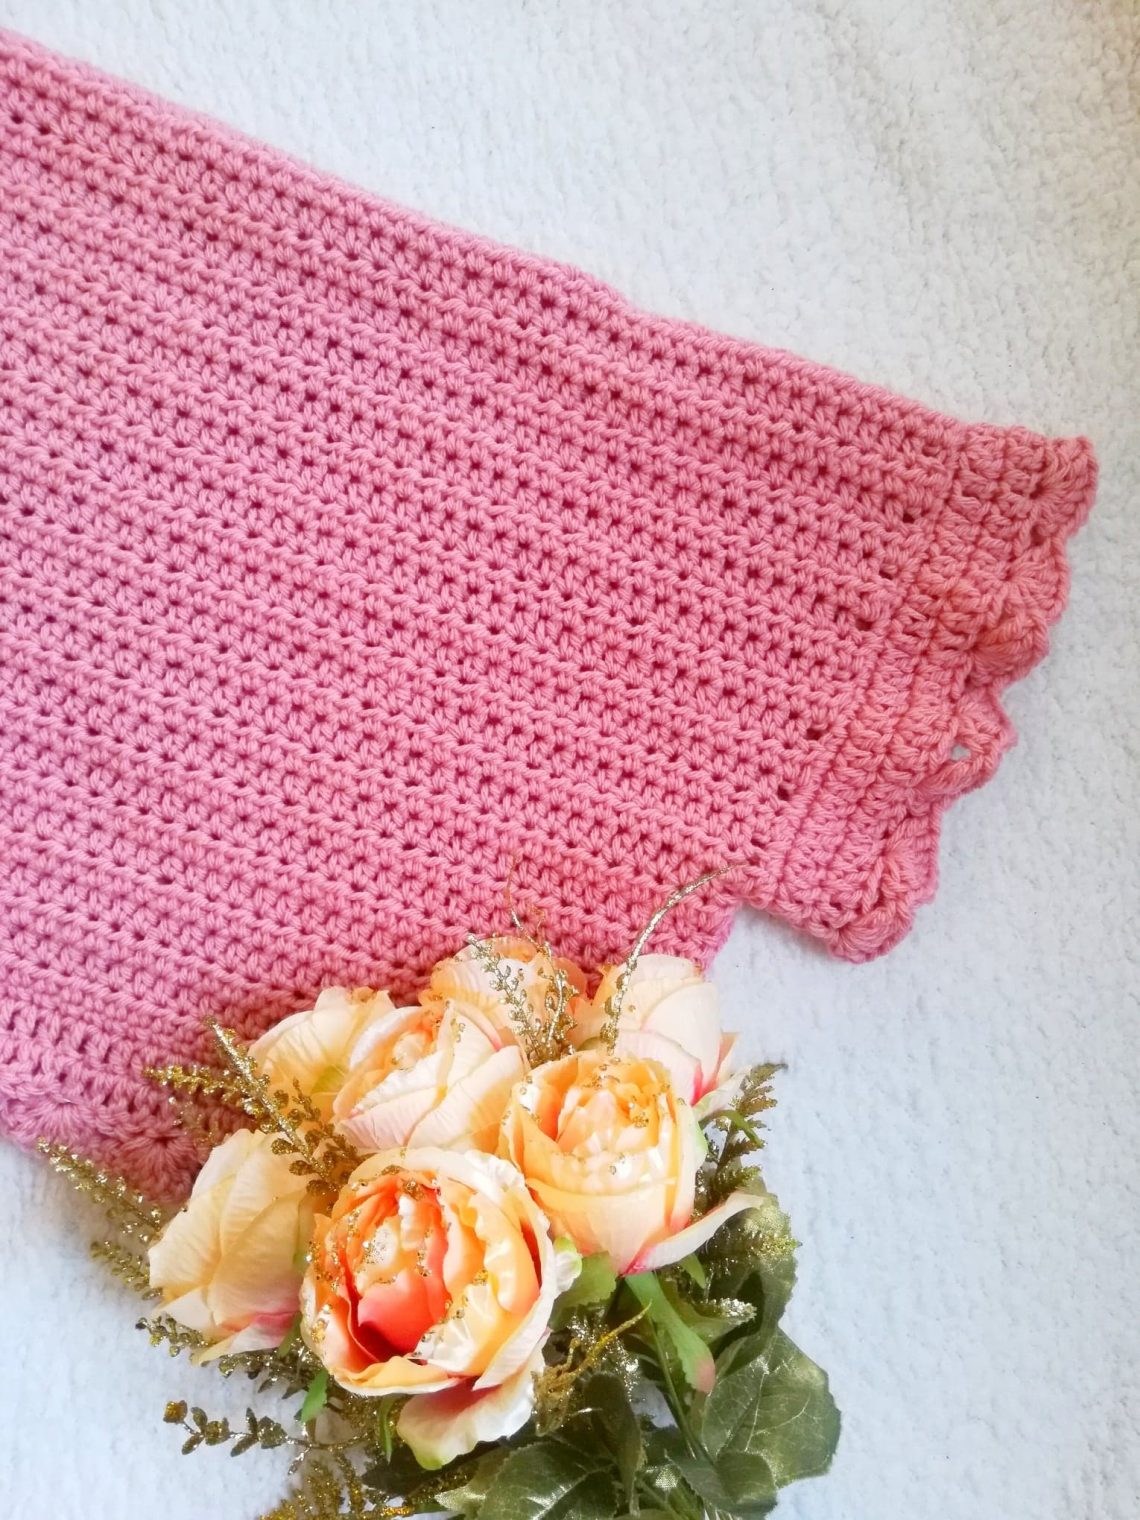
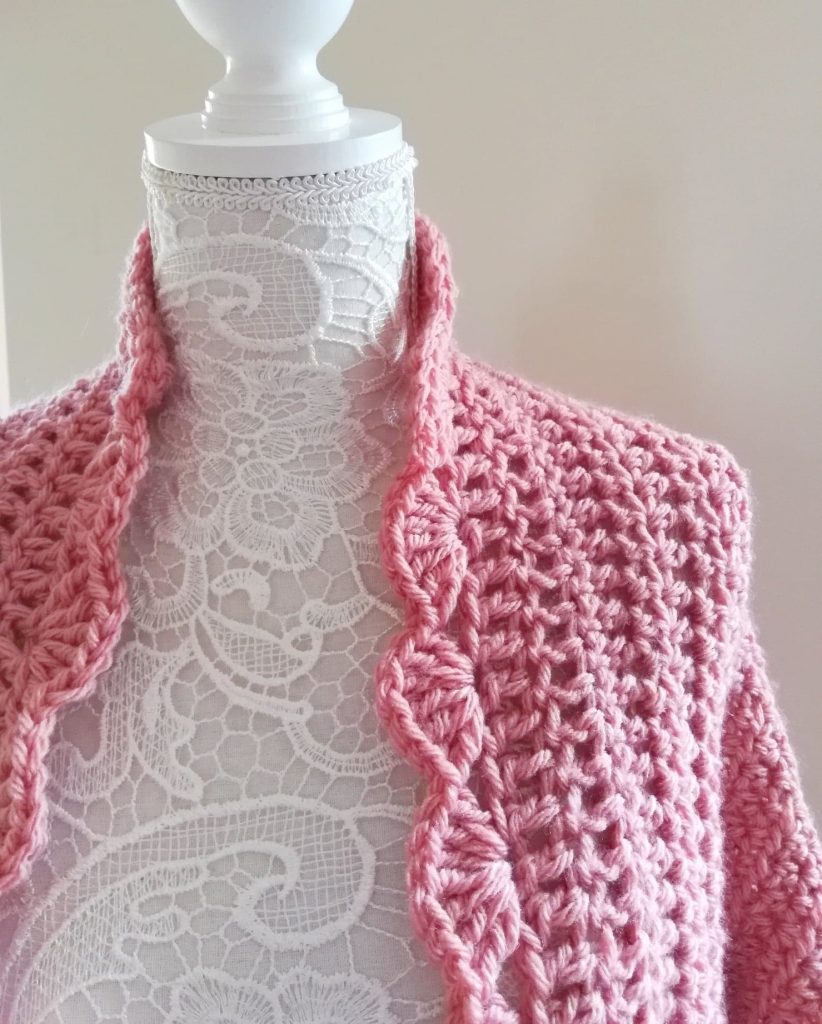
This project is easy to make as you start by creating a square out of rows of half double crochets. Once you have finished the square, you fold and sew it to create your shape, before adding your border on the sleeves and front of the cardigan. The shell edging on the border gives it a very romantic and feminine feel, as does the soft pink colour, making it a great project for winter as it is always nice to break away from the dark tones so present during this season.
Connecting with you
I hope you enjoy this crochet design. Let me know in the comment section, and don’t forget to join my crochet group here to connect with me and like-minded crocheters. I loved crocheting this delicate shrug/cocoon cardigan, and am really thinking of creating another design, so watch this space!
Also, please do join my Facebook group by following this link, so we can connect over our love of crochet: https://www.facebook.com/groups/2673897989298095/
Sending you lots of love,
Xoxo Selina.
The Pattern to Crochet The Beautiful Rose Shrug/Cardigan
You can purchase the Ad free, PDF pattern in my Etsy shop here: Crochet The Beautiful Rose Cardigan PDF pattern
This is a great way to support my work, and I truly appreciate it.
Level: Easy
Gauge: 10×10 cm (4,5×4,5 inches) = 8 stitches across and 7 rows
Materials:
6/7 skeins of Hayfield Chunky with Wool in shade 693 Blossom
1 skein of Stylecraft Special Aran in shade Lipstick (or any other red yarn in Aran weight)
7 mm crochet hook
Tapestry needle
Pair of scissors
Stitch marker (optional)
Abbreviations:
I will be writing in US terms
ch: chain
sk: skip
SC: Single Crochet
DC: Double Crochet
HDC: Half Double Crochet
Sl st: Slip stitch
EOR: End of row
Begin pattern here:
For sizes S/M, ch 82 (finished initial square before border will measure 96 x 96 cm (37,5 x37,5 inches))
For sizes L/XL, ch 90 (finished initial square before border will measure 106×106 cm (42×42 inches)
Complete rows as follows:
1: HDC into 3rd stitch from hook, HDC into each ch until eor
2: ch 2 (counts as HDC throughout), turn your work, HDC into 2nd stitch and into every HDC from previous row until eor
3-65 (or until cardigan measures 96 cm): repeat row 2
When your square is complete, fasten off, leaving long tail for sewing.
Once you have finished your HDC square, fold in half. Measure 23 cm/9 inches from the center fold (inside of cardigan) to form arm pit and hole, place stitch marker. Use long tail of yarn and tapestry needle to sew seam from stitch marker to end of cardigan, make a double knot, sew in loose ends. Repeat on the other side, attaching a piece of yarn to sew that edge of cardigan. Fasten off and tidy all loose ends.
Border (both arms and front panel):
1: Attach yarn onto any st. of sleeve hole, ch. 1, SC into every st. around, sl st to 1st ch 1.
2: Ch 3 (counts as 1st DC of round), Dc into every SC from previous row, sl st to first ch 3.
3: repeat row 2.
4: Ch 3, 6 DC inside that same first st. (=7 DC forming first shell), [skip 3 st., 7 DC into 4th st, sk 3 st] until only a few stitches remain, sl St to finish shell edging, fasten off, tidy all loose ends.
Fasten off, tidy up all loose ends.


8 Comments
Pamela Matthews
Selina — Hope you can help — I can’t visualize or “get” how to get to the sleeves. I have the full square done but can’t figure out how to or where to place the arm holes.
Thanks — Pam
Selina Veronique
Hello Pamela and thank you for your comment. Sorry for the delay in answering, somehow I wasn’t notified of your comment. I completely understand that you are stuck, it is a tricky part of the project indeed. Let me try and explain: Once you have your square, fold it in half (lengthwise, ie the way you have been making row after row); once you have done this, measure the number of inches you need for your size (in the pattern), and measure from the centerfold of your square (where there is the fold you have just done by folding it in half). You are going to stitch from the bottom (so not the centerfold), to where you have placed your stitchmarker once you measured the right amount of inches from the centerfold (so basically you are creating a “hole”from the centerfold to the stitchmarker which will be for your arms). I hope this makes sense! Let me know.
Have you watched the Youtube video I made, it definitely would help make sense of it. You can find it here https://www.youtube.com/watch?v=EaNBCyTyGM0&t=952s
Let me know how you get on, xoxo Selina
PAMELA JEAN SONNEBORN
I WROTE OUT THE PATTERNS THAN I WILL TAKE TIME TO PUT THEM TOGETHER
Selina Veronique
Great idea!
Maria Howe-Li-Rocchi
Selina help!
I am very new to crochet and stupidly didn’t work out a gauge to begin with. I have nearly completed my main piece and have measured and I’m only 75cm wide. Is there anything I can do to make up the width?
Would making the boarder wider be an answer?
Ps love your patterns. X
Selina Veronique
Hello and thank you for your comment. You are not stupid at all, if you just started crochet you are learning still and we were all at that stage one day 🙂 Make sure your piece measures 75 cm high and wide (a square), if so, then you can go around it with some rows of either Single Crochets or Double Crochets, and once it measures the width you need depending on your size, then you can fold it and then start sewing and adding the collar border and sleeves. I hope that helps!
Take care and let me know how you get on,
Xoxo Selina.
Diane
This is very pretty and from the pattern, looks quite simple. I am an experienced crocheted and cannot wait to make this. I was looking for a pattern for a pullover half cardigan with a tie in the front and came across your pattern here. Well done and have a great day. Don’t ever let the world take your creativity away from you.
Selina Veronique
Hello and thank you so much for your lovely comment! It means a lot, and I am so glad you like this pattern. Have a great day too!