Crochet The Cornflower Poncho Free Pattern
Crochet The Cornflower Poncho Free Pattern
Crochet The Cornflower Poncho Free Pattern
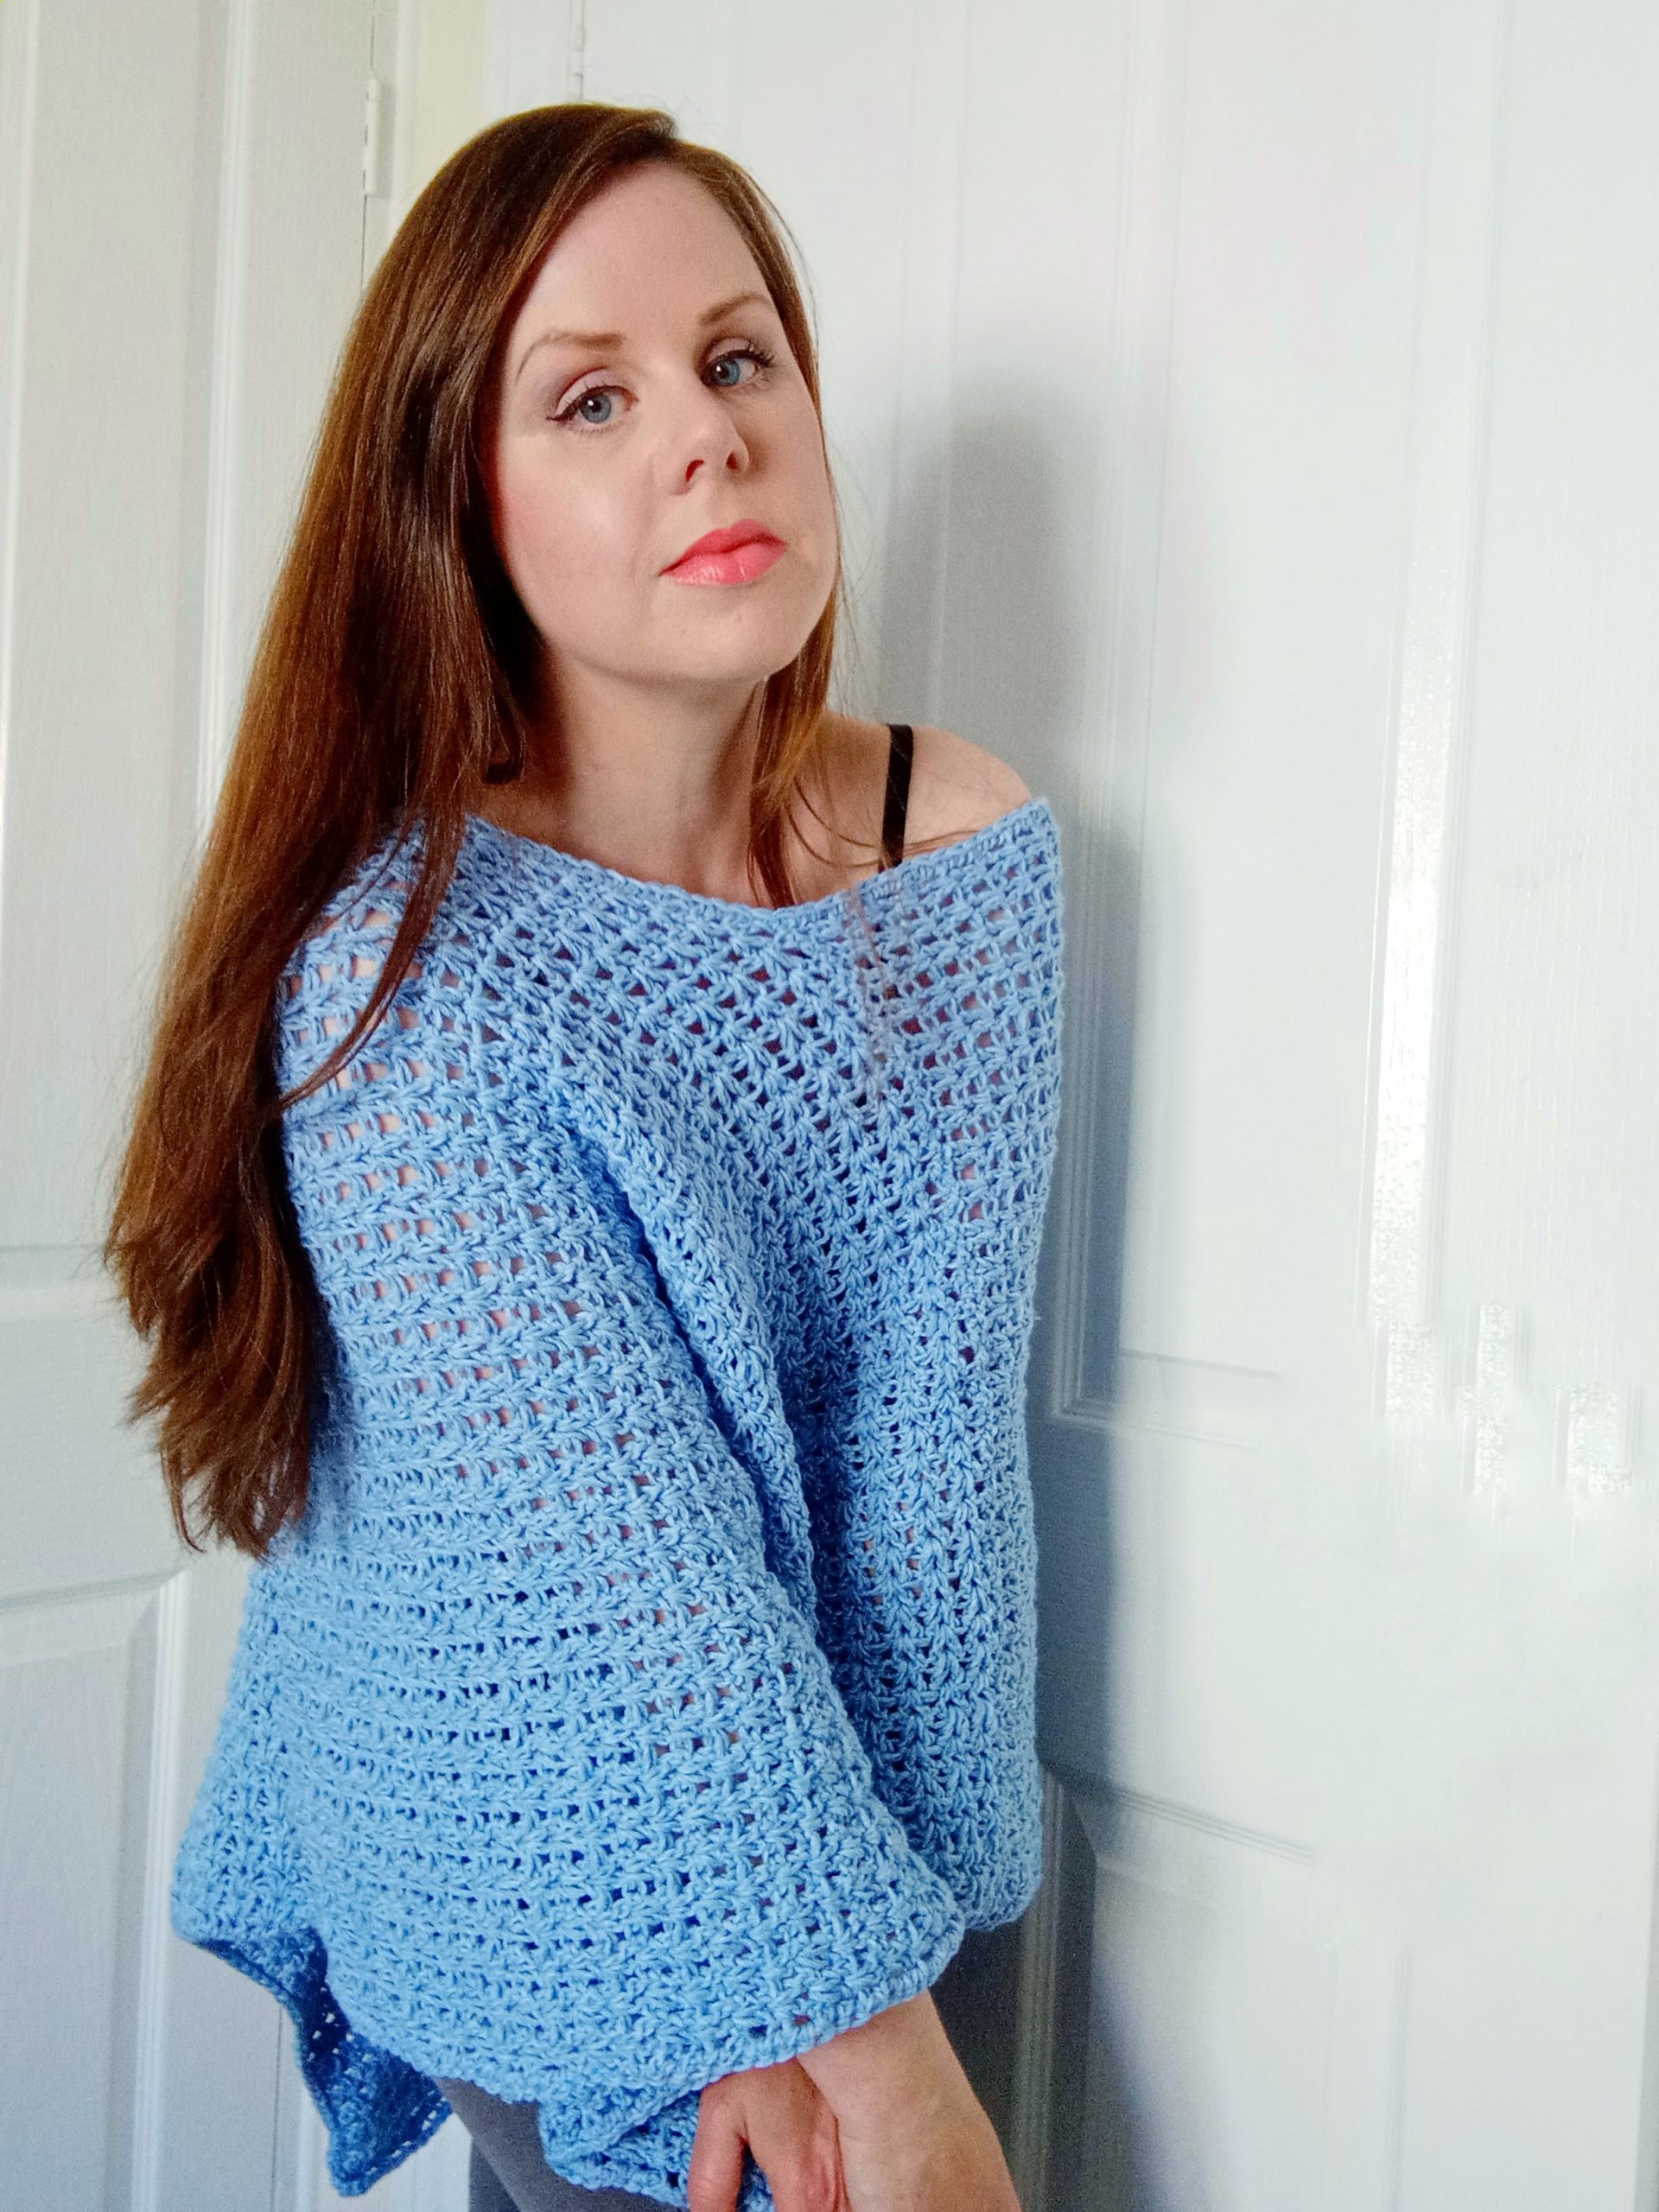
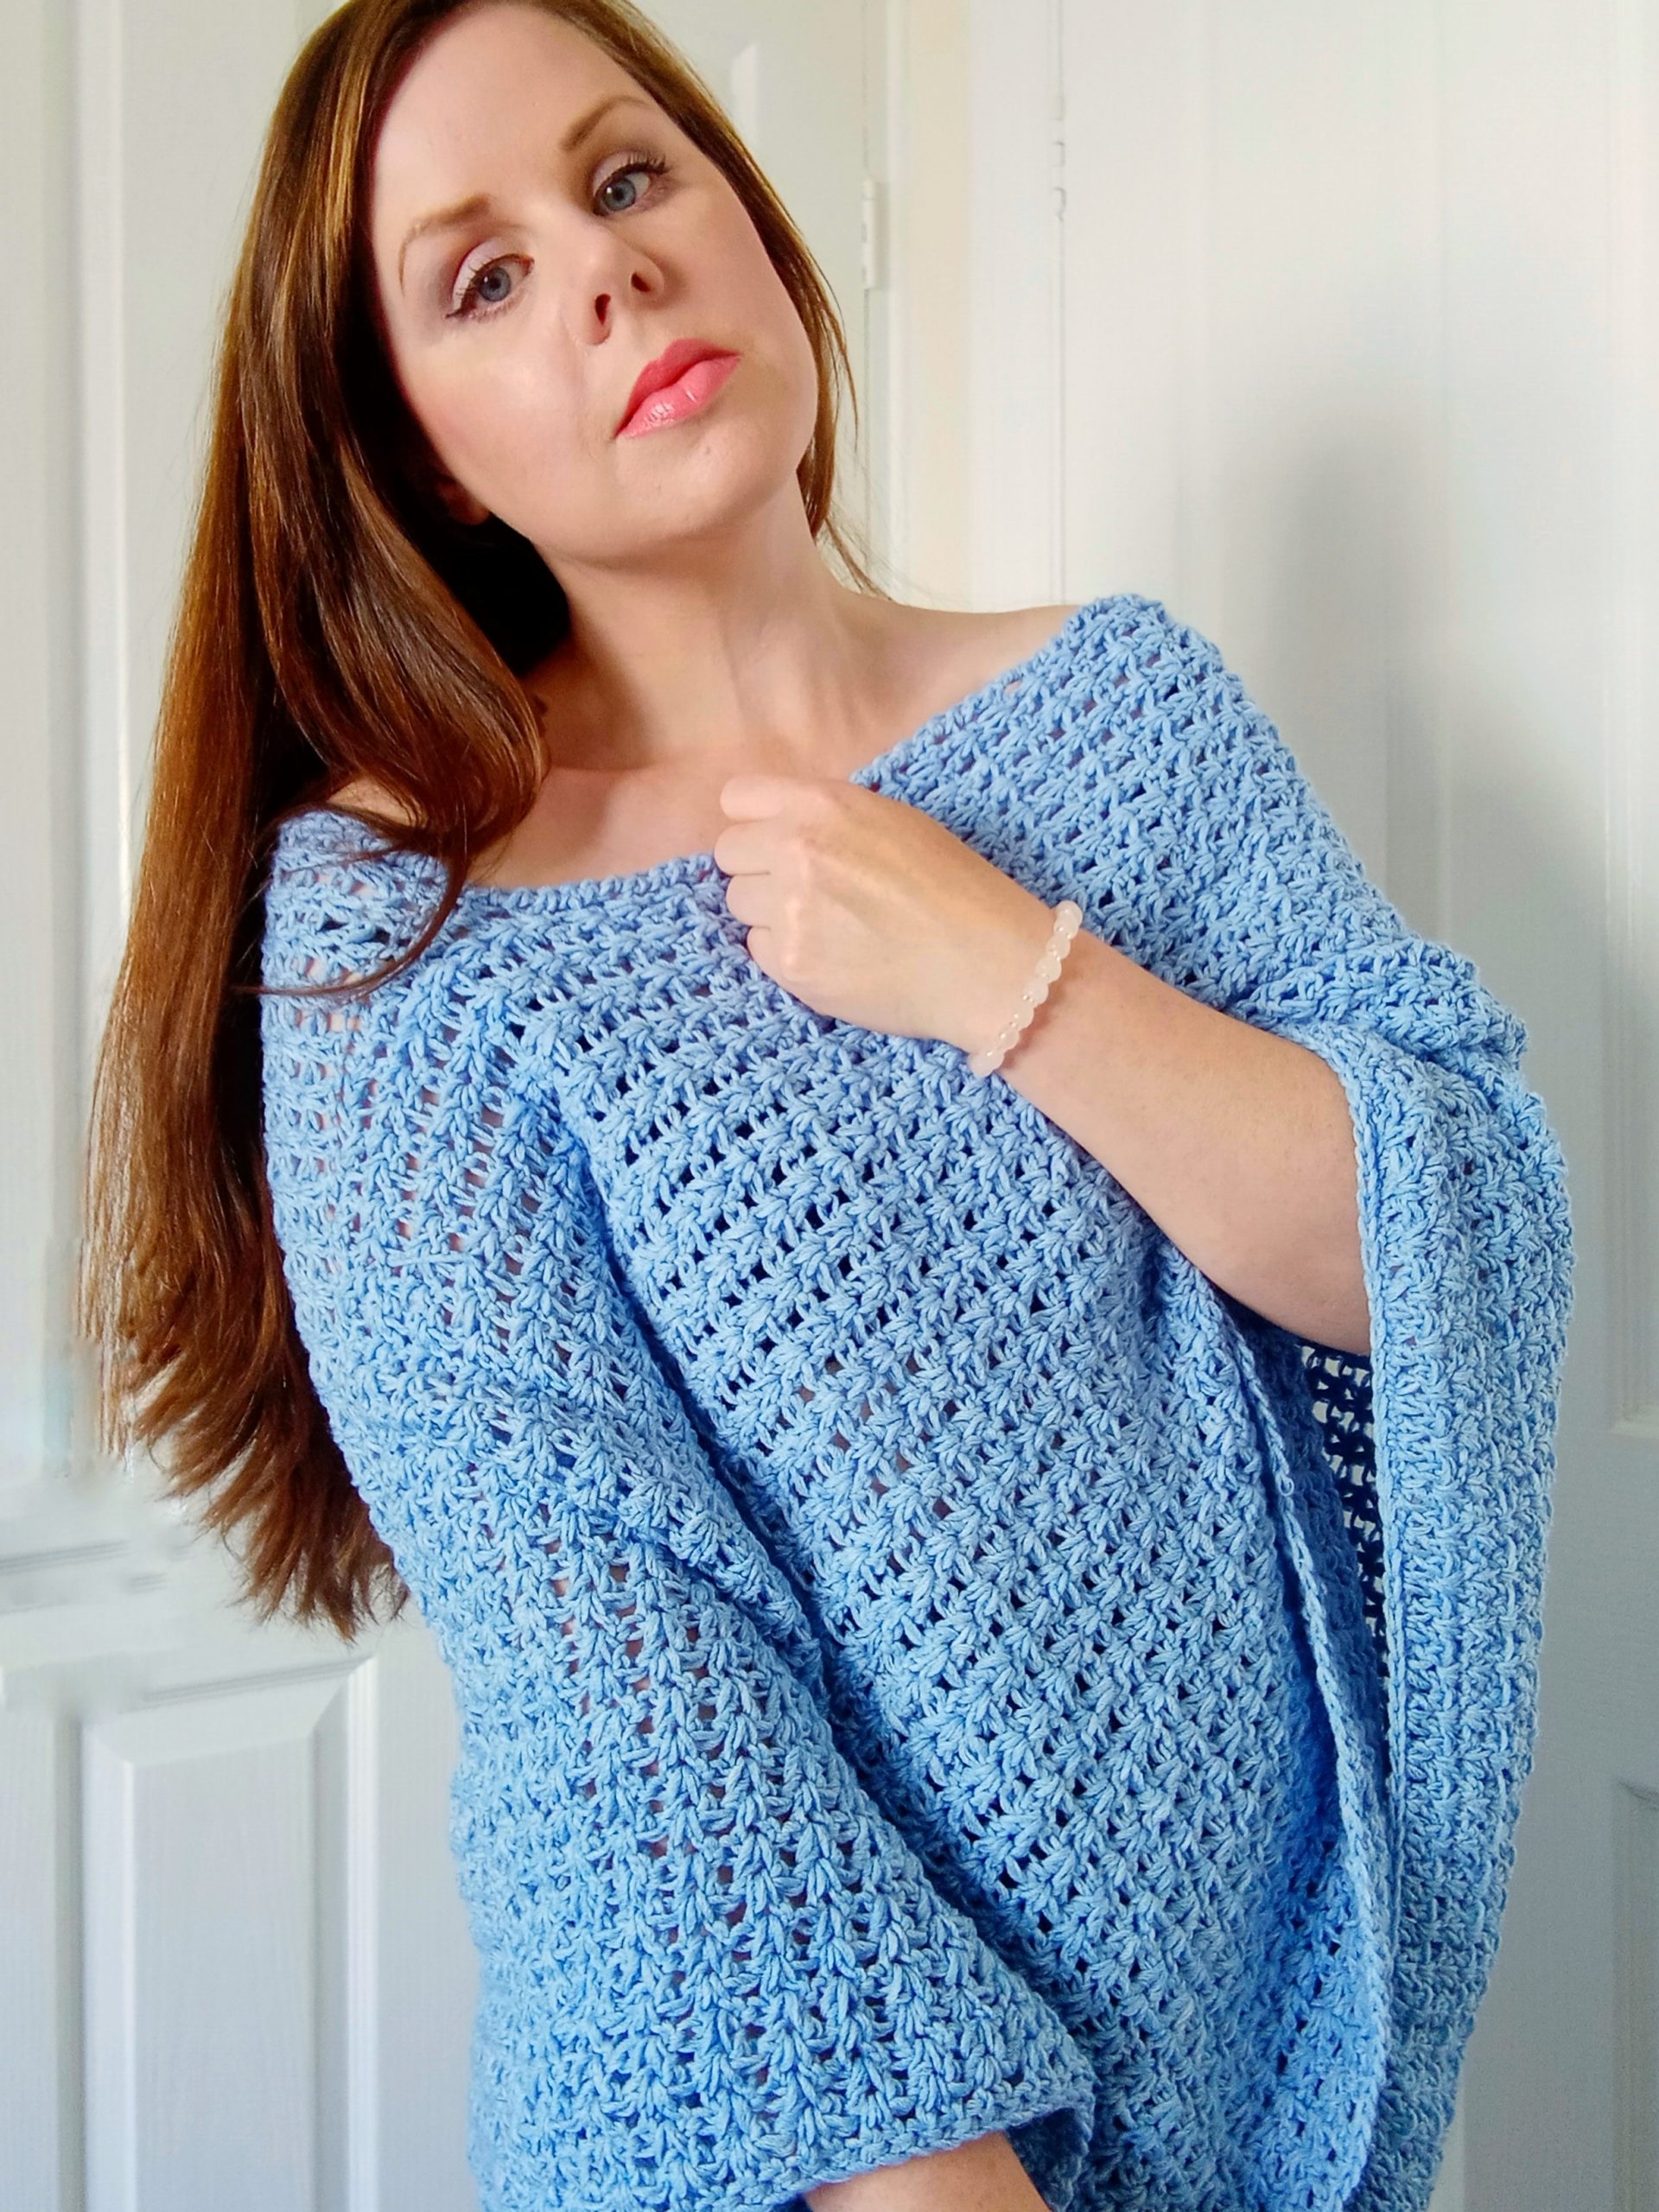
Good morning my lovely crochet friends, this week I am bringing to you a new tutorial on how to crochet The Cornflower Poncho. I am so excited about this project, and I hope you enjoy it as much as I enjoyed crocheting it. This is a perfect crochet project for beginners, and works up really fast. I used Lion Brand’s Jeans yarn for this poncho, and I am in love!
The video tutorial for this project can be found here:
Crochet The Cornflower Poncho Free Pattern
I absolutely love ponchos, they are so pretty, especially in the Spring or Summer. There is nothing quite like the simplicity of being wrapped up in an airy and feminine poncho. I designed The Pink Summer Poncho last year, and it has been a favorite of mine ever since. It is beautiful and fun to make, so if you are looking for another poncho design to make after this one, The Pink Summer Poncho is just what you are looking for!
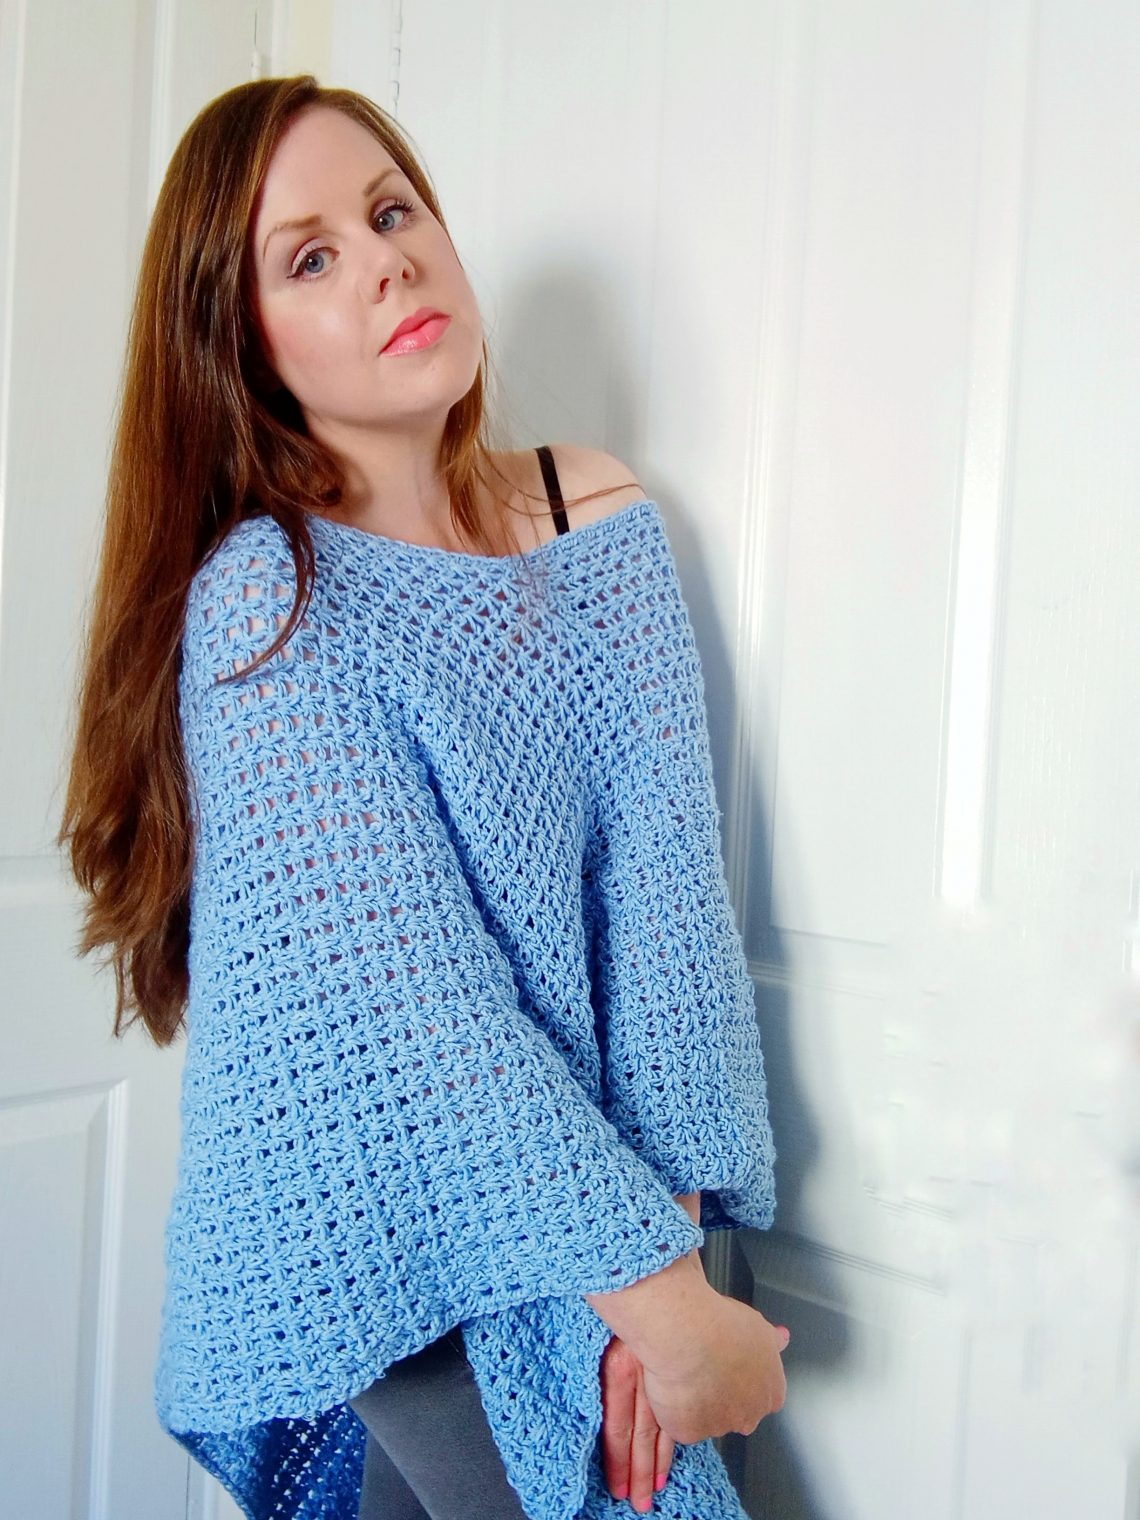
I love ponchos as I said. They are fun and playful, and can be dressed up or down. This new design is crocheted with a simple repeat pattern of V stitches. It is great for cool Summer nights, and can be crocheted in many different colors. This poncho is simple yet sophisticated. I just love wearing it as it is super cute and feminine!
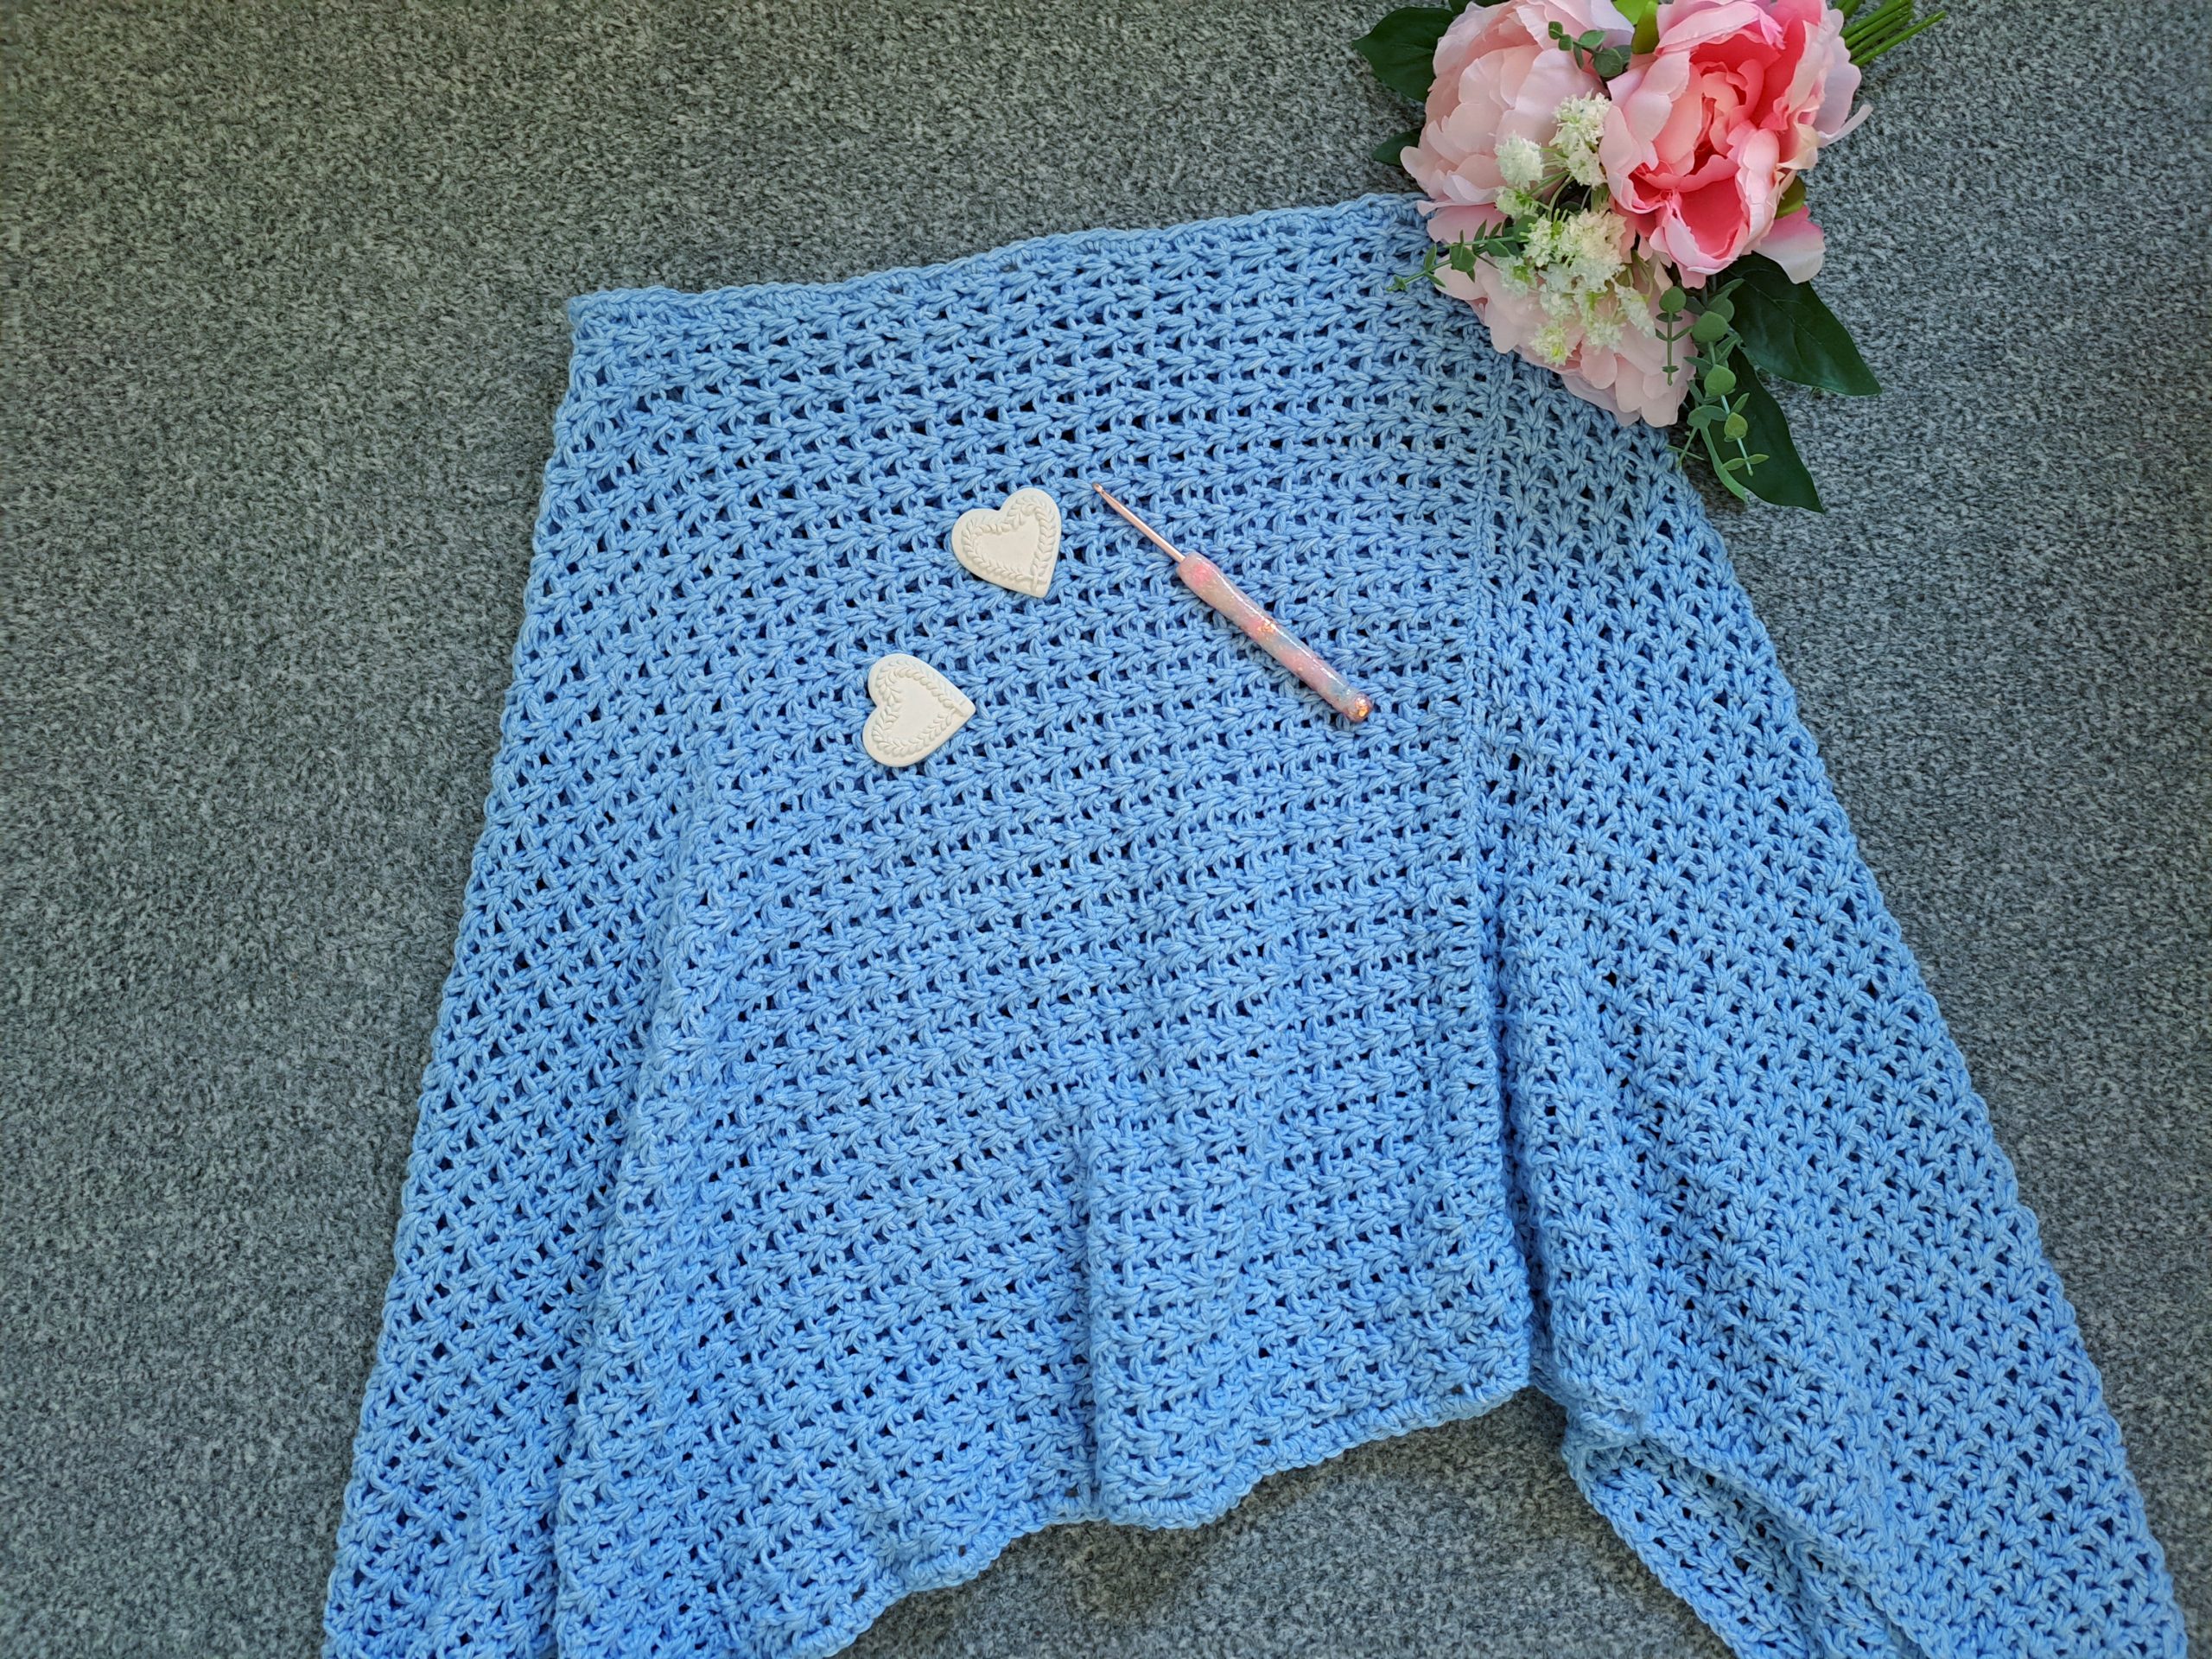
The design is also very simple. Indeed, this poncho is made from two identical panels that are stitched together to form the shape of the garment. It is simple yet this is what makes this project so pretty. I decided to add a very simple Single Crochet edging to this project as I thought it would look nicer than a more elaborate border. And I am glad I did this, as this project looks so beautiful.
I also designed The Natalia Poncho in 2020, which features a lovely lacy design, and is a super feminine crochet poncho too.
Crochet The Cornflower Poncho Free Pattern: the yarn
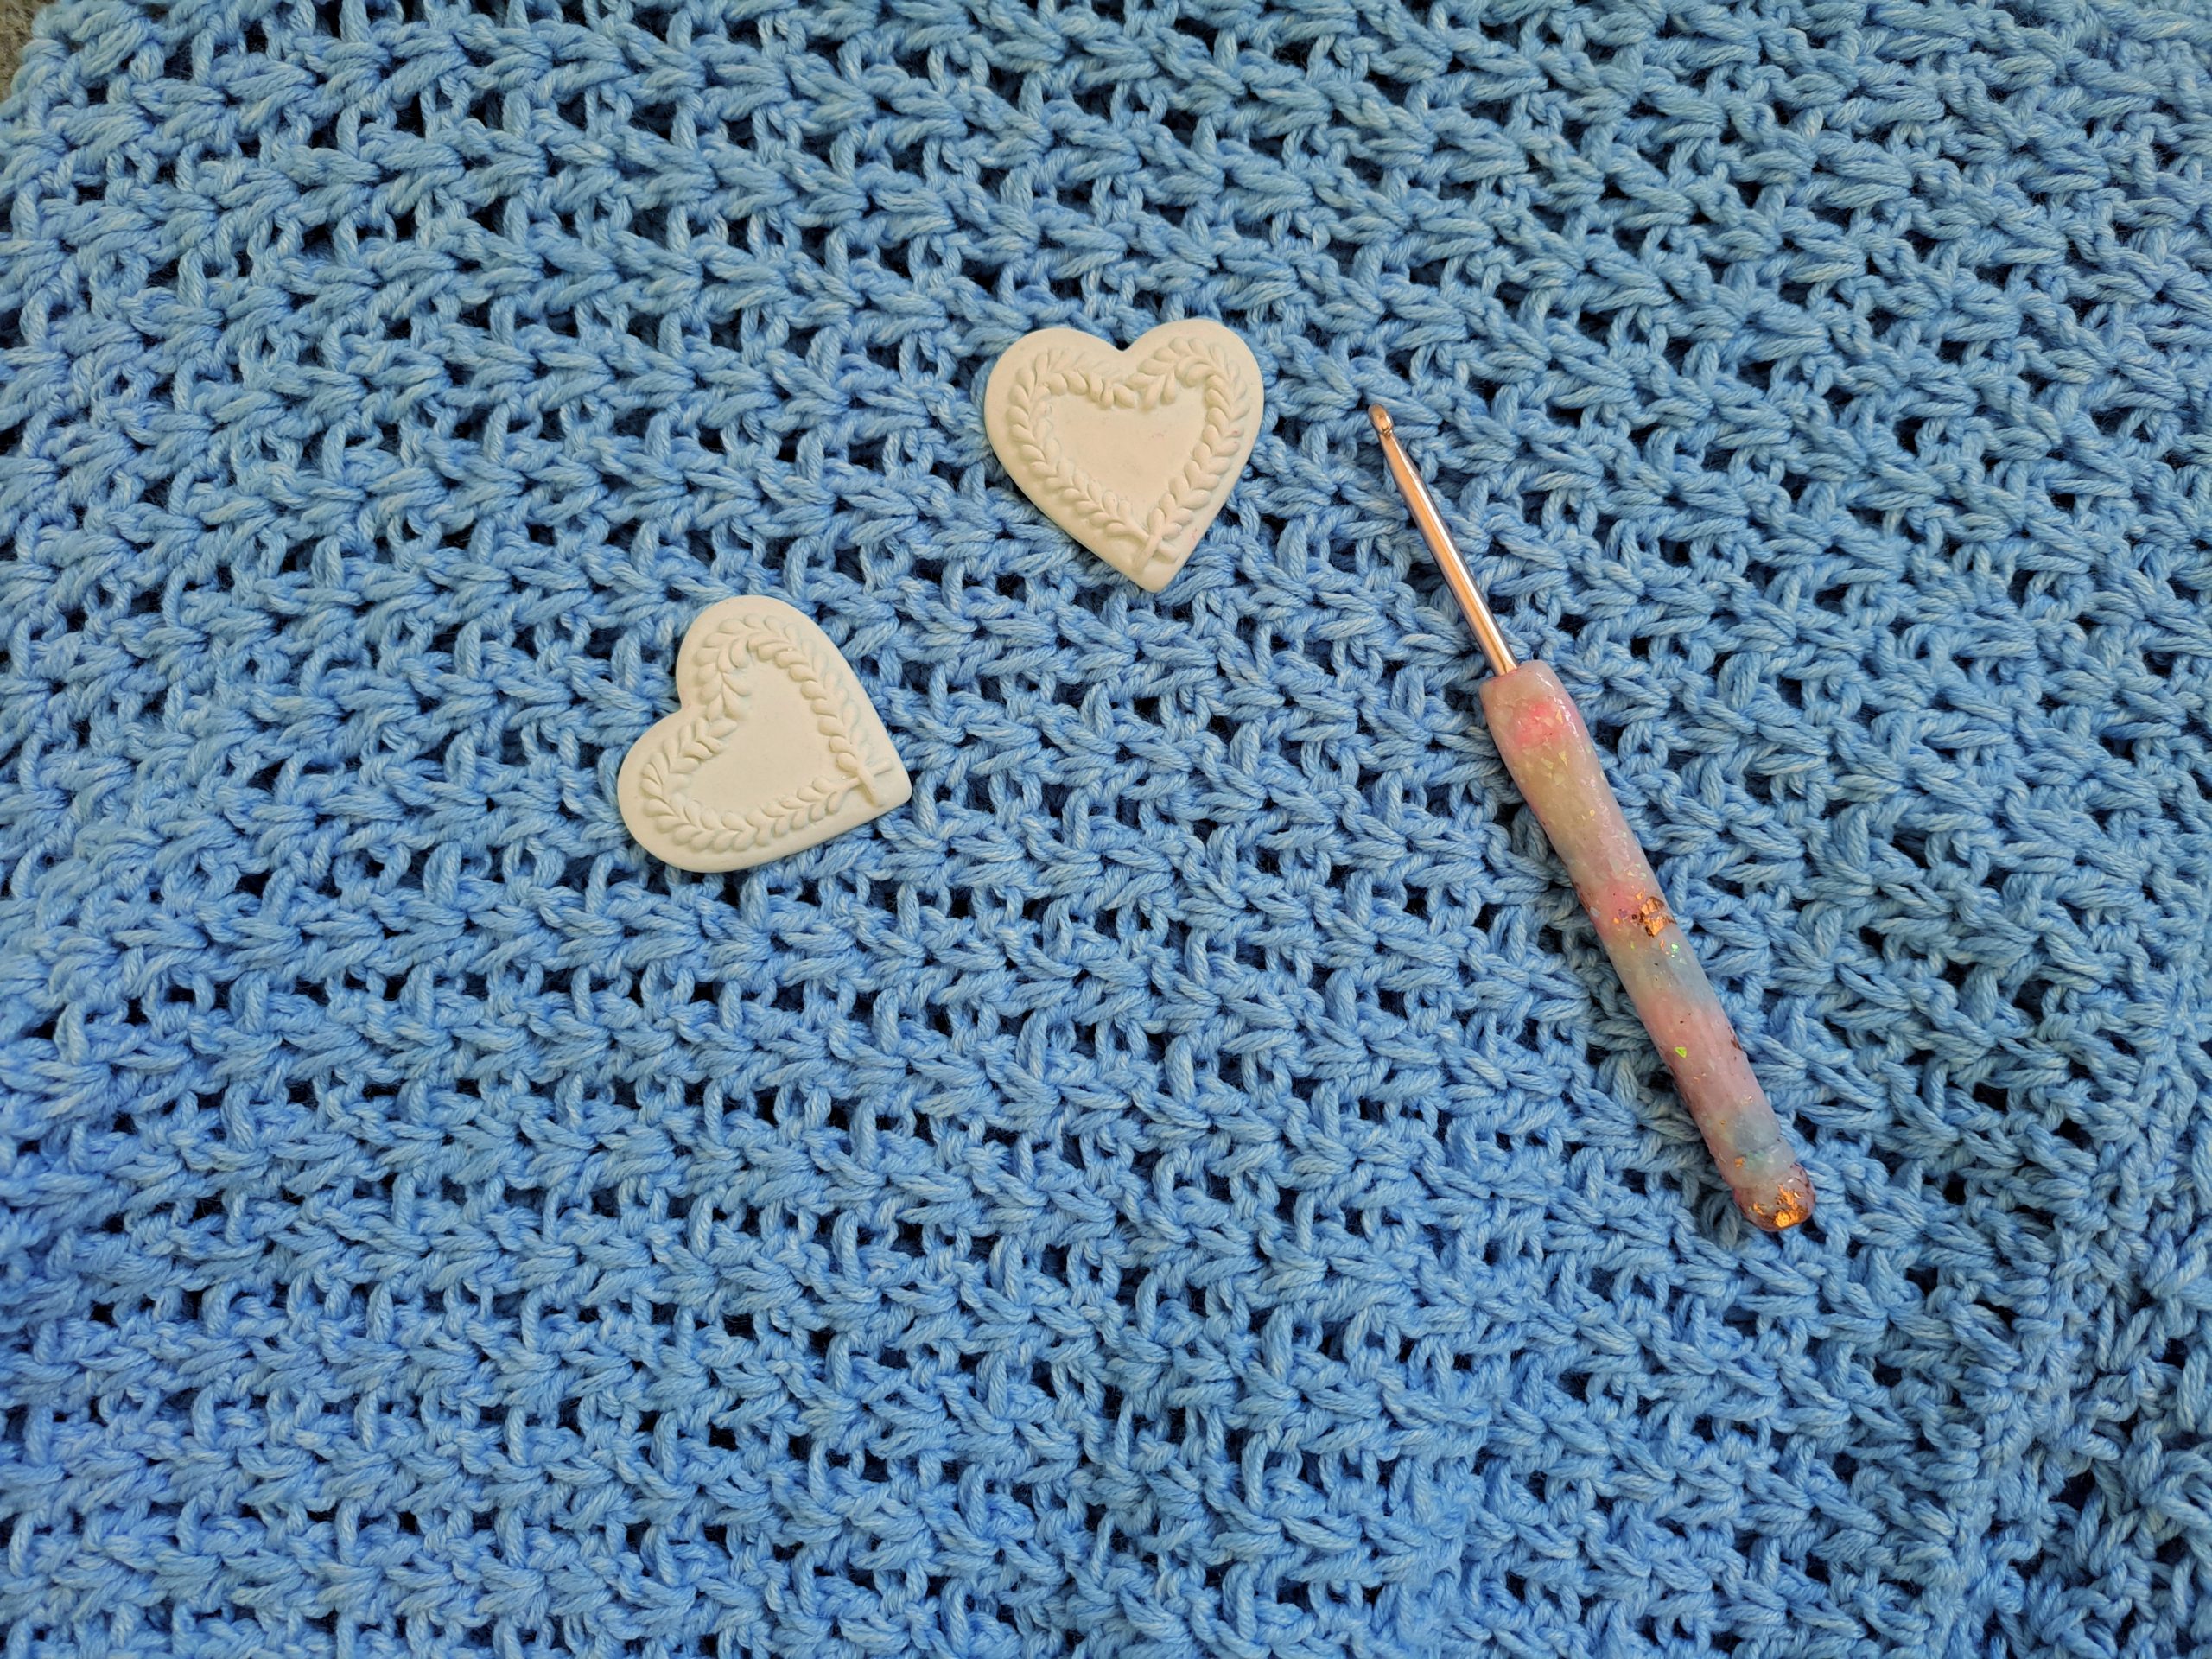
The Cornflower Poncho is a great project for beginners. Indeed, it looks fantastic in all seasons, and is very elegant. It is made with Lion Brand’s Jeans yarn, which is so pretty and soft! I had never used this yarn until recently, and I can honestly say I am in love with it! I used shade Faded, which is so beautiful and has a slightly stonewashed effect. The yarn itself is 100% acrylic, and is incredibly soft to touch and crochet with. I have discovered a new favorite.
This is a great yarn for a lot of different projects. I have decided to use this yarn in a different shade to crochet a masculine bandana for my dad’s birthday. Indeed, I have filmed a tutorial and already written the pattern for this man bandana, and I cannot wait to release it very soon.
If you want to crochet a warmer, slightly chunkier poncho, you can check out The Aquamarine Poncho. This crochet poncho is perfect for beginners, and features a boxy, oversized, 1980s inspired shape. I hope you enjoy all these different crocheted poncho designs!
All in all, I absolutely loved making this new crochet poncho project. I hope you do too! Please let me know in the comments what you thought of this project, I always love to hear from you! This crochet poncho is made using the simple V stitch, and the pattern is inclusive, going from a size S to XXXL. Please consult pattern down below for more information on the different sizes.
Connecting with you
I would like to take a moment to thank every single one of you, for supporting me and my crochet journey. Indeed, I absolutely am so touched by all your messages, comments, and every person who has become a patron of my work through Patreon. Thank you!
I love connecting with my Crochet Community through my blog and Social Media. You can find me on Youtube, Instagram, and Pinterest. I would love to connect with you on these platforms.
You can also join my private Facebook group to connect.
Join my exclusive and fun Patreon community, a haven for feminine crochet and so much more!
You can also subscribe to my weekly newsletter here. You will then be notified when I release a new free pattern, video tutorial, and much more!
Crochet The Cornflower Poncho: The Pattern
You can purchase the ad free, large print, PDF pattern from my Etsy shop here: Crochet The Cornflower Poncho PDF Pattern
Level: Easy +
Notes: I will be writing in US terms
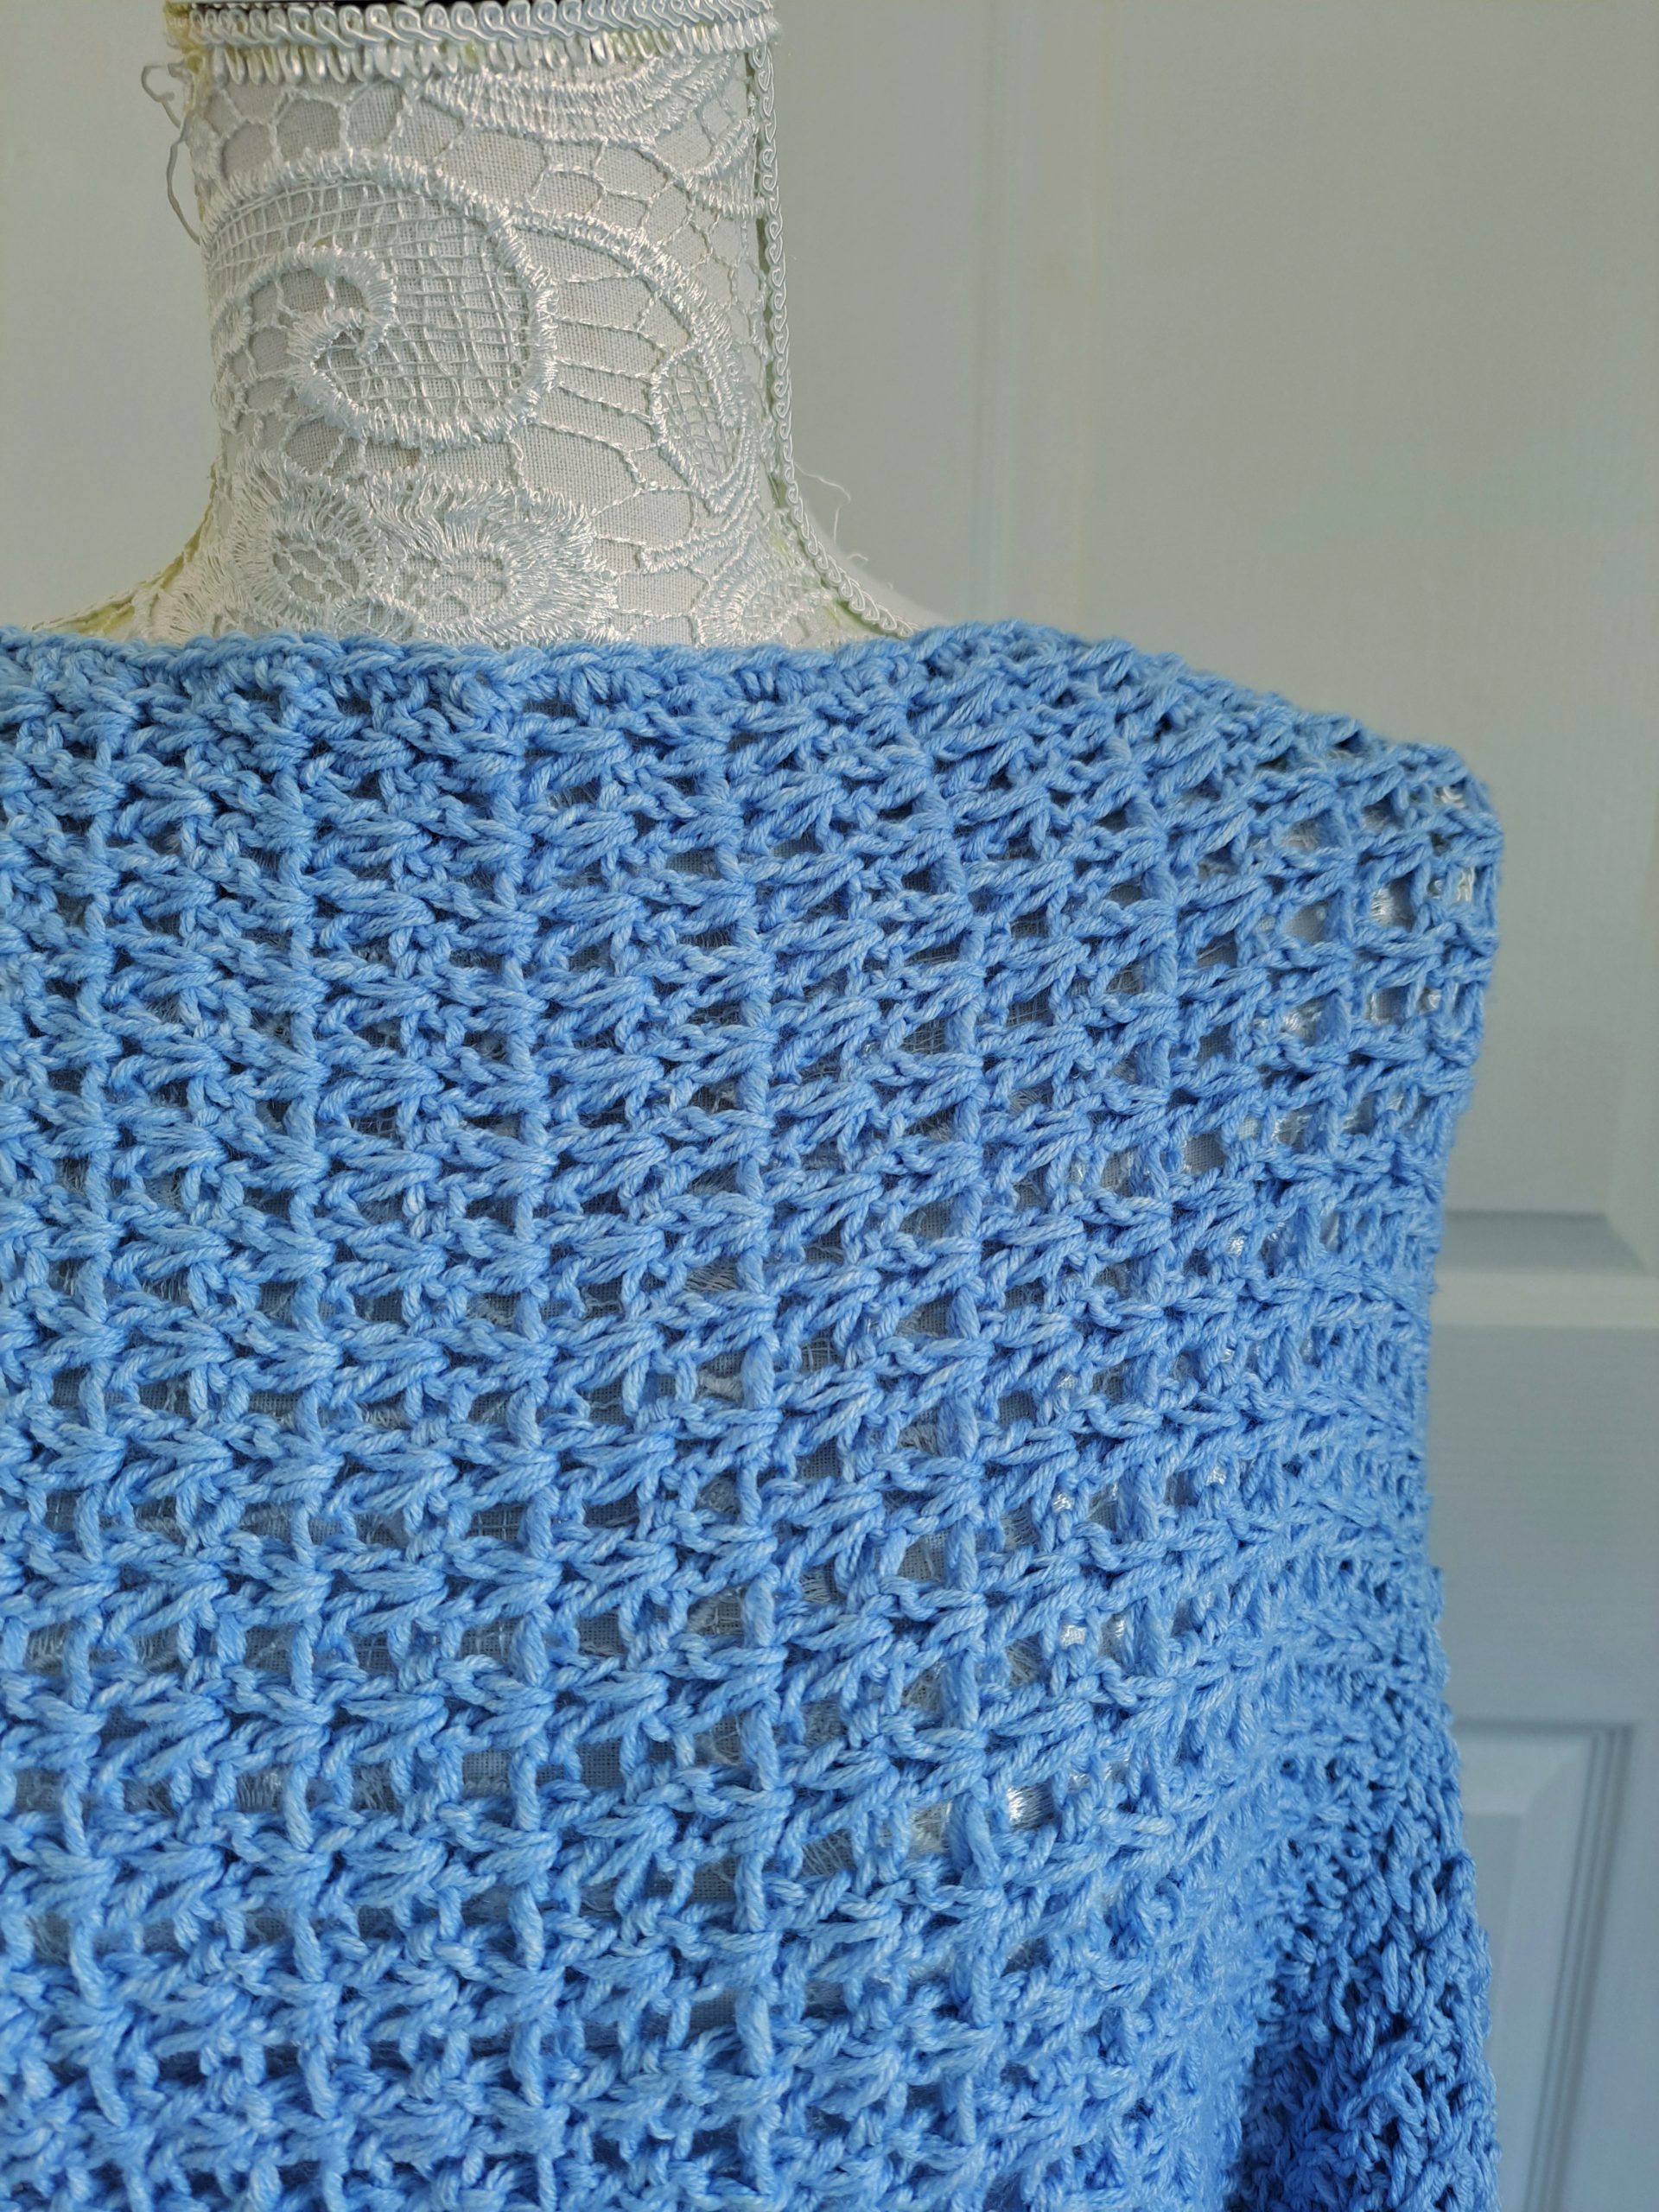
Please note the collar/neck opening of this project is very large; to make the neck opening more adjusted, there will be some advice to do this in the pattern below.
Gauge
4” (10 cm)= 7 rows
4” (10 cm)= 6 V stitch repeats
Size of 1 finished rectangle before sewing them both together
S/M: 30,5”x19,5” (78,5 cm x 50 cm)
L/XL: 31,5”x21” (80 cm x 53,5 cm)
2XL/3XL: 33”x22,5” (84 cm x 57 cm)
Materials
5 (S/M/L/XL), 6 (XXL/XXXL) skeins of Lion Brand Jeans yarn in shade Faded
A 6 mm crochet hook
Tapestry needle
A pair of scissors
Stitch markers (optional)
Abbreviations
ch: chain
sk: skip
SP: space
SC: Single Crochet (UK Double Crochet)
DC: Double Crochet (UK Treble Crochet)
Sl st: Slip stitch
EOR: End of row/end of round
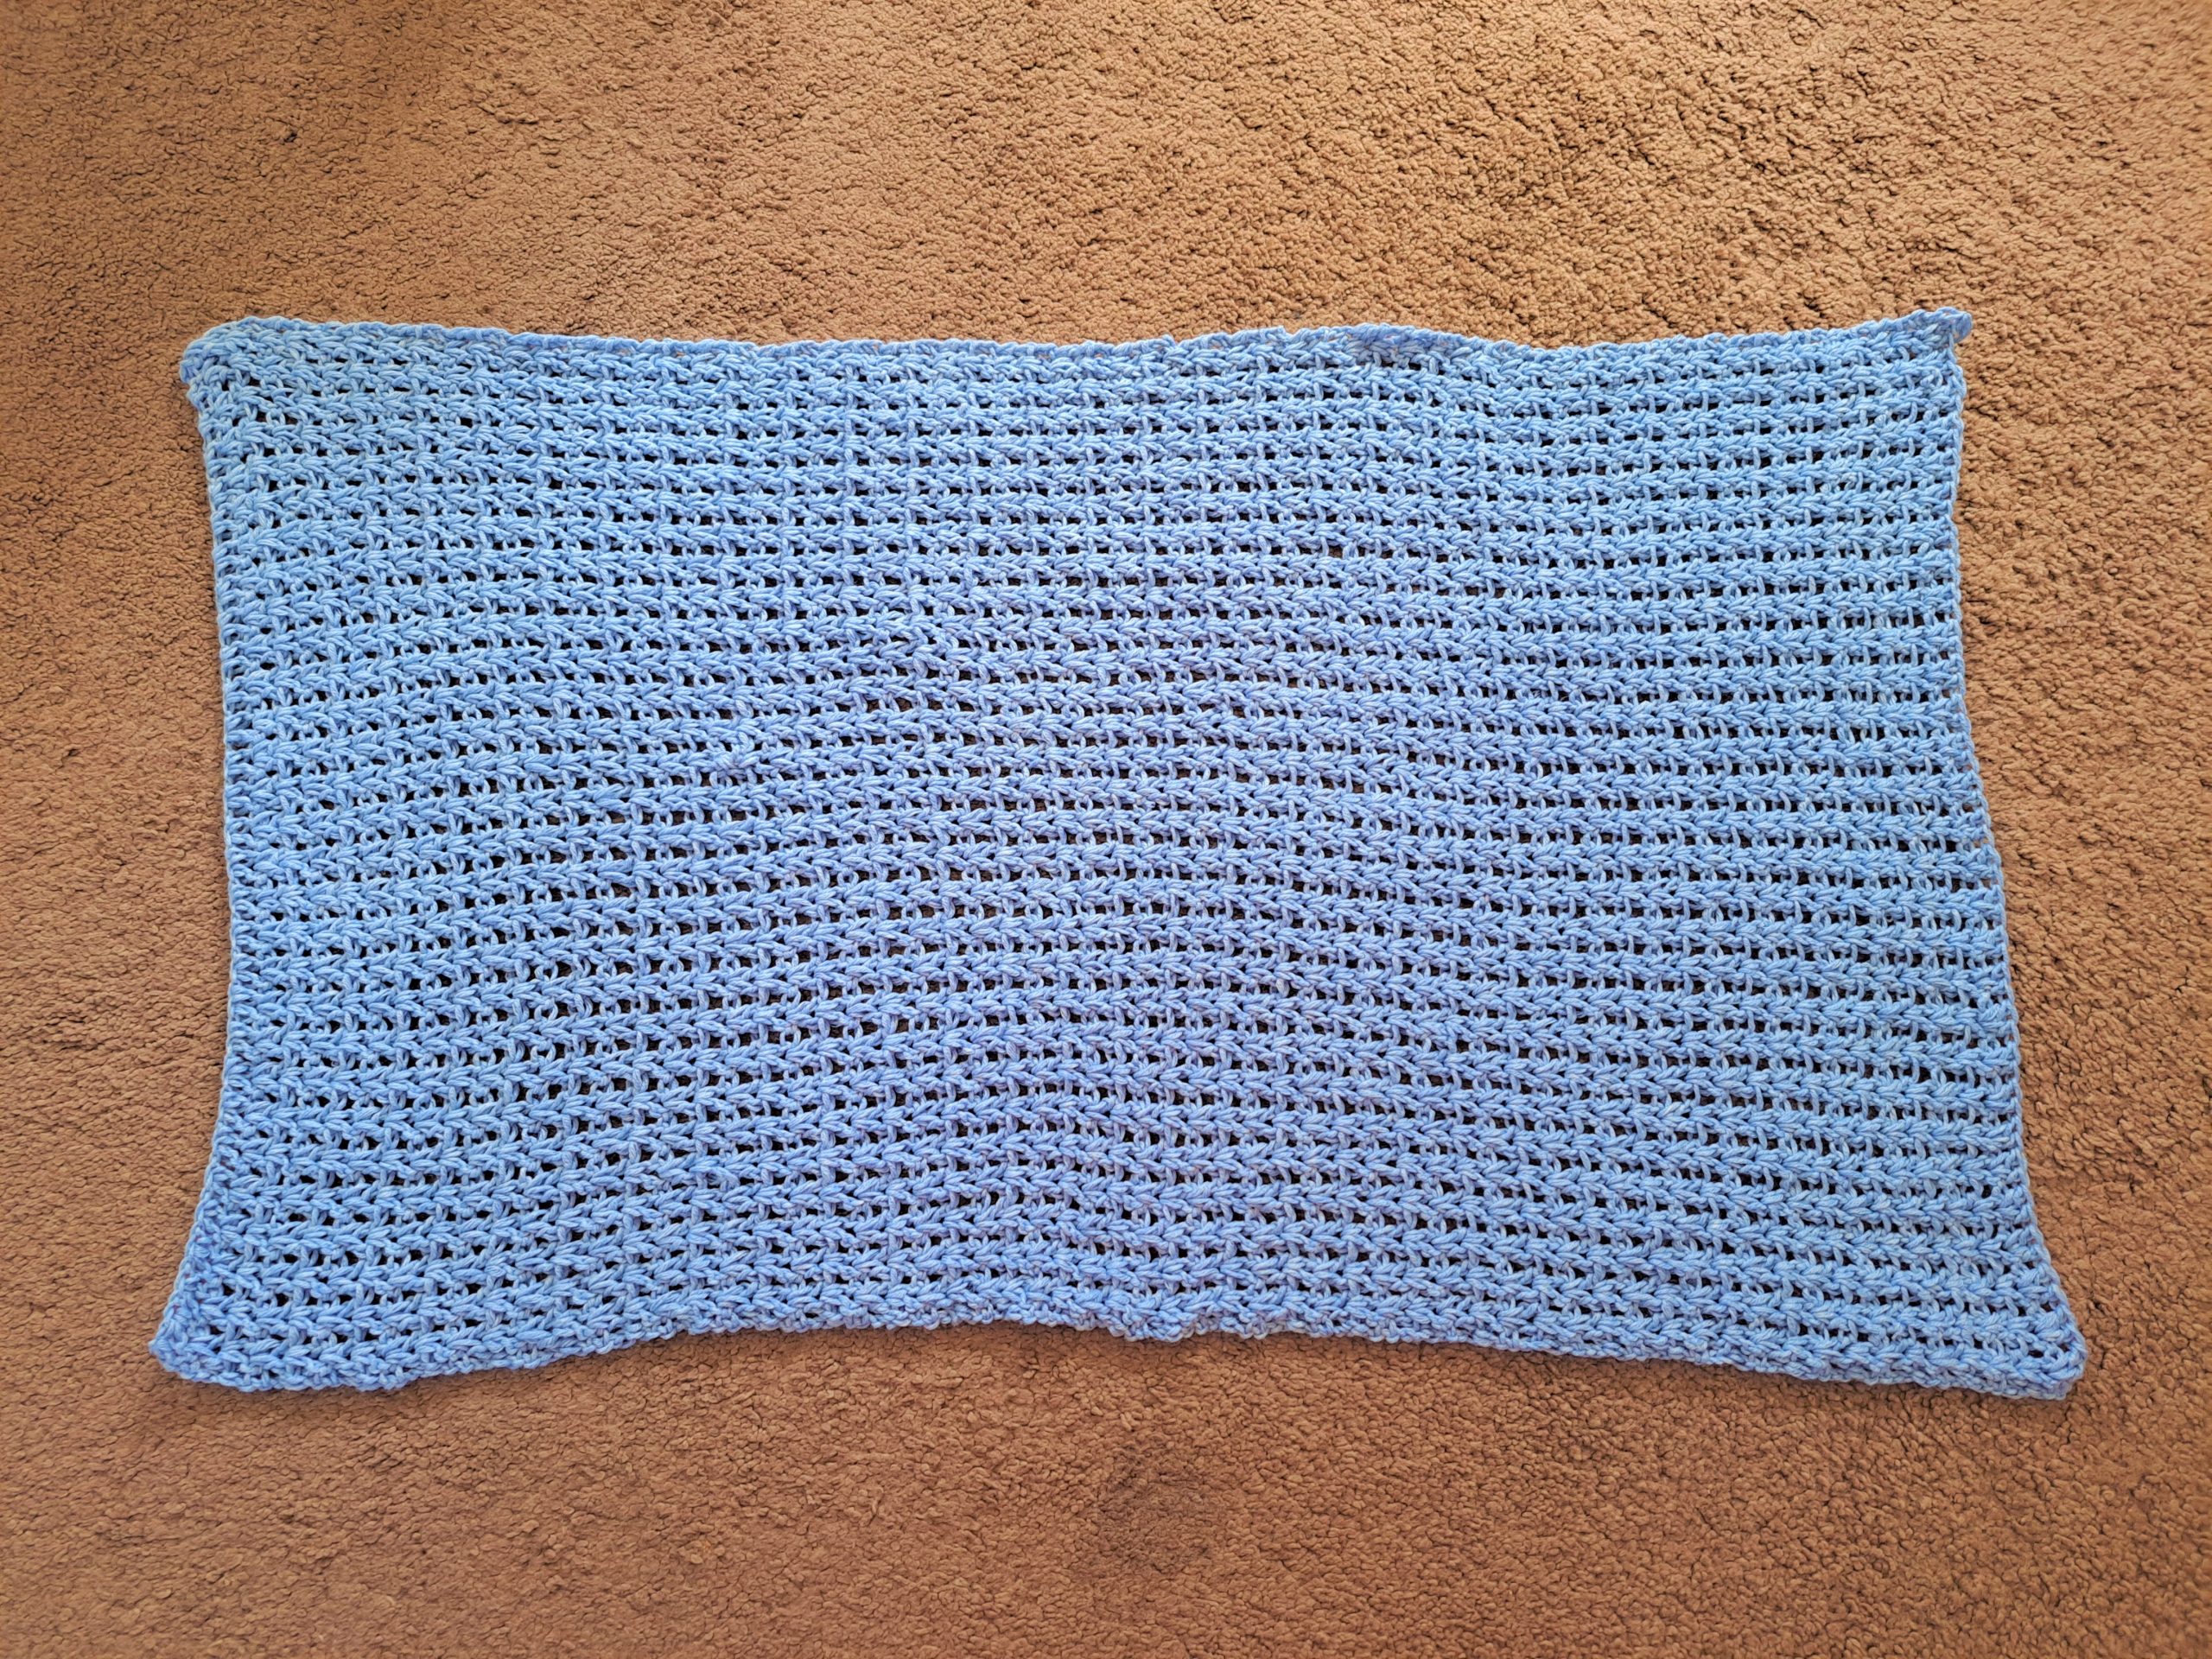
Pattern (make 2 rectangles = front and back panels)
Note: 2 DC into 1 st=V stitch
You will be making 2 identical panels before sewing them together to create poncho, so please repeat process explained below twice.
To start, make a slip knot.
Ch 62 (S/M), ch 68 (L/XL), ch 76 (XXL/XXXL)
Row 1: Place 2 DC into 4th ch from hook, [sk 1 ch, place 2 DC in next ch] until last 2 ch; sk 1 ch, 1 DC into last ch.
Row 2: Ch 3 (=DC), turn your work. Place 2 DC (=V stitch) into next V stitch from previous row until eor, finishing row by placing a DC into the ch 3 from previous row.
Size S/M:
Rows 2-62: Repeat row 2
Size L/XL:
Rows 2-65: Repeat row 2
Size 2XL/3XL:
Rows 2-68: Repeat row 2
To sew your poncho together
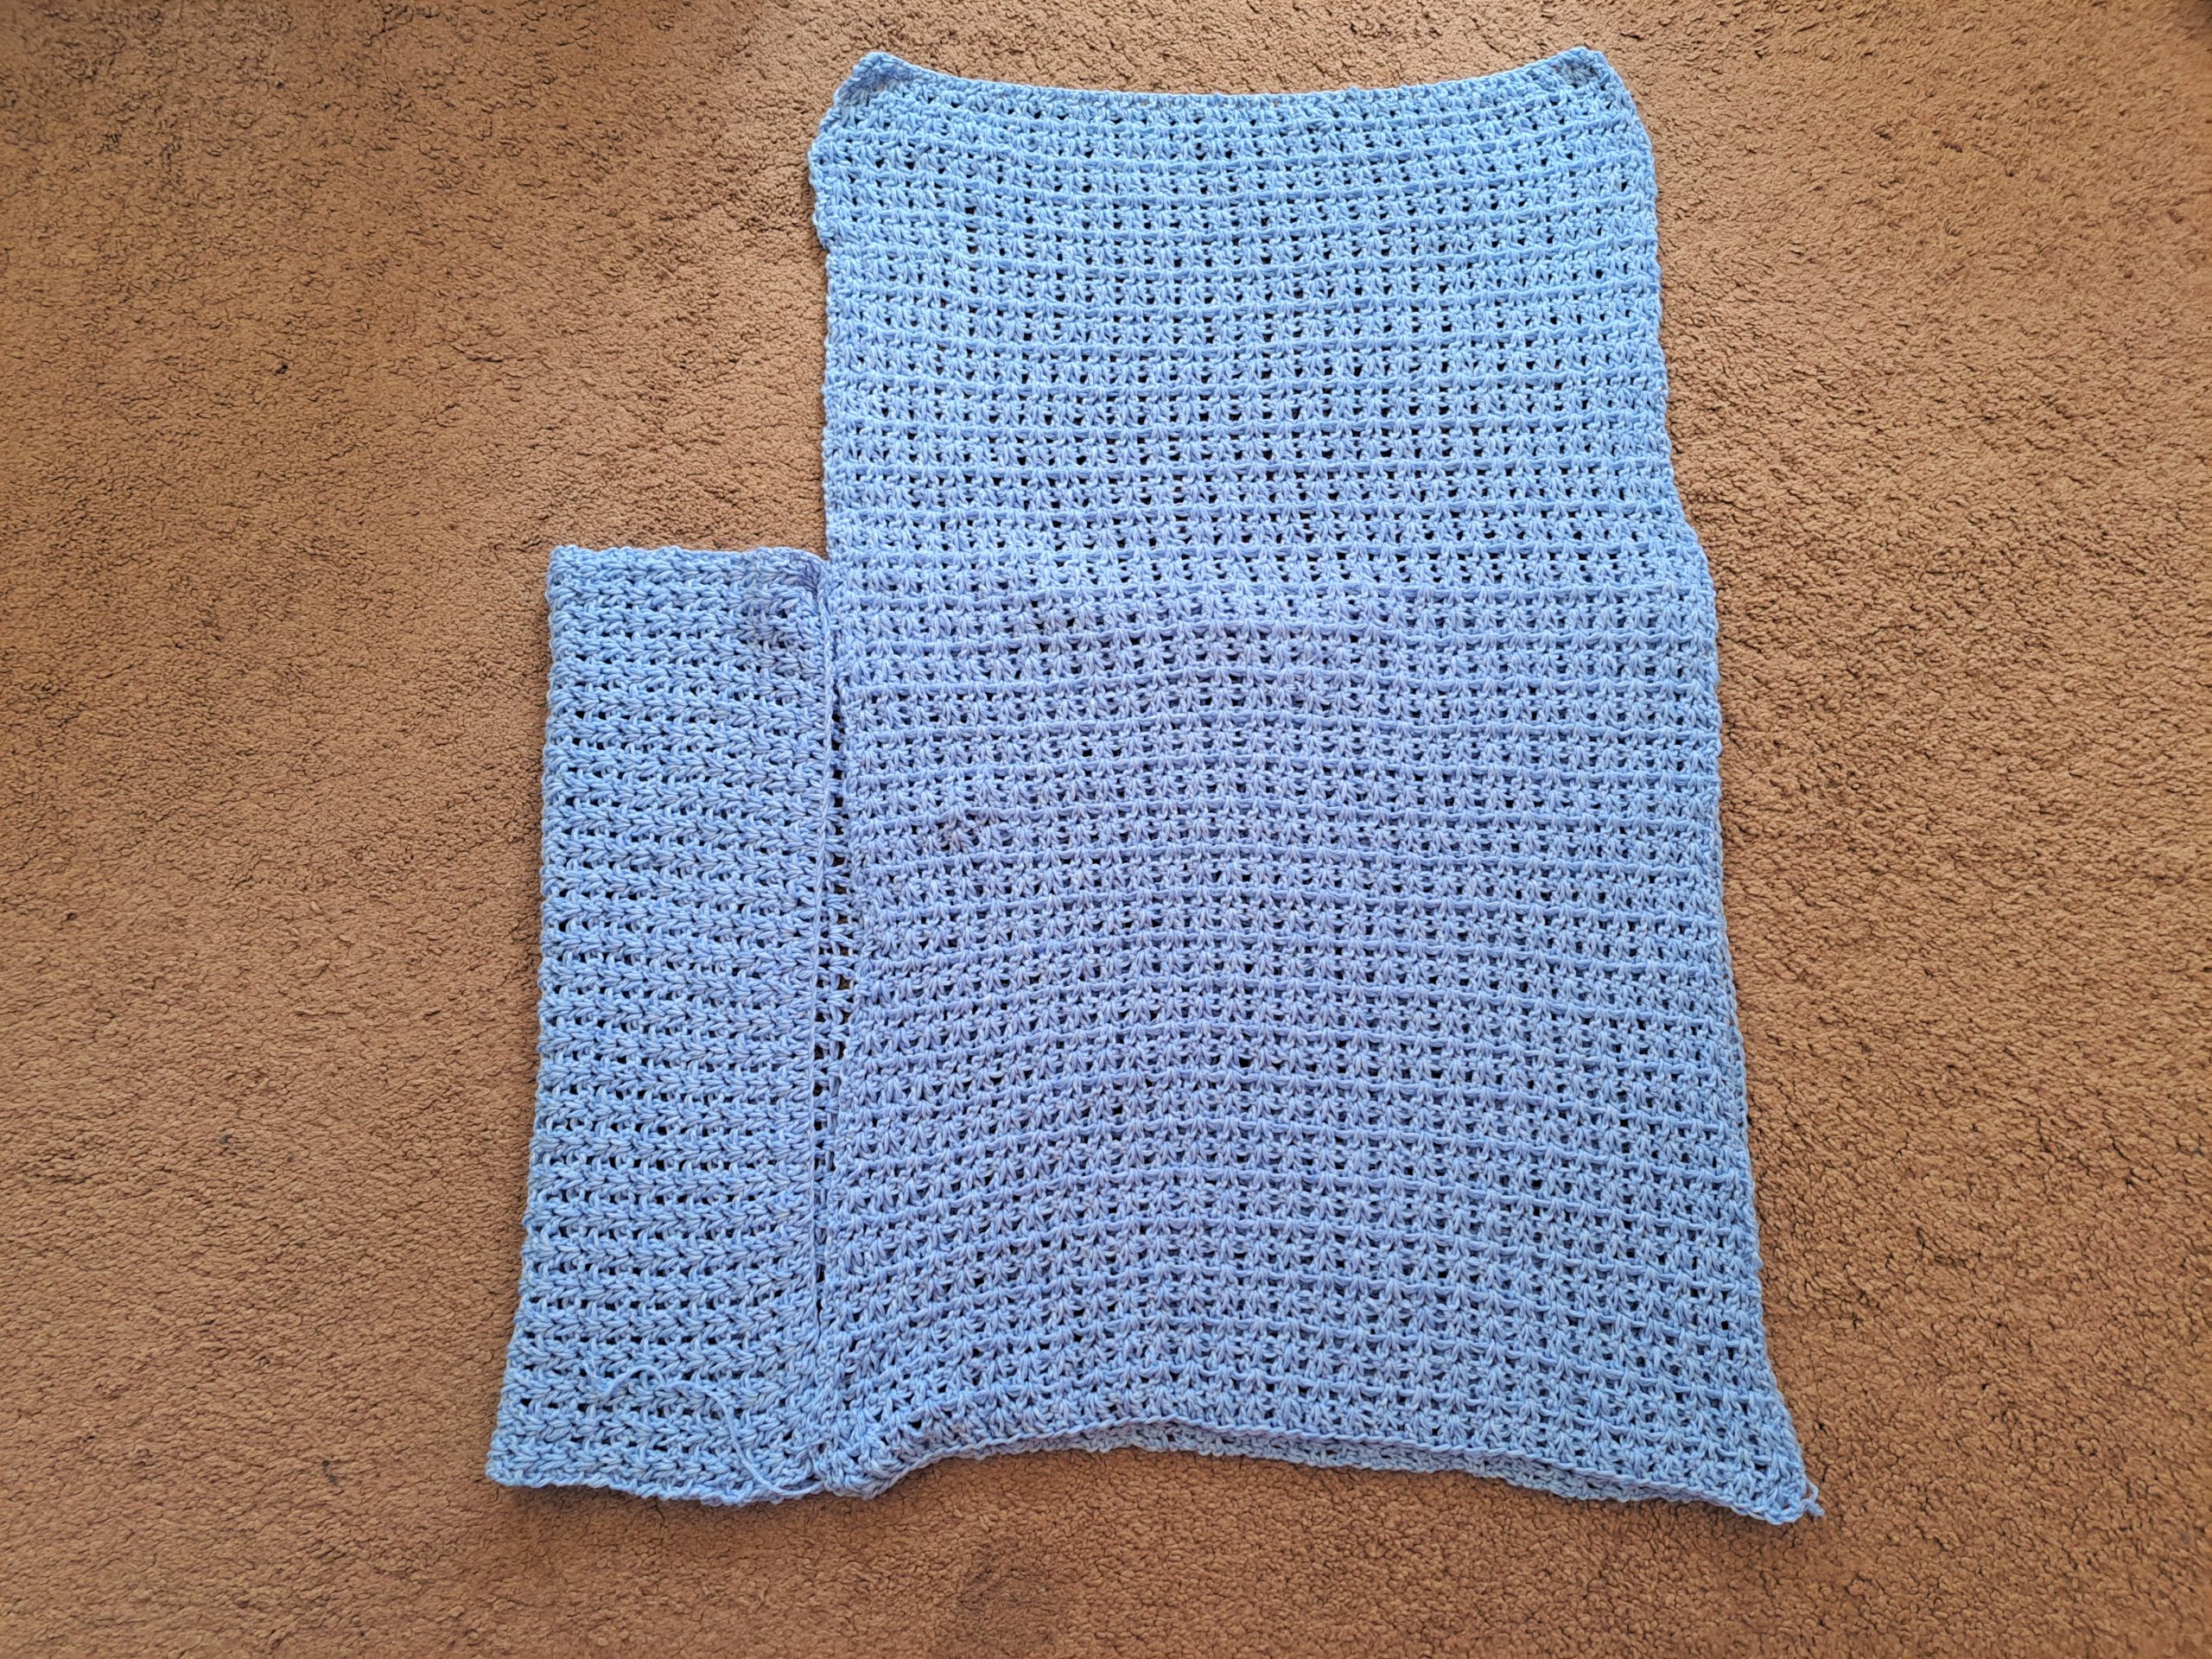
Place one rectangle lengthwise, and the other one widthwise so as to form an L shape. The longer side of your 1st rectangle should match up to the smaller side of your second rectangle.
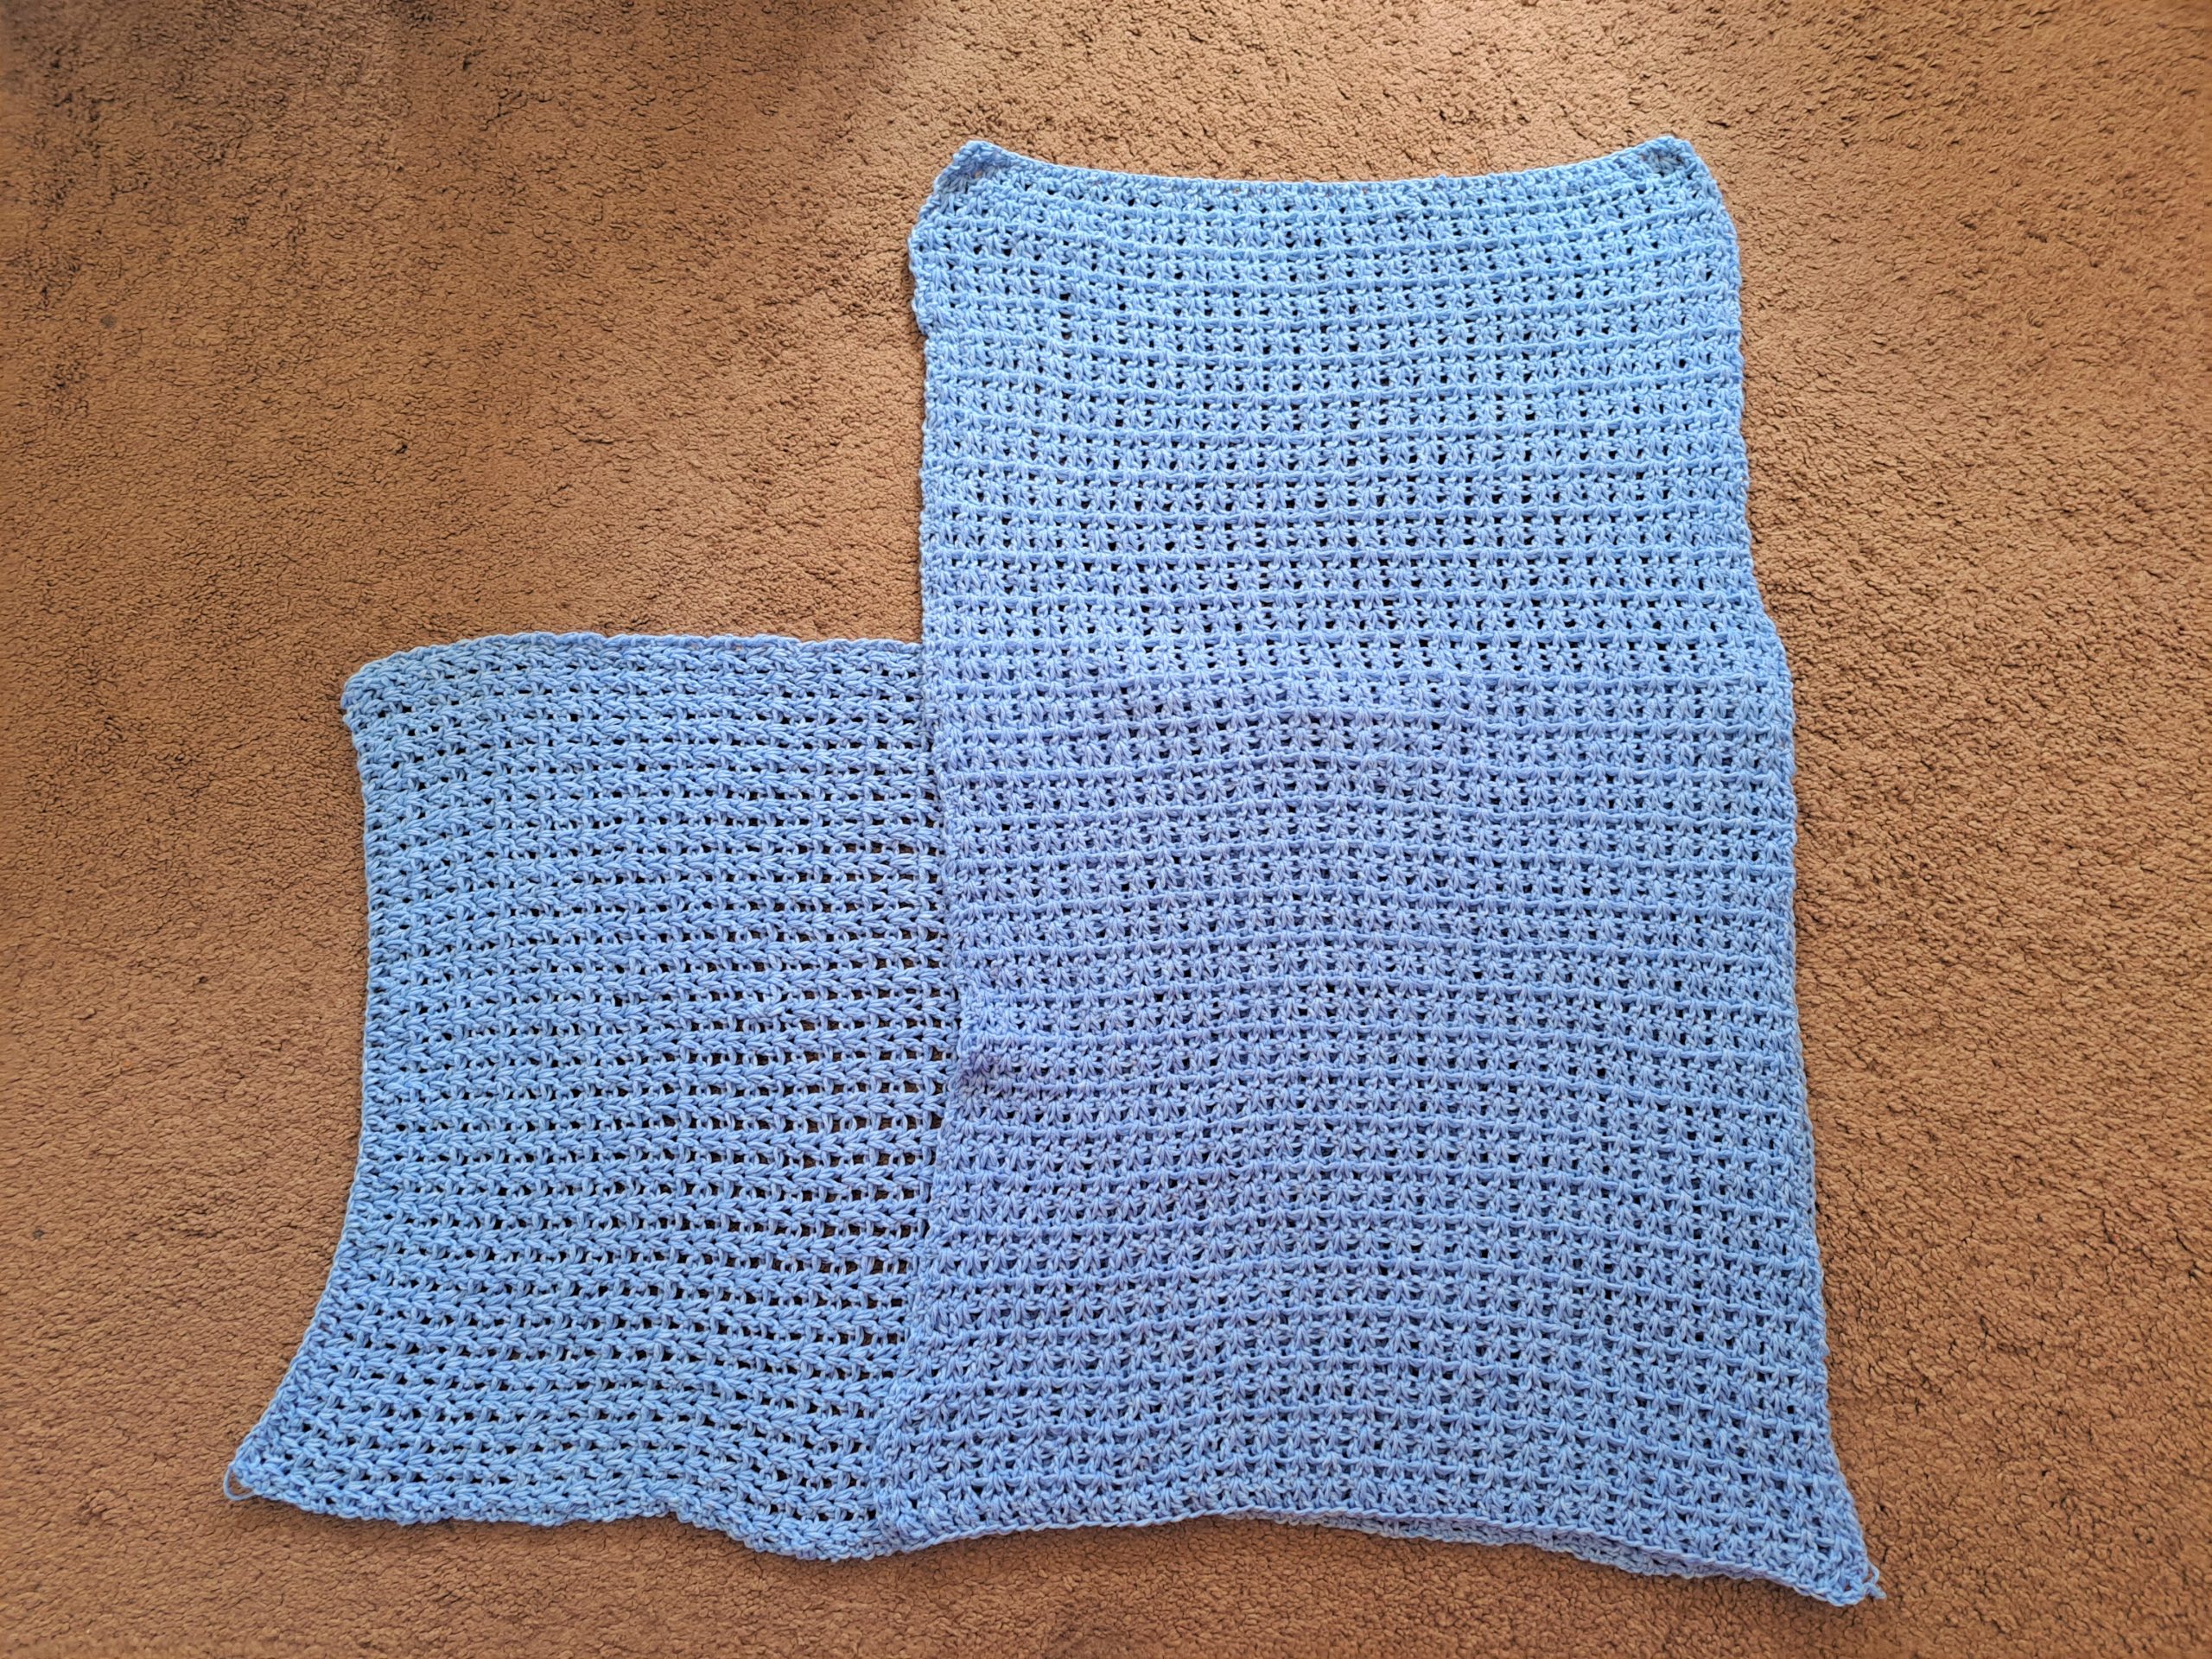
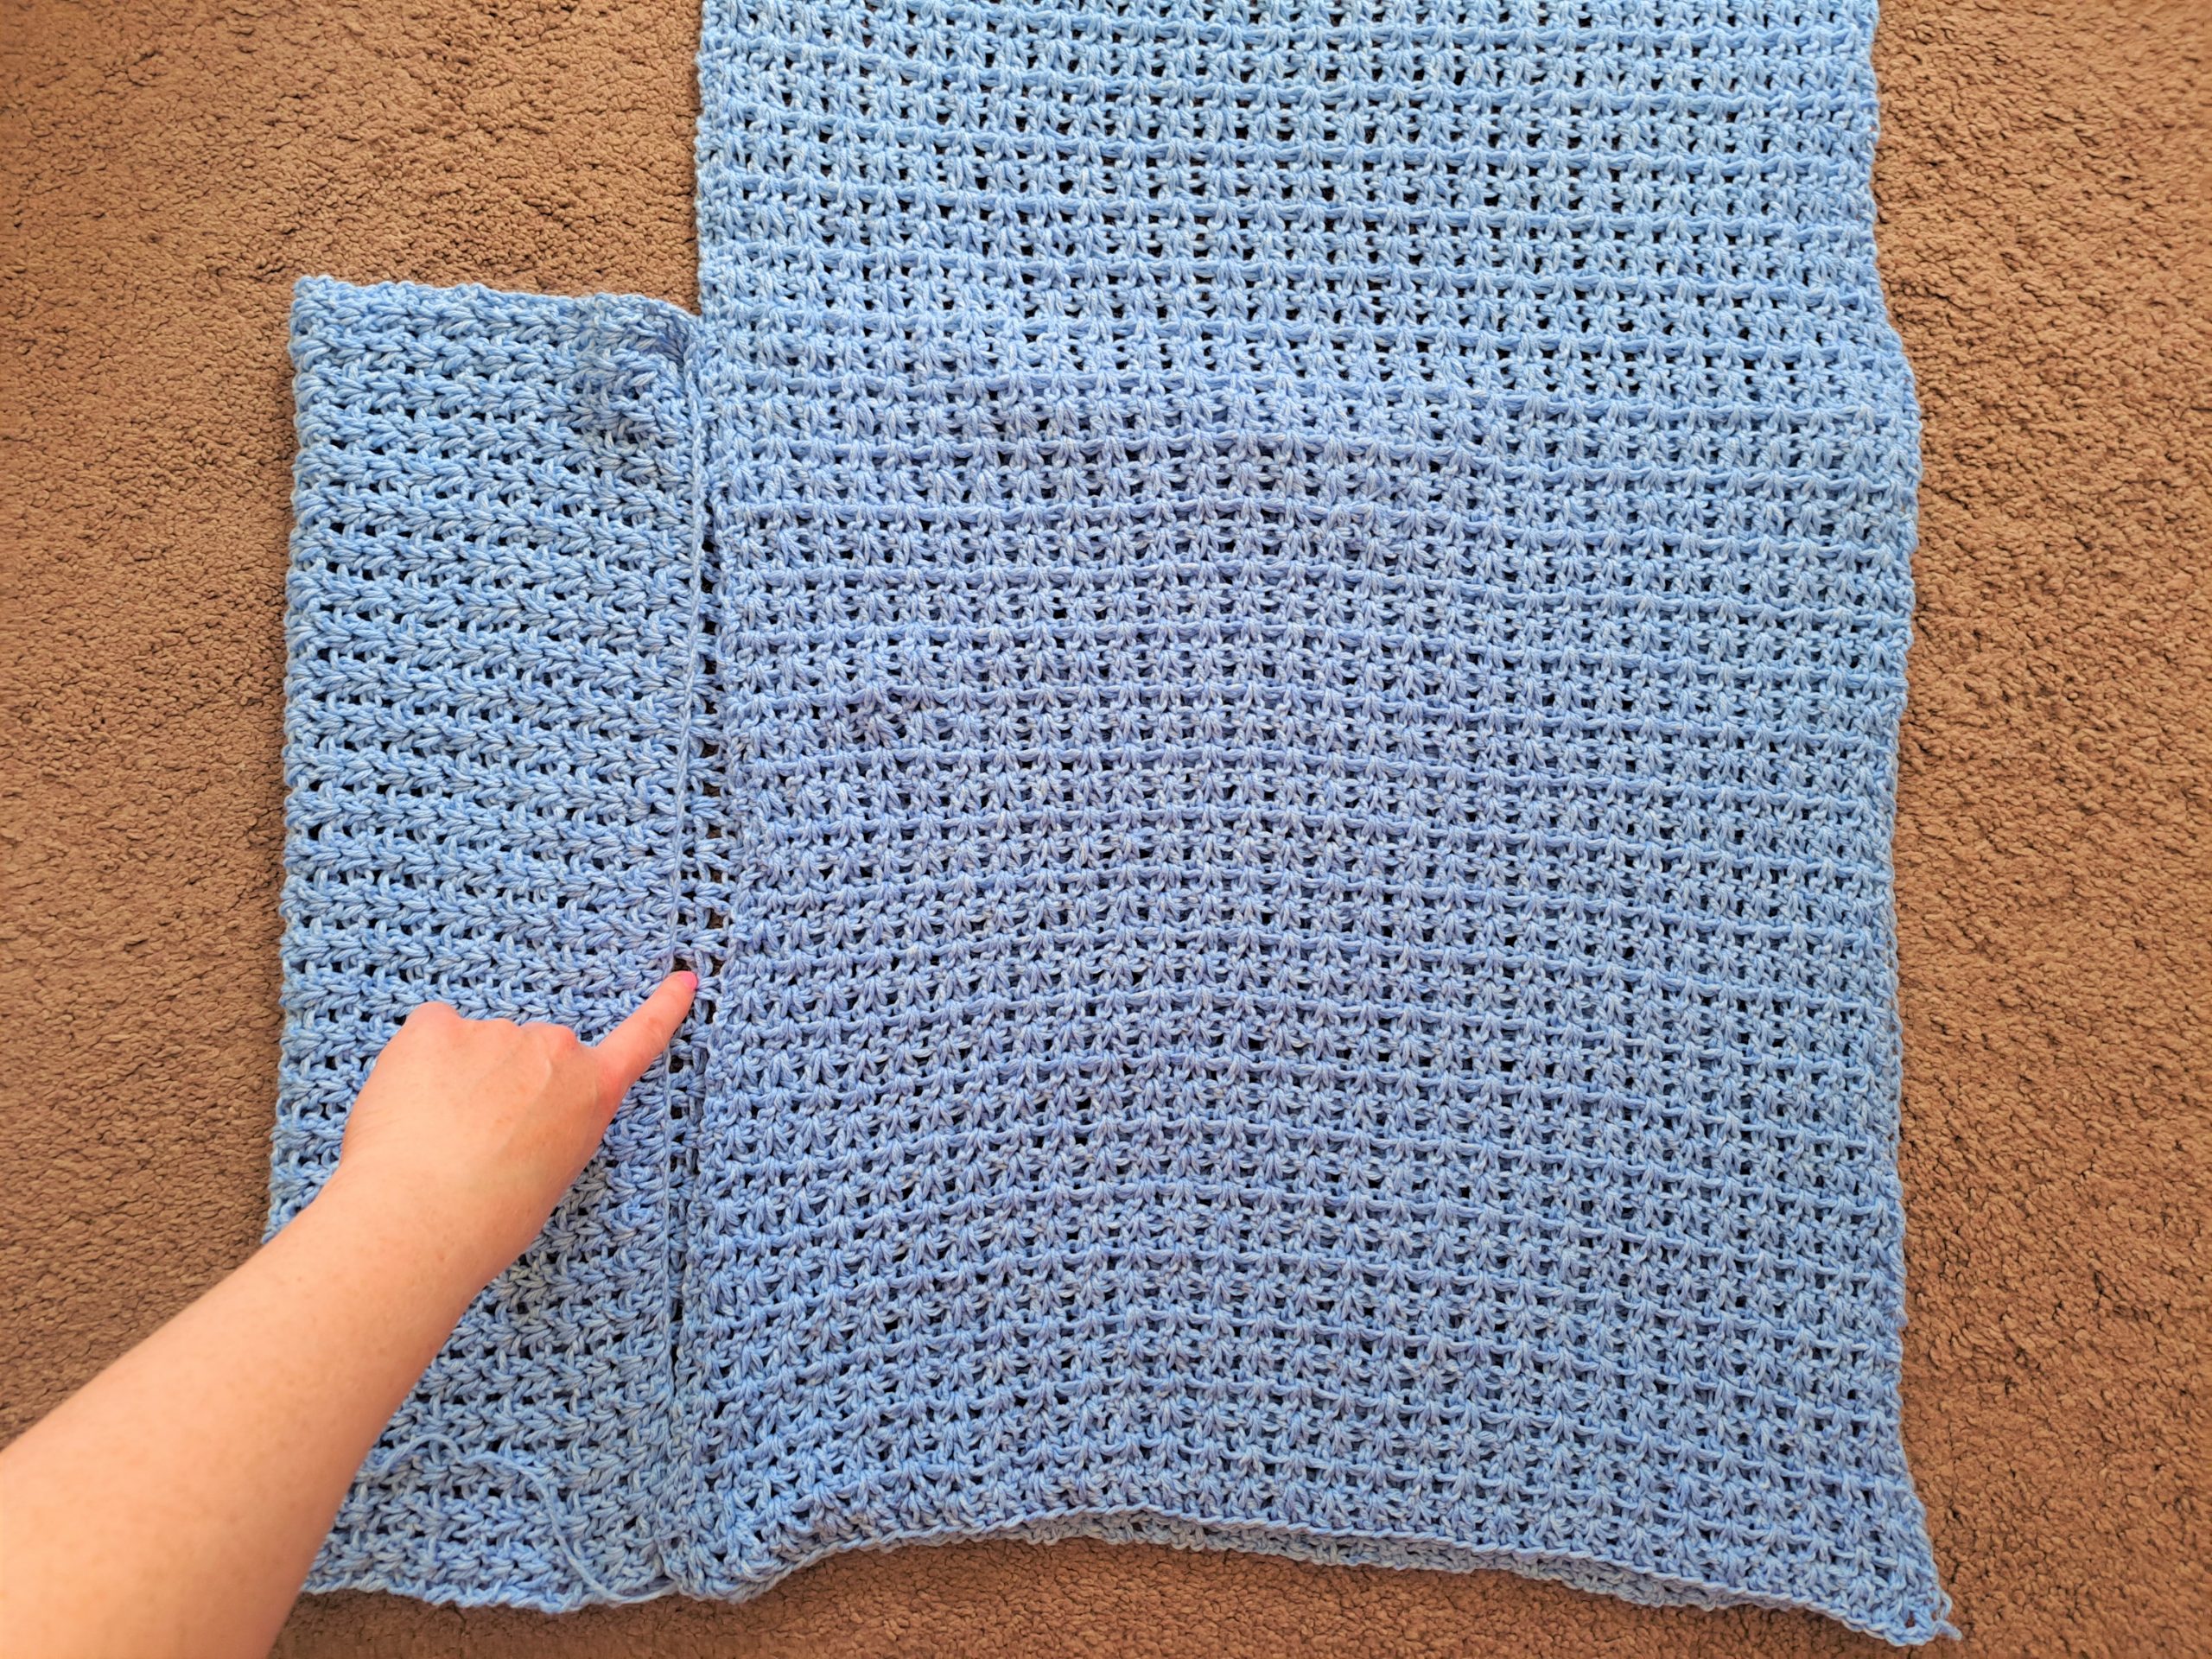
Now fold the side left panel over so that it matches up with the other panel (see photograph below):
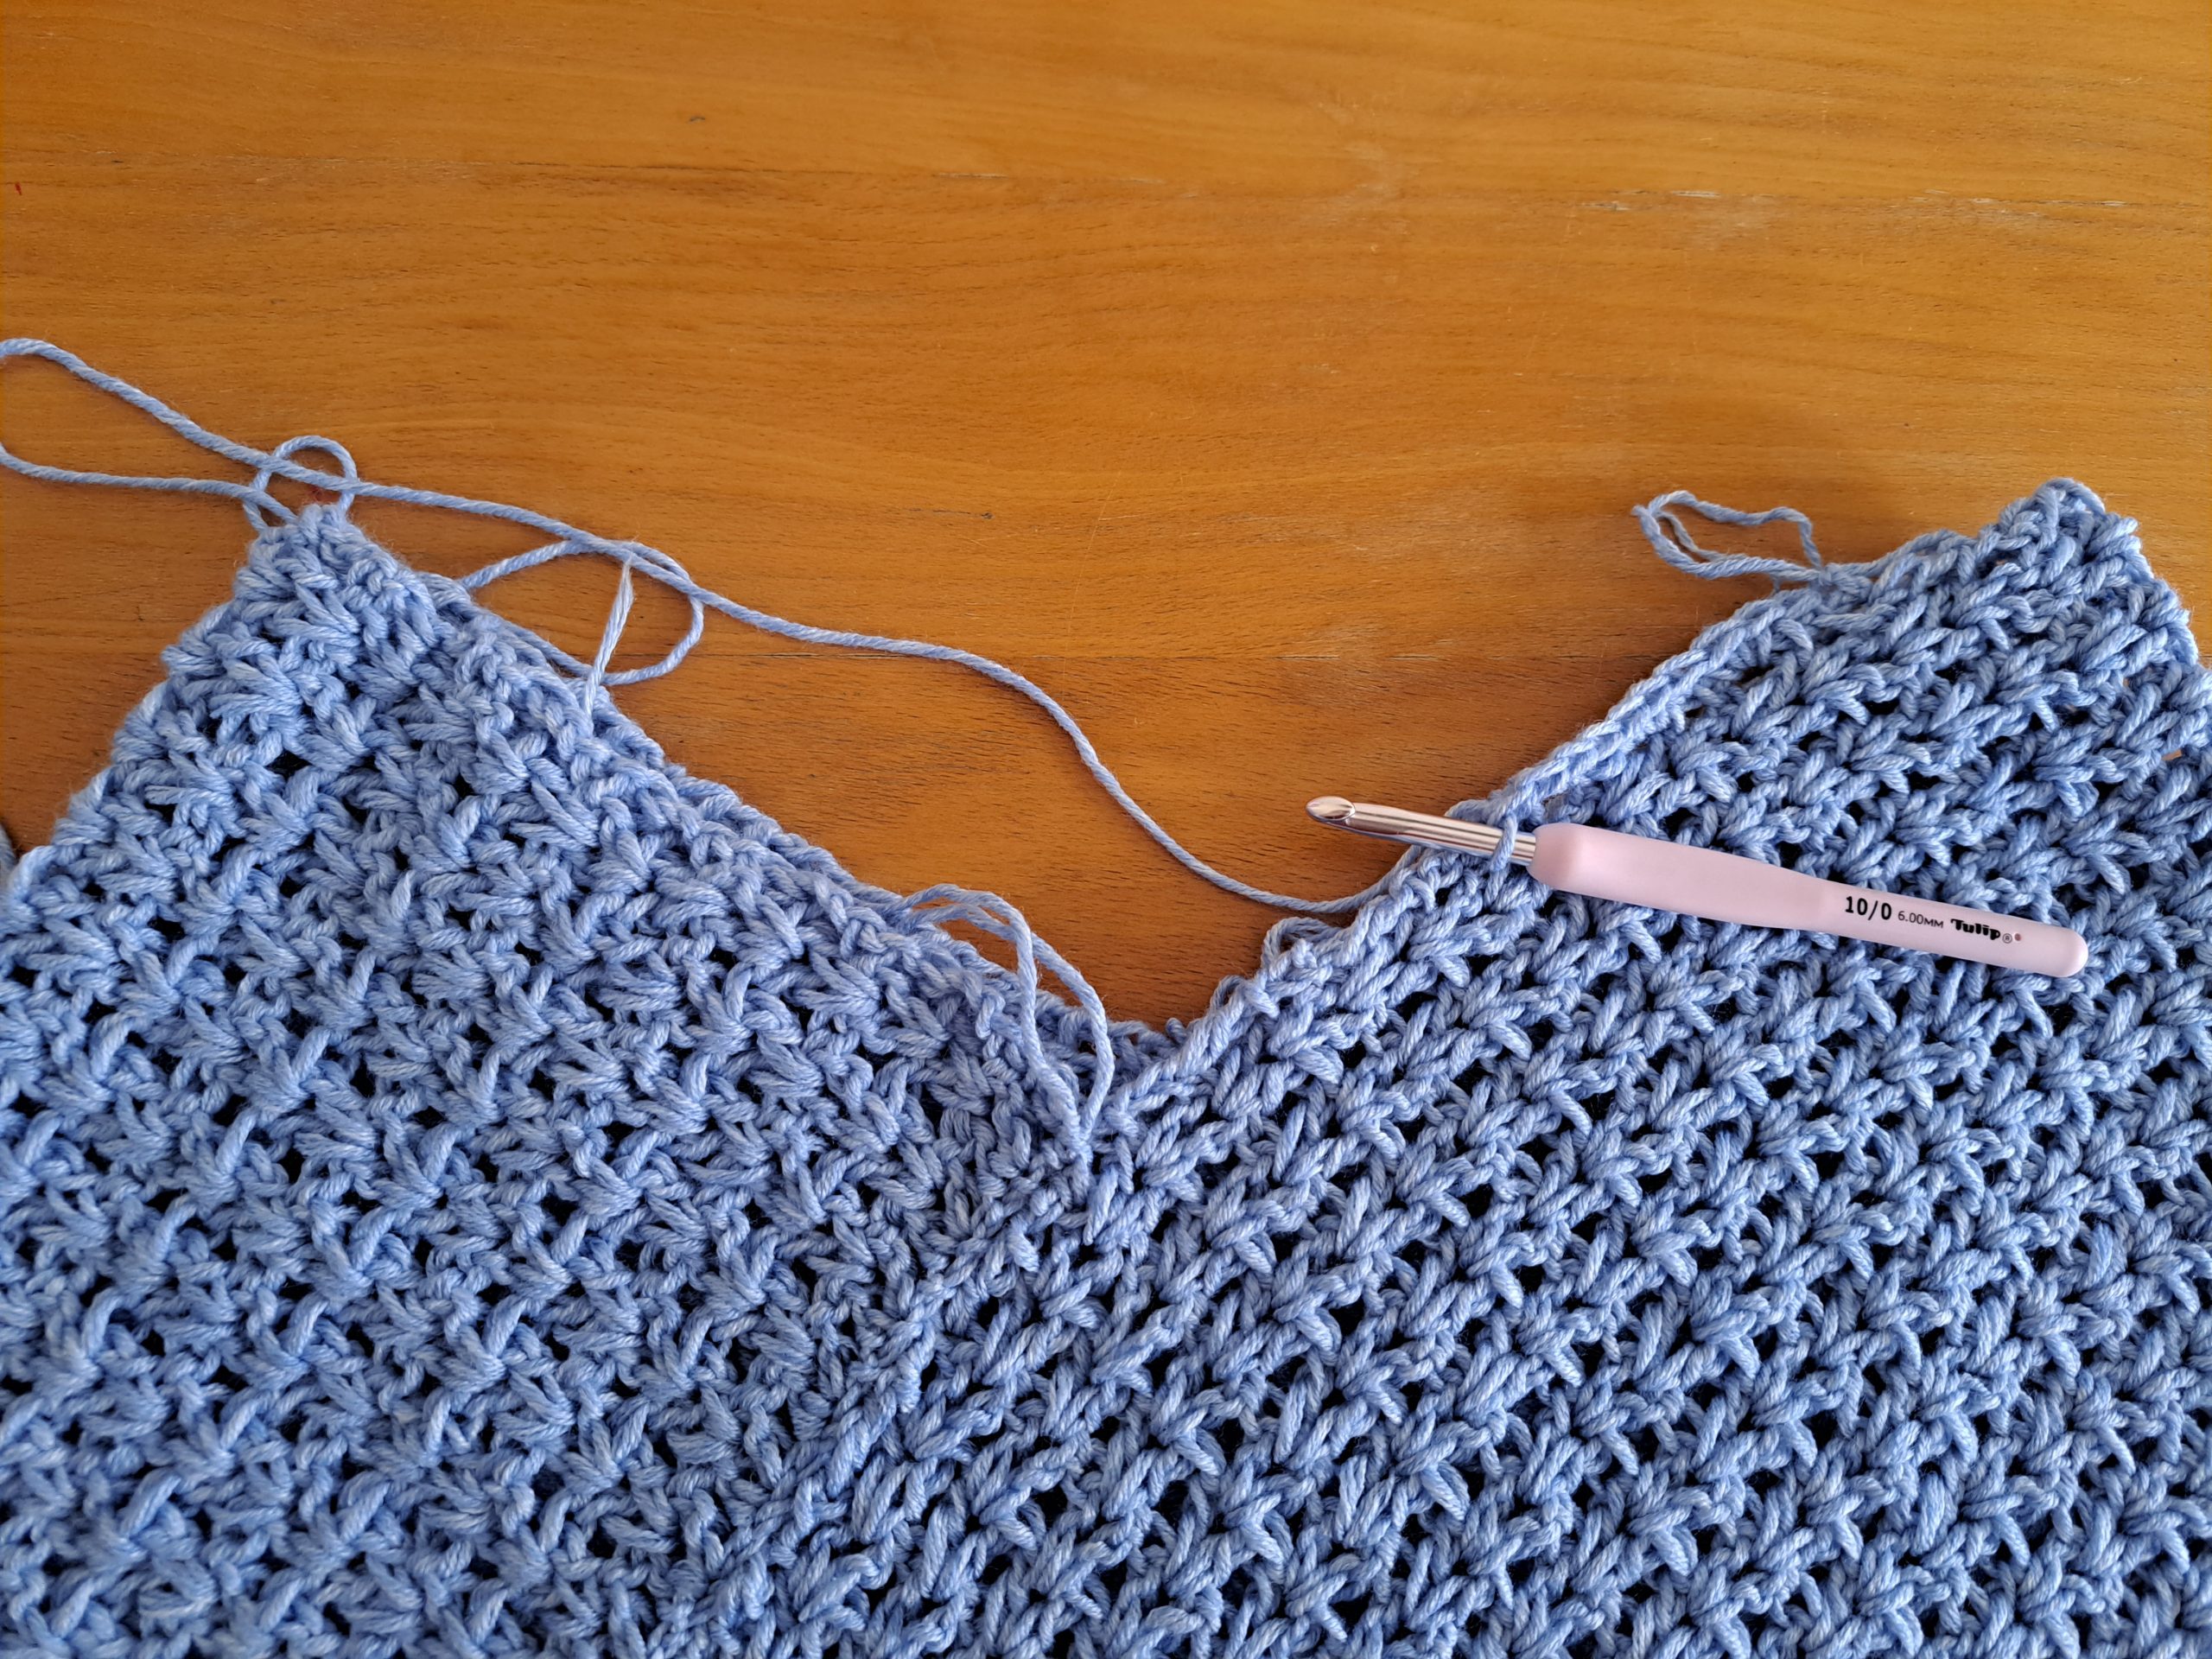
Sew this length together using your tapestry needle and long tail. Attach a new piece of yarn to one corner of the project if you cannot use your tail (see photograph below of part to sew).
Once this stage is completed, place the other ends of your rectangles in such a way that the long side of one rectangle matches up with the longer side of the other rectangle. This should close up your pattern together. You can now sew this side up too (see photo below).

If you need more help with this stage of the pattern, please refer to my in depth video tutorial. This video tutorial is available on my Youtube channel. The link to it can be found above.
Neck Edging
Fasten on yarn. Ch 1, and place SC all along the neck edging at equal intervals. Make sure you do not place too many, as it is better to have a “tighter” neck edging. Sl st to first ch 1, fasten off.
Please note that this neck opening is quite large. If you would like to make it more adjusted, please just add this extra round:
Ch 1 (does not count as a stitch), [place a SC in the next 2 SC from previous round, sk 1 st] until eor; sl st to 1st ch 1 to close off round. Fasten off and tidy up loose ends.
Bottom edging
Attach yarn to any stitch at the bottom of the poncho. We will be going all the way around the bottom of the poncho, placing SC evenly across this space.
Round 1: Ch 1 (does not count as a stitch), SC into each stitch around until you reach the first ch 1; sl stitch to close off round.
Fasten off, tidy up all loose ends.


You May Also Like
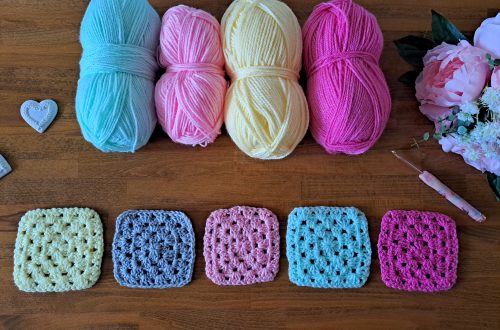
Crochet Easy Granny Square Free Pattern

Crochet The Eponine Vintage Shawl Free Pattern