
Crochet The Loretta Shawl Pattern
Crochet The Loretta Shawl Pattern
Hi everyone, this week I am bringing to you a tutorial on how to crochet The Loretta Shawl Pattern. To be honest, I am feeling in a very good mood this week, and full of energy. I hope you are too! This new crochet project is part of my Vintage Crochet Series, as this is a Victorian era shawl.
You can find the video tutorial for this project here:
Crochet The Loretta Shawl Pattern: the inspiration
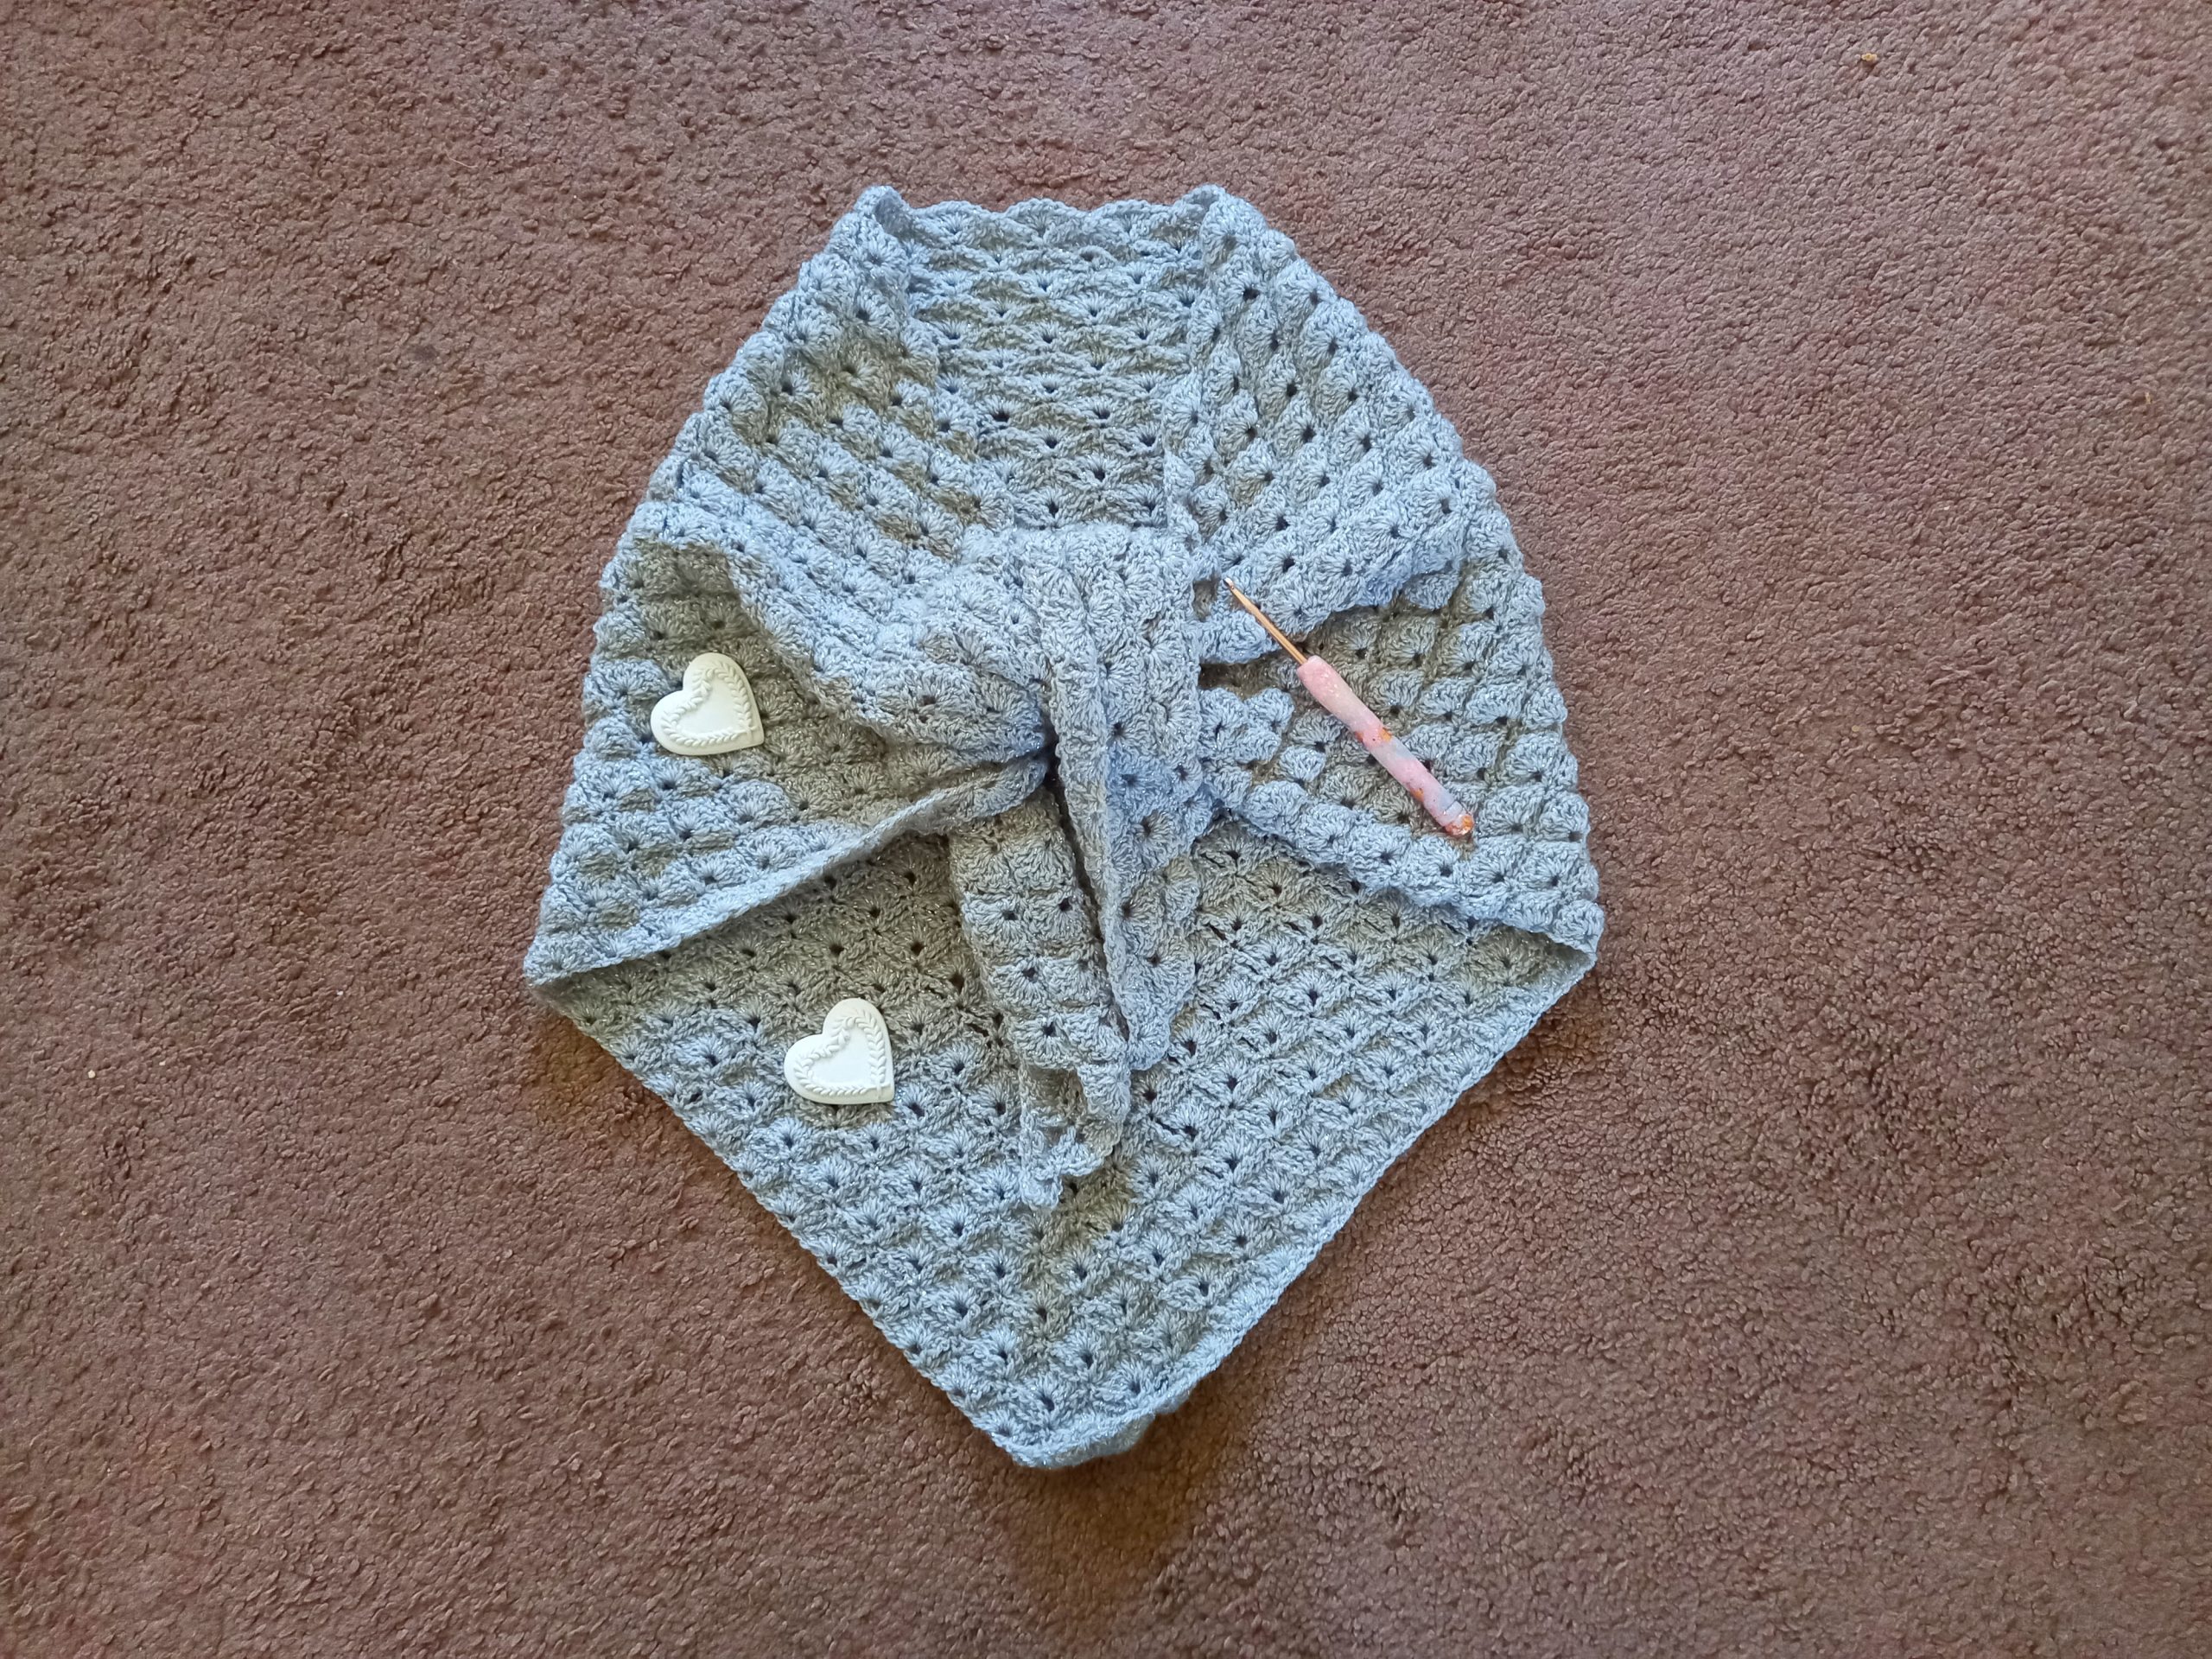
I was inspired to create a Vintage Victorian shawl when I set eyes on the yarn I used. Indeed, I used a very fine fingering yarn (also referred to as sock yarn) by Wool and The Gang, called Glitterball Sock yarn. As it’s name indicates, this yarn has some speckles of glitter, and looks beautiful once crocheted. I thought a shawl would be perfect for this delicate, fine yarn. Truly, I wasn’t disappointed by the result.
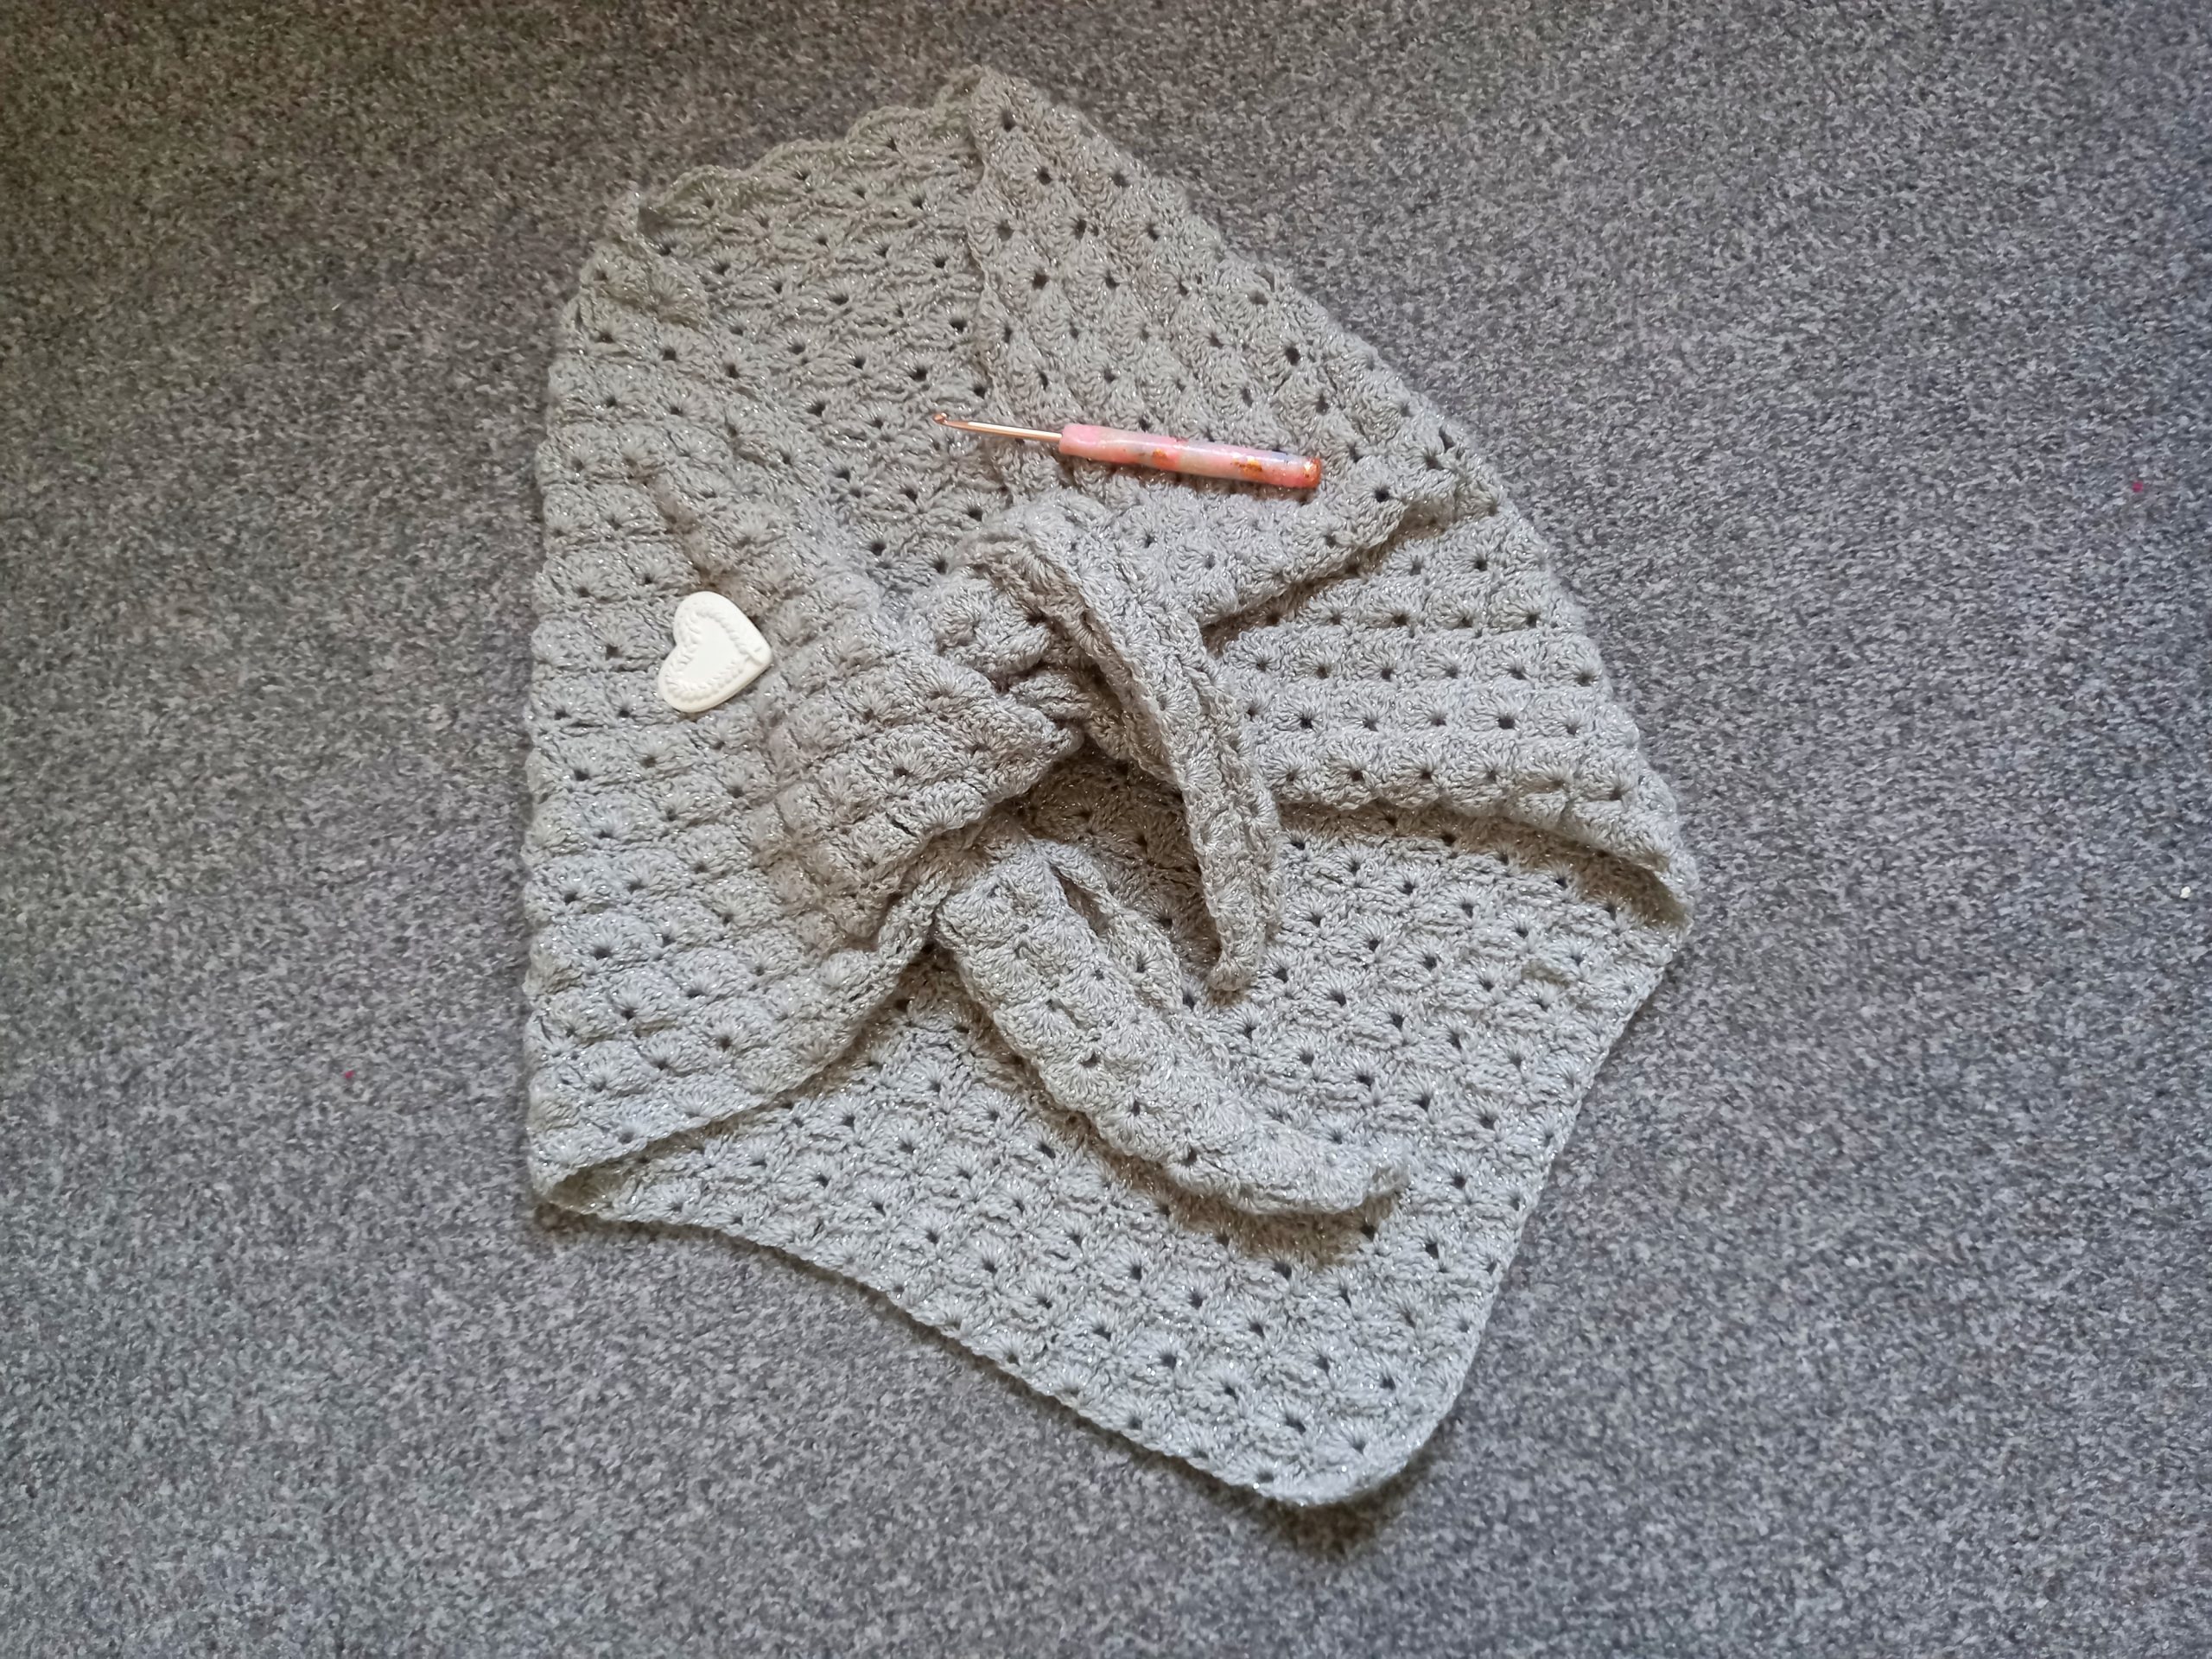
I decided upon a shell stitch pattern for this project as I love this stitch. Having used it once a few years ago for The Princess Shawl, I was eager to try this stitch again. When I bought this beautiful yarn, I knew it would be perfect for this new project. The shell stitch is simple yet intricate, perfect for a delicate, vintage type project. At the moment, I am very much inspired by the 19th century, specifically the Victorian Era. Indeed, I crocheted a Victorian Drawstring Purse just a few weeks ago. So this is yet again a nice addition to my Vintage Crochet Series.
Crochet The Loretta Shawl Pattern: a Vintage Crochet Project
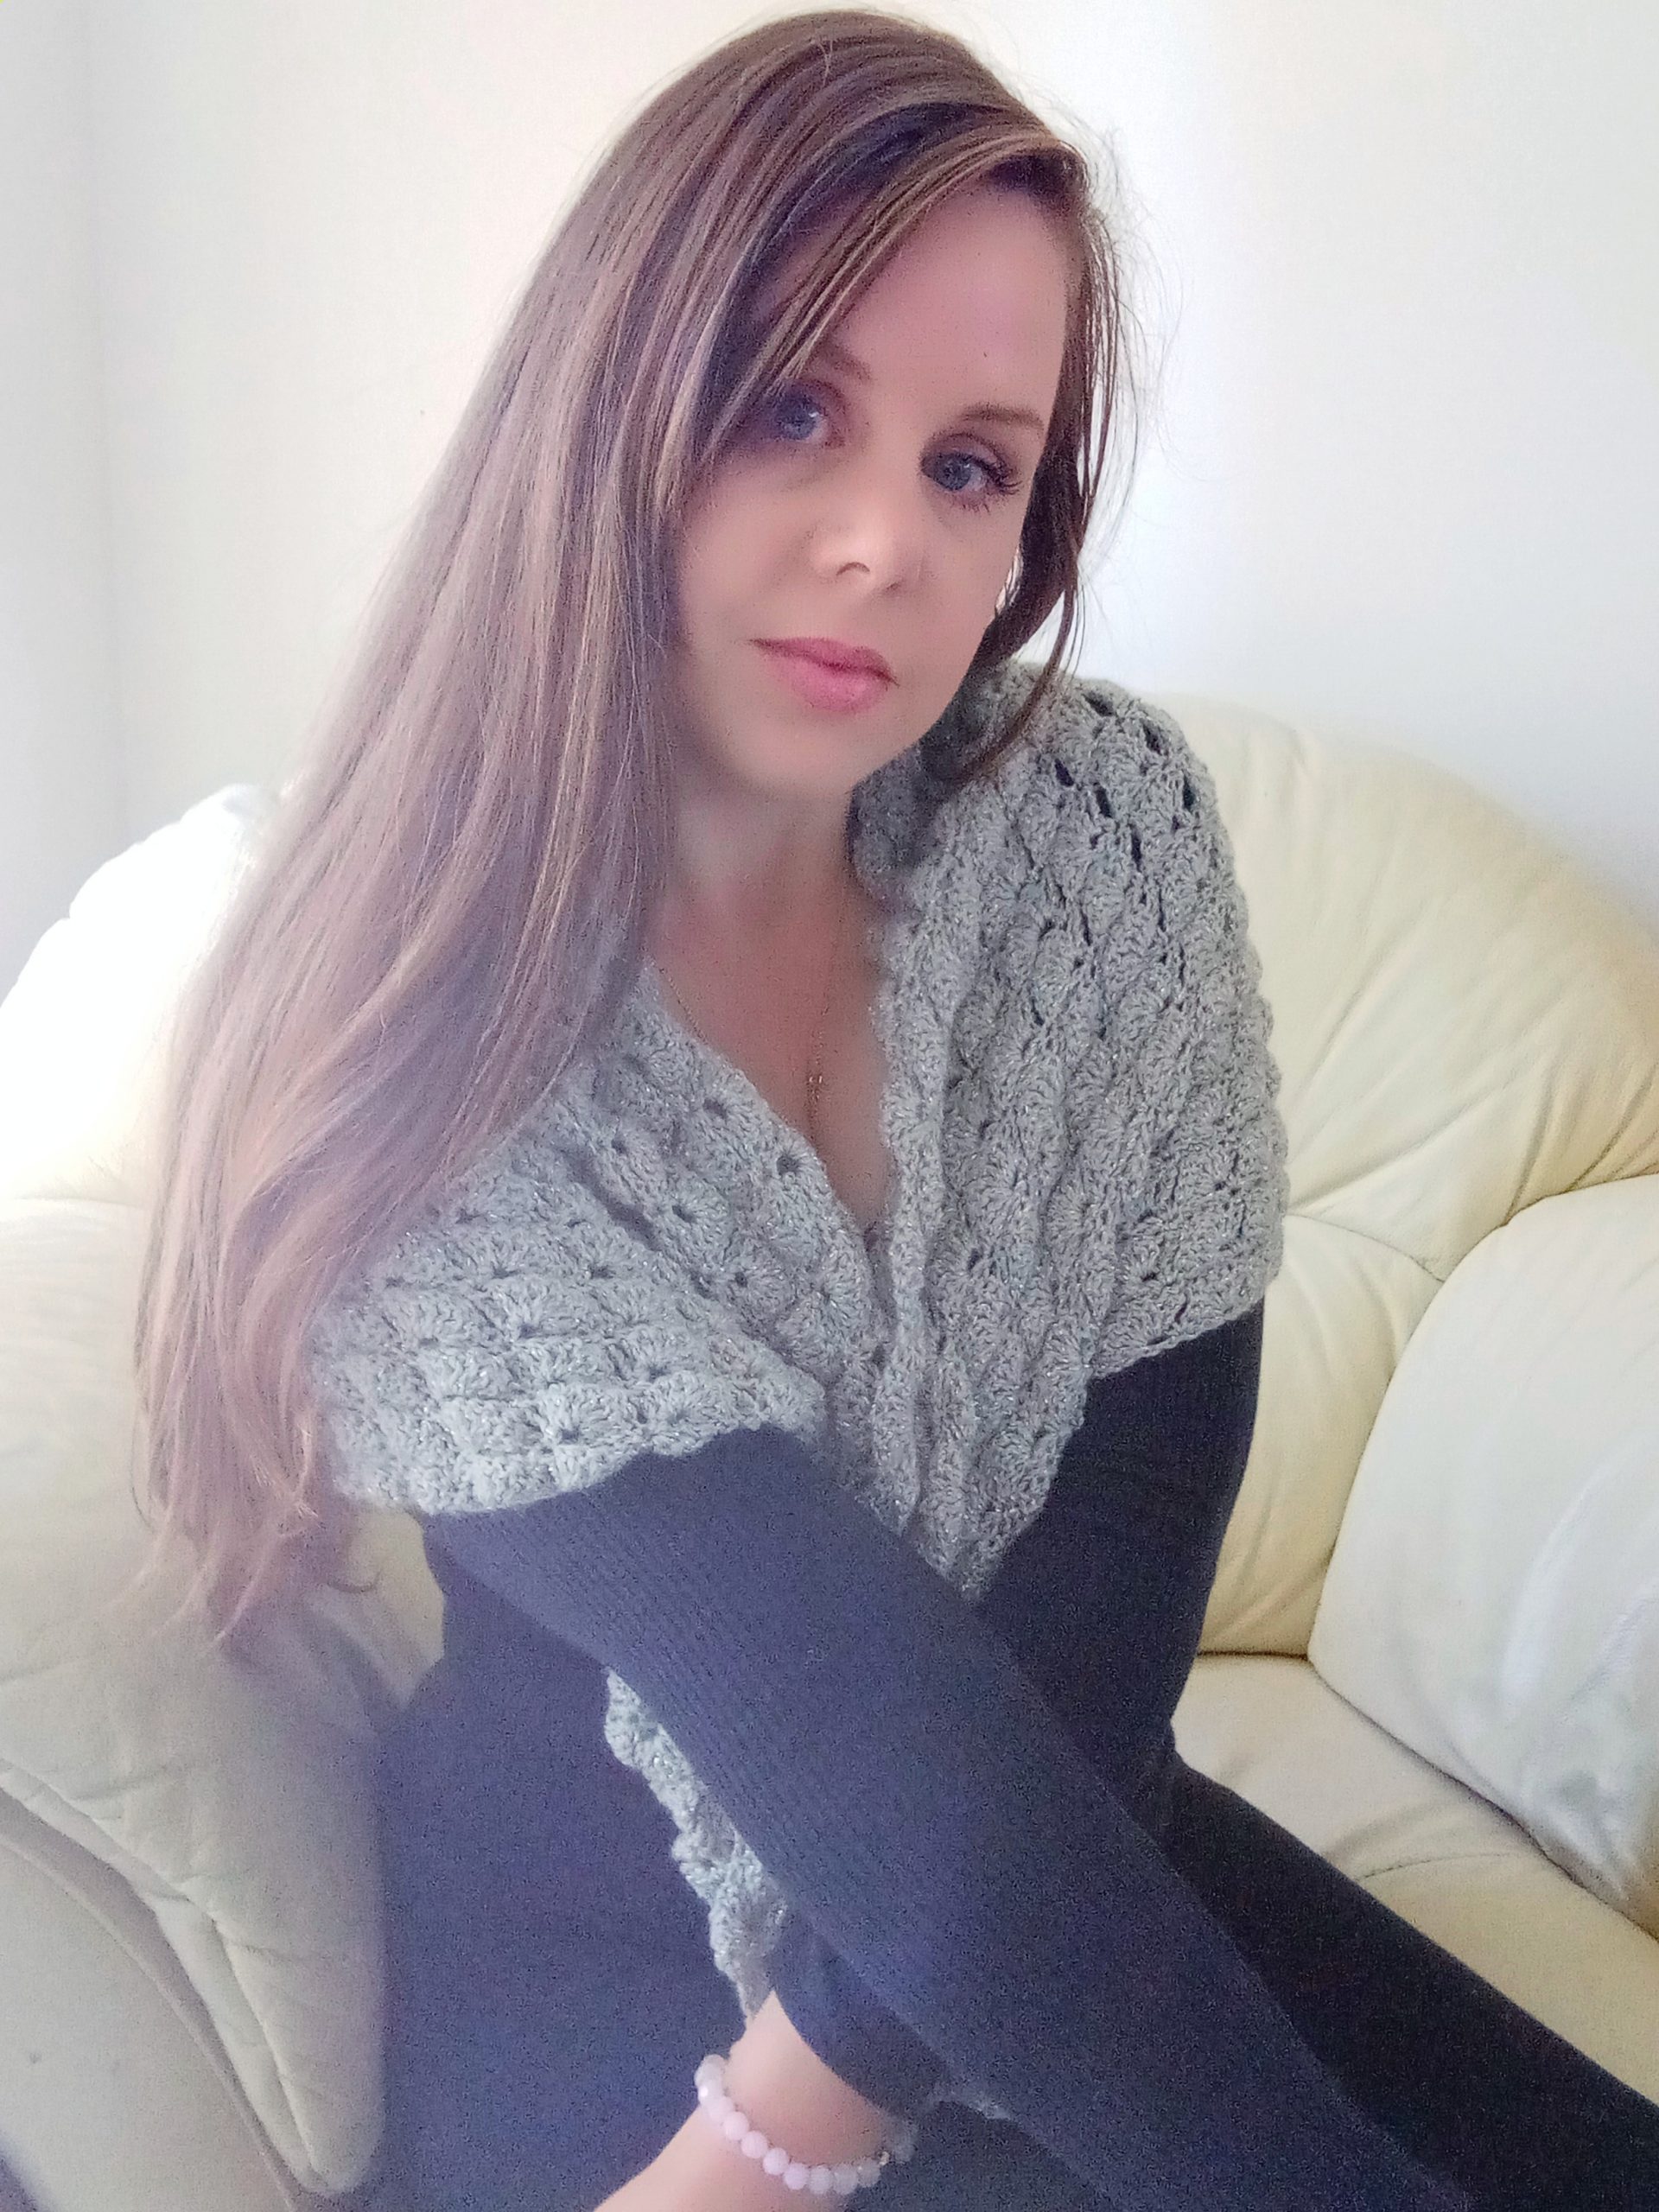
I love vintage crochet projects, specifically accessories. Shawls and wraps were very fashionable in the 19th century: there were crocheted and knitted shawls, as well as fabric and silk ones too. These look so stylish and beautiful, and still very much wearable.
The shell stitch is very pretty and feminine, and this pattern can be crocheted with any of your preferred yarns. If you change yarns though, make sure you switch up your crochet hook to suit the yarn you are using. The crochet hook you should use is always indicated on the yarn packaging.
However, I do definitely recommend using Wool And The Gang’s Glitterball Sock yarn. Indeed, it is an absolute delight to crochet with! It is such good quality, and the shade Disco Ball Grey is stunning. This fingering yarn is made out of 95% Blueface Leicester yarn, and 5% Lurex, and is made in England. I think this only adds to the vintage feel of this Victorian inspired shawl! One can definitely imagine this wrap being worn by one of our favorite heroins from the 19th Century, such as Cosette or Fantine in Les Miserables.
Let me know if you make this easy and feminine pattern. I love to hear from you, and am always delighted when you tag me on Instagram or send me a message.
Connecting with you
I love connecting with my Crochet Community through my blog and Social Media. You can find me on Youtube, Instagram, and Pinterest. I would love to connect with you on these platforms.
You can also join my private Facebook group to connect.
Please consider subscribing to my weekly newsletter here, so that you will never miss a stitch!
Subscribe to my weekly newsletter here:
Crochet The Loretta Shawl Pattern: the Pattern
You can purchase the ad free, large print, PDF pattern from my Etsy shop here: Crochet The Loretta Victorian Shawl PDF Pattern
You can purchase the ad free, large print, PDF pattern from my Ravelry store here: Crochet The Loretta Victorian PDF Pattern
Level: Easy/beginner
Gauge: 4”x4” (10×10 cm)= 4 rows of shell stitches (=7 rows total)
Size of finished shawl: 22” (56 cm) high x 59” (150 cm)
Notes
I will be using US terms (British terms in brackets)
You will need
2 skeins of Wool And The Gang Glitterball Sock Yarn in shade Discoball Grey (or any other sock/fingering yarn of your preference)
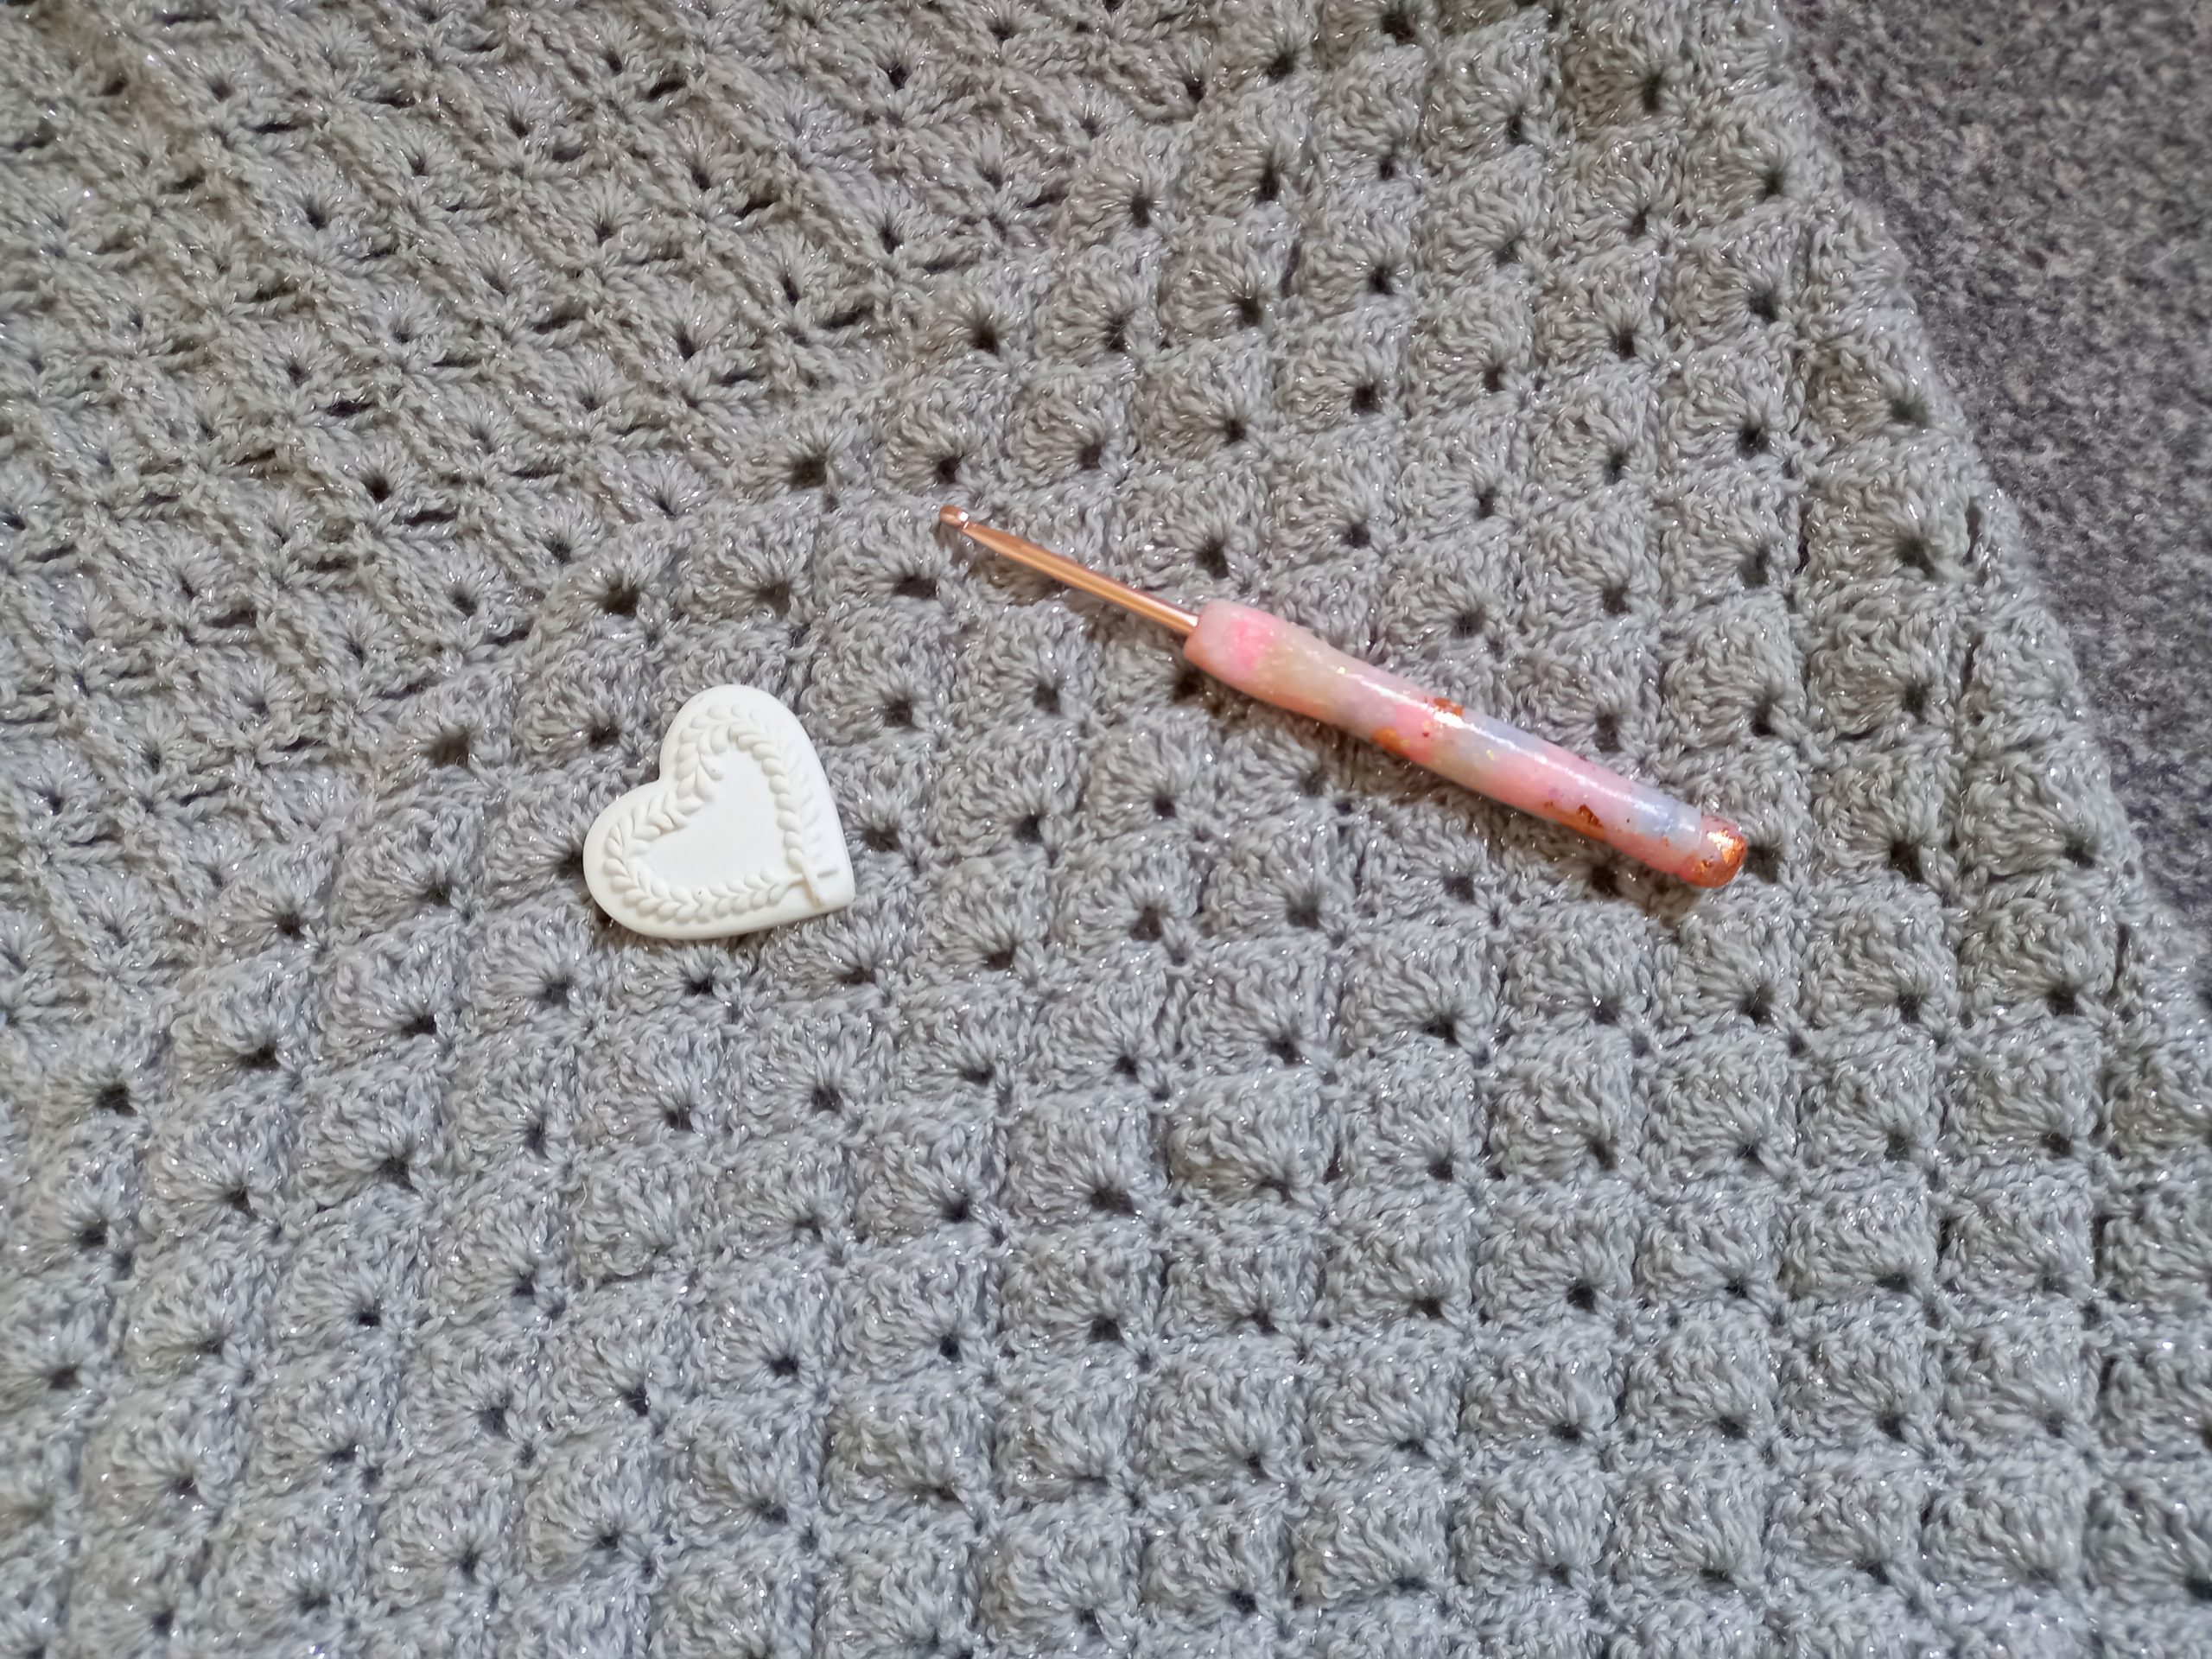
A 4 mm crochet hook
Pair of scissors
Tapestry needle
Abbreviations
Ch: chain
St: Stitch
Sl st: slip stitch
Sk: Skip
SC: Single Crochet (UK Double Crochet)
DC: Double crochet (UK Treble Crochet)
EOR: End of row
Begin pattern here
To start, make a slip knot. Ch 4, sl st through 1st stitch to form a ring.
Complete rows as follows:
1: Ch 3 (=DC), 6 DC into center of ring (=7 DC and 1st shell stitch).
2: Now, ch 4, turn your work, SC into 1st st to form a ring; ch 3, SC into 4th stitch of shell stitch from previous row, ch 3, SC into last st (which is also the ch 3 from previous row), ch 4 and SC once again in the same stitch to form a ring.
3: Ch 3 (counts as DC), turn your work, place 6 DC into center of chain 4 ring (=7 DC and shell stitch); sk ch 3 from previous row and SC into center SC from previous row. Sk ch 3 from previous row, and go directly into center of ch 4 ring with 7 DC (=shell stitch).
4: Now, ch 4, turn your work, SC into first st to form a ring; Ch 3, SC into 4th st of shell stitch from previous row, ch 3, SC into SC from previous row (skipping 3 stitches from previous row). Now, Ch 4 and SC into same stitch to form a ring, ch 3 and SC into 4th stitch of the shell from previous row, ch 3 and SC into last stitch (which is also the beginning ch 3 from previous row); ch 4, SC into this same last stitch to form a ring.
Carry on pattern as follows:
5: Ch 3 (=DC), turn your work, place 6 DC into the center of the ch 4 ring from previous row (=7 DC). Sk ch 3 from previous row and SC into center SC from previous row; now sk ch 3 from previous row once more and go directly into next ch 4 ring and place 7 DC into this ring (=shell stitch).Now sk ch 3 from previous row and SC into center SC from previous row. Sk ch 3 and place 7 DC into the last ch 4 ring center (=shell stitch).
6: Now ch 4, turn your work, SC into first st to form a ring; ch 3, SC into 4th stitch of shell stitch from previous row, ch 3, SC into SC from previous row (skipping 3 stitches from previous row). Ch 4, SC into same stitch to form a ring, ch 3 and SC into 4th stitch of the shell from previous row, ch 3 and SC into SC from previous row (skipping 3 stitches from previous row). Now ch 4 and SC into same stitch to form a ring, ch 3, SC into 4th st of shell stitch from previous row (skipping 3 st from previous row), ch 3 and SC into last stitch of shell stitch from previous row (which is also the first ch 3 from previous row). Ch 4 and SC into same stitch to form a ring.
7: Ch 3 (=DC), turn your work, place 6 DC into ring (=7 DC and shell stitch). [Sk ch 3 from previous row and SC into center SC from previous row; nos sk ch 3 from previous row once more and go directly into next ch 4 ring and place 7 DC into this ring (=shell stitch)] twice. Sk ch 3 from previous row and SC into center SC from previous row. Sk ch 3 and place 7 DC into the last ch 4 ring center (=shell stitch).
Repeat rows:
8-74: Repeat rows 6 and 7 (alternating them), making sure you add your shells as your shawl grows wider by following this simple pattern explained above.
Fasten off, tidy up all loose ends.


2 Comments
Hope Albritton
This shawl is absolutely gorgeous! I LOVE the Victorian Era so much. ( I look foreward to hopefully more Victorian style crotchet patterns in the future!)
I just finished making this beautiful shawl but instead of Wool and The Gang, I used Lion-Brand-Yarn Truboo, 100% bamboo yarn and it turned out absolutely silky and gorgeous! Beautiful pattern. 🙂 very pleased with the results!
Selina Veronique
Amazing! Thank you for your comment and for sharing, I am sure your shawl looks beautiful made with Lion Brand Truboo.