
Crochet The Marissa Dainty Wrap
Crochet The Marissa Dainty Wrap
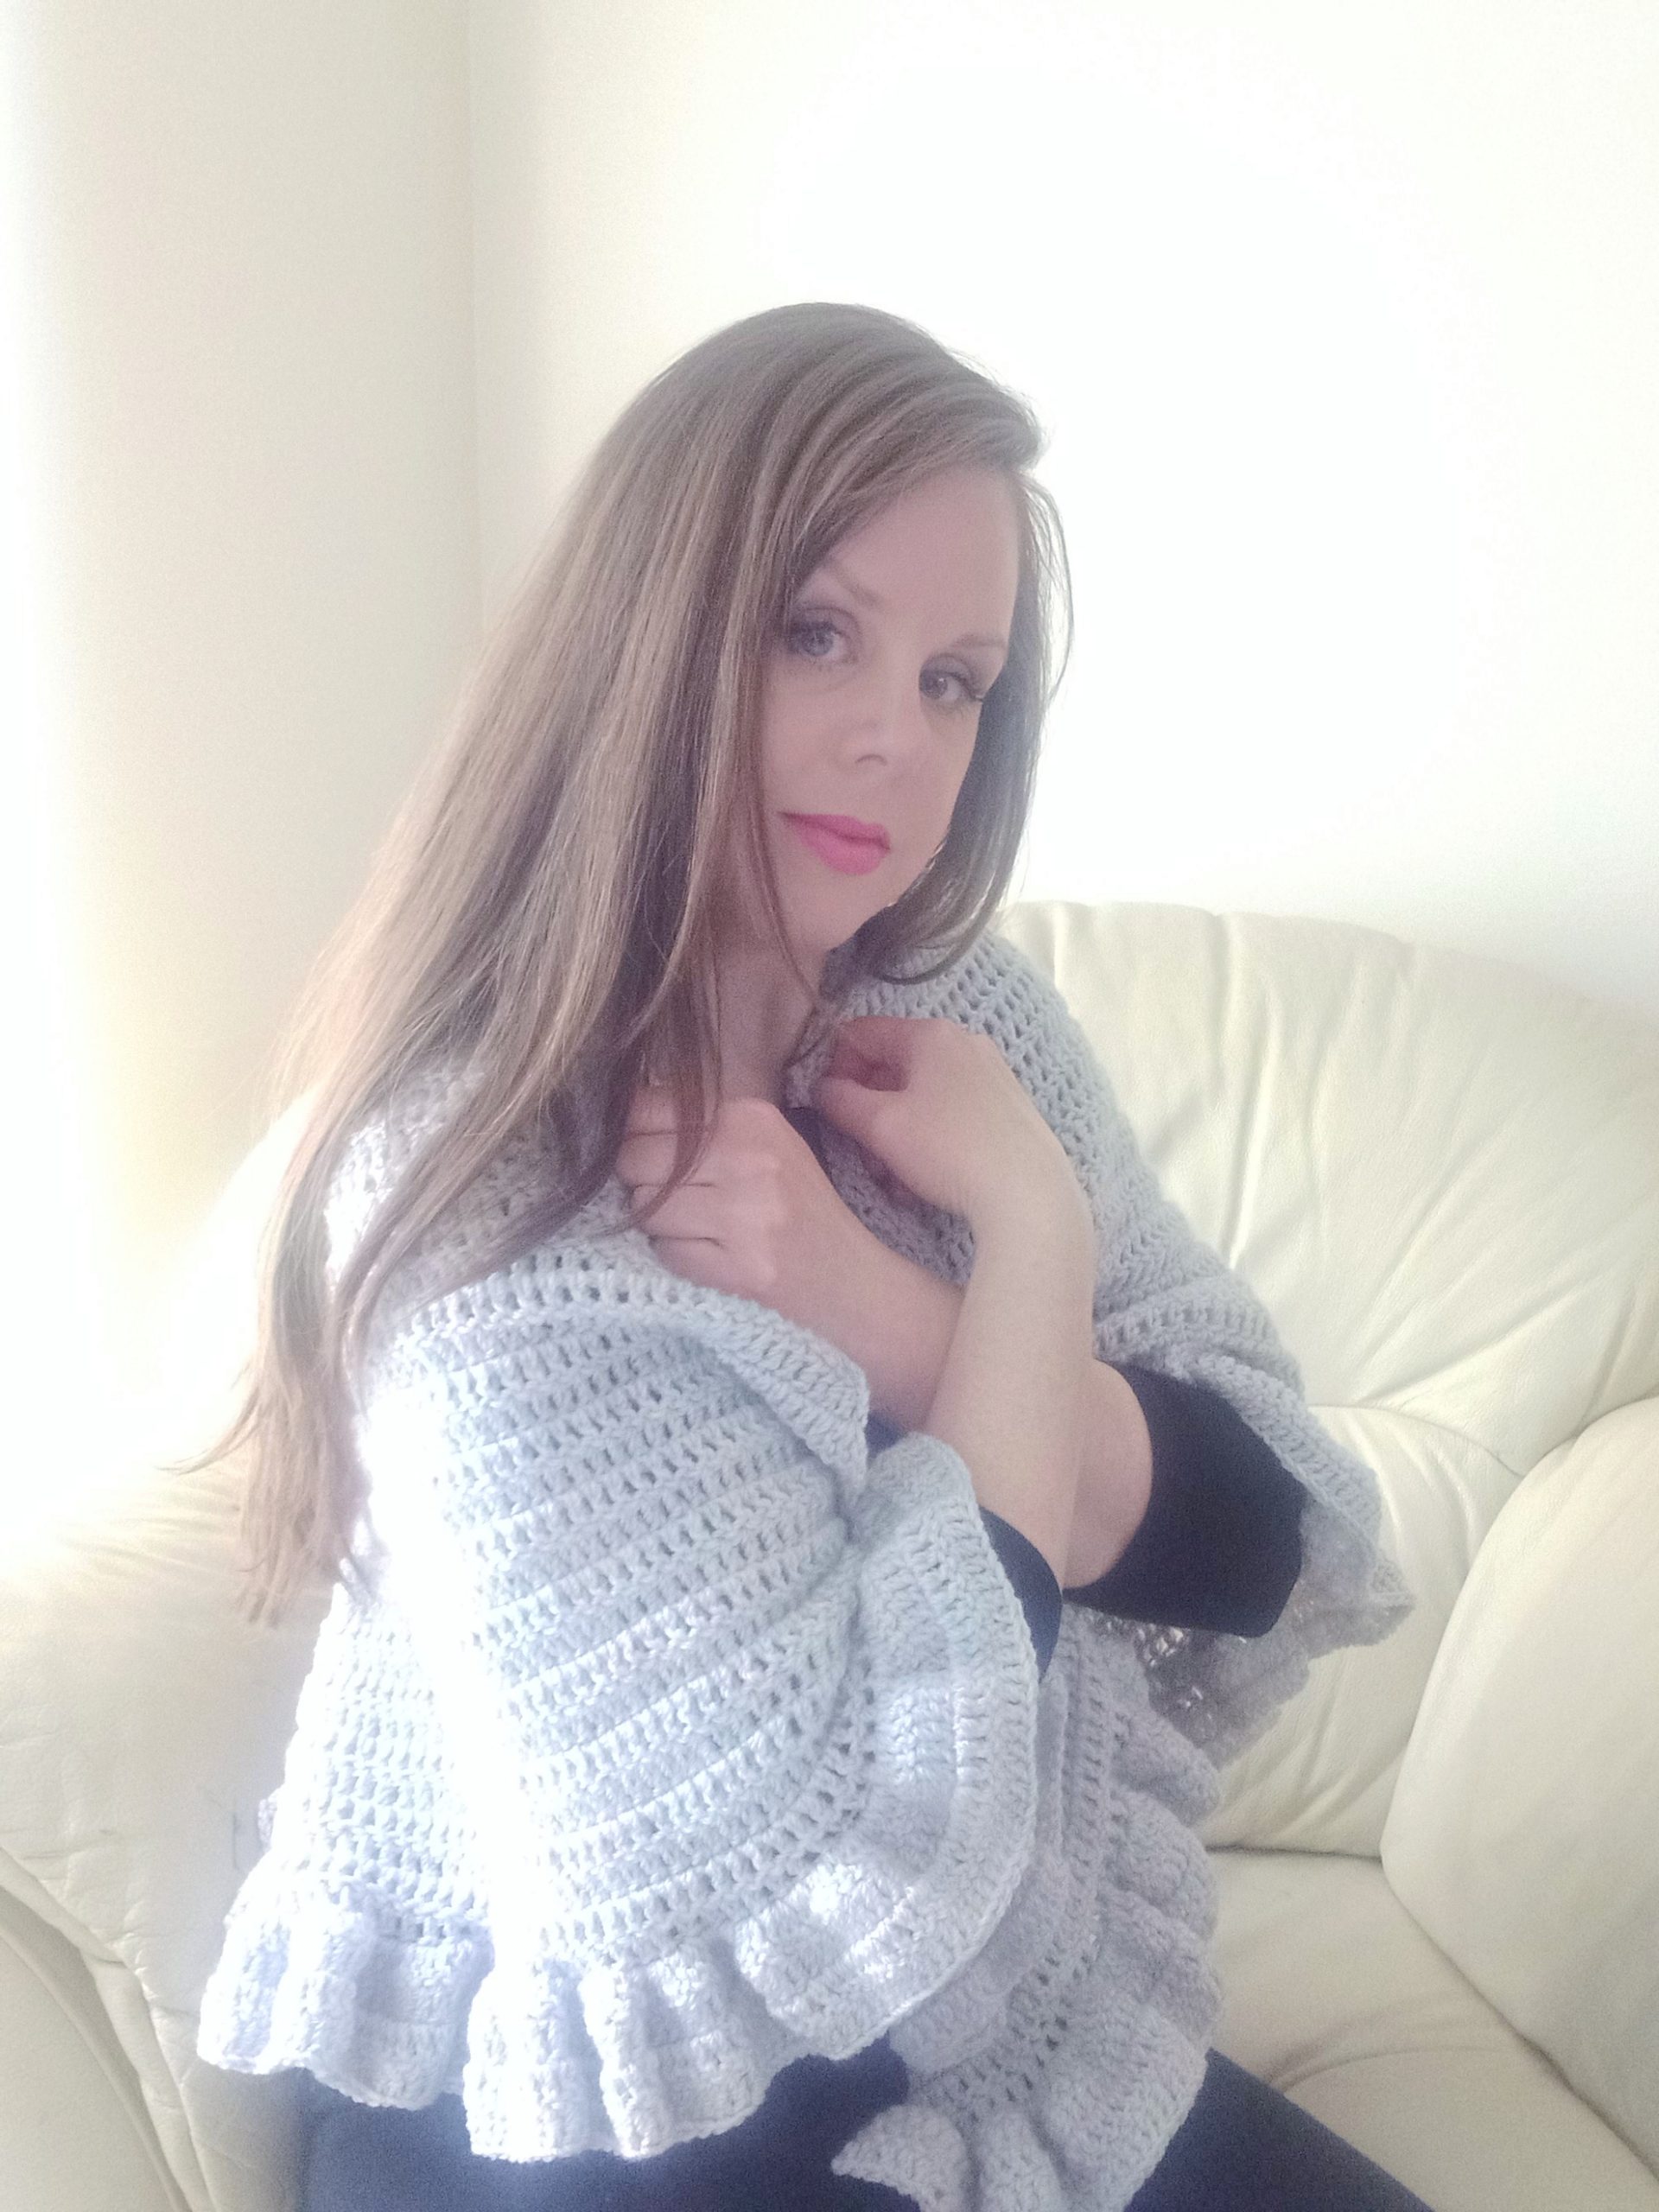
Hi everyone, today I am bringing to you a tutorial on how to crochet The Marissa Dainty Wrap. This beautiful and easy crochet pattern is perfect for beginners and expert crocheters alike. It is one simple row that is repeated throughout the wrap. I love this dainty wrap! And I hope you will too.
You can find the video tutorial for this project here:
Crochet The Marissa Dainty Wrap: the inspiration
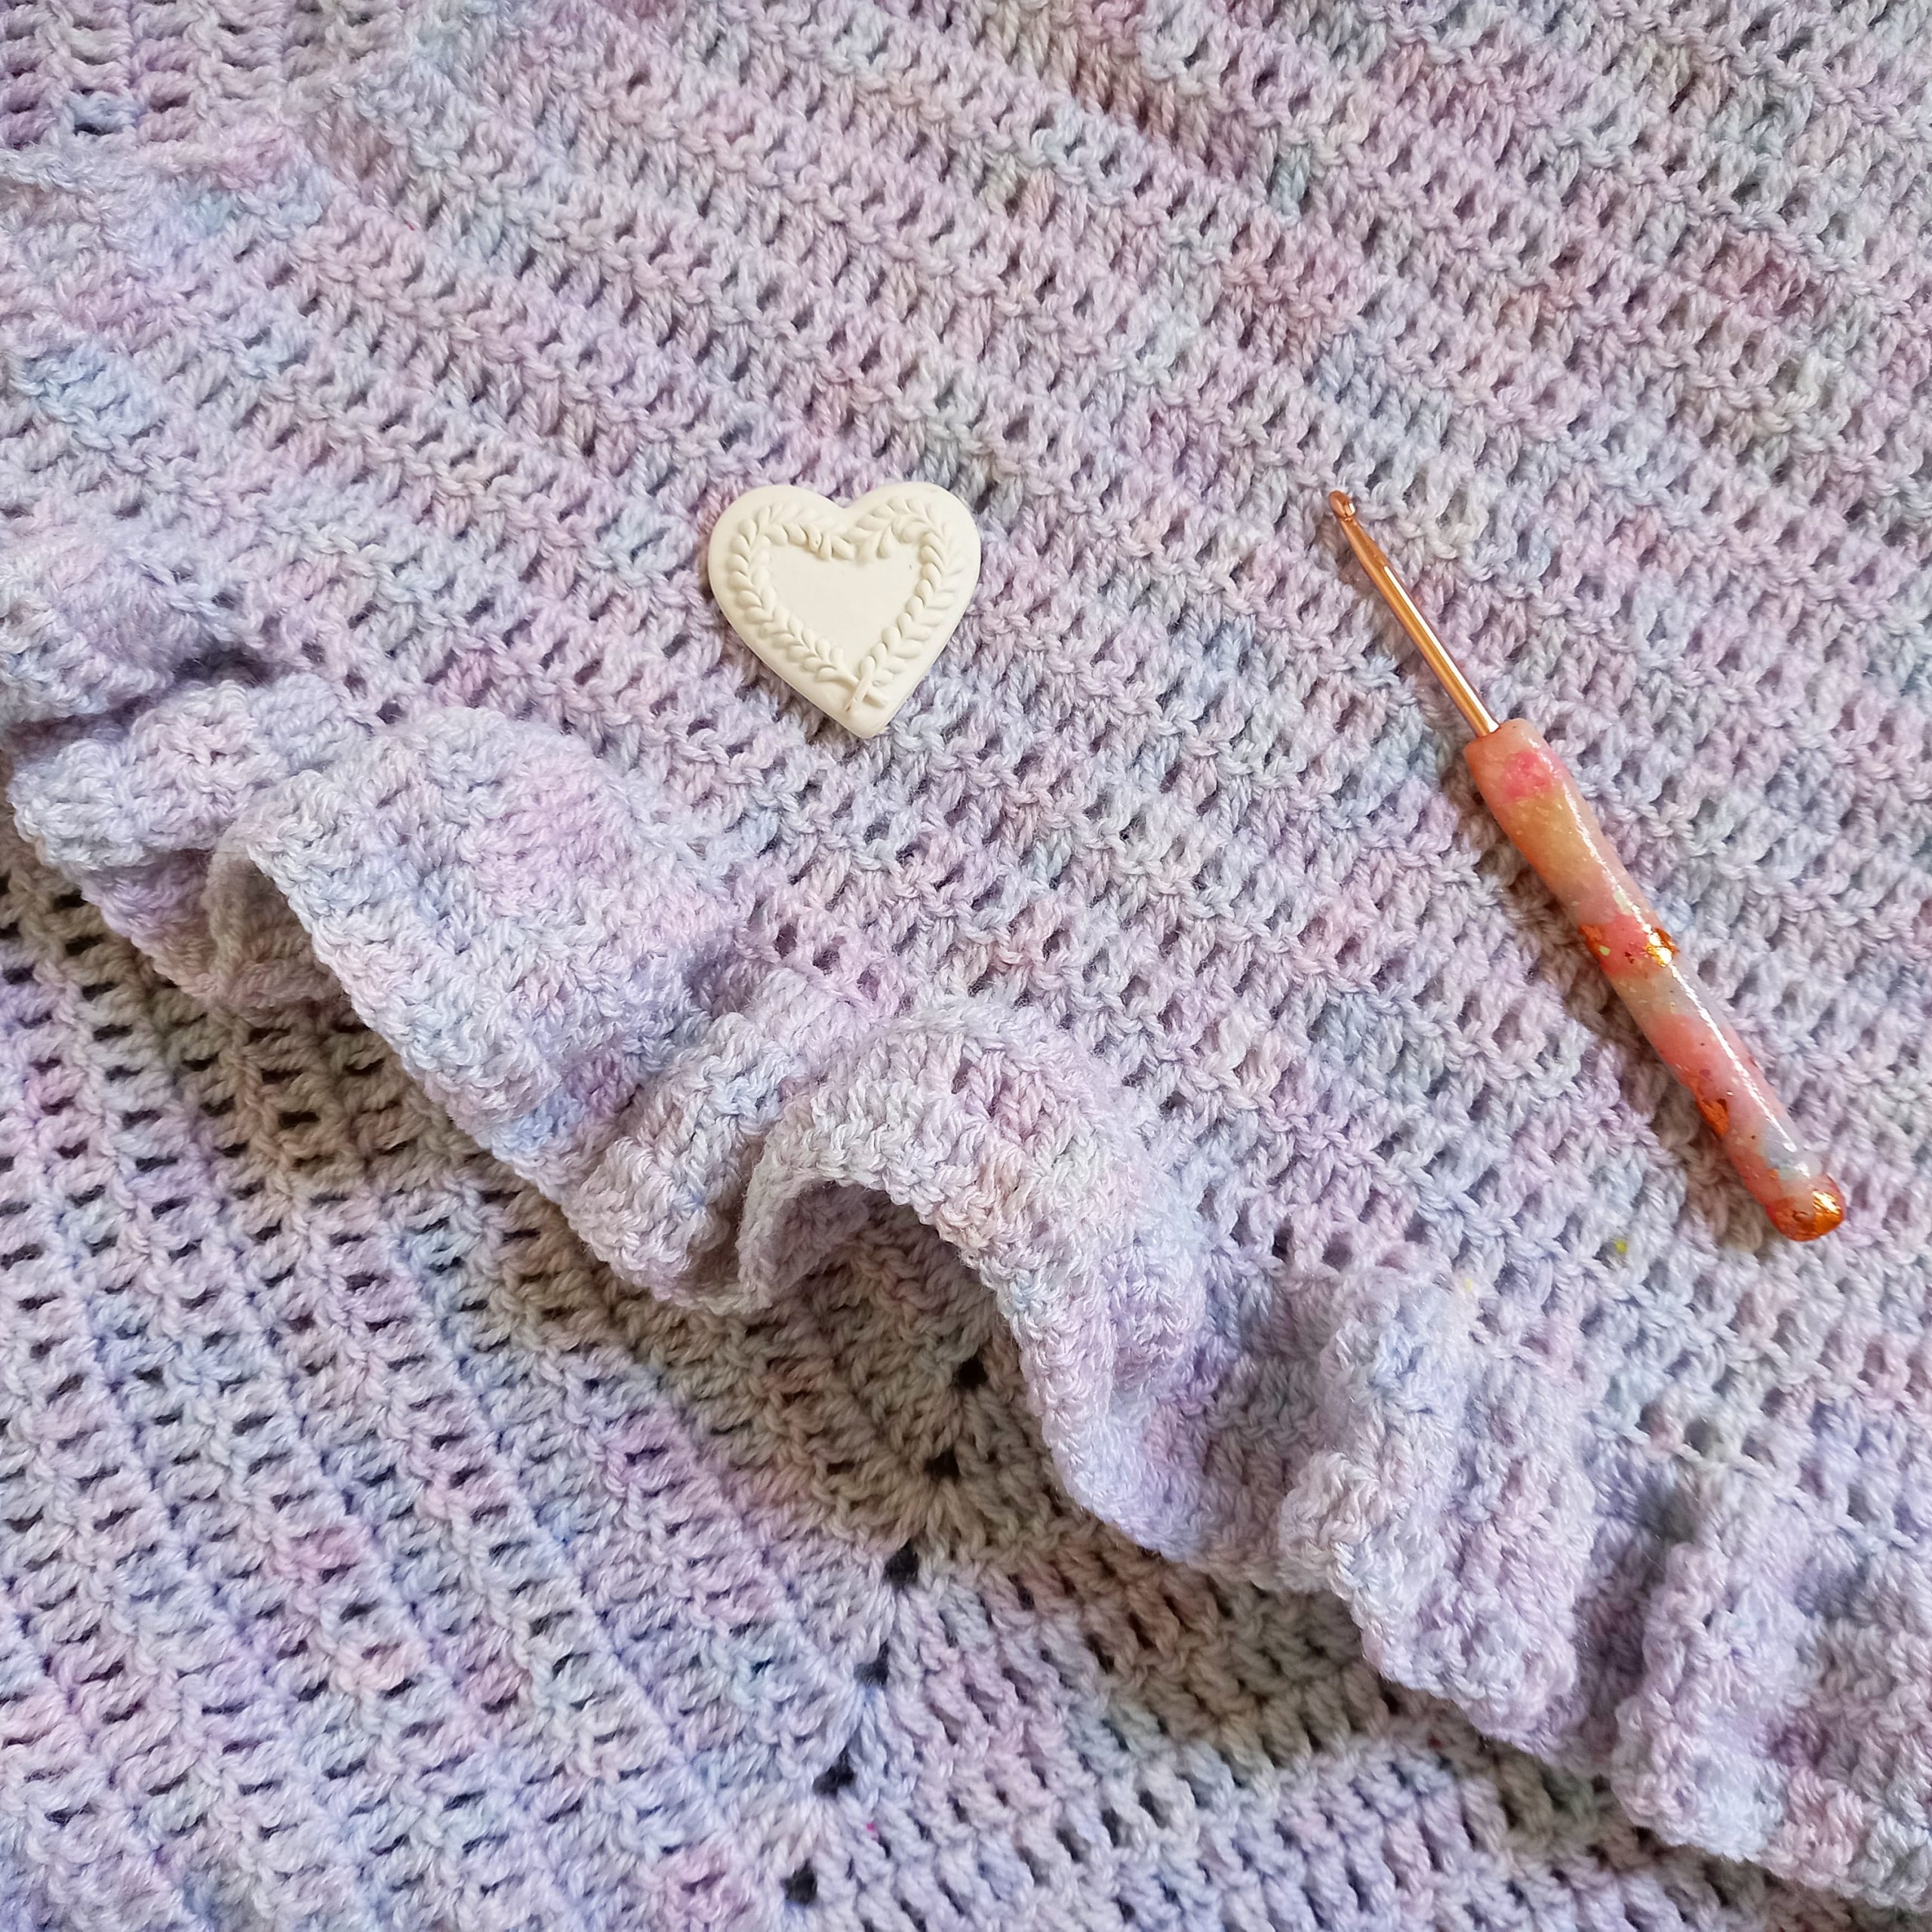
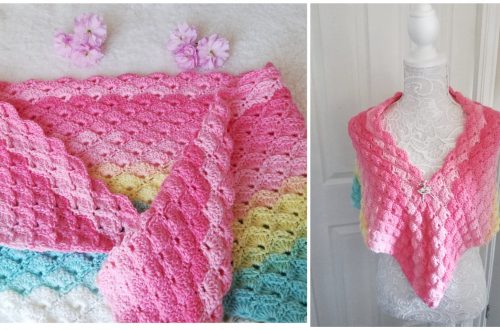
The inspiration for this wrap came from the yarn. Indeed, I absolutely fell in love with Cygnet’s DK acrylic yarn in shade Mother of Pearl. This yarn is beautiful, and has a lot of pearly grey and pink hues. It can be substituted with any of your favorite DK/Light 3 yarn, such as Lion Brand Mandala yarn for example. If you are able to purchase the Cygnet yarn, I definitely recommend it as it so soft and beautiful.
As you know, I love pink and grey, so this yarn was perfect for me! Let me know if you use it, or if you have used it in the past.
I also really enjoy working some projects with light yarn (DK yarn in British terms). Indeed, it is fine and creates the most delicate projects. I find crochet to be the perfect way of creating beautiful handmade garments.
I seem to love frilly borders at the moment. You can find one of my latest crochet wraps with a frilly border here, for the Polina Half Circle Wrap. It’s super easy and I love how it turned out! I find frilly borders very feminine and dainty.
Crochet The Marissa Dainty Wrap: behind the name
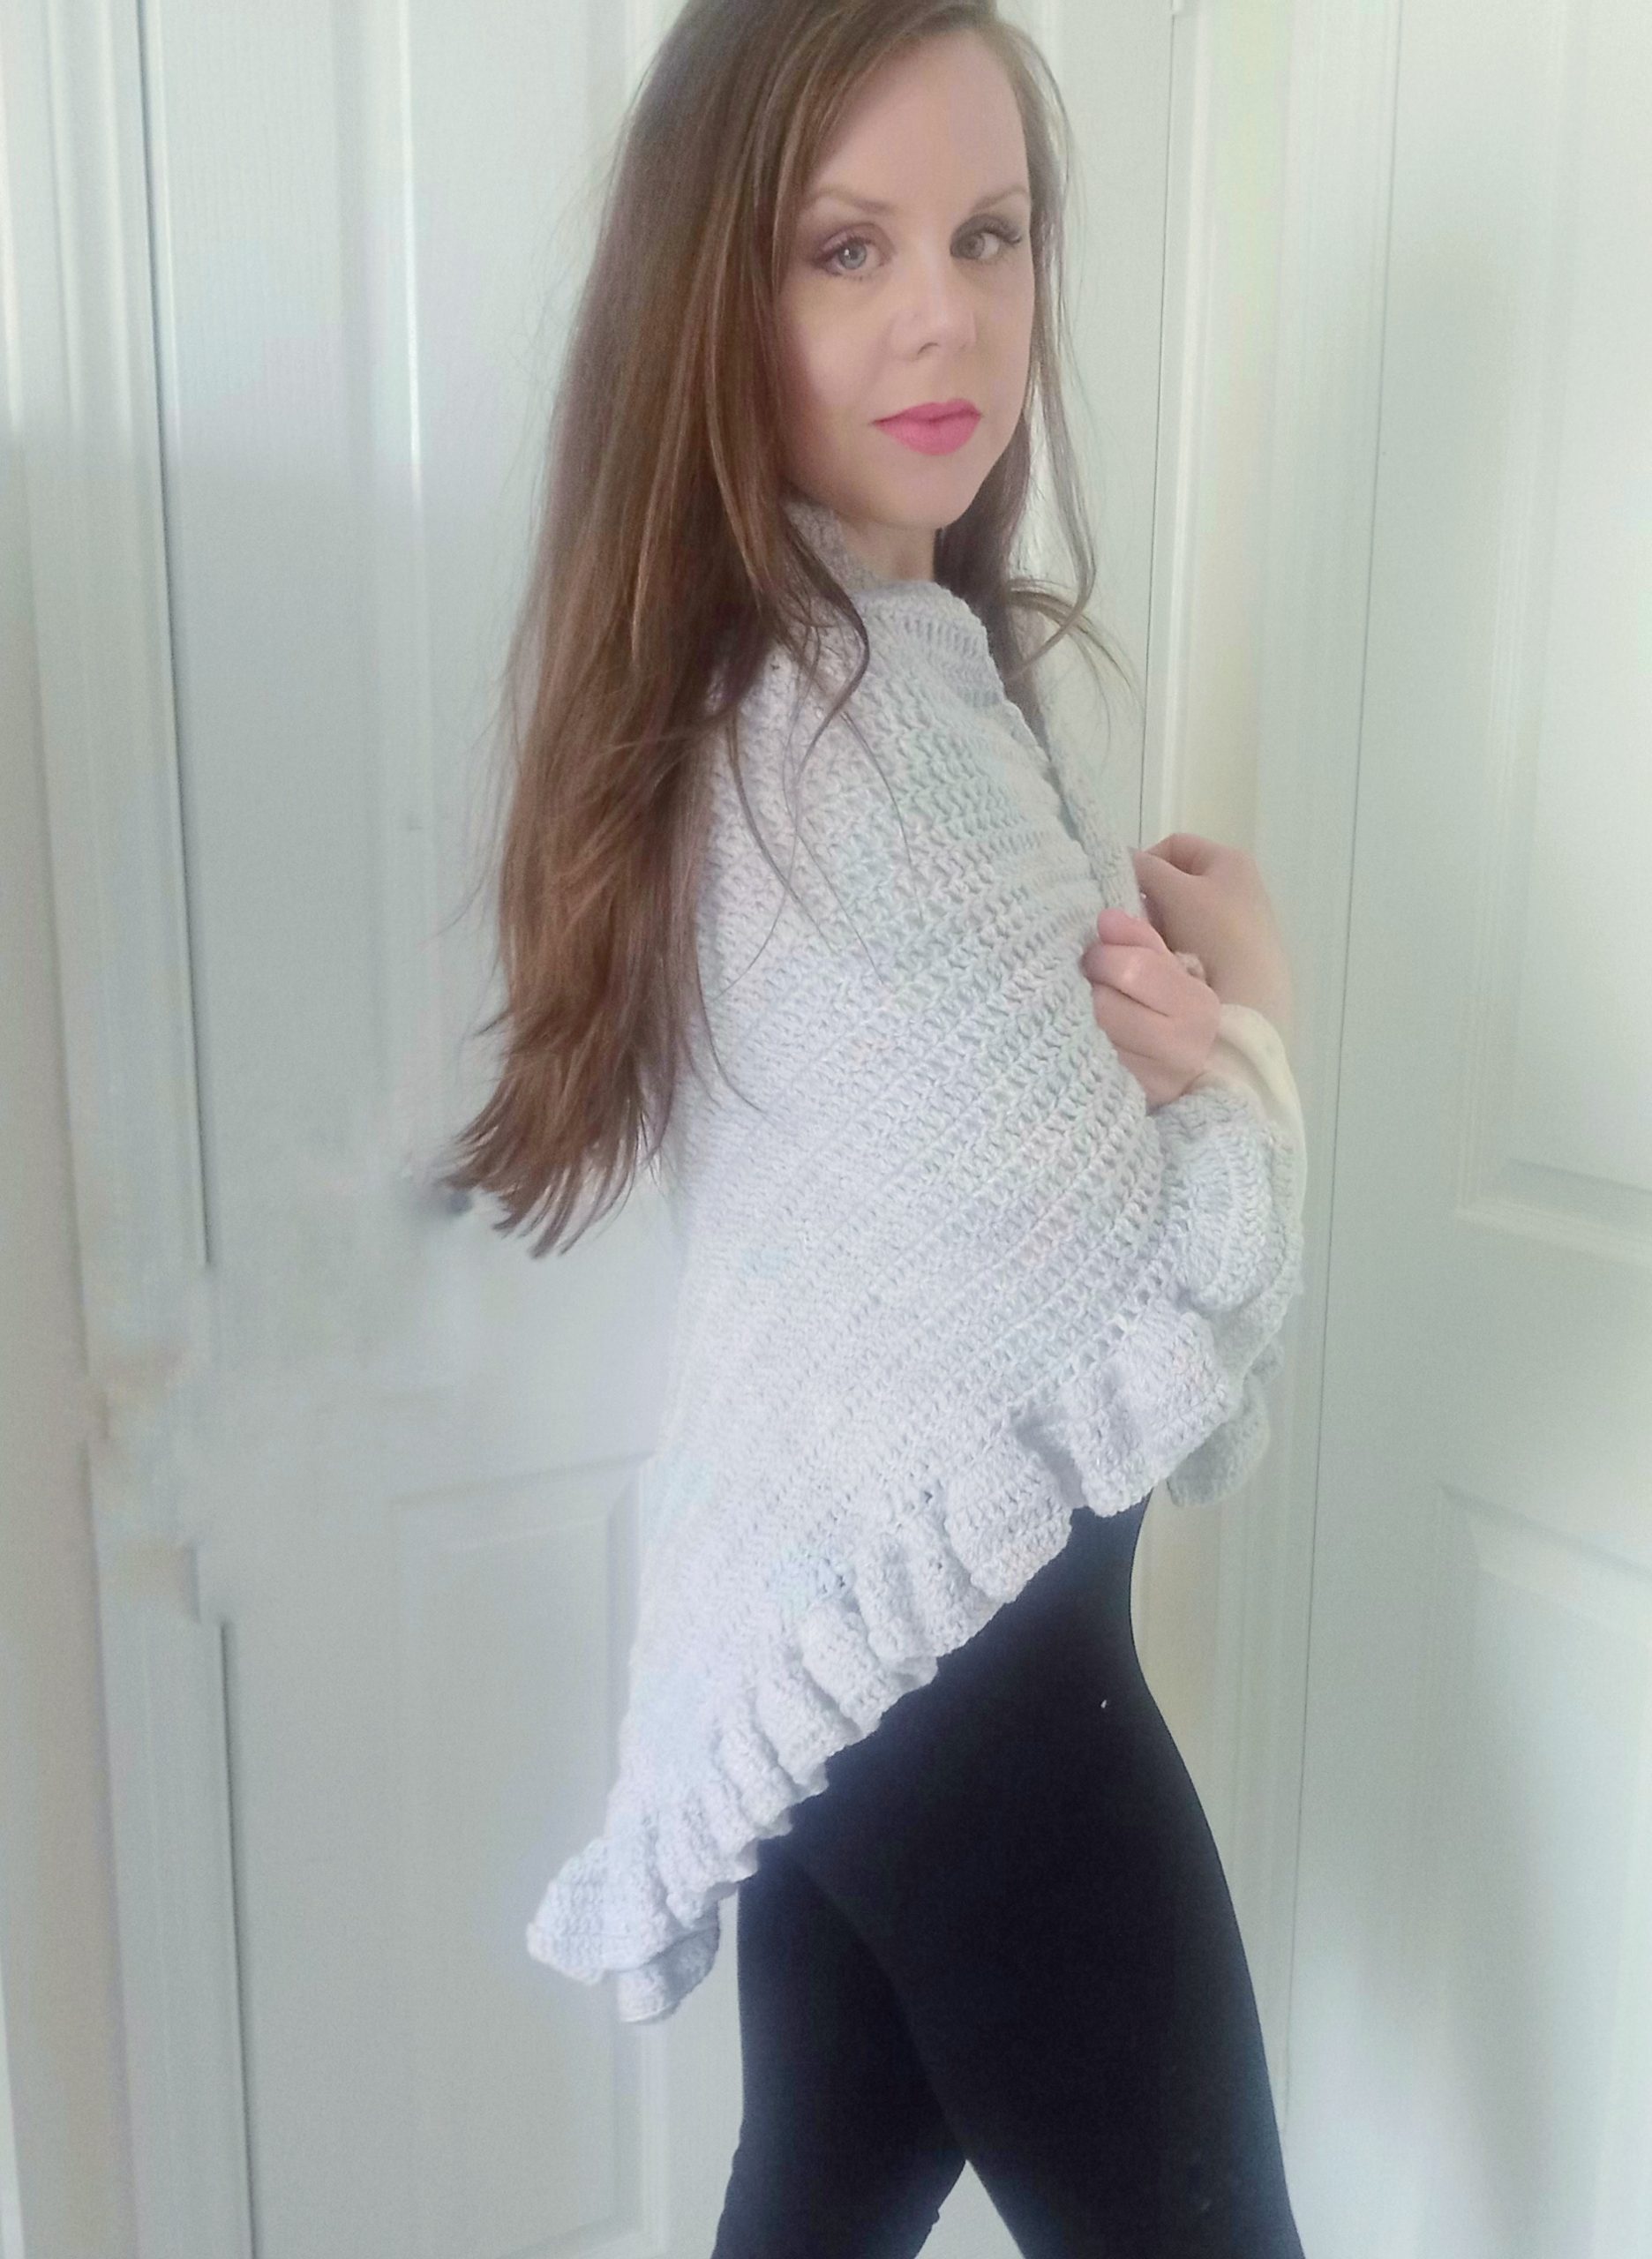
I decided to call this wrap The Marissa Wrap. The delicate and feminine shape of this yarn is perfect. The color is so pretty and mysterious, and truly reminds me of the sea. I therefore wanted to name it something reminiscent of the ocean and the water element. After some research, I came across the name “Marissa”, which is one of my favorite names. It means “drop of the sea”, which is so perfect for this project.
I hope you enjoy this dainty and feminine crochet shawl as much as I did. Let me know if you recreate it, you can always tag me on Instagram, or join my Facebook crochet group for more yarn related conversations. The link to my private and free Facebook group can be found below.
Connecting with you
You can connect with me on Social Media on Youtube, Instagram, Pinterest or Facebook. I love nothing more than connecting with you. My user name for these platforms is Selina Veronique Crochet, and the direct links to these platforms are on my Home Page. You can also join my private Facebook group to connect: My Facebook group to connect.
Thank you so much for stopping by my blog! I truly appreciate your support, and love to connect with you.
Have a great week, and see you for my next tutorial,
Lots of love,
Selina.
Crochet The Marissa Dainty Wrap: the pattern
You can purchase the ad free, large print, PDF pattern from my Etsy shop here: Crochet The Marissa Wrap PDF Pattern
Level: Easy/Beginner
Gauge: 4″x4″ (10×10 cm)=6 rounds of DC
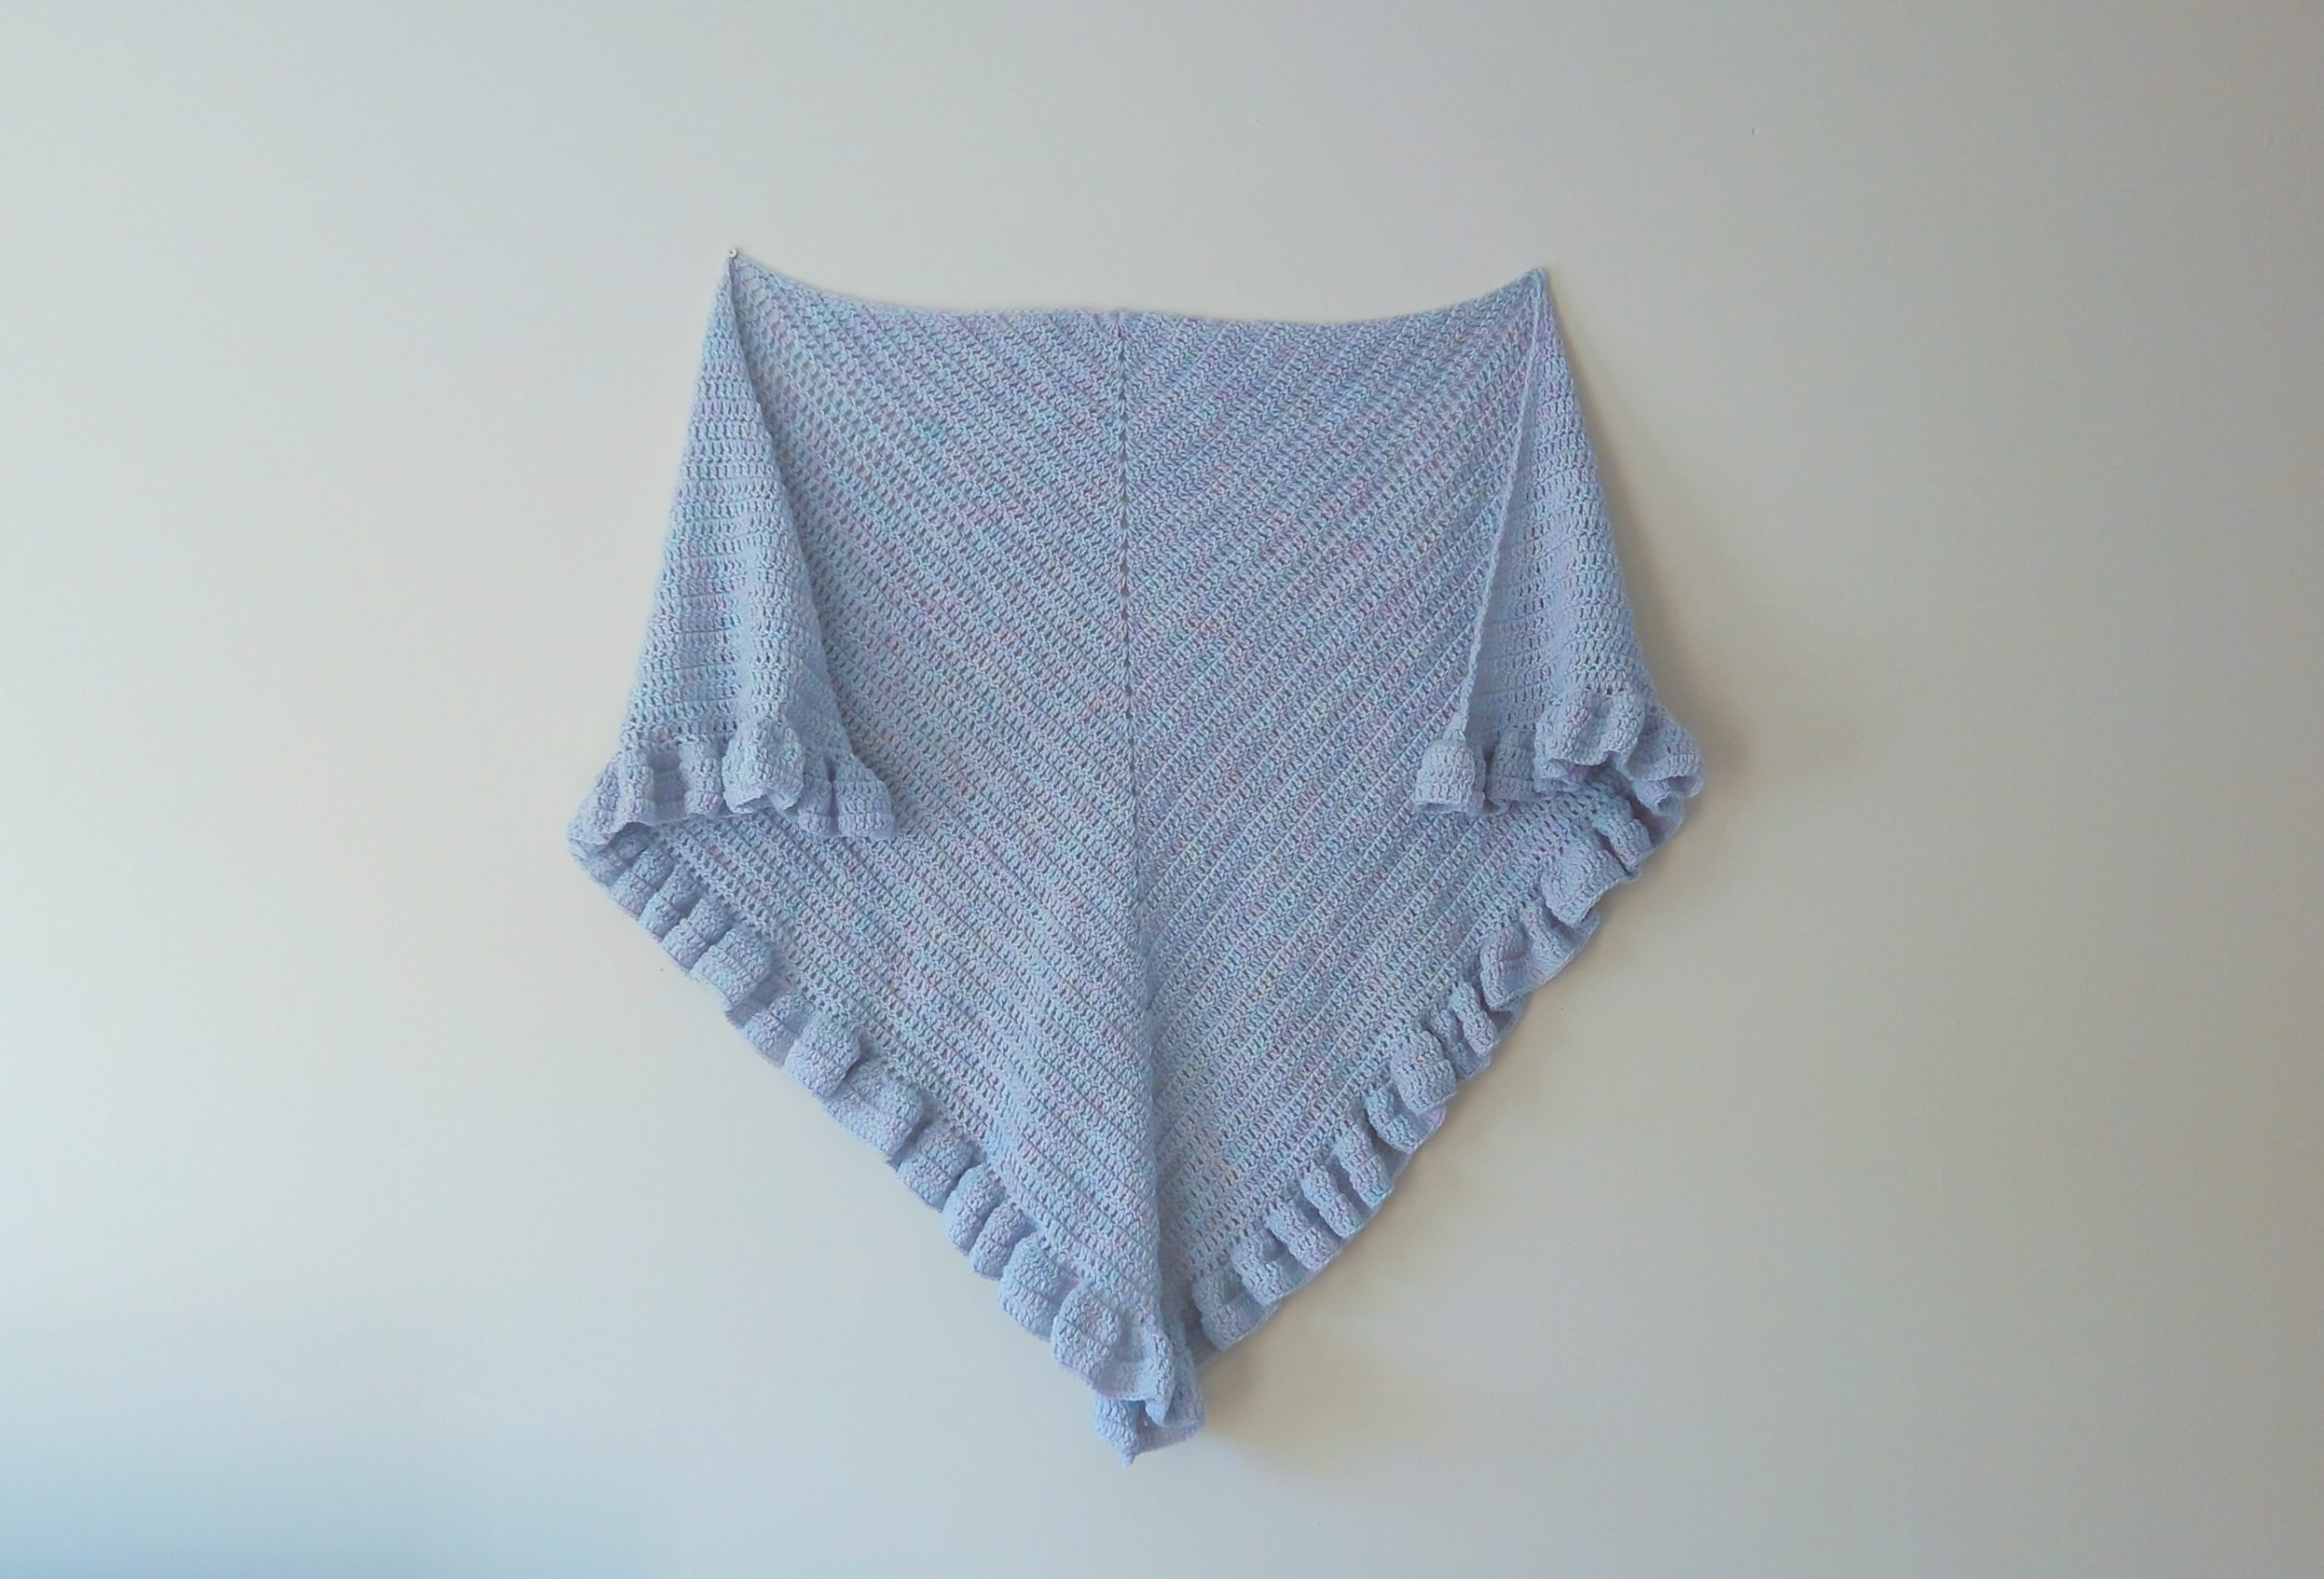
Size of finished shawl (including the border): 58″ (147 cm) wide and 35″ (89 cm) high
Notes:
I will be using US terms (British terms in brackets)
You will need
4 skeins of Cygnet DK 100% acrylic yarn in shade Mother of Pearl. You can substitute with any DK/Light 3 yarn you prefer.
A 4 mm crochet hook
Pair of scissors
Tapestry needle
Abbreviations
Ch: chain
St: stitch
Sl st: slip stitch
Sk: skip
DC: Double Crochet (UK Treble Crochet)
EOR: End of row
To begin
To start, make a slip knot. Ch 4, sl st through 1st stitch to form a ring.
Row 1: Ch 3 (=5 DC), 5 DC in ring, ch 2, 6 DC in same ring.
Row 2: Ch 3 (=DC), turn your work, DC into same 1st stitch (=2 DC together in one stitch). DC into each DC until center ch 2 space. Place 2 DC, ch 2, 2 DC into center space. DC into every DC until eor, and place 2 DC together in last stitch (ch 3 from previous row).
Rows 3-43: Repeat row 2
Do not fasten off.
Frilly border
Row 1: Ch 3 (=DC), place 2 more DC in same first stitch (=3 DC together). Place 3 DC together in next stitch, and each stitch until center ch 2 space.
In center ch 2 space, place 3 DC, ch 2, 3 DC. Now place 3 DC into each st until eor.
Row 2: Ch 3 (=DC), turn your work, place a DC in next stitch, and each stitch until ch 2 center space. In ch 2 space, place 2 DC, ch 2, 2 DC; now place a DC into each st until eor.
Row 3-4: Repeat row 2.
Fasten off, tidy up all loose ends.


4 Comments
Nurie
Hi Selina
Thank you for the beautiful Marisa Dainty Wrap.
I have just finished mine and I’m very happy with the result ☺
Nurie
CAPE TOWN
SOUTH AFRICA
Selina Veronique
Hello and thank you so much for your comment. I am delighted you enjoyed this project, and appreciate your support.
Have a great day!
Selina.
Pat
Love the looks of the wrap, and excited to get started on it.
Selina Veronique
Thank you so much !