Crochet The Rose Petal Shawl Free Pattern
Crochet The Rose Petal Shawl Free Pattern
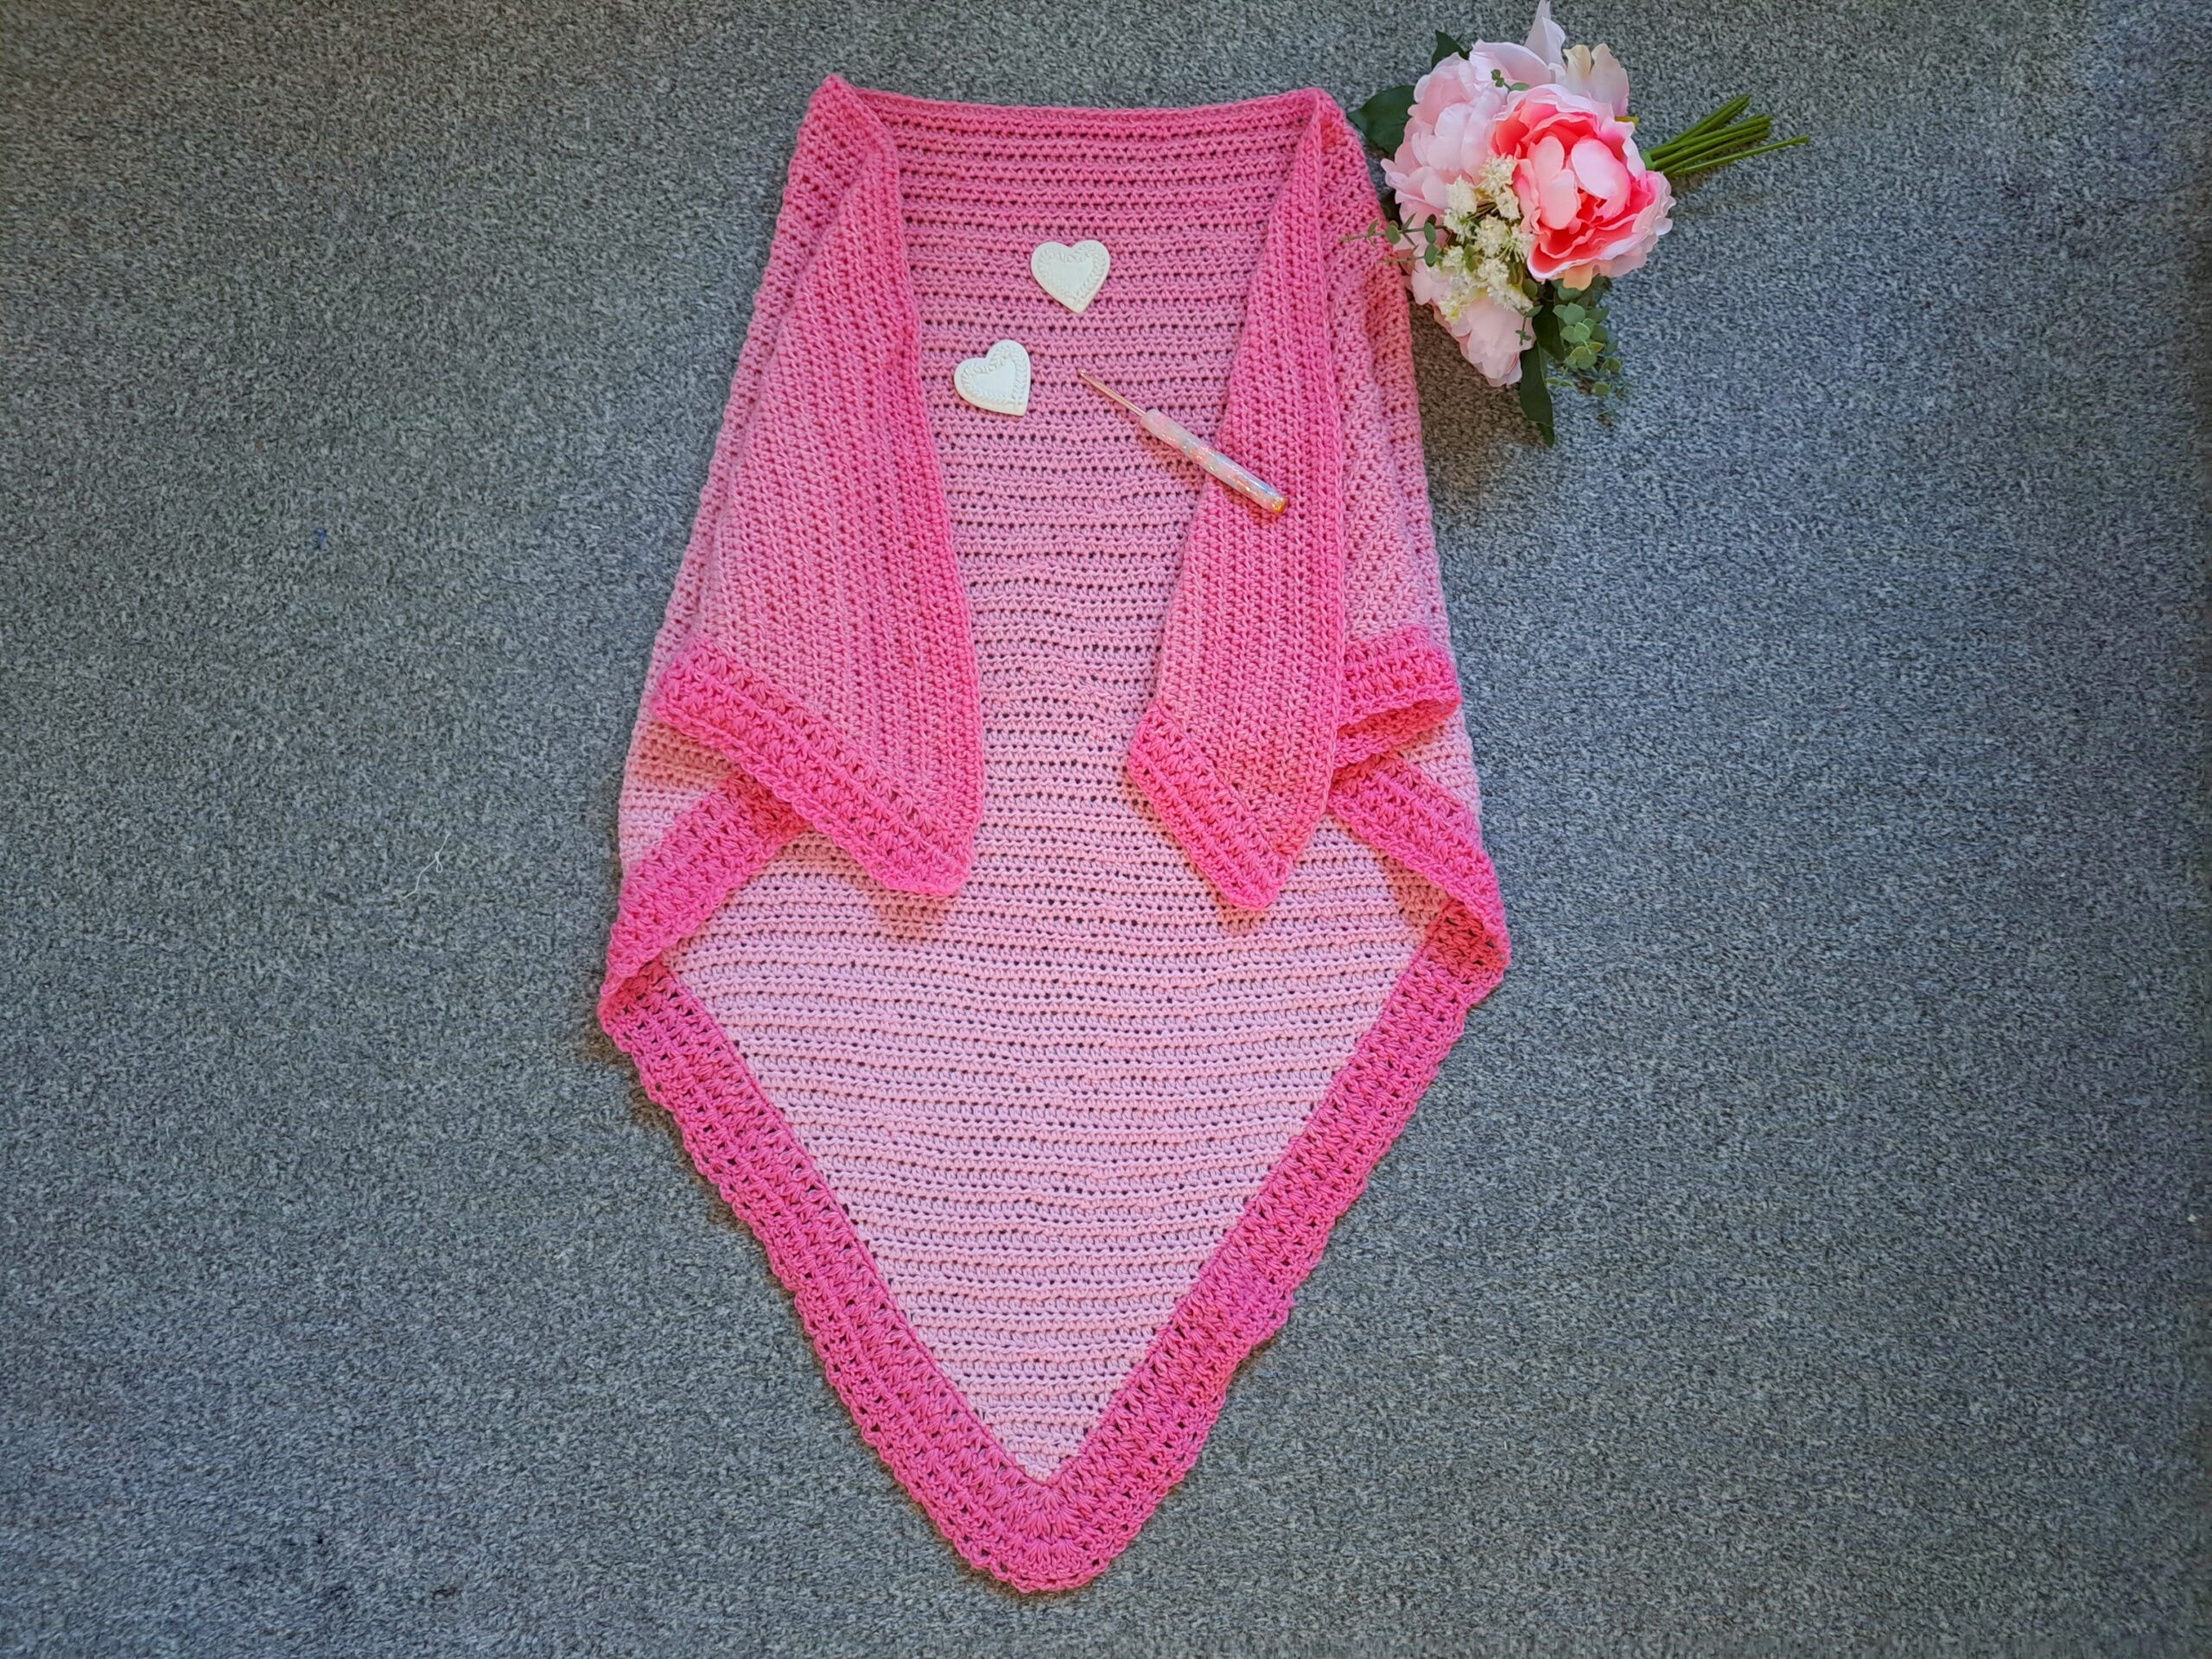
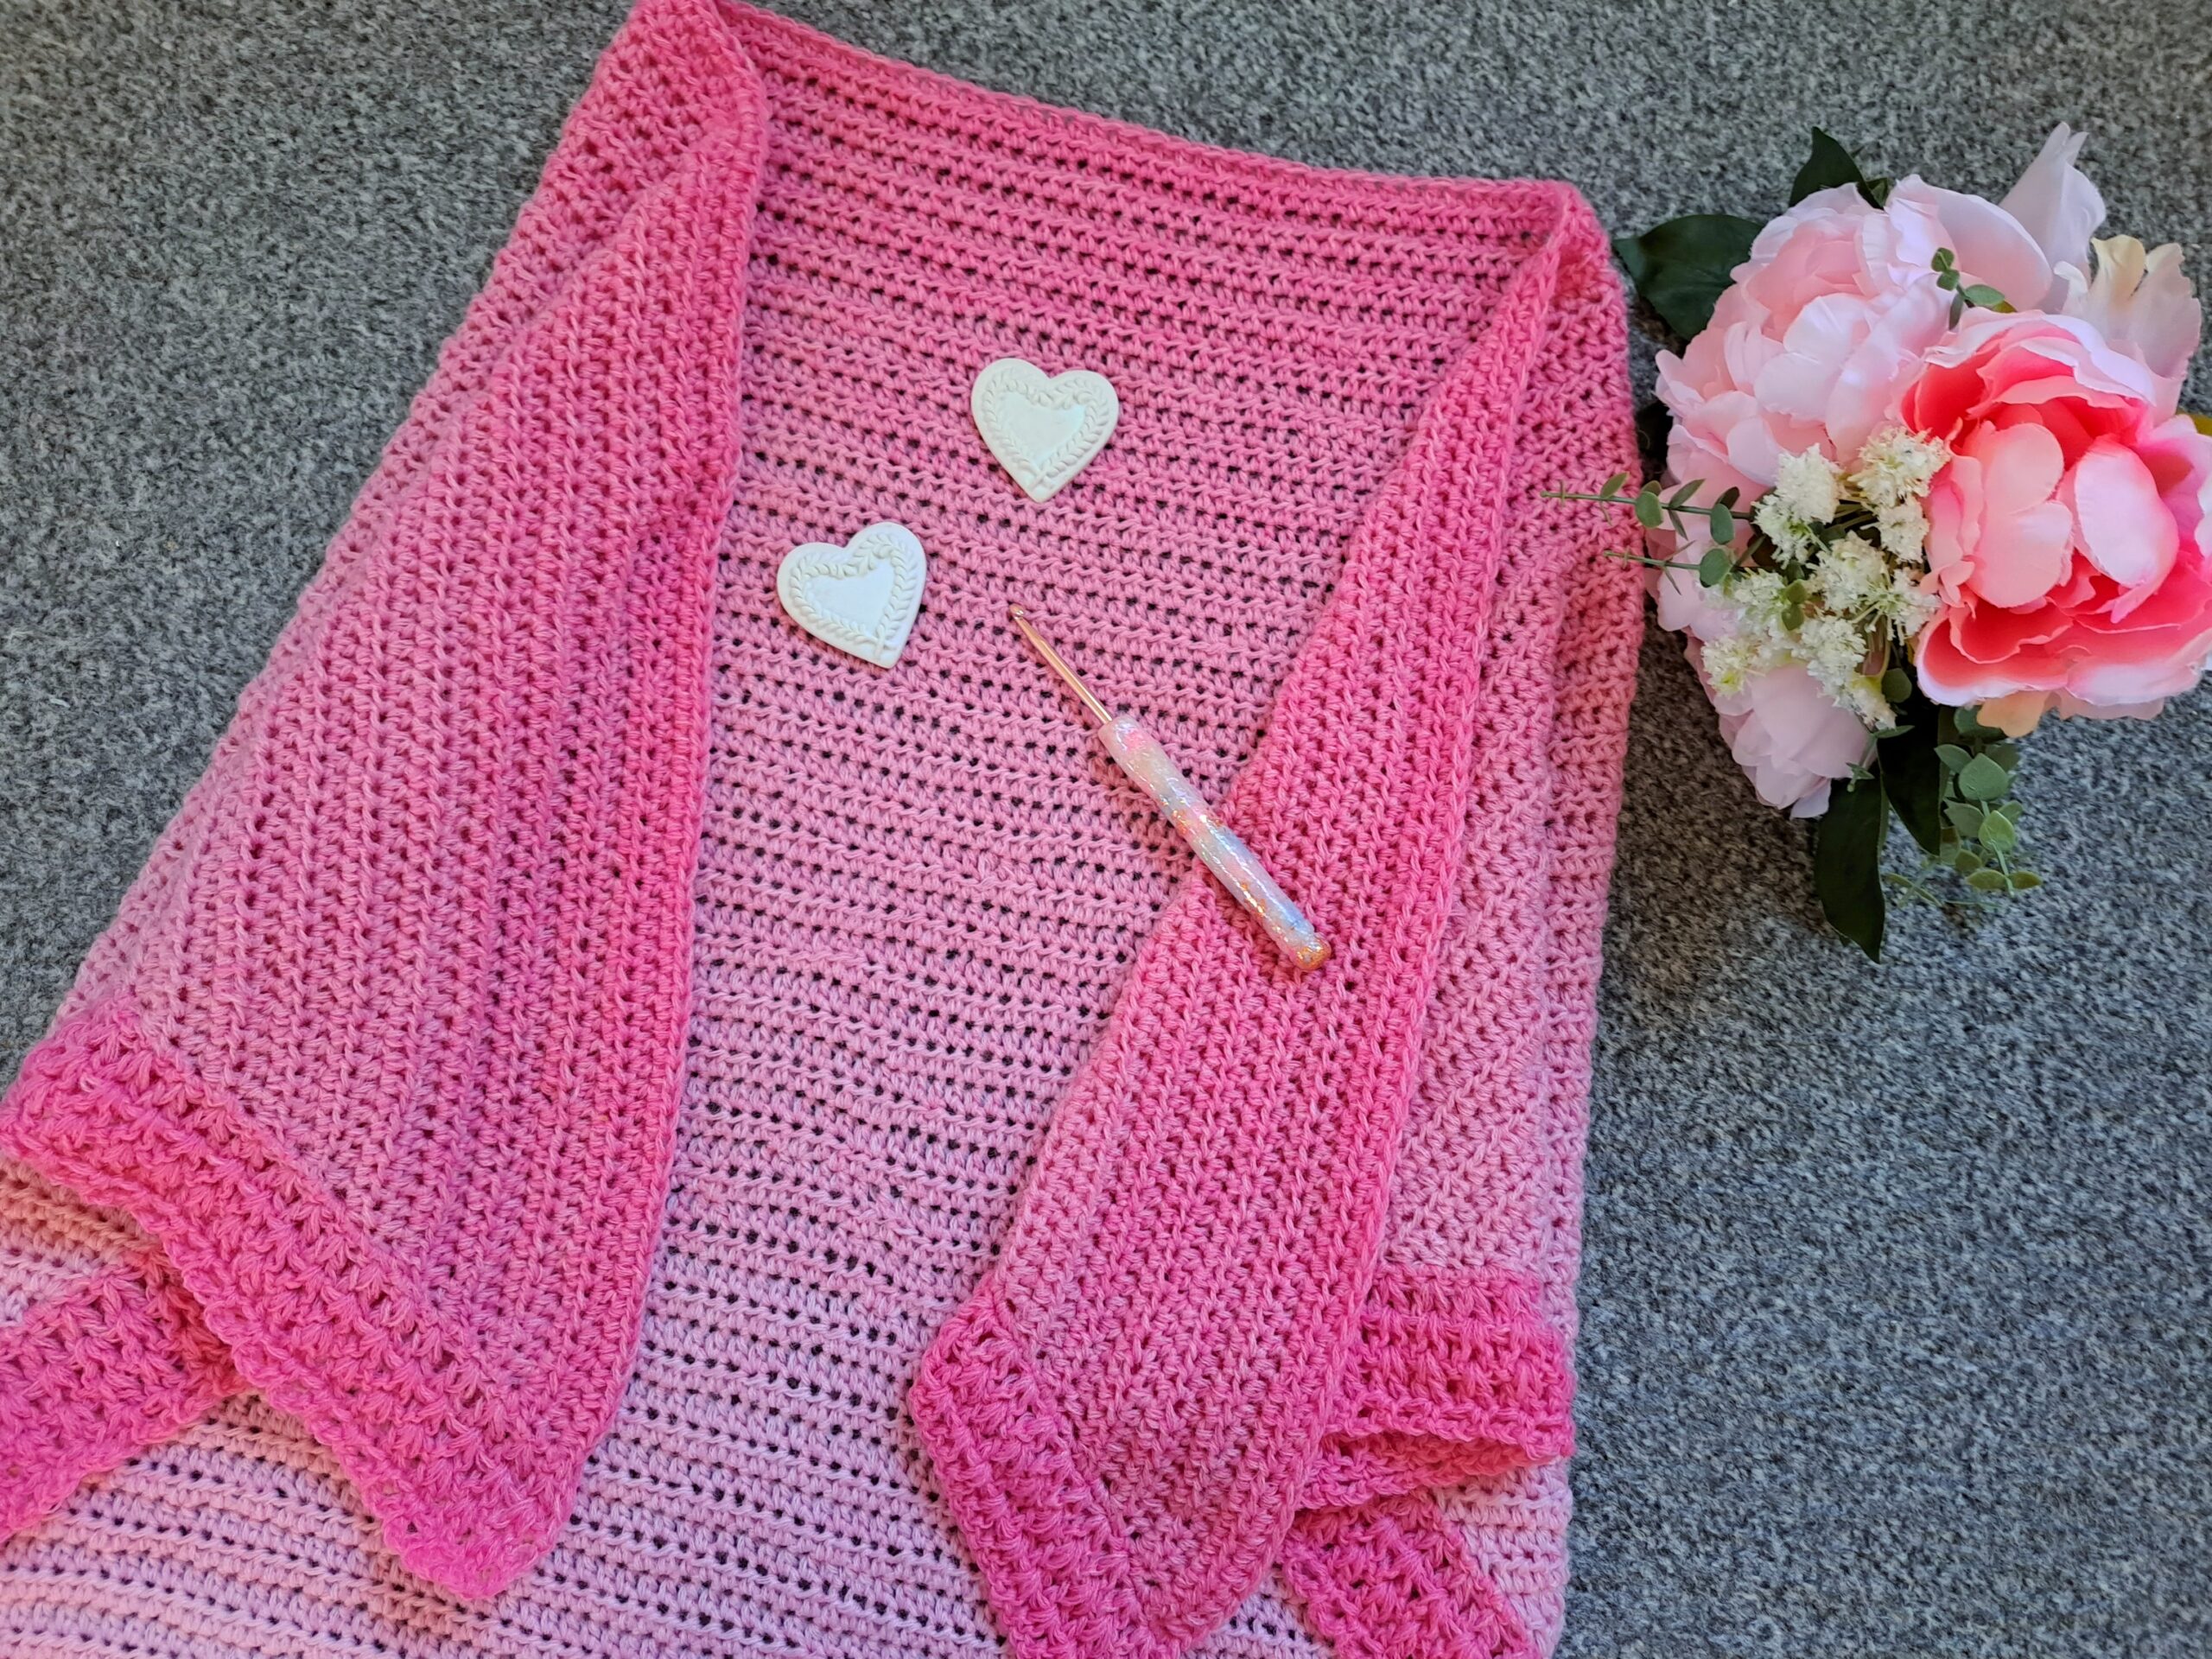
Hi everyone, this week I am bringing to you a tutorial on how to crochet The Rose Petal Shawl (free pattern). This is a great project for beginners. This shawl is beautiful and delicate, and is also very simple to crochet! The simple pattern repeat makes this shawl a very relaxing project to crochet.
The video tutorial can be found here:
Crochet The Rose Petal Shawl Free Pattern: The Inspiration
I love crocheting shawls! They are so beautiful and fun to make. Two weeks ago I released The Vintage Victorian Shawl, which is also very feminine. My Vintage Crochet Series is perfect if you are looking to create fun and delicate projects inspired by past eras. You can also crochet a a matching beret, to complete the vintage look completely.
If you enjoy crochet shawls, you can find The Delicate Rose Vintage Shawl also on my blog. This is a also an original design that is perfect if you are a beginners, but want to make something beautiful. I love shawls so much as they are often so relaxing to make.
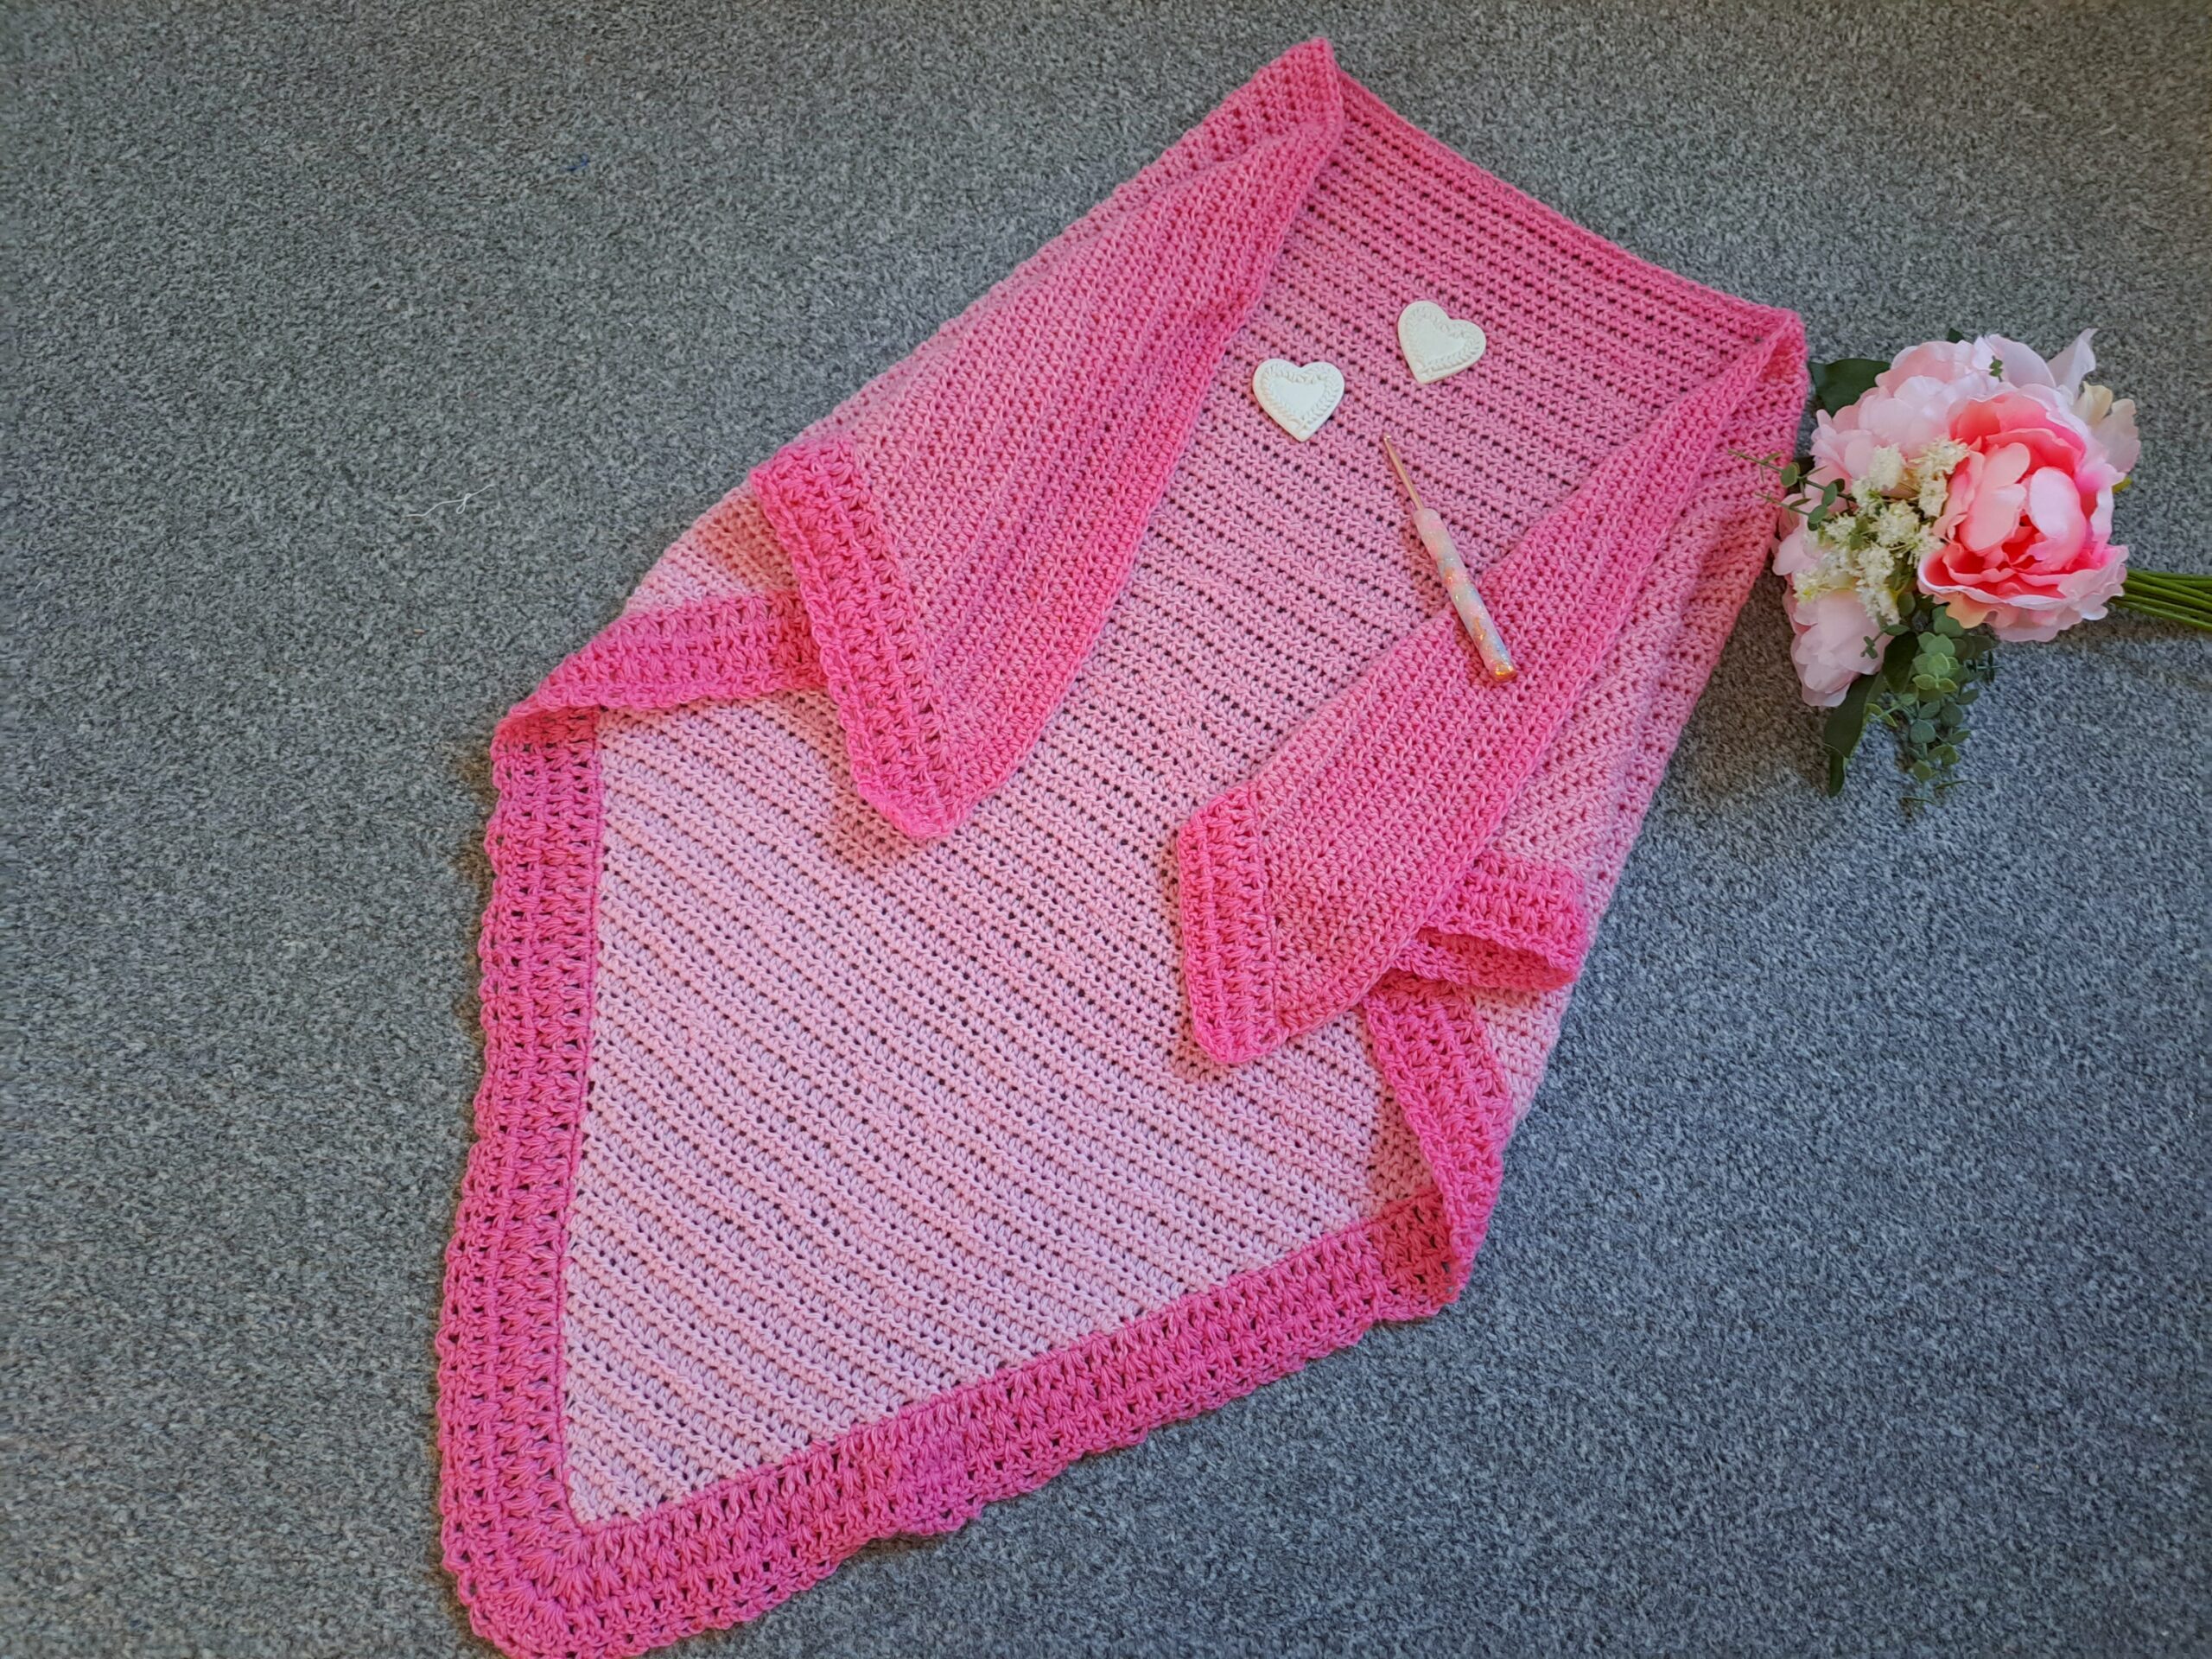
This shawl is very simply crocheted with a Half Double Crochet repeat pattern. Once this pattern is repeated to create the large V shaped shawl, the lovely feminine border is then added. This feminine border is made of V stitches and then a chain arch edging is later added. It’s an easy yet beautiful crochet project to make.
Crochet The Rose Petal Shawl Free Pattern: The Yarn
For this project, I used Rico Designs Creative Wool Degrade yarn in shade 02 Fuschia. This is probably my favorite yarn to date! It is so beautiful and soft, and the pink shade is absolutely perfect too. I used this yarn for The Fantine Shawl that I crocheted a few years ago, and which I still absolutely love. This is a great yarn to work a shawl with, as it has a lot of texture to it.
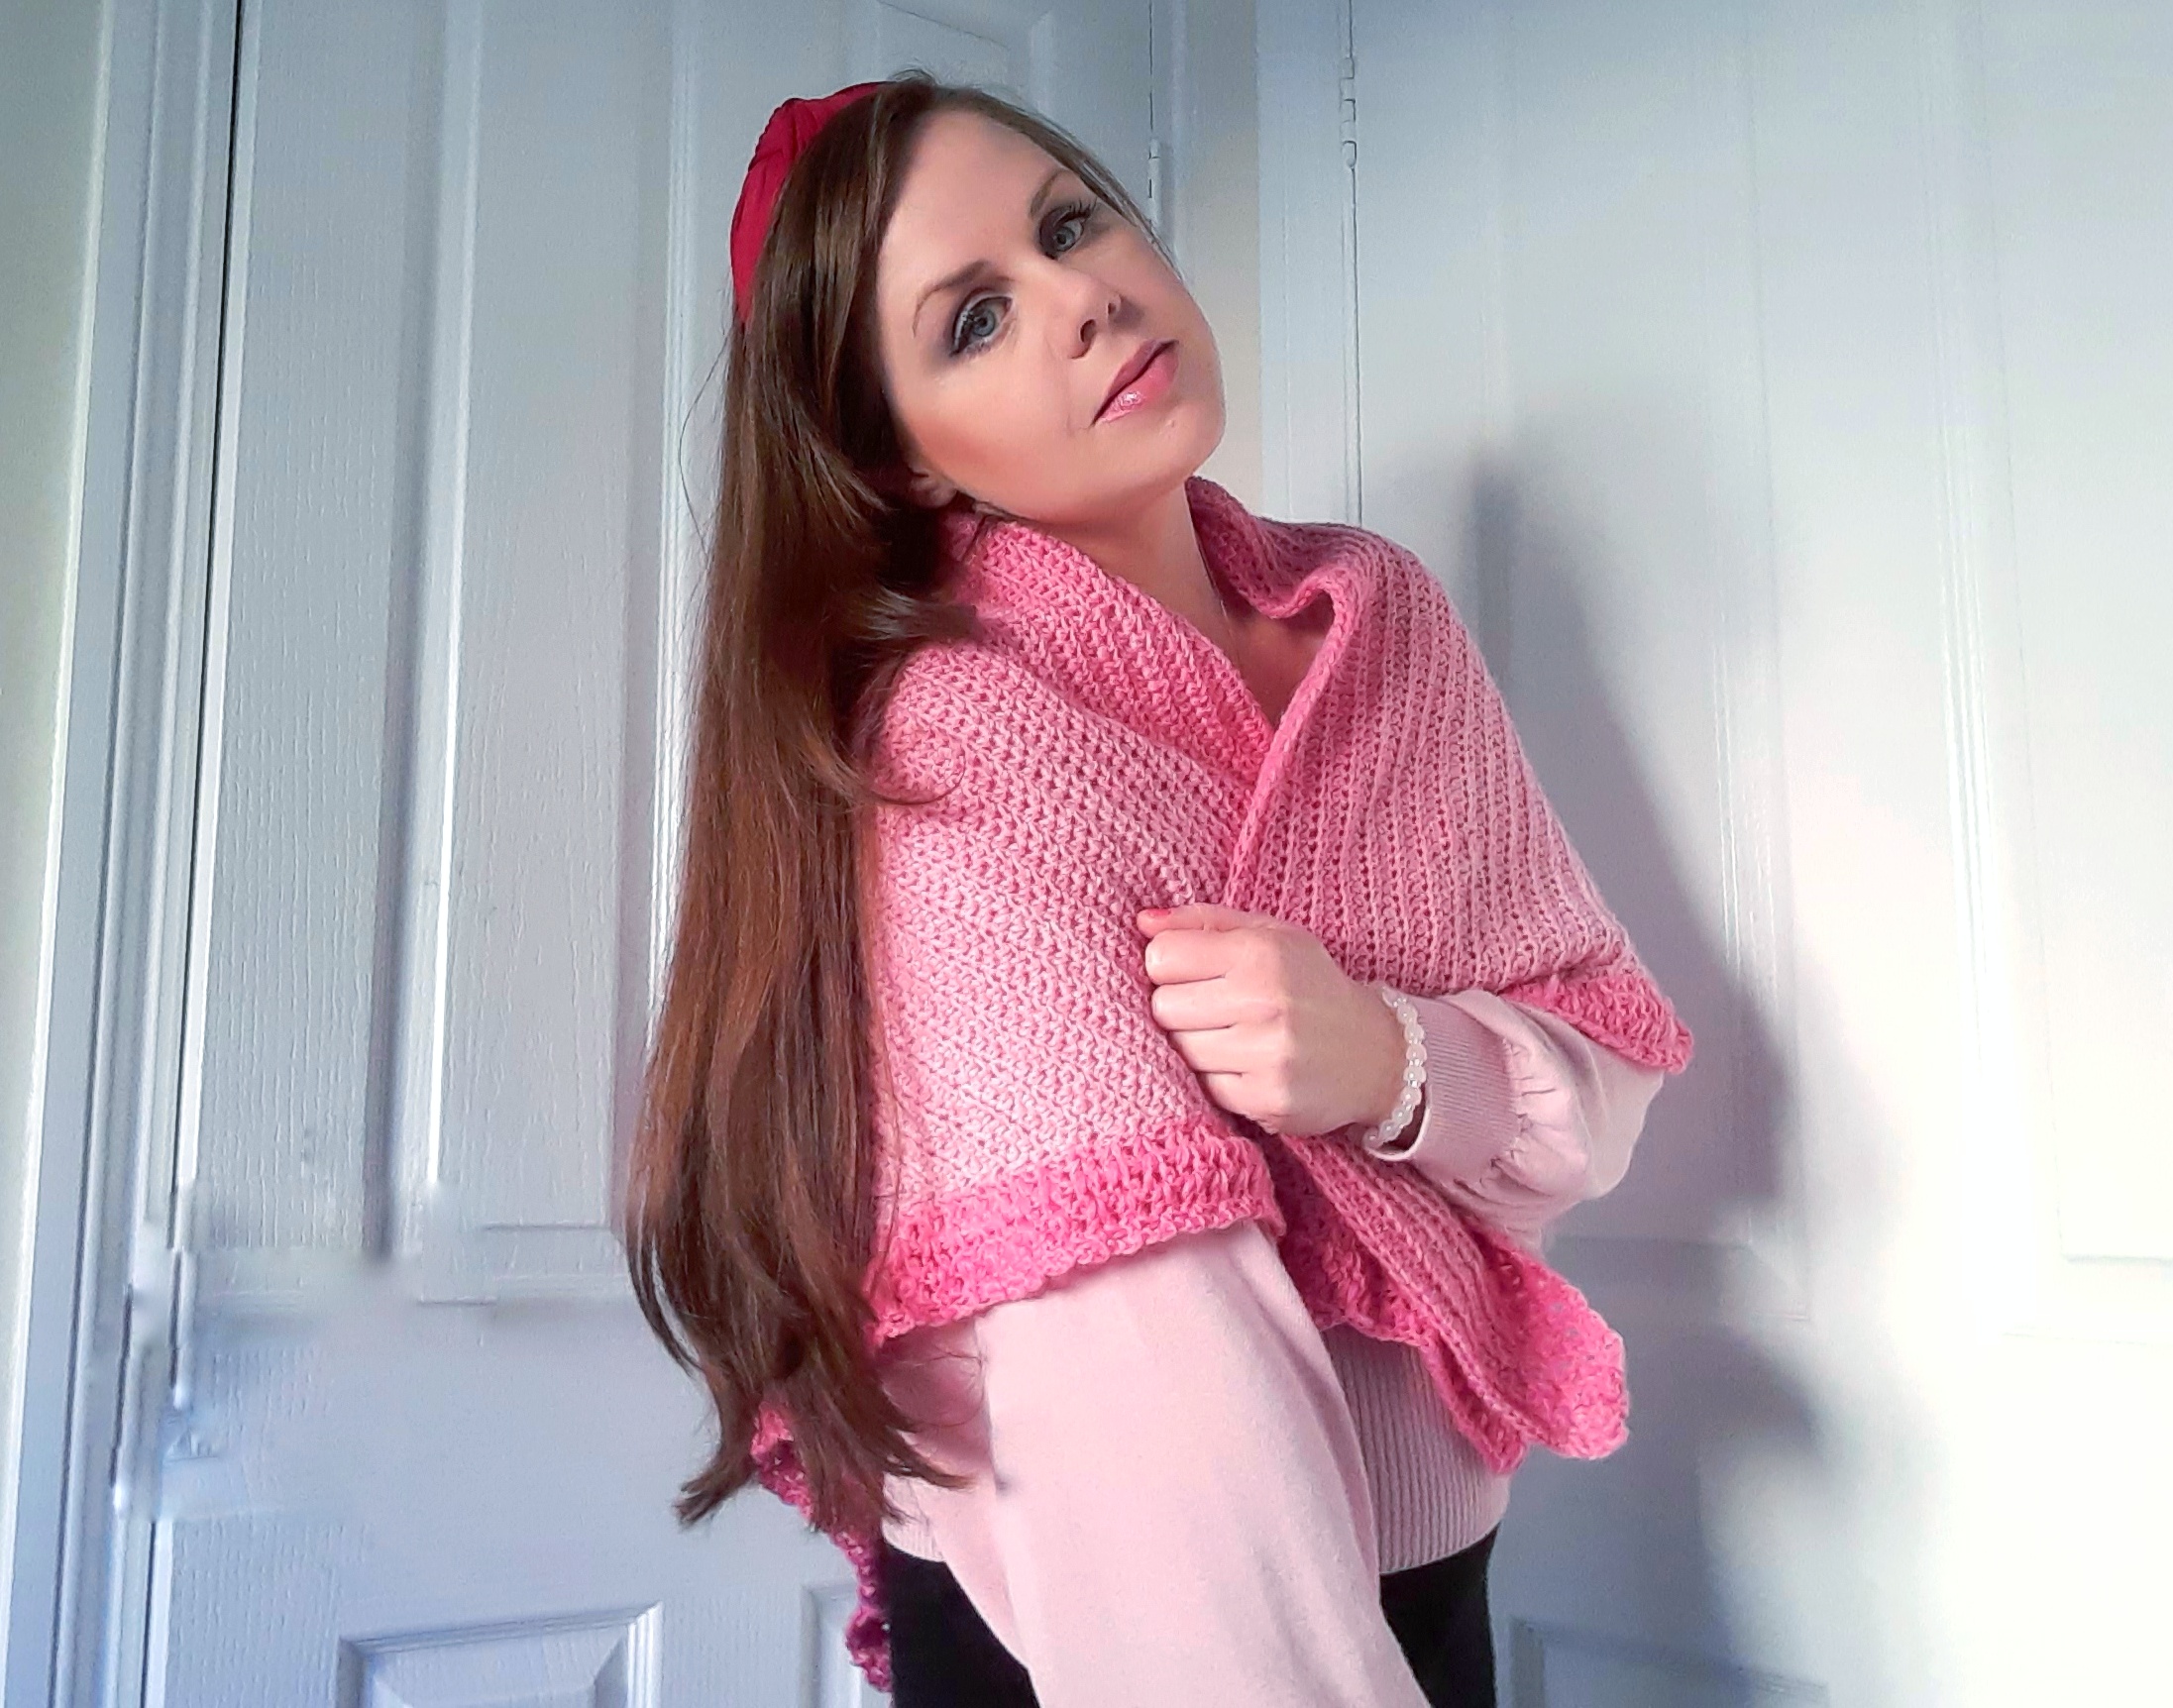
I think I may purchase more of this yarn, as I love it so much! Also, one skein is enough to crochet a whole shawl with, which makes it even more perfect. If you are looking for a lighter and more summery shawl, you can check out The Summer Sunset Shawl. This Summer shawl is crocheted with Rico Designs yarn too, but a cotton/acrylic melange version instead of the wool/acrylic blend that is Creative Wool Degrade yarn. This is perfect for Spring and Summer projects too, and could be a substitute to the wool version.
I hope you enjoy this fun crochet project. It is a perfect wrap for the Winter season. Let me know if you crochet this shawl.
Connecting with you
I love connecting with my Crochet Community through my blog and Social Media. You can find me on Youtube, Instagram, and Pinterest. I would love to connect with you on these platforms.
You can also join my private Facebook group to connect.
You can subscribe to my weekly newsletter here, where you will be updated every week on my news and all this things crochet related:
Crochet The Rose Petal Shawl: The Pattern
You can purchase the ad free, large print, PDF pattern from my Etsy shop here: Crochet The Rose Petal Shawl PDF Pattern
You can purchase the ad free, large print, PDF pattern from my Ravelry store here: The Rose Petal Shawl PDF Pattern
Level: Easy/beginner
Gauge
4”x4” (10×10 cm) = 16 Half Double Crochets
4”x4” (10x10 cm) = 12 rows
Size of finished shawl (including border)
33,5” (85 cm) x 54,5” (139 cm) at largest point
Notes
I will be using US terms (British terms in brackets)
You will need
1 skein of Rico Designs Creative Wool Degrade in shade 02 Fuschia
A 4,5 mm crochet hook
Pair of scissors
A tapestry needle
Abbreviations
Ch: chain
St: Stitch
Sl st: slip stitch
Sk: Skip
Sp: space
HDC: Half Double Crochet (Half Treble Crochet)
SC: Single Crochet (UK Double Crochet)
DC: Double crochet (UK Treble Crochet)
EOR: End of row
To begin
To start, make a slip knot.
1: Ch.5, HDC into 3rd chain from hook, HDC into next 2 st, 2 HDC into last chain.
2: Ch.2 (counts as your 1st HDC), turn your work, HDC into same 1st stitch (=2 HDC together), HDC into each st along, 2 HDC into last st.
3-93: Repeat row 2.
Do not fasten off.
V stitch and shell border
Row 94: Ch 1, turn your work, place SC across the first side of the V of the shawl, then place more SC across the second side of the V of the shawl. Make sure you are placing an even number of SC across the border.
This is the wrong side of the stitches, so just make sure you place all the SC evenly so as not to “tighten” the project.
Row 95: Ch 4 (=DC + ch 1 sp), turn your work, sk 1 st, [place 2 DC into the next stitch (=V stitch), sk 1 st] until you reach the top of the V of the shawl (center of project). Place 4 DC (= 2 V stitches) into top of the shawl. Now [sk 1 st, place 2 DC into next st] until you reach the last 2 stitches at eor. Sk 1 st, ch 1, place a DC into last st.
Row 96
Row 96: Ch 4 (=DC + ch 1), turn your work, place a V stitch (=2 DC) into V stitch from previous row until center V stitch (top of the “V” of the shawl). Place 4 DC into V stitch at the top of the shawl (=2 V stitches) 2 times (this means you will be placing 2 x 4 DC into the top 2 V stitches at center of shawl); then place a V stitch into each V stitch from previous row until you reach last V stitch. Place a V stitch into the last V stitch, ch 1, sk 1 st, place a DC into last stitch.
Row 97: Repeat row 96.
Row 98 (chain arch edging): Ch 3, turn your work, sk 1 st, SC into next st, [ch 3, sk 1 st, SC into next st] until eor.
Fasten off, tidy up all loose ends.
