Crochet The Soft Dreams Top
Crochet The Soft Dreams Top
Hello everyone, I hope you are well. Today I am bringing to you a brand new crochet tutorial and free pattern. This project is about how to crochet The Soft Dreams Top.
This crochet project is really cute and easy. It requires practically no sewing and is crocheted from the top down. If you are a beginner crocheter, this is a great project if you want to start crocheting garments.
The video tutorial can be found on Youtube: Crochet The Soft Dreams Top Video Tutorial
Crochet The Soft Dreams Top: the yarn
This project is a joy to crochet. It is very easy and works up quickly. You do not need a lot of crochet skills to make this.
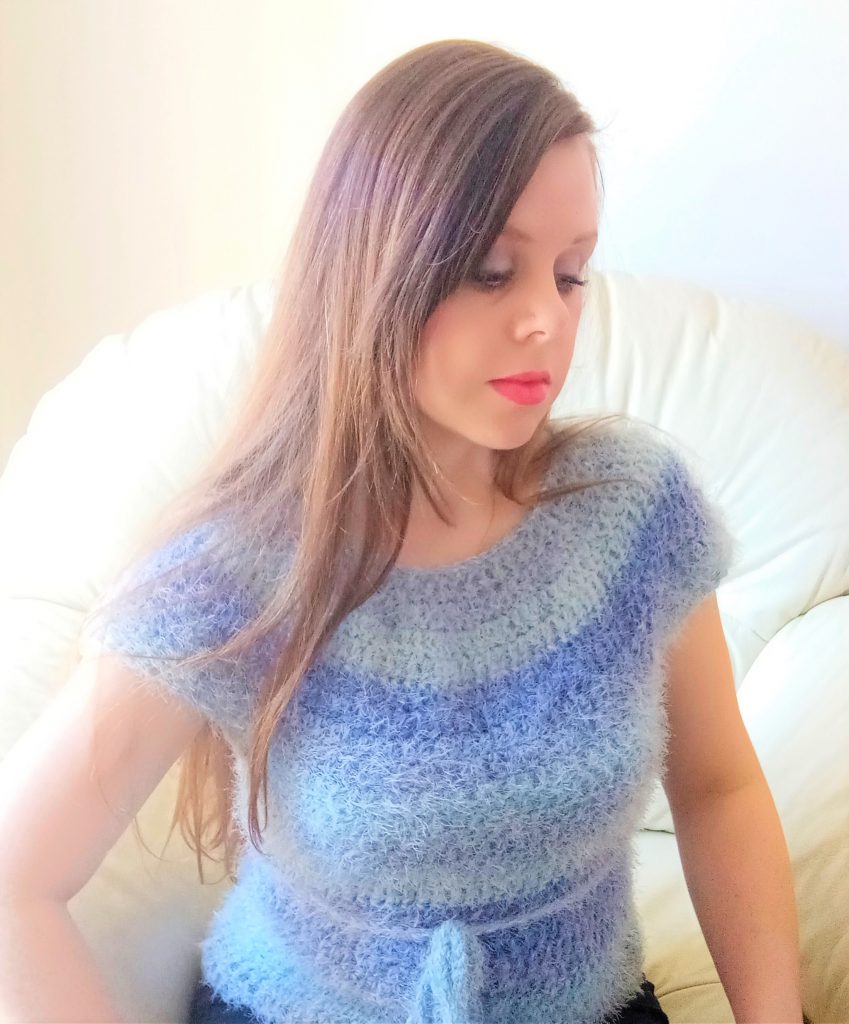
I used Caron Latte Cake for this project. It is very soft and fluffy, and is an absolute dream to crochet. This yarn has become one of my favourites for the Autumn/Winter season. The best news is that you only need one skein of this yarn to make the whole top!
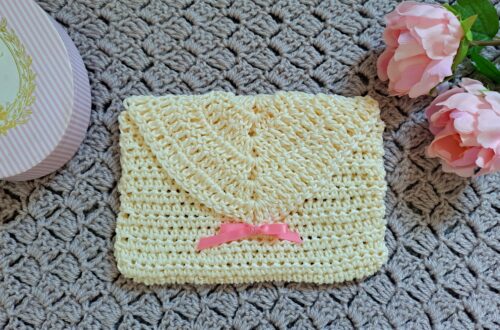
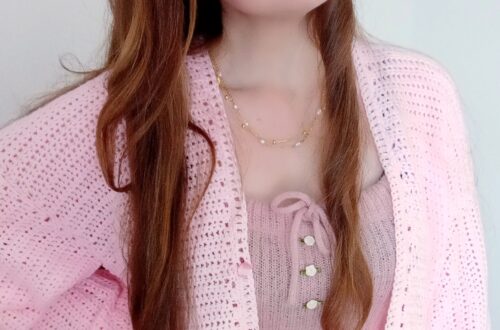
I love this yarn so much I have made quite a few projects with it already. You can find all these projects on my blog.
The colourways of this yarn are amazing too. I have made two Soft Dreams top already, one in shade Plum Fresh, and another in shade Blueberry. I love this yarn so much I already want to create a sweater with this too. Have you ever used this yarn for a crochet project?
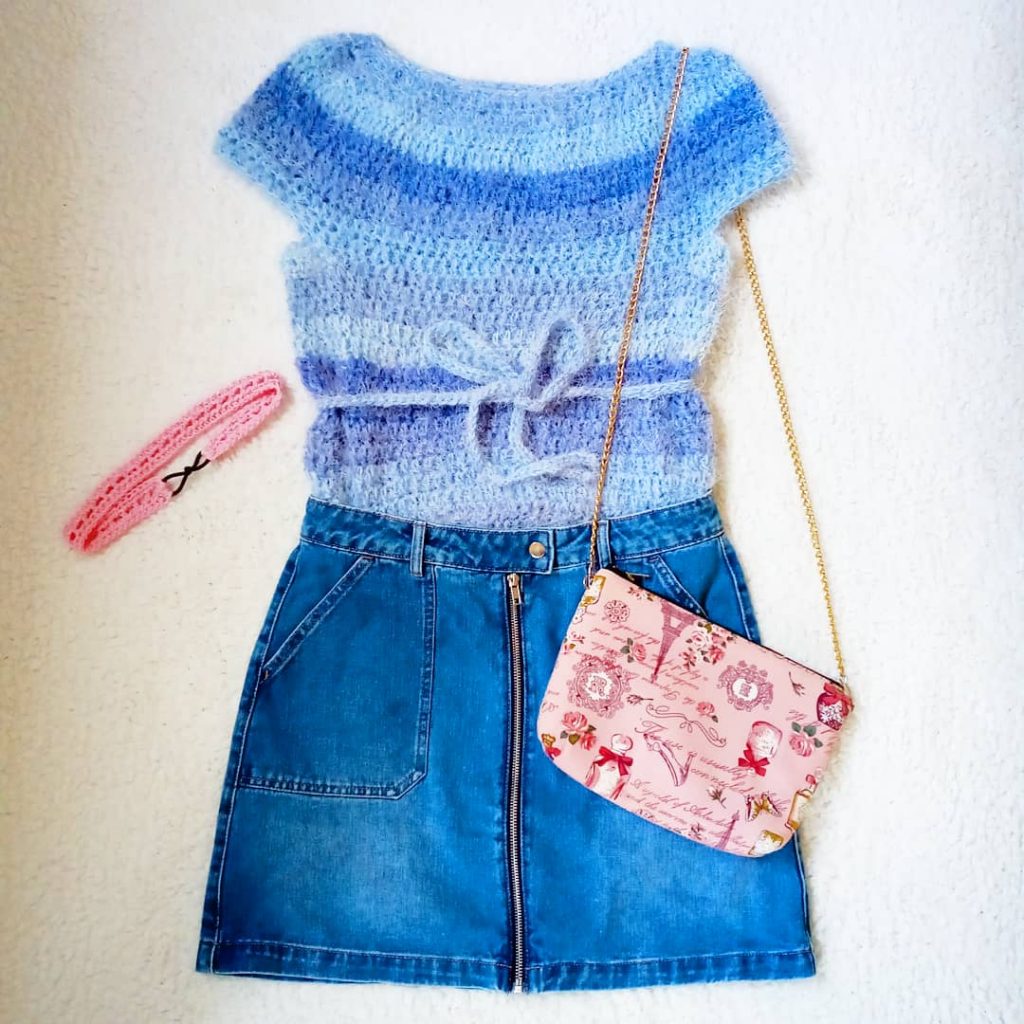
Crochet The Soft Dreams Top: a versatile Autumn Top
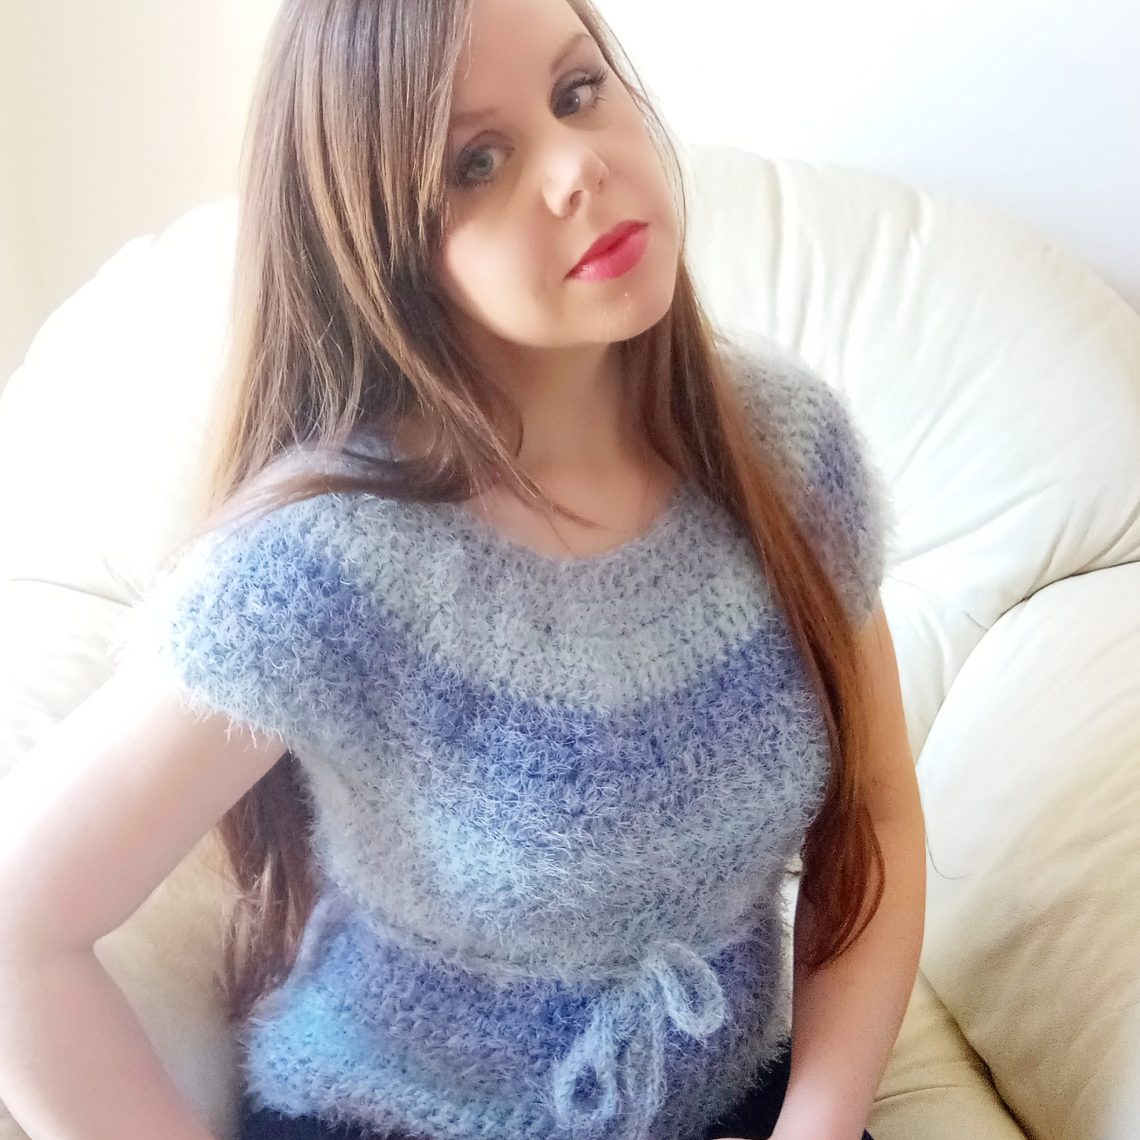
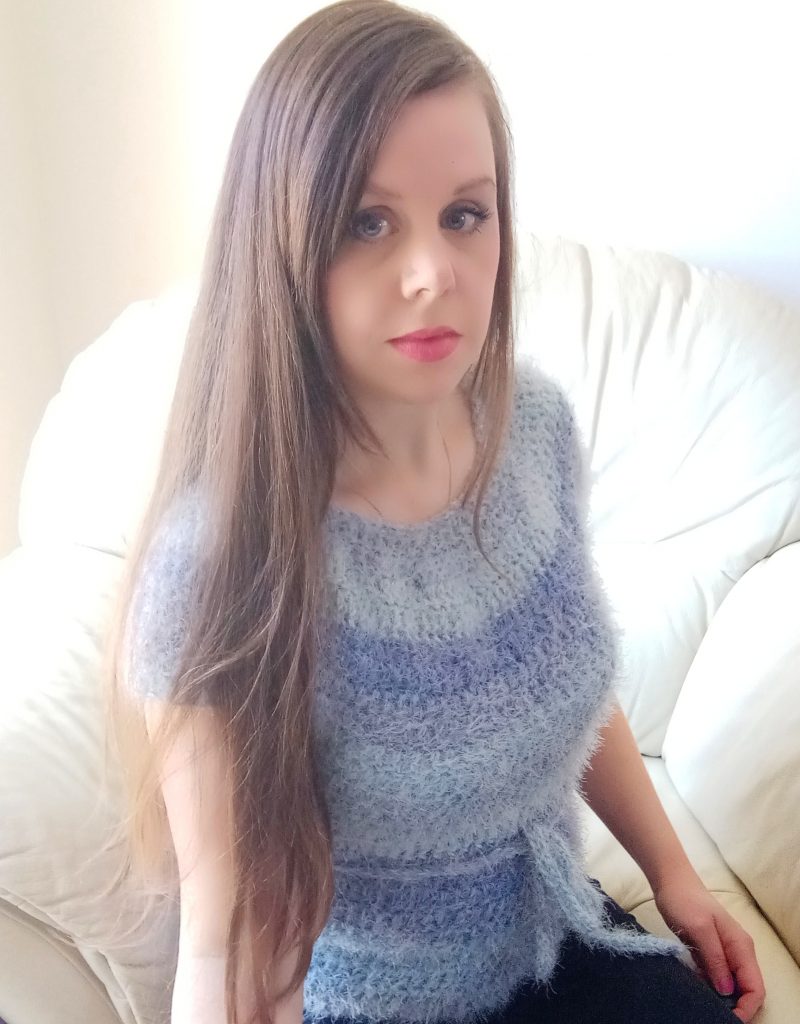
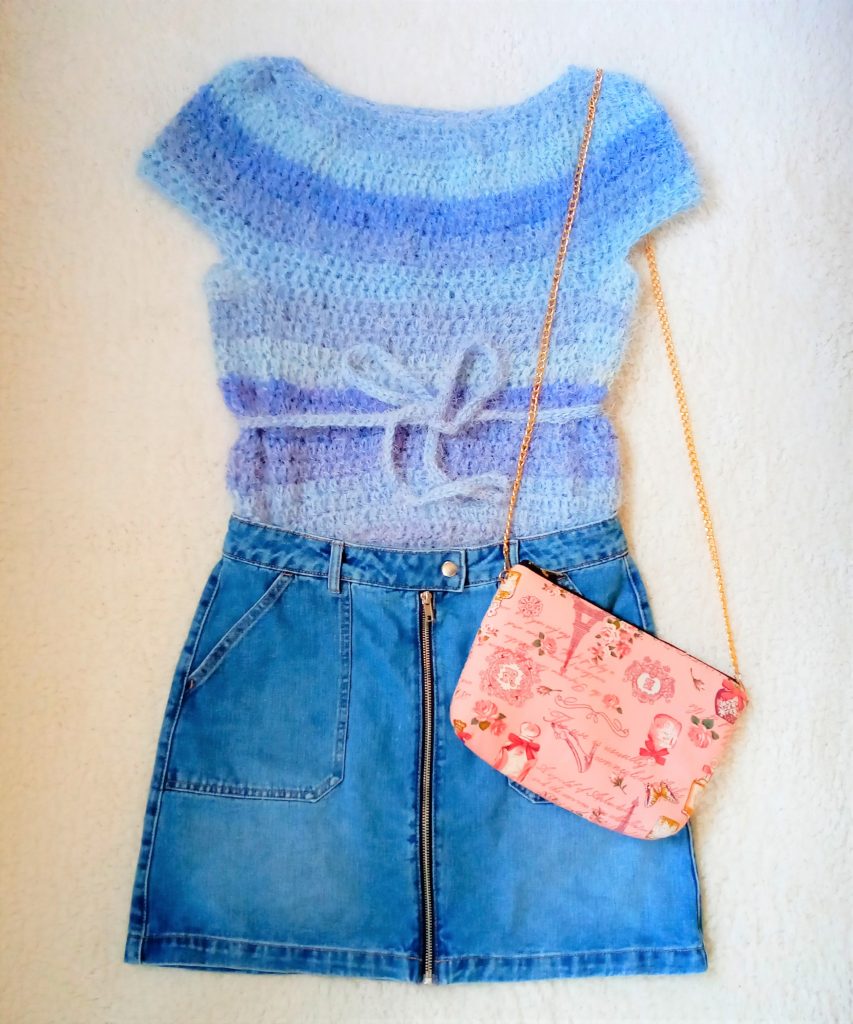
This top is really great for when the weather gets chillier. Indeed, it can be worn on it’s own and keep you nice and cosy. And for added elegance and warmth, you can also wear it on top of a plain long sleeved top or shirt too!
The dainty little belt that goes with this top gives it extra elegance. I cannot wait to wear this crochet top!
I also love the fact that it looks so cosy and fluffy, and yet the yarn does not contain any yarn! This is a great bonus if you are making this as a gift and you do not know if the person you are making this for is allergic to wool.
Connecting with you
I love connecting with you and hope you enjoyed this tutorial! Don’t forget you can also follow me on Youtube, Instagram, Pinterest and Facebook. All of my Social Media is linked on the Homepage of this blog. You can always find me under the name Selina Veronique Crochet. I love to connect with you so please do leave me a comment if you wish.
You can join my private Facebook group to connect: My Facebook to connect
I would be delighted if you wanted to join my weekly Newsletter list. You will then know first of all my free pattern releases, new video tutorials and give-aways.
Thank you so much for stopping by my blog. I really hope you enjoyed this new free pattern and tutorial, and I really appreciate all your support. I hope you have a lovely week, take care my lovelies,
Xoxo Selina.
Crochet The Soft Dreams Top: The Pattern
You can purchase the ad free, PDF pattern from my Etsy boutique: Crochet The Soft Dreams Top PDF pattern
Level: Easy/beginner
Gauge: 10 x 10 cm (4”x4”) = 11 DC across and 5 rows of DC
Notes:
I will be using US terms (British terms in brackets)
Pattern written for size S, size M written in ( ), size L in [ ], and size XL * *
Materials:
1 skein of Caron Latte Cake
6,5 mm crochet hook
Pair of scissors
Tapestry needle
Stitch markers (or yarn used as stitch marker)
Abbreviations:
Ch : chain
Sl st : slip stitch
St: stitch
SC: Single crochet (SC)
DC: Double crochet (UK Half Treble)
TC: Turning chain
EOR: End of round
Begin pattern here:
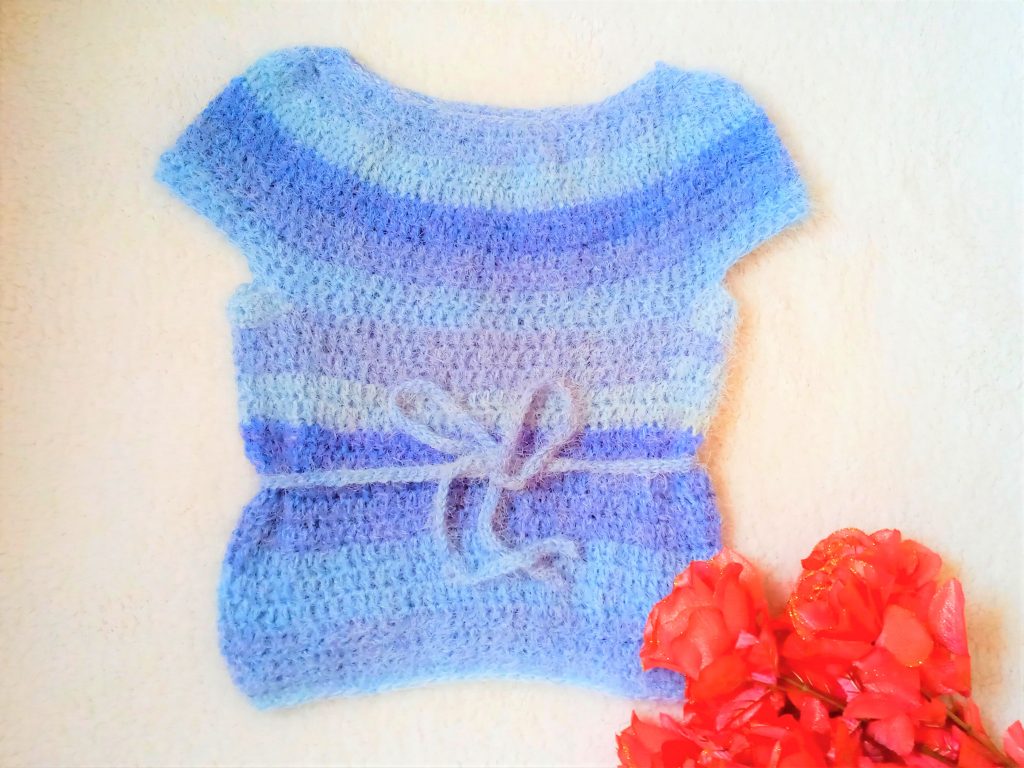
This pattern is worked in rounds, from the top down.
Ch 67 (70) [73] *76*, and slip stitch to 1st ch making sure you do not twist the ch (you can watch my Youtube video for a simple hack that will make this process very easy)
Complete rows as follows:
1: Ch 3 (=DC), DC into 2nd ch and across all chains until eor. Sl st to first ch 3 to finish 1st round
2 (increase row): Ch 3 (=DC), place 2 DC in same 1st st (=3 DC together in same st), place 1 DC in next 2 st, [3 DC in next st, 1 DC in next 2 st] until eor. Sl st to 1st ch 3 to finish round.
3: Ch 1 (=TC), DC in 1st DC from previous row, DC in each st across until eor, sl st to 1st ch 1 to finish round.
4-9 [10] *10*: Repeat row 3
Fasten off yarn.
Create armholes:
Place your project flat, count 12 [14] *15* stitches from each side of project (=24 [28] *30* stitches in total as it includes stitches from the front and the back); place yarn stitch marker onto project. This creates the arm holes. Do this on each side of the top.
Round 10 [11] *11 *: Attach yarn onto one side of the project, into the stitch placed next to either stitch marker.
Ch 3 (=DC), DC into next st and each stitch across until you reach the stitch marker on other side of the top. Once your reach st marker, ch 10 [12] *13 *, skip 24 [28] *30 * stitches. Slip stitch your yarn to the st next to the next stitch marker, ch 3 (=DC), DC into next st and into each st across until next st marker. Ch 10 [12] *13 * and skip 24 [28] * 30*, sl st yarn to the other side, into your 3rd ch from your first ch 3.
Create armholes, next stage:
11 [12] *12 *: Ch 3 (=DC), DC into 2nd st and into each st (including chains) until eor
12 [13] * 13*: Ch 3 (=DC), DC into next st and into each st until eor
13-28 [14-31] *14-32*: Repeat row 12
29 [32] *33 *: Ch1 (does not count as a SC), SC into 1st stitch, and next 2 st, place a decrease SC into the 4th and 5th st (go into 4th st, pull up a loop, do not finish SC, but instead go into next st, pull up a loop, go through both loops to complete decrease SC); [SC into next 3 st, decrease SC into the next 2 st] until eor. Sl st to first ch to finish round.
30 [33] * 34*: Ch 1 (=SC), SC into next st, and into each st until eor. Sl st to first ch 1 to finish round.
31-32 [34-35] * 36-37*: Repeat row 30 [33] * 34*
Fasten off, tidy up your loose end.
To make up armholes:
Fasten your yarn onto the 1st ch from the 10 [12] *13 * chains that form armholes.
1: Ch 3 on top of 1st stitch (=DC), place a DC into each ch across.
2: Ch 3 on top of 1st stitch (=DC), turn your work, place a DC into each ch across.
Fasten off, leaving a small tail for sewing.
With tapestry needle, sew in both rows onto each side of the armhole. Fasten off, tidy up all loose ends.
To make neck edging:
Attach yarn to any stitch of the neck edging. Ch 1 (=SC), SC into next st and into each st across. Sl st to first ch to complete row.
Fasten off, tidy up all loose ends.


2 Comments
Katrina
I love the look of this sweater but I did not find “finish” bust measurements listed.
Could you please supply them.
Thank you again for the pattern.
Selina Veronique
Hello and thank you, so glad you like it! I will try and add them as soon as I can, hope this helps.