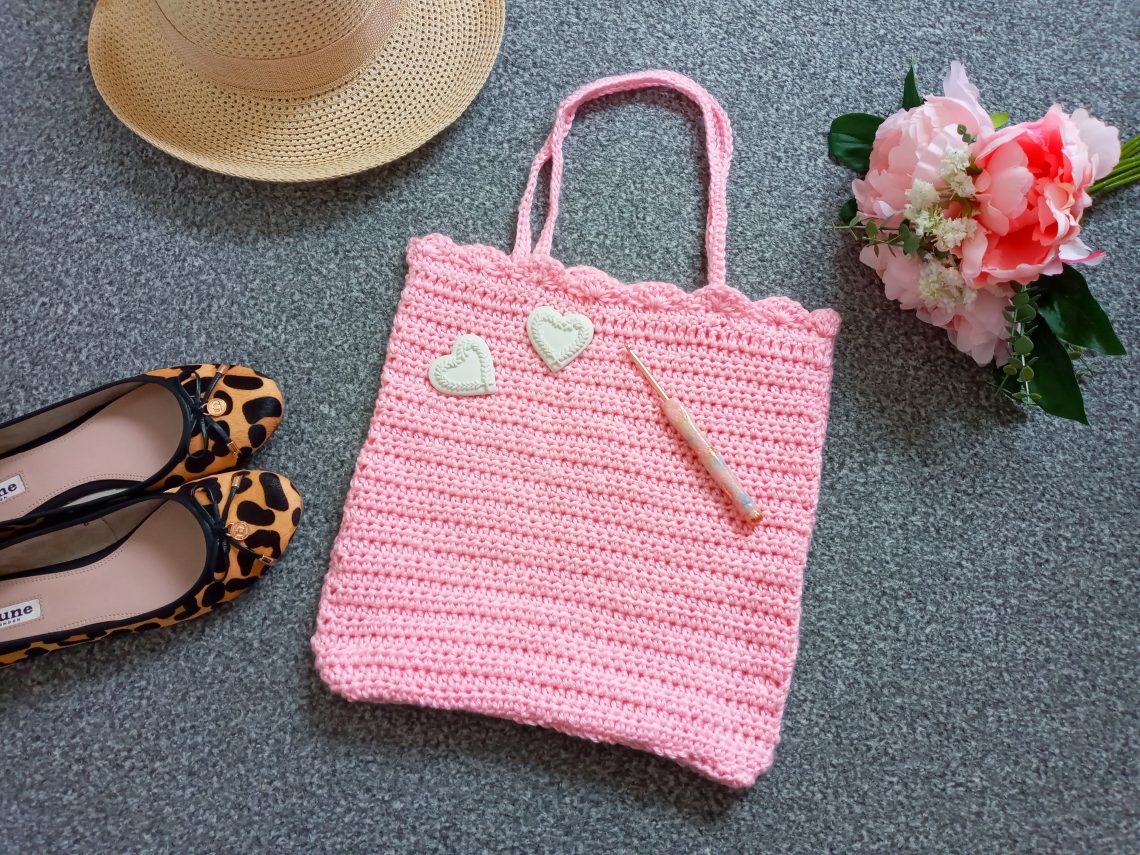
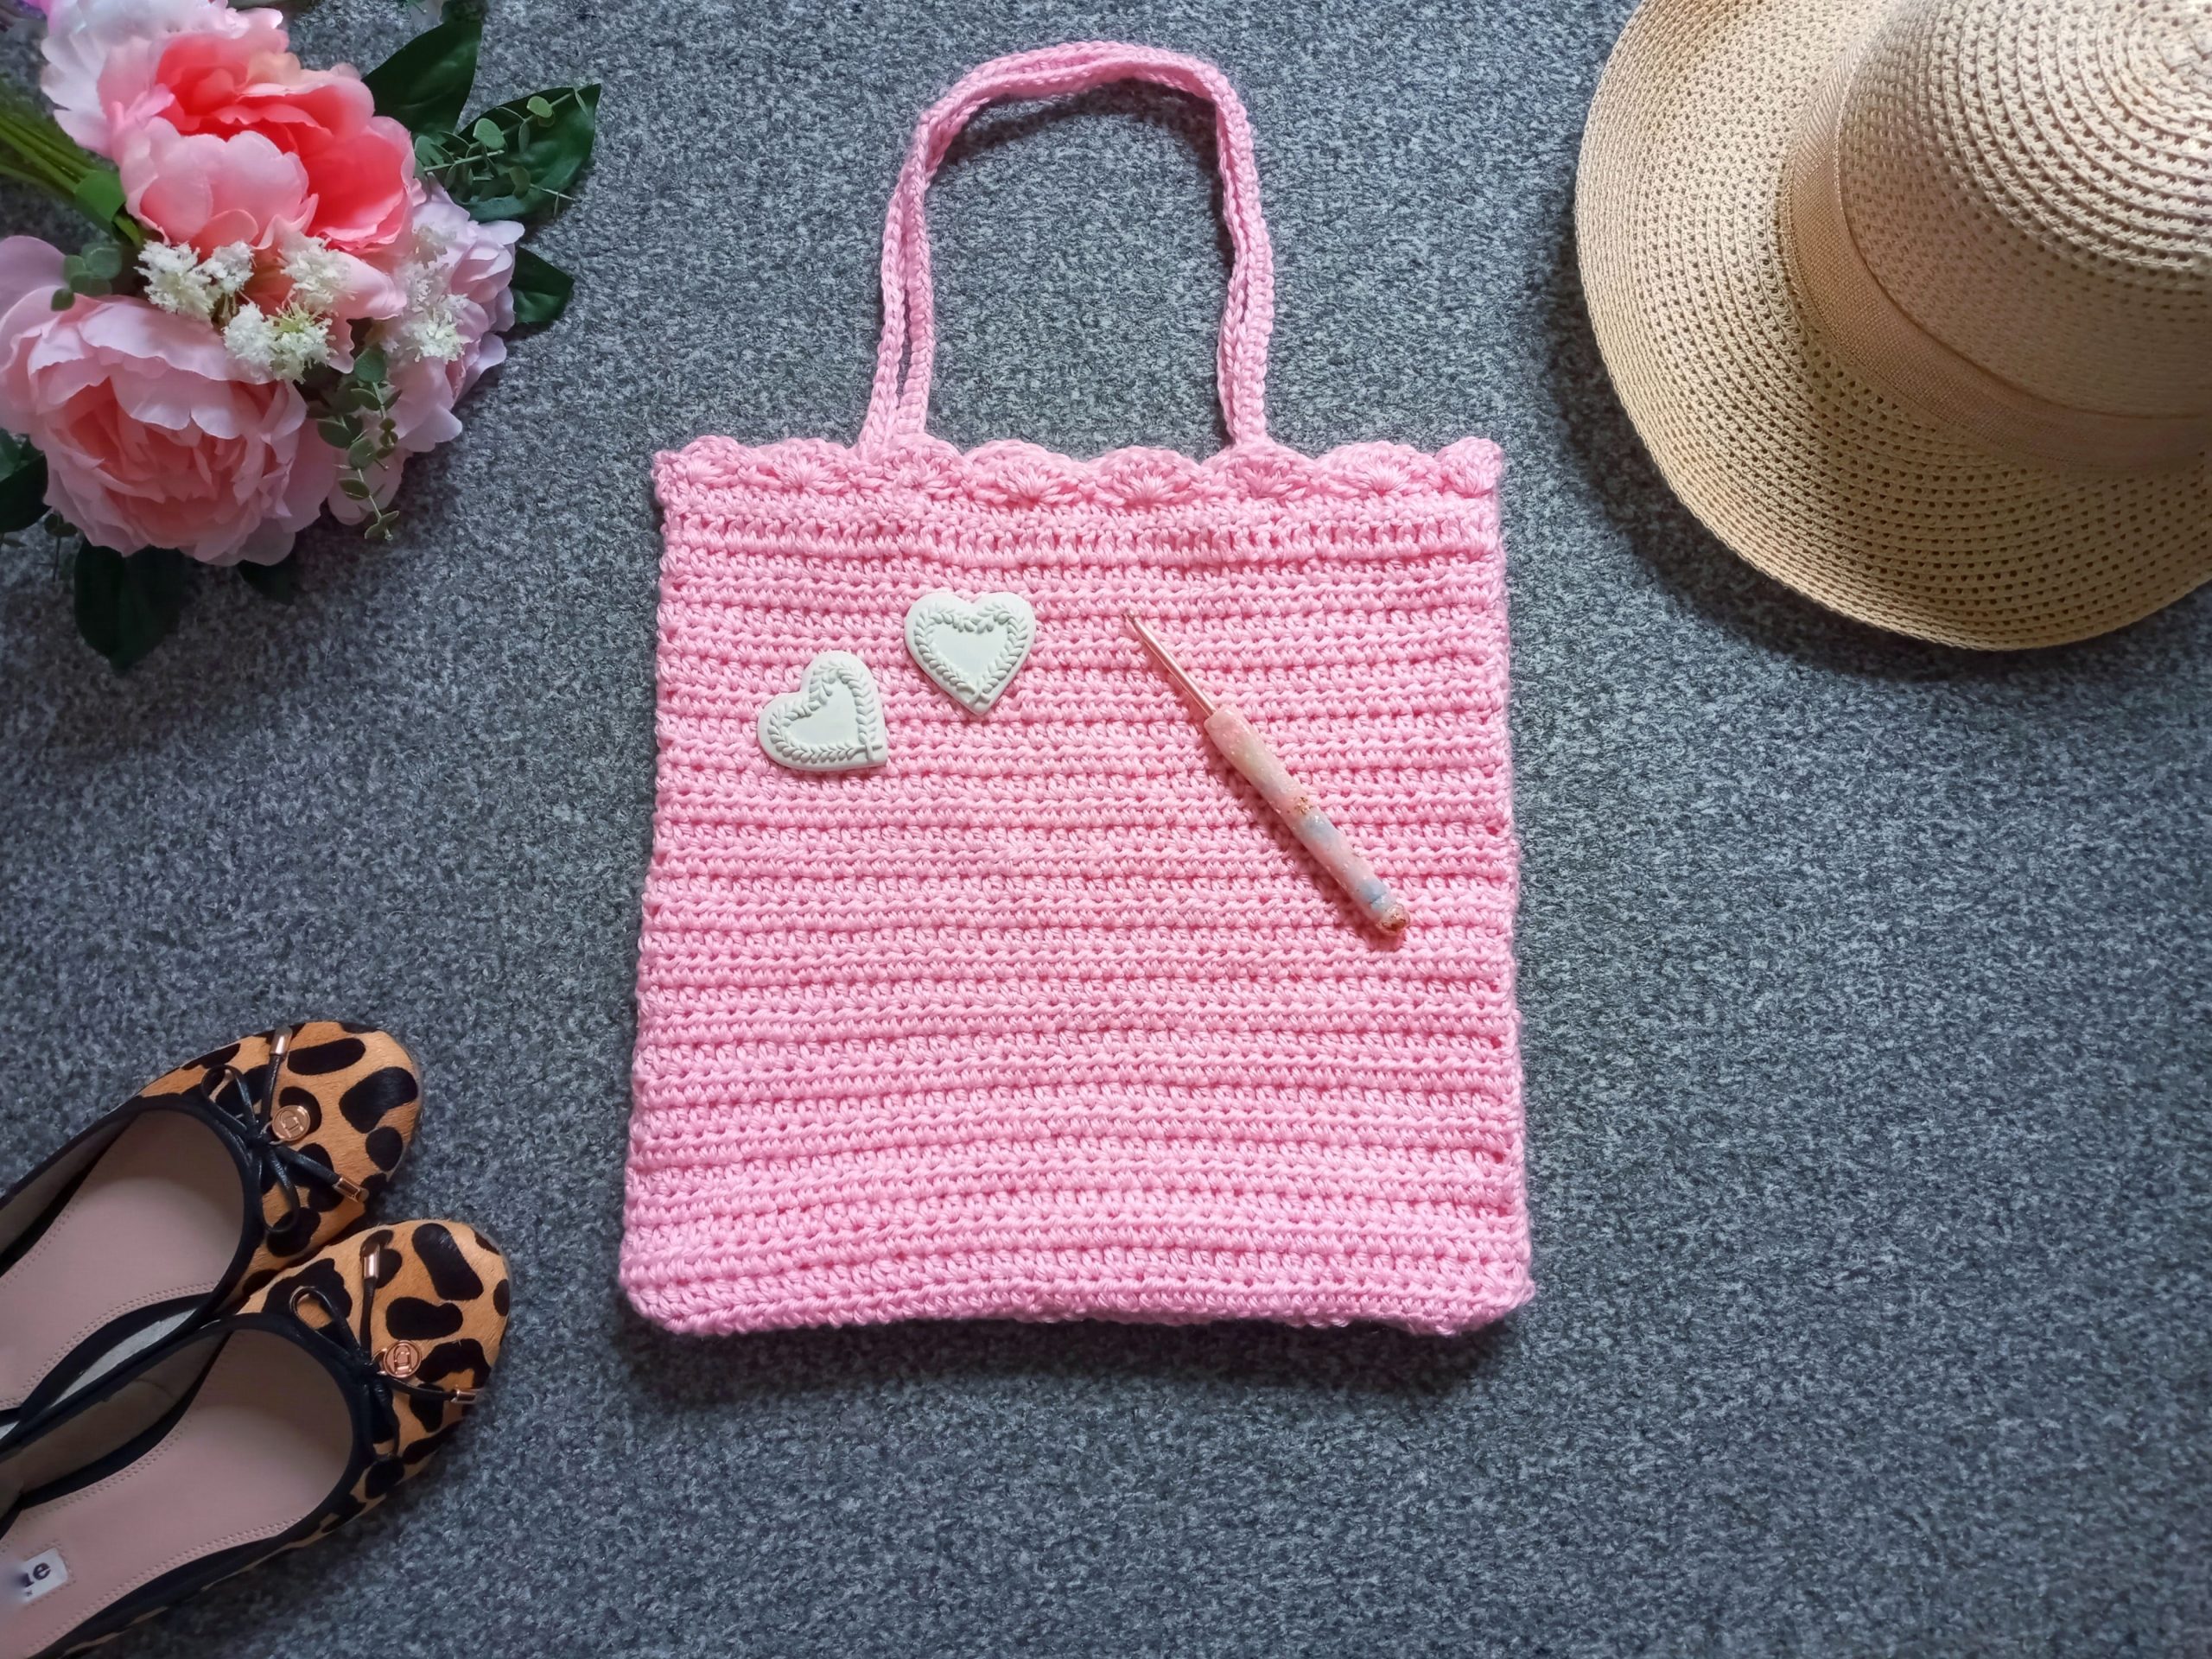
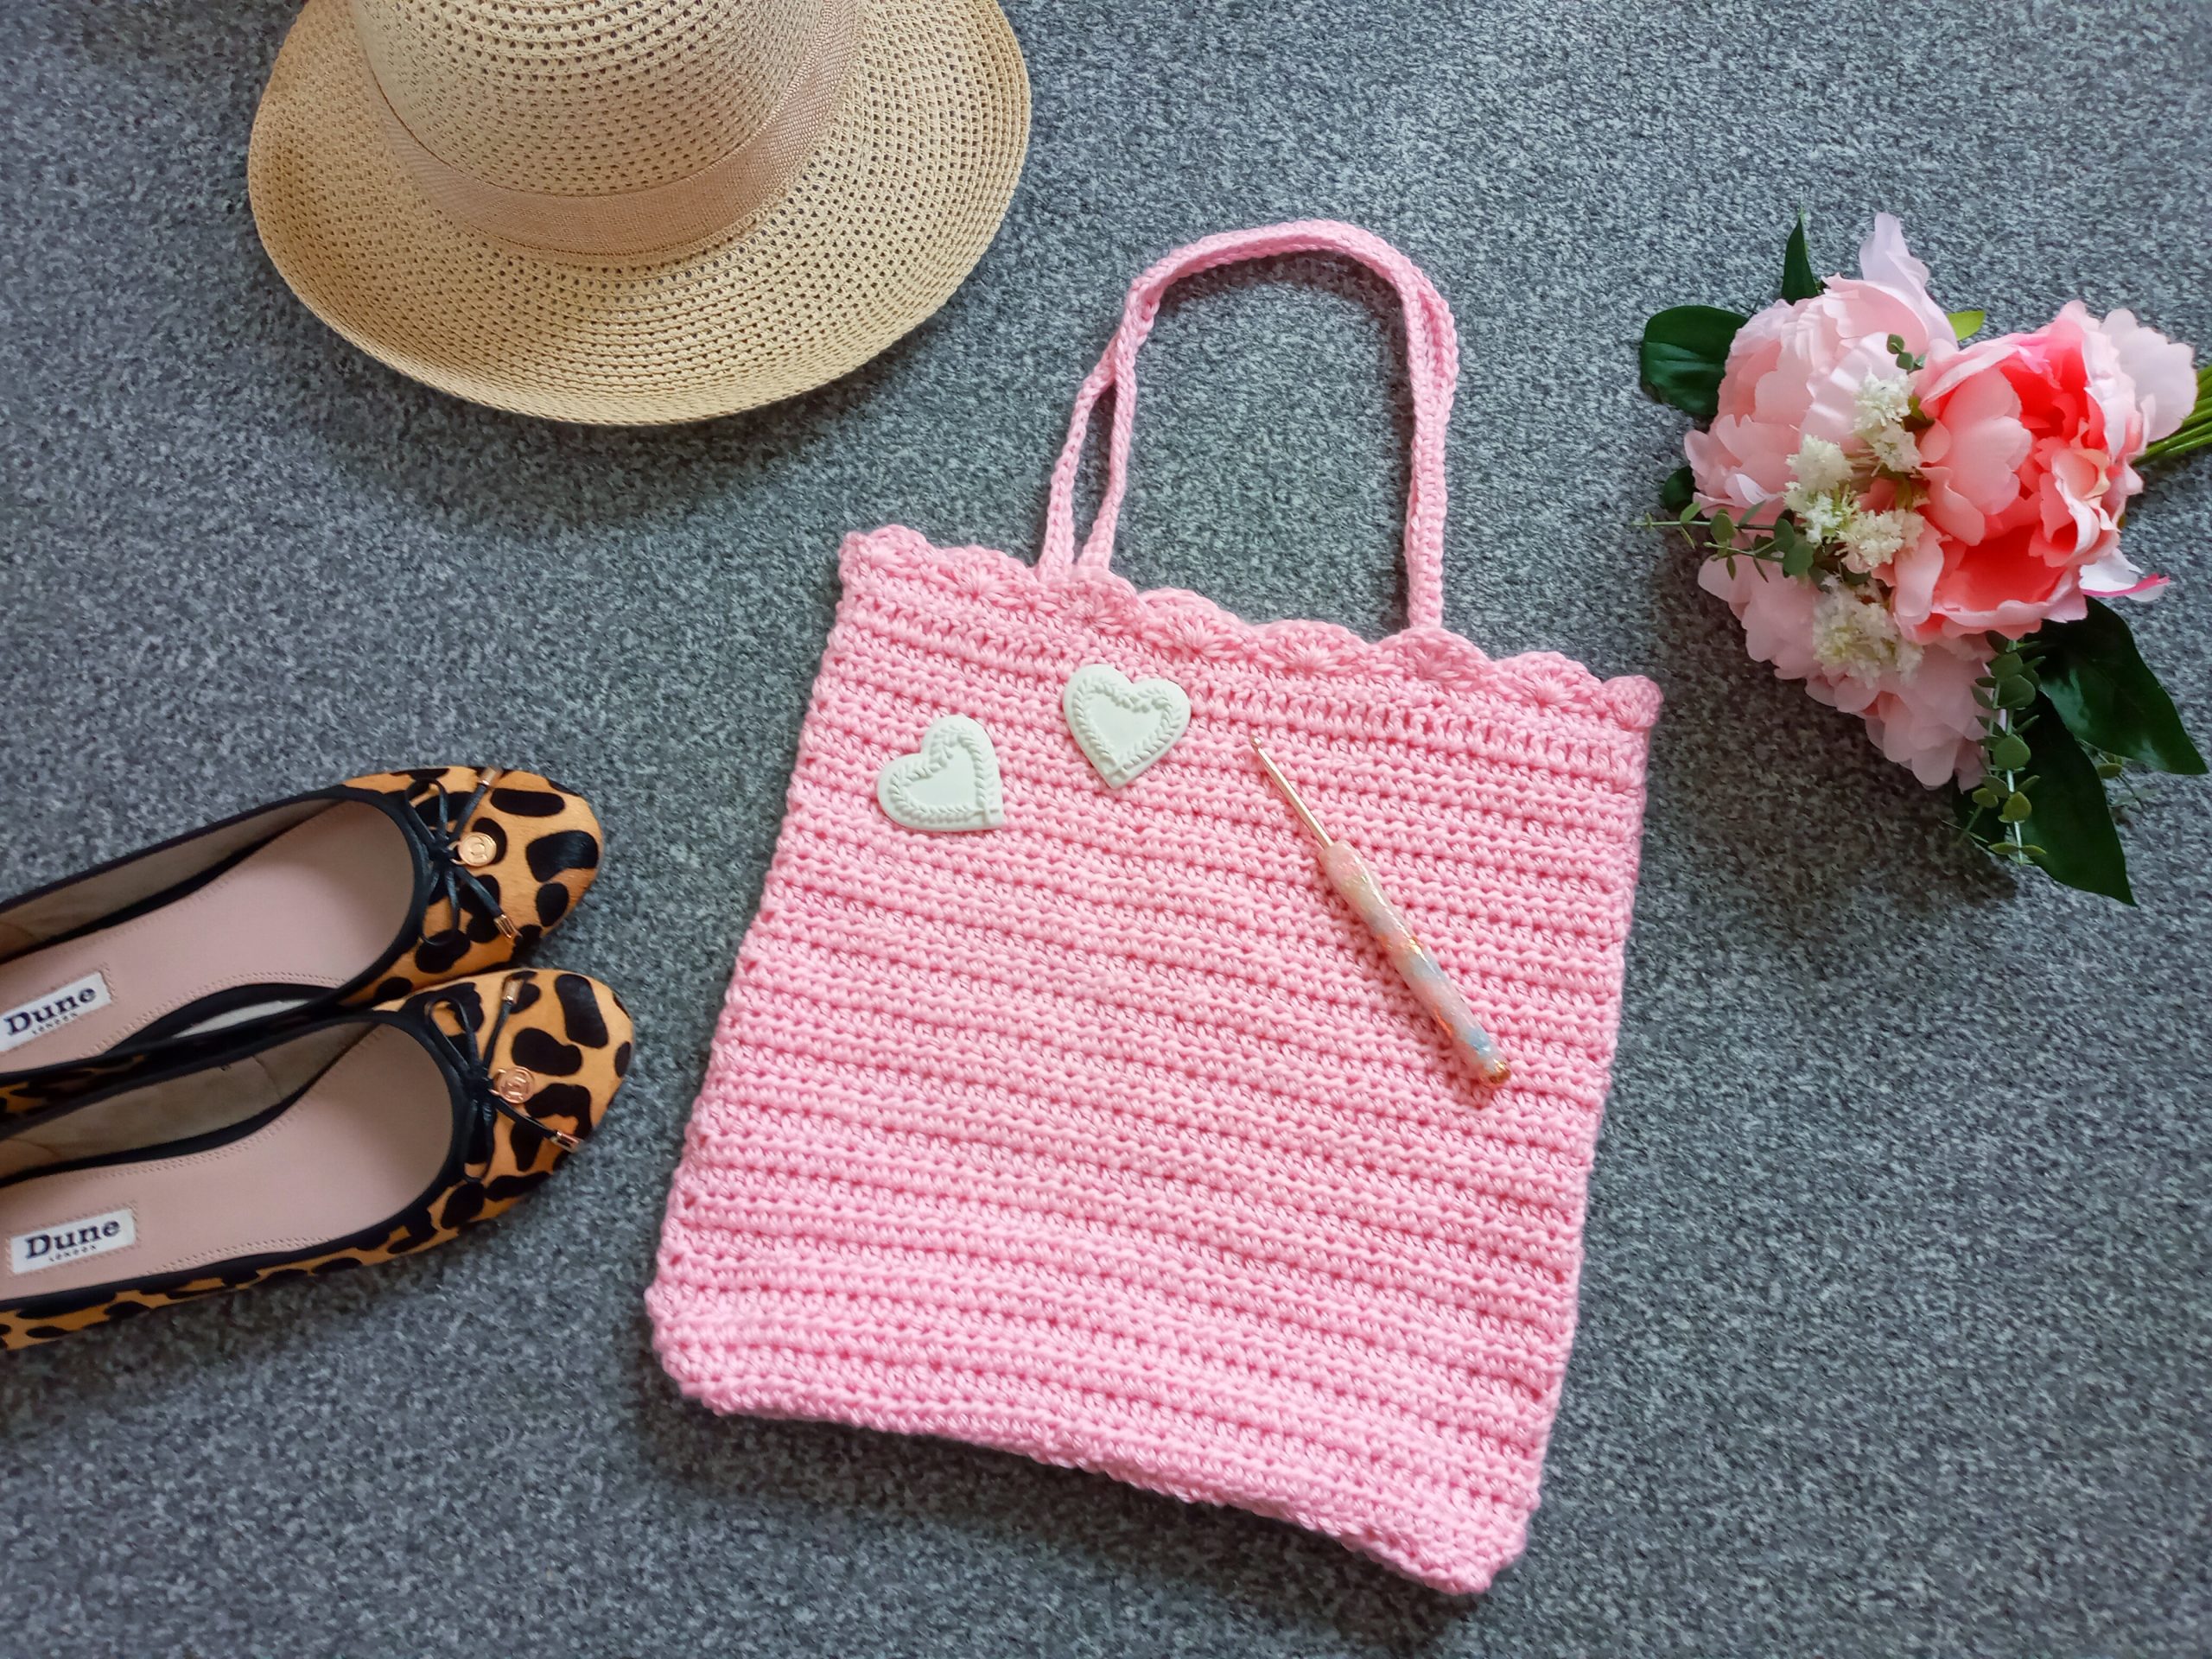
Crochet Tote Bag Free Pattern
Crochet Tote Bag Pattern
Hi everyone, this week I am bringing to you this crochet Tote Bag Pattern. I hope you enjoy this easy and fun project. It’s a really relaxing crochet project to make, and it is so useful too! I can’t wait to use this bag for my daily activities and shopping. Let me know if you enjoy crocheting bags as much as I do!
The video tutorial for this project can be found here:
Crochet Tote Bag Pattern: The Inspiration
It has been a little while since I designed a bag. I crocheted this beautiful and delicate clutch bag just under two months ago, and I do so enjoy making these. As I said before, these projects end up being not only beautiful, but also useful. I know I constantly use the boho festival bag that I designed in the Summer of 2020. It is such a staple in my wardrobe, and I especially love it when it is Summer and my little boy and I decide to go to the beach. As a matter of fact, I cannot wait for the weather to get a little bit better so that we can go to the beach more often. My little boy loves the sand, and even going into the water and splashing about.
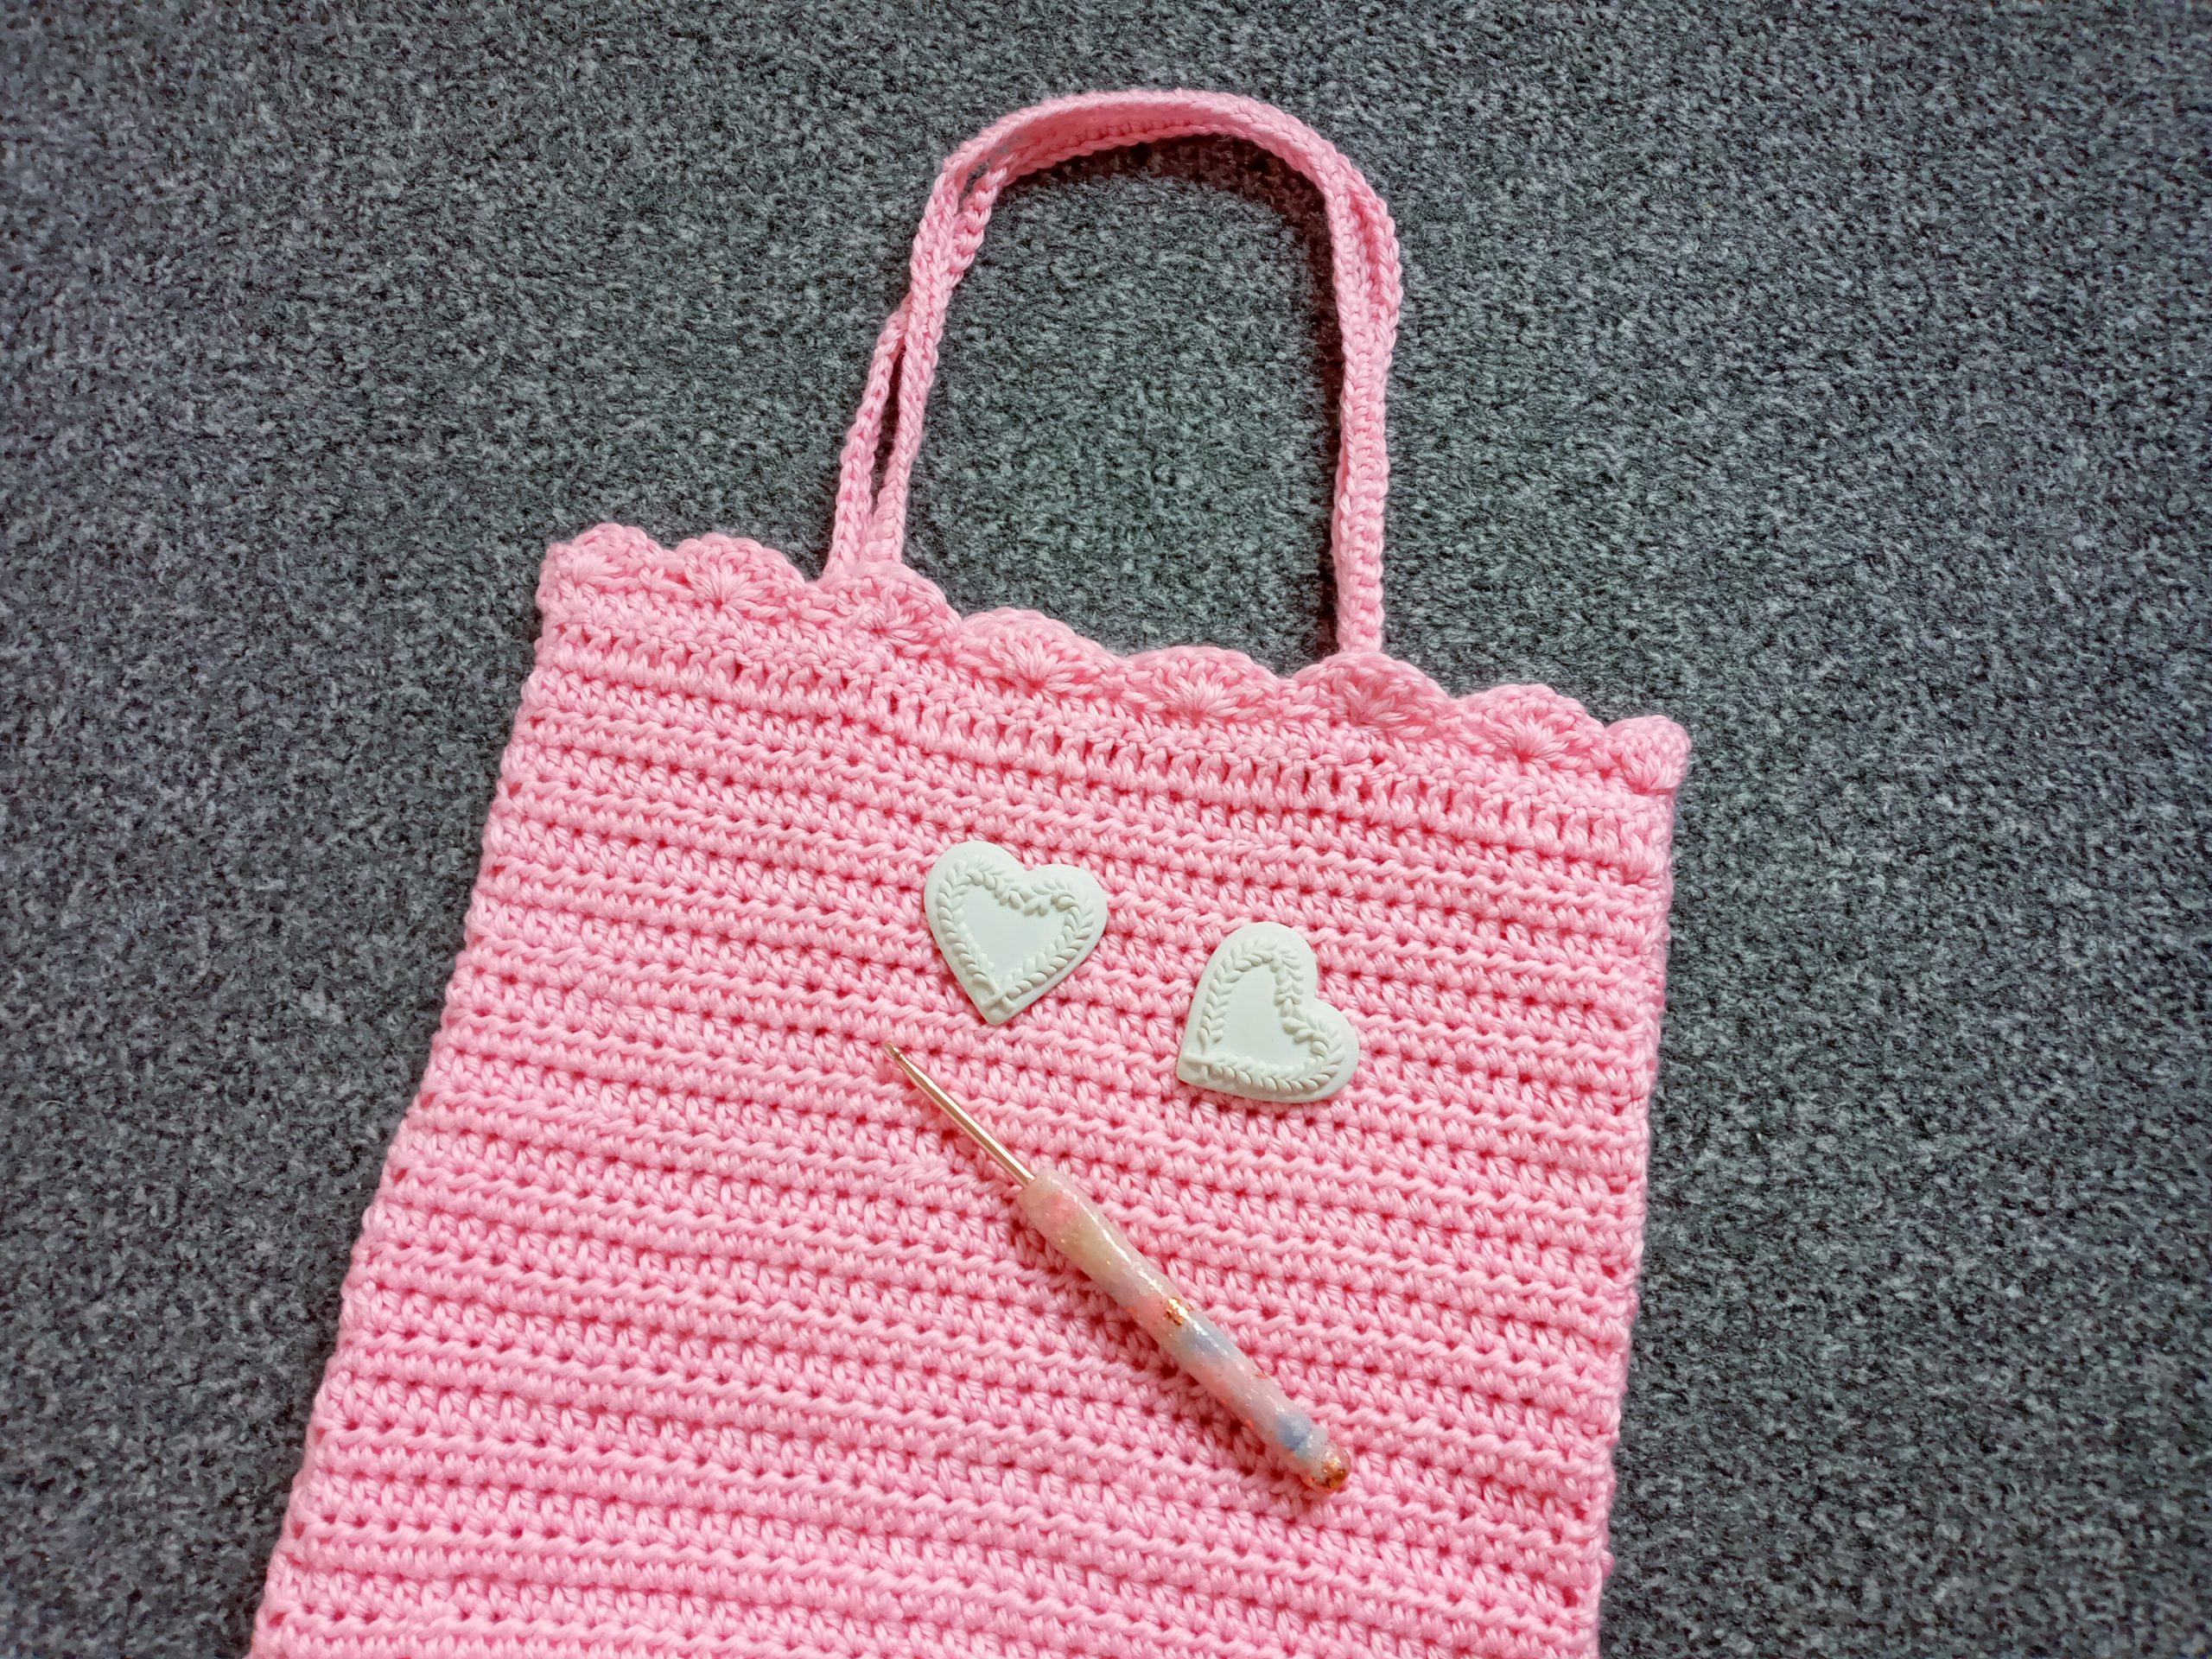
This is the first time I have crocheted a tote bag. It was such a fun project to create, and was actually quite quick to make. There is a little bit of sewing involved, however, that is to be expected when crocheting and assembling a bag. I wanted this bag to be simple and elegant, which a shell stitch detailing. So I added a shell stitch border on the top of this bag, which I find really elevates the whole look.
Once the bottom of the bag and the two sides were crocheted and assembled, I then crocheted the two straps directly onto the bag. It was actually quite a simple and straightforward design.
Crochet Tote Bag Pattern: the yarn
I used Red Heart Soft Baby Steps for this project. Indeed, I thought this specific yarn would be perfect for this project because it is quite a sturdy (yet soft) acrylic yarn. Indeed, the way this yarn is woven creates a non stretchy type of yarn, a little bit like cotton yarn. And this type of yarn is therefore perfect for bags as these are better when they are created and do not stretch out. I find that acrylic yarn isn’t really the best to create a bag with, however, with this yarn this isn’t the case. Indeed, it is a soft and durable yarn, yet it is sturdy and strong.
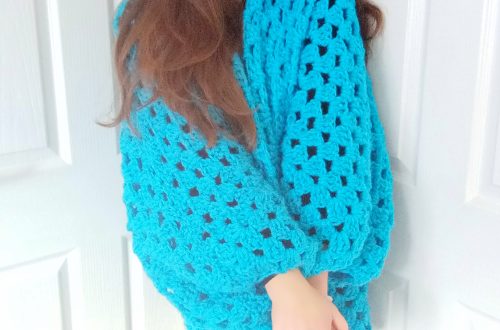
The Periwinkle Cocoon Cardigan which is the tutorial I released last week is also crocheted with this yarn. Red Heart Soft Baby Steps looks fantastic in all projects, I have to say. I really enjoy this beautiful yarn, and I hope you will too. I loved crocheting this bag so much that I may crochet another one very soon! And I can’t wait.
The idea of a tote bag really inspired me, as I did not have one. Yet these types of bags are so useful to go out and about! They are perfect for all occasions, and as I said, are perfect for shopping with. It doesn’t hurt that it is really beautiful and feminine too!
Let me know if you make this project. I love to hear from you, and to know this free crochet pattern has helped you.
Connecting with you
I would like to take a moment to thank every single one of you, for supporting me and my crochet journey. Indeed, I absolutely am so touched by all your messages, comments, and every person who has become a patron of my work through Patreon. Thank you!
I love connecting with my Crochet Community through my blog and Social Media. You can find me on Youtube, Instagram, and Pinterest. I would love to connect with you on these platforms.
You can also join my private Facebook group to connect.
Join my exclusive and fun Patreon community, a haven for feminine crochet and so much more!
You can keep up to date with all my crochet news by subscribing to my newsletter. This way, you will be in the know whenever I release a new free pattern, video tutorial, or giveaway!
Crochet Tote Bag: The Pattern
You can purchase the ad free, large print, PDF pattern for this project here: Crochet Easy Tote Shopping Bag PDF Pattern
Level: Easy +
Gauge:
4” (10 cm)= 10 rows
4” (10 cm)= 14 HDC
Size of finished project:
12,5” (32 cm) x 11,5” (29 cm)
Notes:
I will be using US terms (British terms in brackets)
Materials:
– 2 skeins of Red Heart Soft Baby Steps yarn in shade 03 Light Pink (or any Medium 4/Aran/Worsted weight yarn of your choice)
– 5 mm crochet hook
– A pair of scissors
– A tapestry needle
– Sewing pins (optional)
– Stitch markers (optional)
Abbreviations:
Ch : chain
Sl st : slip stitch
St: stitch
HDC: Half Double crochet (UK Half Treble Crochet)
DC: Double Crochet (UK Treble Crochet)
SC: Single Crochet (UK Double Crochet)
EOR: End of row
Pattern begins here:
For this project, we will start by making the bottom part of the bag, before making the front and back of the project (identical panels). Once these three elements are crocheted, we will sew them together as explained step by step in this pattern. We will then crochet the two identical straps directly onto the assembled bag.
Bottom of bag:
To begin, make a slip knot. Ch 36
1: HDC in 3rd ch from hook, and into each ch across until eor (first chain 2 counts as a HDC).
2: Ch 2 (counts as HDC throughout), turn your work, HDC in 2nd and every HDC from previous row until eor.
3-7: repeat row 2
Fasten off, leaving long tail for sewing.
Front and back panels (make 2)
To start, make a slip knot. Ch 44
1: HDC in 3rd ch from hook, and into each ch across until eor (first chain 2 counts as a HDC).
2: Ch 2 (counts as HDC throughout), turn your work, HDC in 2nd and every HDC from previous row until eor.
3-28: repeat row 2
29: CH 3 (=DC), place DC in next stitch until eor.
30: Ch 2 (counts as HDC throughout), turn your work, HDC in 2nd and every stitch until eor.
31 (the Shell Stitch edging): Ch 3 (=DC), turn your work; place 3 DC into same first stitch (=4 DC into 1st st, forming a corner shell stitch). Sk 2 st, SC into next st, *sk 2 st, 5 DC into next st, sk 2 st, SC into next st*, repeat from * to * finishing row repeat 3 stitches before eor. Sk 2 stitches, place 4 DC into last st.
Fasten off, leaving long tail for sewing.
Sew project together
Place front panel on a flat surface. Place the bottom part of the bag underneath the front panel, making sure the bottom part is centered. The bottom part is smaller than the front panel. This is because we will be sewing the front panel around both corners of the bottom piece to create bag shape. I recommend using the mattress stitch, but you can use whichever stitch you prefer.
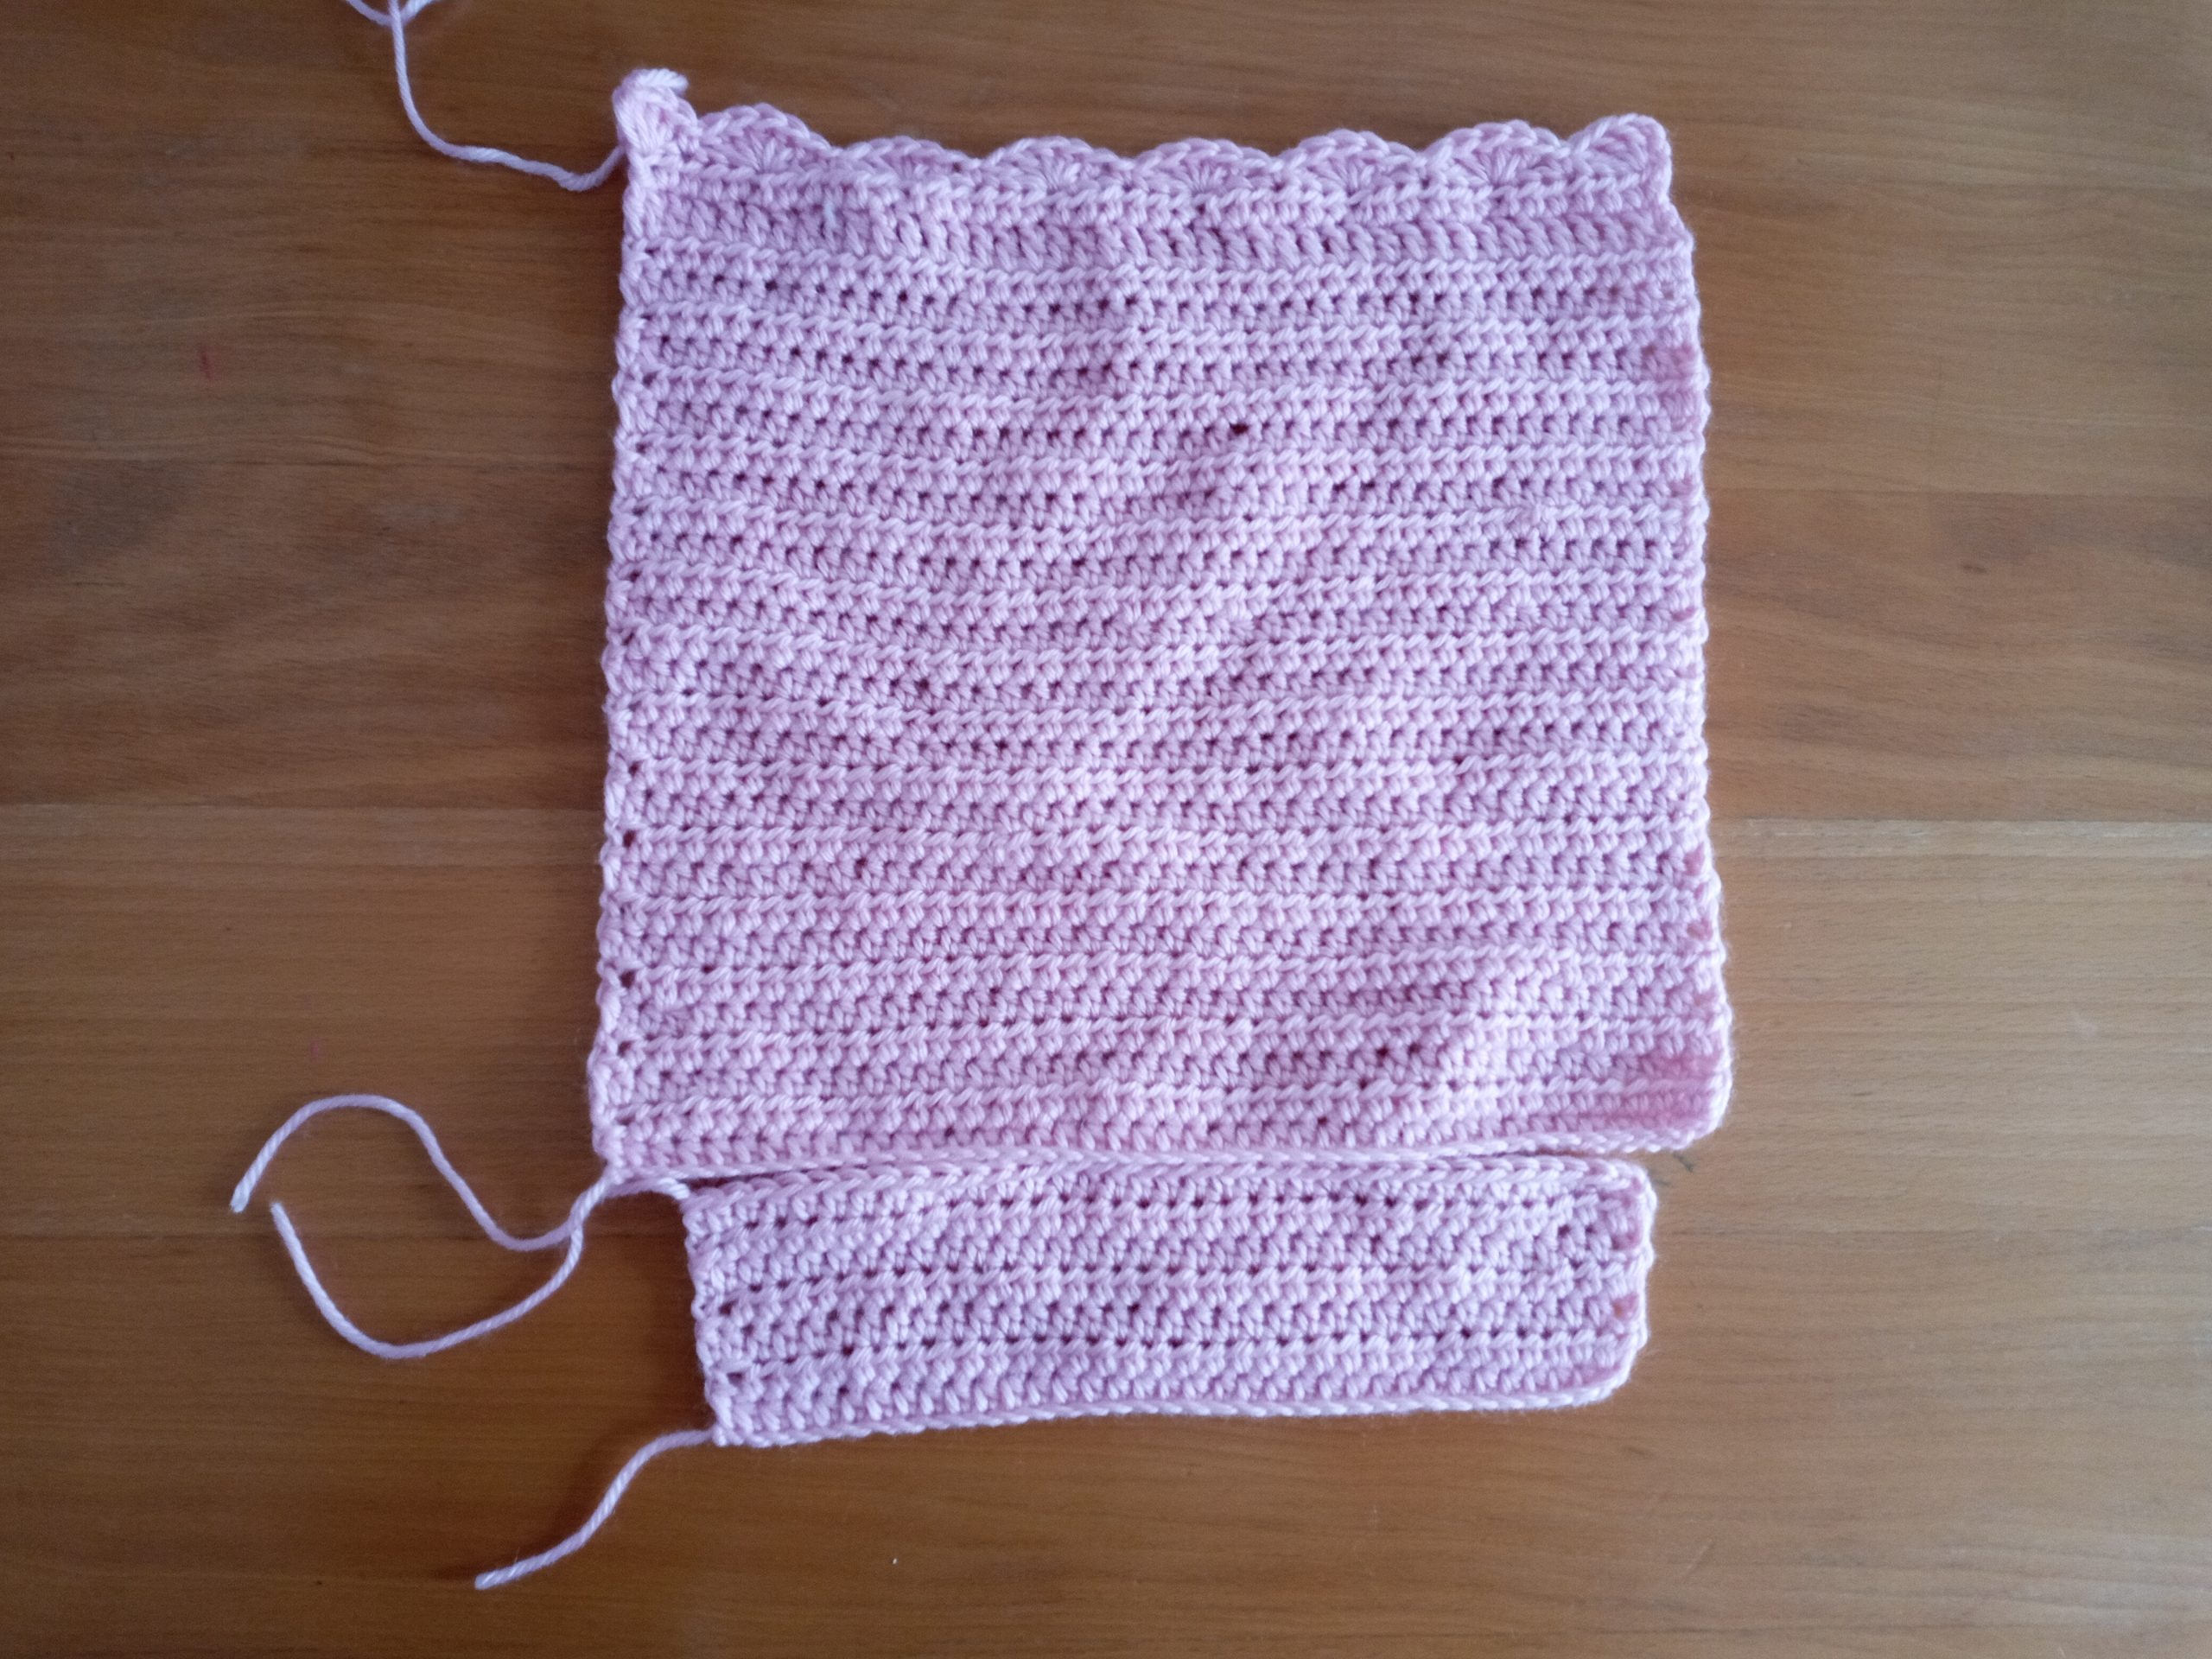
Using either a long loose end or a piece of yarn you have attached to either side of the bottom of the bag, start sewing the bottom of the bag to the front panel. Make sure that the bottom part is centered, leaving approximately 3 stitches out on either side of the top panel. You can use pins to help secure the front panel and bottom panel.
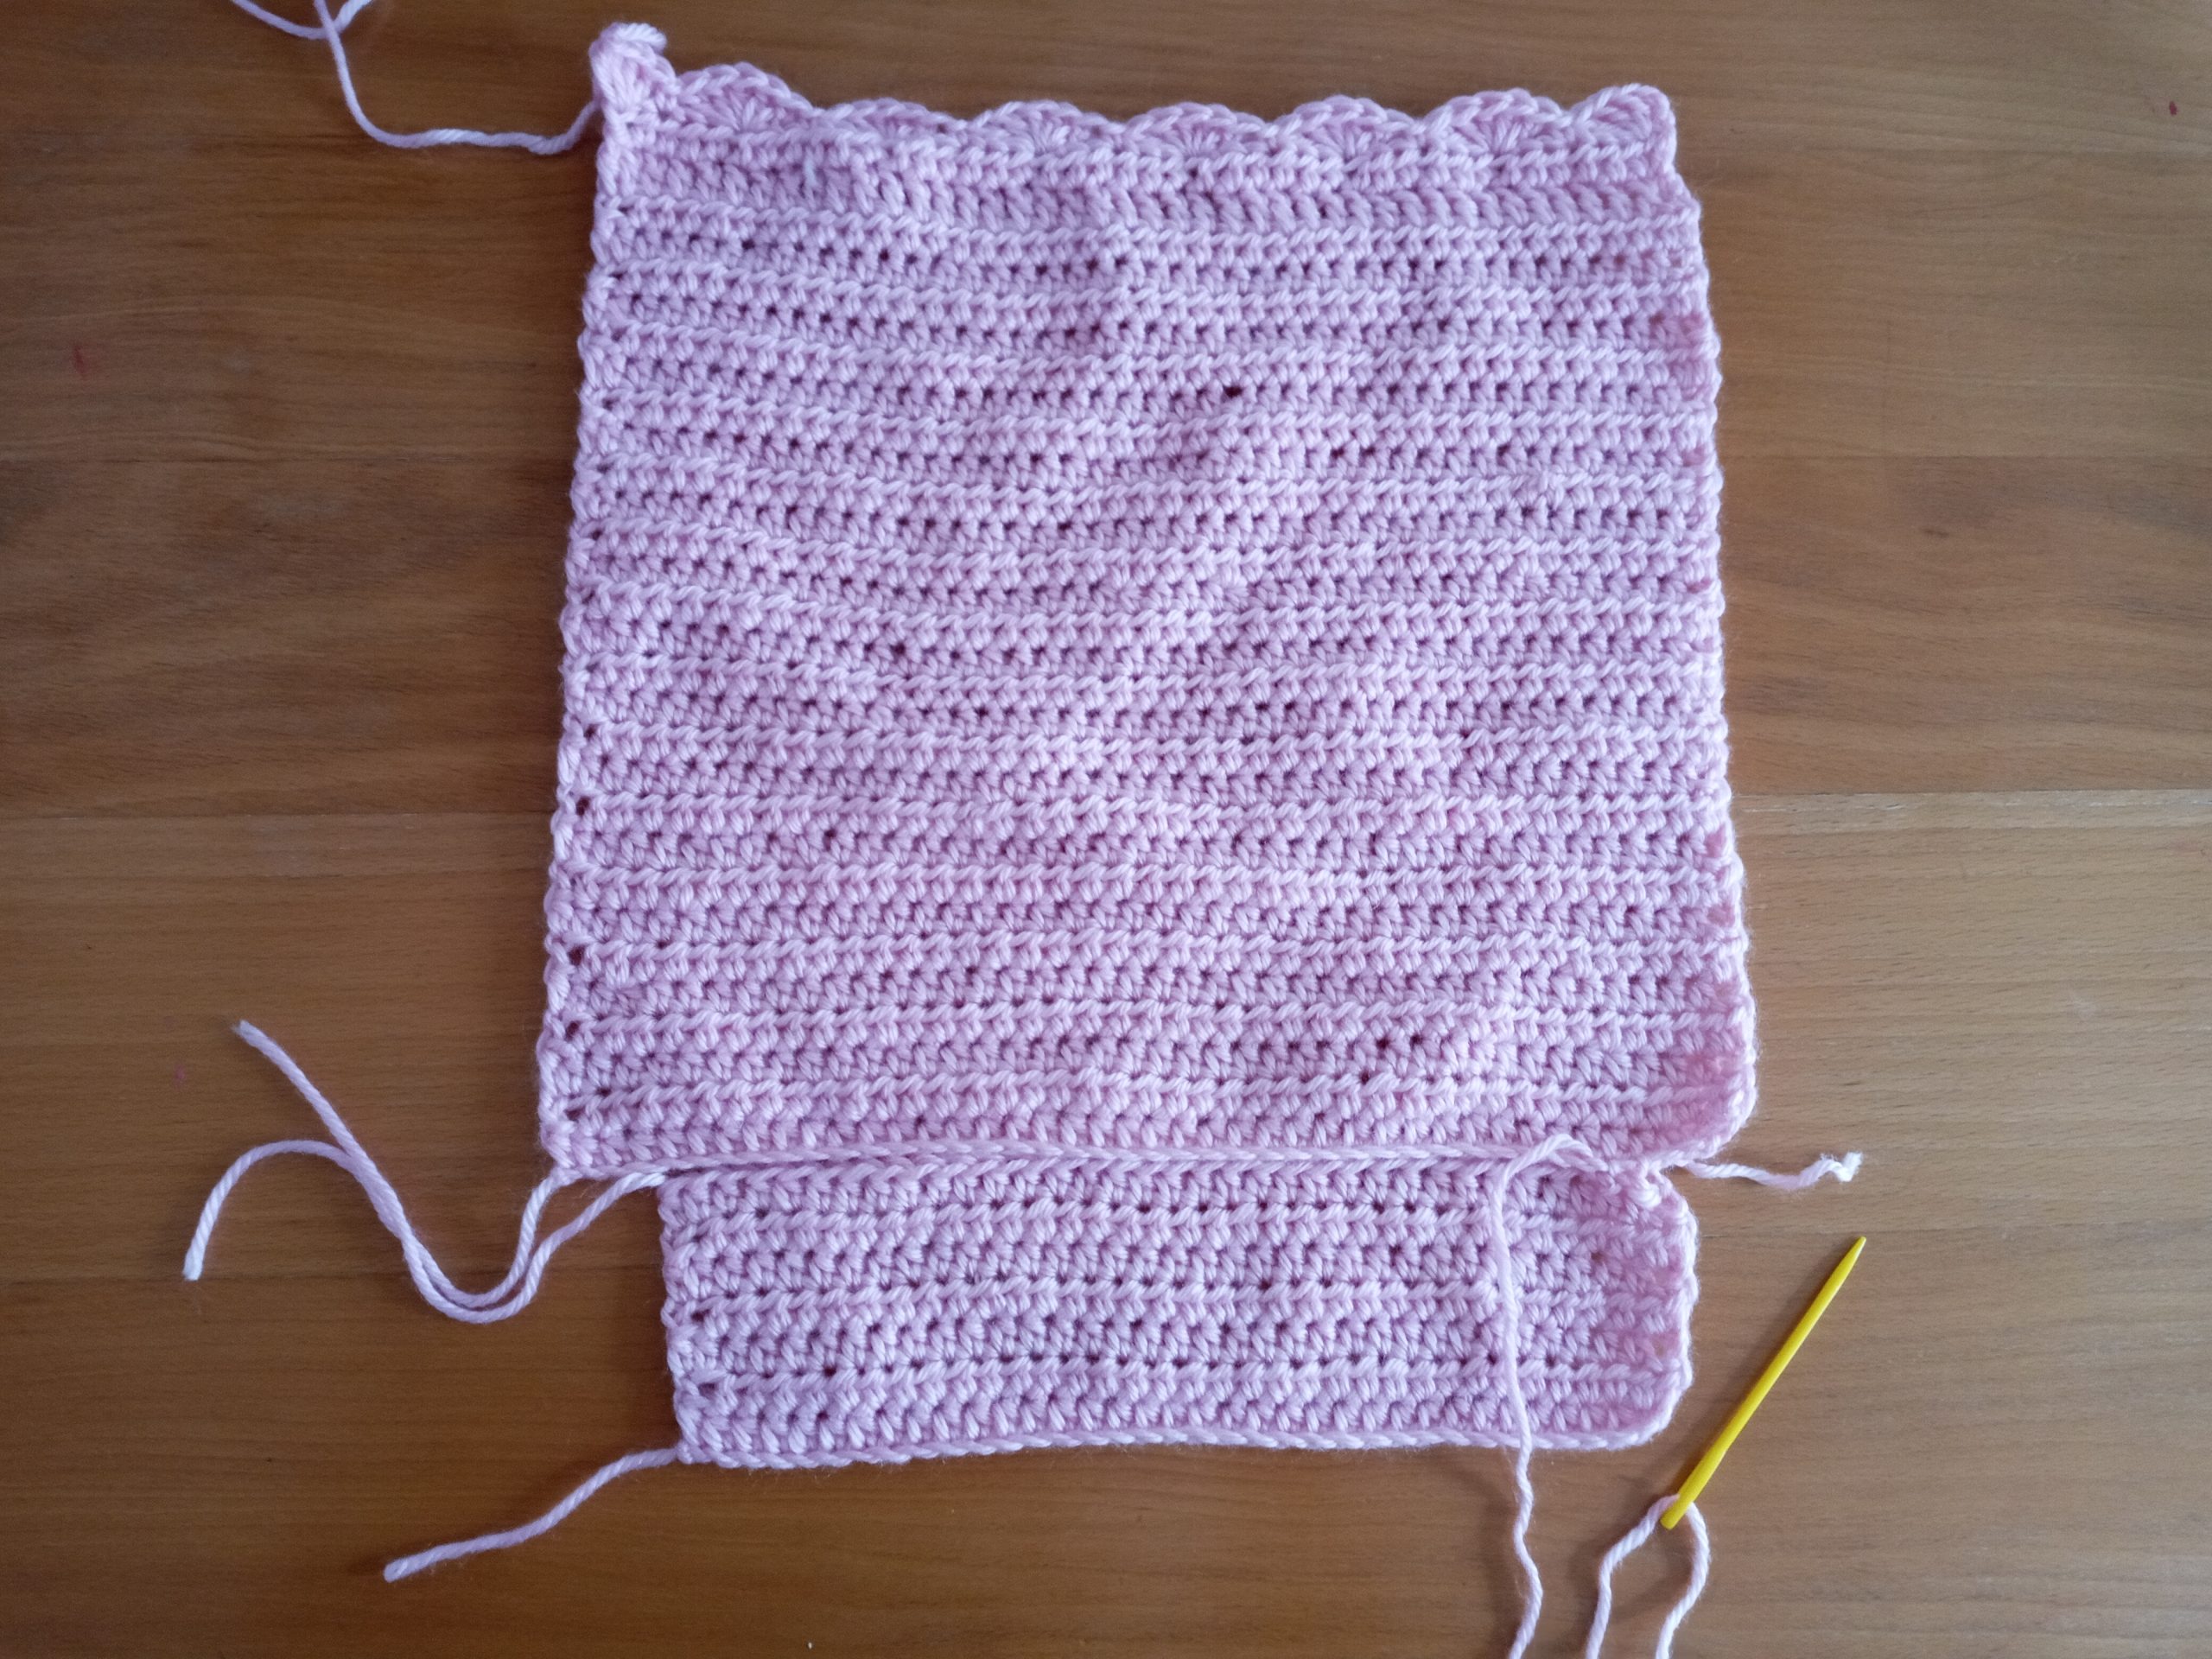
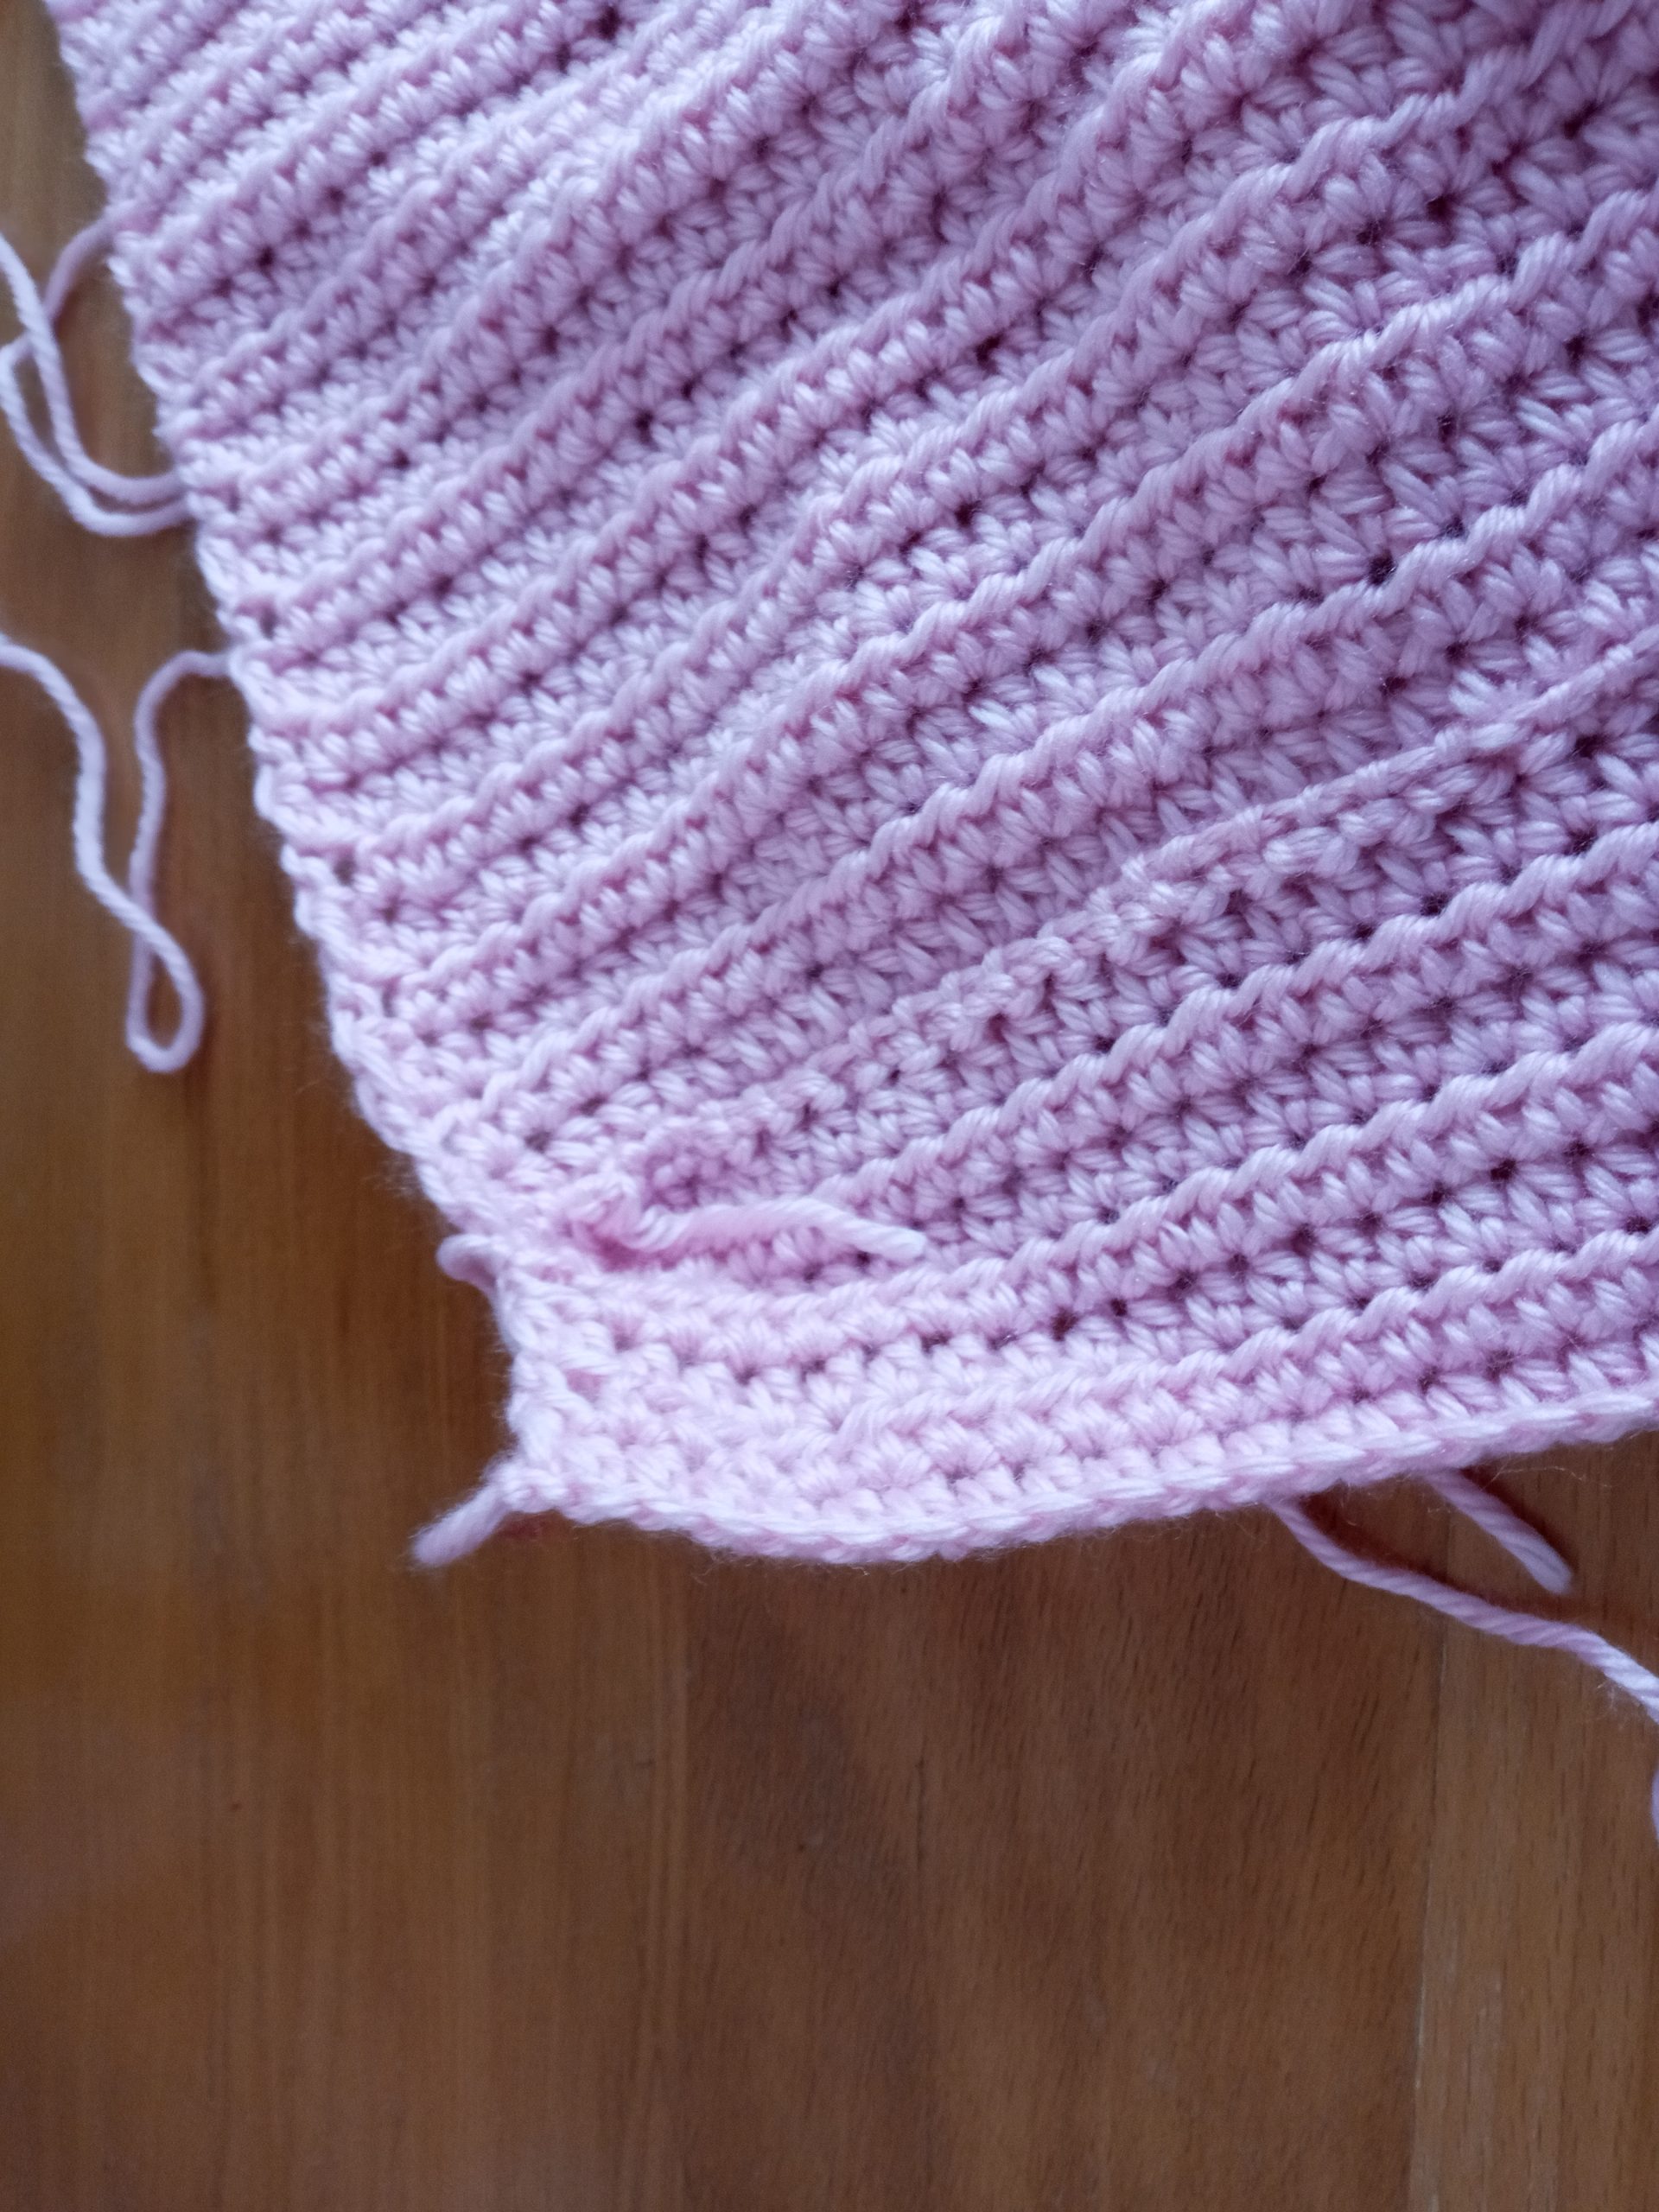
Once you have sewed the bottom part of the bag to the front, you will continue sewing the front part of the bag onto the bottom, this time turning the front part of the bag to form a corner onto the bottom. You can do this with the help of a pin or with your hands. This means you will be wrapping the 3 stitches at the end of the front panel around the bottom part of the bag, as seen in photo below. Do this process on both sides of the bottom panel, wrapping the front onto the bottom of the bag.
Fasten off.
Now repeat this process with the back of the bag, sewing it into the opposite side of the bottom piece.
Your bag should now have the bottom piece sewed to both the front and back of the bag.
Now you will be sewing the seams of the bag, meaning sewing the front and back panels together. For this, still using a piece of yarn and tapestry needle, sew both the front and back panels together, starting at the top of the bag each time. Once you have sewed both sides of the bag in, fasten off, and tidy up all loose ends.

Crocheting your straps onto the bag
Once all the parts of your bag have been sewed together, make sure your bag is inside out so as to start crocheting your straps directly onto the bag.
We will start crocheting the first strap of the bag on the front panel (inside out).
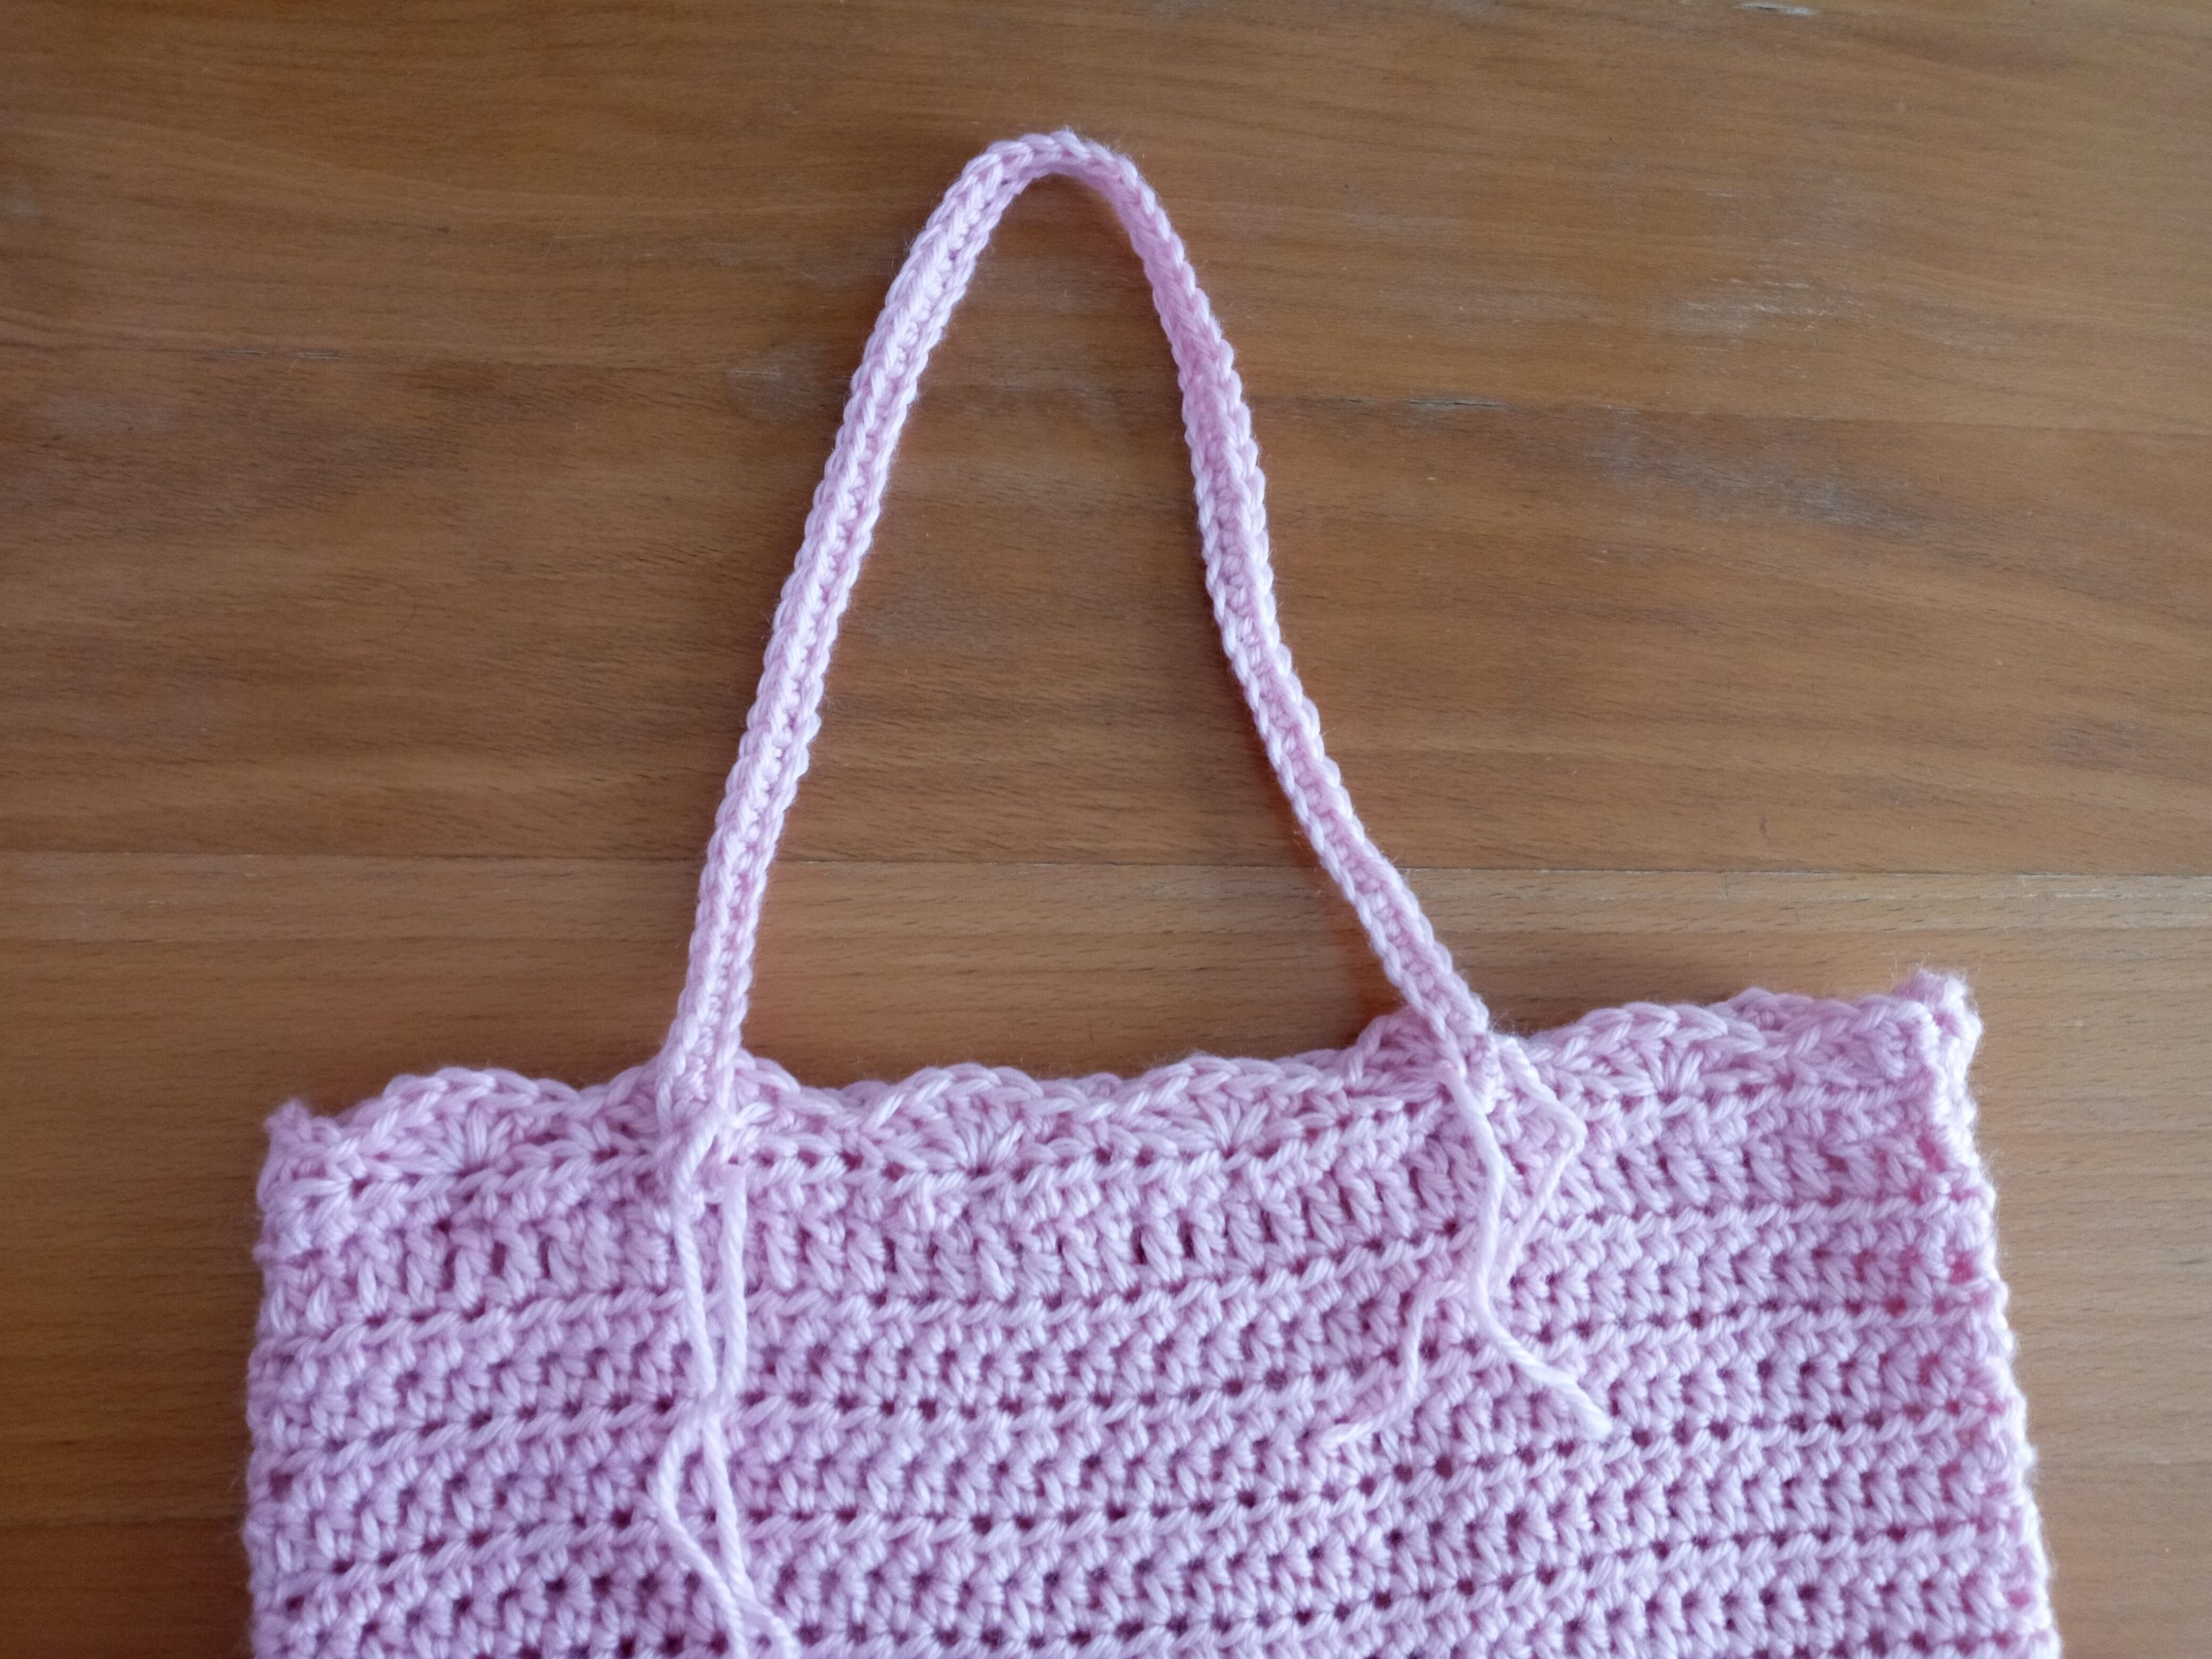
Count 3 shell stitches from the outside in, placing a stitch marker there if you wish (optional). Now count 3 shell stitches on the other side of the bag, again starting from the outside and counting “into” the bag. Place 2nd stitch marker there.
This is where we will be placing the first strap.
Attach yarn to the HDC underneath the shell stitch marked with a stitch marker, making sure that you attach your yarn at the center of this shell stitch.
Make sure it is well secured. Now chain 70, making sure not to twist your chain. Once you have chained 70, go into the HDC under the stitch marker you placed on the other side of the bag. Slip stitch to this HDC, chain 1, and place a SC into each and every chain across. Once you reach the other side of the chain, slip stitch to the HDC of starting point.
Fasten off.
If needed, go back into the base of each strap with a piece of yarn and tapestry needle to make sure it is very well secured to the project. Add sewing stitches to each side of strap to help secure it if needs be.
Repeat the same process on the other side of the bag for the second strap.
Fasten off, and tidy up all loose ends.


You May Also Like
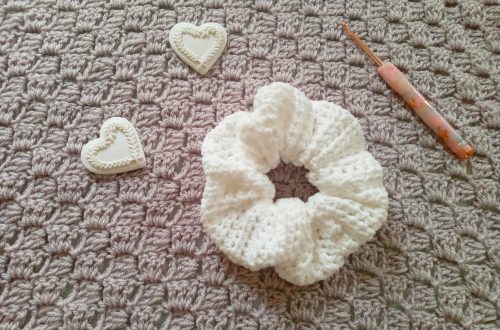
Crochet Simple Feminine Scrunchie
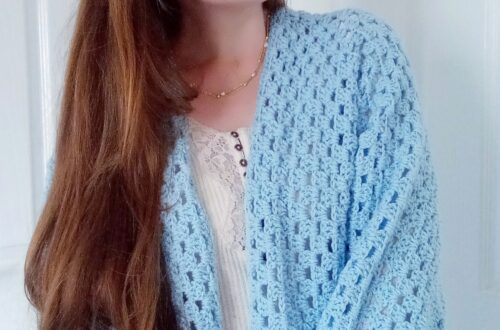
Crochet Lily Hexagon Cardigan Free Pattern