Crochet Traditional French Beret Free Pattern
Crochet Traditional French Beret Free Pattern
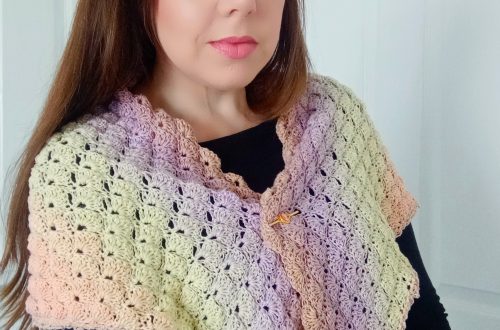
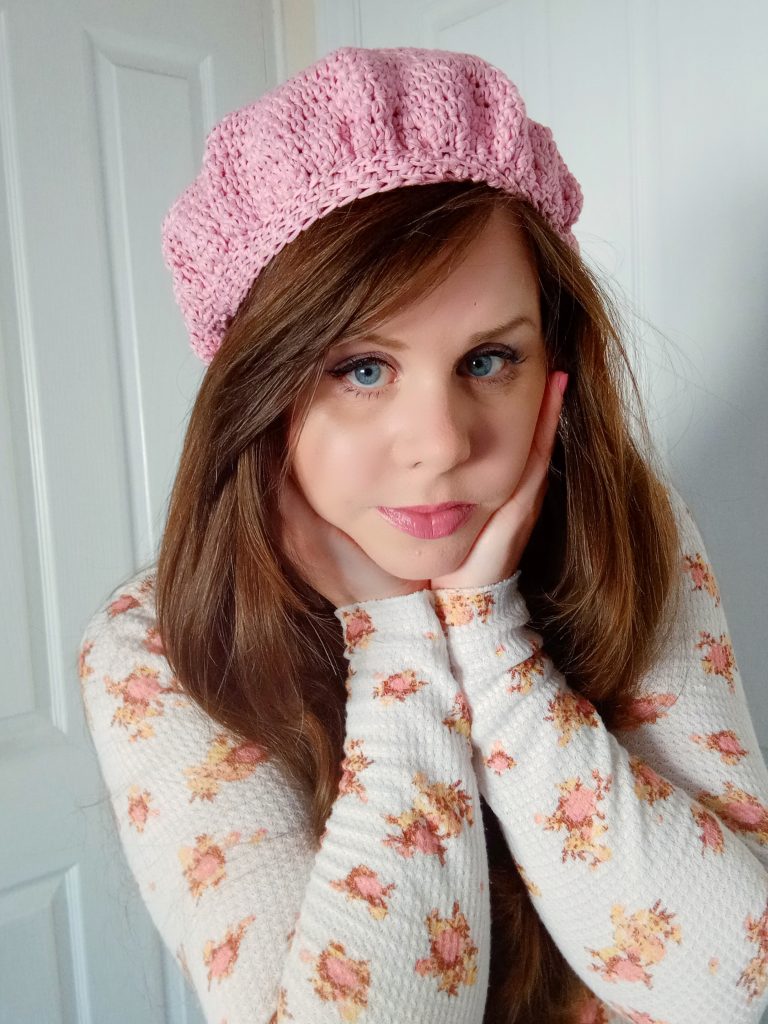
Hi everyone, this week I am bringing to you a crochet traditional French beret free pattern. I absolutely love berets, and I think berets are actually perfect for Spring. Indeed, when the weather starts to become sunny, yet it will still be a bit nippy in the morning. A beret is a perfect way to add that little added layer of warmth that is perfect for Spring time.
The video tutorial can be found here:
Crochet Traditional French Beret Free Pattern: the inspiration
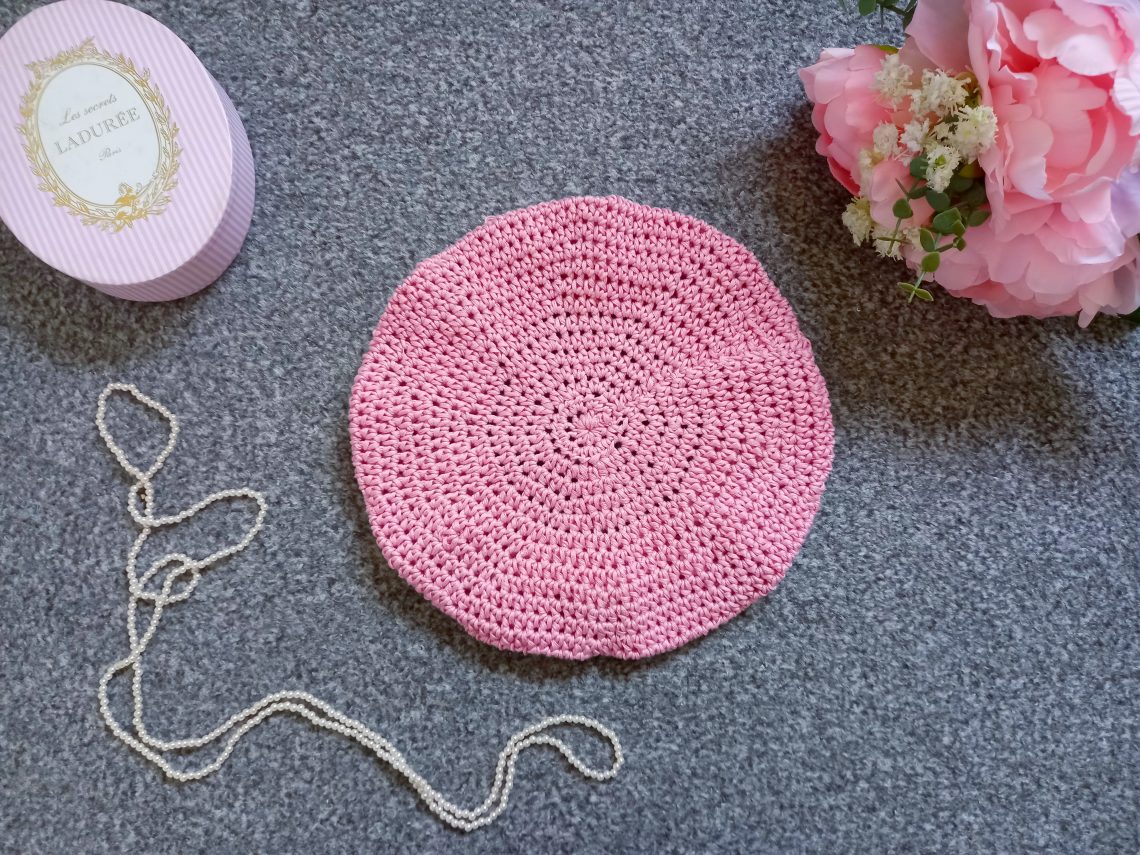
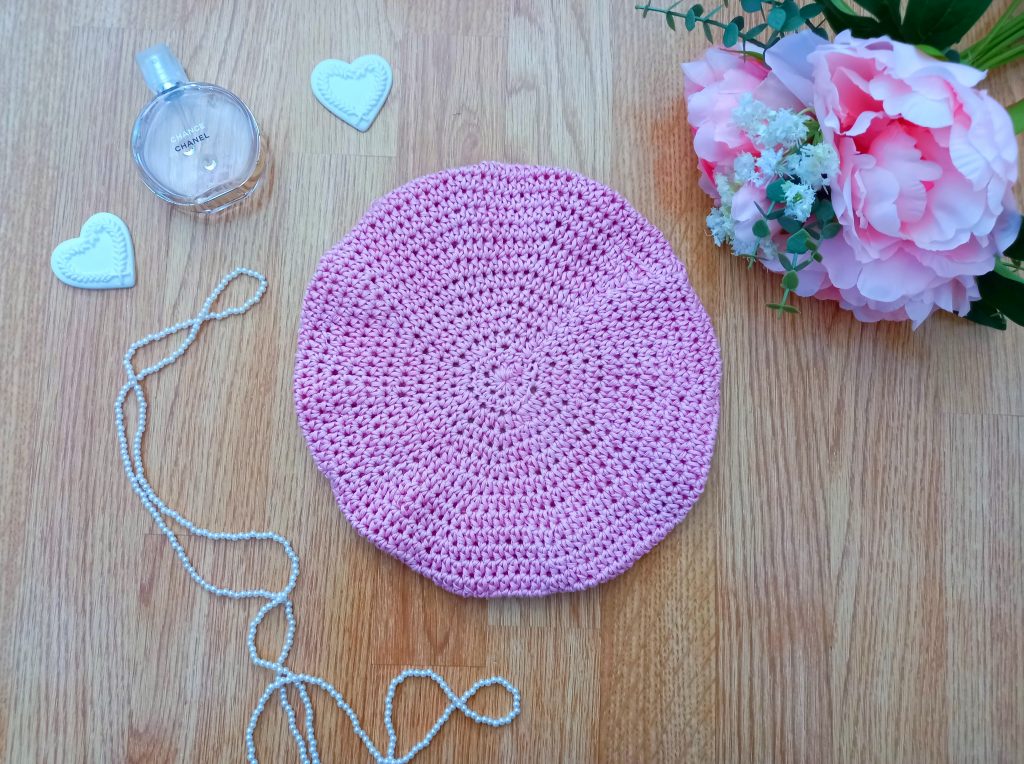
As you know, I love feminine and delicate crochet. A beret is a perfect accessory if you enjoy feminine crochet. I made this design in two different colors, and with two different yarns. I used a 100% acrylic yarn in a light green shade. This yarn is Paintbox Simply DK in shade 70. The second yarn I used is a 100% cotton light pink yarn, which is Drops Muskat in shade 06. Both these yarns are light 3 yarn/DK weight, and so can be used with this pattern.
I really enjoyed crocheting both these berets. However, I did prefer the look of the 100% cotton one. Maybe this is due to the fact that cotton yarn is slightly more rigid, and it does hold the shape of the beret a bit more. Nonetheless, you can use whichever yarn you prefer for this project.
I have already crocheted a French Beret last December. This crochet pattern is really beautiful and creates a stunning traditional French beret. It is crocheted in chunky yarn and is a bit more oriented for the colder Winter months. Hence the reason why I wanted to crochet a Spring version here on my channel.
I hope you enjoy this sweet and feminine crochet tutorial!
Crochet Traditional French Beret Pattern: an iconic look
Berets are very popular in France. Berets are not just a cliche, so to speak. Being French myself, I do possess quite a few berets in my closet, including knit and crochet ones. These are very versatile and come in many different colors.
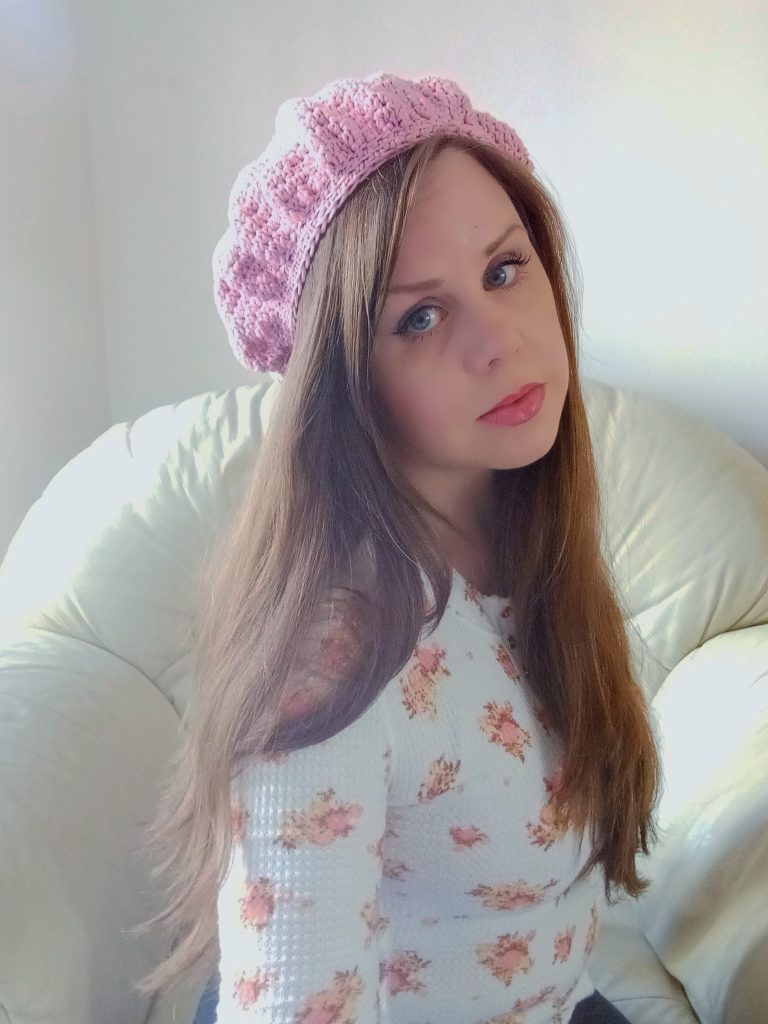
As I have said, French women often wear a beret to go out and about. Berets are elegant and super feminine. They instantly elevate an otherwise basic outfit, and add a little “Je ne sais quoi” to our appearance. I love berets, and think they can be worn in so many different ways.
They can be plain, in a very neutral color (the most popular colors of berets in France are black, cream, grey and red). They can be a bit decorative, especially the knit and crochet ones. A little feminine flower or discreet diamante ornament can go a long way, especially on a knit or crochet beret.
The whole idea is to not go overboard, as we French tend to prefer neutral, classic designs that are quite discreet and distinguished. I love the idea of adding some little crochet flowers to a beret. I think I will be designing a decorated beret next Autumn, as I do believe a decorated beret is more suited to Autumn/Winter. However, this is just my personal opinion, not a rule.
For this Spring version of a beret, I wanted to go with a subtle yet very feminine design. I definitely love pastels and I do prefer the cotton version to the acrylic version. However, this is once again just personal choice!
Let me know which one you crocheted: the cotton or acrylic one?
Connecting with you
I love connecting with my Crochet Community through my blog and Social Media. You can find me on Youtube, Instagram, and Pinterest. I would love to connect with you on these platforms.
You can also join my private Facebook group to connect.
Creation of my new Patreon Community
I am so excited to announce the creation of my Patreon Community. My Patreon community will be live in April, and more details will be coming very soon.
This is such a wonderful and exciting time for me and my crochet community. You will be able to be a part of my feminine and delicate crochet community for very low fees every month, with lots of amazing and fun content!I absolutely love sharing my love of crochet with all of you, and by becoming a patron of my work, I will be able to create even more high quality and diverse feminine crochet.
Fees start at just £1 a month, and you can then be access exclusive and fun, more personal content.
I hope you will consider joining me in this new endeavor, and in the meantime, take care my lovelies!
This new platform will not bring any changes to my regular weekly release of a free crochet pattern and Youtube channel, and everything that I do through Youtube.
Have a lovely week-end,
Xoxo Selina.
Crochet Traditional French Beret: The Pattern
You can purchase the ad free, large print, PDF pattern from my Etsy shop: Crochet French Beret PDF Pattern
You can purchase the ad free, large print, PDF pattern from my Ravelry store here: Crochet French Beret Pattern
Level: Easy
Notes
I will be using US terms (British terms in brackets)
Gauge
4” (10 cm) = 11 rounds of HDC
Size of project
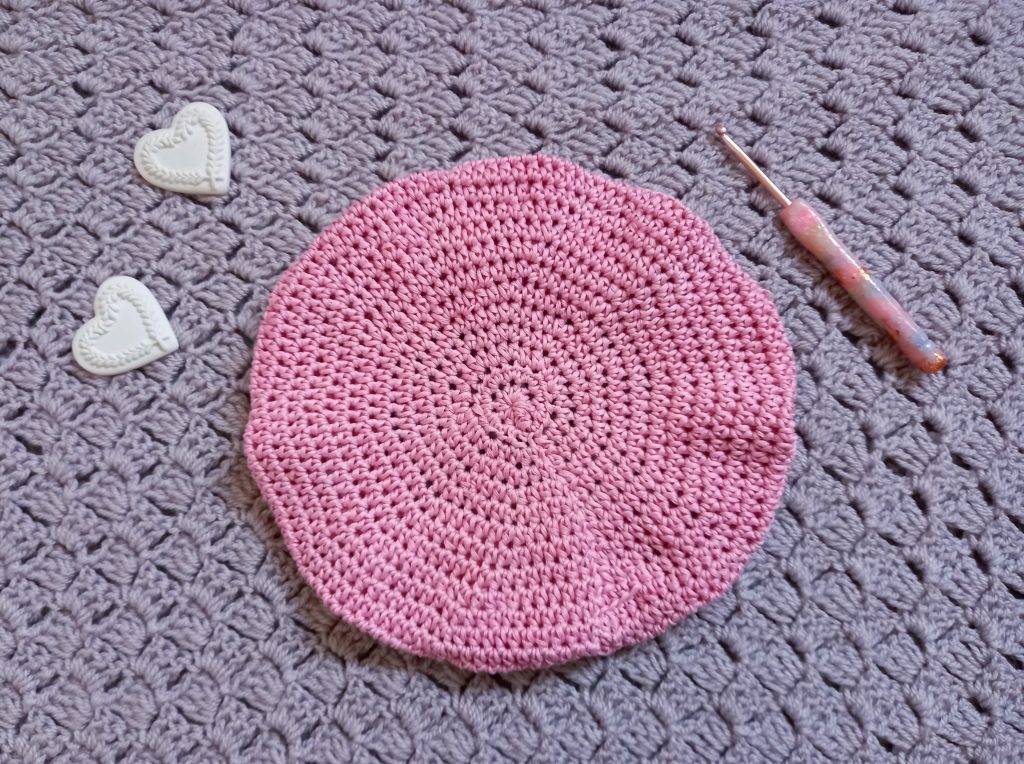
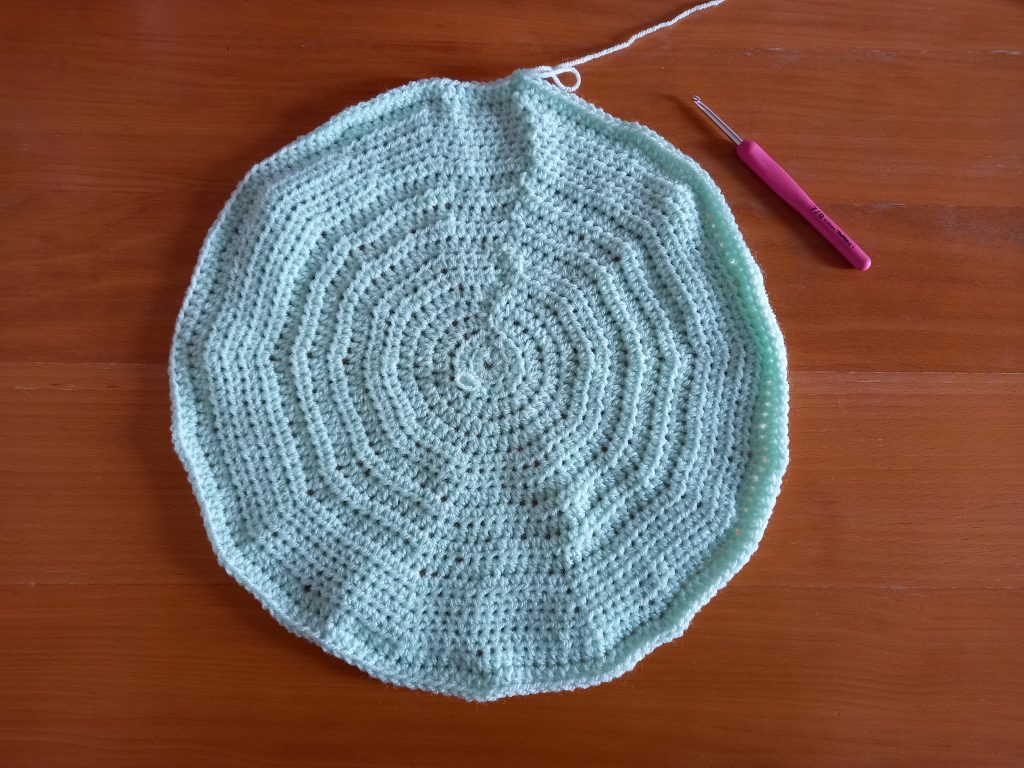
Size of finished circle before creating finishing border (which tightens the beret and gives it the finished shape):
13” (33 cm) x 13” (33 cm)
Size of finished beret:
9.5” (24.5 cm) x 9.5” (24.5 cm)
Materials
2 skeins of Drops Muskat in shade 06
A 4 mm crochet hook
A tapestry needle
A pair of scissors
Abbreviations
Ch: chain
Sk: skip
St: Stitch
Sl st: Slip stitch
HDC: Half Double Crochet (UK Half Treble Crochet)
SC: Single Crochet (=UK Double Crochet)
EOR: End of round
Pattern begins here
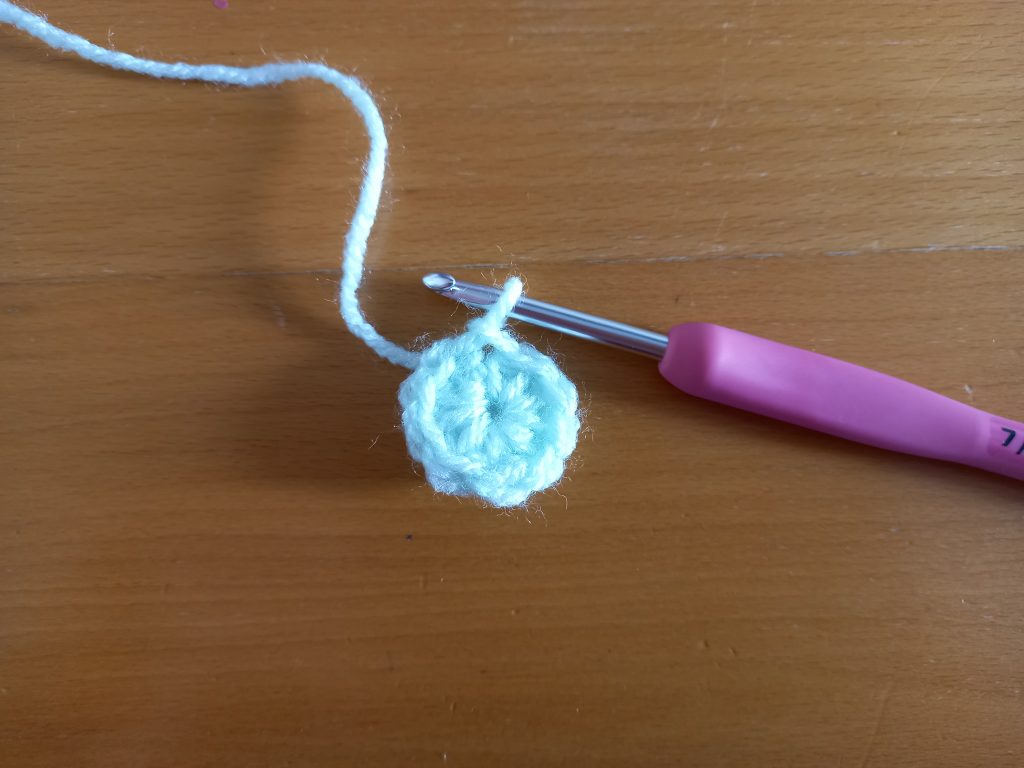
Ch 4, sl st to form a ring.
Round 1: Ch 2 (=HDC), place 9 HDC inside the ring (=10 HDC total). Sl st to 1st ch 2 to close off round.
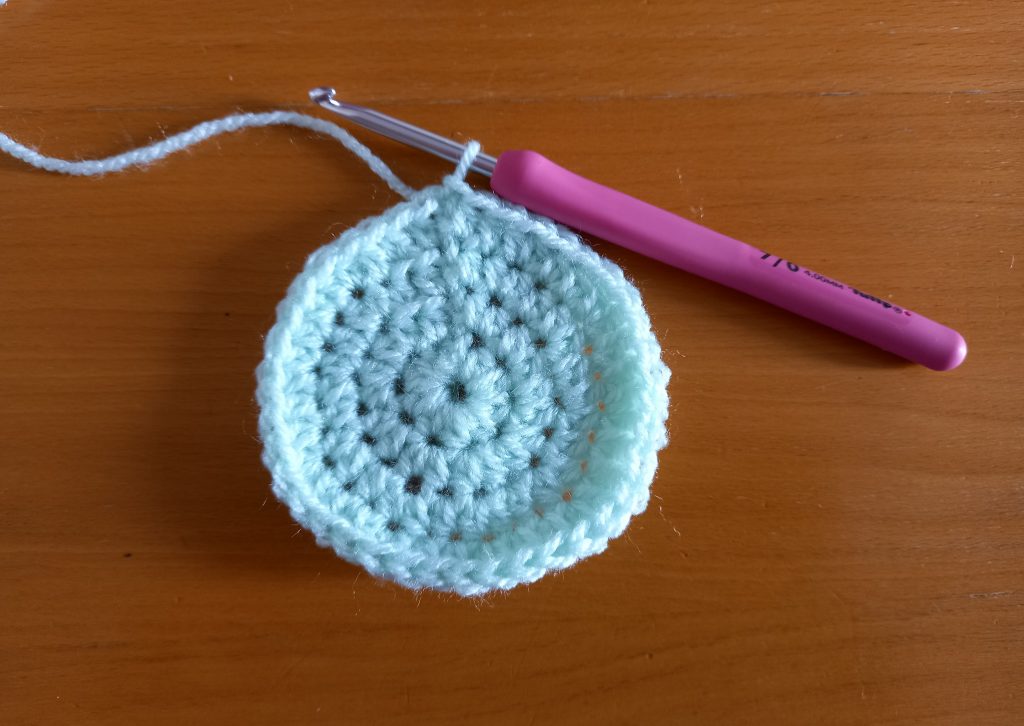
Round 2: Ch 2 (=HDC), place another HDC inside the first stitch (=2 HDC together in one stitch). Place 2 HDC inside next HDC until eor (=20 HDC total). Sl st to 1st ch 2 to close off round.
Round 3: Ch 2 (=HDC), place another HDC inside the first stitch (=2 HDC together in one stitch). Place HDC in next st, [2 HDC in next st, 1 HDC in next st] until eor (=30 HDC total). Sl st to 1st ch 2 to close off round.
Round 4: Ch 2 (=HDC), place another HDC inside the first stitch (=2 HDC together in one stitch). Place HDC in next 2 st, [2 HDC in next st, HDC in next 2 st] until oer (=40 HDC total). Sl st to 1st ch 2 to close off round.
Round 5: Ch 2 (=HDC), place another HDC inside the first stitch (=2 HDC together in one stitch). Place HDC in next 3 st, [2 HDC in next st, HDC in next 3 st] until oer (=50 HDC total). Sl st to 1st ch 2 to close off round.
Round 6: Ch 2 (=HDC), place another HDC inside the first stitch (=2 HDC together in one stitch). Place HDC in next 4 st, [2 HDC in next st, HDC in next 4 st] until oer (=60 HDC total). Sl st to 1st ch 2 to close off round.
Round 7: Ch 2 (=HDC), place another HDC inside the first stitch (=2 HDC together in one stitch). Place HDC in next 5 st, [2 HDC in next st, HDC in next 5 st] until oer (=70 HDC total). Sl st to 1st ch 2 to close off round.
Round 8-18: Repeat this process, of adding 10 stitches per round. You can achieve this by always adding 1 HDC on its own in every section of each round. A section of a round is the part between the 2 HDCs in one stitch which are spaced all around the rounds evenly.
For example, round 8 will be as follows:
Ch 2 (=HDC), place another HDC inside the first stitch (=2 HDC together in one stitch). Place HDC in next 6 st, [2 HDC in next st, HDC in next 6 st] until oer (=80 HDC total). Sl st to 1st ch 2 to close off round.
Round 19 (to create beret shape)
Ch 1 (=SC), [sk 2 stitches, SC into next stitch, sk 1 st, SC into next st] until eor, finishing row with a SC. Sl st to first ch to close off round.
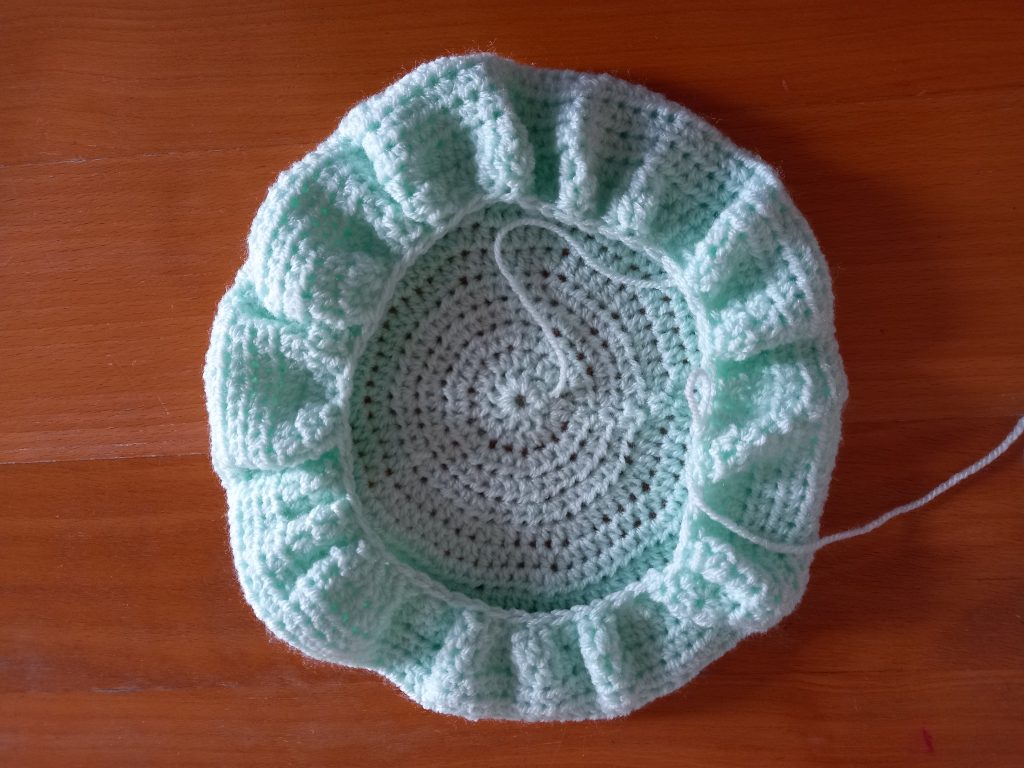
Round 20: Ch 2 (=HDC), HDC into next st until eor. Sl st to first ch 2 to finish off round.
Round 21: Repeat row 20.
Fasten off, tidy up all loose ends.
Make sure you gently pull on center loose end (where we began), to close up centre. Weave in the end to avoid unraveling, fasten off loose end.


You May Also Like
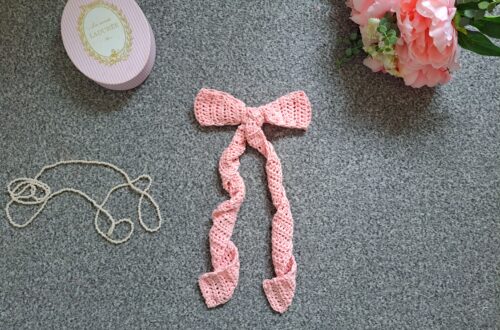
Crochet Vintage Hair Scarf Free Pattern
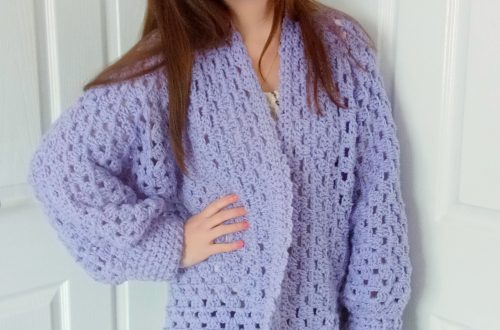
Crochet Lavender Hexagon Cardigan Free Pattern