Crochet Vintage Lavender Shawl Free Pattern
Crochet Vintage Lavender Shawl Free Pattern
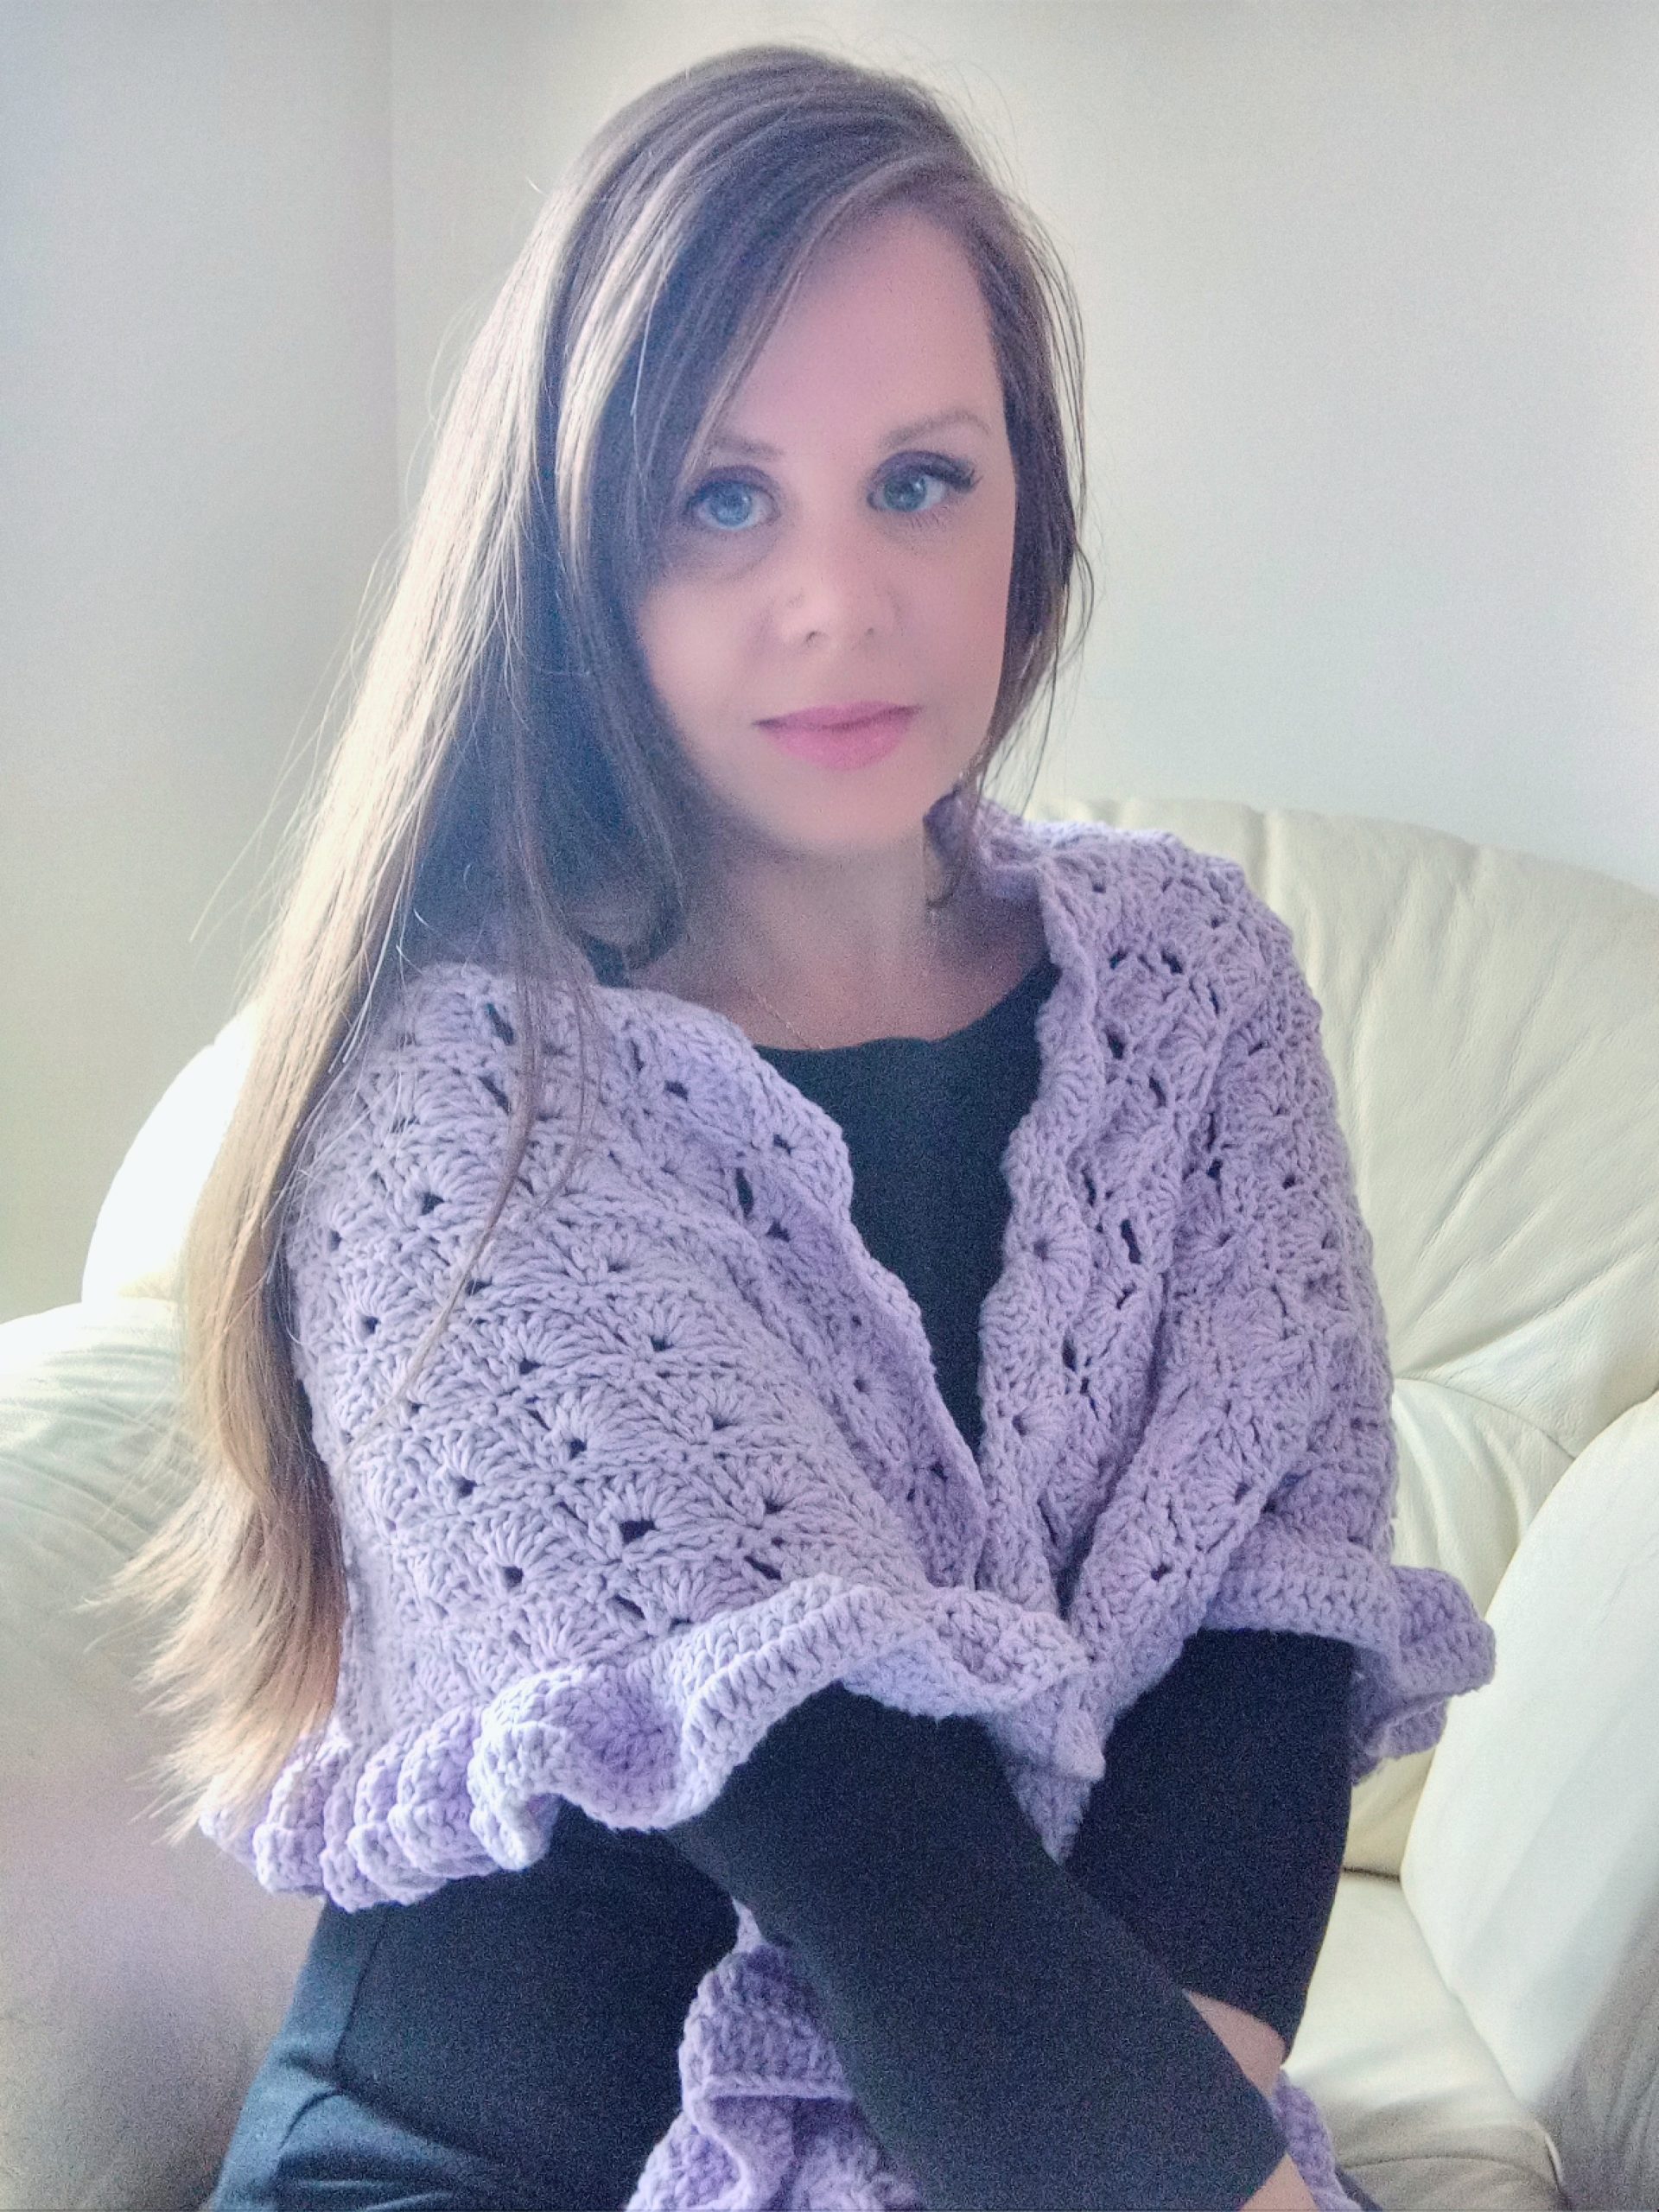
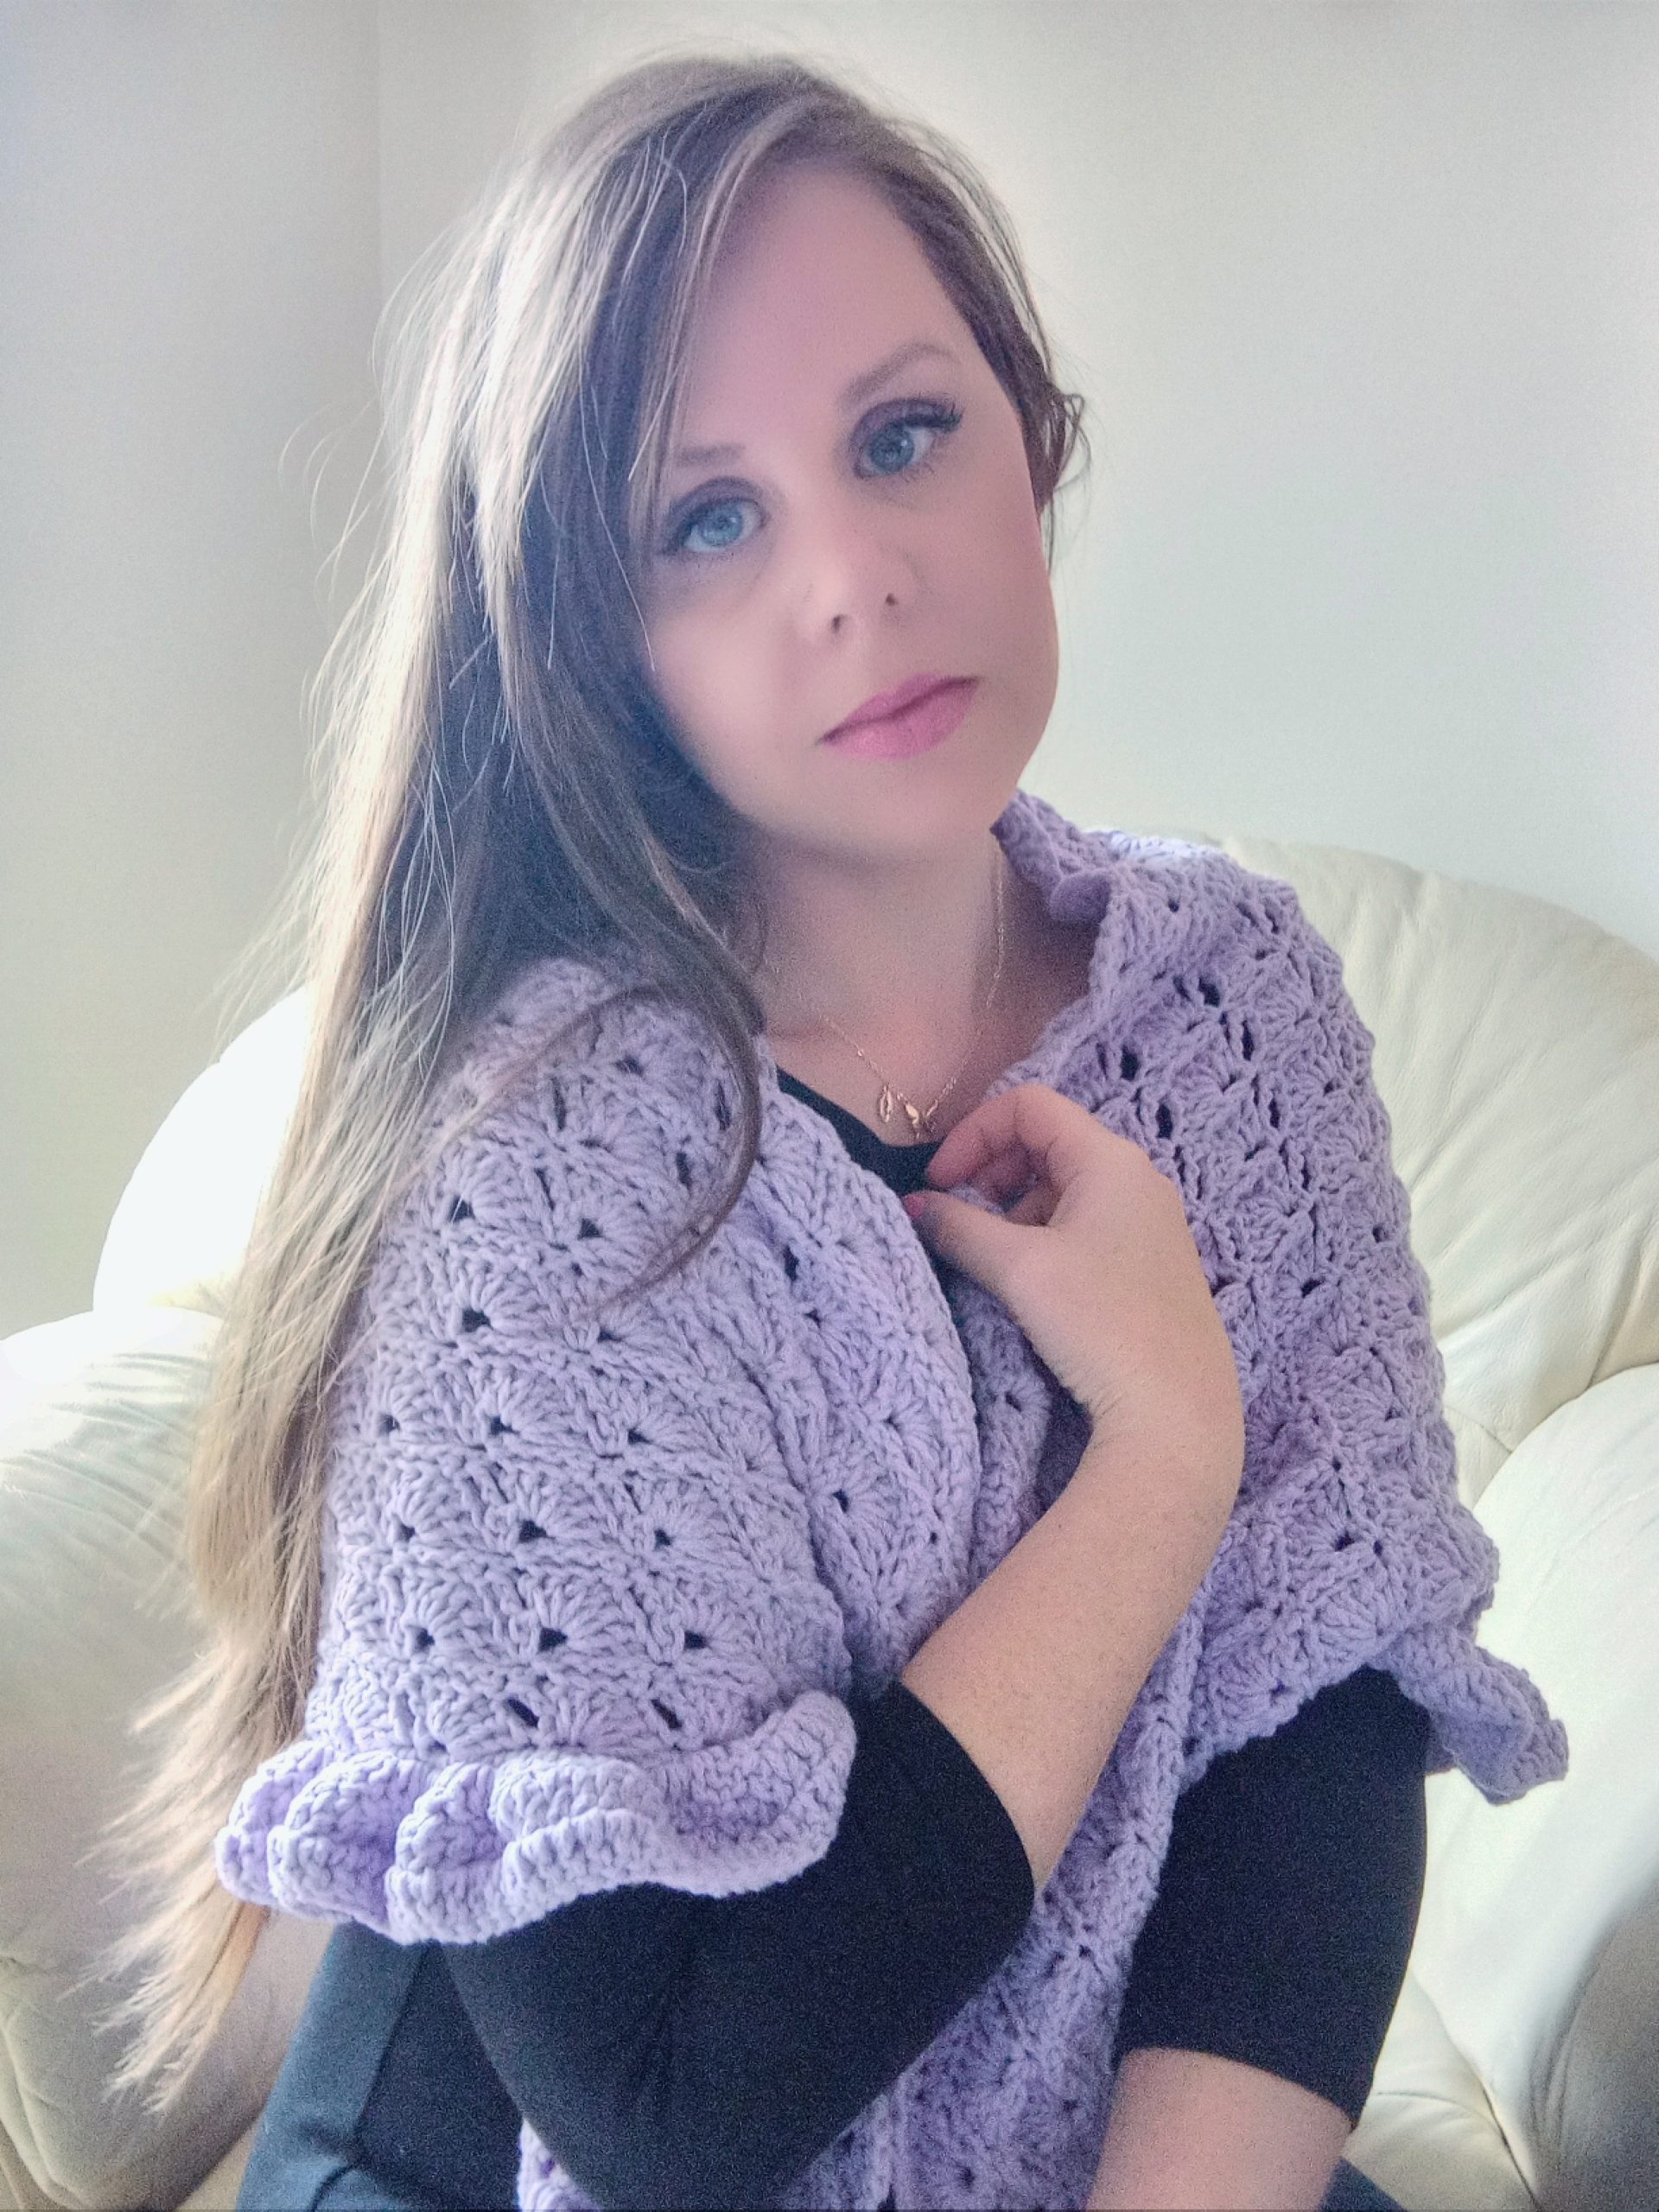
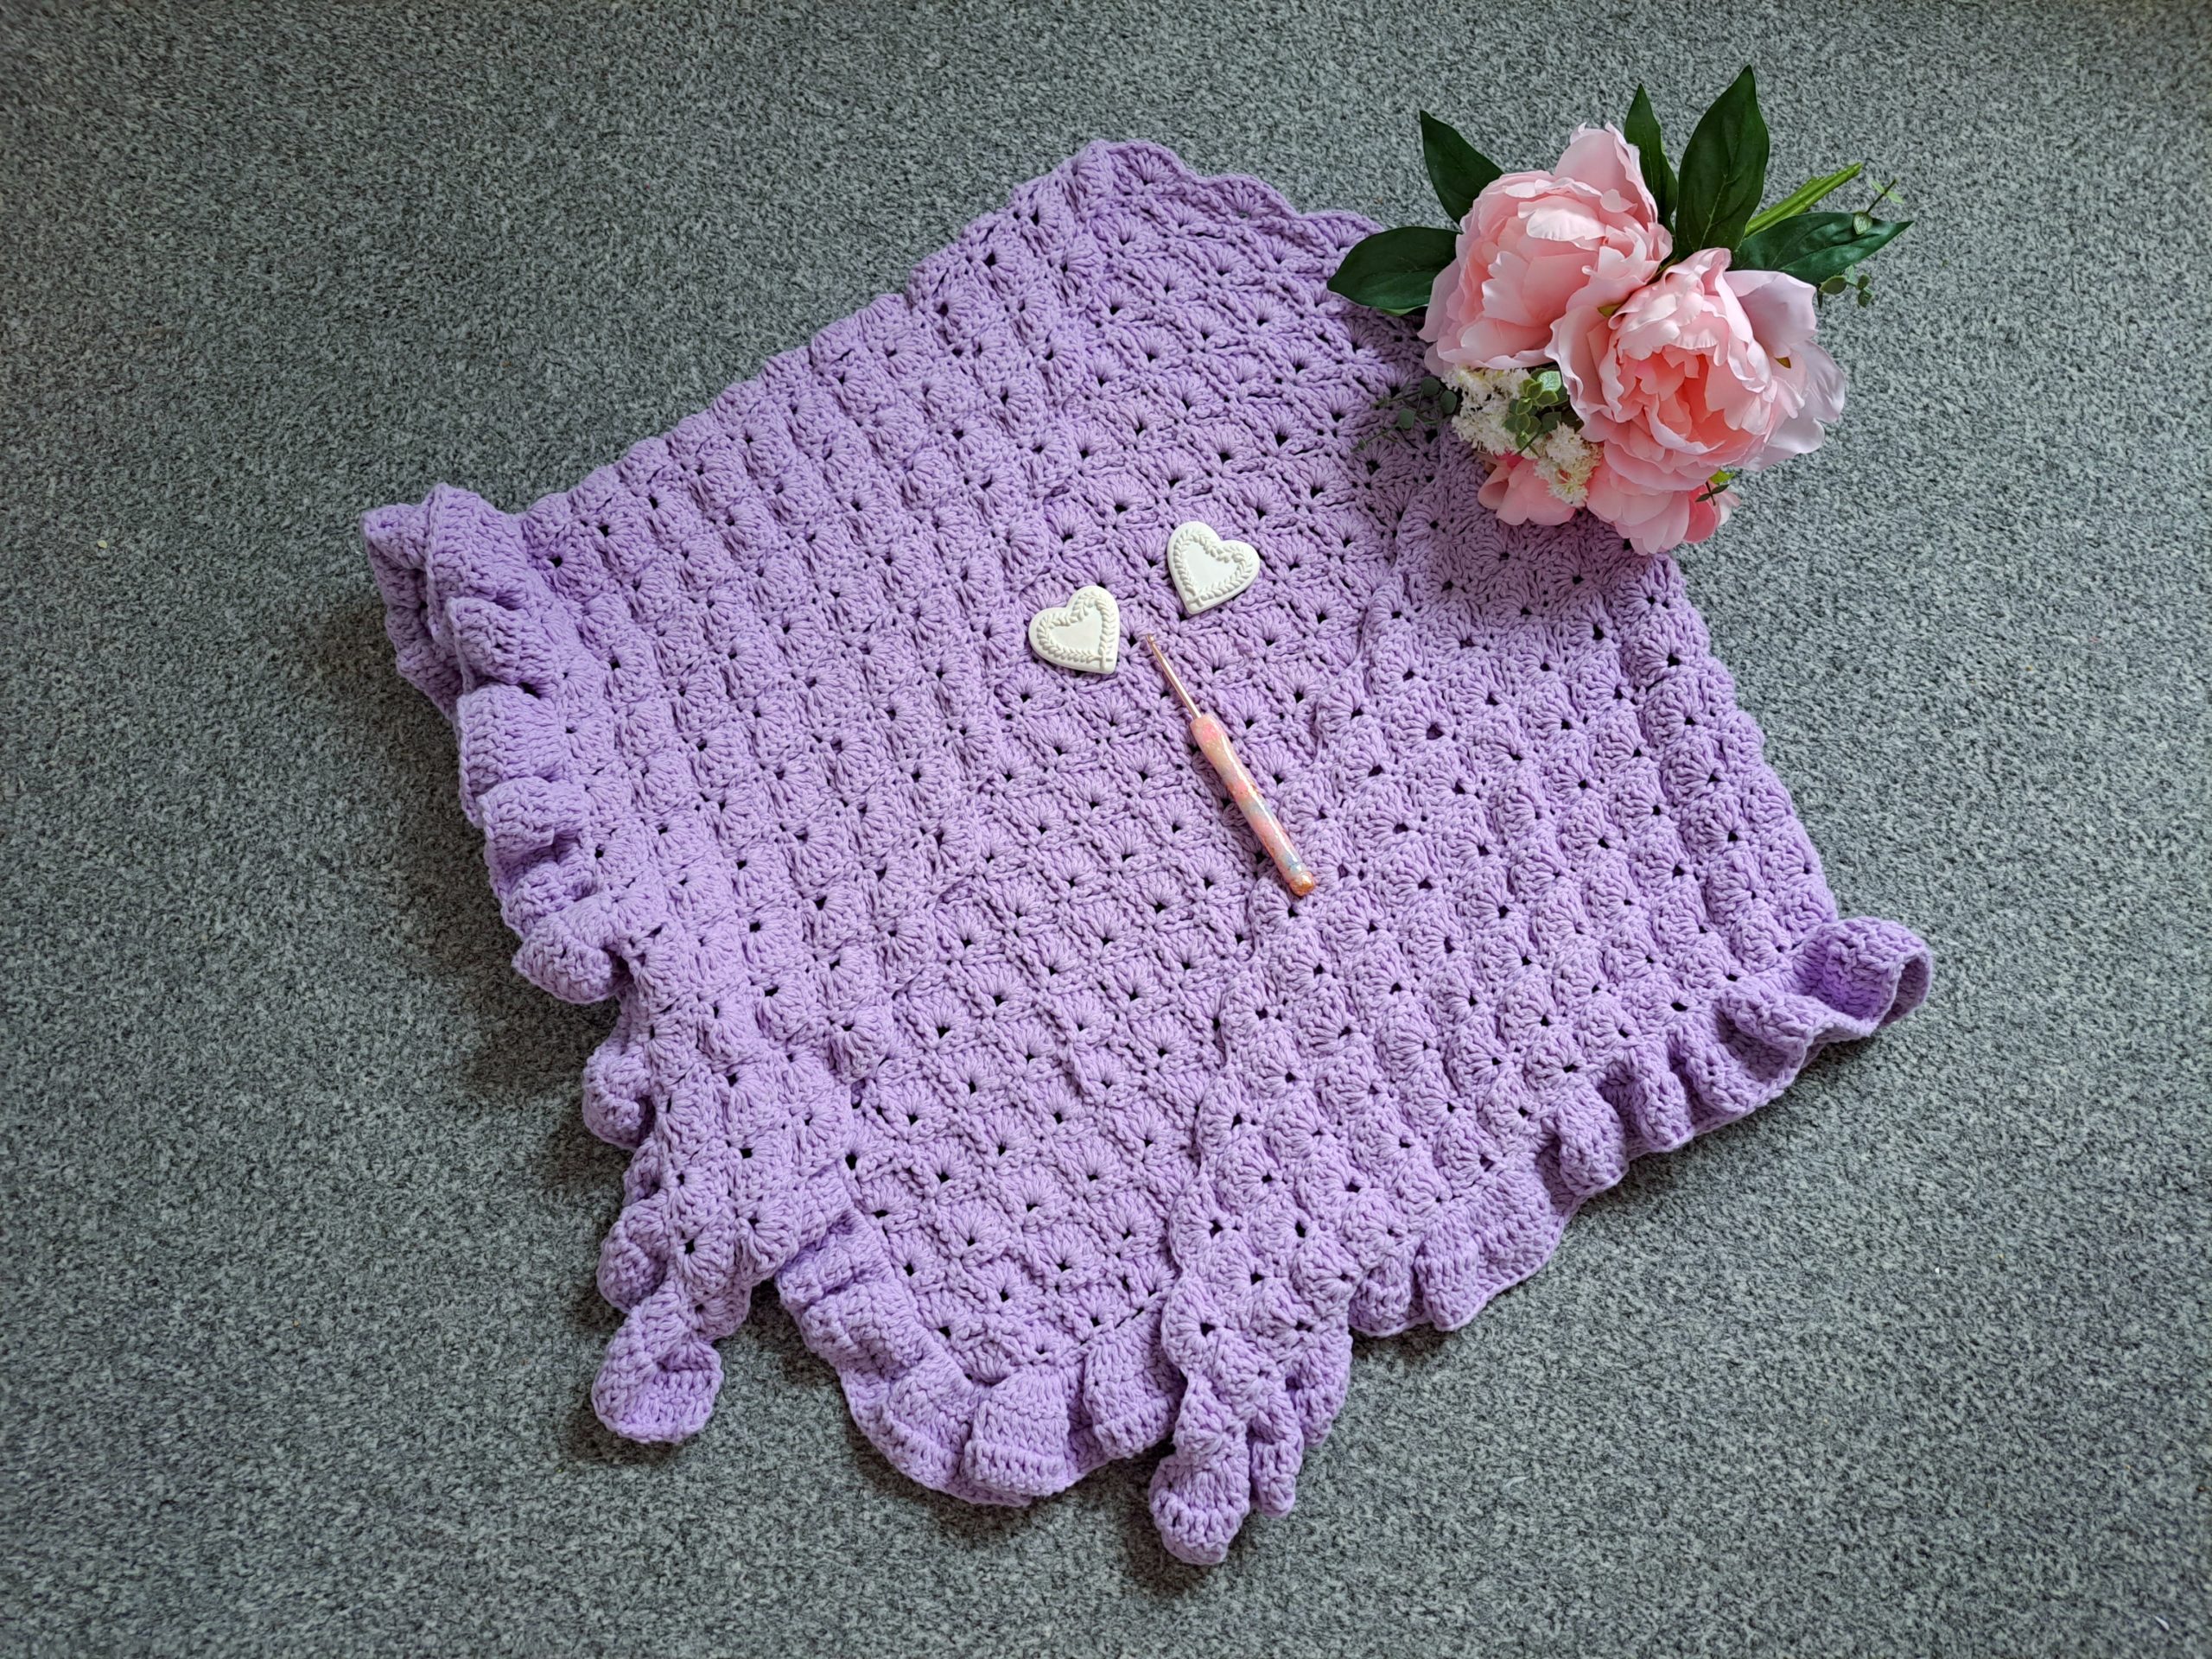
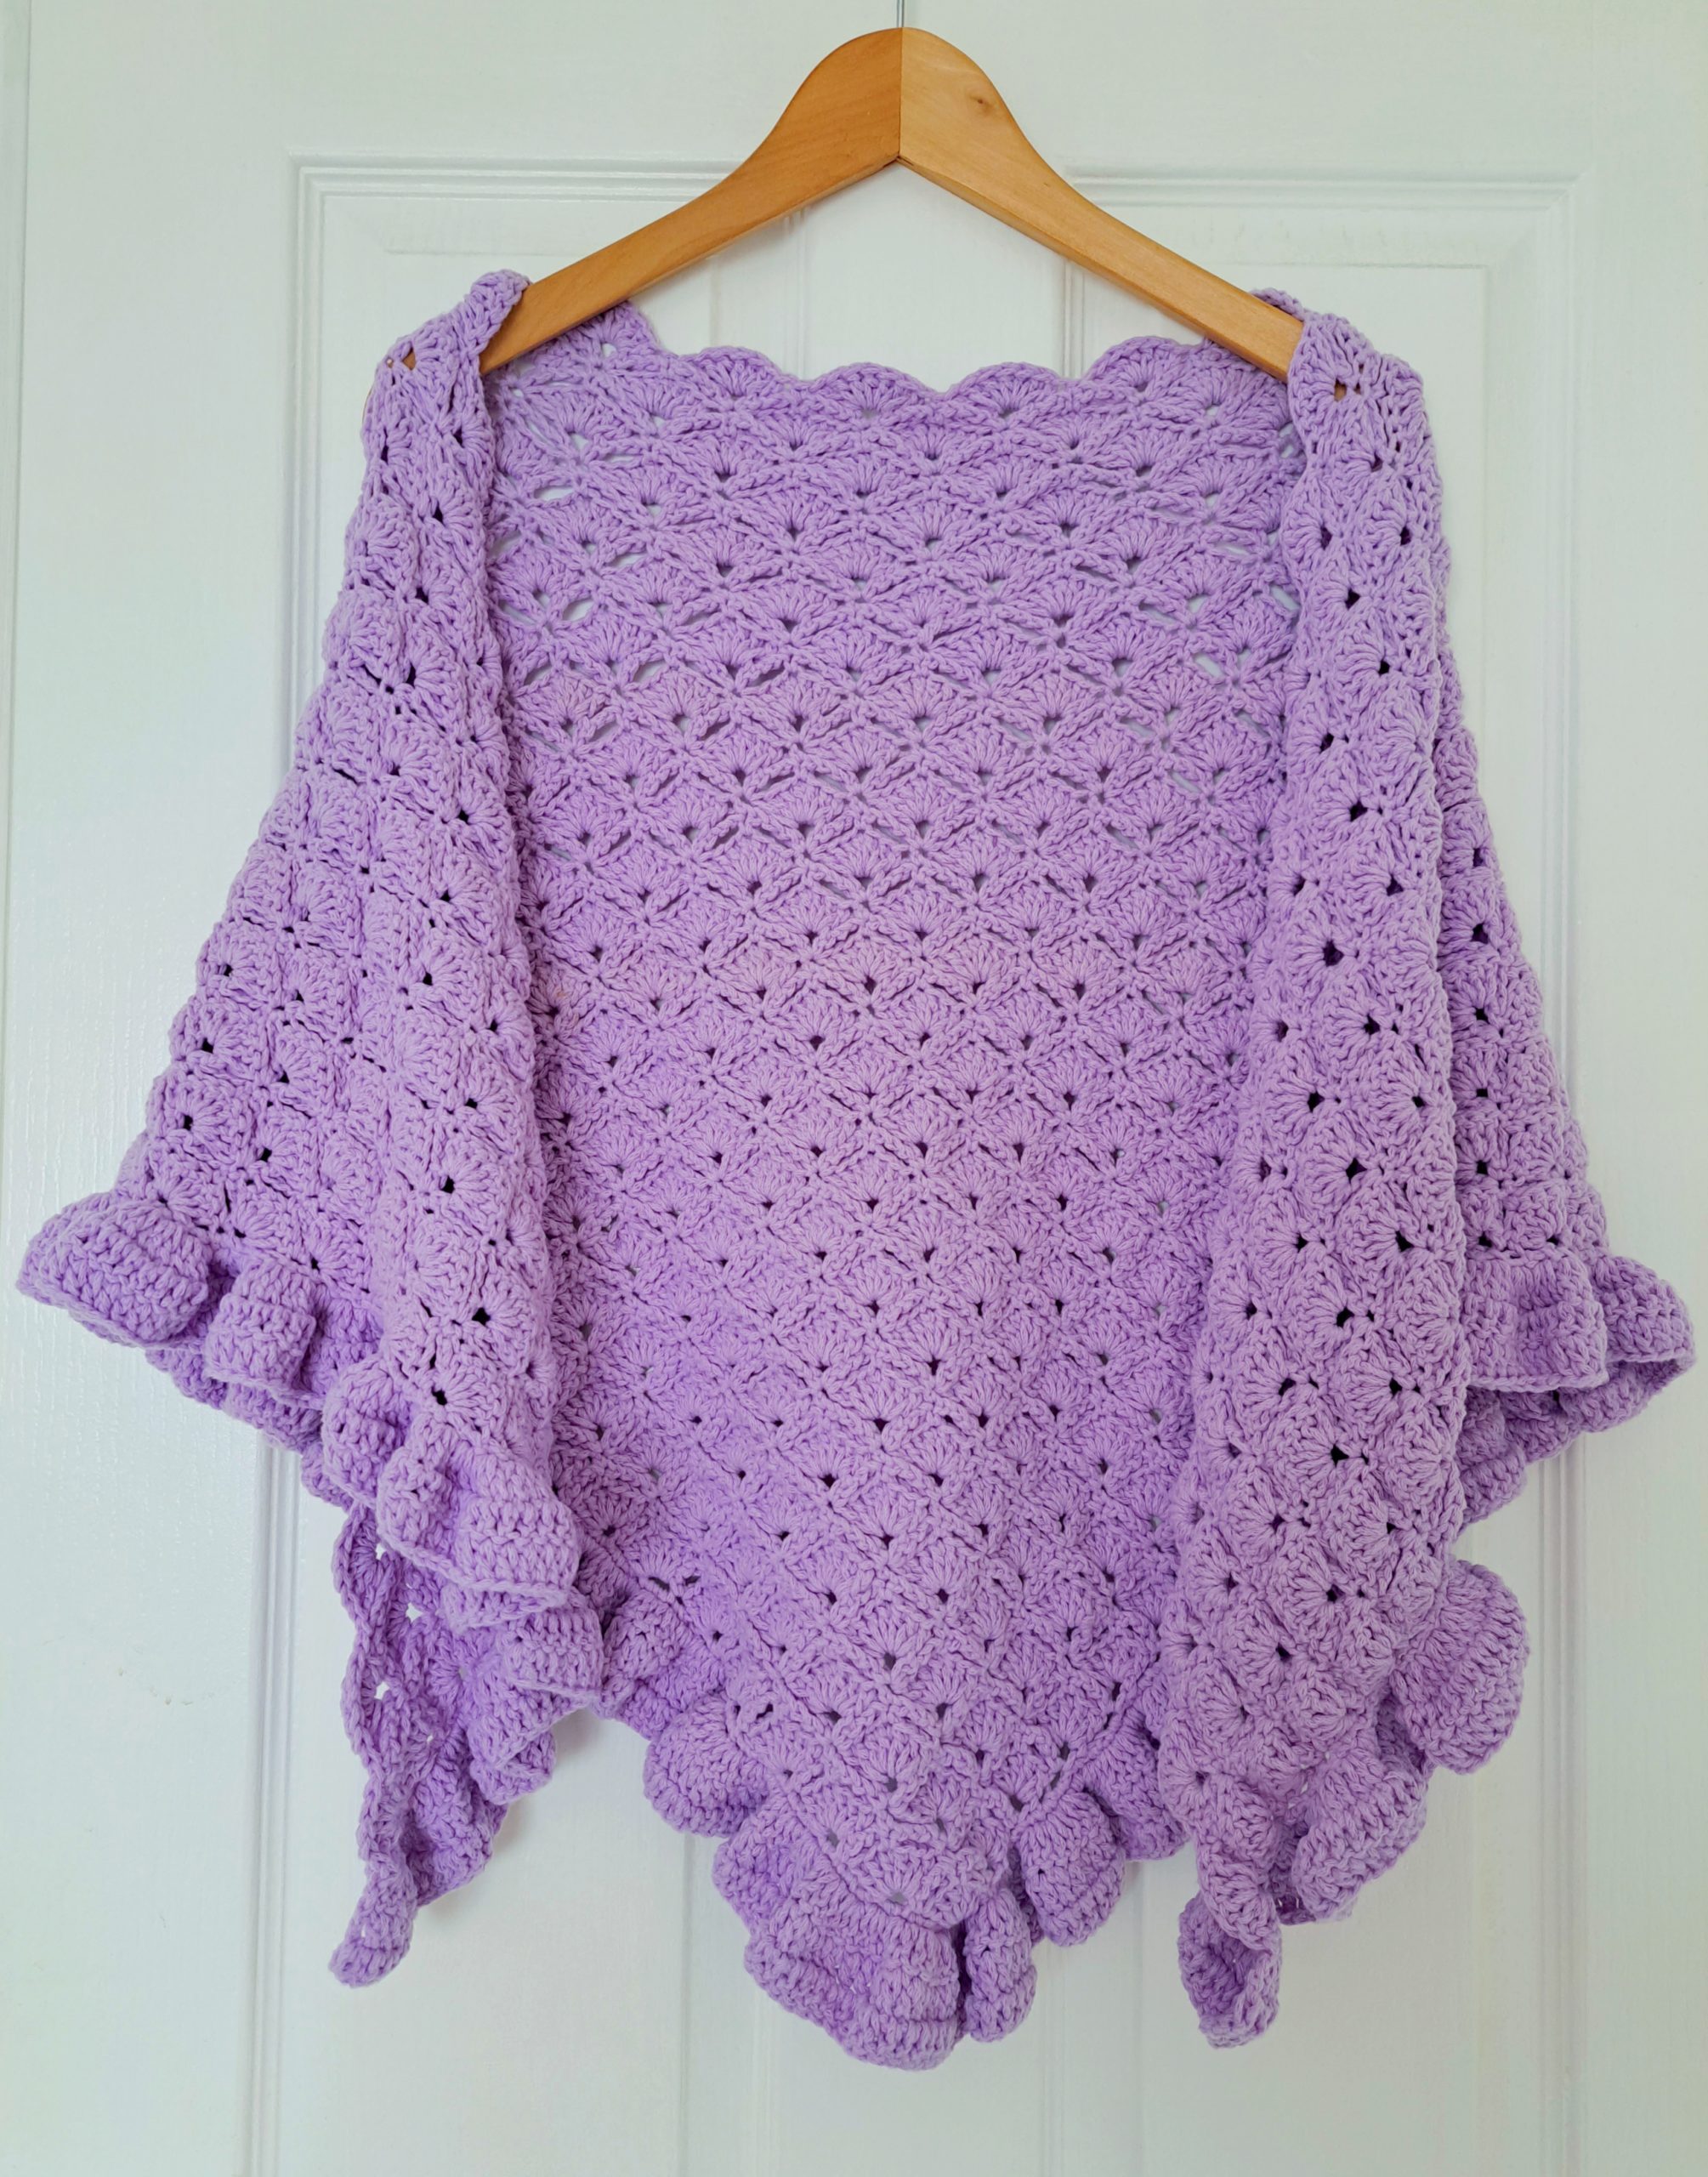
Hi everyone, this week I am bringing to you a crochet vintage lavender shawl free pattern. This is a great project for beginners, and is part of my Vintage Crochet Series. This crochet shawl is typical of the 19th Century, with it’s classic V shape and intricate shell stitch. It is very feminine and the color, which is soft and pastel, very typical of the 19th Century.
The video tutorial for this crochet shawl can be found here:
Crochet Vintage Lavender Shawl Free Pattern: A Victorian Era Shawl
This crochet shawl is typical of the Victorian Era. Indeed, the Victorian Era is characterized by either dark and neutral colors, such as black, brown and grey, or pastel and feminine colors such as pink, lavender, and baby blue. These two trends were very much present, and this soft lavender shade could definitely have been seen during this period. If you love vintage crochet shawls, you will love The Cosette Shawl and The Fantine Shawl.
The Victorian Era is a time in England during which Queen Victoria reigned. Her reign started in 1837, and ended with her death in 1901. It was a period of great historically, scientific and social change in England and Europe. It is quite a long period in terms of years, and a lot of events happened during this time. The British Empire reached its peak during this era, propelled forward by the Industrial Revolution.
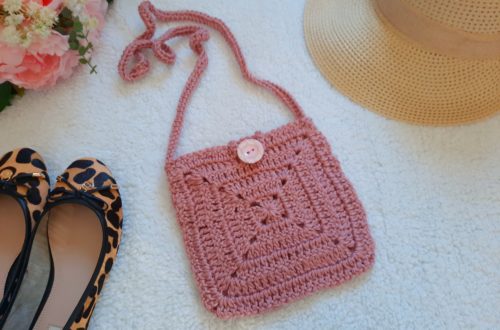
Fashions came and went, however it was an era where accessories were very much popular. Bags, clutches, purses, shawls, wraps and hats were everywhere. Feminine colors were very popular, and the East became a source of great inspiration for fashion during this time. The Vintage Pink Prayer Shawl is perfect if you like vintage crochet like myself.
Crochet Vintage Lavender Shawl Free Pattern: The Triangle Shape
Shawls were very popular for day and night wear. They were often made of wool, fabric and even silk, and were very much a part of a lady’s daily attire. Colors could range from dark to very light and pastel, and deep vivid colors inspired by the East were also fashionable.
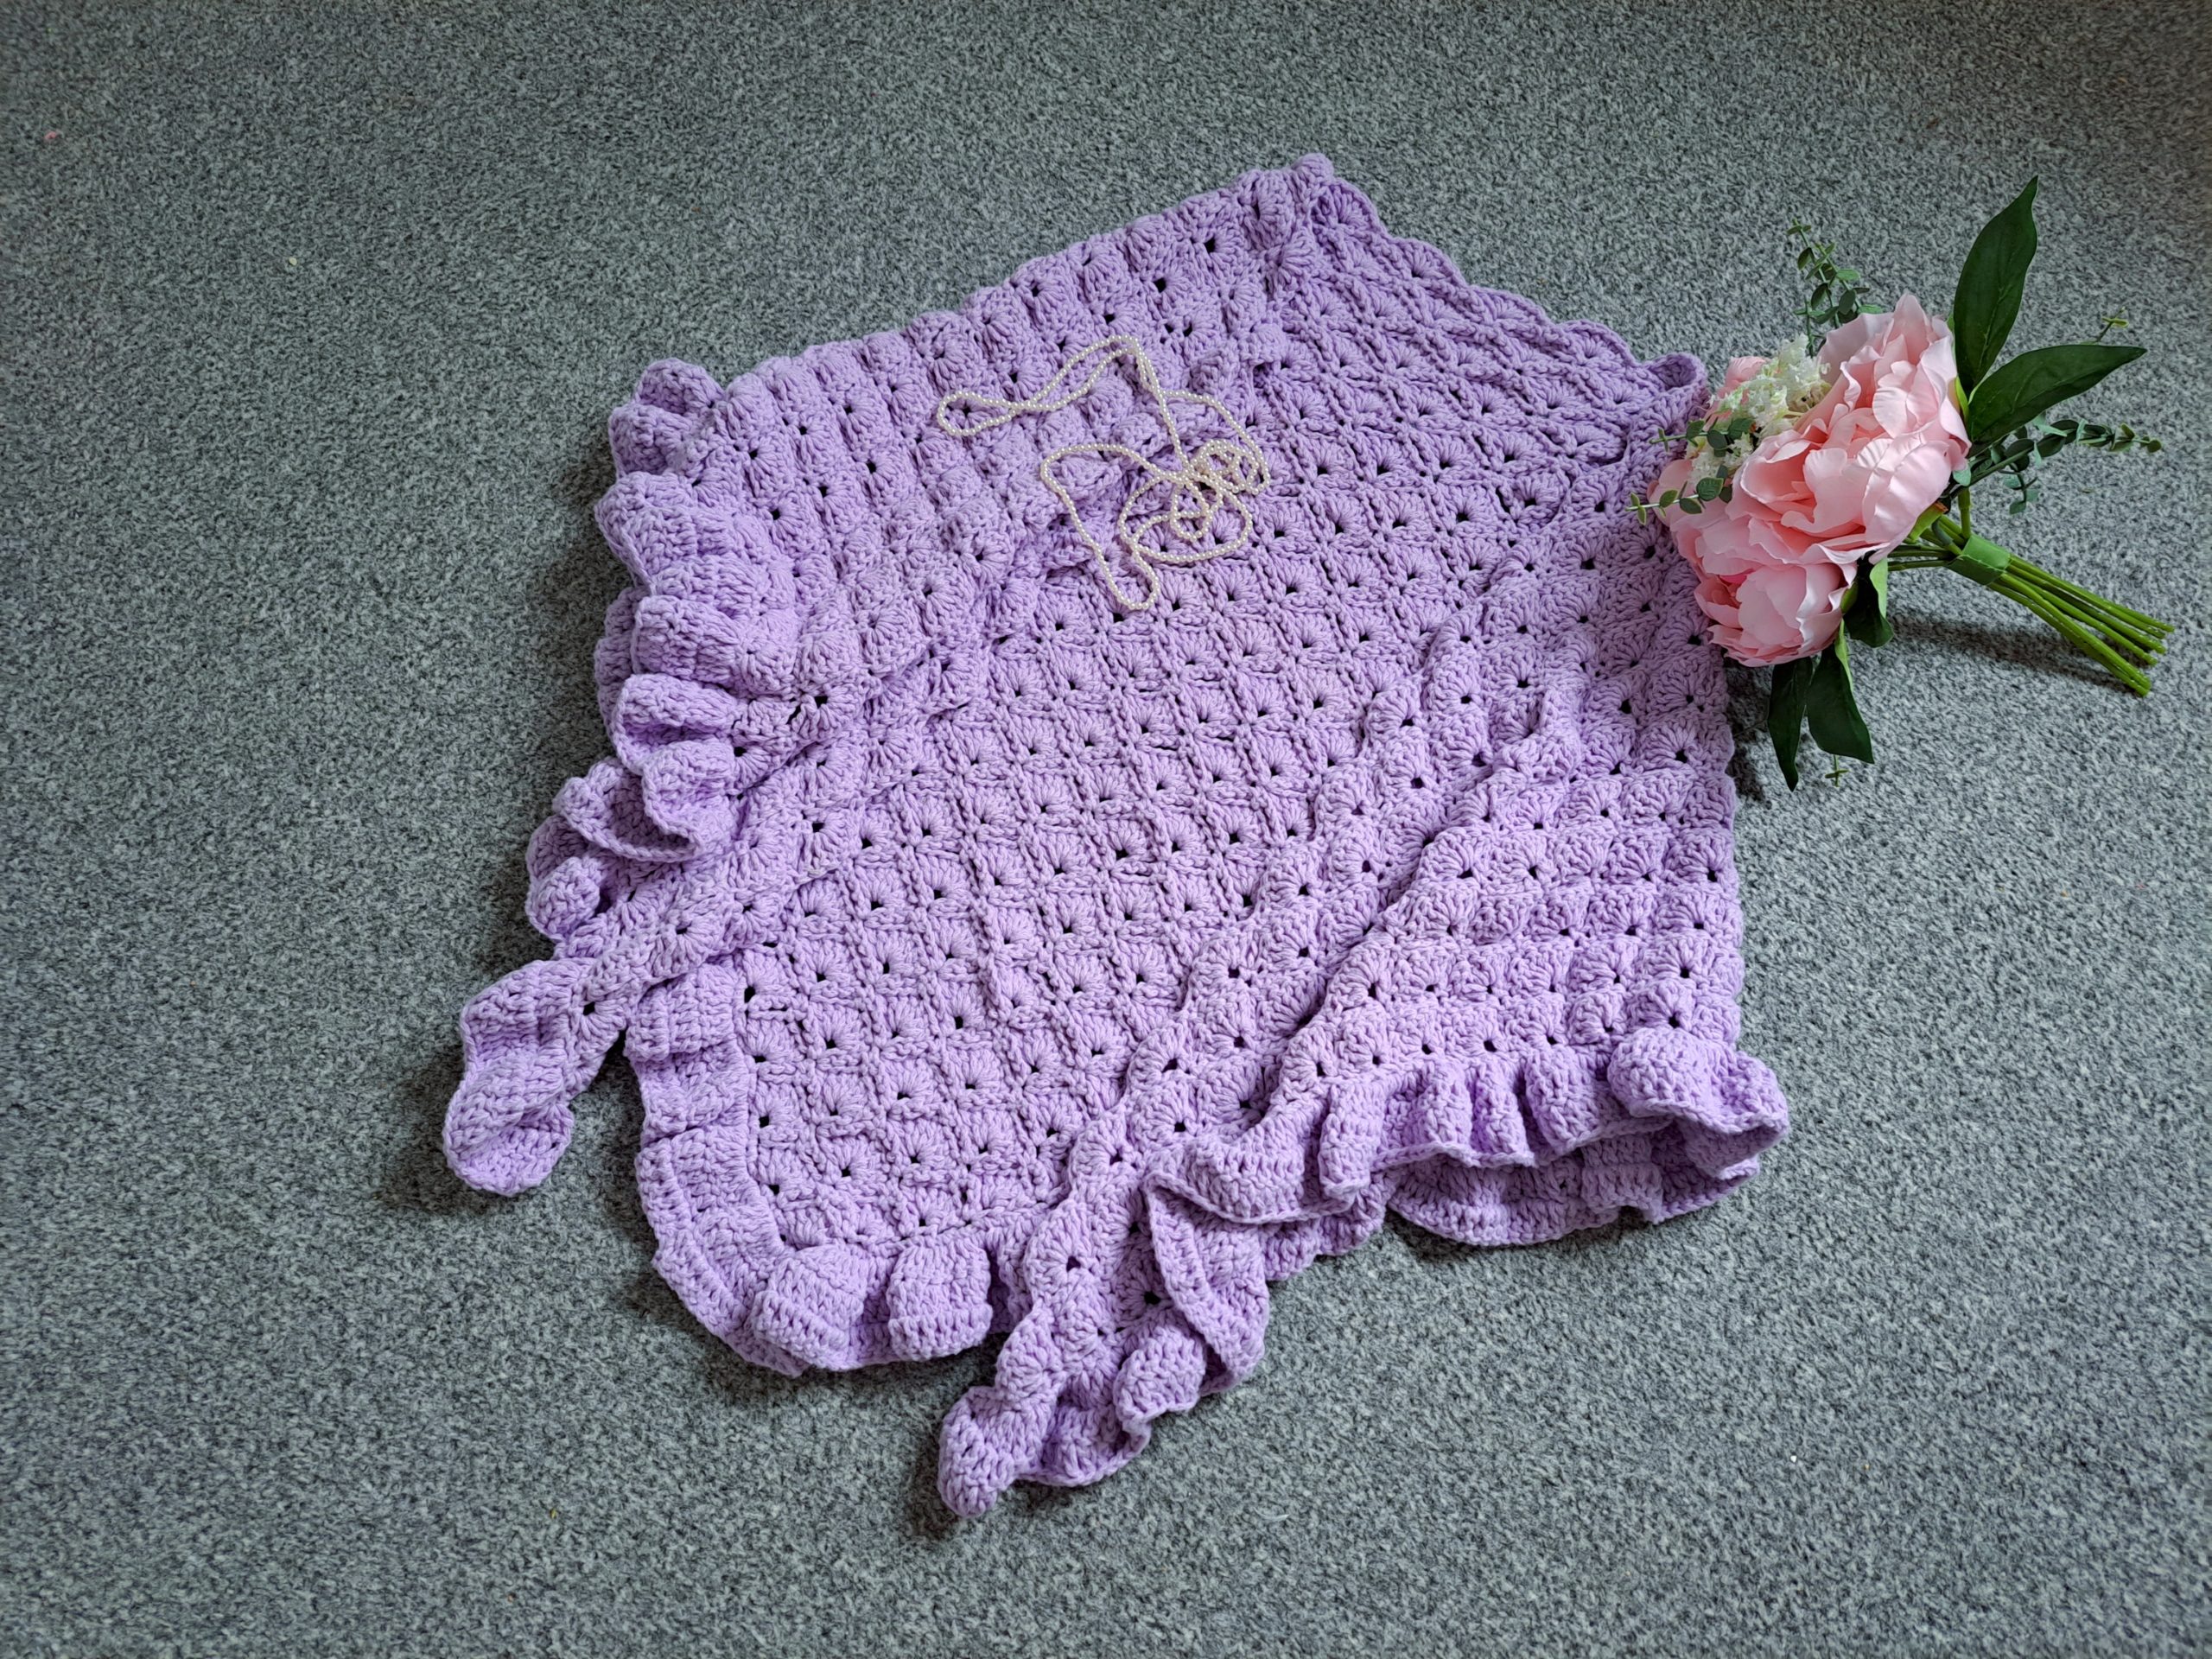
In terms of shapes, triangle, rectangle and square wraps and shawls were popular. The square wraps were folded in two to create a triangle, and were very popular because they were so warm and cozy. This Lavender wrap with it’s triangle shape is very much inspired by this era. I plan on crocheting a vintage Victorian Era square wrap very soon!
Crochet Vintage Lavender Shawl Free Pattern: the yarn
I used Lion Brand Feels Like Butta yarn for this project. As you may know already, I absolutely adore this yarn! I have crocheted quite a few projects using this yarn, including my latest bandana and the iconic Mint Heart Sweater. Both these projects have been big successes on my blog, and are perfect for all seasons too.
Feels Like Butta yarn is an amazing yarn, as it is super soft, and isn’t an acrylic yarn. It has a velour, almost chenille feel to it. However, it remains a fine yarn, so it doesn’t have the chunky feel of a more velour or chenille yarn. This is what makes this yarn so perfect! Let me know if you have ever used this yarn before.
My very popular feminine scrunchie design from two years ago was also crocheted with this yarn. I am also thinking of crocheting a baby blanket with this yarn, and cannot wait to get started!
Connecting with you
I would like to take a moment to thank every single one of you, for supporting me and my crochet journey. Indeed, I absolutely am so touched by all your messages, comments, and every person who has become a patron of my work through Patreon. Thank you!
I love connecting with my Crochet Community through my blog and Social Media. You can find me on Youtube, Instagram, and Pinterest. I would love to connect with you on these platforms.
You can also join my private Facebook group to connect.
Join my exclusive and fun Patreon community, a haven for feminine crochet and so much more!
Crochet Vintage Lavender Shawl: The Pattern
You can purchase the ad free, large print, PDF pattern from my Etsy shop here: Crochet The Lavender Victorian Shawl PDF Pattern
Level: Easy/beginner
Gauge
4”x4” (10×10 cm)= 10 rows (=5 rows of shell stitches)
Size of finished shawl
25” (64 cm) at highest point x 64” (162 cm)
Notes
I will be using US terms (British terms in brackets)
You will need
5 skeins of Lion Brand Feels Like Butta yarn in shade Lavender
5 mm crochet hook
A pair of scissors
A tapestry needle
Abbreviations
Ch: chain
St: Stitch
Sl st: slip stitch
Sk: Skip
SC: Single Crochet (UK Double Crochet)
DC: Double crochet (UK Treble Crochet)
EOR: End of row
Begin pattern here
To start, make a slip knot. Ch 4, sl st through 1st stitch to form a ring.
Complete rows as follows:
1: Ch 3 (=DC), 6 DC into center of ring (=7 DC and 1st shell stitch).
2: Now ch 4, turn your work, SC into 1st st to form a ring; ch 3, SC into 4th stitch of shell stitch from previous row, ch 3, SC into last st (which is also the ch 3 from previous row), ch 4 and SC once again in the same stitch to form a ring.
3: Ch 3 (counts as DC), turn your work, place 6 DC into center of chain 4 ring (=7 DC and shell stitch); sk ch 3 from previous row and SC into center SC from previous row. Sk ch 3 from previous row, and go directly into center of ch 4 ring with 7 DC (=shell stitch).
4: Now ch 4, turn your work, SC into first st to form a ring; Ch 3, SC into 4th st of shell stitch from previous row, ch 3, SC into SC from previous row (skipping 3 stitches from previous row). Now ch 4 and SC into same stitch to form a ring, ch 3 and SC into 4th stitch of the shell from previous row, ch 3 and SC into last stitch (which is also the beginning ch 3 from previous row); ch 4, SC into this same last stitch to form a ring.
Continue pattern here
5: Ch 3 (=DC), turn your work, place 6 DC into the center of the ch 4 ring from previous row (=7 DC). Sk ch 3 from previous row and SC into center SC from previous row; sk ch 3 from previous row once more and go directly into next ch 4 ring and place 7 DC into this ring (=shell stitch). Now sk ch 3 from previous row and SC into center SC from previous row. Sk ch 3 and place 7 DC into the last ch 4 ring center (=shell stitch).
6: Ch 4, turn your work, SC into first st to form a ring; ch 3, SC into 4th stitch of shell stitch from previous row, ch 3, SC into SC from previous row (skipping 3 stitches from previous row). Now ch 4, SC into same stitch to form a ring, ch 3 and SC into 4th stitch of the shell from previous row, ch 3 and SC into SC from previous row (skipping 3 stitches from previous row). Now ch 4 and SC into same stitch to form a ring, ch 3, SC into 4th st of shell stitch from previous row (skipping 3 st from previous row), ch 3 and SC into last stitch of shell stitch from previous row (which is also the first ch 3 from previous row). Ch 4 and SC into same stitch to form a ring.
Continue pattern here
7: Ch 3 (=DC), turn your work, place 6 DC into ring (=7 DC and shell stitch). [Sk ch 3 from previous row and SC into center SC from previous row; sk ch 3 from previous row once more and go directly into next ch 4 ring and place 7 DC into this ring (=shell stitch)] twice. Sk ch 3 from previous row and SC into center SC from previous row. Sk ch 3 and place 7 DC into the last ch 4 ring center (=shell stitch).
8-30: Repeat rows 6 and 7 (alternating them), making sure you add your shells as your shawl grows wider by following this simple pattern explained above.
Do not fasten off.
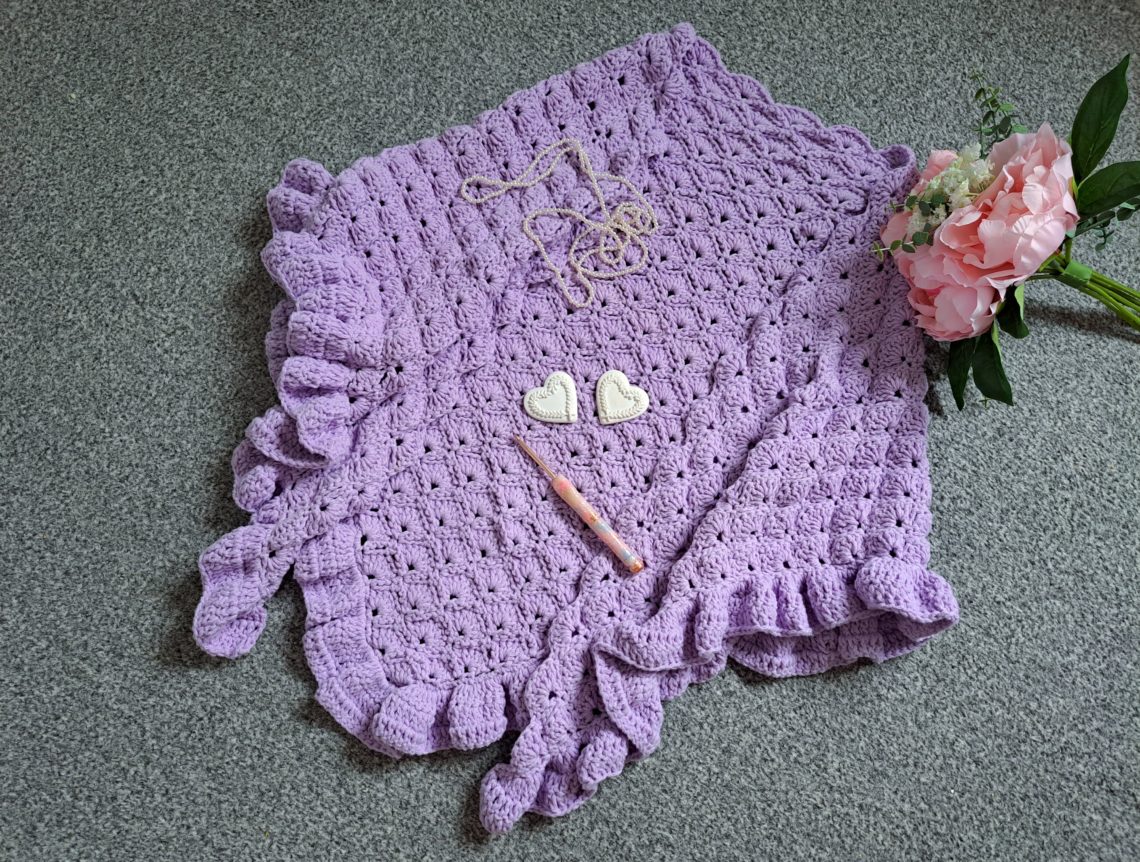
Feminine frilly border
1: Ch 1, and place a SC all along the edge of the shawl, making sure they are evenly placed (this is the side where the stitches are not clearly visible, so just place these SC as evenly as you can). There is not a specific amount of SCs which are needed.
You will be placing these SC all along the V side of the shawl, going from one corner to the next (when you reach the V part at the bottom of the shawl, just carry on placing your SC evenly across the other side of the shawl).
2: Ch 3 (=DC), turn your work, place 2 more DC inside that 1st stitch (=3 DC together in one stitch). Place 3 DC into next stitch until EOR.
3: Ch 3 (=DC), turn your work, place a DC into next stitch until EOR.
4: Repeat row 3.
Fasten off, tidy up all loose ends.


You May Also Like
Crochet Pink Ballerina Infinity Scarf Pattern
Crochet Puff Flower Beginner Tutorial