Nursery Applique Hoop DIY
Nursery Applique Hoop DIY
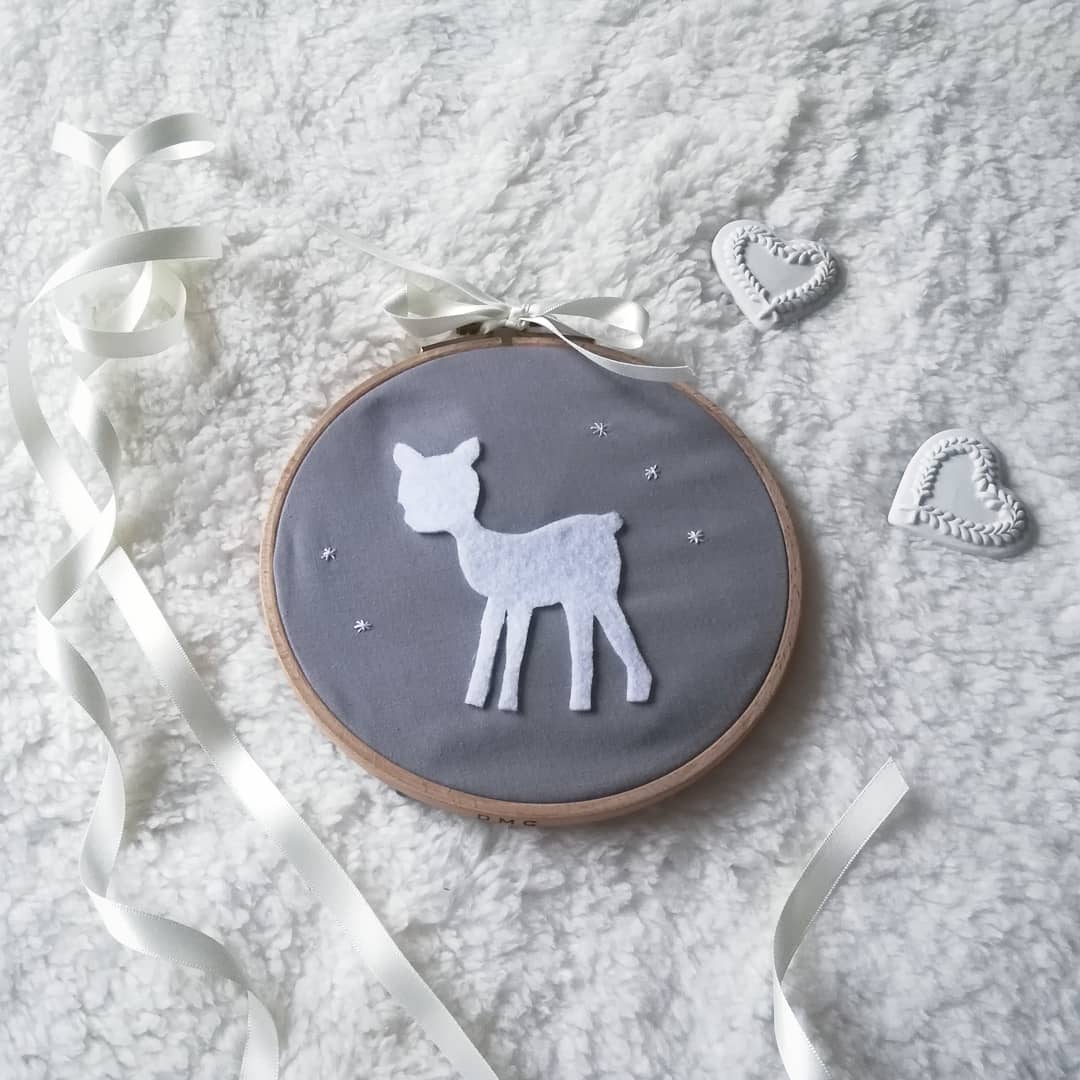
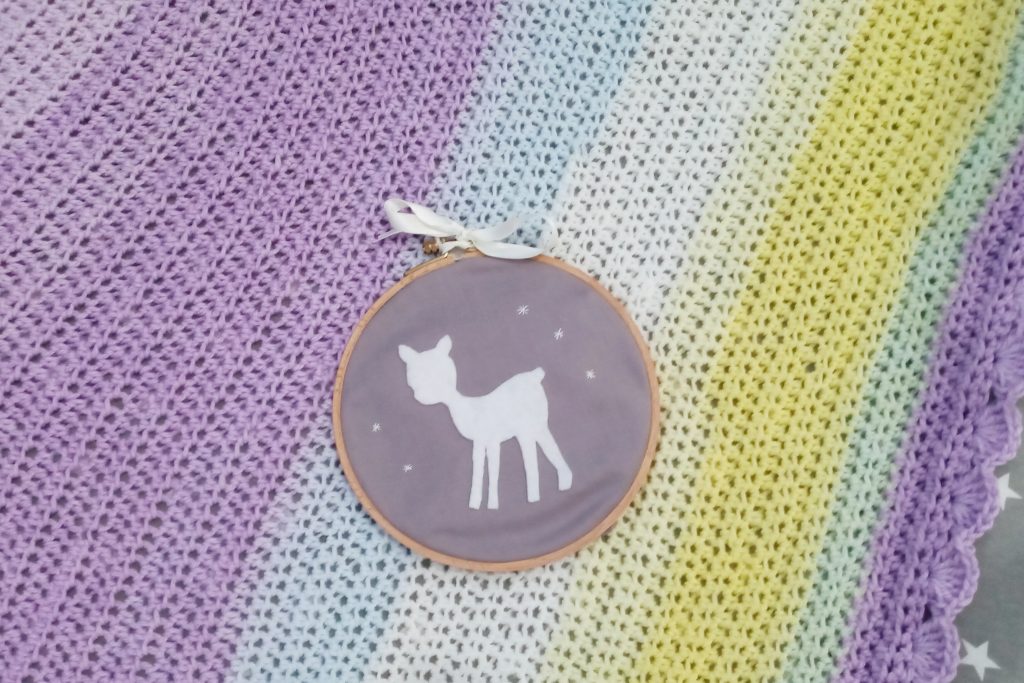
Hi everyone! I hope you are well, this week I am sharing a nursery applique Hoop DIY with you. It’s a lovely project that is very beginner friendly! This hoop decoration matches the Crochet Nursery Cushion, you can find the blog post here Crochet Nursery Cushion Tutorial.
Nursery Applique Hoop DIY: The video tutorial
I am so happy to share this new project with you, it was such a sweet DIY to make. It is a wonderful nursery decoration, and a lovely gift for a baby shower too. It is also very easy and cheap to make, too.
Thank you for visiting my blog, and please do check out my Youtube tutorial for this project, the link is here: Nursery Applique Hoop DIY Video Tutorial

A matching set for my future baby
I am presently pregnant with my baby, and I made this matching set for him/her. Indeed, I am not finding out the gender before baby is born, so I am very excited to know which one it will be. I also had to crochet and make the baby decorations that are gender neutral.
I absolutely love cream and grey, and I have made a series of projects for baby in those colours. It’s a nice change from blues and pinks too. Although I am sure I will be buying plenty of boy or girl colours once baby is here.
A great way to save money
Not finding out the gender is also a great way of saving money. This is a benefit I had never even thought about, however it is very hard to find anything these days that is gender neutral. This is one of the main reasons I am making so many nursery projects these days, because I cannot buy much in stores. In a way, it’s been an amazing journey, because it has really inspire me to make everything myself for my baby. This makes these projects so special to me!
This has also enabled me to save money, in an indirect way. As none of the products in stores and online are gender neutral, it has forced me to not buy anything until baby gets here.
Let me know what you thought in the comments below, I would love to hear from you!
Nursery Applique Hoop DIY: The tutorial
Level: Easy
Materials:
Embroidery hoop (7″/17 cm)
A piece of fabric for the background (in my case I upcycled a grey sheet that I cut out)
White felt sheet
Scissors
Fabric glue
Piece of paper and pencil
Darning needle
Darning thread (white or silver)
Sellotape
Begin tutorial here:
Take your piece of background fabric, and place it in embroidery hoop, pulling it accross tightly for a neat look.
Place the hoop and fabric aside.
With a pencil, draw the outline of the doe (or any motif you prefer) on the piece of paper. I used an old Christmas card to help me design the exact motif I wanted. You can also use tracing paper if you are more comfortable using that technique.
Once you have your drawing, cut it out delicately with the scissors. Use sellotape to stick it to the white felt sheet, and then cut the felt sheet using the doe motif as an outline marker.
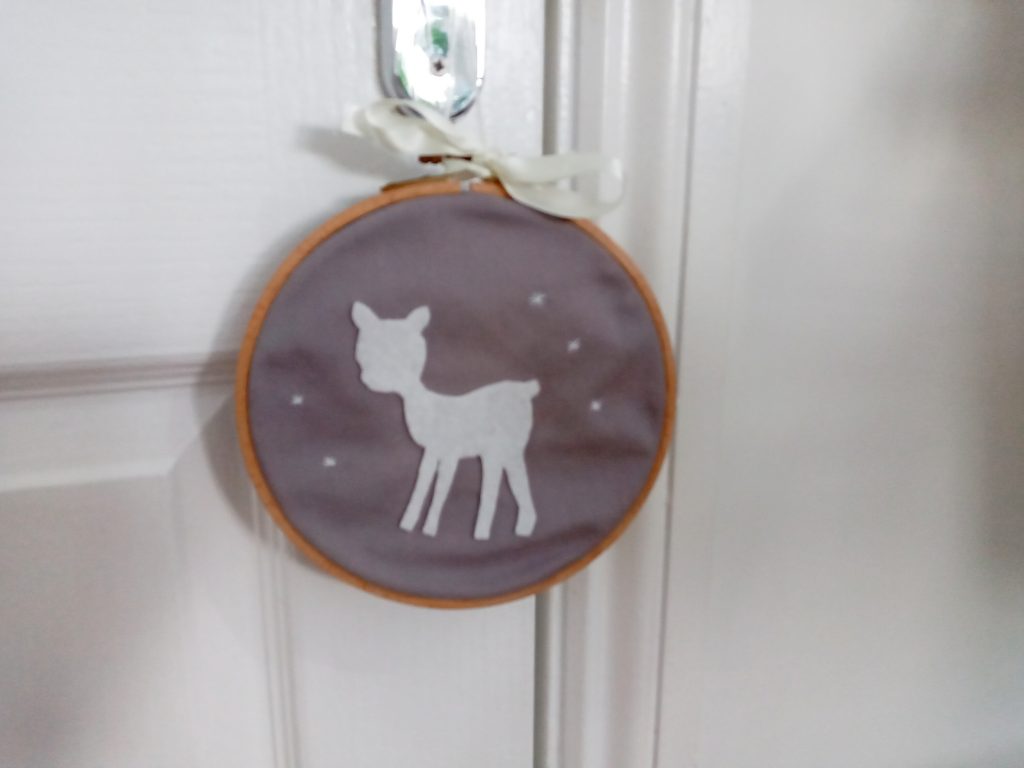
Once you have the felt doe applique ready, glue it to the grey fabric on the hoop.
Allow to dry 10 to 15 minutes, during which time you can get your needle and thread ready for the stars you will be sewing onto the grey fabric.
With your needle and thread, proceed to make 6 stars on each side of the doe motif, by crisscrossing your thread 2 times to form a cross, and another 2 times so that it becomes a small star. Repeat pattern 5 times to achieve 6 stars.
To finish, pick up a piece of cream ribbon, tying a knot at the top of the embroidery hoop to hide the metal screw and to decorate.
And you’re done! I hope you enjoyed this tutorial,
Love,
Selina xoxo.
Disclaimer: This is project is meant to be a decoration only, please do keep out of reach of babies and children.

You May Also Like
Join My Feminine Crochet Community On Patreon