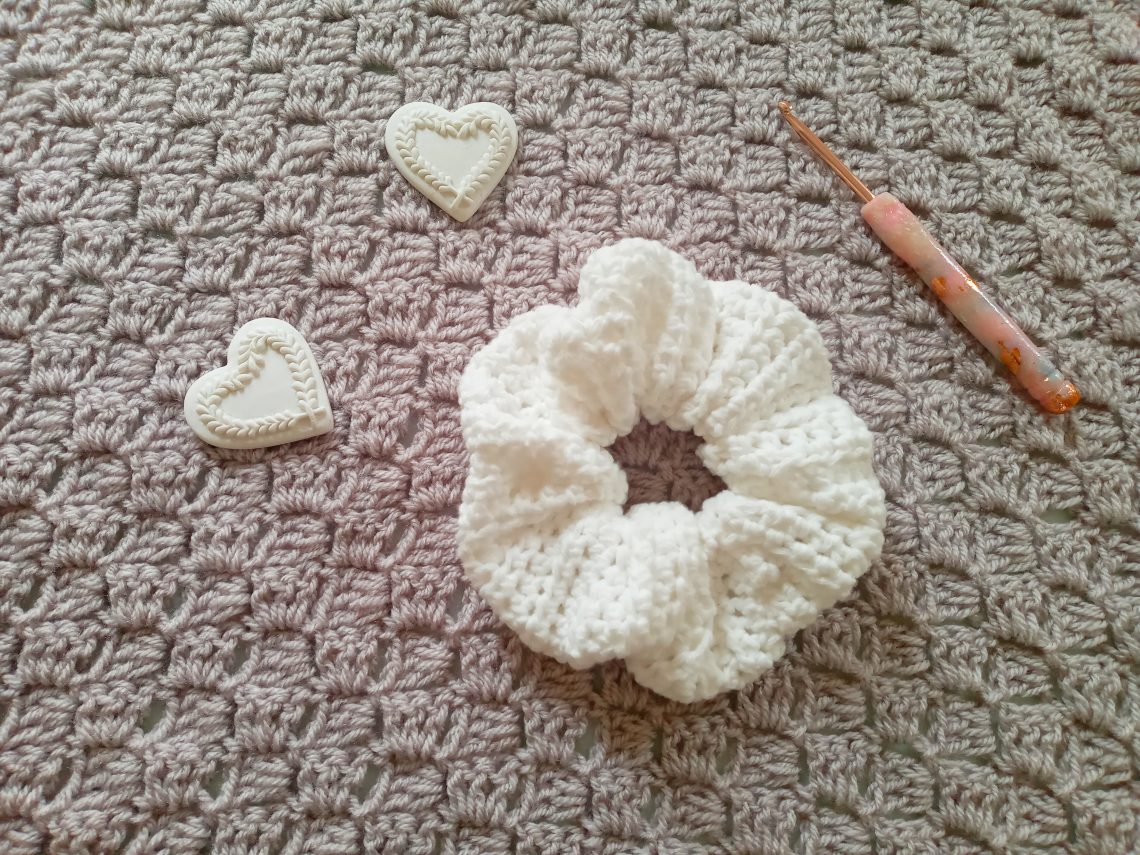
Crochet Simple Feminine Scrunchie
Crochet Simple Feminine Scrunchie
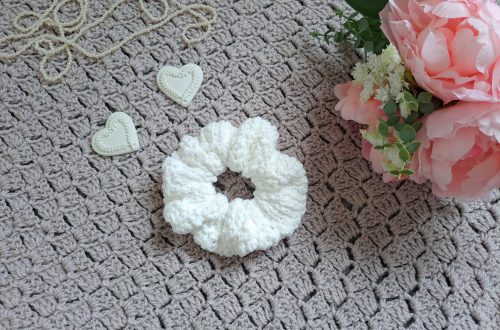
Hello everyone, I hope you are well! Today I wanted to bring you a new and fun project, which is on how to crochet a simple feminine scrunchie.
If you recall, I had made a feminine and frilly scrunchie tutorial last week. You can find it here Crochet a cotton scrunchie tutorial.
This week’s scrunchie is quite different, the method used to crochet it is completely distinct from the first tutorial. Indeed, for this week’s pattern, we start by crocheting a long piece consisting of Half Double Crochets, before sewing the piece up one side. Once this is complete, we insert an elastic and finish of the project. This creates the fluffiest, cutest scrunchie ever!
The video tutorial for this project can be found here:
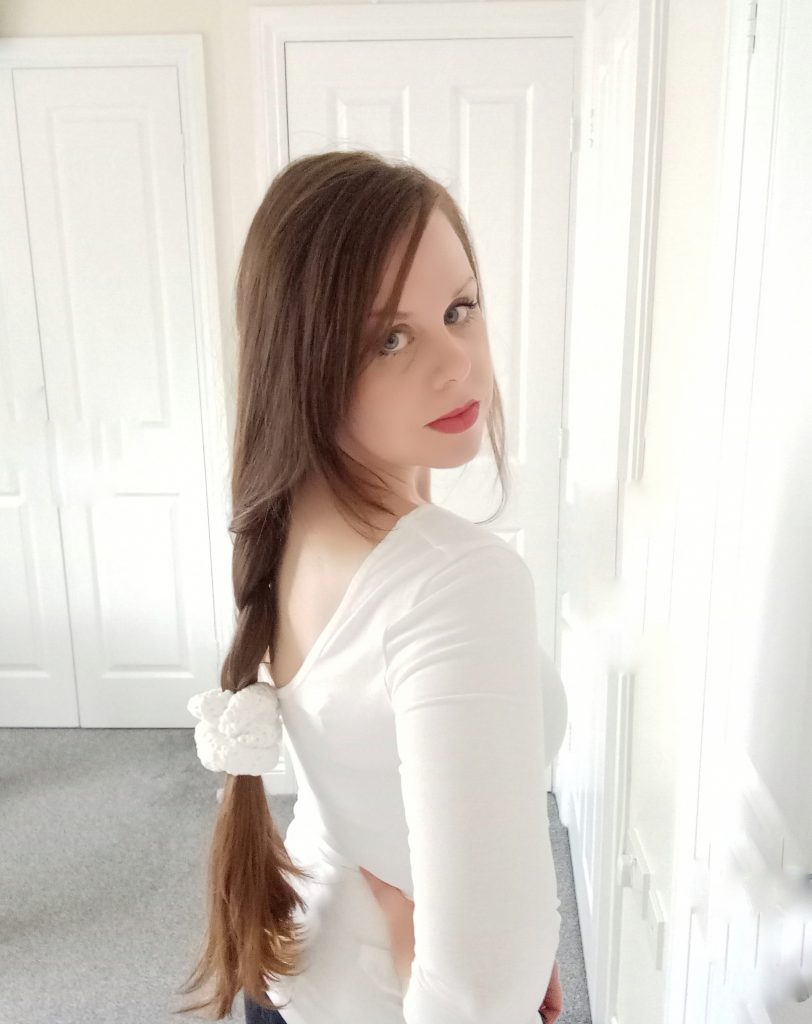
This is a versatile accessory
Crochet a Simple Feminine Scrunchie: a soft and fluffy project
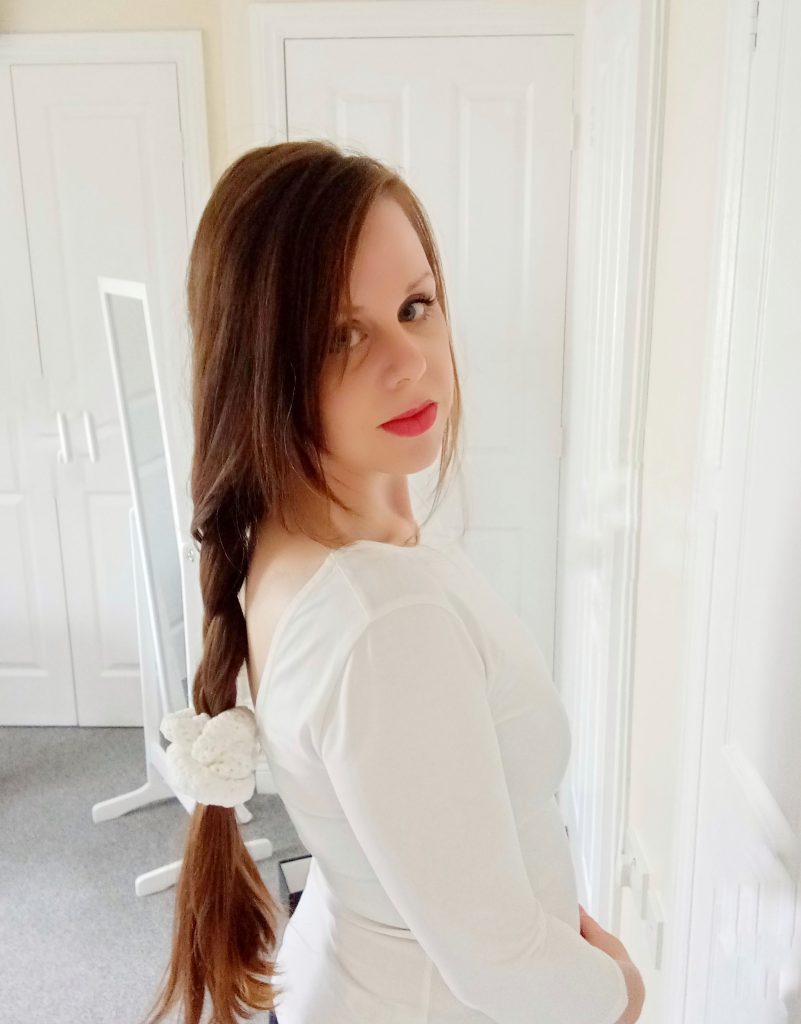
I love this scrunchie because it reminds me of those we had in childhood. It is soft and fluffy, and really has that candy cane and marshmallow vibe to it. I know I will be wearing mine so much this Summer. Also, it is a really versatile accessory. It can be used directly to tie up a pony tail, as well as a simple “decoration” over a top knot or bun. It is the perfect finish to any coiffure, and that’s what I love so much about it.
The yarn: Feels Like Butta by Lion Brand
Crocheting this simple feminine scrunchie was a delight because of the yarn. I used Lion Brand’s Feels Like Butta yarn to crochet this accessory, and I can honestly say it’s one of my favourite yarns! It is soft and squishy, and reminds a bit of a chenille texture, but finer. So it was the perfect yarn to crochet my scrunchie with.
I have used this yarn before, and I have to admit that I love the feel of it. For this project, I used a 4 mm hook to crochet with, and it was perfect to get a “fuller” texture. As I was making a scrunchie, I felt like it needed to be a bit compact and bouncy, if this makes sense. I hope it does!
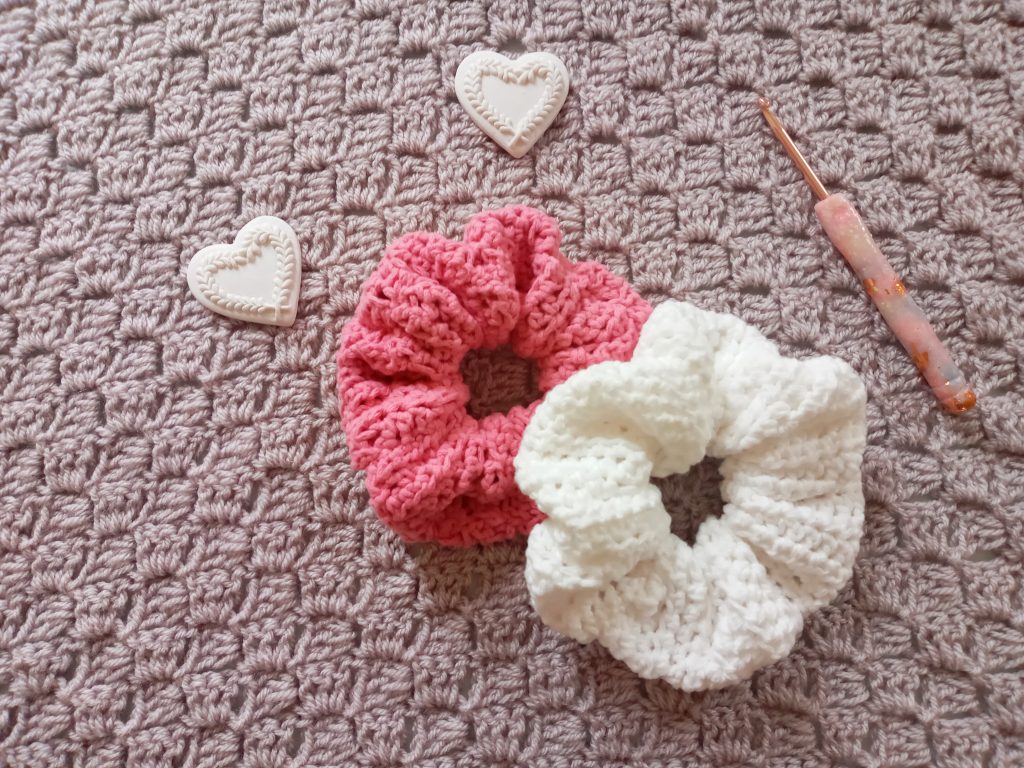
A very easy project to crochet
This crochet project is perfect if you are a beginner, or an expert crocheter. It requires minimal crochet and sewing skills. If this is your first project, then do not be afraid. This is perfect for you. The repeat pattern of Half Double Crochets is very easy to get the hang of. It is also a very quick project, which builds up easily.
The yarn is also very high quality, so definitely worth crocheting this scrunchie with. I know I really enjoy simple crochet hair accessories, as they really give any outfit a bohemian and romantic look. They are quick to crochet too, and make great gifts for people. Do you like to crochet hair accessories too?
Connecting with you
I love to connect with you, so please consider following me on my Social Media accounts. All the links to these are on my home page, however you can find me on Instagram, Youtube, Pinterest and Facebook under Selina Veronique. I also have a Facebook group you can join here: Selina Veronique’s crochet corner
Let me know if you have a question or a comment, I love connecting with you. Until next week, take care my lovelies,
Xoxo Selina.
Crochet Simple Feminine Scrunchie: the pattern
You can purchase the ad free, PDF pattern from my Etsy store here: Crochet Romantic Scrunchie PDF Pattern
You can purchase the ad free PDF pattern from my Ravelry store here: Crochet Feminine Scrunchie Pattern
Level: Easy
Notes: I will be writing in US terms
Gauge: Gauge is not crucial for completion of this project
Materials:
1 skein of Lion Brand Feels Like Butta (shade Dusky Pink or White)
An 8” elastic piece
A 4 mm crochet hook
A tapestry needle
A pair of scissors
Safety Pin
Abbreviations:
Ch: Chain
Sl st: Slip stitch
HDC: Half Double Crochet
St: Stitch
EOR: End of row
Start pattern here:
Make a slip knot, and ch 17
Complete rows as follows:
1: HDC into 3rd ch from hook, and into every ch after that until eor.
2: Ch 2 (=HDC), HDC into 2nd st and into every st until eor.
3-60: repeat row 2
Fasten off, leaving long tail for sewing.
Sewing and finishing off your scrunchie:
Fold the long strip of HDC in half lengthwise, and sew both panels together. Once you have sewed this part, turn your project inside out so that the seam is inside it.
It’s now time to put in your elastic band into the project. Take the elastic band and place the safety pin on one end. Scrunch up your scrunchie, and pop your elastic band through it; once this is done, tie both sides of the elastic band together.
Fasten on a piece of yarn to the edge of the seam of the scrunchie. Sew in the seam as neatly as possible, making sure to place all your loose ends inside the scrunchie.
Fasten off, tidy up all loose ends.


14 Comments
Jailene Báez
Thanks so much????
Selina Veronique
You are most welcome! Thank you for stopping by.
Jordyn
Ur scrunched looks like the stitching on it is fairly loose mine is to tight and I am making it as loose as possible but it doesn’t look like urs what should I do use SC instead??
Selina Veronique
Thank you for your comment. I would suggest staying with the HDC, however, you could try and loosen your gauge? Or maybe use a larger crochet hook, which works wonders with loosening gauge. Hope this helps!
Diane Thompson
What do you mean by an 8 inch elastic band? Where would I find one? TY!
Selina Veronique
Hello, thank you for your comment. I mean an 8 inch elastic band you can buy by bulk in a shop. I hope this makes sense!
Betty Jackson
I love this pattern. But I am a little confused about the end instructions. Do you have a video tutorial that I can watch?
Selina Veronique
Hello, thank you for your comment. Yes there is a video tutorial for this project, I hope this helps, you can find it here https://www.youtube.com/watch?v=mgUOJAAB8X8
Take care
Selina.
Deanna
Hi I was just wondering if were allowed to sell the finished product as long as we credit you. If not that’s fine i just wanted to ask!
Selina Veronique
Hello, thank you for your question. Yes you absolutely can sell the finished product, no problem at all!
Michelle
Hi, I was wondering what are the dimensions of the rectangle before the sewing? I don’t have the same yarn. Trank you.
Selina Veronique
Hello, of course, the measurements for this project are as follows: 22.5” (57 cm) x 4.5” (11.5 cm)
I have just added this to my blog post.
Diane Alexander
Thank you so much. Yes, it does look like for Beginners like me.
I do have a question. What does “eor” mean? Does it mean end of row? Smiling.
Selina Veronique
Hello and thank you for stopping by my blog! Yes EOR means End of Row, have a great day!