Crochet The Beautiful Maiden Wrap
Crochet The Beautiful Maiden Wrap
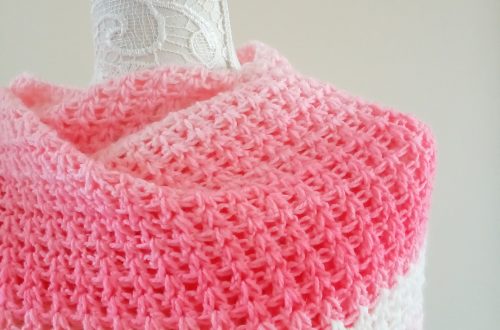
Hi everyone, I hope you are well. This week my tutorial is on how to crochet The Beautiful Maiden Wrap.
I was inspired to name it that way because of the design, as well as the beautiful texture and colours of the Landscapes Yarn by Lion Brand. This time I used shade Cabana which is so gorgeous!
The video tutorial can be found here: Crochet The Beautiful Maiden Wrap
Lion Brand Yarn Landscape Collection
I personally adore Lion Brand Yarns, as they always feel so luxurious and soft, and I also really love their Landscapes collection. The colours are stunning. The texture of the yarn is absolutely delightful, as well as unusual and soft. It does not contain any wool, but definitely looks like it could, so it does give projects that warm rustique look, which I absolutely love!
I started this project whilst on holiday in the French Alps to visit my Dad, and I have to say the yarn was very much in tune with my surroundings, if that makes sense.
About the project
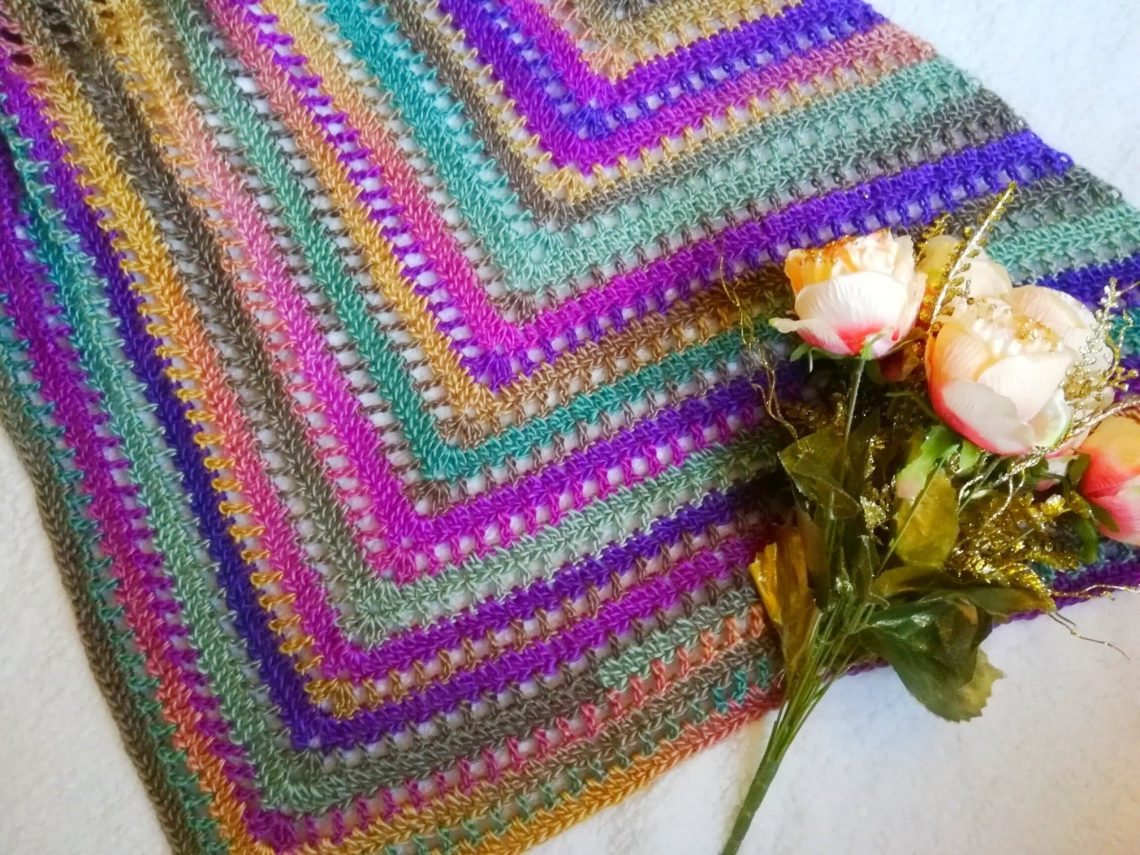
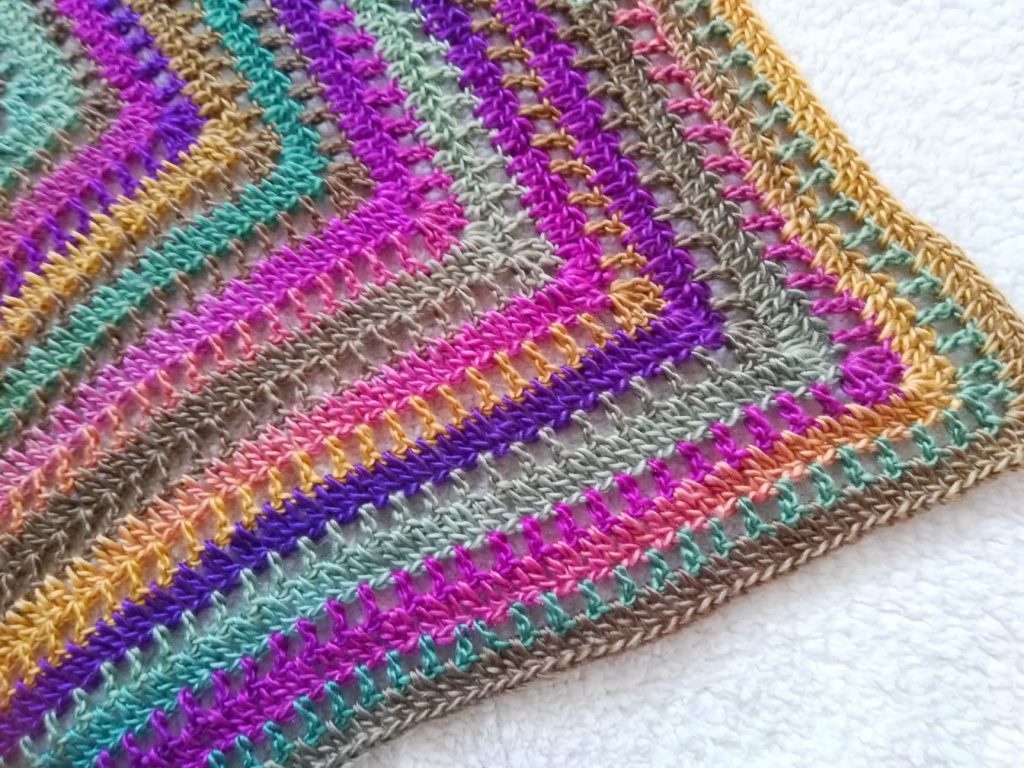
This project works up fairly quickly, and the V-shape of this sumptuous and colourful wrap makes it so easy to pair with so many outfits. It is very easy to crochet as it is an alteration of two rows, giving it a lovely and intricate look too. I definitely recommend this pattern if you are a beginner crocheter. It is a very simple repeat pattern, and because it is a worsted weight yarn, it does tend to work up quickly.
Crochet The Beautiful Maiden Wrap: Behind the name
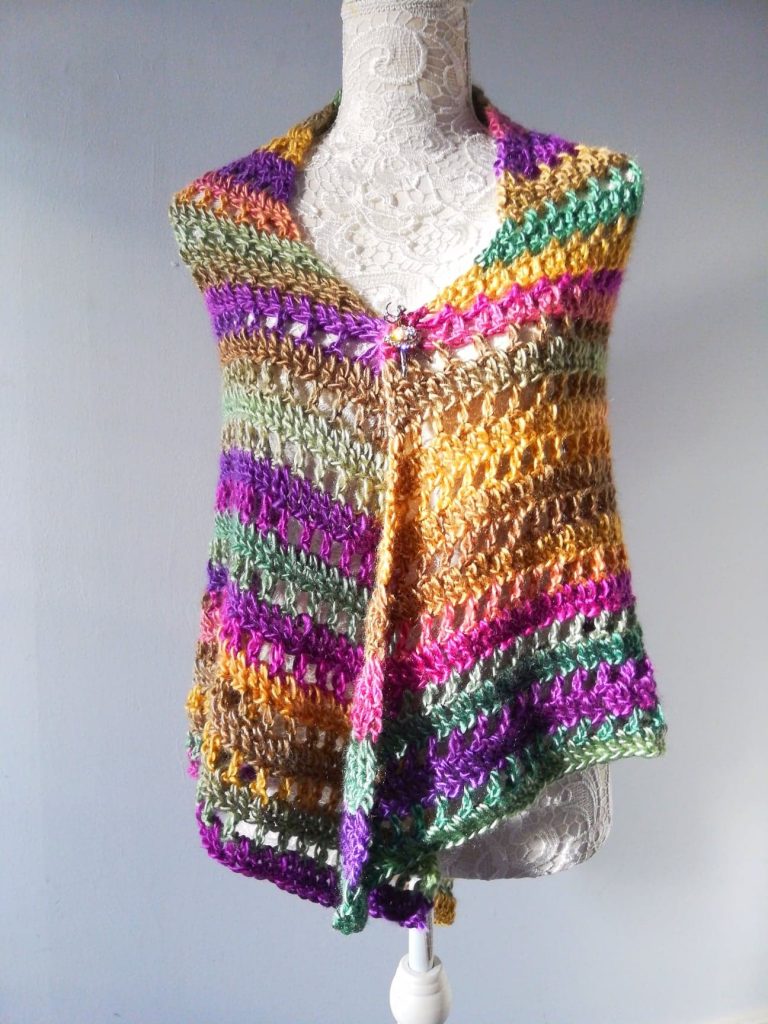
I called this wrap The Beautiful Maiden Wrap because it does look like a cape that could have been worn during Medieval times, or the Renaissance (or a show like The Walking Dead, which I love for some reason!), and as you know, I love history and it’s fashion! So I really love that this accessory, although simple, has a definite fairy tale like quality to it!
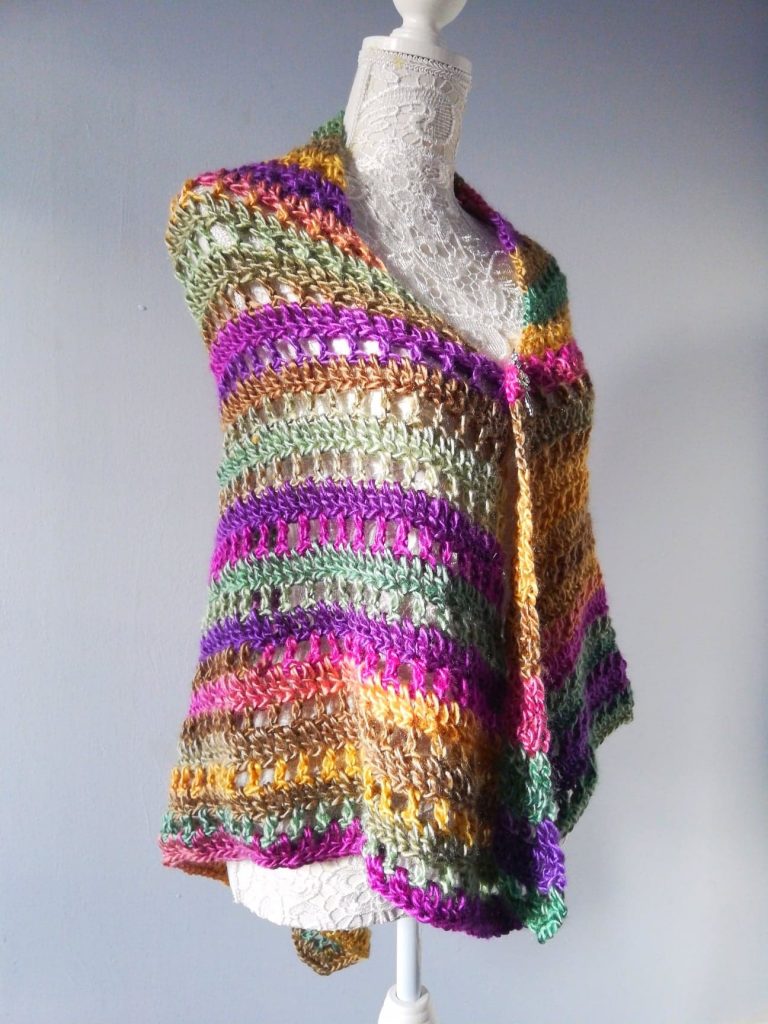
This wrap can be versatile too, as you can simply wrap it around you like a scarf, or use it as a cape, fastening it with a brooch like I did (which adds to the Medieval look of this garment to be honest). All in all, it is also a great gift you can give to someone, as the colours and texture are very neutral in a way, so likely to suit most people, and their taste.
Connect with me
Let me know what you think of this pattern and if you have crocheted it, and you can also tag me on Social Media as I love to see your finished and beautiful creations. I also have a Facebook group called Selina Veronique’s Crochet Corner, I would be delighted if you wanted to join it.
I hope you enjoy this tutorial as much as I enjoyed making it, and until next week, take care my lovely crochet friends,
Lots of love,
Xoxo Selina.
The free downloadable PDF can be found here: The Beautiful Maiden Wrap
Crochet The Beautiful Maiden Wrap: The Pattern
Level: Easy/beginner
Gauge:
4 rounds = 7,5” (19 cm) wide on 3,5” (9 cm) in length. Please note gauge is not crucial for the completion of this project.
Notes:
I will be using US terms (British terms in brackets)
You will need:
4 skeins of Lion Brand’s Landscapes in shade Cabana (or any other shade/yarn in Aran weight yarn)
6,5 mm crochet hook
Pair of scissors
Tapestry needle
Abbreviations:
Sl st : slip stitch
Ch: chain
Sk: skip
DC: Double crochet (UK Treble)
Ch : chain
Begin pattern here:
To start, make a slip knot. Ch.4, sl.st. through 1st stitch to from a ring.
Complete rows as follows:
1: Ch.3 (counts as a DC), 4 DC inside center of ring, ch.2, 5 DC inside ring (=5DC, ch.2, 5DC)
2: Ch.3 (counts as a DC throughout), turn your work, DC in same 1st stitch (=2DC together), [ch.1, sk 1 st, DC into next stitch] until last stitch, place 2 DC together in last stitch.
3: Ch.3 (counts as a DC throughout), turn your work, DC in same 1st stitch (=2DC together), DC inside each DC from previous row until center ch.2 sp.; Inside center space place 2DC, ch.2, 2DC; DC inside each DC from previous row along the side of wrap, 2 DC together in the very last stitch
4: Repeat row 2
5-34: Repeat row 3, and continue pattern, alternating row 2 and 3 until end of work.
Fasten off, tidy up all loose ends.
I hope you enjoy this crochet project, let me know in the comments!
Lots of love,
Selina xoxo.


You May Also Like
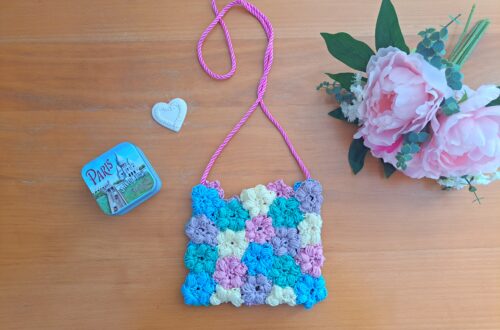
Crochet Puff Flower Bag Free Pattern

Crochet Fleur De Lys French Beret Free Pattern