Crochet The Scarlet Hooded Shawl Pattern
Crochet The Scarlet Hooded Shawl Pattern
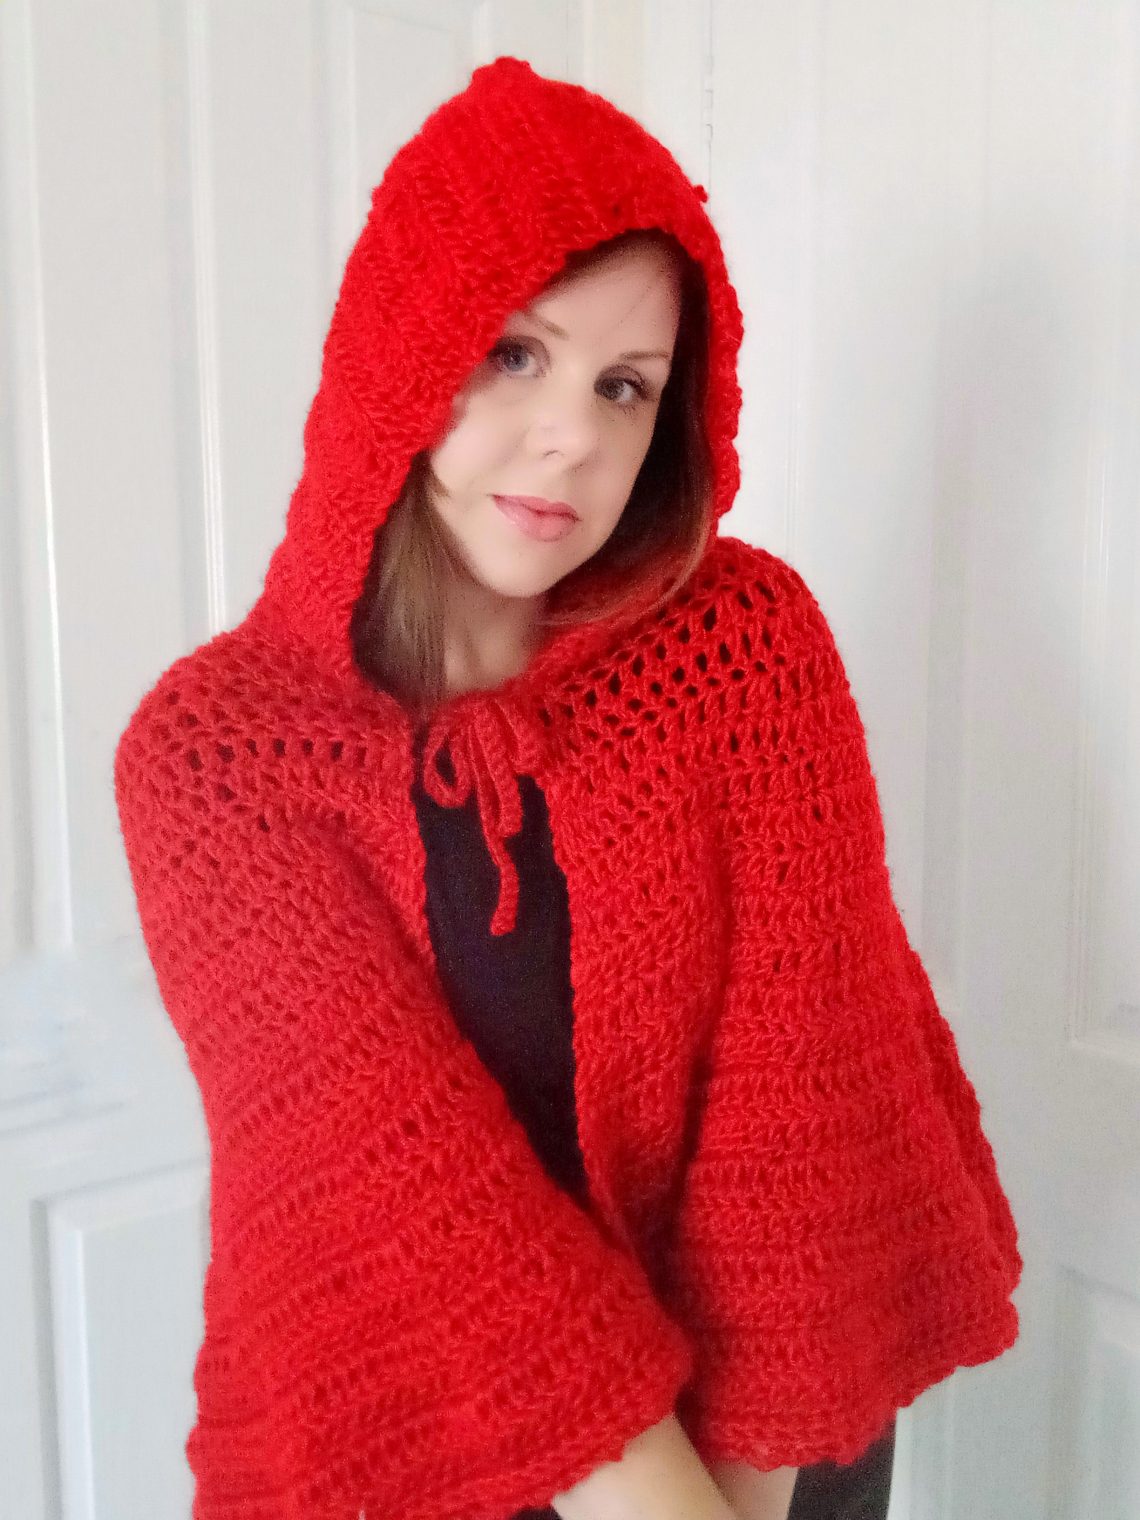
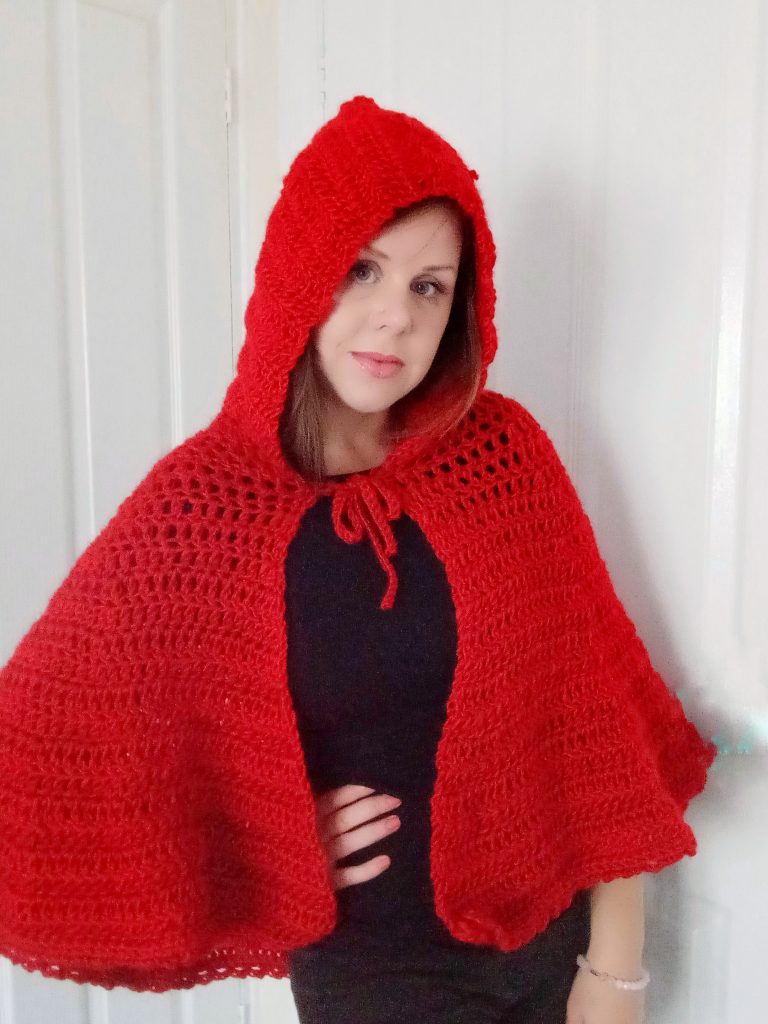
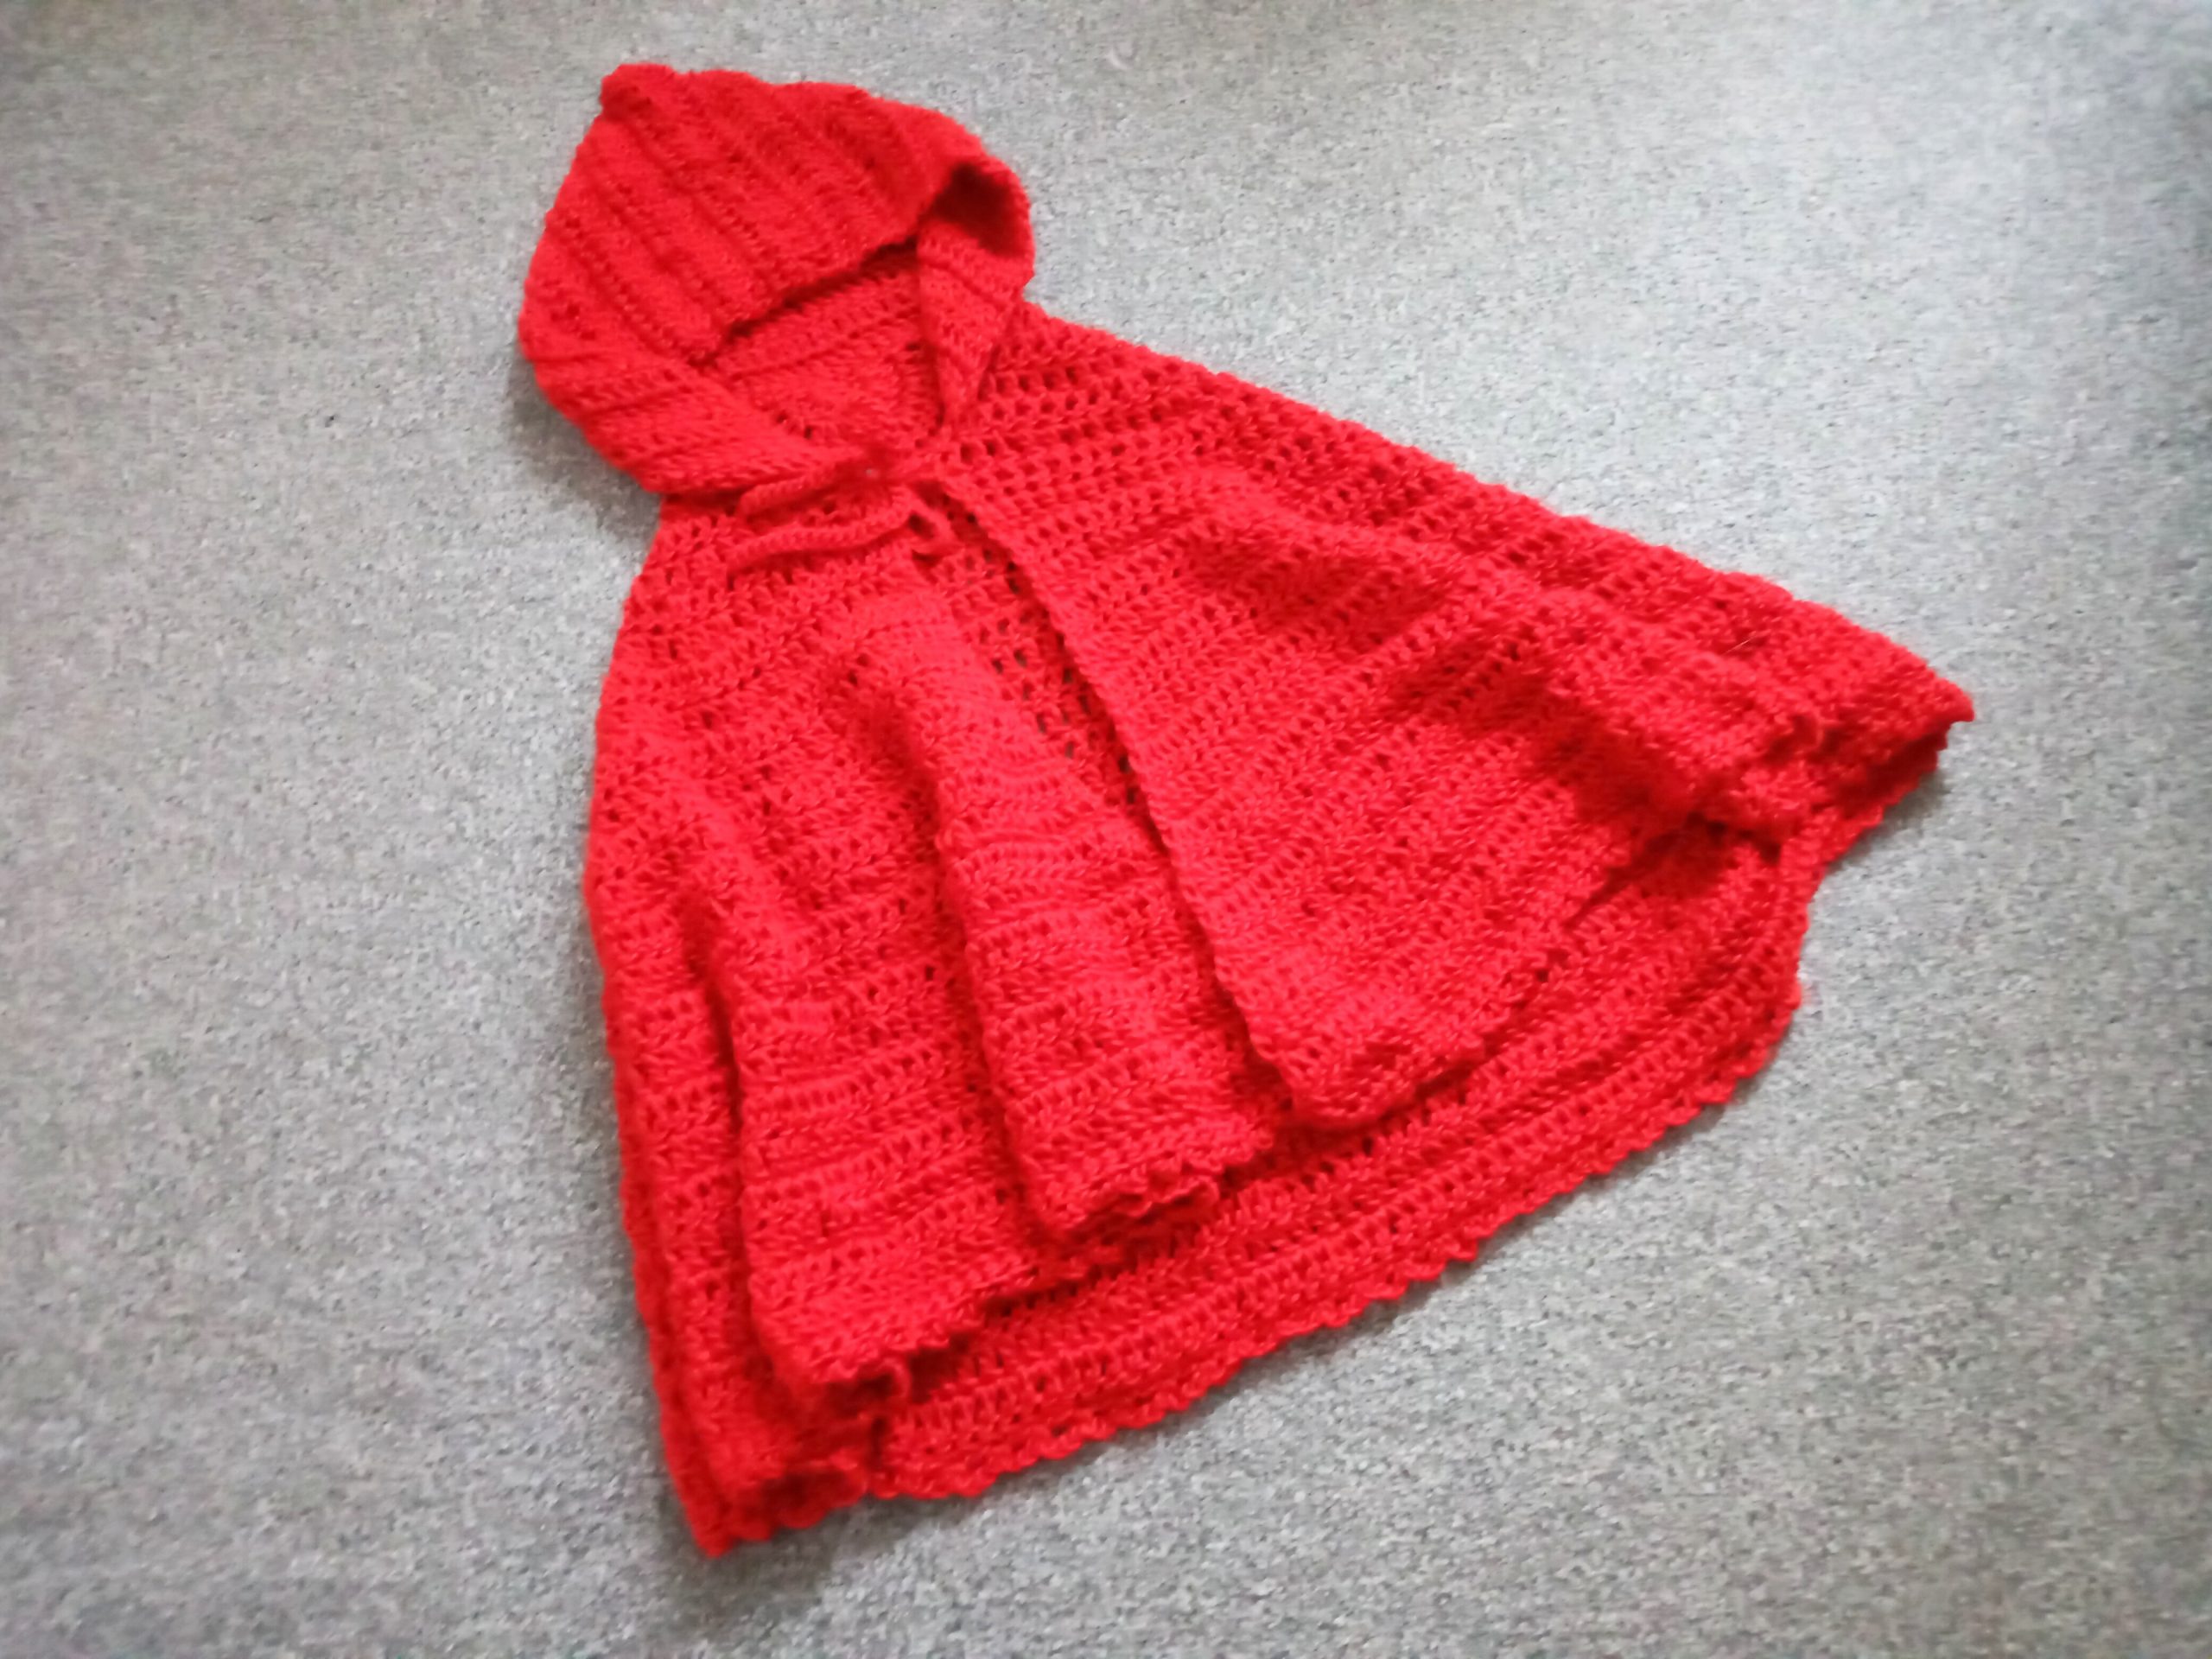
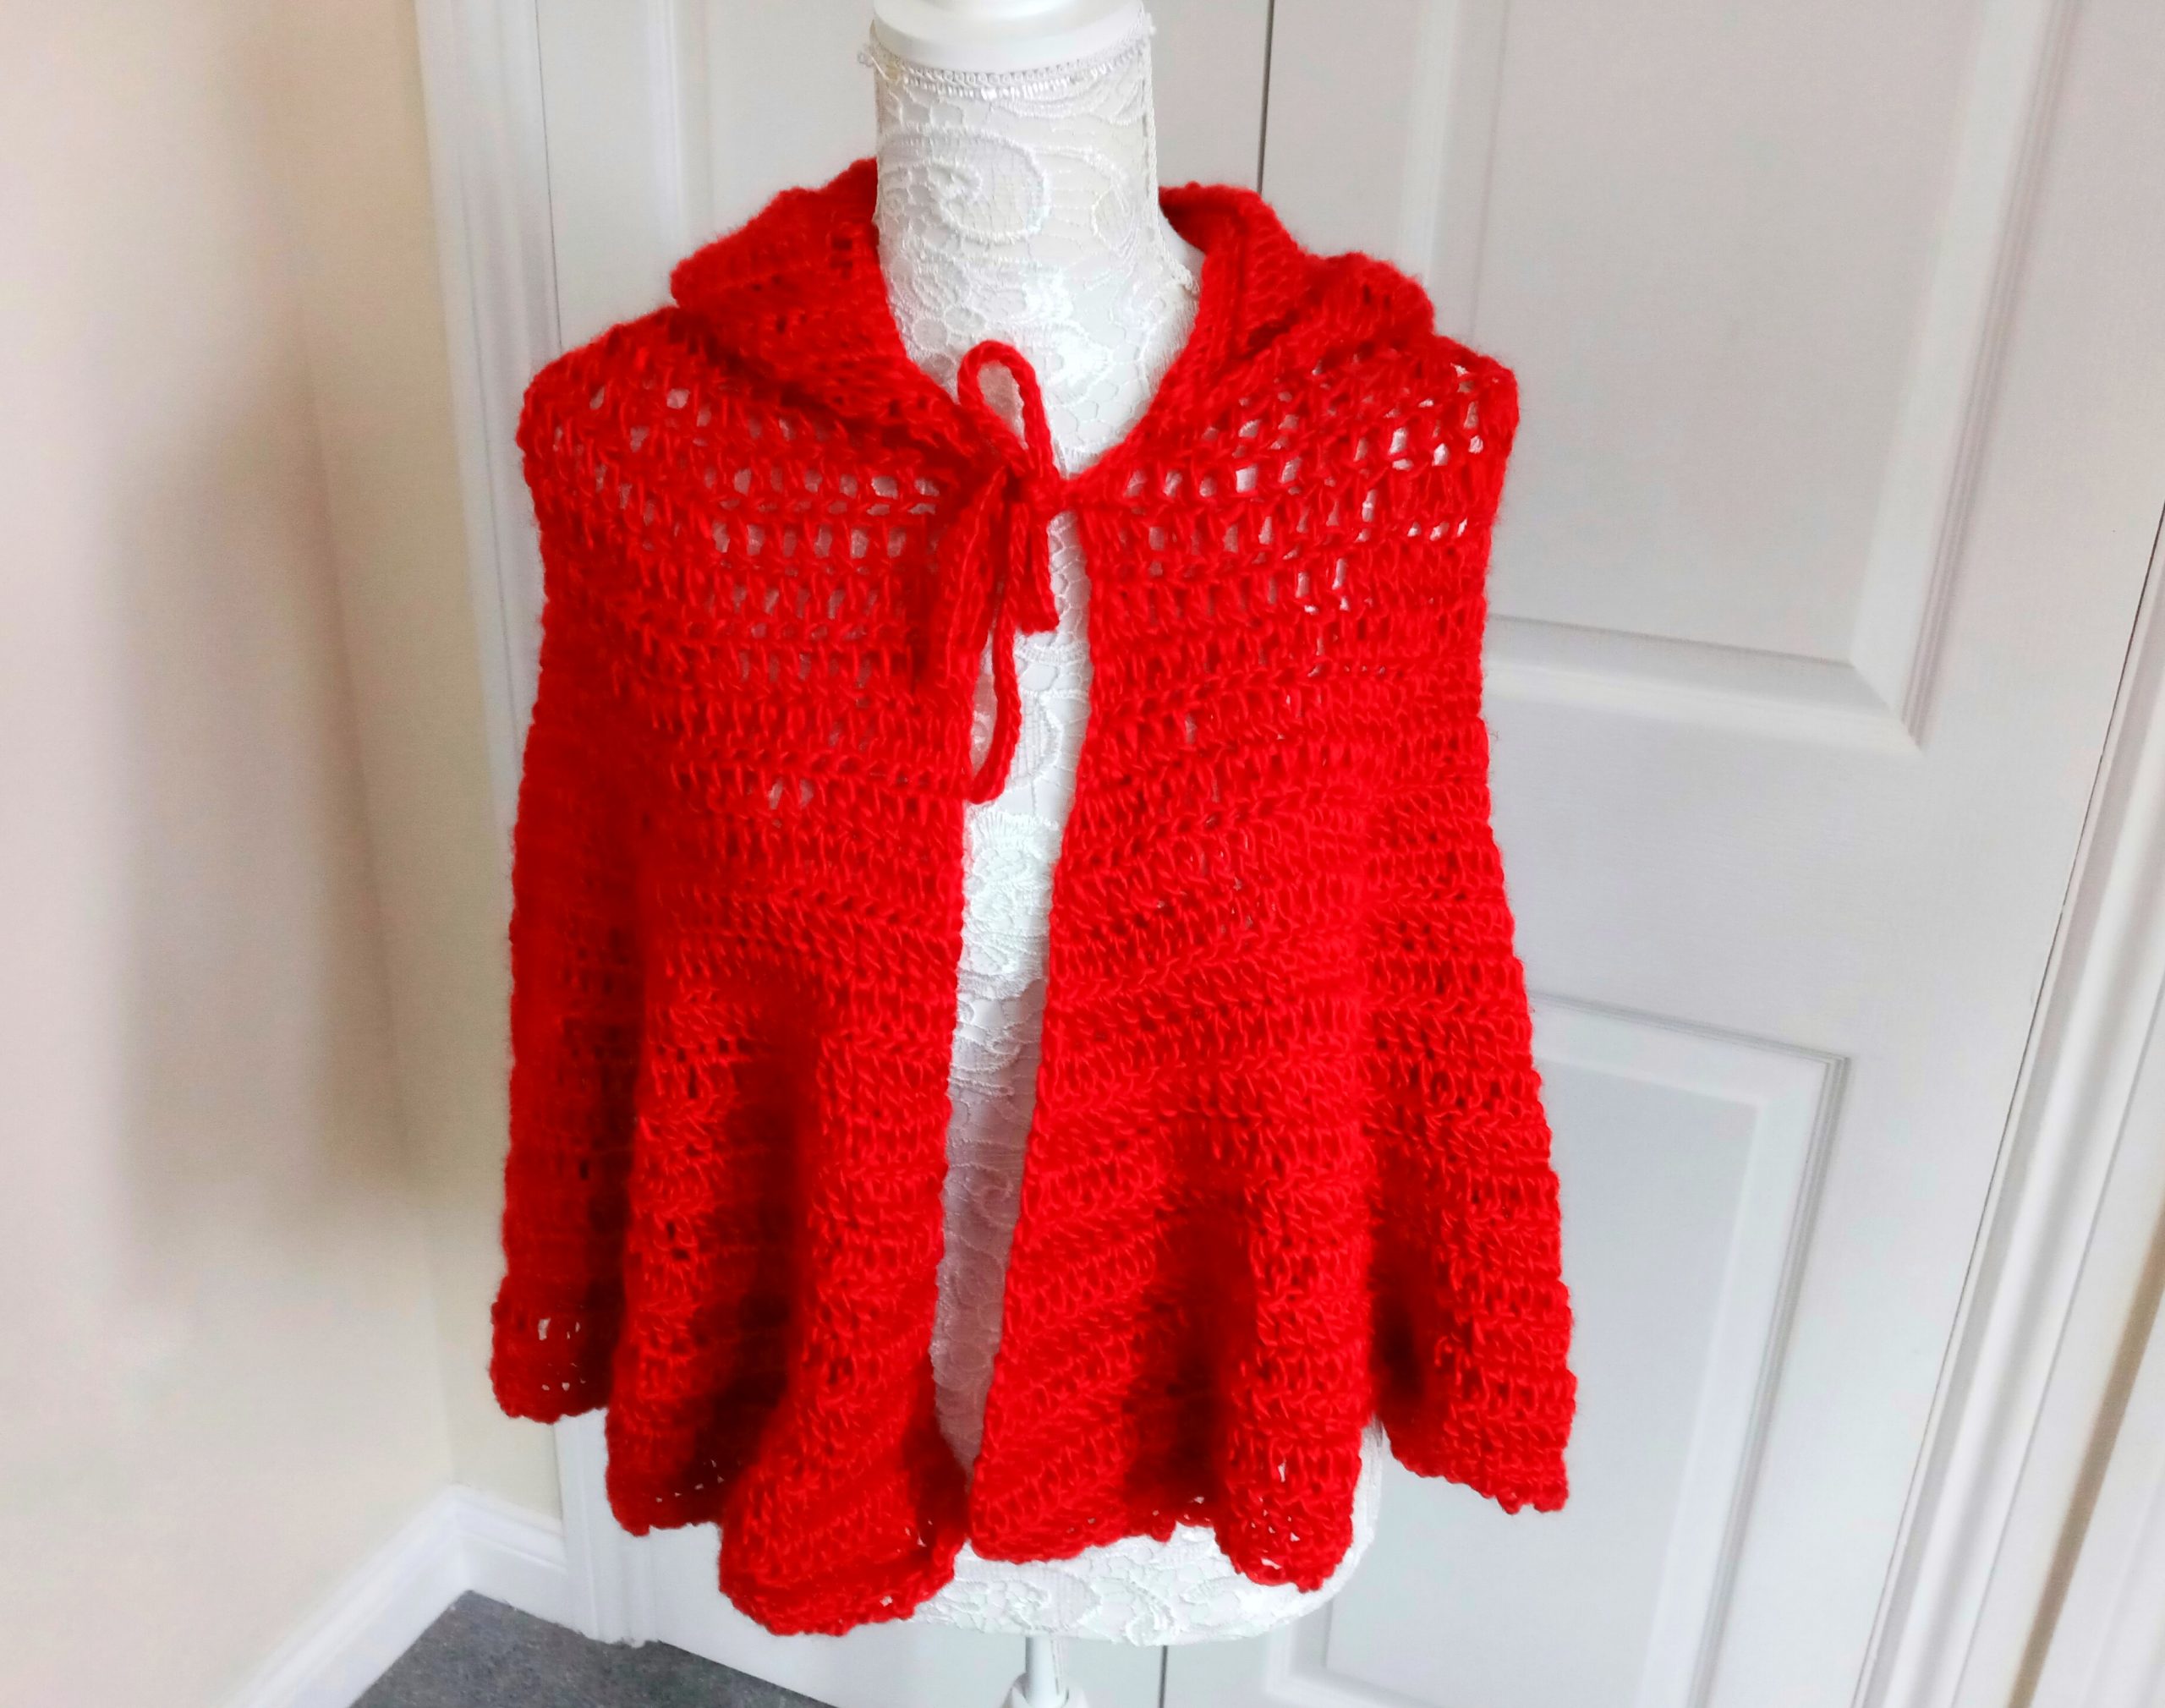
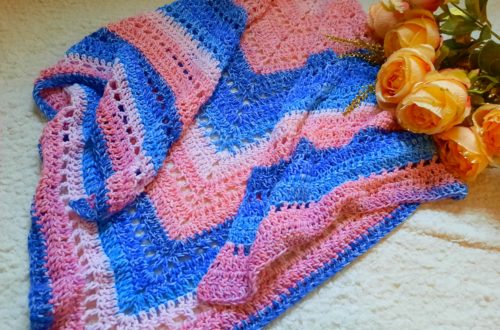
Hi everyone, this week I am bringing to you a tutorial on how to crochet The Scarlet Hooded Shawl pattern. This is a super fun and easy project to crochet. It’s very beginner friendly and feminine. This semi circular shawl with a hood is reminiscent of Little Red Riding Hood, a perfect project to crochet for Halloween.
The video tutorial for this project can be found here:
Crochet The Scarlet Hooded Shawl Pattern: the inspiration
I was inspired to crochet a shawl with a hood this Autumn. If you recall, I have already released The Maiden Hooded Shawl exactly last year, which was truly appreciated by so many people. I just realized it was exactly this week last year The Maiden Hooded Shawl was released, which is such a coincidence! This probably means I love hooded shawls come the Autumn. To be honest, I do love crochet projects which are extra snugly.
Hoods are so lovely and feminine. I love adding hoods and pockets to crochet projects, and when I started this new crochet wrap, I knew it would look perfect with a hood. This crochet piece was inspired by the season. When I purchased Lion Brand’s Landscapes yarn in shade Ruby, I knew I had to use it for something special. It is so pretty and lovely. It put me in mind of The Little Red Riding Hood, and I thought I would create a wrap with a hood.
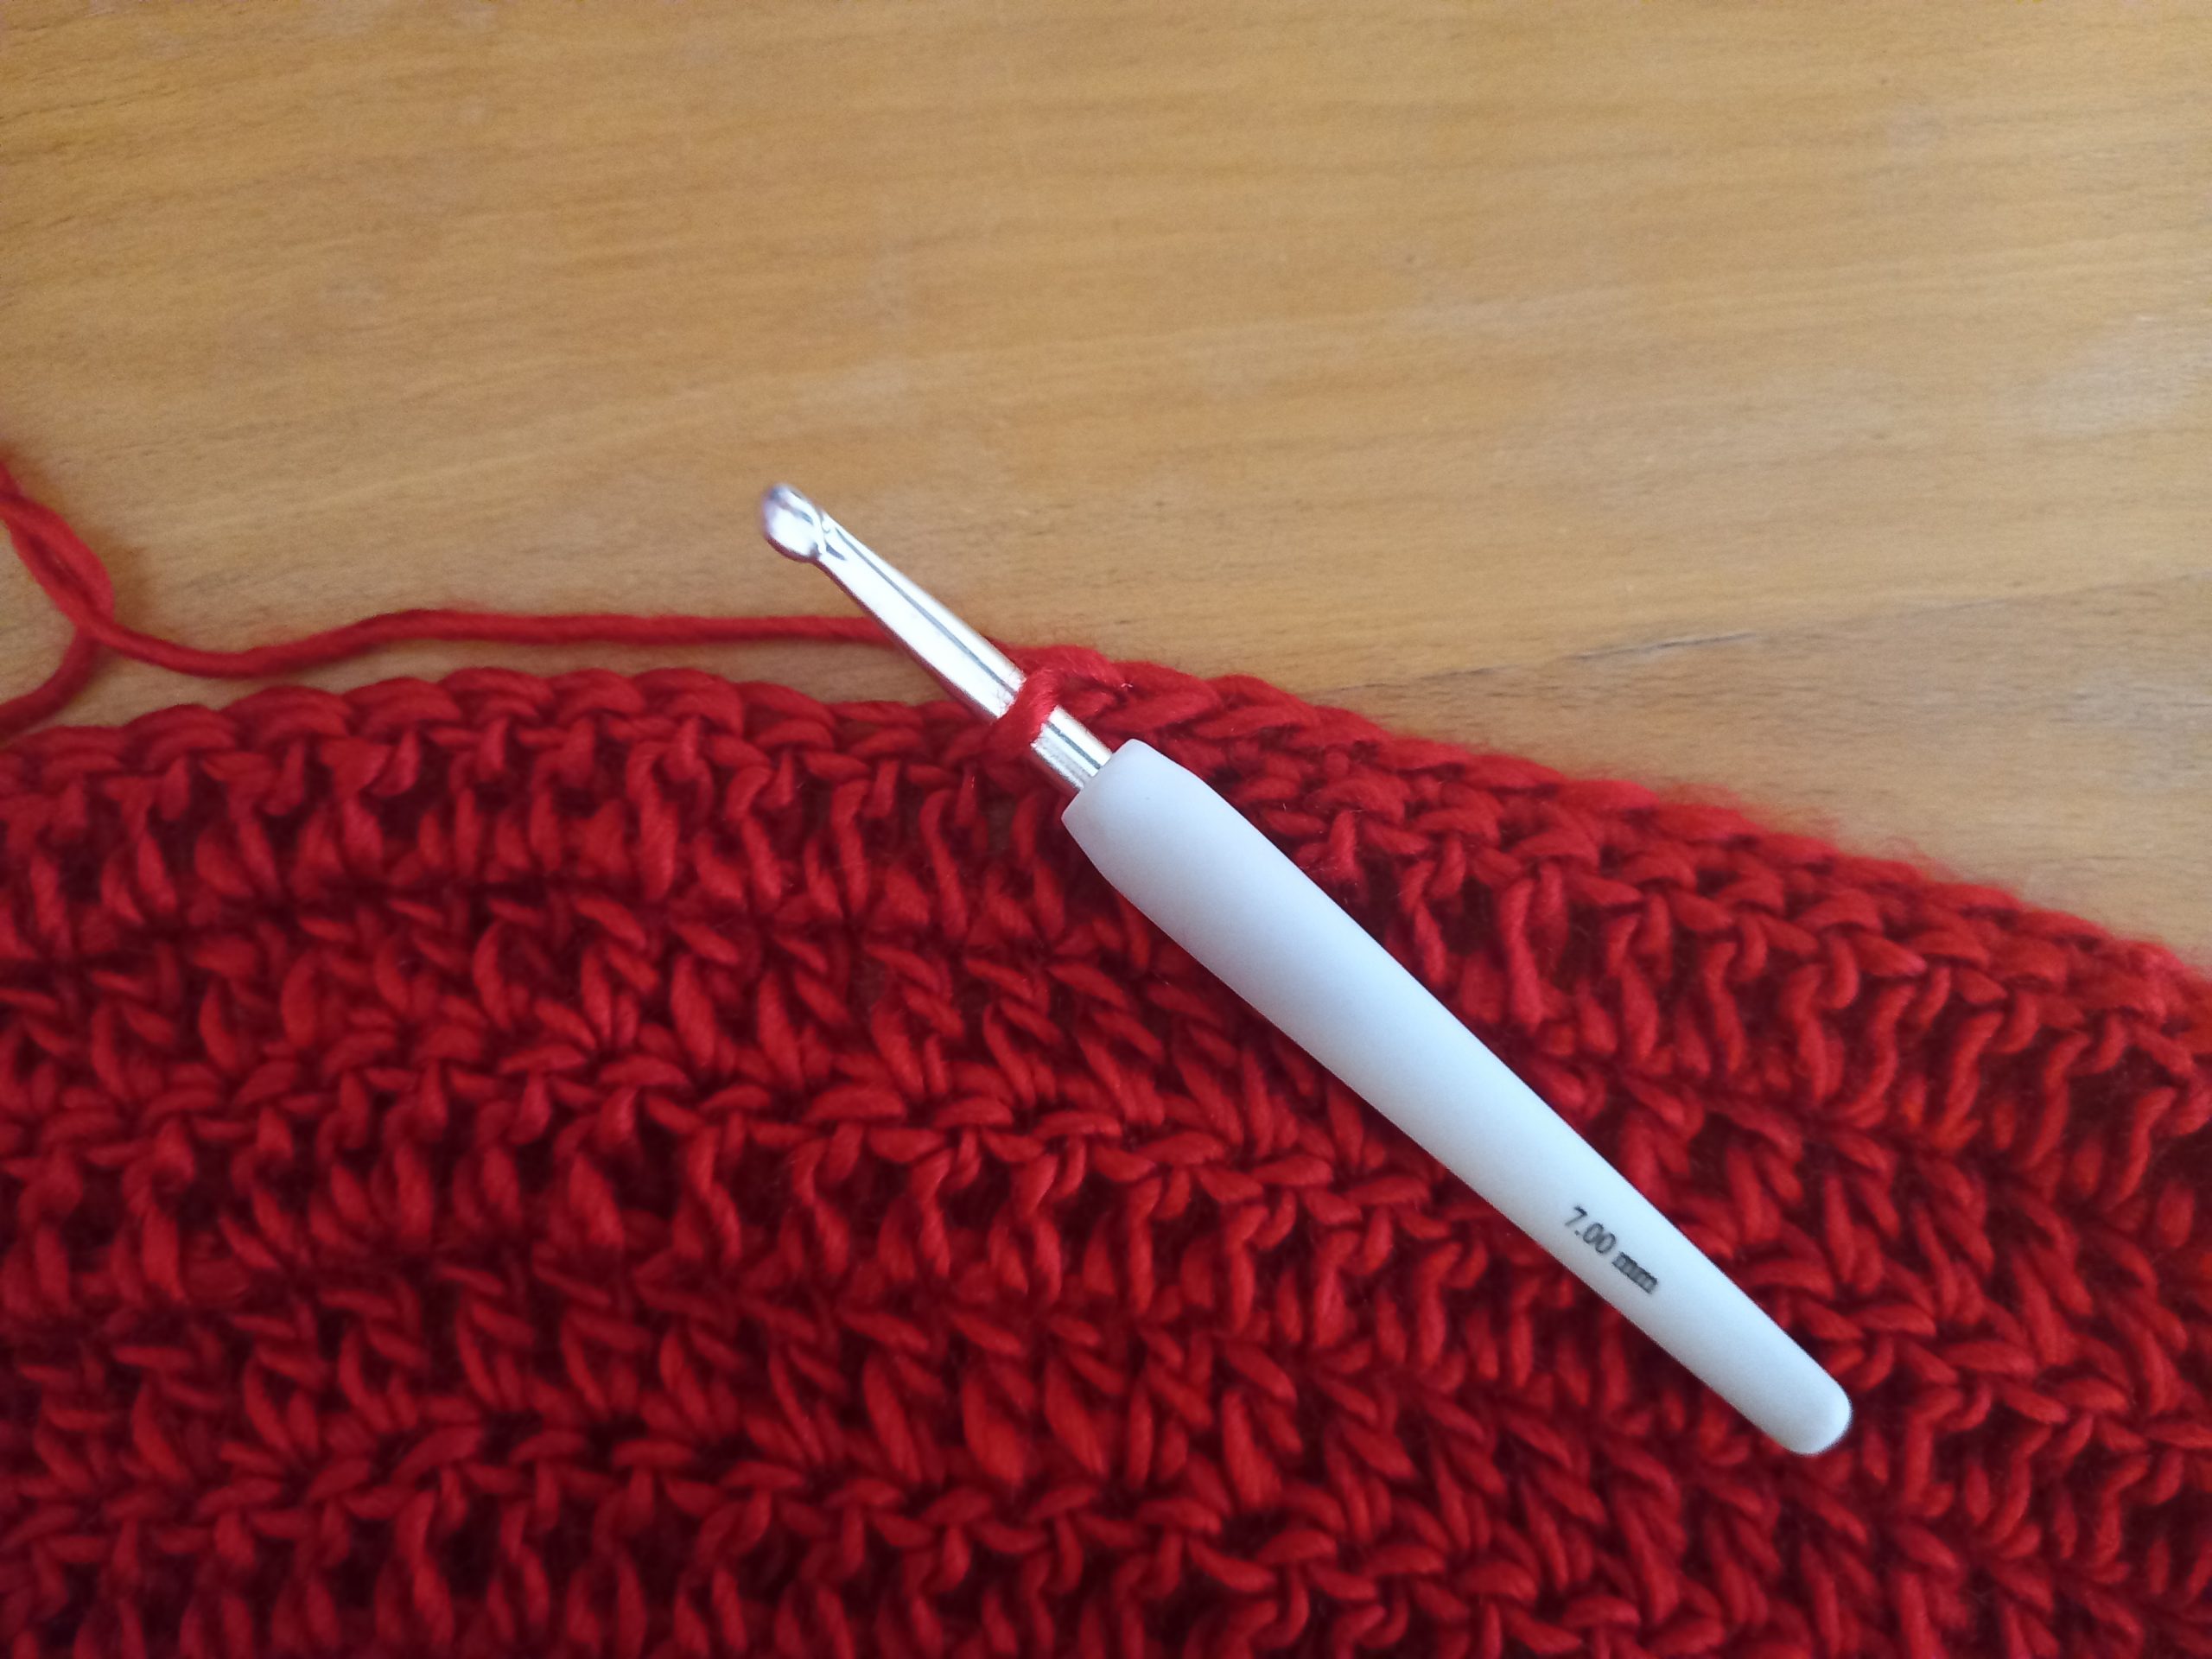
This crochet project was much faster to create than I expected. I used a size 7 mm crochet hook, and it went very fast. The yarn is so soft and easy to work with too. I love the end result so much, it looks so pretty! It is also a very romantic and feminine crochet project too. The color ruby is both feminine and striking, perfect for this type of project.
Crochet The Scarlet Hooded Shawl Pattern: the project
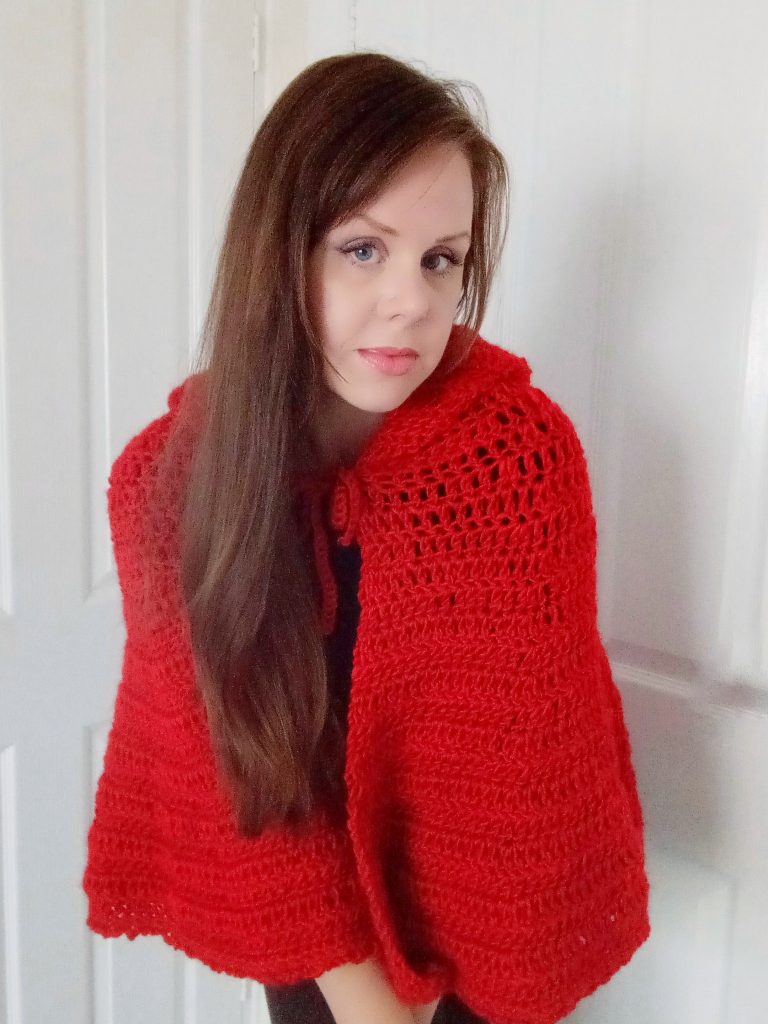
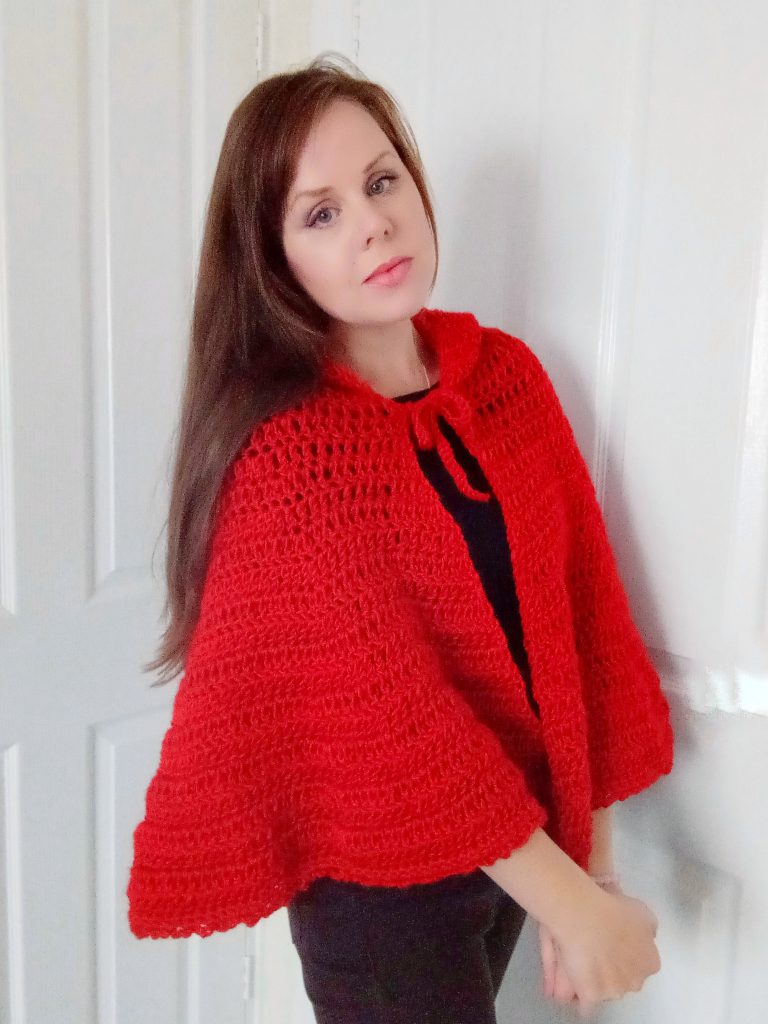
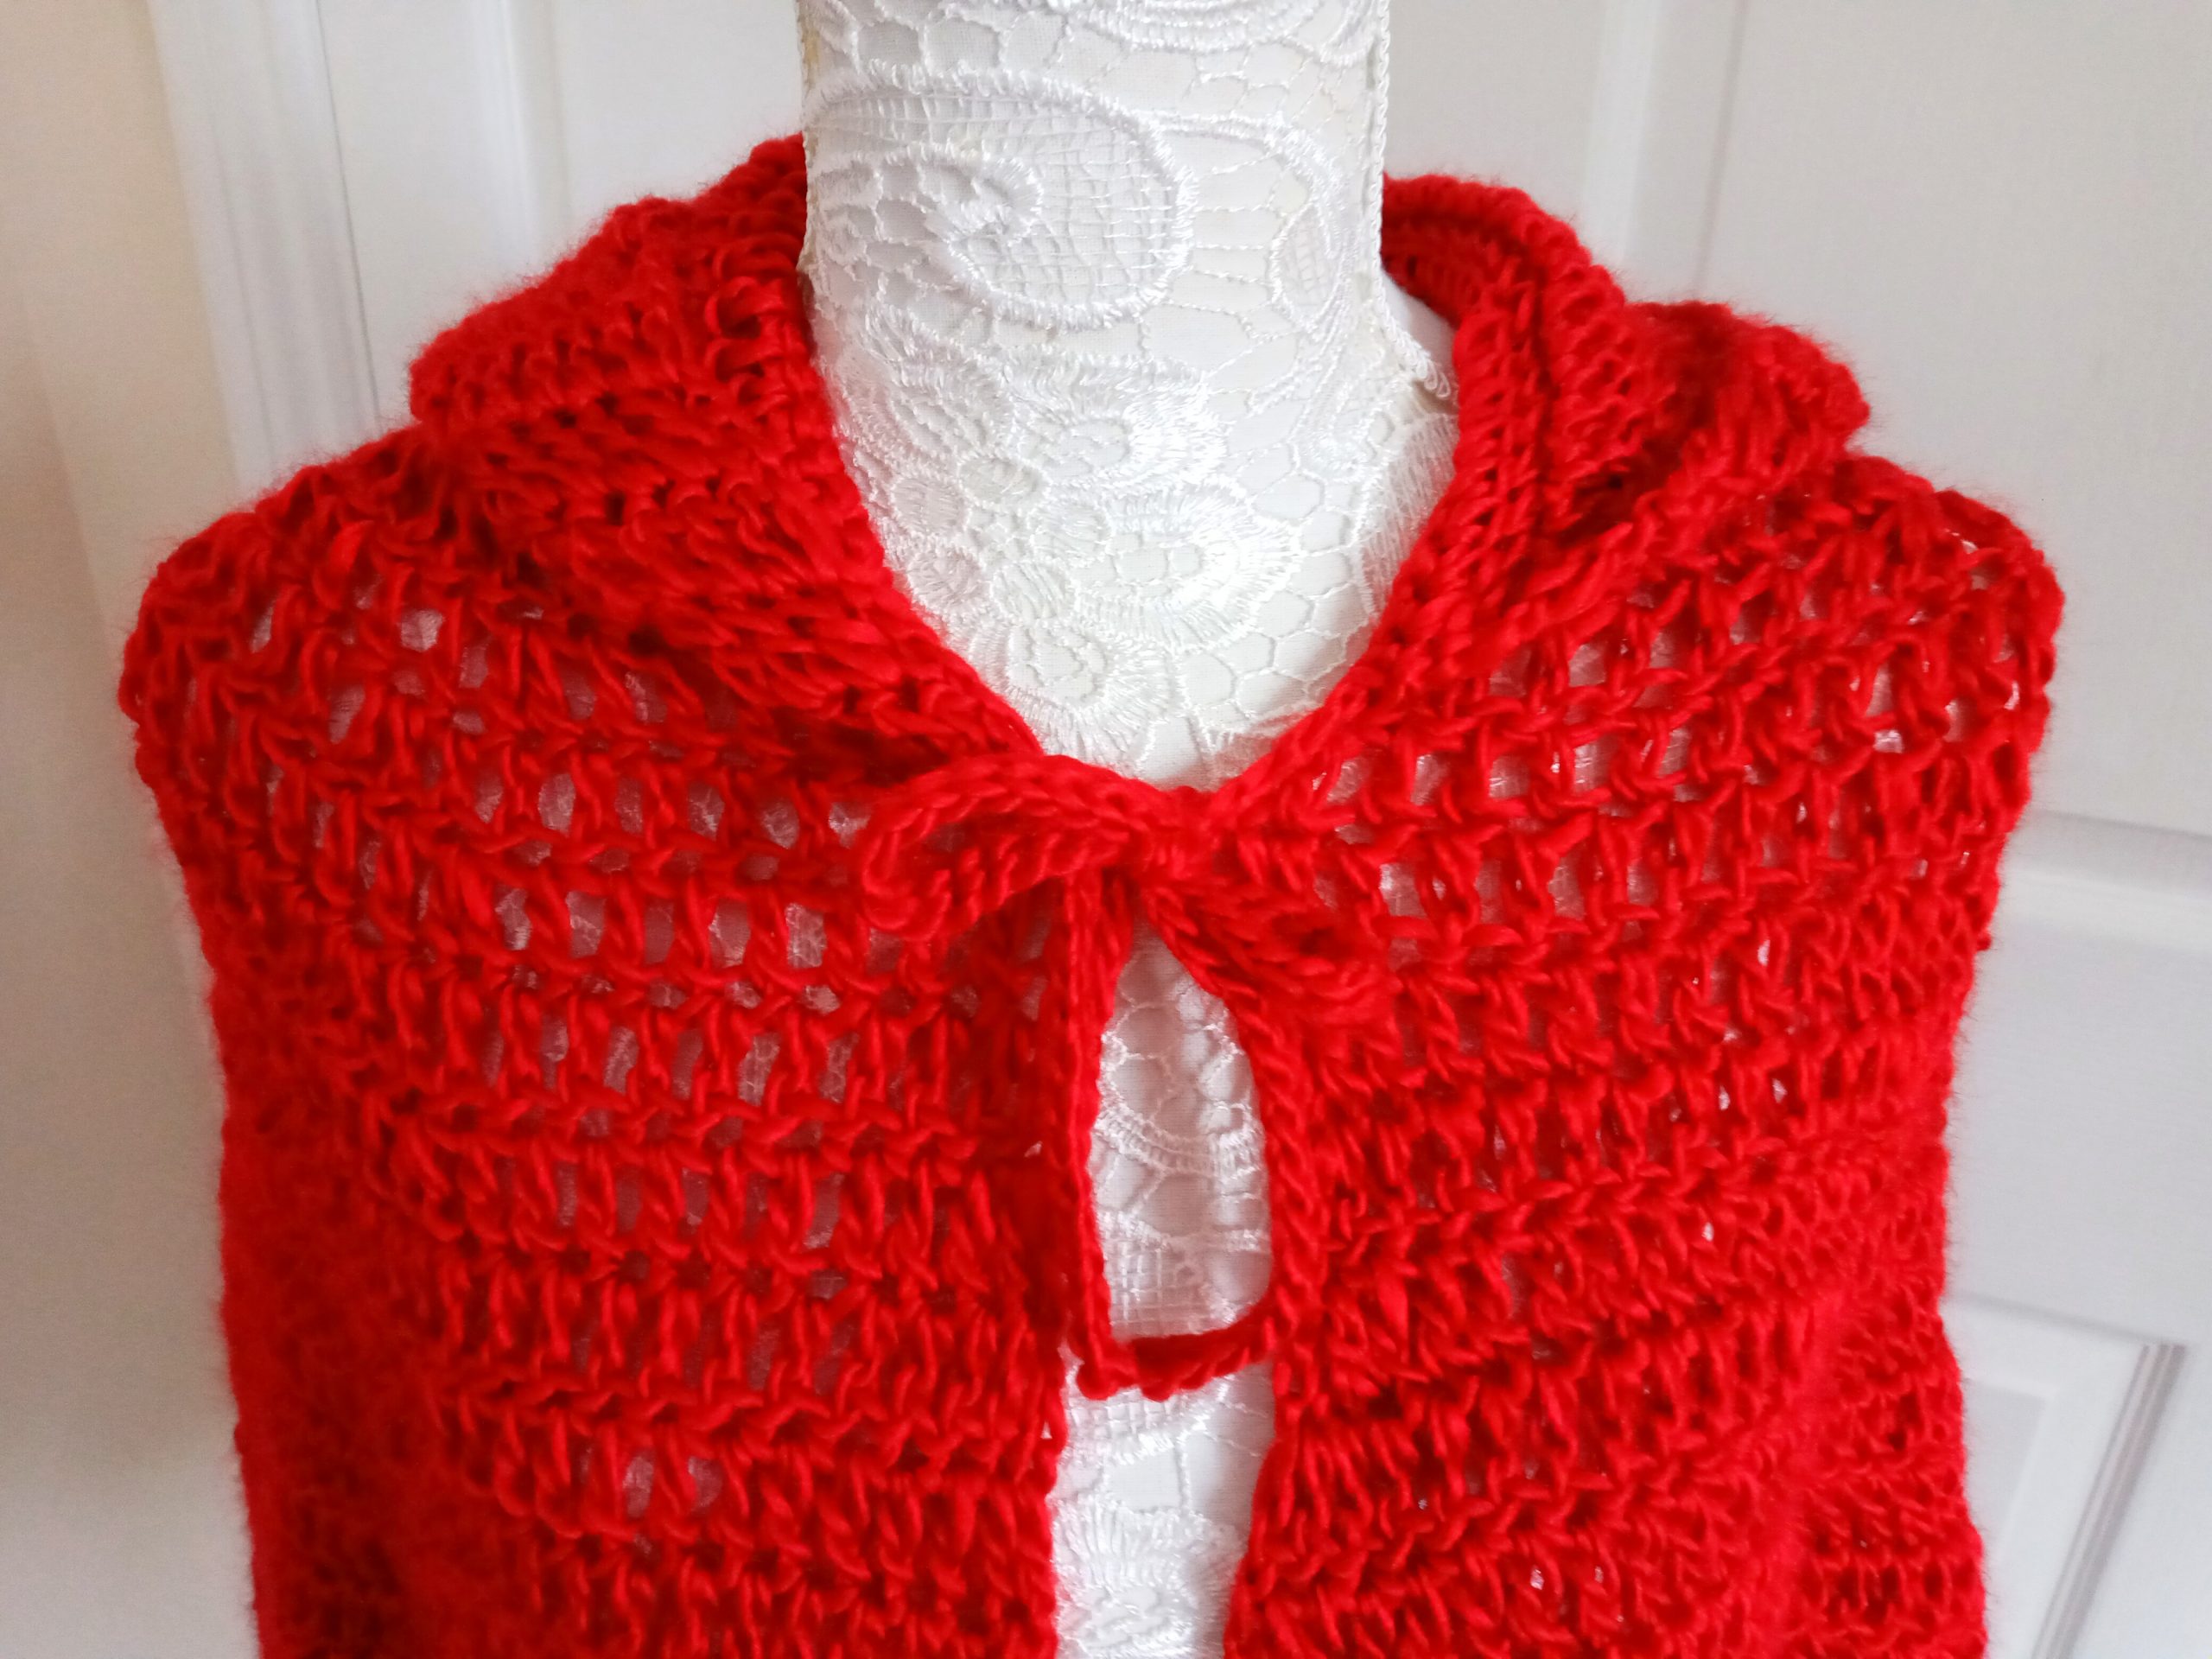
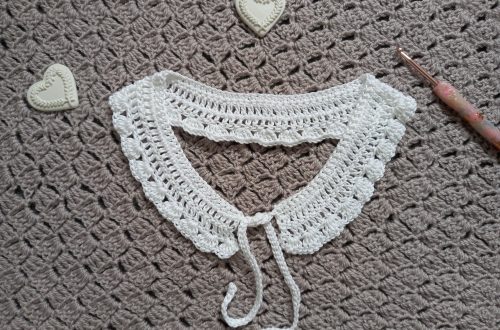
This project was easy to crochet, as I said above. I first created the half circle crescent wrap, before adding the hood and the two front straps. The two front straps at the front are used to secure the shawl around one’s neck, and I crocheted them. However, I think these two straps would look lovely if they were ribbons. Alternatively, a single large button at the front would do the trick in securing this wrap too. This is a great project as it can be customized exactly to your liking.
The half circle (also called semi circular or crescent) shawl is really pretty and easy to make. I have previously crocheted semi circular shawls before, such as The Polina Half Circle Wrap. I love how feminine and vintage they look. This time I crocheted a semi circular shawl with much thicker yarn, and it came out so perfect! I love the snugly and cozy effect that it has; it looks so perfect and feminine. The color only adds to the striking effect of this wrap.
Once the crescent semi circular wrap was crocheted, I added the beautiful hood to the project. Adding the hood is much easier than it looks, and I was delighted with the effect that it gives the overall project. After adding the simple hood to the shawl, I then created the two straps on either side of the opening. This really ties the whole project together, which I love!
Crochet The Scarlet Hooded Shawl Pattern: a great project in all seasons
This is a perfect cover up for all seasons. Indeed, this is a striking yet feminine project, and it can be worn easily over most clothes. This project is especially great for an occasion such as Halloween. Indeed, this crochet shawl would look so perfect and feminine for a Halloween themed party or occasion. It is mysterious and dazzling enough to be part of a Halloween outfit, yet at the same time it can be worn independently of any occasion.
Crocheted in a different color, this shawl can look entirely different too. Once can imagine an ivory one worn to a wedding or important occasion such as a communion. I love this wrap, and cannot wait to make it in many different colors.
I hope you enjoy this easy tutorial, let me know if you crochet it,
In the meantime, have a lovely day and week,
Lots of love,
Xoxo Selina.
Crochet The Scarlet Hooded Shawl: the Pattern
You can purchase the ad free, large print, PDF pattern from my Etsy shop: Crochet The Scarlet Hooded Wrap PDF Pattern
You can purchase the ad free, large print, PDF pattern from my Ravelry shop here: The Scarlet Hooded Shawl PDF Pattern
Level: Easy/beginner
Gauge
4” (10 cm) x 4” (10 cm): 6 rounds of DC
Size of finished shawl: 58” (147.5 cm) wide and 25” (64 cm) high (from the bottom center to the top center, including border but excluding hood).
Notes
I will be using US terms (British terms in brackets)
You can make this shawl larger just by adding rows until you are happy with size.
You will need
5 skeins of Lion Brand Landscapes yarn in shade Ruby
7 mm crochet hook
Pair of scissors
Tapestry needle
2 stitch markers
Abbreviations
Ch: chain
St: Stitch
Sl st: slip stitch
Sk: Skip
DC: Double Crochet (UK Treble Crochet)
SC: Single Crochet (UK Double Crochet)
EOR: End of row
Begin pattern here
To start, make a slip knot. Ch 4, sl st through 1st stitch to form a ring.
1: Ch 3 (=DC), 6 DC into ring (=7 DC in total).
2: Ch 3 (=DC), turn your work, place a DC into 1st DC from previous row (=2 DC in same stitch), 2 DC into each DC from previous row until eor (=14 DC).
3: Ch 3 (=DC), turn your work, place a DC into 1st DC from previous row (=2 DC in same stitch), [DC into next DC, 2 DC into next DC] until eor.
4: Ch 3 (=DC), turn your work, place a DC into 1st DC from previous row (=2 DC in same stitch), [DC into next 2 DC, 2 DC into next DC] until eor.
5: Ch 3 (=DC), turn your work, place a DC into 1st DC from previous row (=2 DC in same stitch), [DC into next 3 DC, 2 DC into next DC] until eor.
6: Ch 3 (=DC), turn your work, place a DC into 1st DC from previous row (=2 DC in same stitch), [DC into next 4 DC, 2 DC into next DC] until eor.
7: Ch 3 (=DC), turn your work, place a DC into 1st DC from previous row (=2 DC in same stitch), [DC into next 5 DC, 2 DC into next DC] until eor.
8: Ch 3 (=DC), turn your work, place a DC into 1st DC from previous row (=2 DC in same stitch), [DC into next 6 DC, 2 DC into next DC] until eor.
9-29: repeat rows as previously explained, making sure you always add one DC on it’s own per row in between the 2 DC together in one stitch. For instance, this means row 9 will go like this:
Ch 3 (=DC), turn your work, DC in same first stitch (=2 DC in same stitch). Now you just need to add 1 DC into the next 7 stitches; after these 7 DC, just add 2 DC together in one stitch. Now just place 7 DC in each DC along, then 2 DC together, etc, until the end of this row.
Repeat this process row after row, and this will gradually enlarge your shawl in the shape of an arc circle.
Do not fasten off.
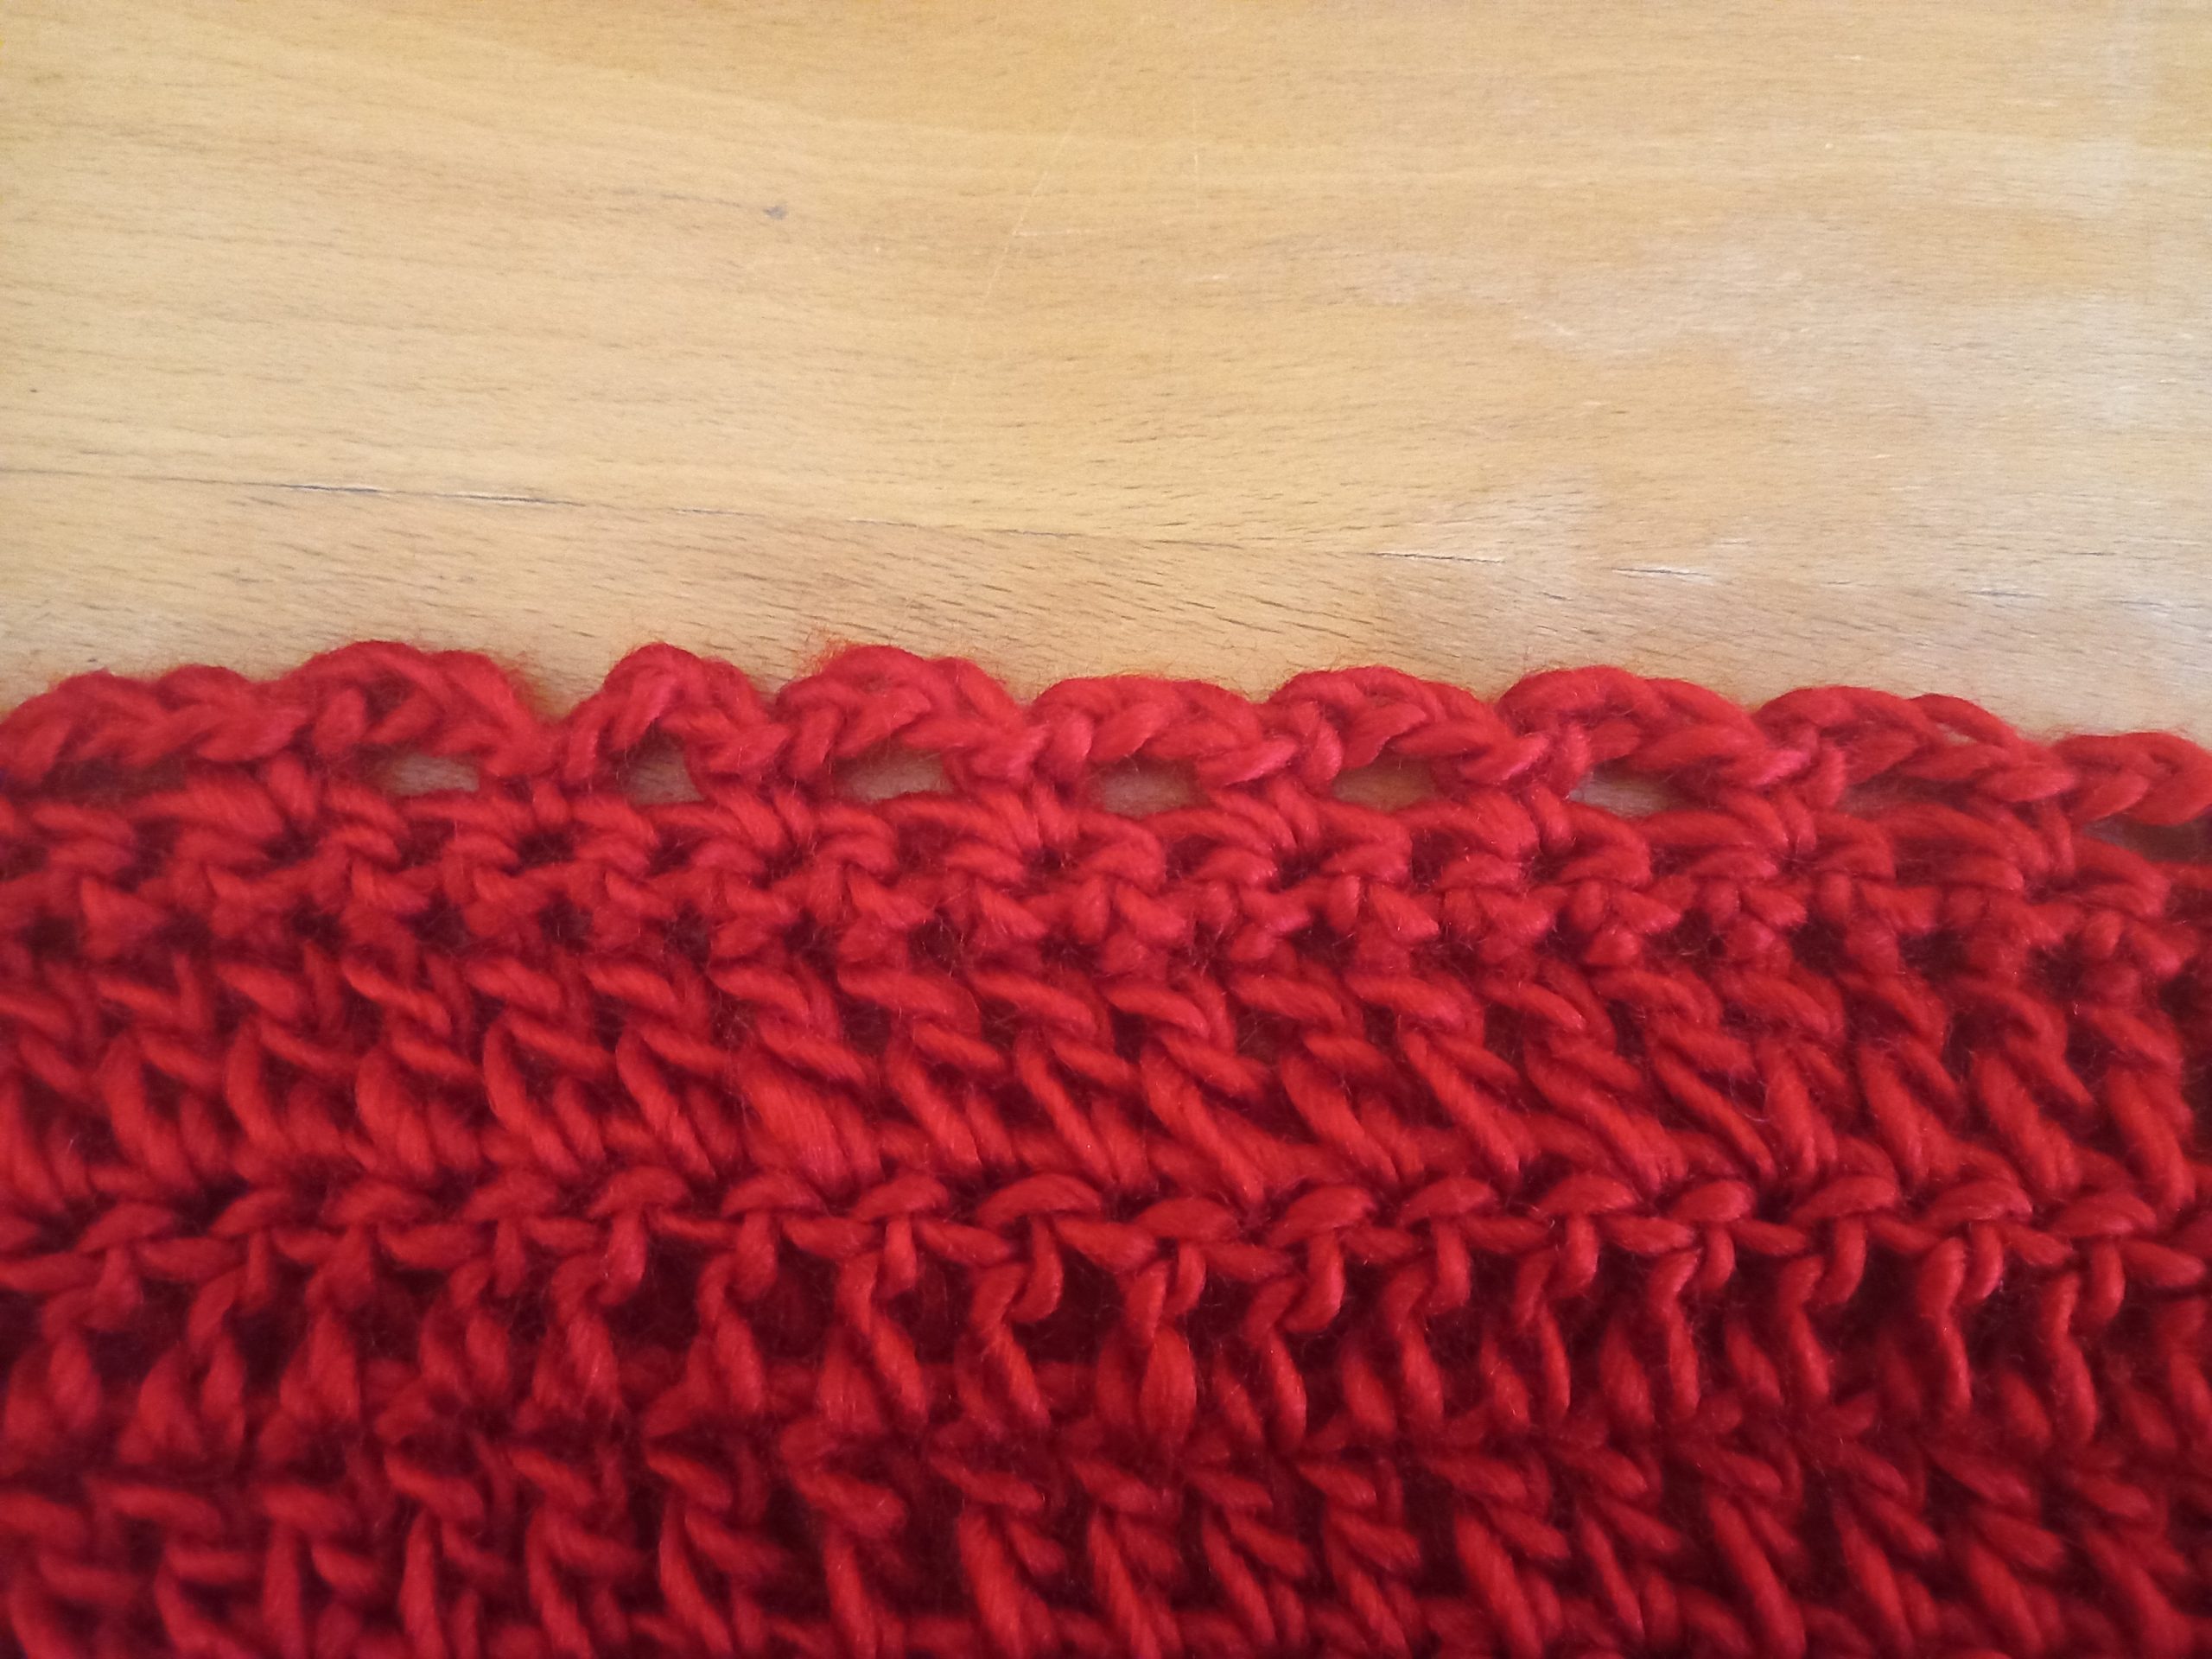
Chain arch edging:
1: Ch 1 (=SC), place a SC into next stitch until eor.
2: [Ch 3, sk 1 stitch, SC into next stitch] until eor.
Fasten off, tidy up all loose ends.
Create hood
Place your shawl on a flat surface, the straight edge of the project facing up.
Measure the top of the shawl from the center point (center circle of the beginning of the project). Measure 23 cm (=9”) from the center, on both sides of the center stitch (= the beginning of the shawl). Place each of your 2 stitch markers on those measured stitches.
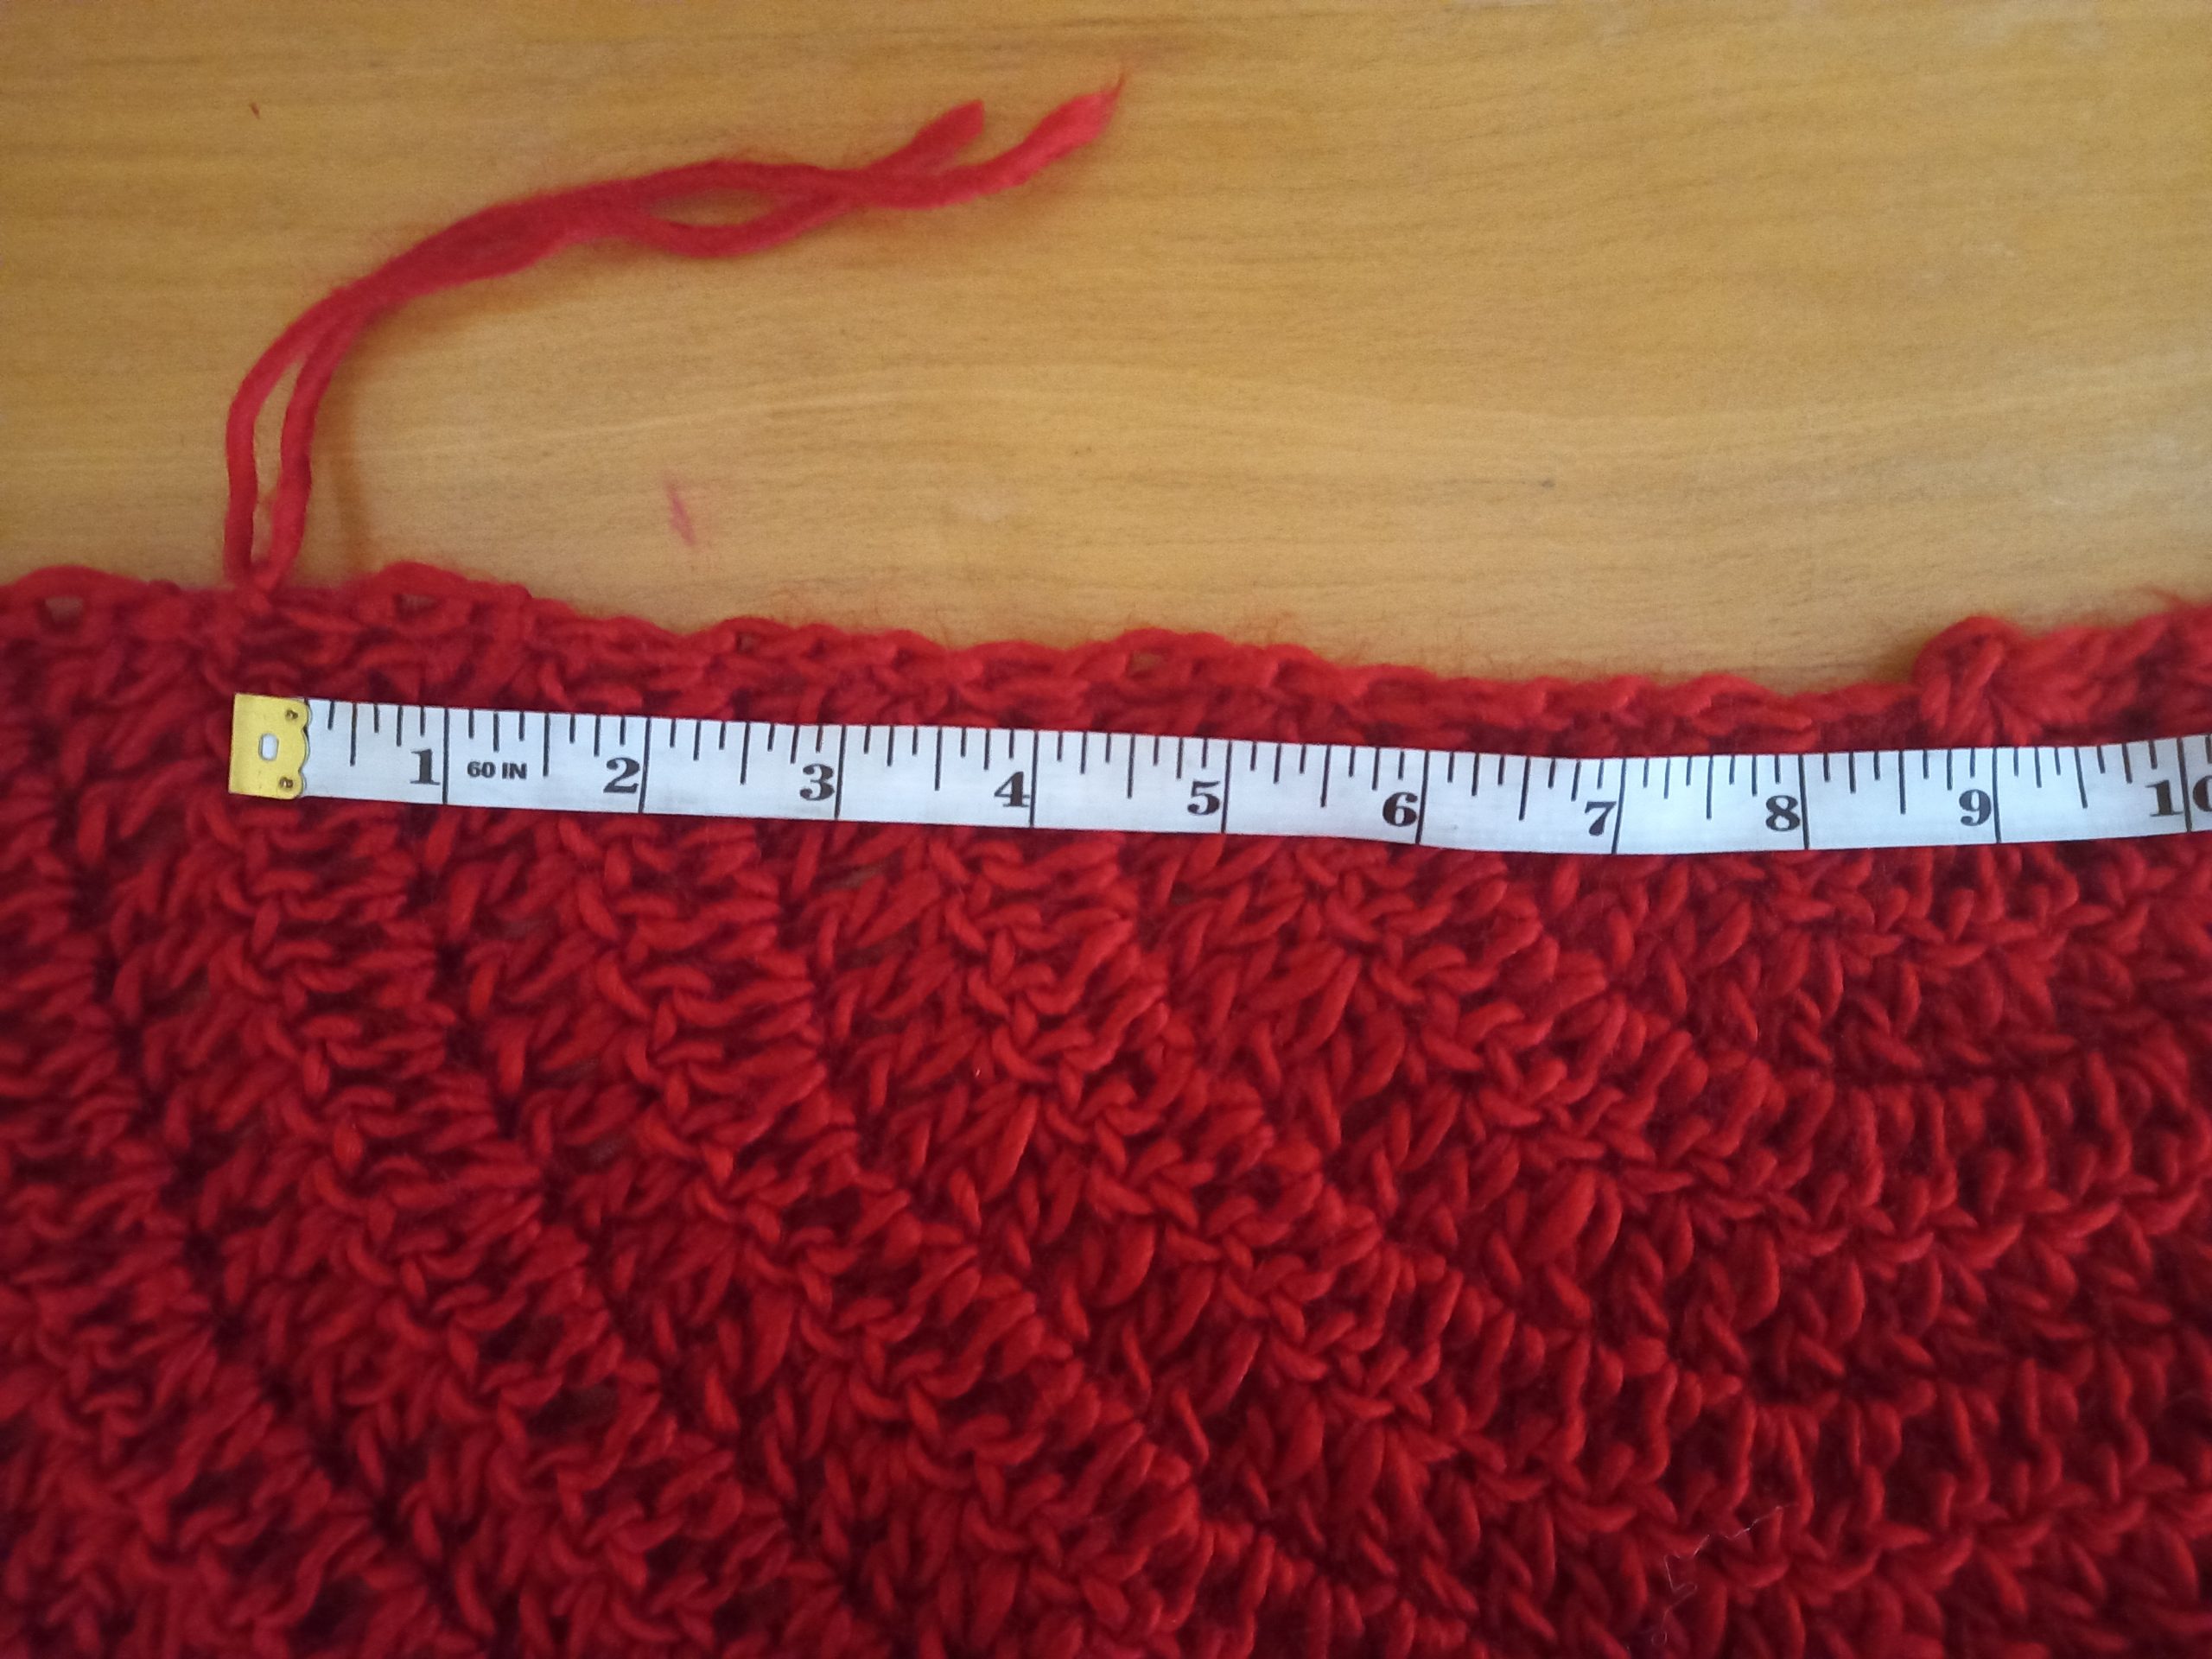
1: Ch 1 (=SC), and place SC all along the top of the shawl from one stitch marker to the other. This is the “wrong” side of the stitches, so make sure you place these SC at equal intervals. Make sure you have the same amount of stitches on each side of the center. I placed 50 stitches total (ie 25 SC on either side of the center point).
2: Ch 3 (=DC), place a DC into each SC from the previous row until eor.
3-15: Ch 3 (=DC), place a DC into each DC from the previous row until eor.
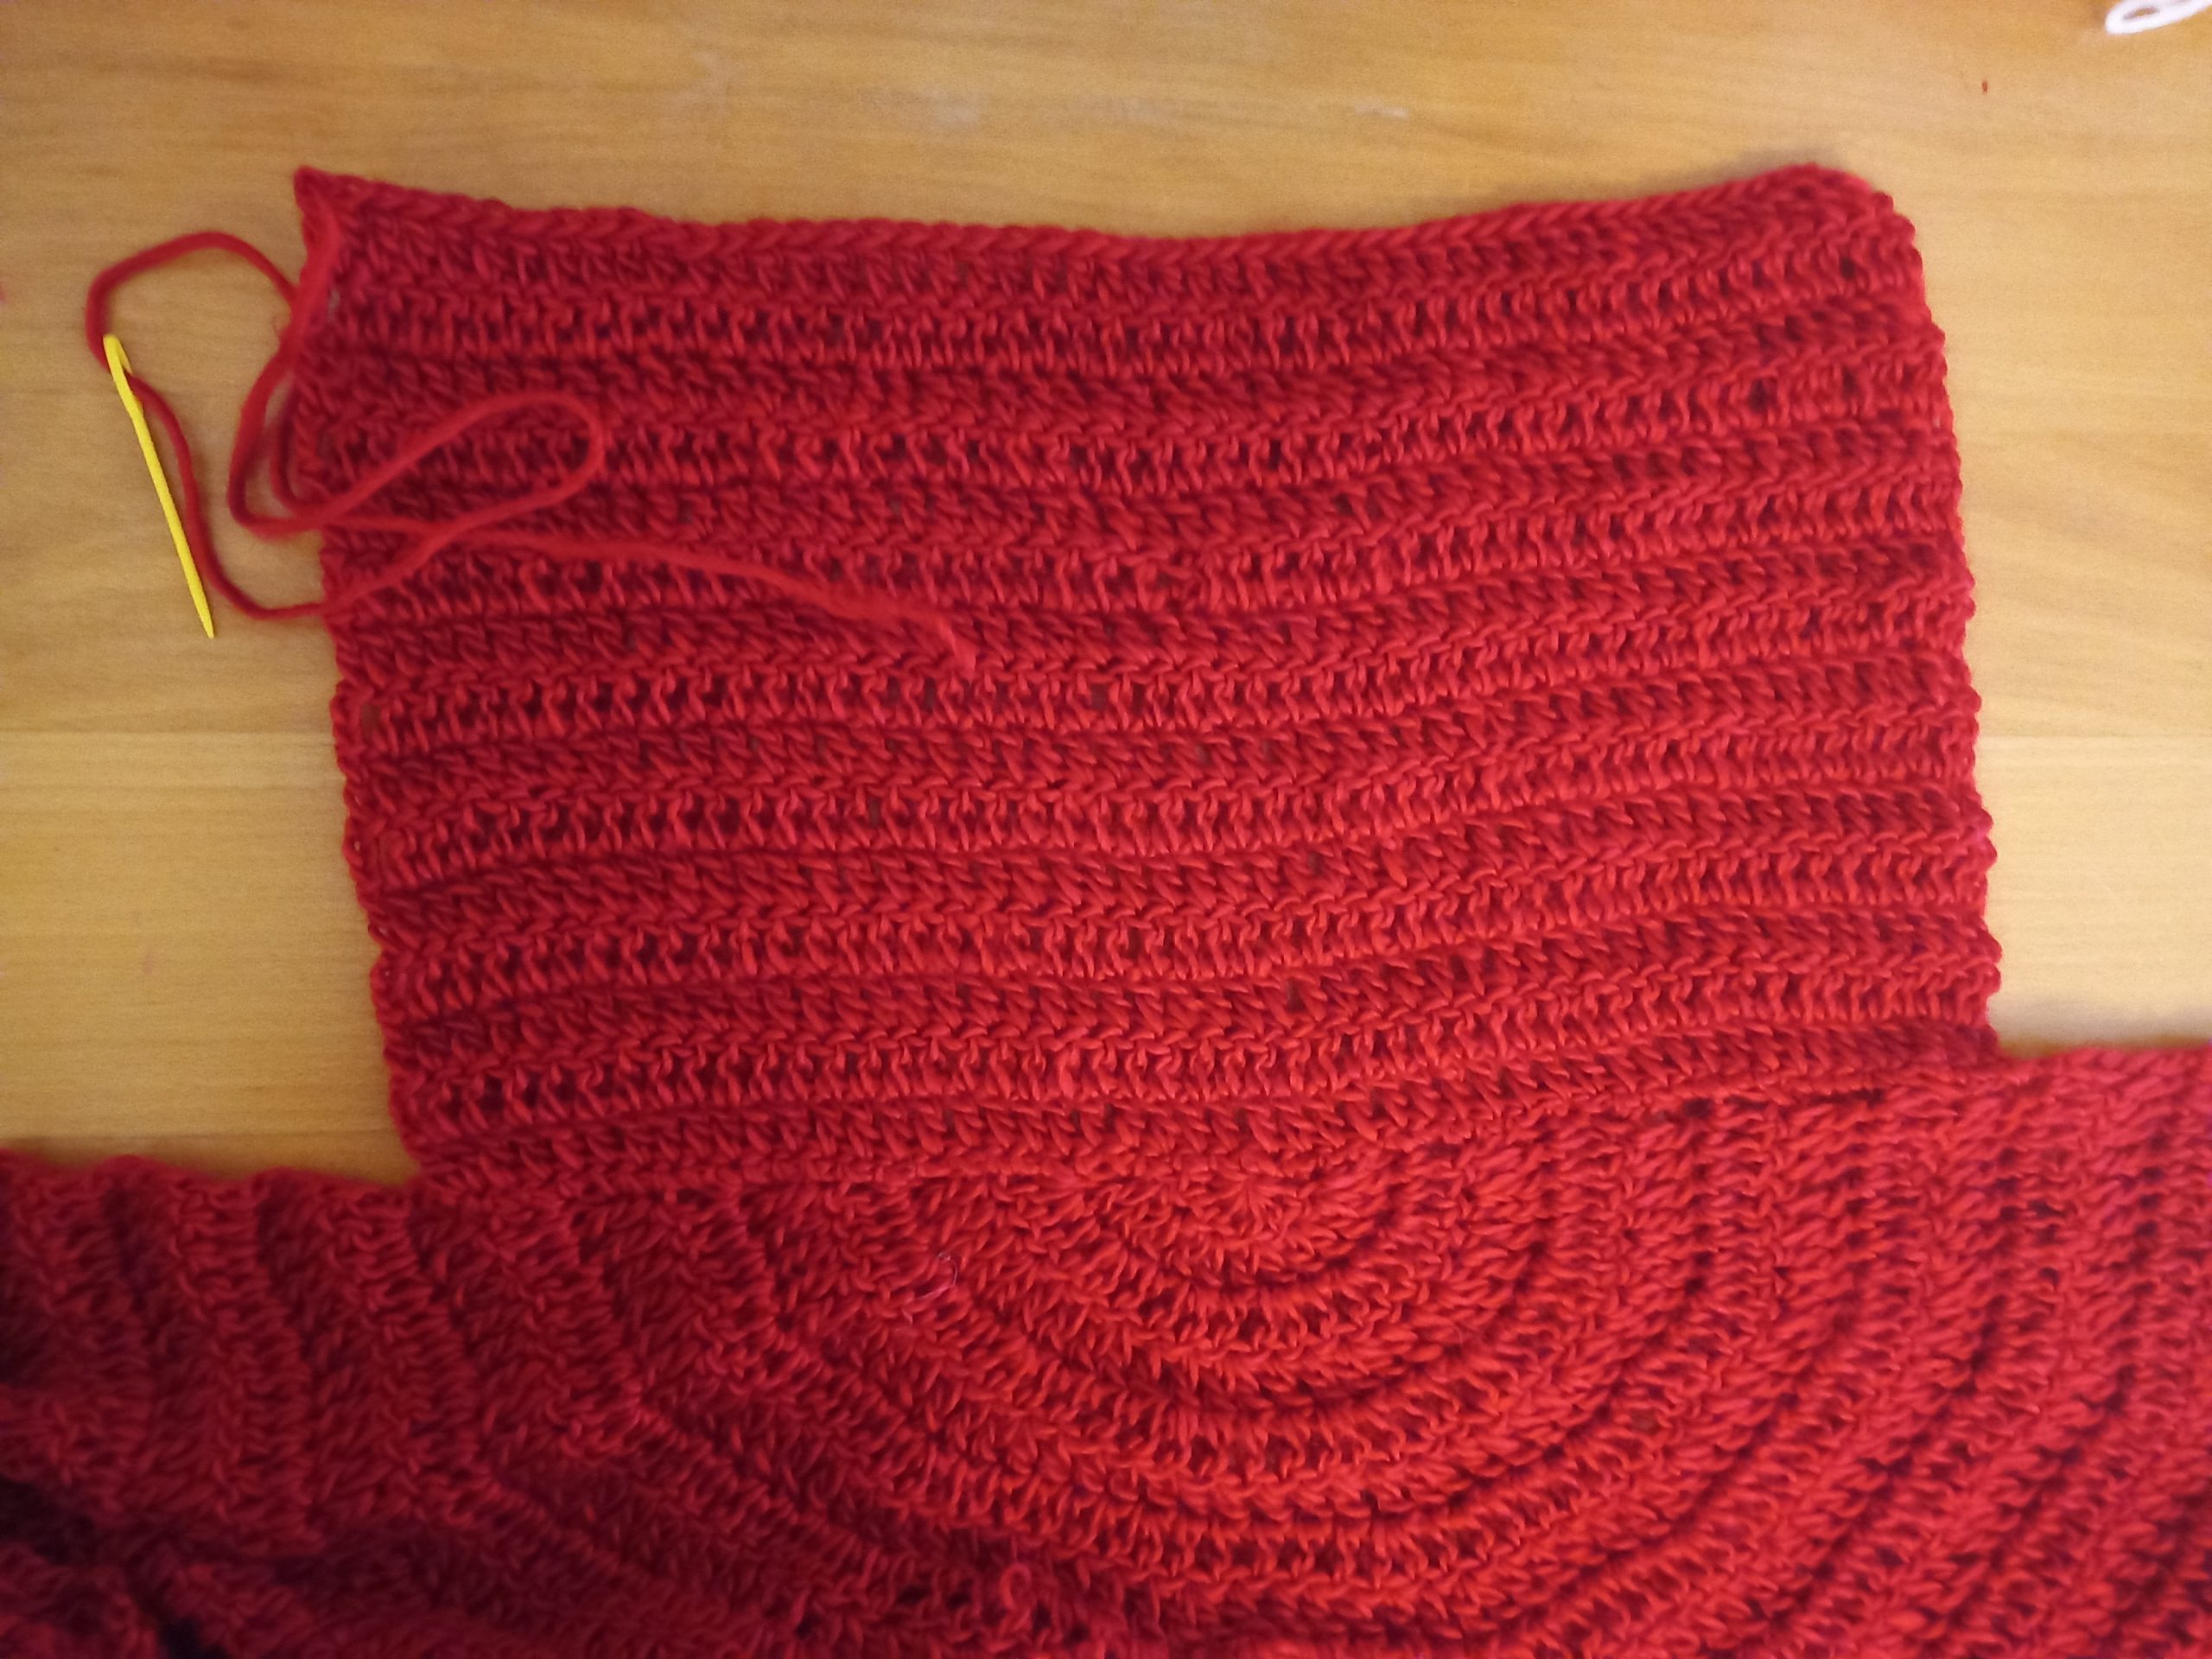
Fasten off, leaving long tail for sewing the hood seam.
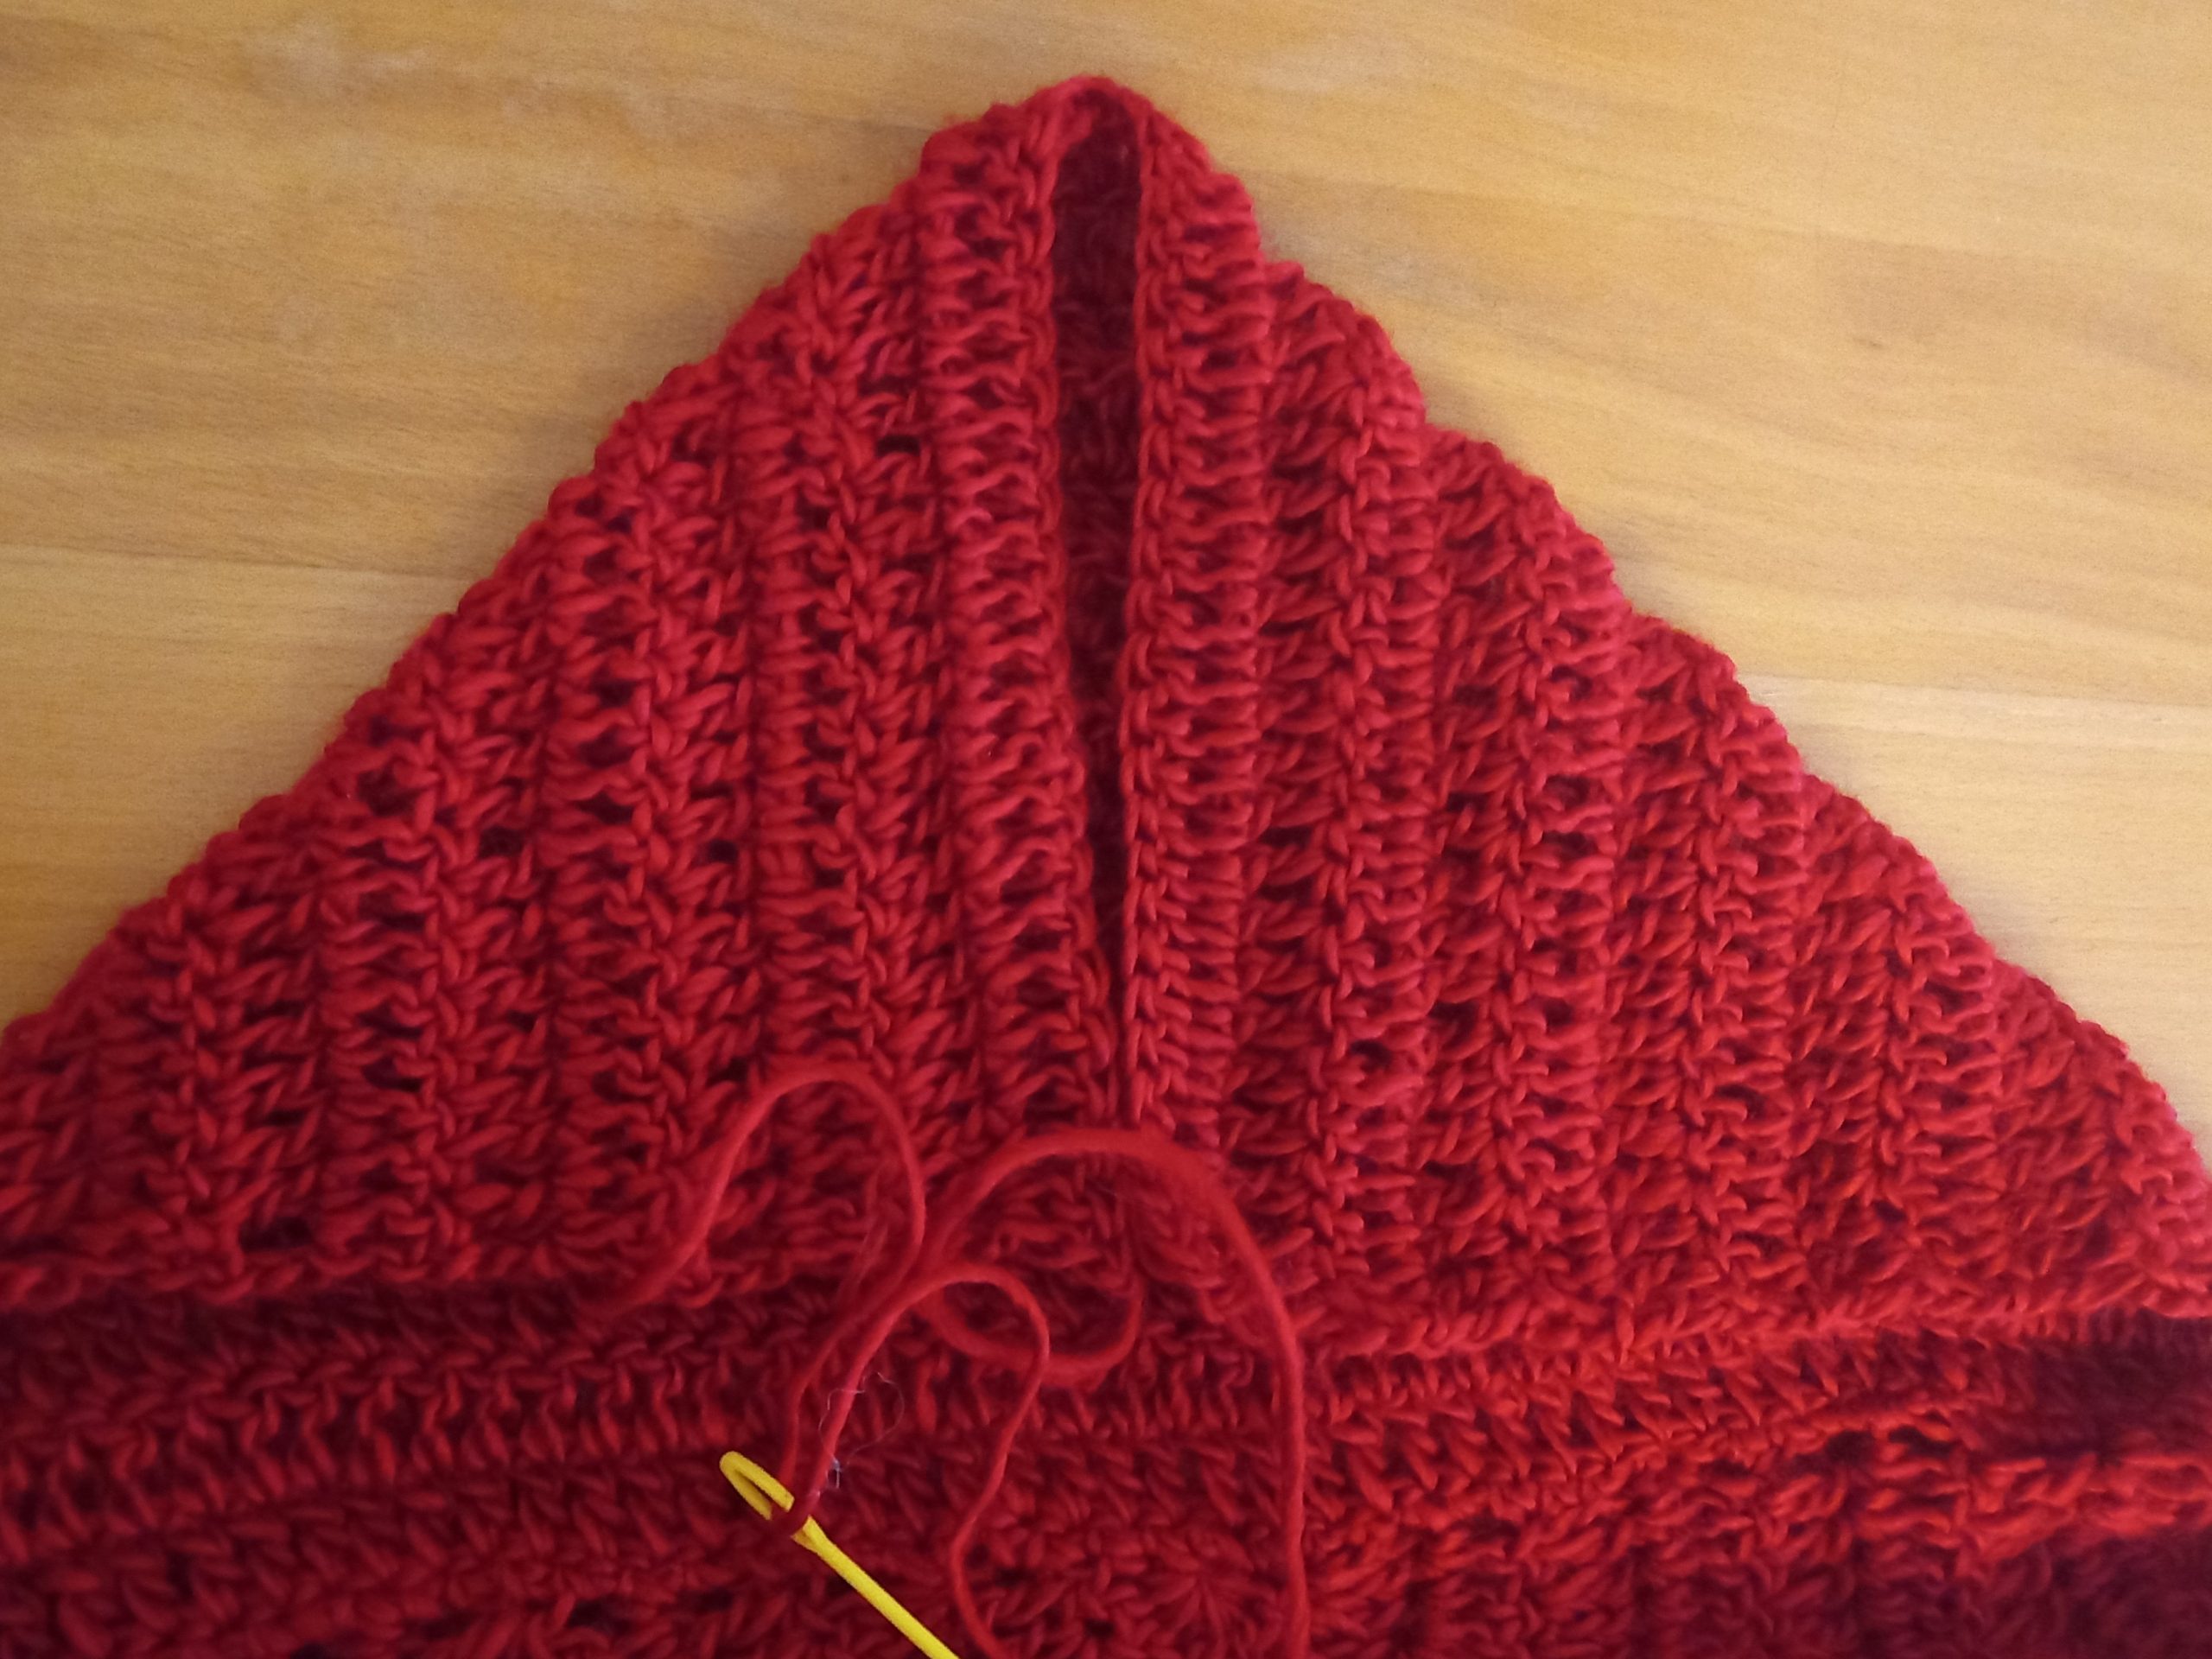
Once you have finished your 15 rows of DC, take your hood and fold the top in half, so that you can sew this using the mattress stitch to create the hood.
Fasten off, tidy up all loose ends.
Create 2 straps to fasten at front of shawl
Attach your yarn on the front of your shawl, on each side of the hood (you will be making 2 identical straps on either side of the shawl). Attach the yarn on the second row from the hood (ie skip a row of DC).
Chain 35.
Once you have chained 35, skip one chain, and slip stitch into the next chain until eor. When you reach the start of the chain, go back into the stitch where you attached your yarn and place a SC.
Fasten off, tidy up all loose ends.
Repeat this process on the other side of shawl.


2 Comments
Mia
This is soo cute! Great work <3
Selina Veronique
Thank you so much !