Crochet The Snow Princess Hat Pattern
Crochet The Snow Princess Hat Pattern
Hi everyone, this week I am bringing to you a tutorial on how to crochet The Snow Princess Hat Pattern. This is a great project for beginners and expert crocheters alike. It features a beautiful and feminine stitch called the Crumpled Griddle Stitch. This is a variation of the classic Griddle stitch (which I love), and I will go into more detail concerning this stitch later in this post.
The video tutorial for this project can be found here:
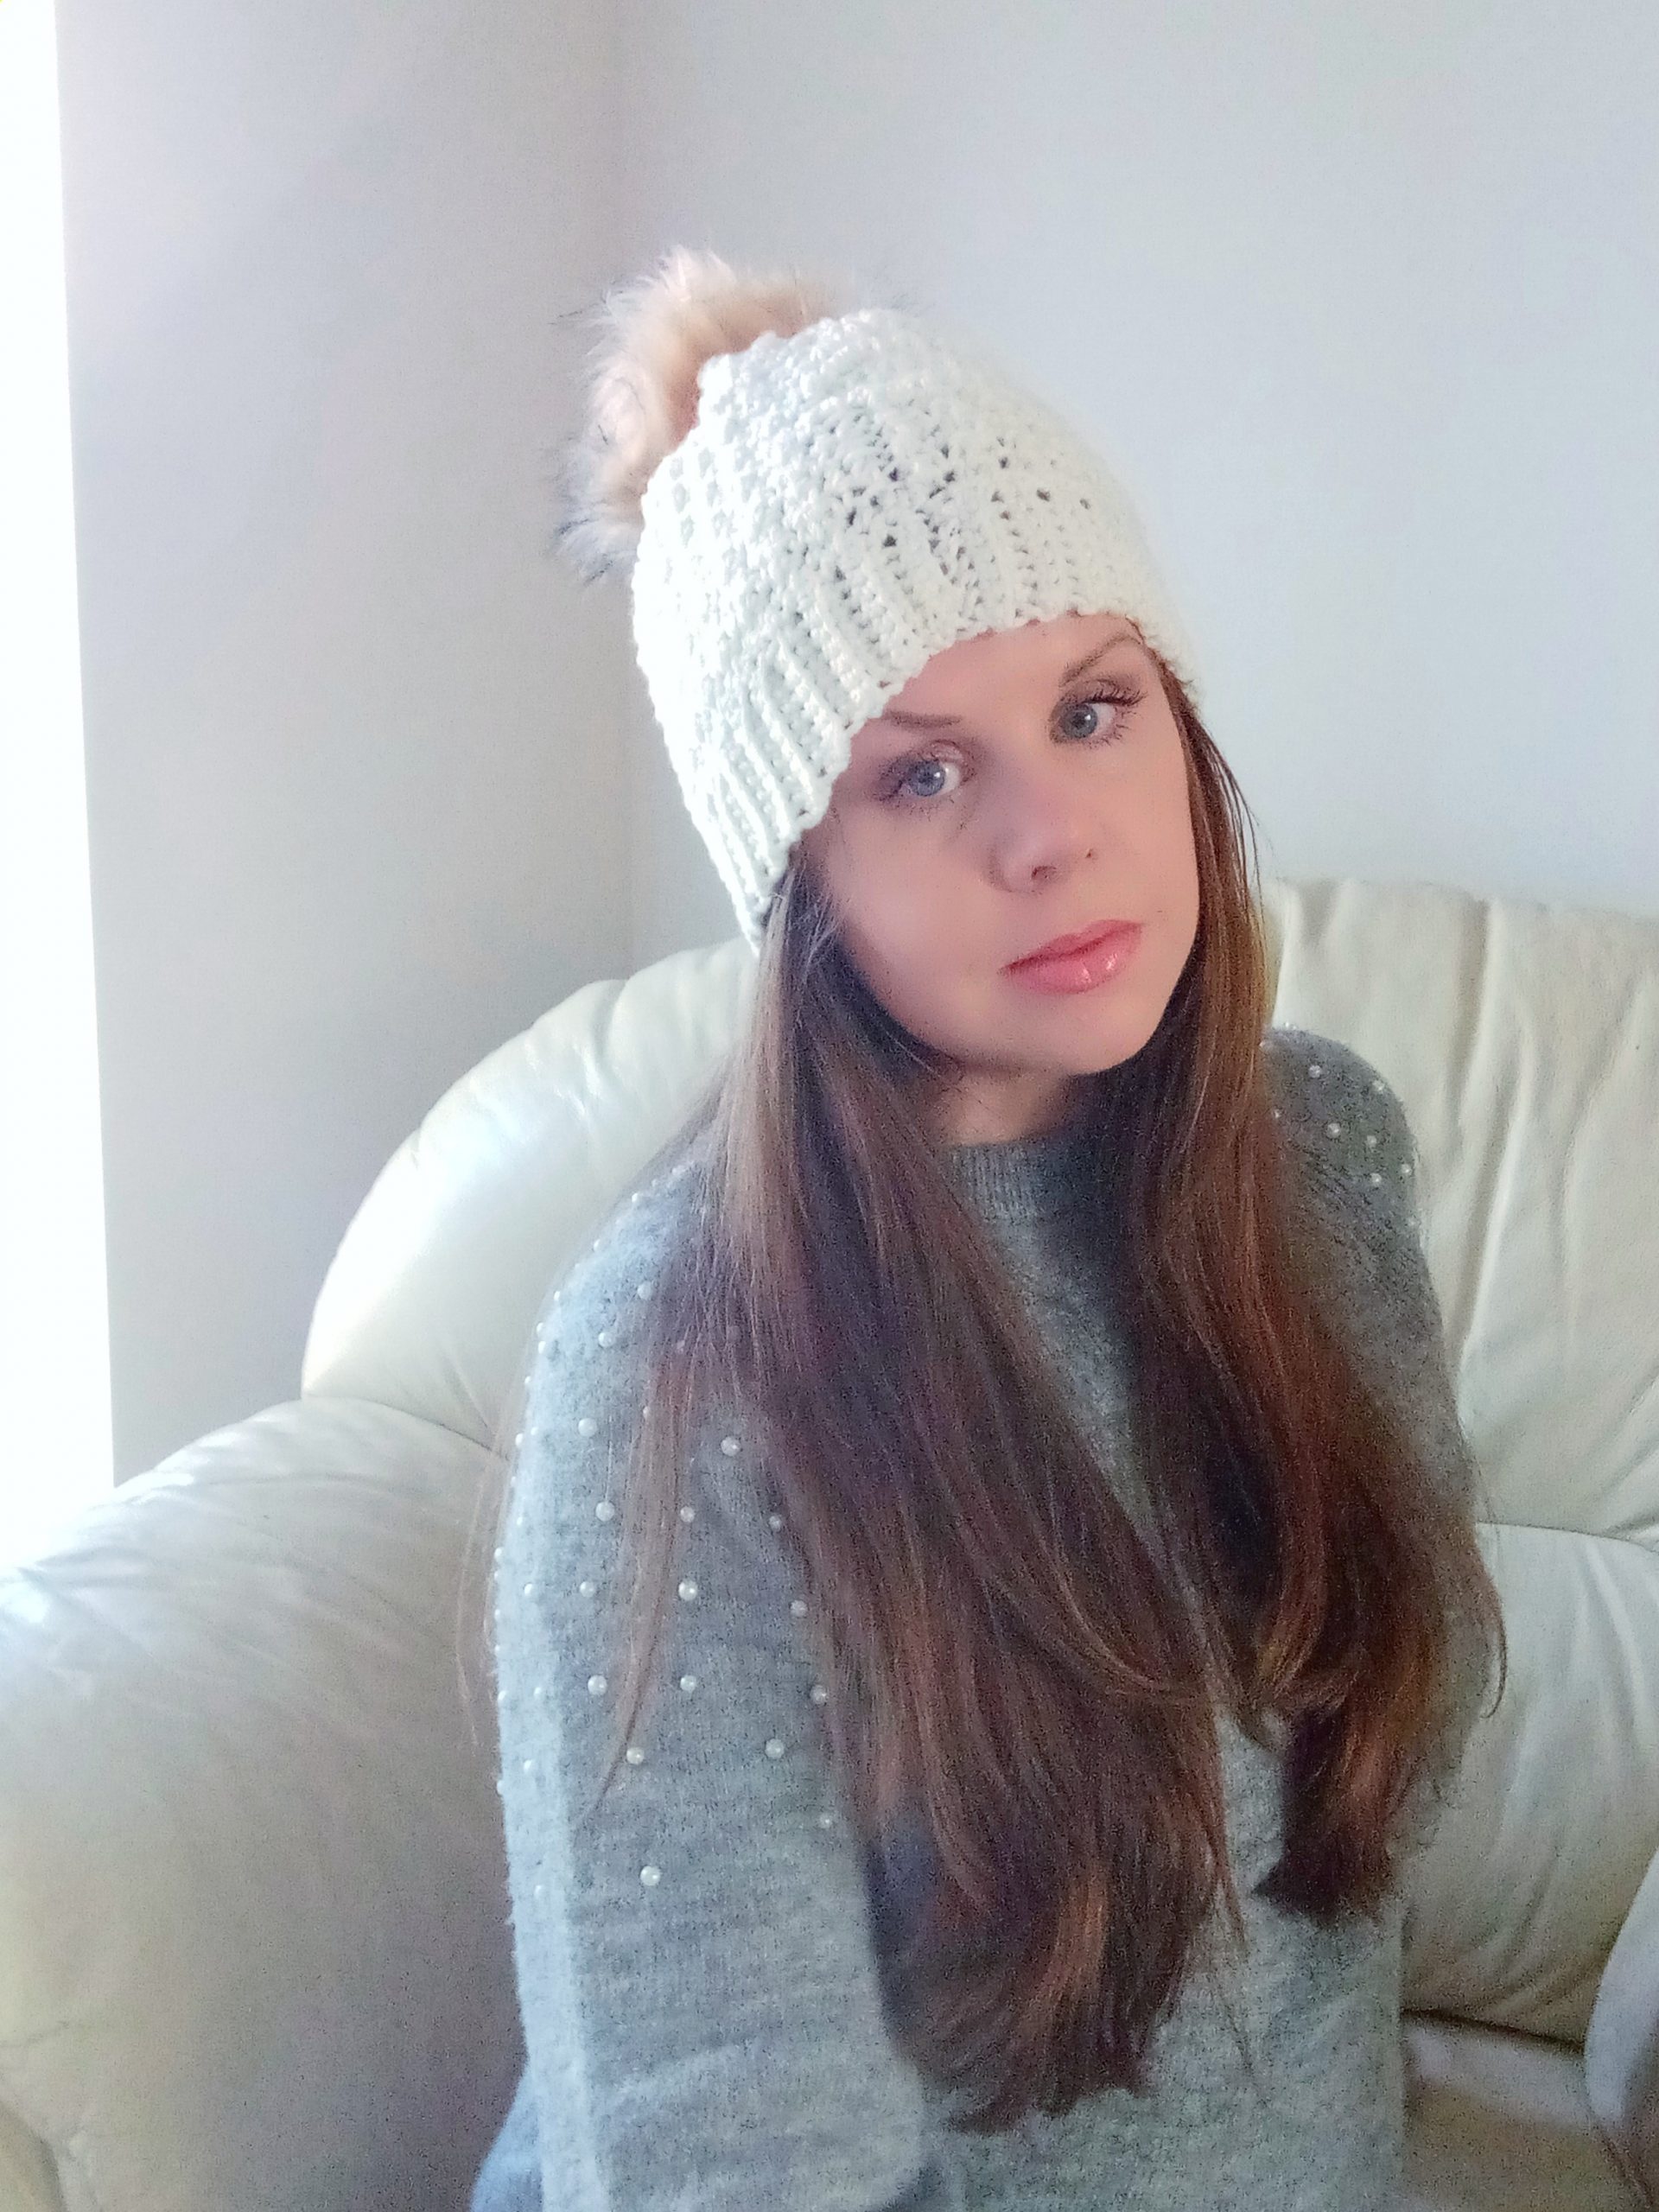
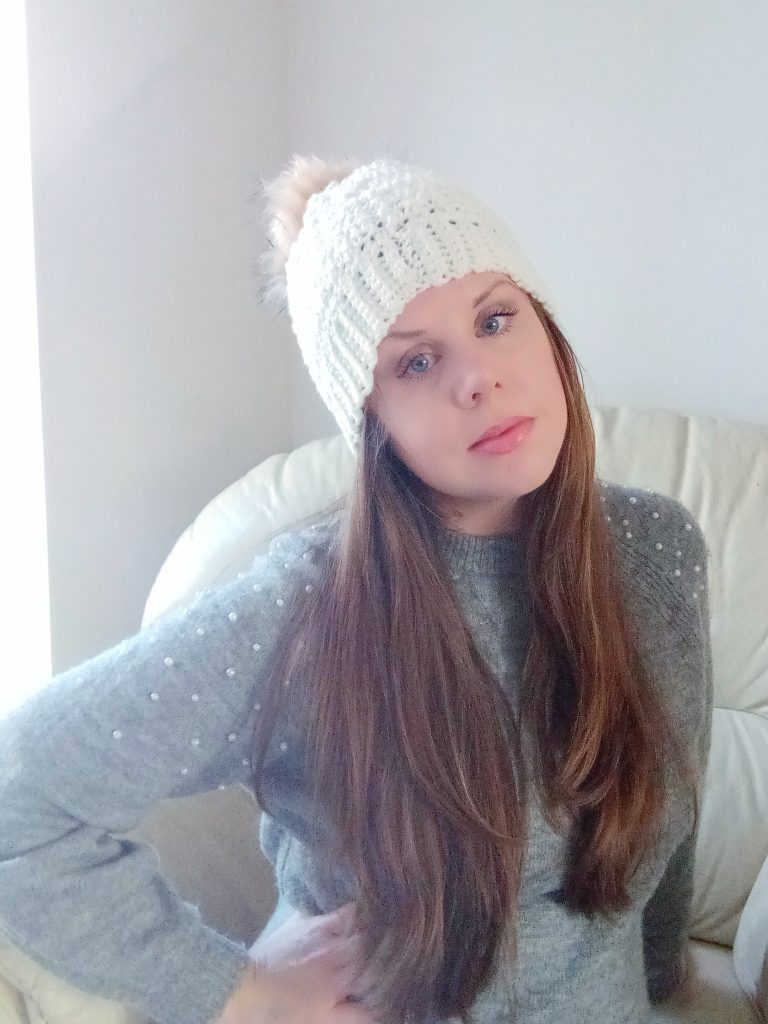
Crochet The Snow Princess Hat Pattern: the inspiration for this classic Pompom hat
I have wanted to create a classic and feminine Pompom hat for a long time now. Indeed, I love crochet hats for the Winter. Last time I created a tutorial for a Winter pompom hat was over two years ago, for the Heart of Me Pompom Hat. The Heart of Me hat is so pretty and delicate, and I have worn it many times since creating it. It seemed releasing a new crochet tutorial for a classic crochet pompom hat was long overdue.
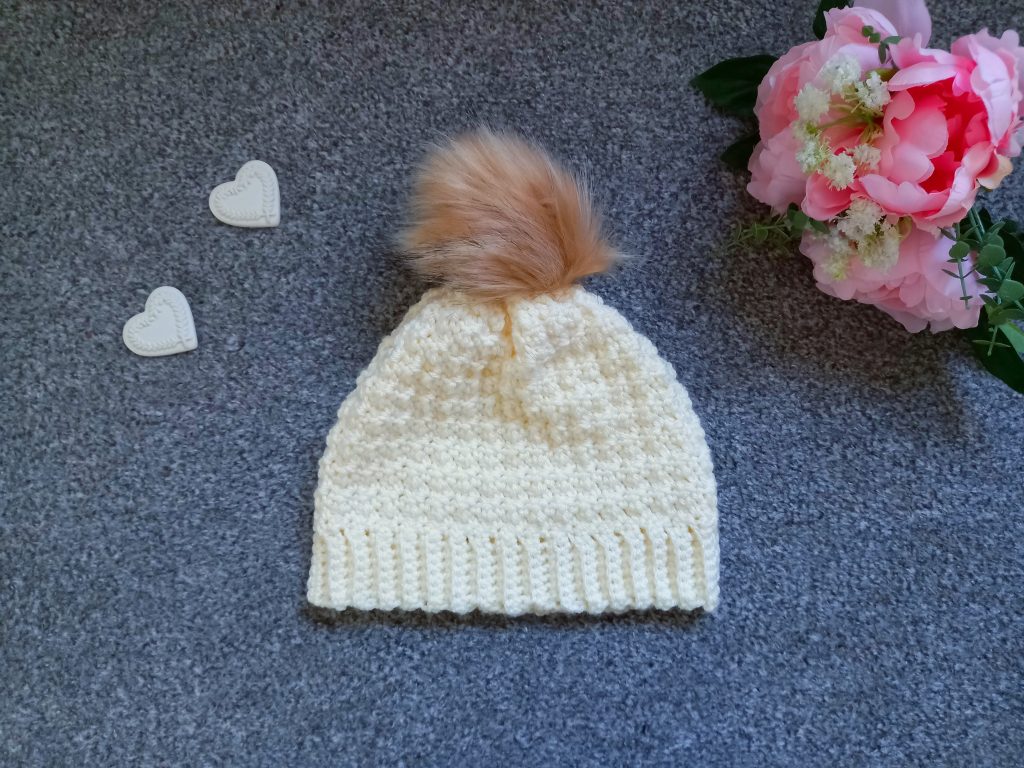
This hat is so easy and feminine. It is a perfect gift for the Christmas season coming up. I love crocheting these types of projects because they are very much appreciated. This feminine design is also perfect if you are planning on making lots of these to sell at a Christmas Market, for example.
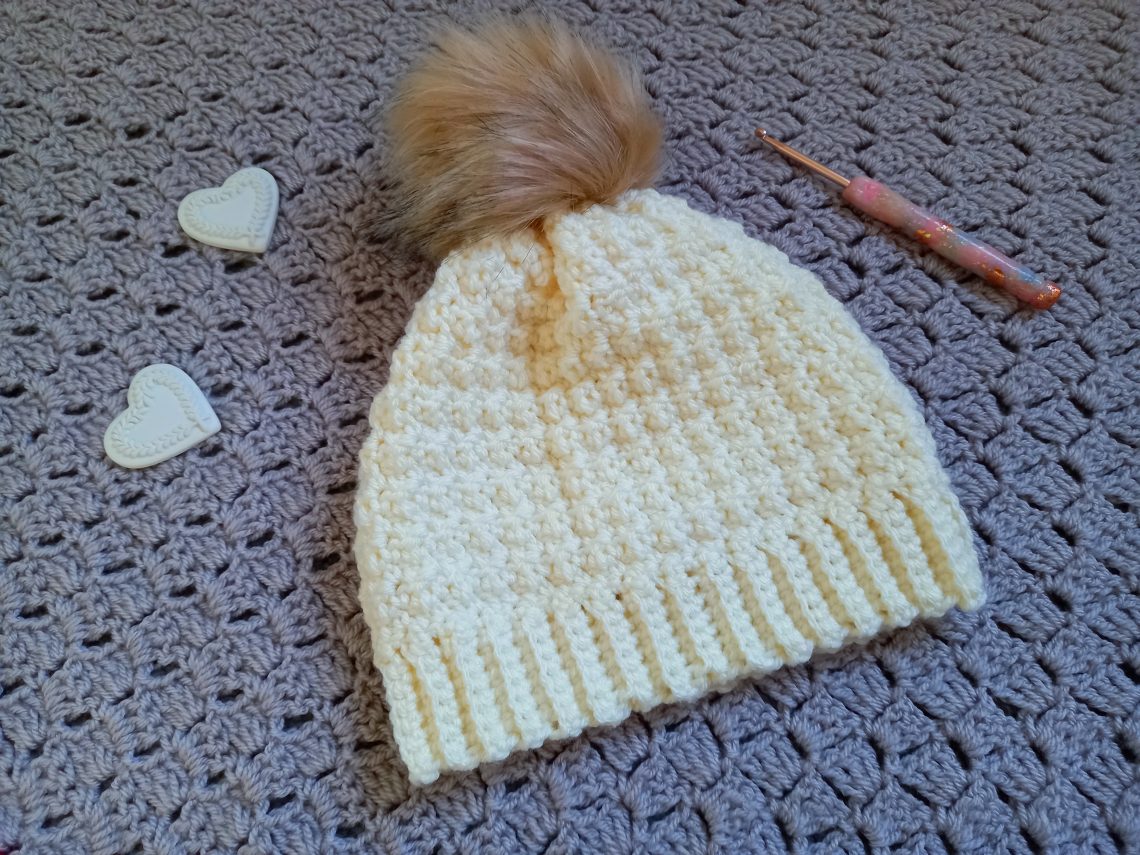
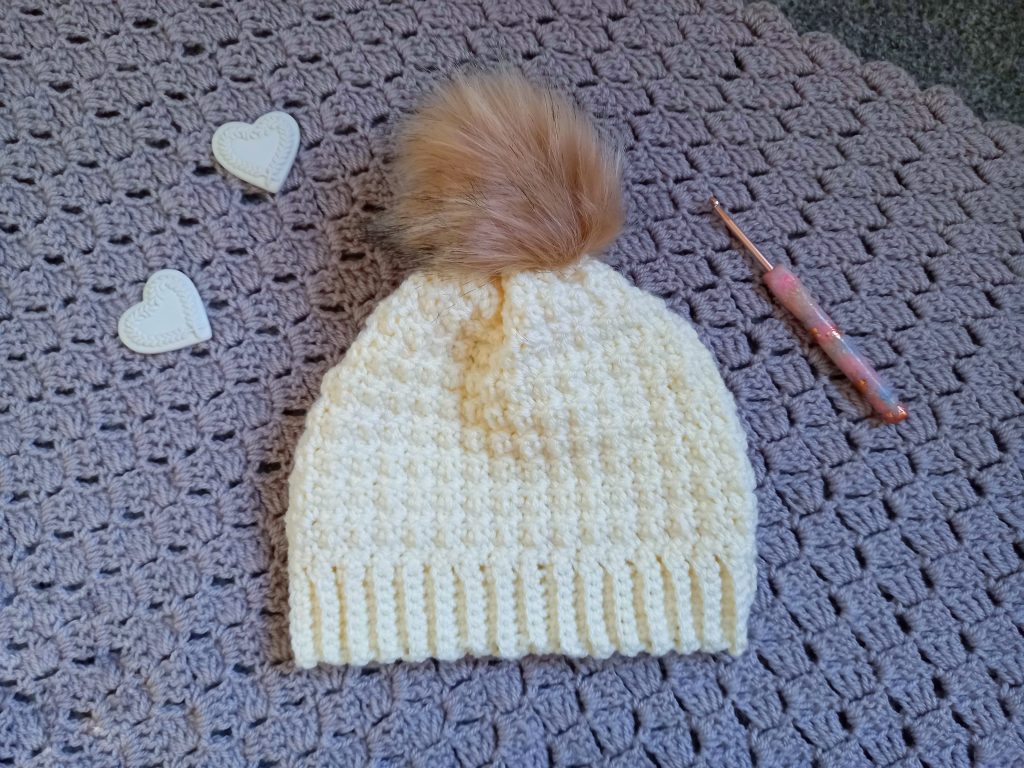
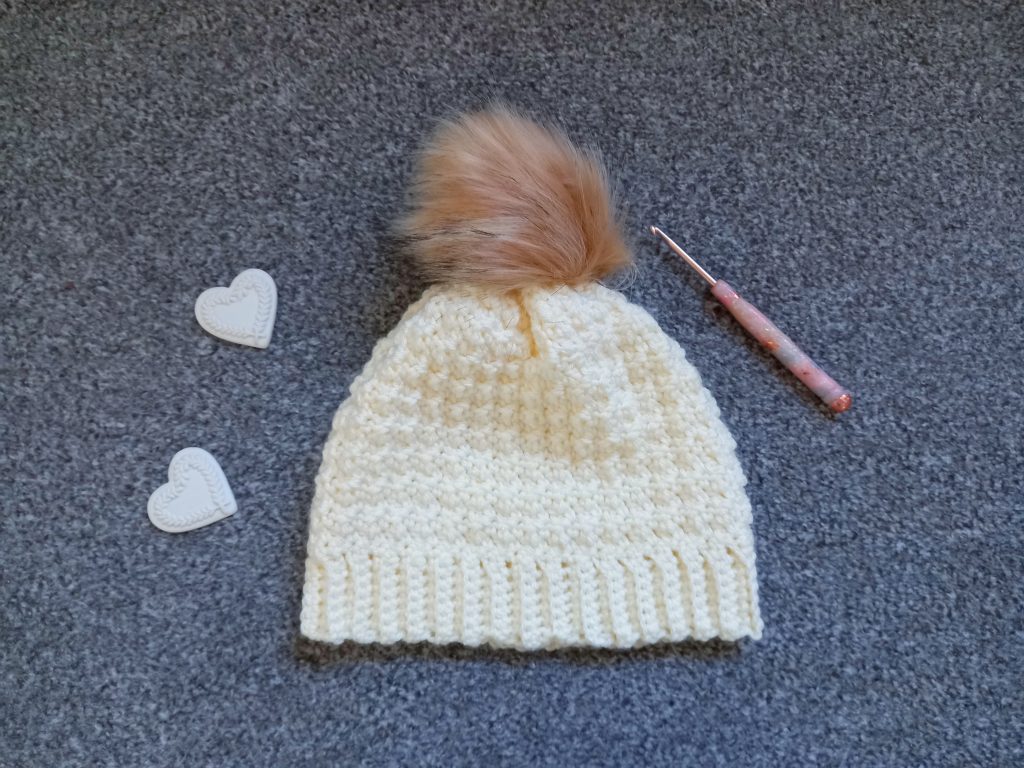
This is a very easy and quick project to crochet. I used two skeins of Stylecraft Special Aran to crochet this hat, as well as a 15 cm fluffy pompom. The shade I used is called Cream. You can easily substitute this yarn with Paintbox Simply Aran, or any Aran/Medium 4 weight yarn of your preference. I also used two different crochet hooks for this project, which are a 4.5 mm crochet hook and 5 mm crochet hook. Using two different crochet hooks gives a nice shape to the hat, which makes the whole project more pulled together.
Crochet The Snow Princess Hat Pattern: a perfect example of the Crumpled Griddle Stitch
The Crumpled Griddle Stitch is a lovely feminine and textured crochet stitch. It is a twist on the traditional Griddle stitch, which I have used many times for the Harvest Moon Pocket Shawl and the Pink Ballerina Headband. The Crumpled Griddle Stitch is a textured stitch very similar to the classic Griddle stitch. Both these stitches are created by alternating Single and Double Crochets on each row. However, the Crumpled Griddle stitch does not alternate Single and Double Crochets from row to row, instead, a Single Crochet is always placed on top of a Single Crochet, and a Double Crochet is always placed above a Double Crochet.
This simple stitch is feminine and gives a lot of texture to a project. It is easy to crochet, and has a very therapeutic element to it too. I hope you enjoy this slight twist on the classic Griddle Stitch, I know I did! And let me know if you have ever used this stitch also for one of your projects.
Connecting with you
I love connecting with my Crochet Community through my blog and Social Media. You can find me on Youtube, Instagram, and Pinterest. I would love to connect with you on these platforms.
You can also join my private Facebook group to connect.
You can subscribe to my weekly newsletter here:
Crochet The Snow Princess Hat: the Pattern
You can purchase the ad free, large print, PDF pattern from my Etsy store here: Crochet The Snow Princess Hat PDF Pattern
Level: Easy/beginner +
Gauge
4” (10 cm)= 15 stitches
4” (10 cm)= 10 rows
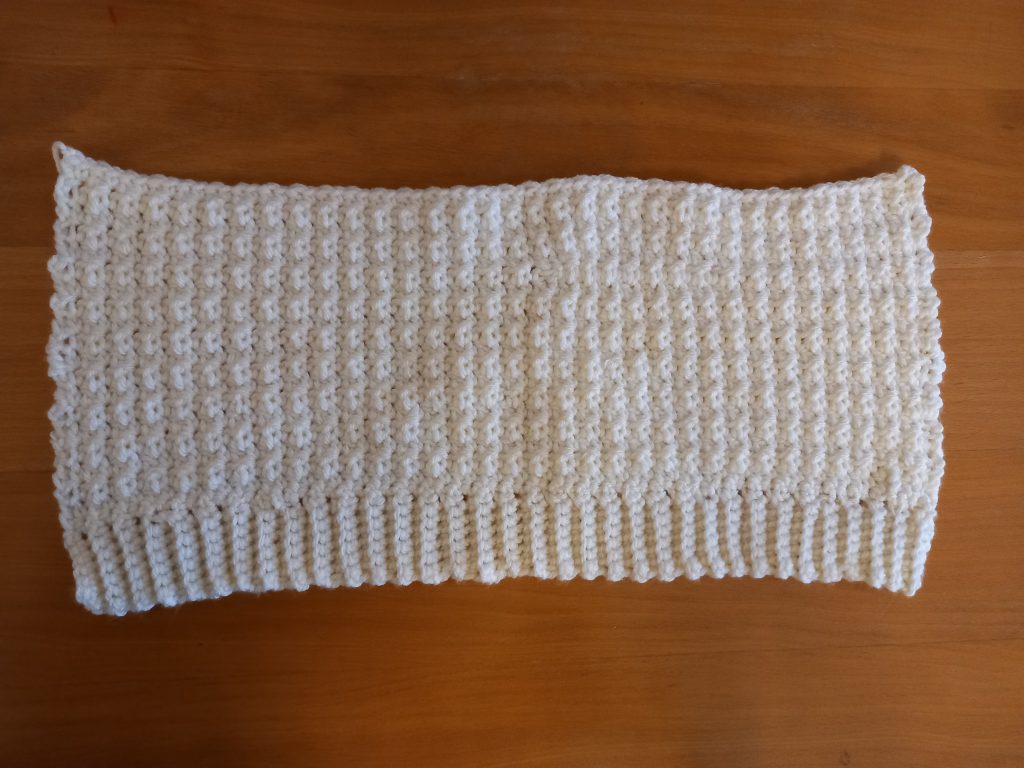
Size of finished hat (before sewing and including bottom ribbing)
9” (23 cm) in height and 19” (49.5 cm) wide
Notes
I will be using US terms (British terms in brackets)
You will need
– 2 skeins of Stylecraft Special Aran in shade Cream (or any other Aran/Medium 4 yarn of your preference, such as Paintbox Simply Aran)
– 4.5 and 5 mm crochet hooks
– A 15 cm faux fur pompom
– Pair of scissors
– A tapestry needle
– Darning needle and thread (for pompom)
Abbreviations
Ch: chain
St: Stitch
Sl st: slip stitch
Sk: Skip
SC: Single Crochet
DC: Double Crochet
BLO: Back Loop Only
EOR: End of row
To begin
We will start by making the bottom ribbing of the hat.
With 4.5 mm crochet hook make a slip knot.
Ch 8
Complete rows as follows:
1: SC into 2nd ch from hook, and SC into next ch until eor.
2: Ch 1 (=turning chain throughout), SC into BLO (=Back loop only) of 1st and every stitch across until eor.
3-67: Repeat row 2.
Do not fasten off.
Creating the body of the hat
Switch to your 5 mm crochet hook.
Placing your project horizontally, ch 1 (=counts as a turning chain), you will be placing a SC into every stitch across until eor (=67 SC).
Row 1: ch 3 (=DC), [SC into next stitch, DC into next stitch] until eor, finishing on a Double Crochet.
Row 2-19: Repeat row 1.
Fasten off.
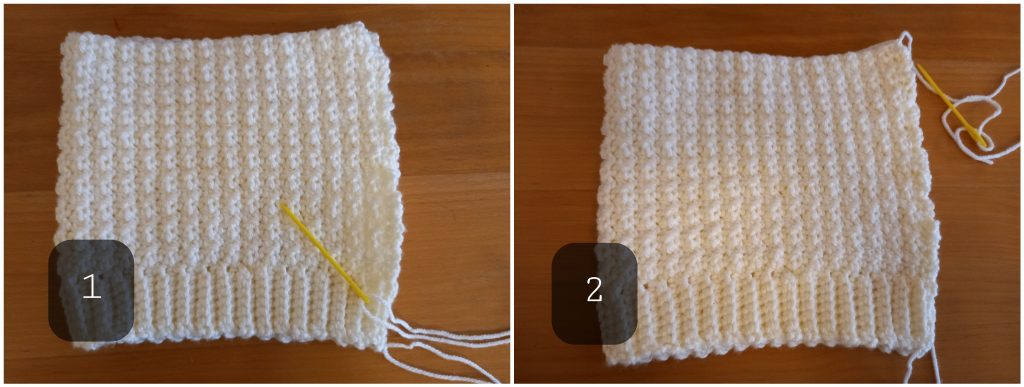
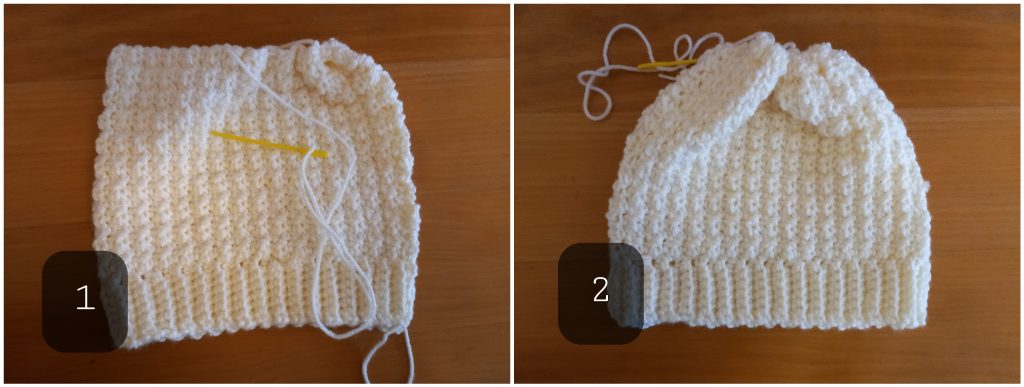
Sewing your hat together
Place your hat width wise on a flat surface, with the ribbed edging facing down.
Fold the hat over width wise, so as to create a seam on one side (this will be the back of the hat later on). Once your hat is symmetrically closed in half, with tapestry needle and yarn, start sewing up your hat using the mattress stitch, from the bottom and going up.
When you reach the top of your hat (the crown of the hat), insert needle in and out of this section going all around the crown until you reach the other side where you began (please count approximately 2 cm distance each time you pop your needle in and out in this section). Go all around the crown of the hat so that when you gently pull on your yarn, it closes up the top of your hat. Once you have closed up the top of the hat, you can then tie a knot and secure your hat by popping your needle in and out of the top of the hat to make sure it is securely sewed in.
Now just fasten off your yarn and tidy up your loose end. Turn your hat inside out so that you can sew your pompom onto the top of the hat.
Sewing on your pompom
With darning needle and thread, secure your faux fur pompom onto the hat. Make sure it is well sewed onto the hat.


You May Also Like
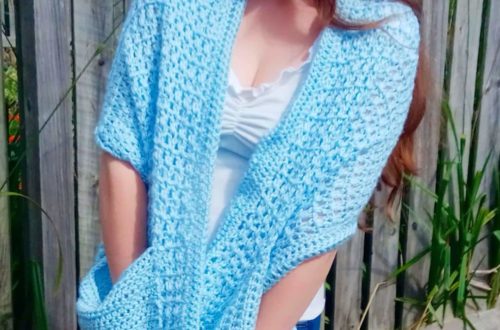
Crochet A Pocket Shawl
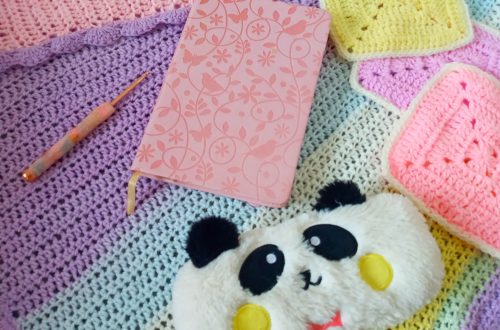
7 Tips and Tricks for Crochet