Crochet Delicate Rose Hair Bow Free Pattern
Crochet Delicate Rose Hair Bow Free Pattern
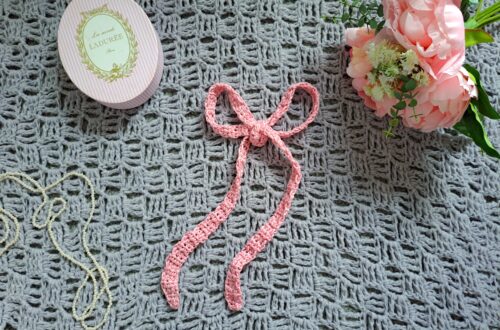
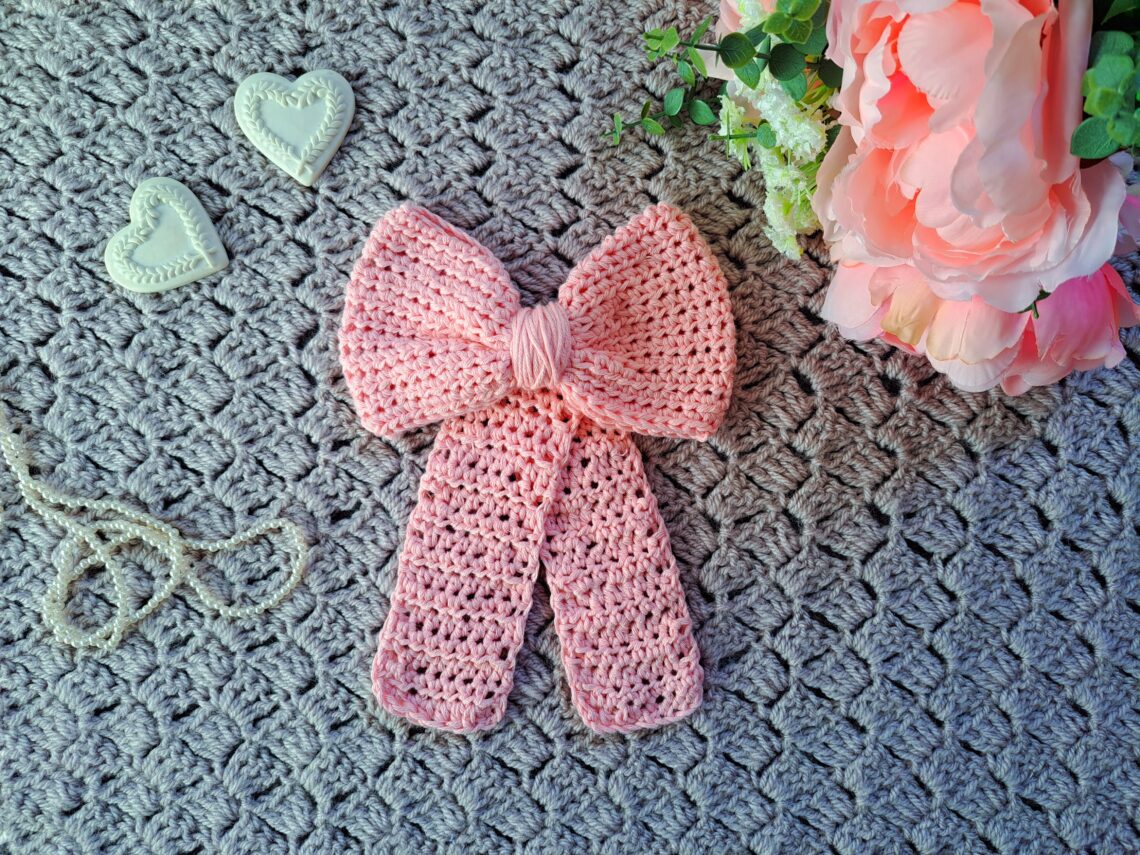
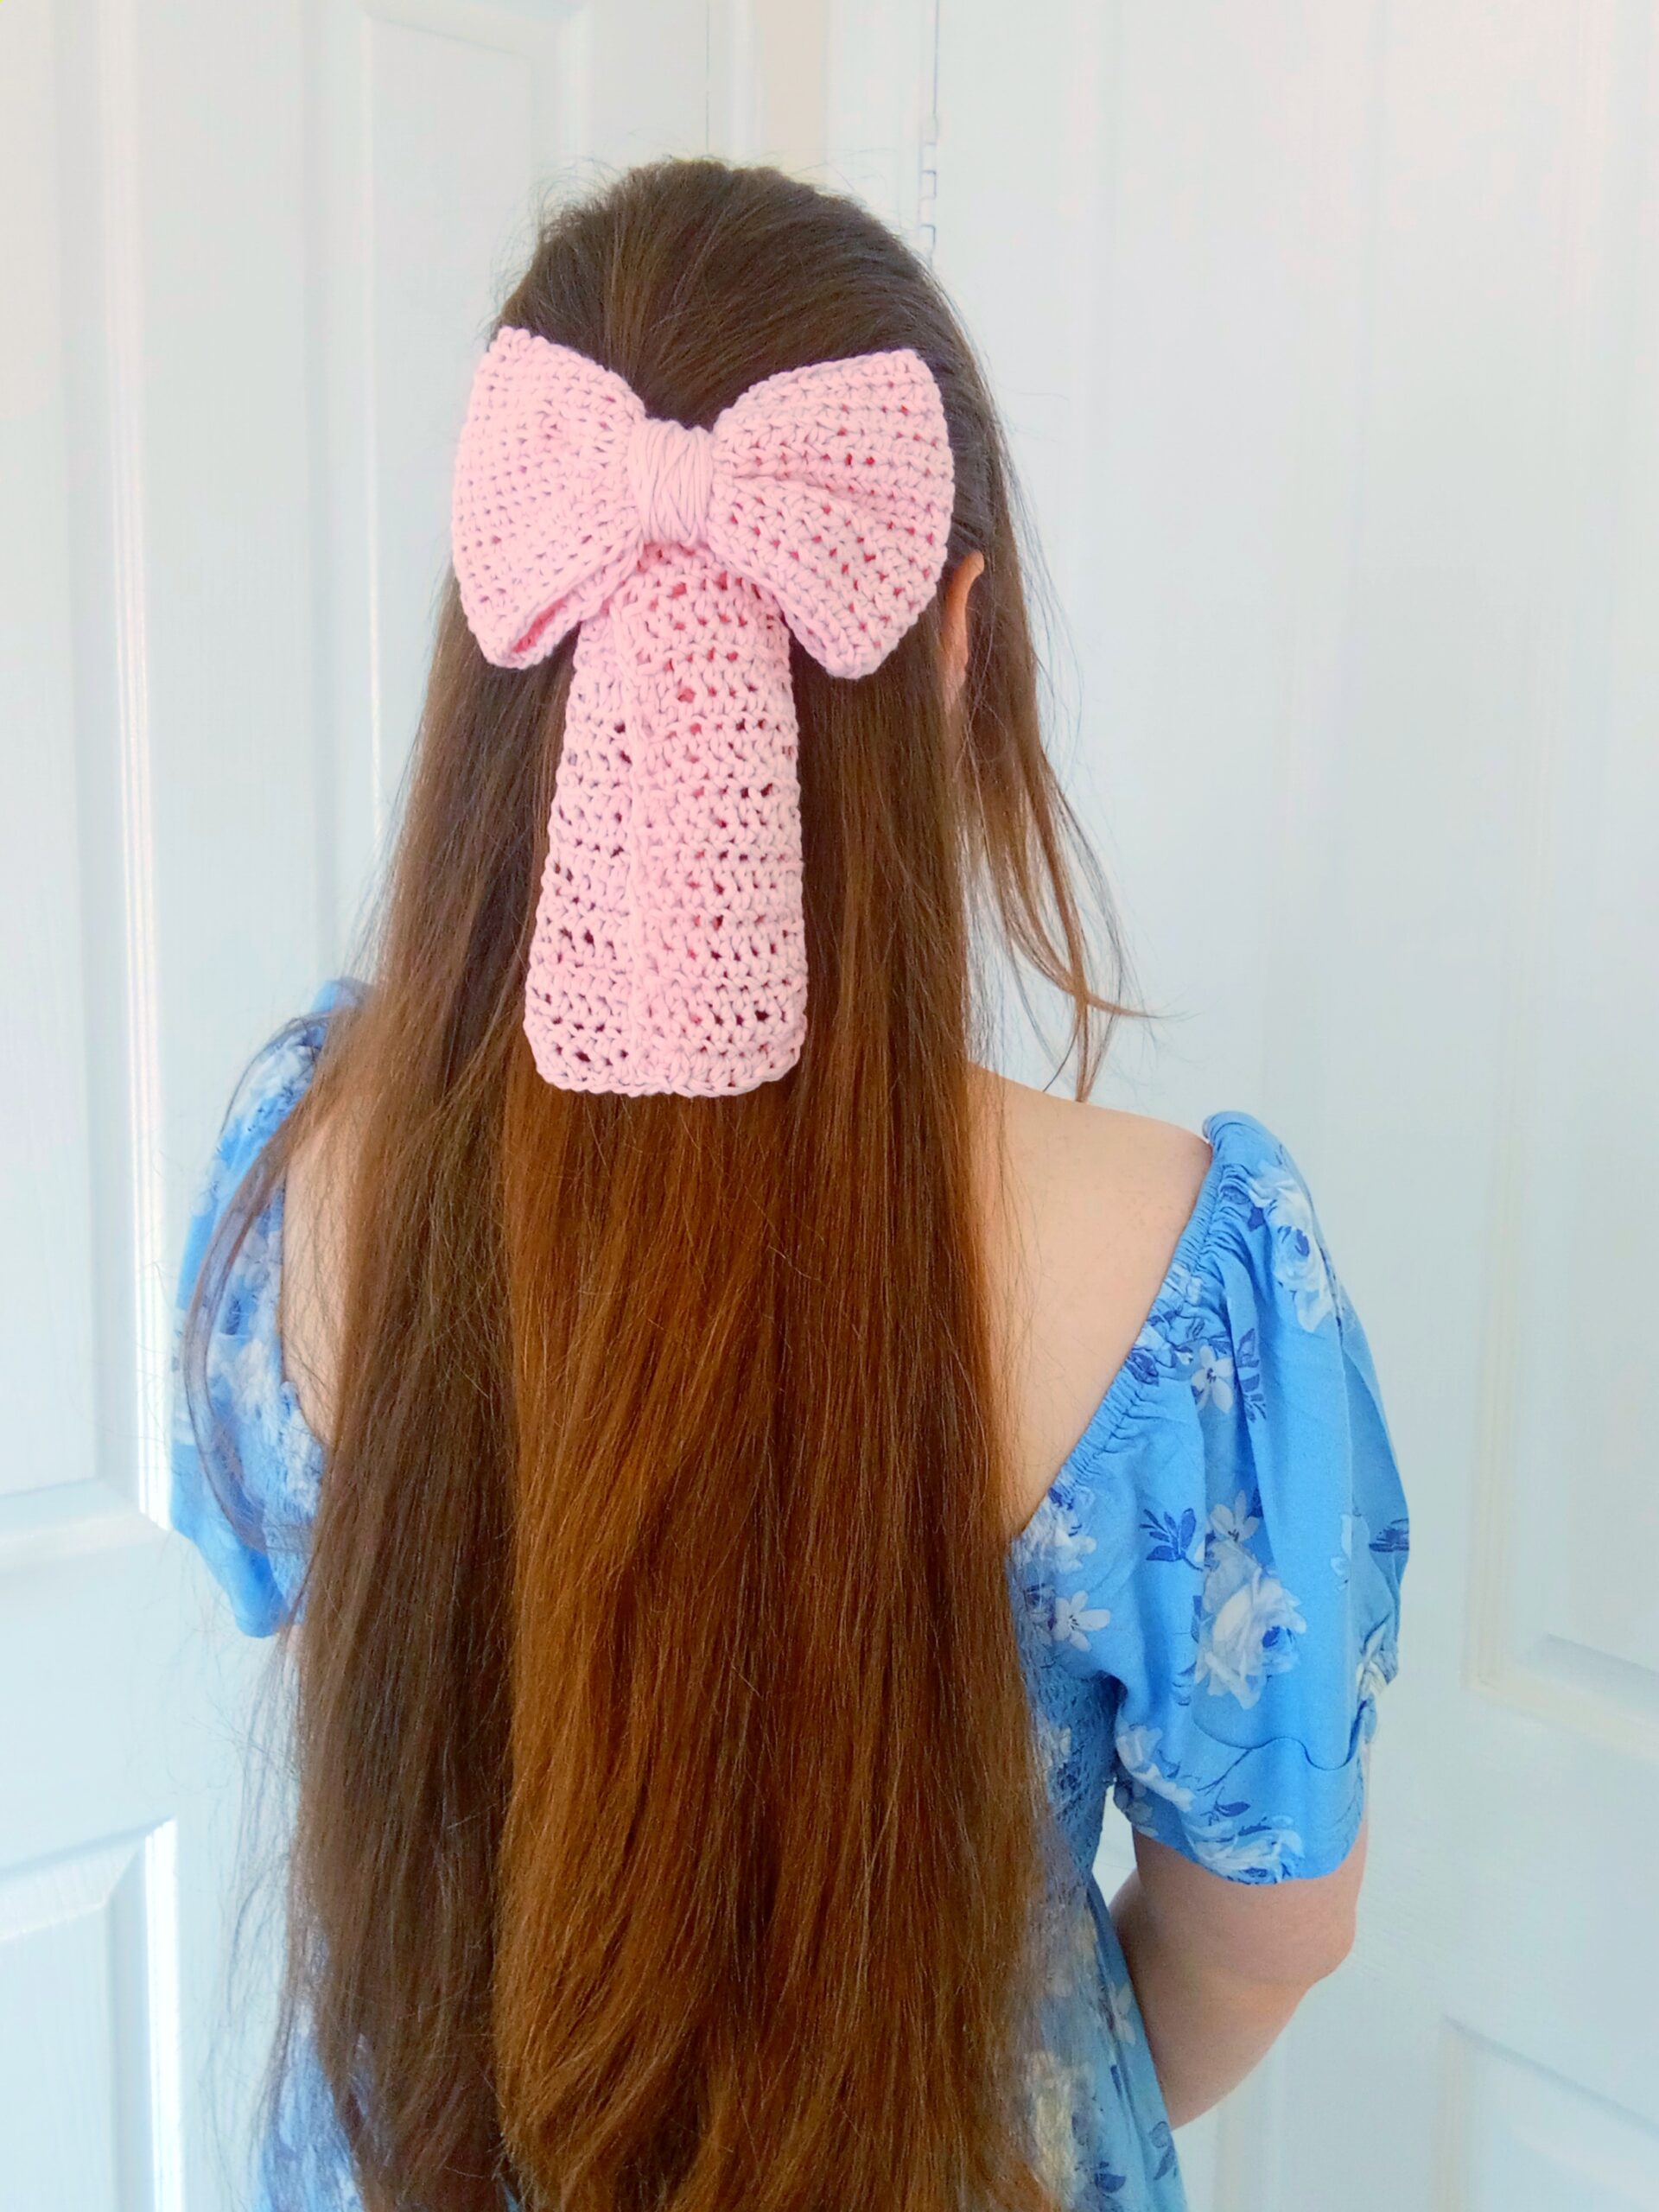
Hi everyone, this week I am bringing to you the crochet Delicate Rose Hair Bow free pattern. As always, there is a video tutorial for this project. This crochet hair bow is so delicate and feminine. I love it so much! And I hope you do too.
The video tutorial for this project can be found here:
Crochet Delicate Rose Hair Bow Free Pattern: A Feminine Hair Accessory
I love feminine hair accessories. As you will have noticed, I have already crocheted quite a few feminine hair accessories to date. Recently, I crocheted this romantic boho headband which is very cute. If you enjoy headbands, I also made this lovely flower square hairband.
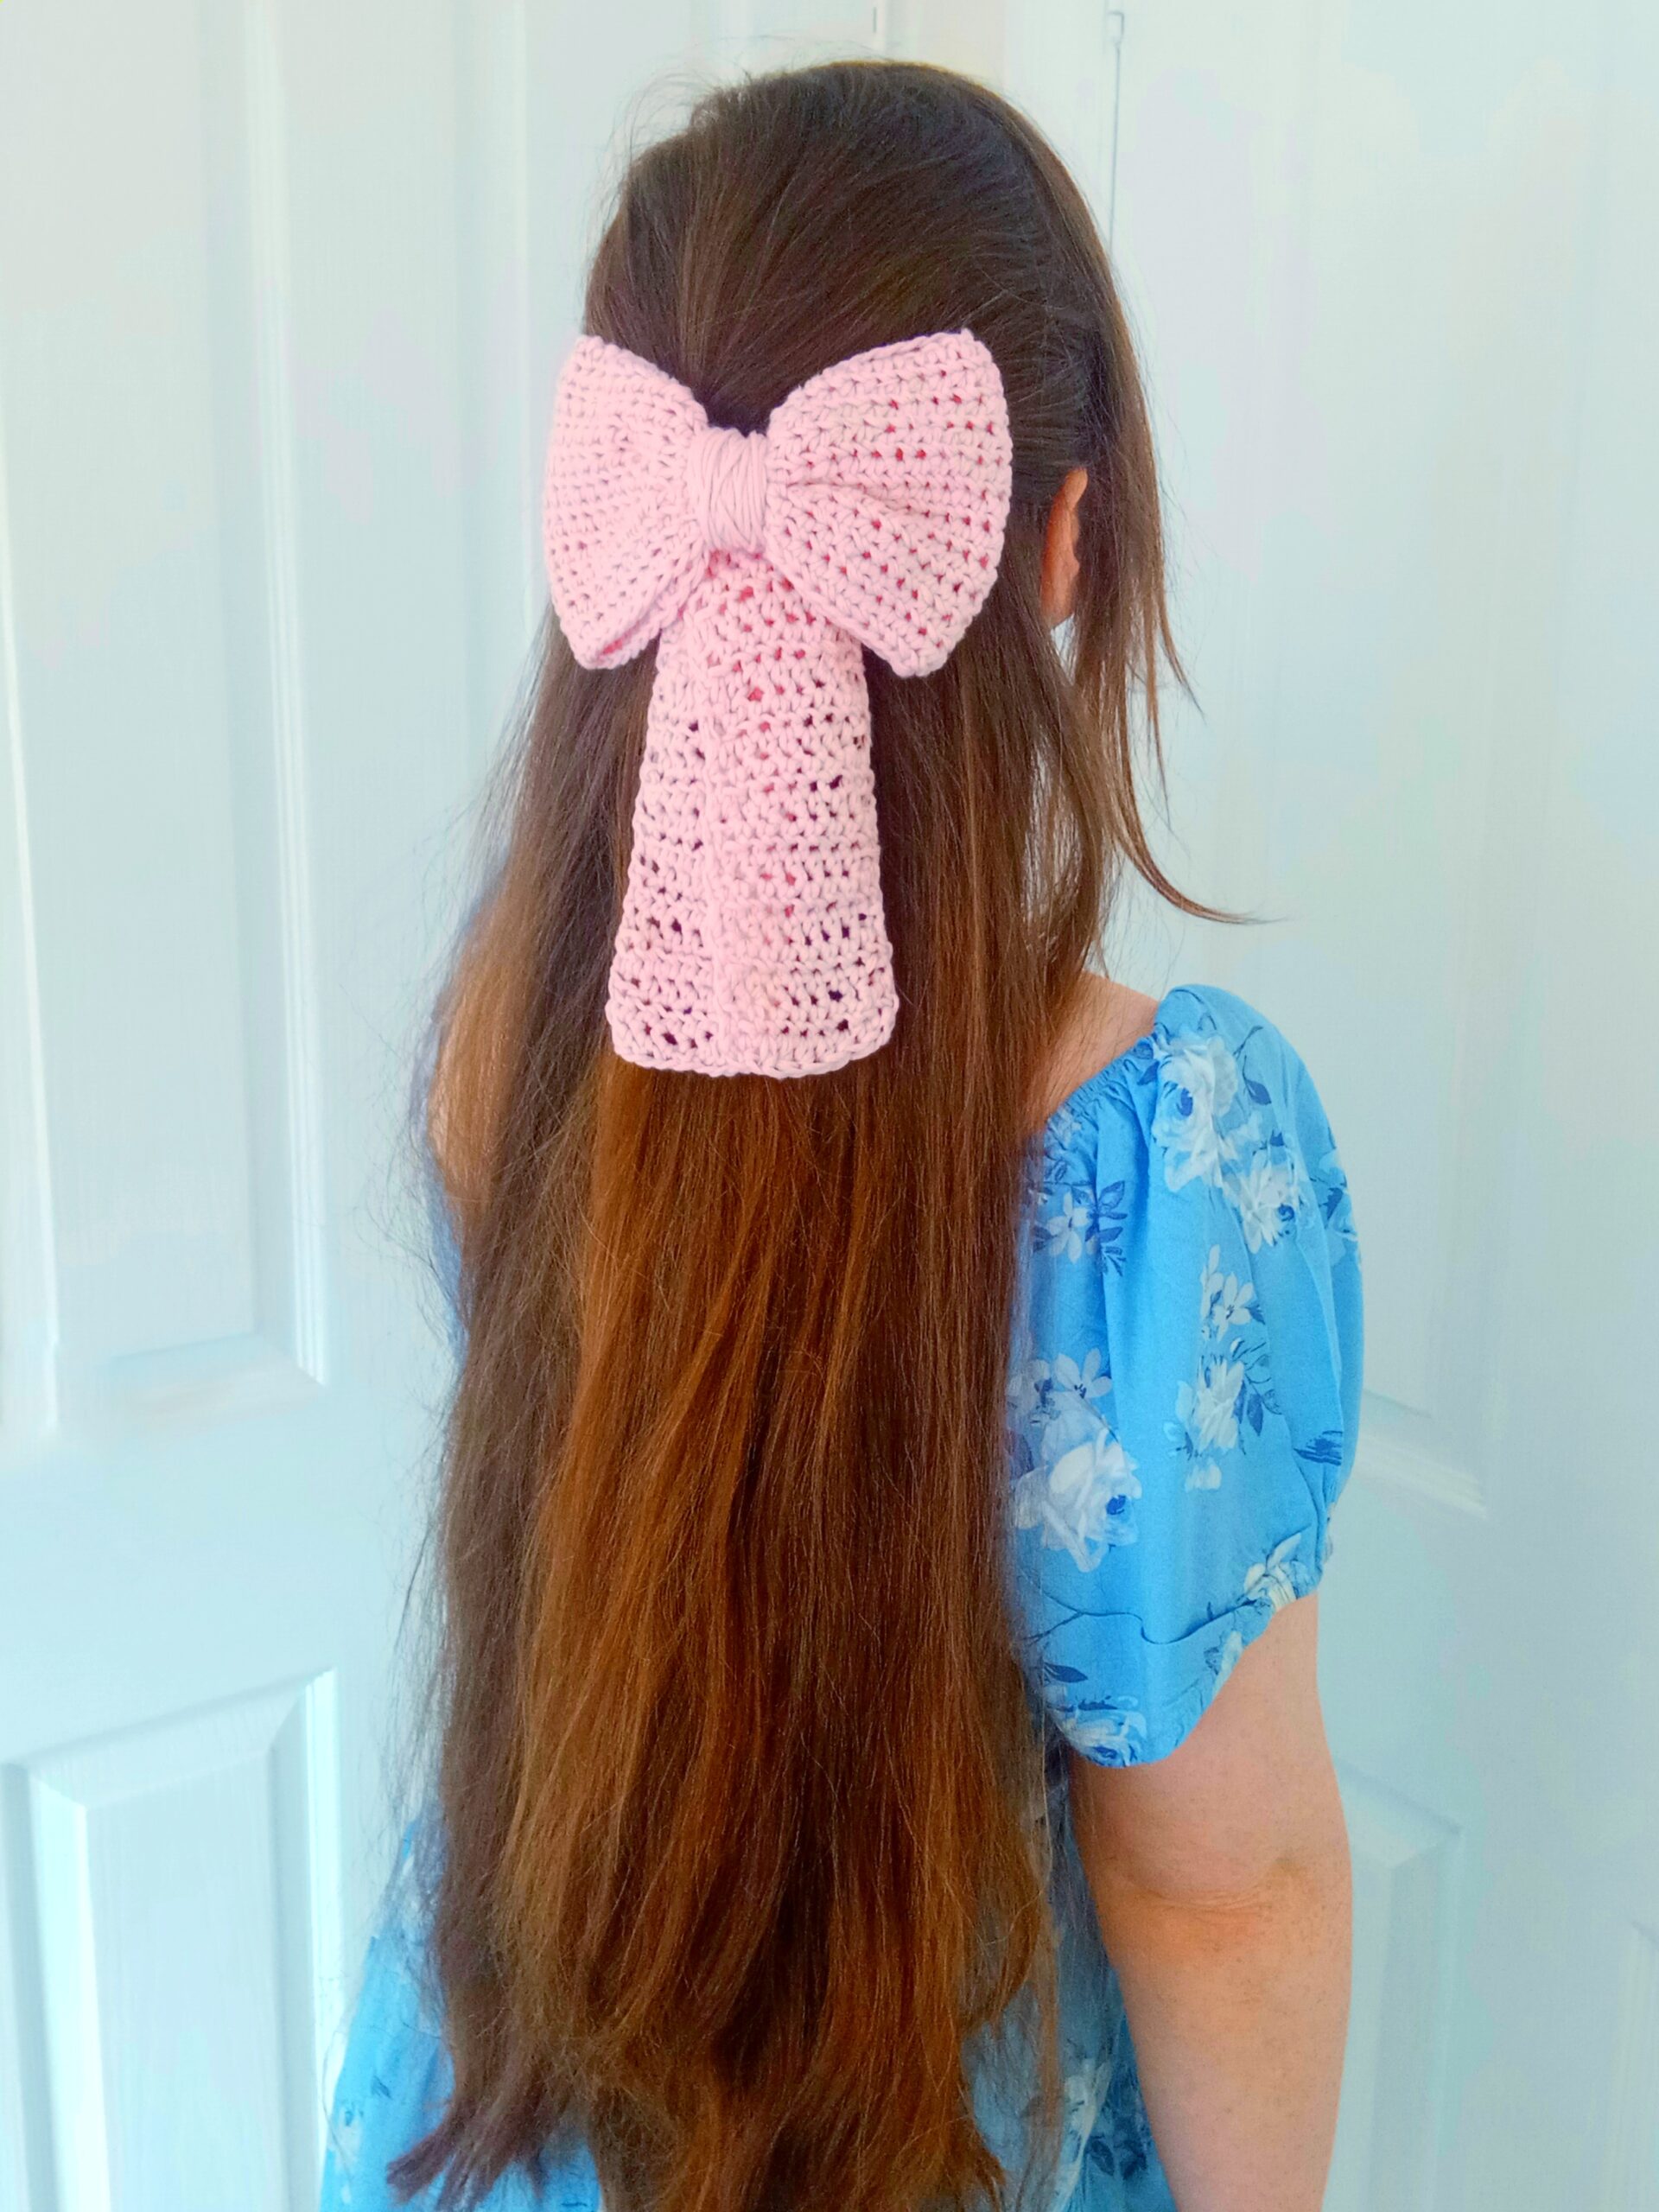
This new hair bow pattern is one of my favorites yet! Indeed, it is so pretty and feminine. A simple slightly oversized bow is crocheted, before a simple slide is sewn onto the back of it. Once this is done, this bow can be worn in many different ways in your hair. I love it so much because it is the perfect dainty hair accessory for every day!
Both these projects are perfect for every season. I love feminine crocheted hair accessories. Last week, I released the no sew dainty hairband which is also very delicate and dainty. All these projects are not only lovely, but also perfect for beginners.
Last year I crocheted this easy lacy headband which is very delicate and feminine too. I made this this vintage hair scarf a few months ago which I love so much! Hair accessories are so sweet and simple. They add a lot of character to any hairstyle. I also love this romantic hair ribbon which has been very popular since I released it.
Crochet Delicate Rose Hair Bow Free Pattern: The Yarn
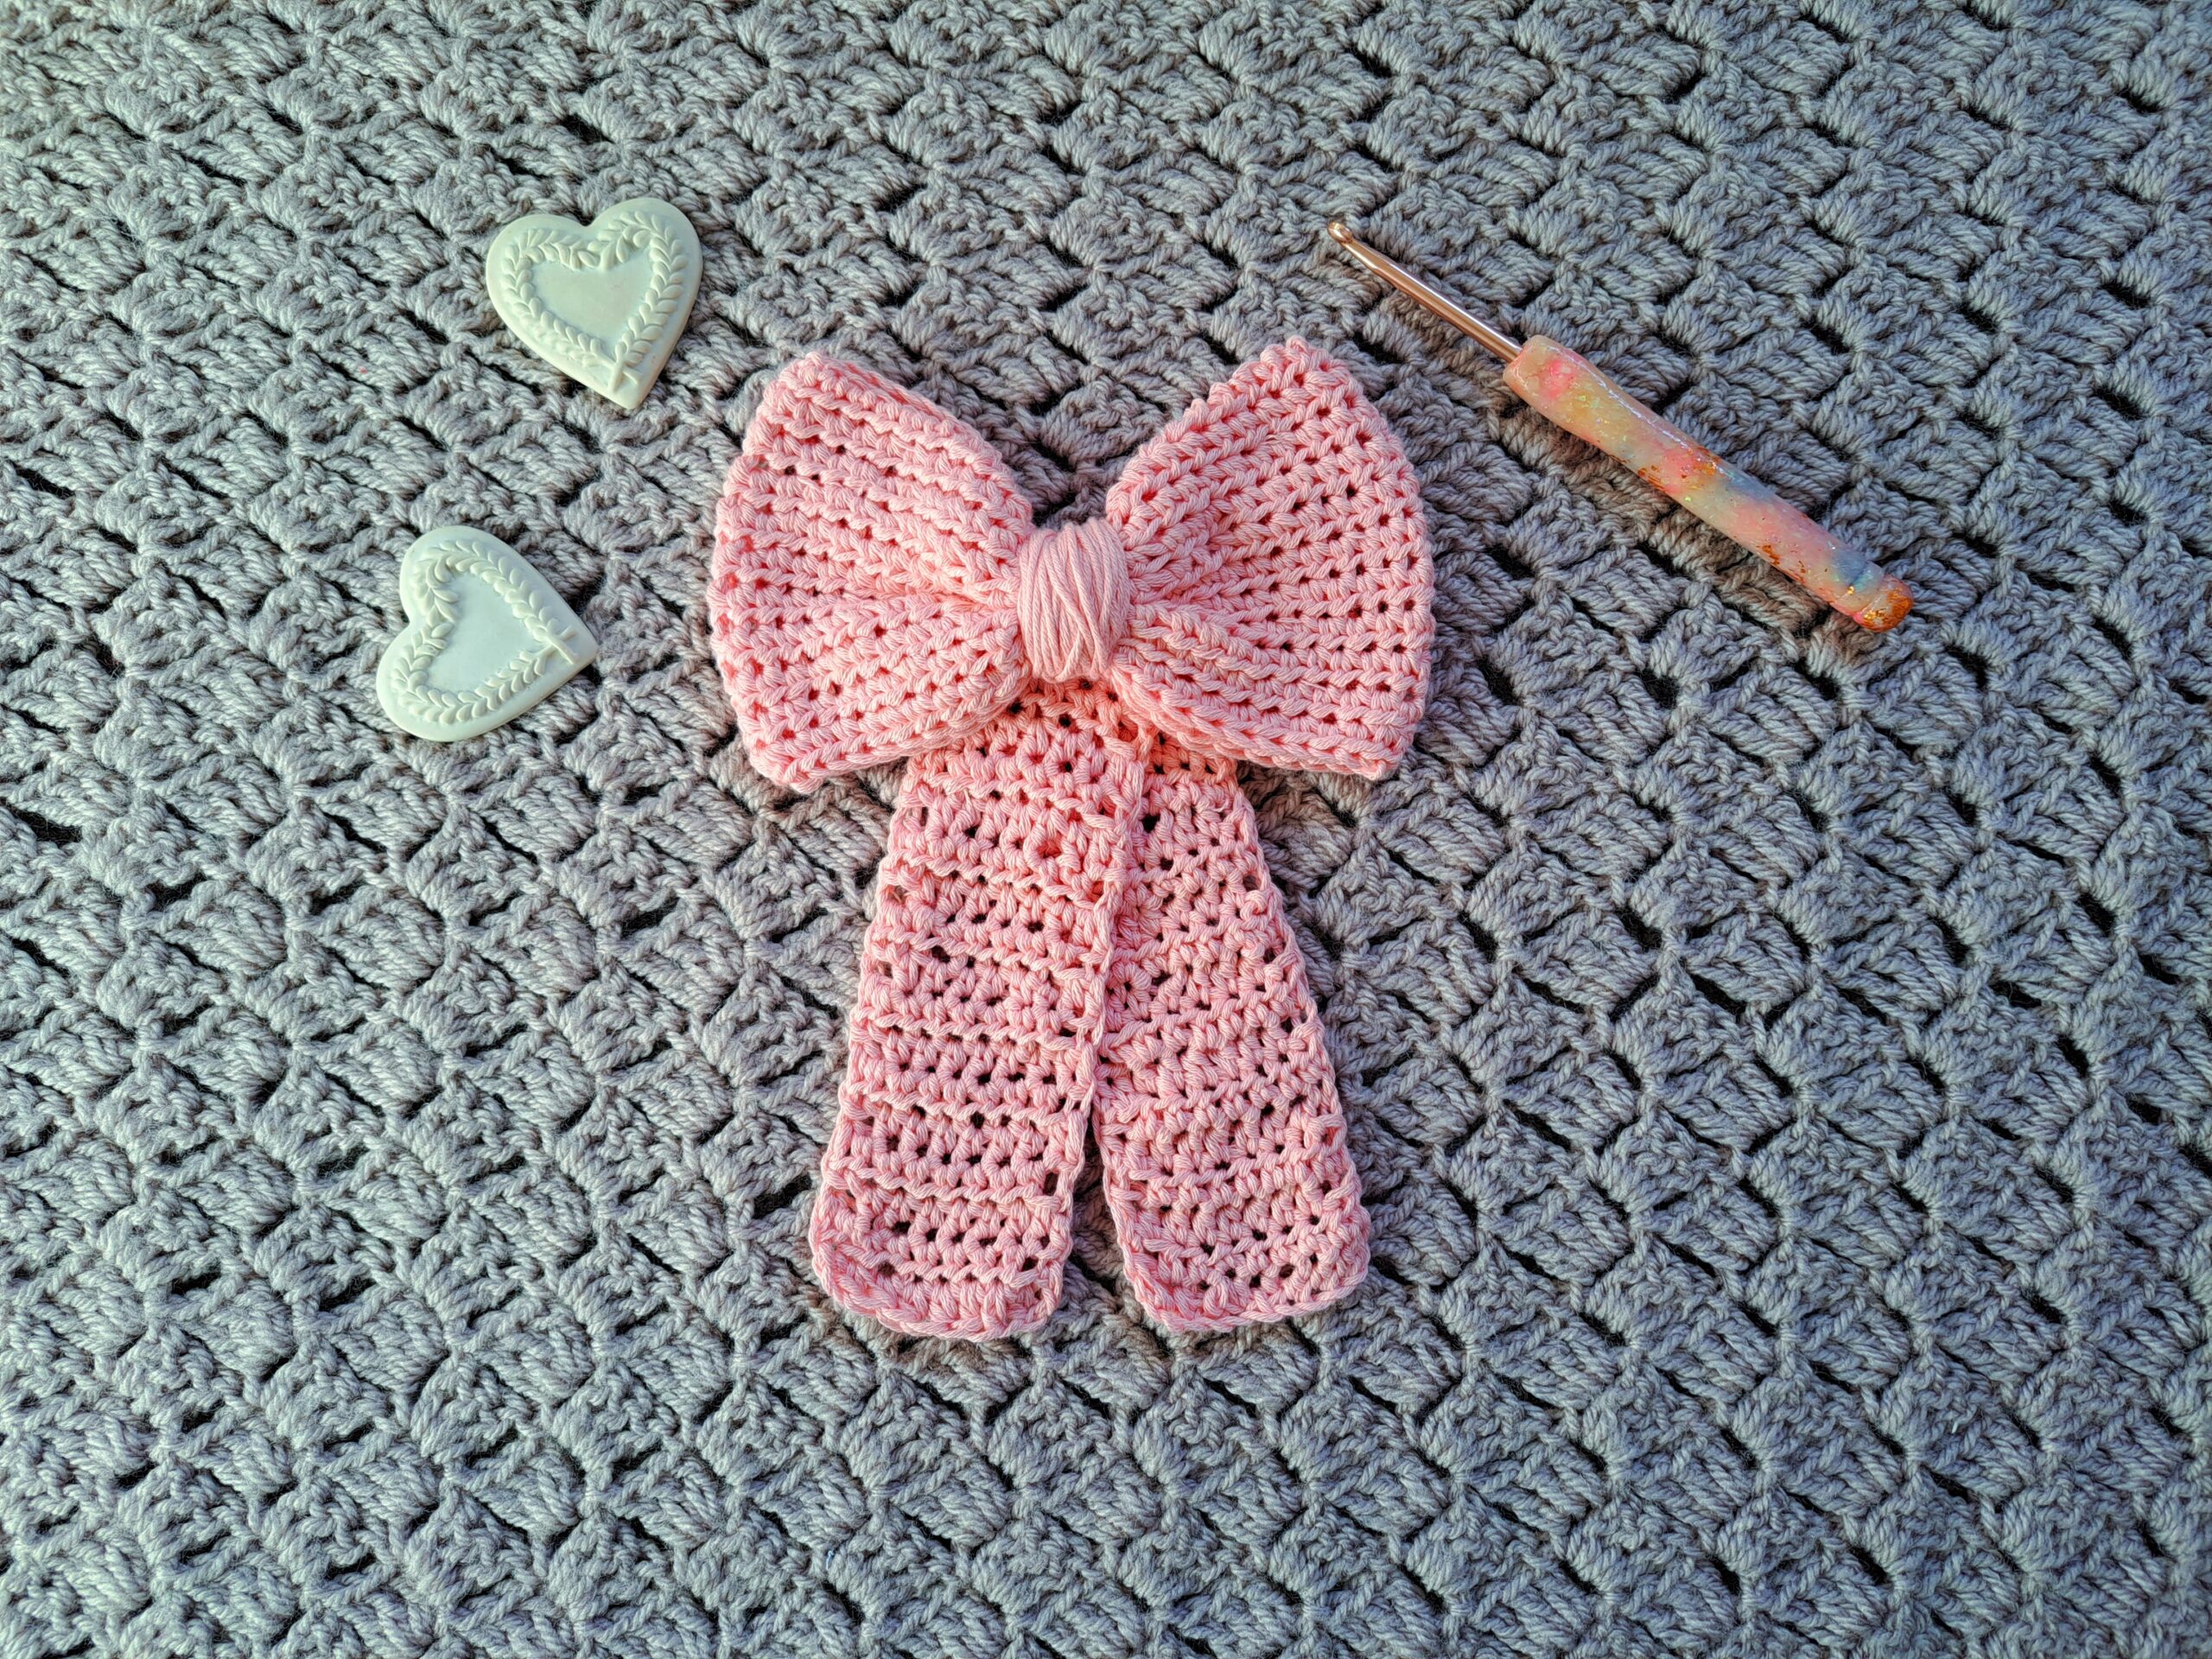
For this project, I used one of my favorite yarns which is Coboo by Lion Brand Yarns. This yarn is so soft and beautiful! I have used it many times in the past. I made this two toned scrunchie a few months ago with this very soft yarn. This yarn is perfect for hair accessories as it so soft it won’t damage your hair.
Coboo yarn is 51% cotton and 49% rayon from bamboo. It is soft and lightweight, especially perfect for mid season projects. However, I do find myself reaching for it throughout the whole year too! It looks and feels very luxurious, and I look forward to making many more projects with this yarn.
I also crocheted this pastel patchwork cardigan which is so lovely and comes in sizes S to XXXL. Make sure you have a look at it if you are wanting to create a matching hair and cardigan set for example!
I made this mesh romantic shawl a few months ago, perfect for the Summer. It is very light, and the yarn compliments the design even more.
Connecting with you
I would like to take a moment to thank every single one of you, for supporting me and my crochet journey. Indeed, I absolutely am so touched by all your messages, comments, and every person who has become a patron of my work through Patreon. Thank you!
I love connecting with my Crochet Community through my blog and Social Media. You can find me on Youtube, Instagram, and Pinterest. I would love to connect with you on these platforms.
You can also join my private Facebook group to connect.
Subscribe to our weekly newsletter so that you never miss a stitch!
Crochet Delicate Rose Hair Bow: The Pattern
You can purchase the ad free, large print, PDF pattern from my Etsy store here: Crochet Feminine Hair Bow Slide PDF Pattern
You can purchase the ad free, large print, PDF pattern from my Ravelry store here: Crochet Feminine Hair Bow Slide PDF Pattern
Level: Easy +
Gauge
4” (10 cm): 14 stitches
4” (10 cm): 11 rows
Size of finished project
6,5” (16,5 cm) x 4” (10 cm)
Notes
I will be using US terms (British terms in brackets)
Materials
1 skein each of Lion Brand Coboo in shades Pink or Silver (or your preferred choice of Light 3/DK weight yarn)
4 mm crochet hook
A pair of scissors
Tapestry needle
A 5 cm (or larger) hair slide
Darning needle and thread
Abbreviations
Ch: chain
St: stitch
Sl st: slip stitch
HDC: Half Double Crochet (UK Half Treble Crochet)
EOR: End of round
Pattern begins here
For this project, we will start by crocheting the initial rectangle shape of the bow in the rounds.
Once this is completed, the bow shape will be given to the project by adding the center piece (as explained below in the pattern).
Begin pattern here
To start, make a slip knot.
Ch 50, slip stitching to 1st ch to create a circle shape. Please make sure you are not twisting the chain when you slip stitch.
1: Ch 2 (=HDC), HDC into next chain until end of chain. Sl st to 1st st to close off round.
2: Ch 2 (=HDC), HDC into next stitch until eor. Sl st to 1st st to close off round.
3-11: Repeat round 2.
Fasten off, tidy up all loose ends.
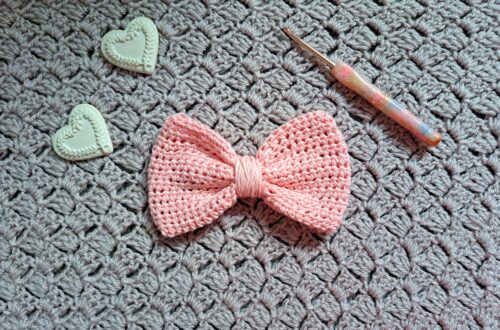
Create the center part of the bow (create shape)
Place your project on a flat surface, with the back part facing you. Make sure the seam of the project is centered (as seen in photograph below).
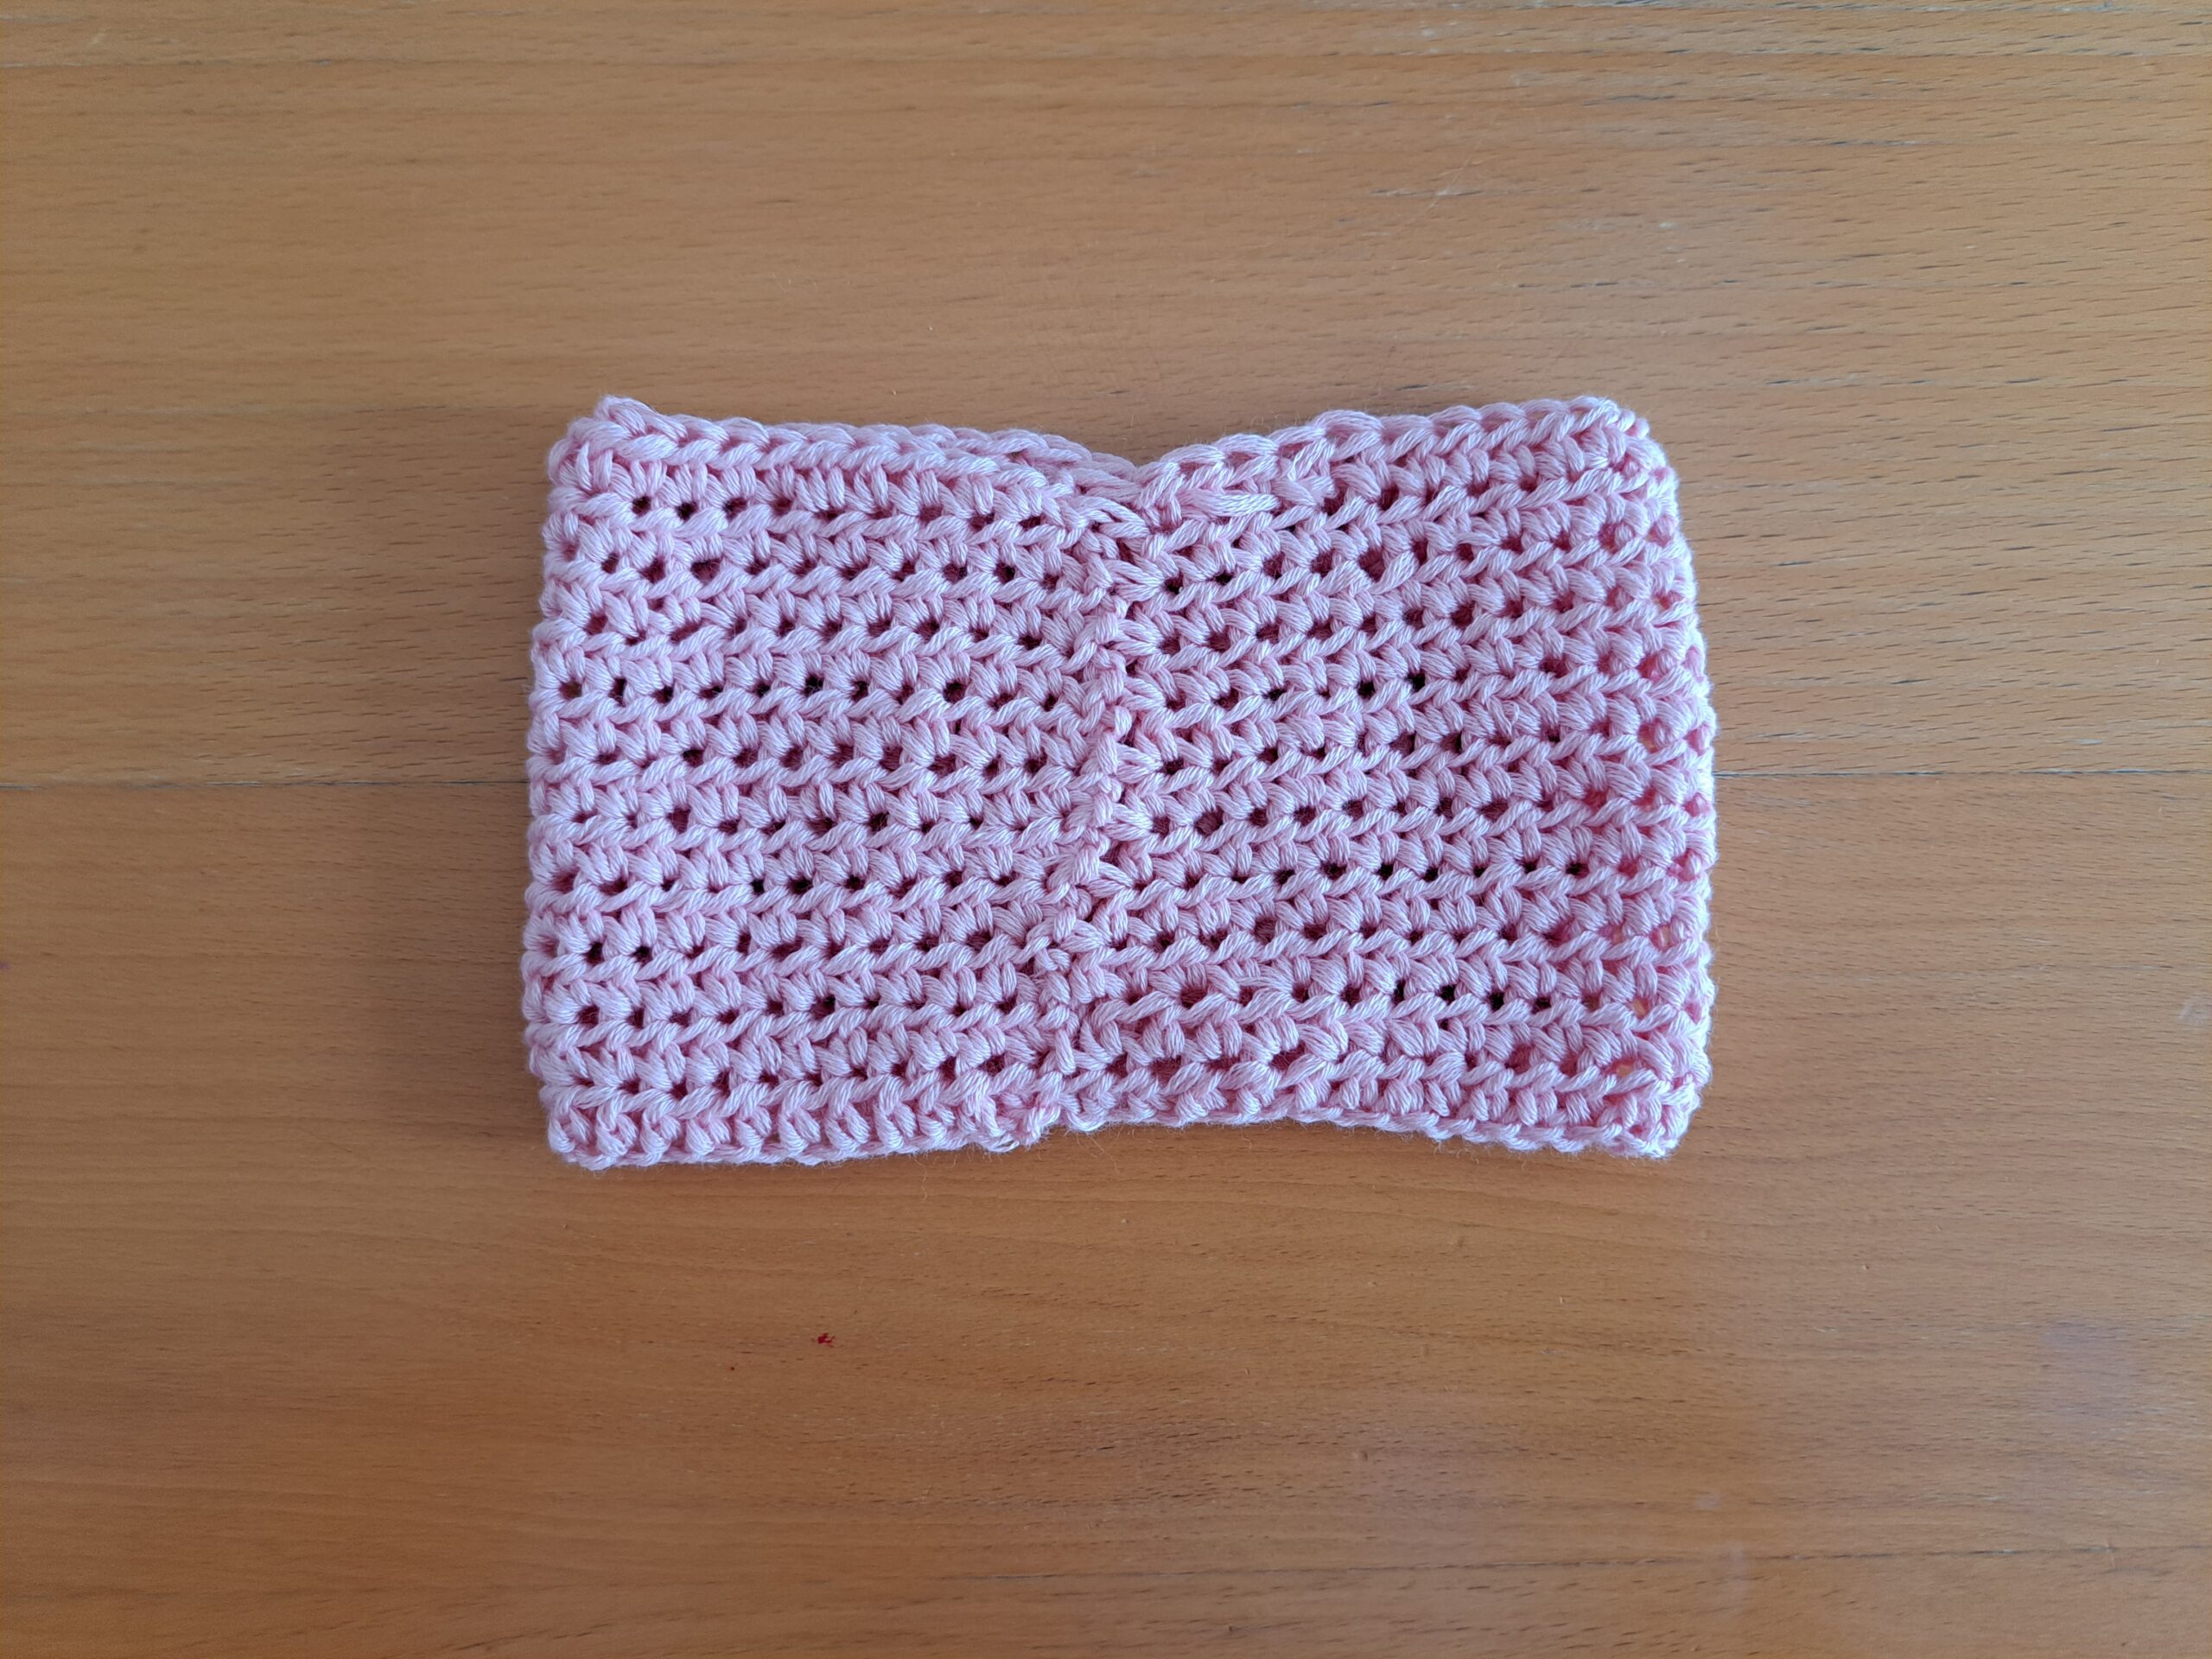
Take your yarn and attach it around the center of the project (see photograph below).
Tighten yarn gently so as to create the bow shape (see photo below).
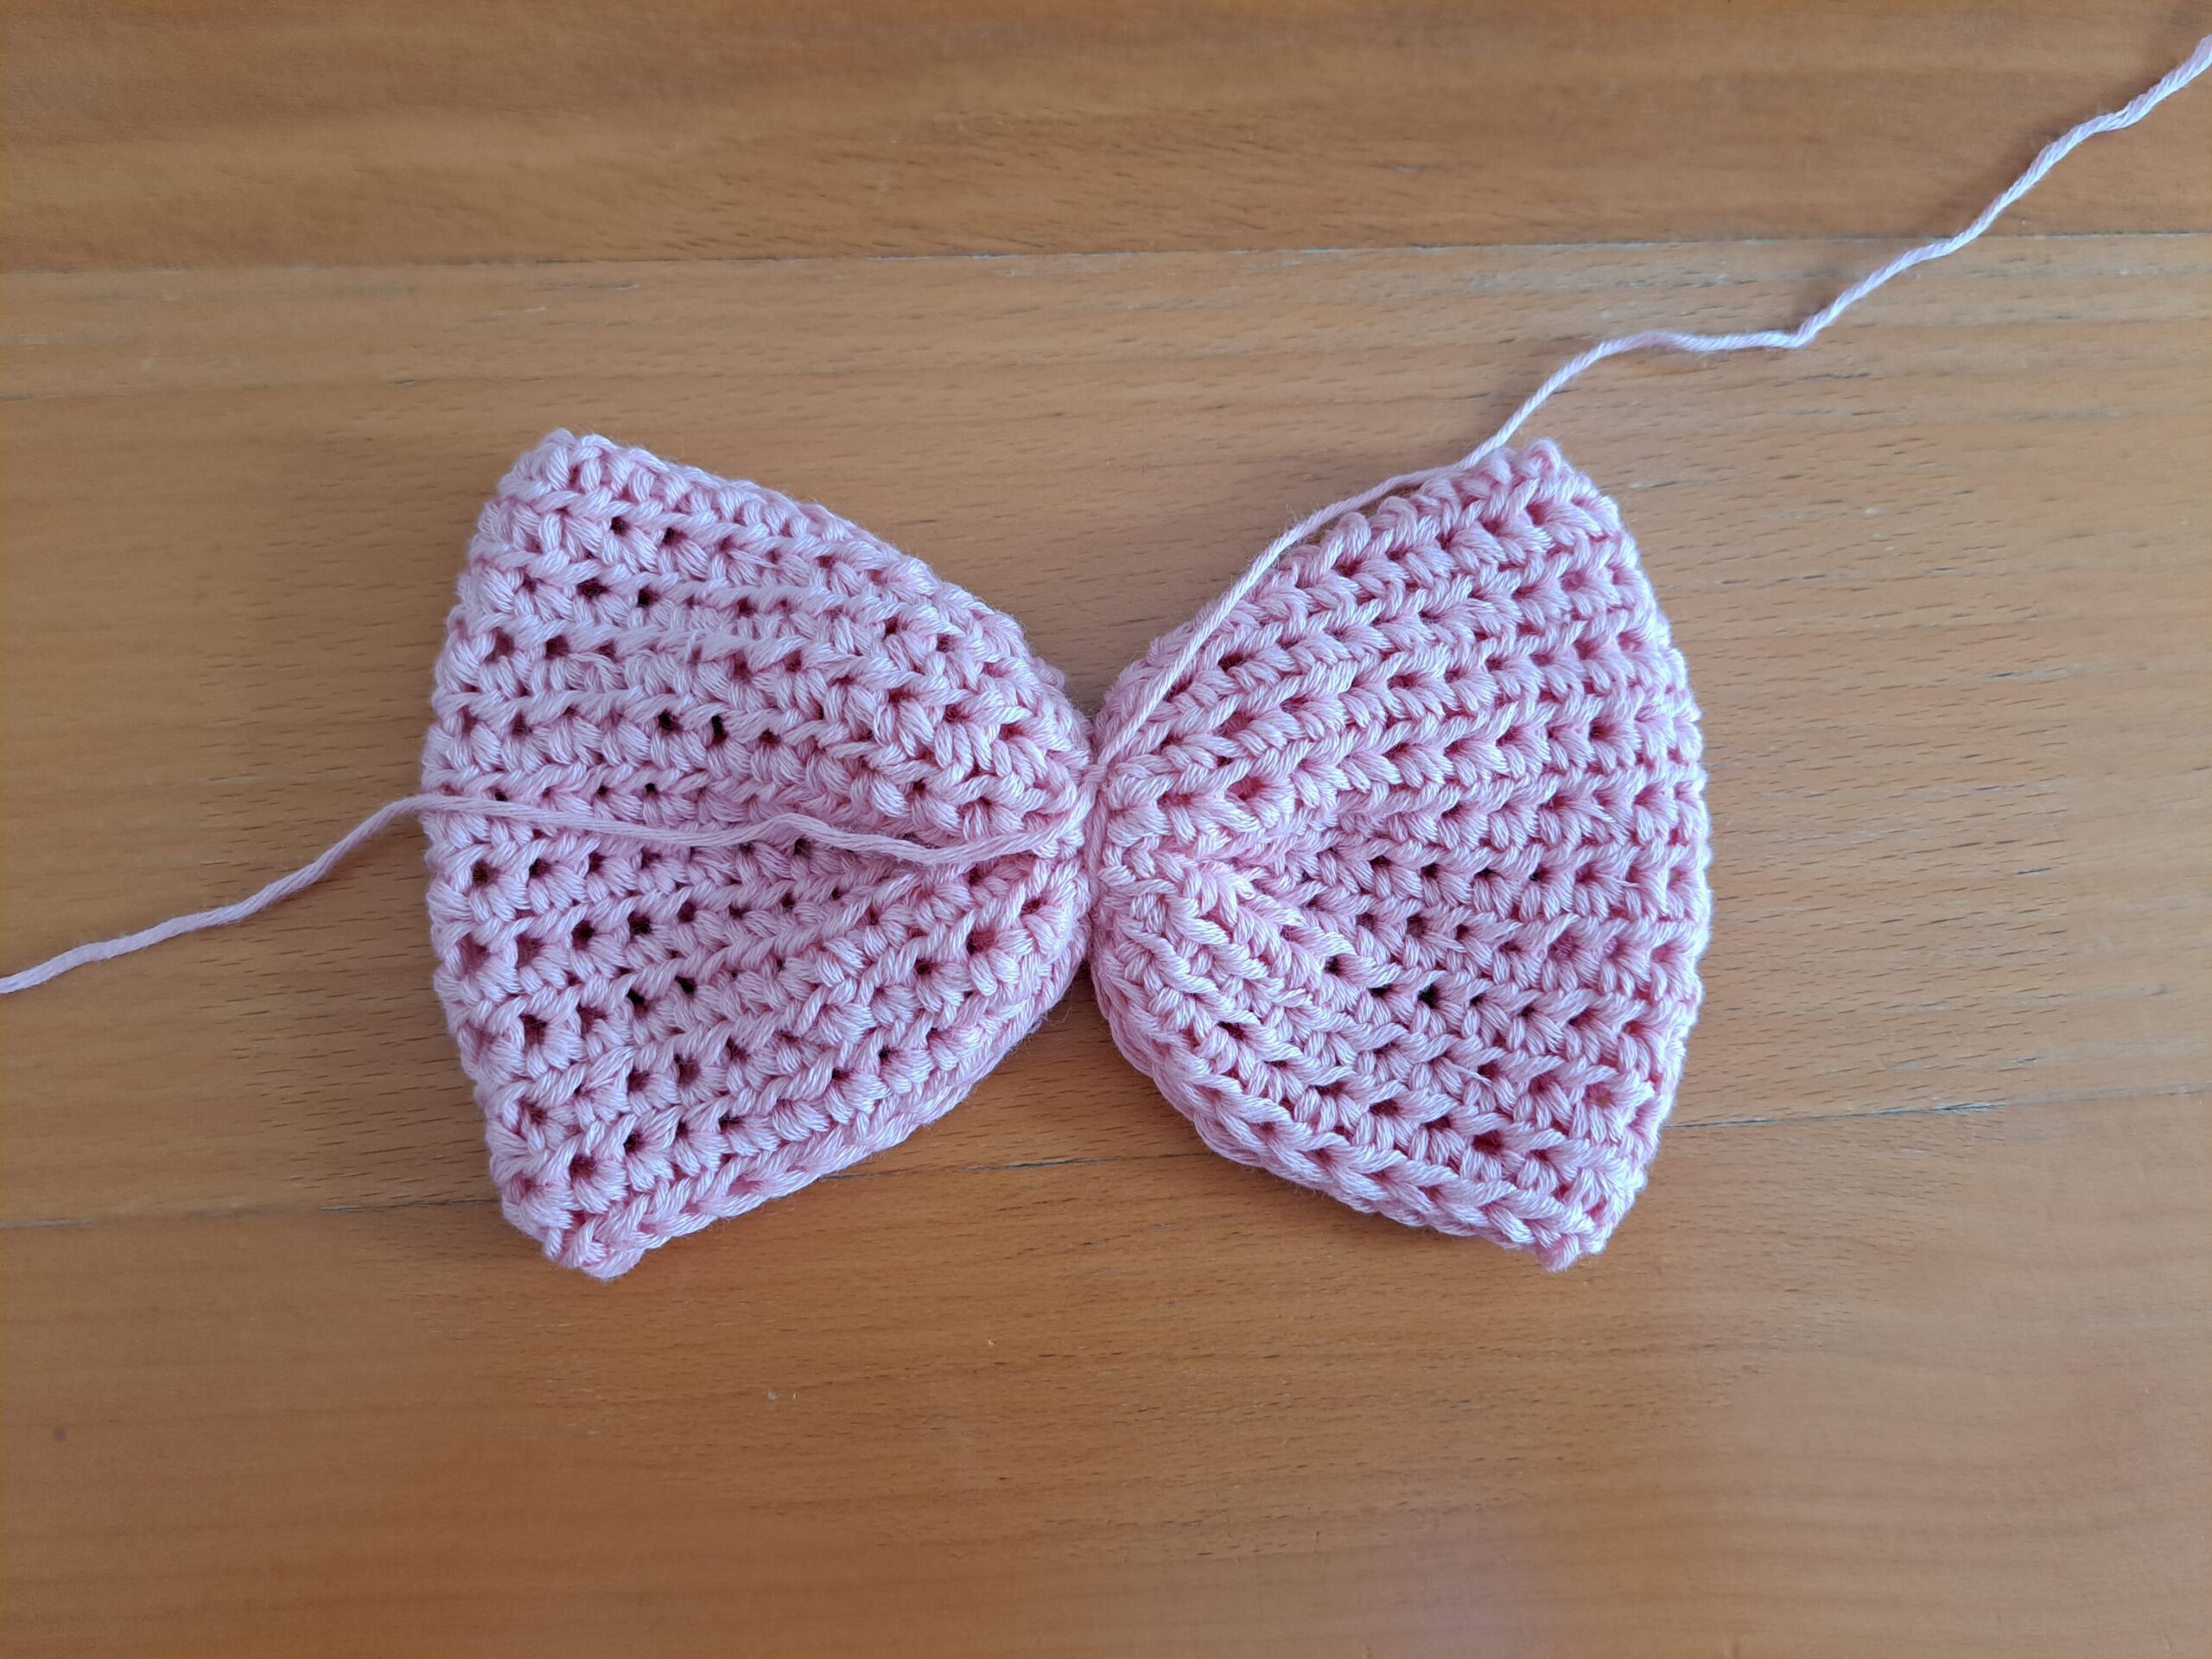
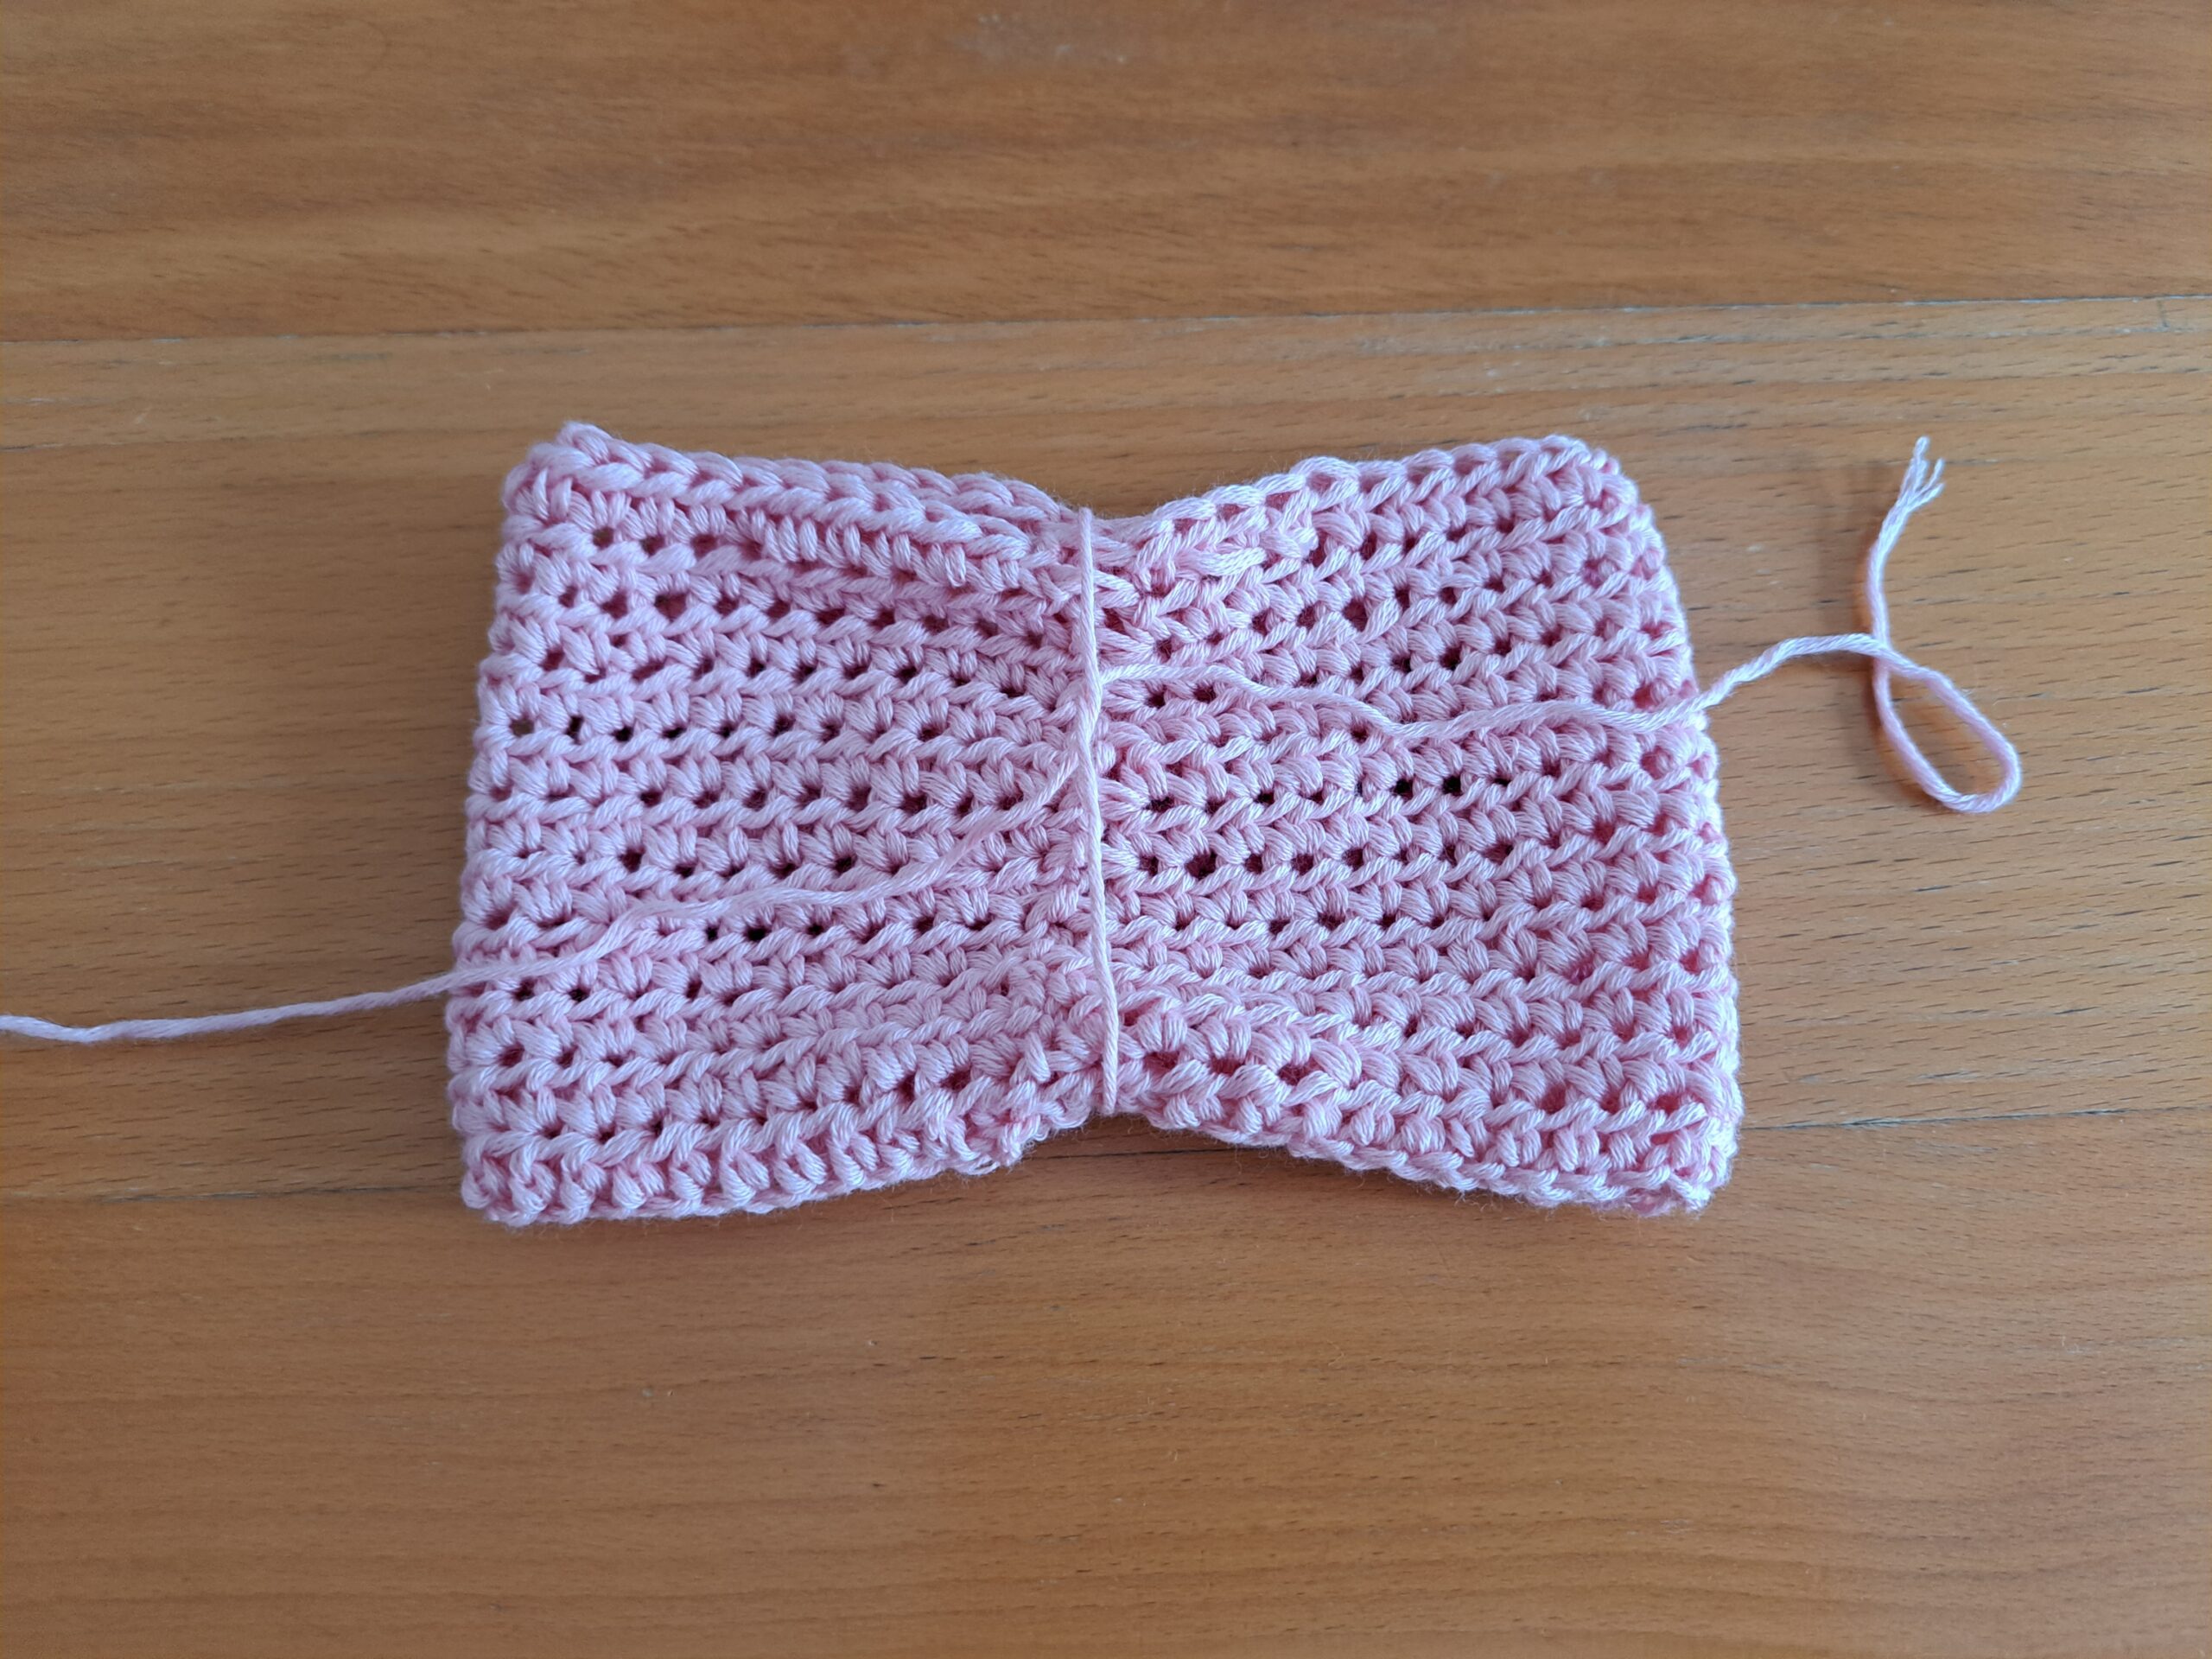
Now wrap your yarn around center of project approximately 50 times (see photo below):
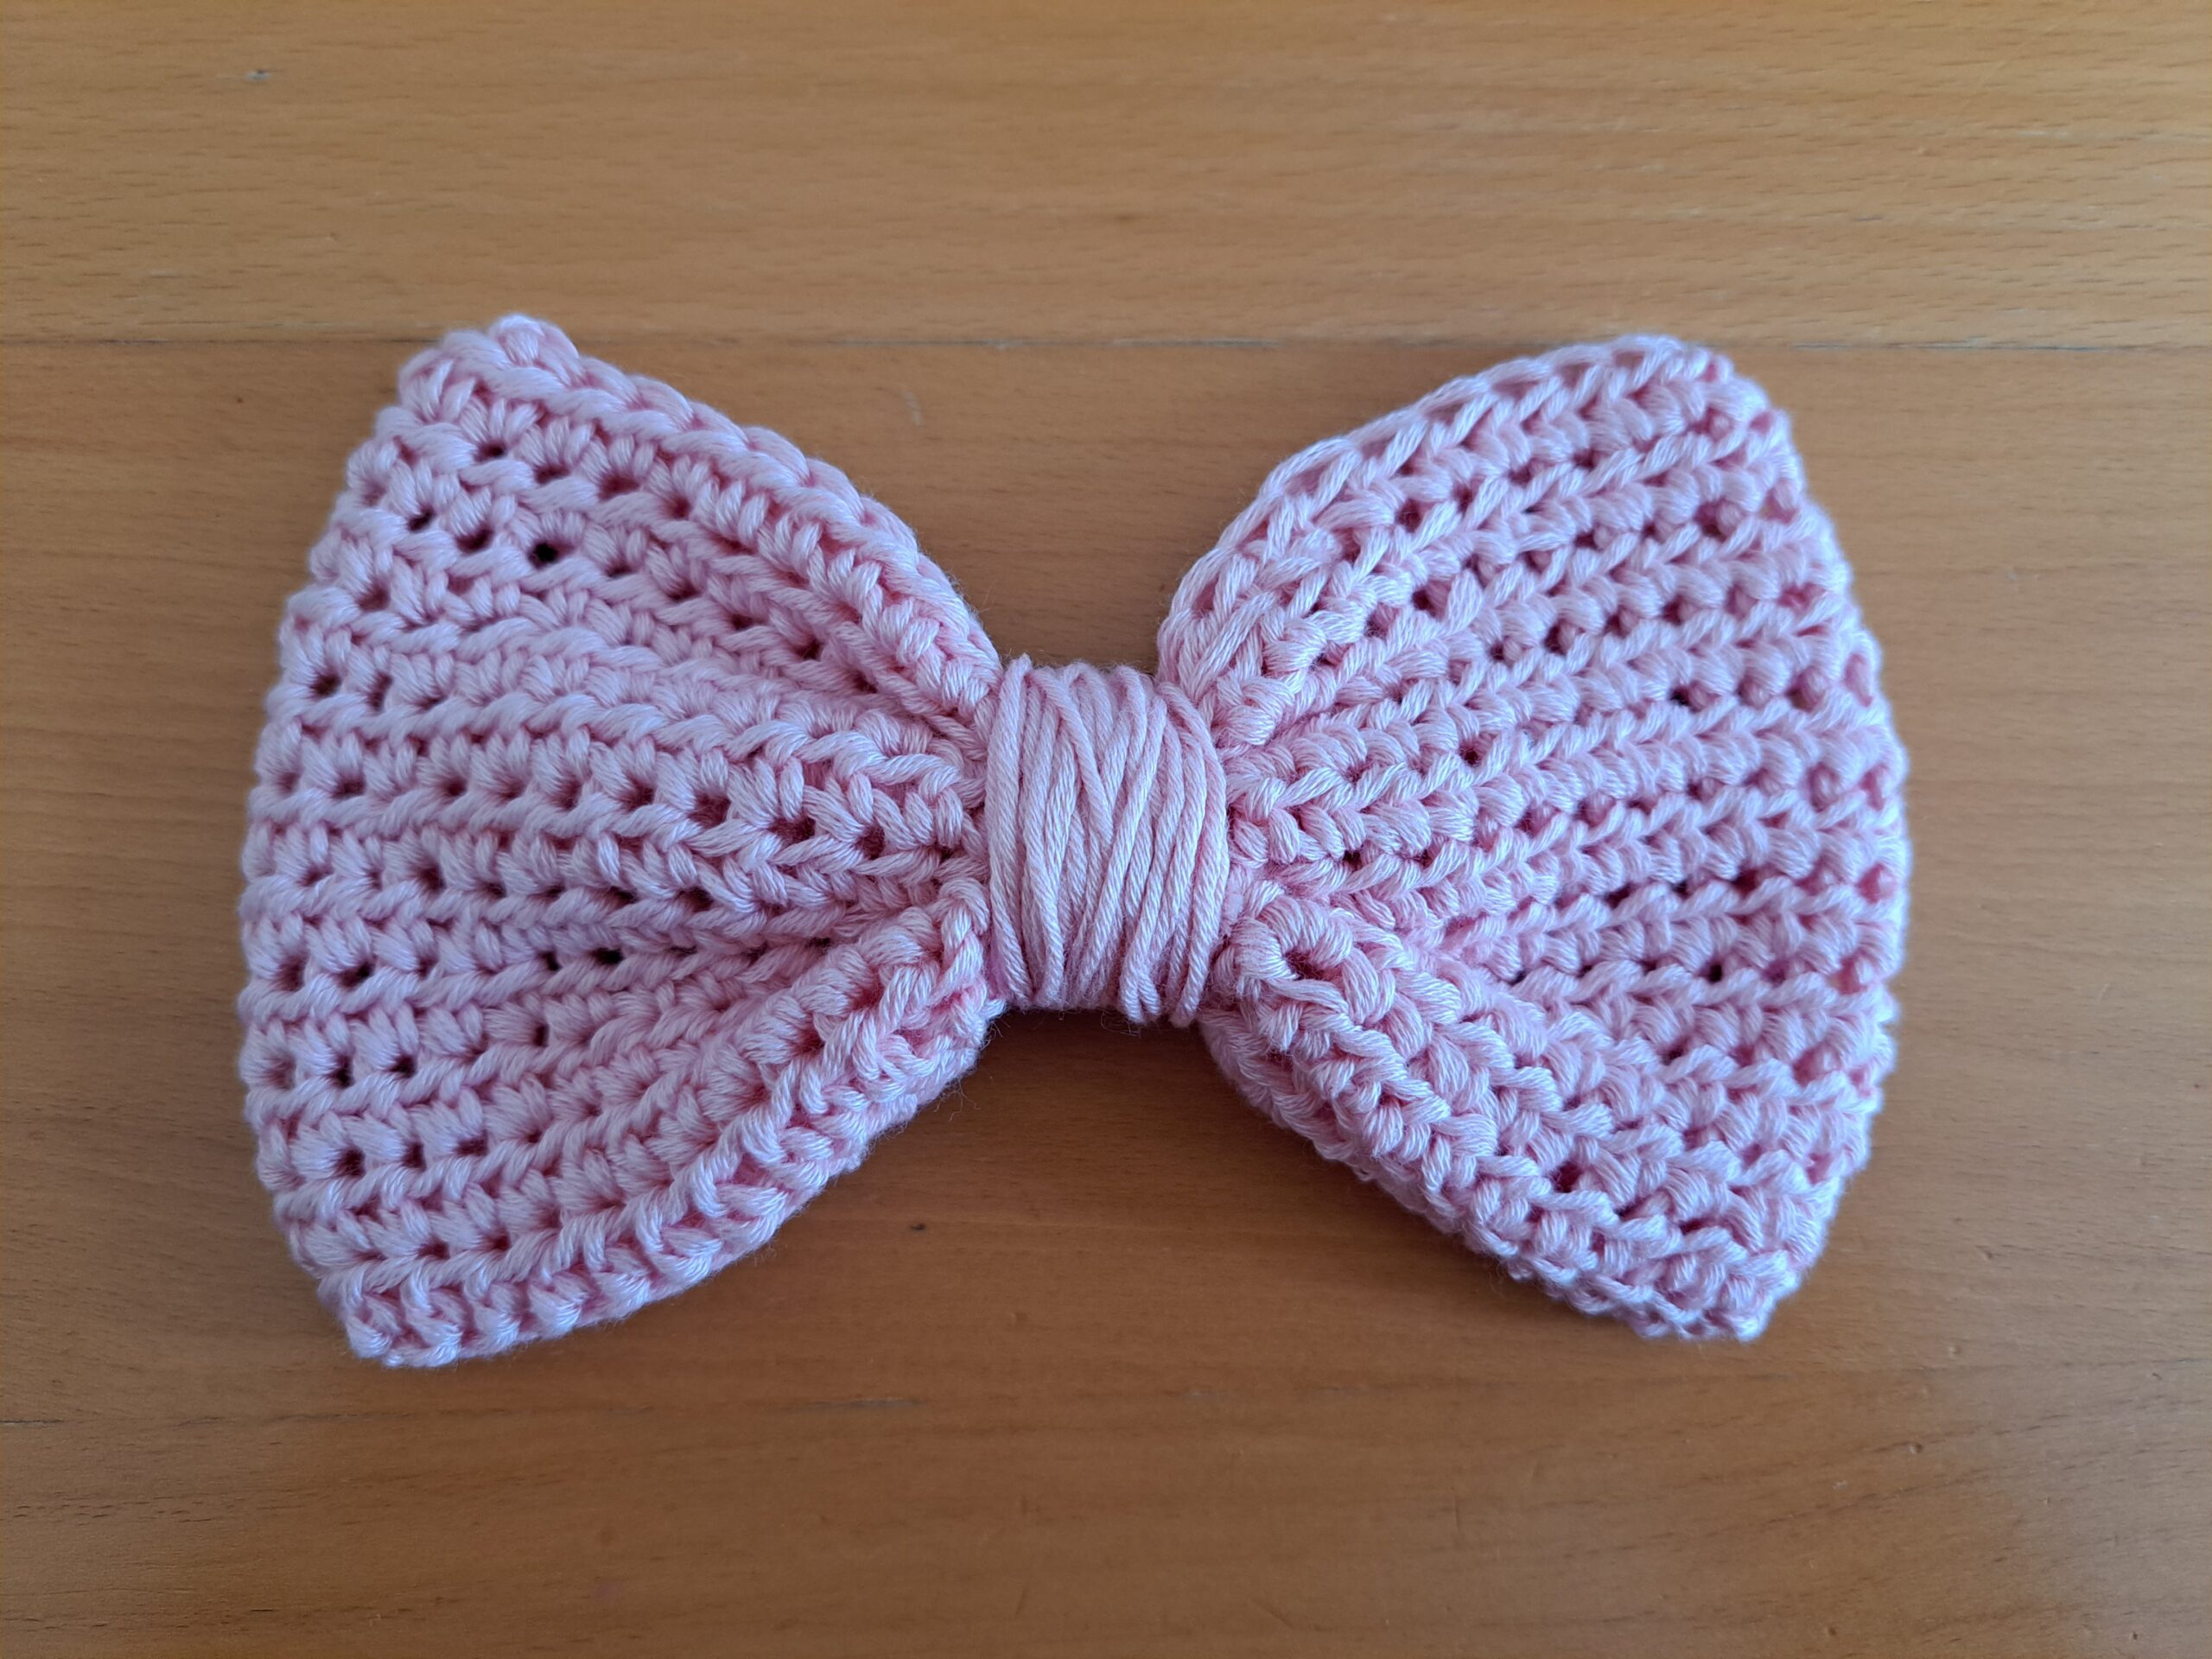
To finish off this part, tie your yarn at the back of bow. Fasten off and tidy up all loose ends.
Create your hair ties (one rectangle which is then sewed onto the back of the project to create two different ties):
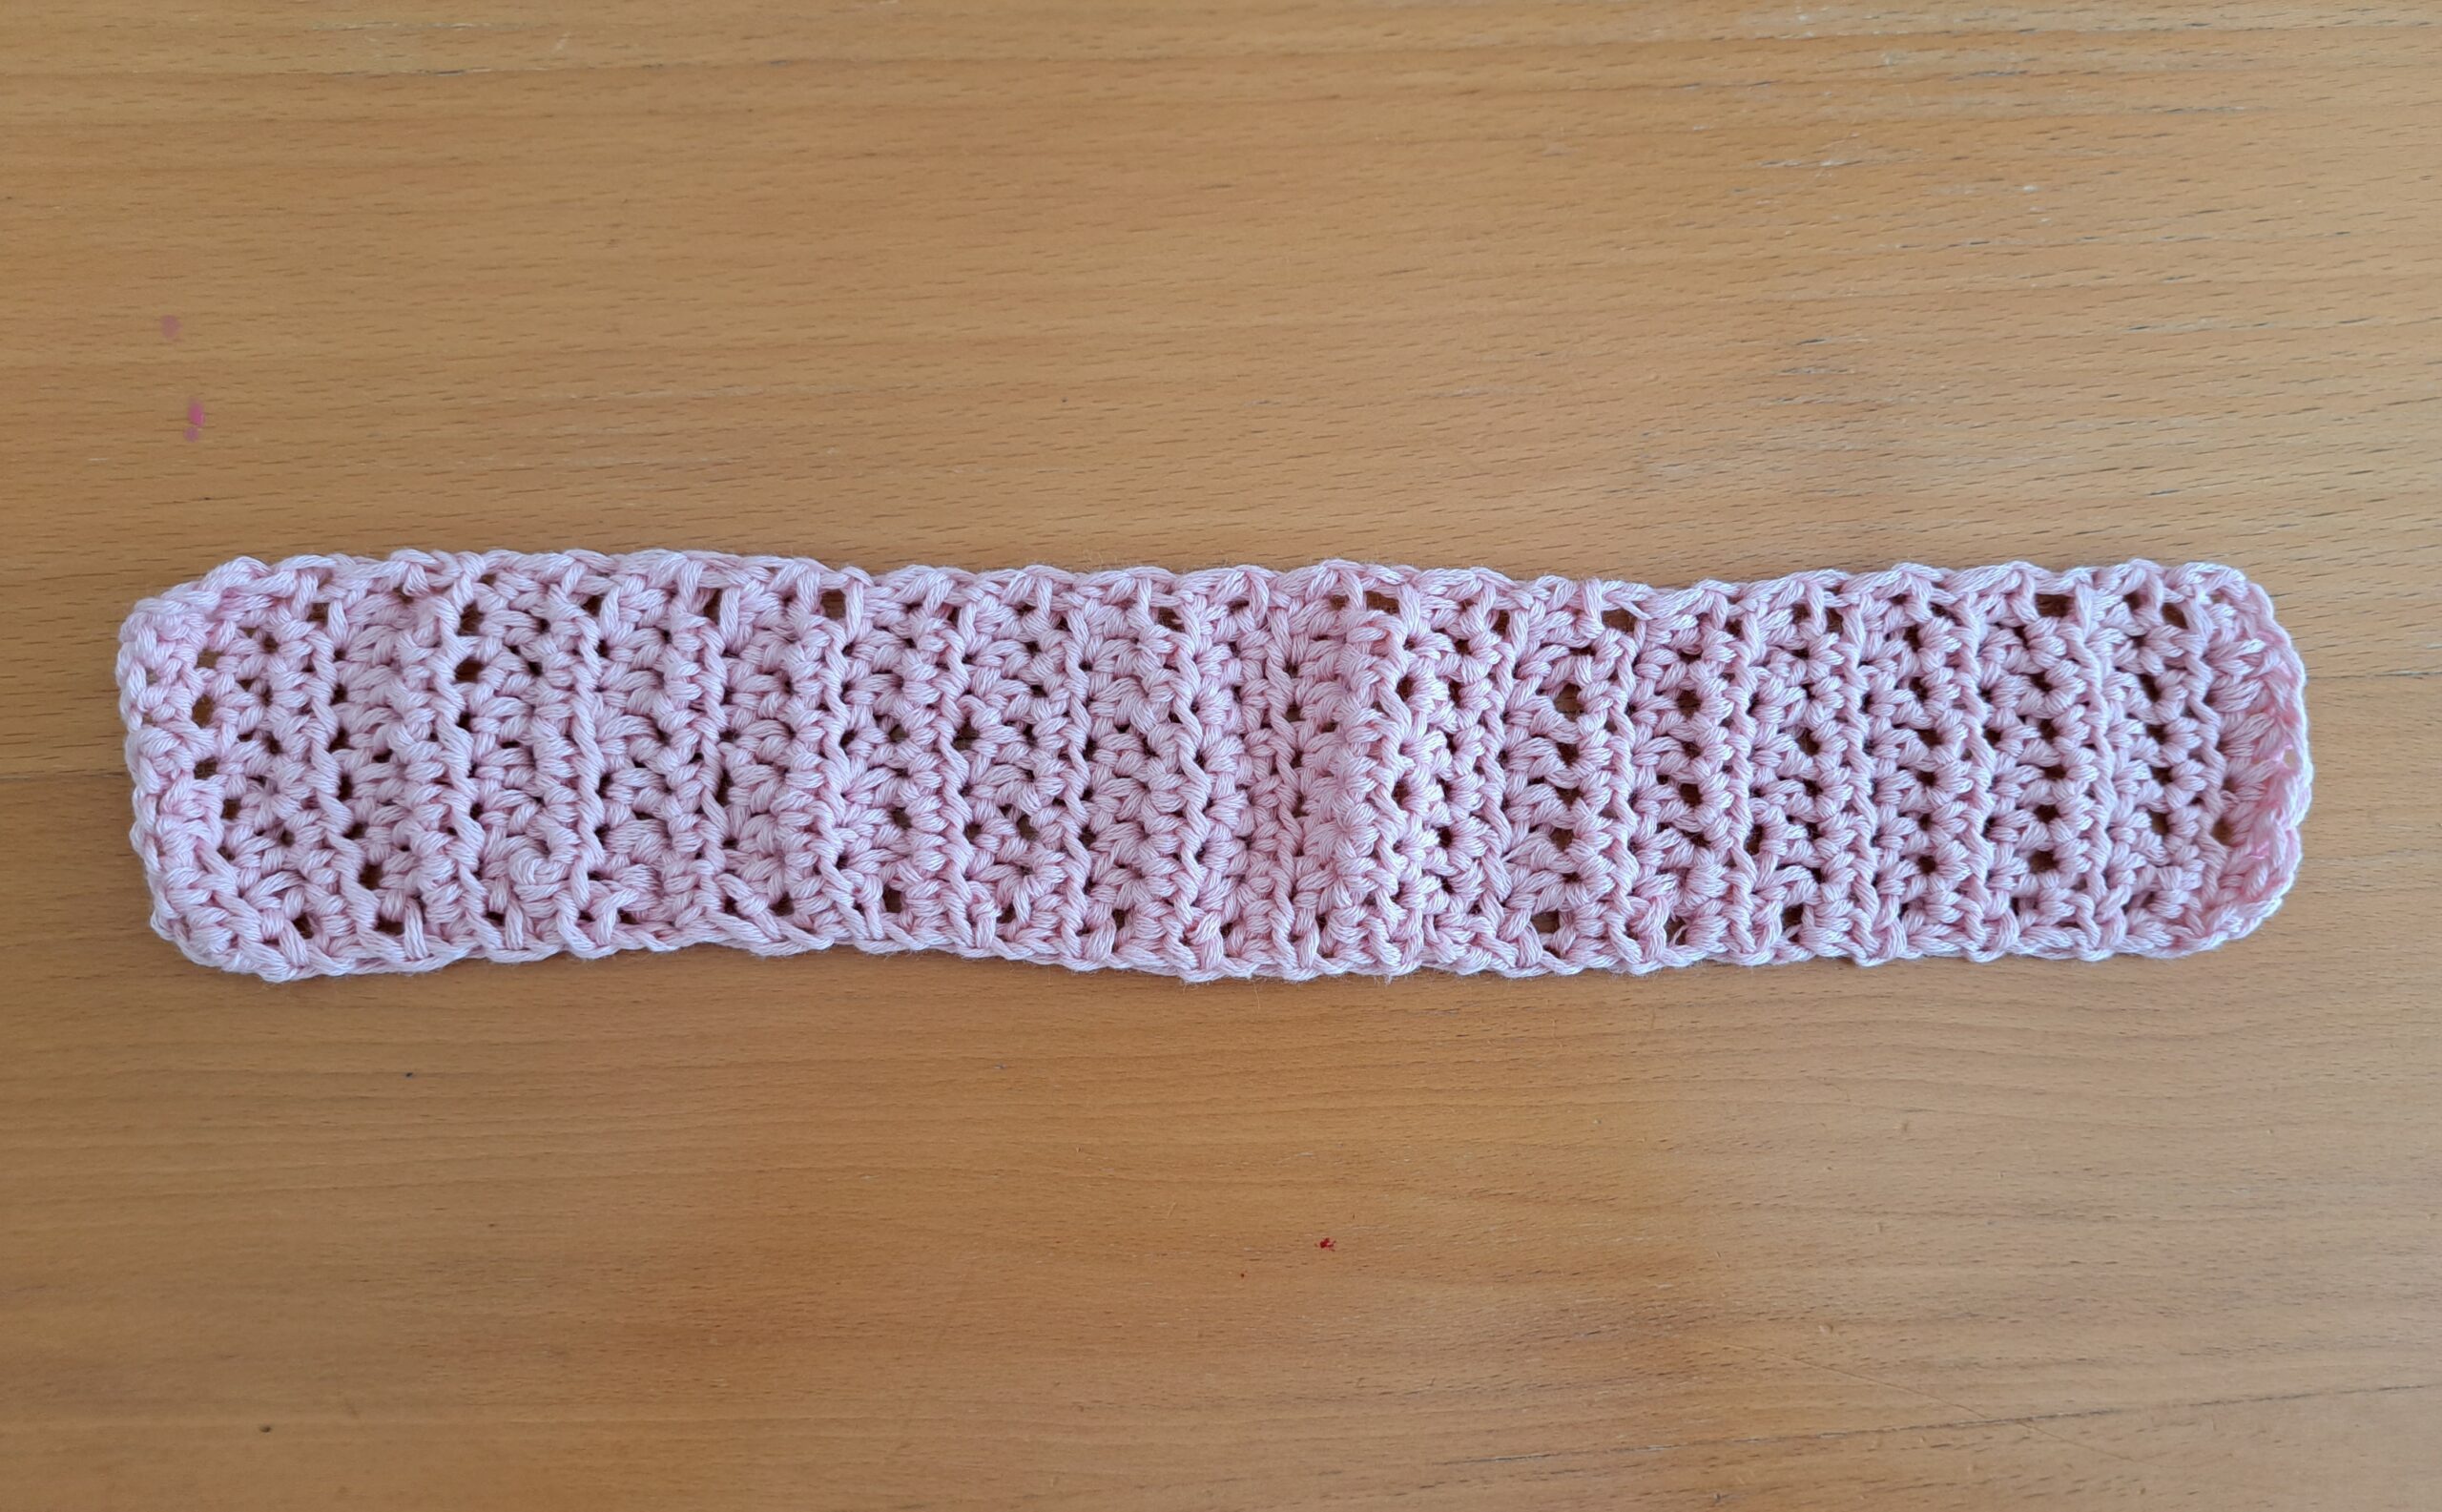
To begin, make a slip knot.
Chain 10.
1: HDC into 3rd chain from the hook, and into each chain across until the end of row.
2: Ch 2 (=HDC), turn your work, HDC into each stitch across until eor (including ch 2 from previous row).
3-36: Repeat row 2.
Fasten off and tidy up all loose ends.
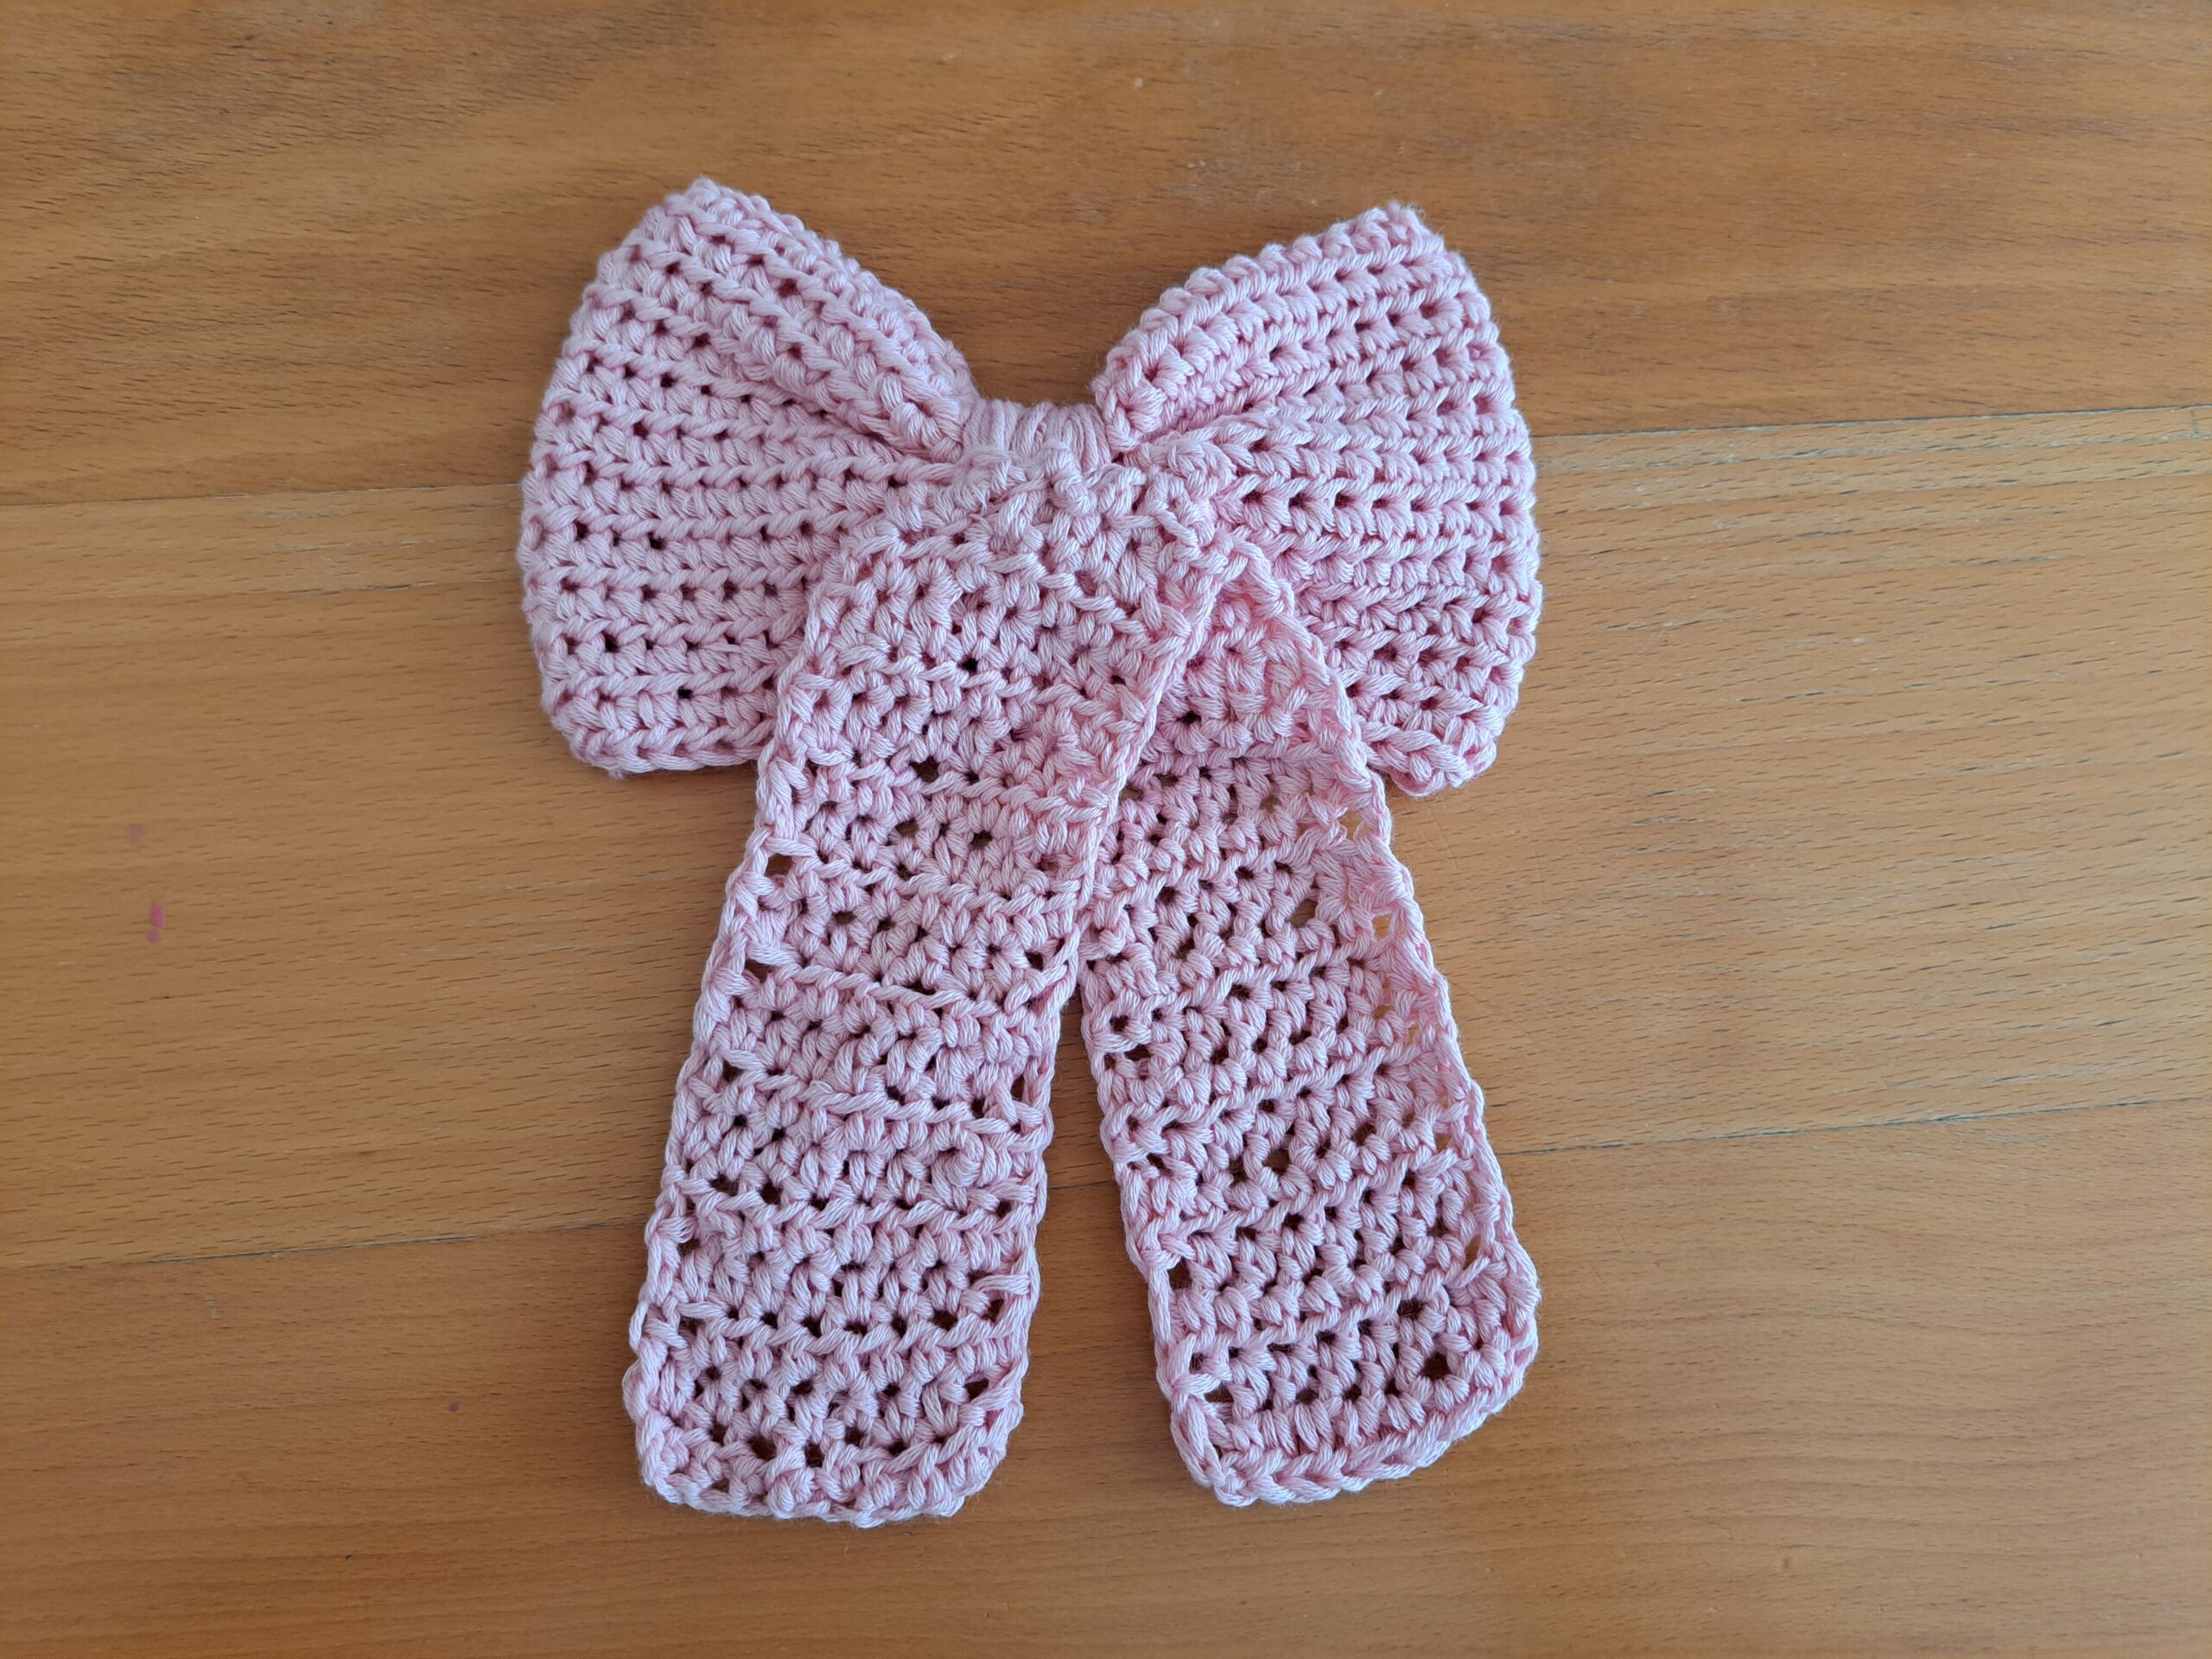
Sew the ties onto the bow
Fold the rectangle over to create two sides as seen in photograph below:
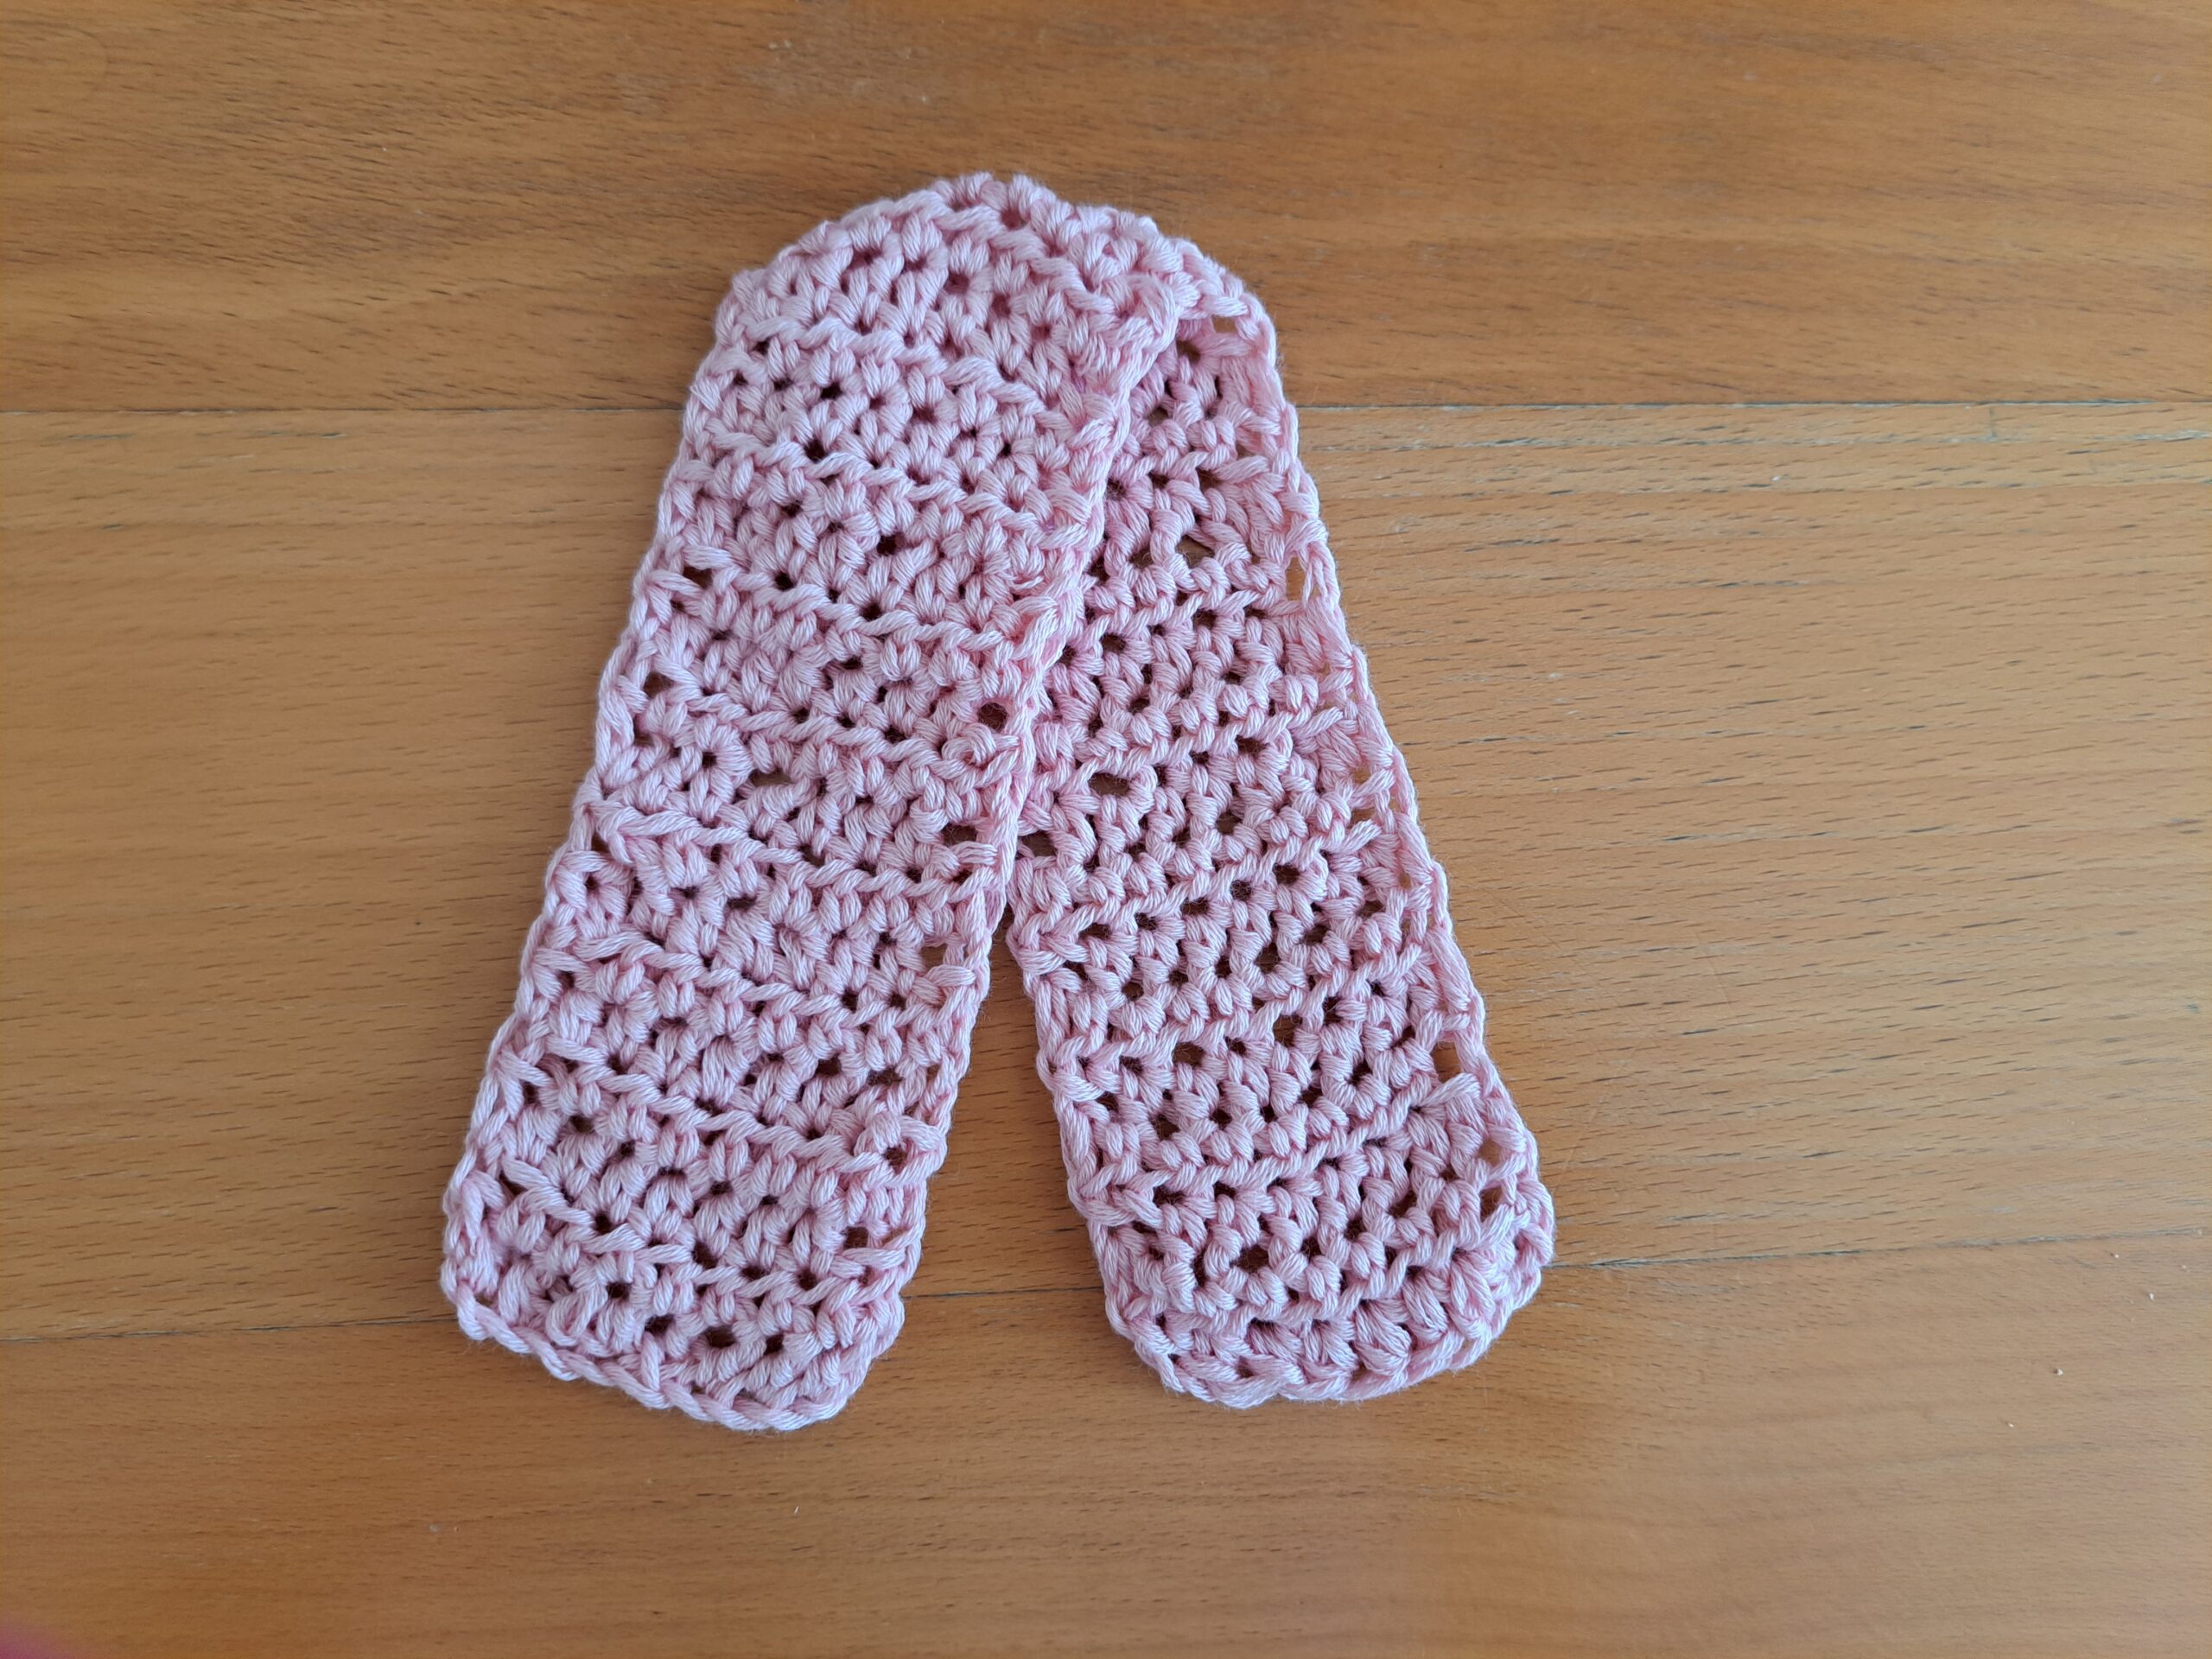
Once you’ve folded the rectangle to create tie shape, place it onto the back of the bow. Sew this part in place as seen in photograph below with tapestry needle and loose piece of yarn.
No sew the hair slide onto the back of the project:
Place the hair slide at the center of the back of the project. With darning needle and thread, sew the hair slide onto the back of the project as seen in photograph below:
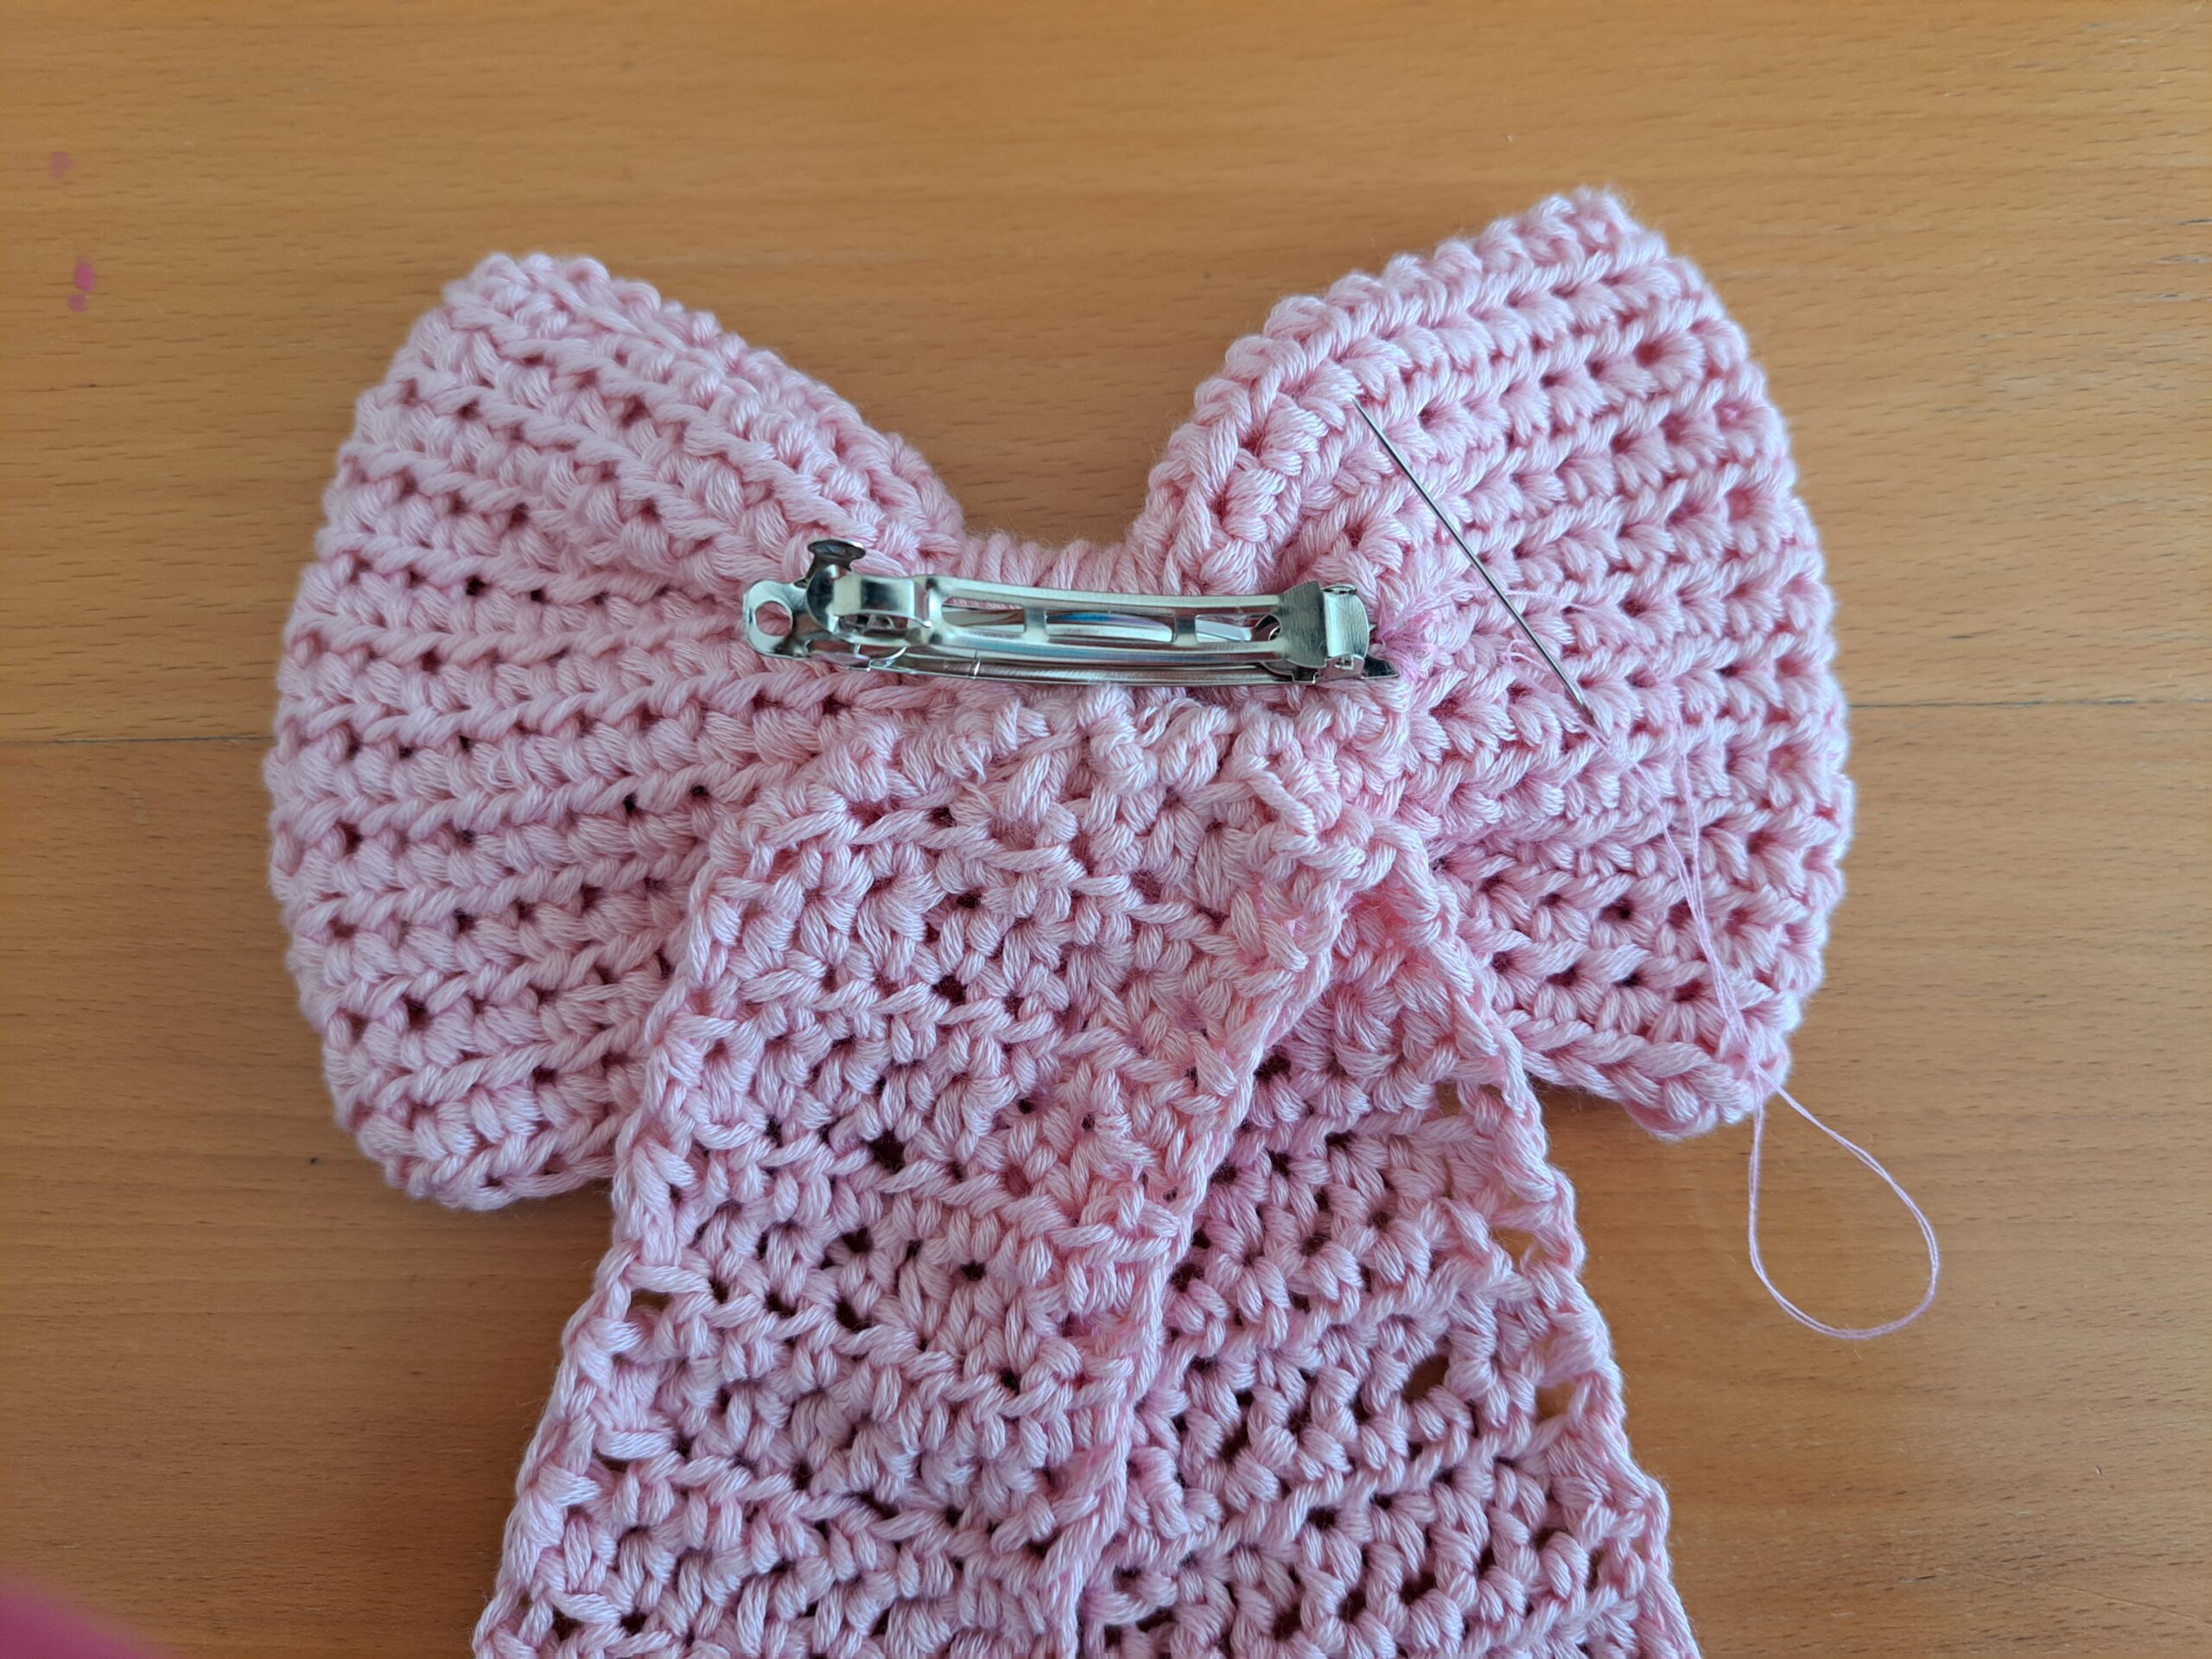
To finish off this project, fasten off and tidy up all loose ends.


You May Also Like
Crochet Feminine Bow Free Pattern
Embroider Over Crochet or Knitting