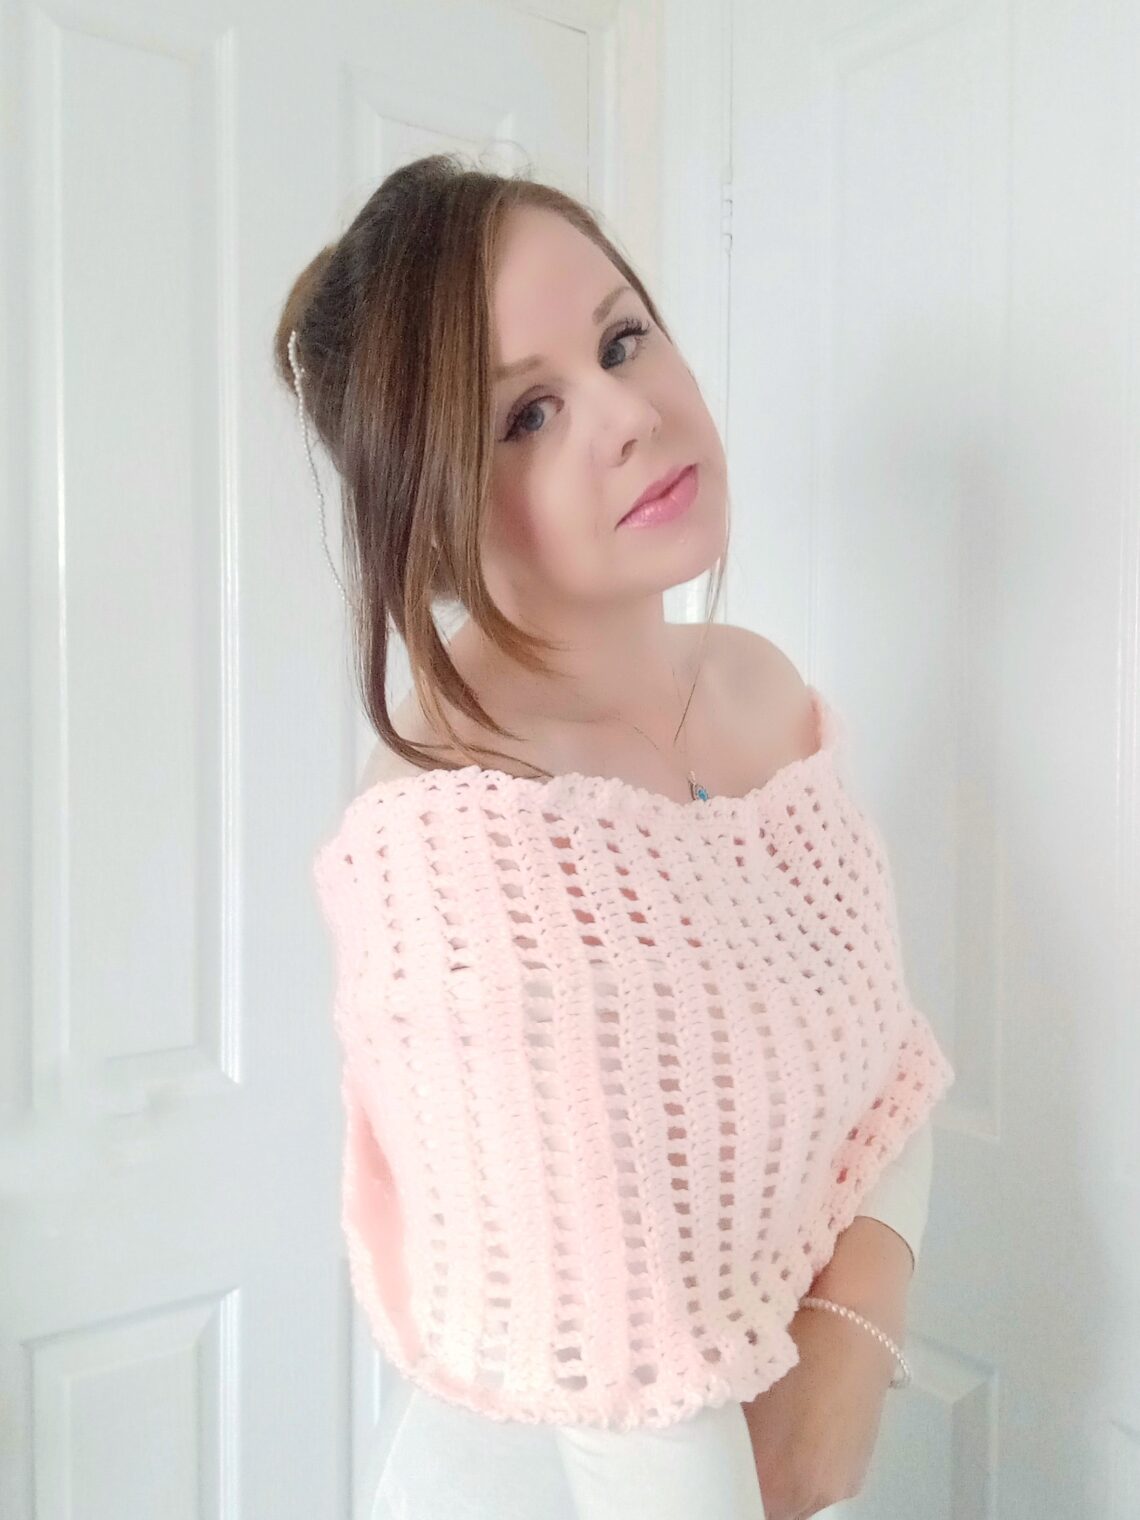
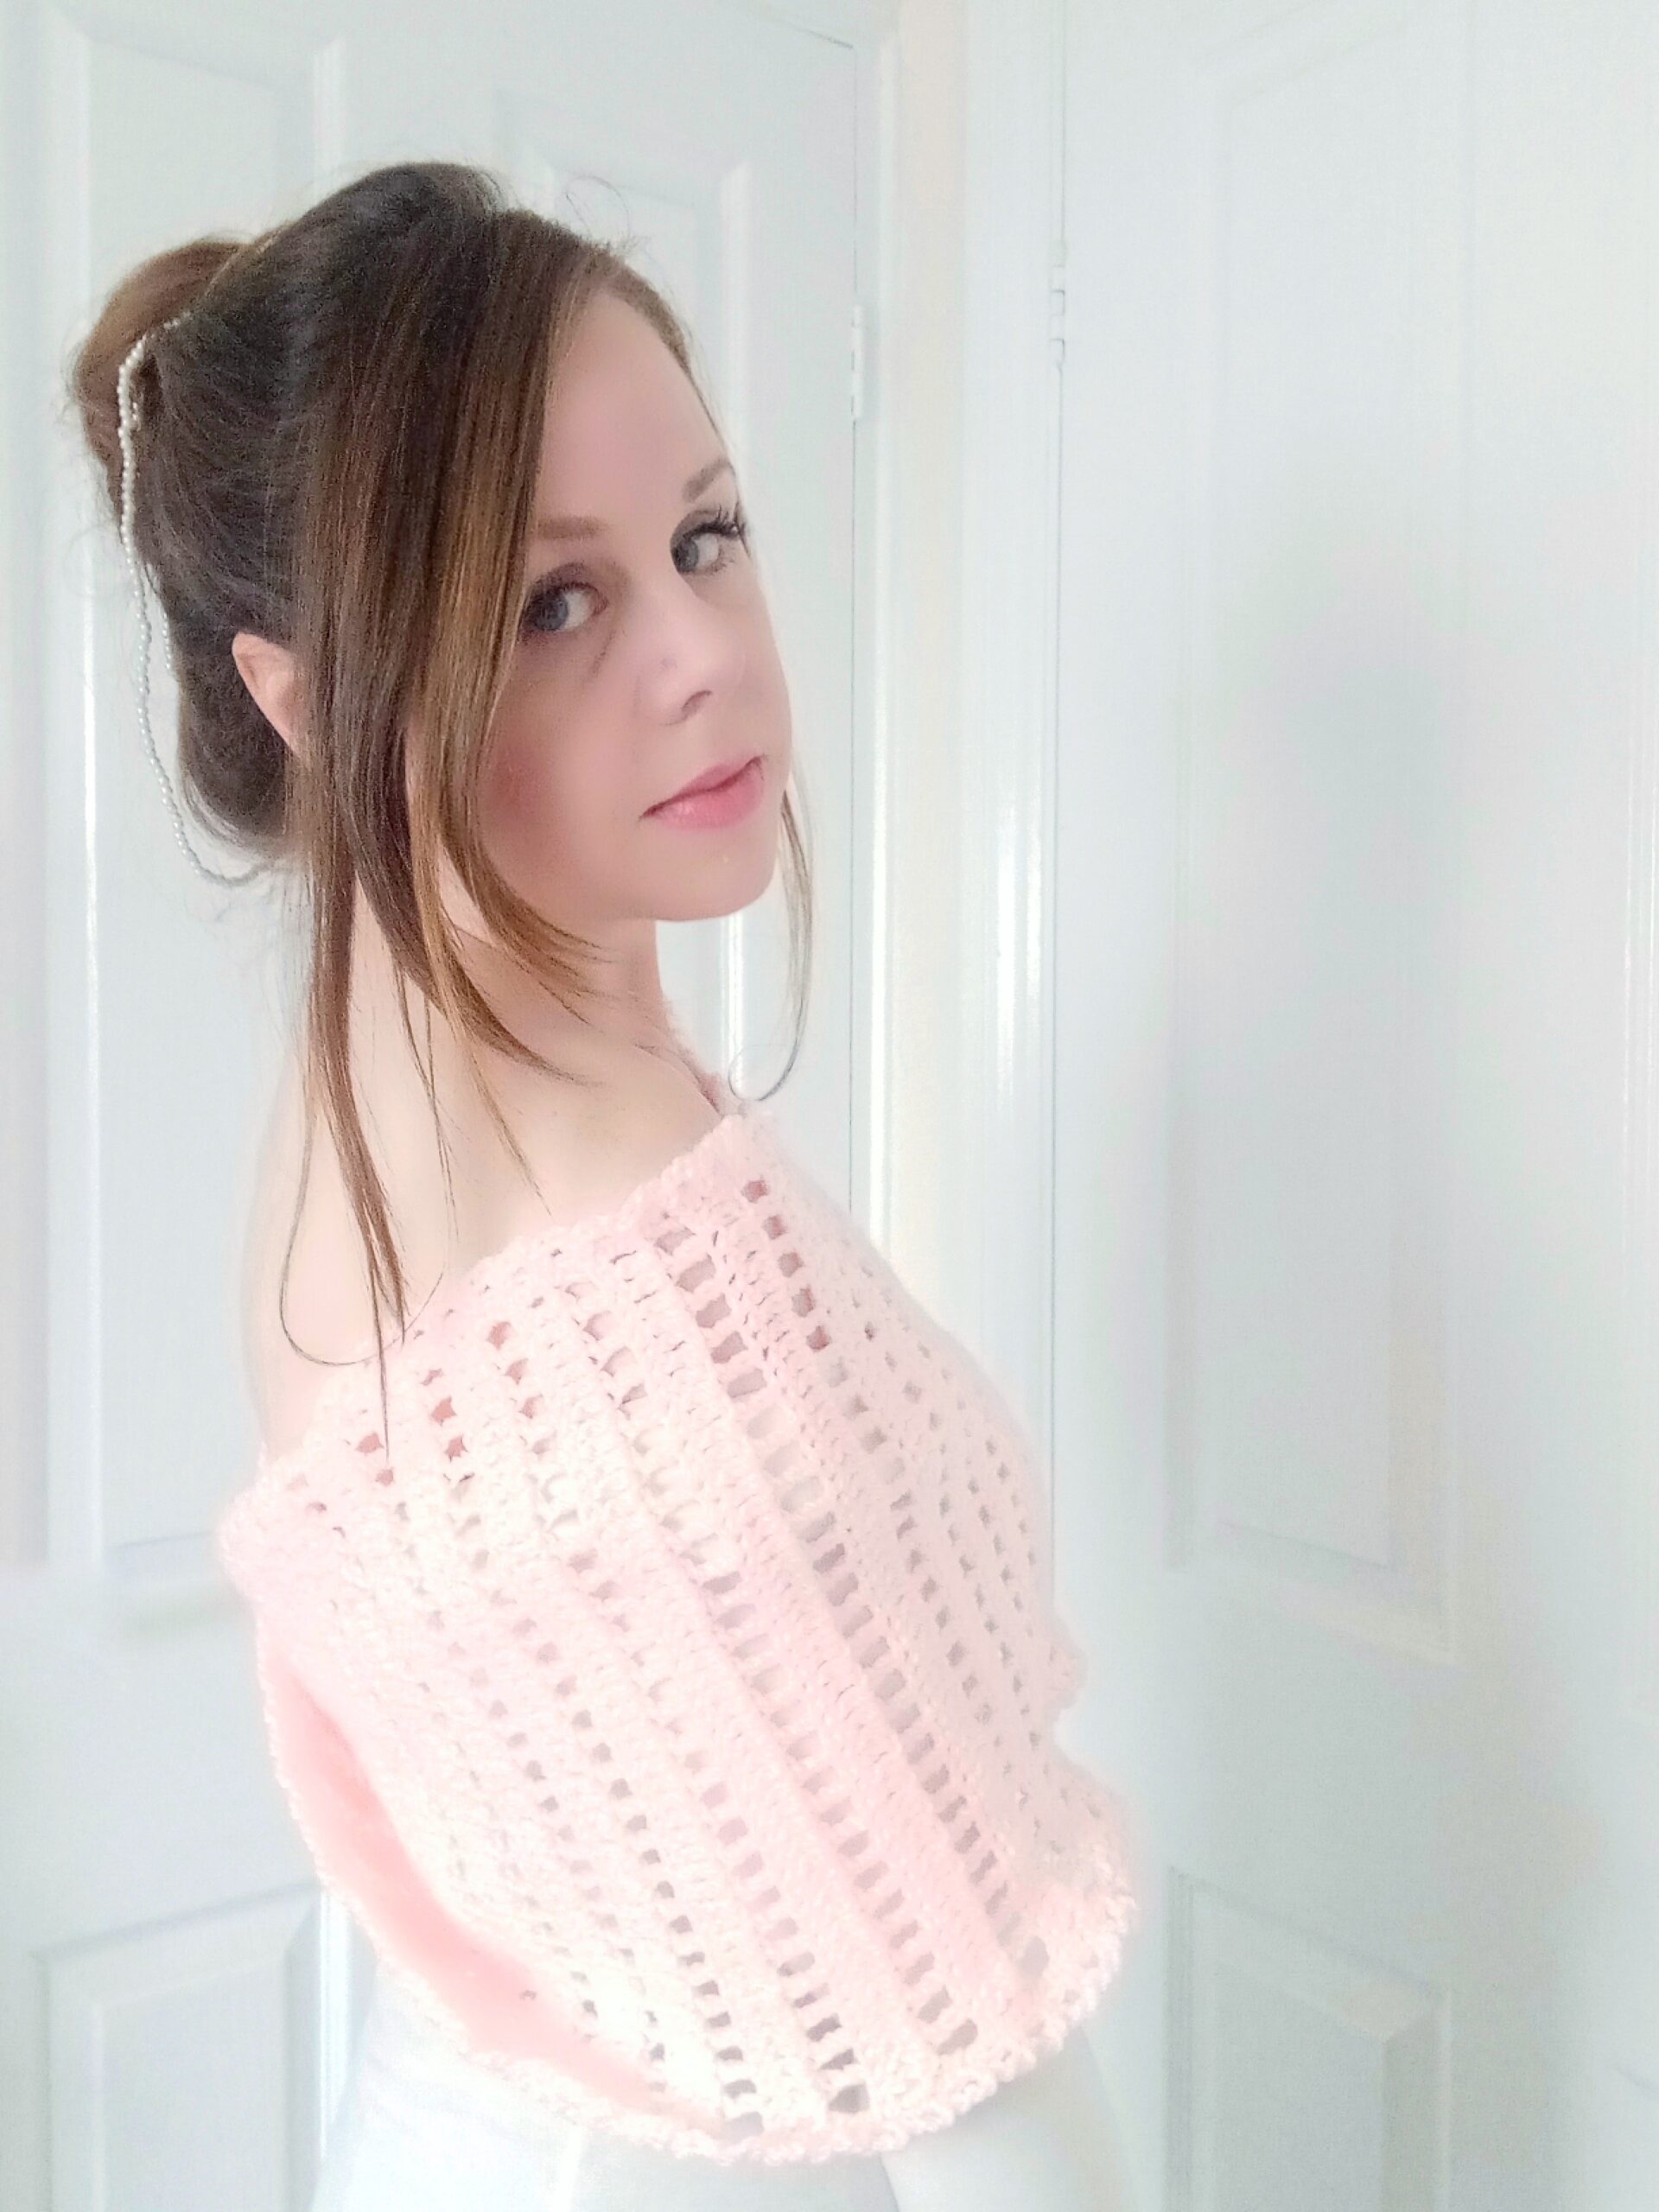
Crochet Pretty Knot Wrap Free Pattern
Crochet Pretty Knot Wrap Free Pattern
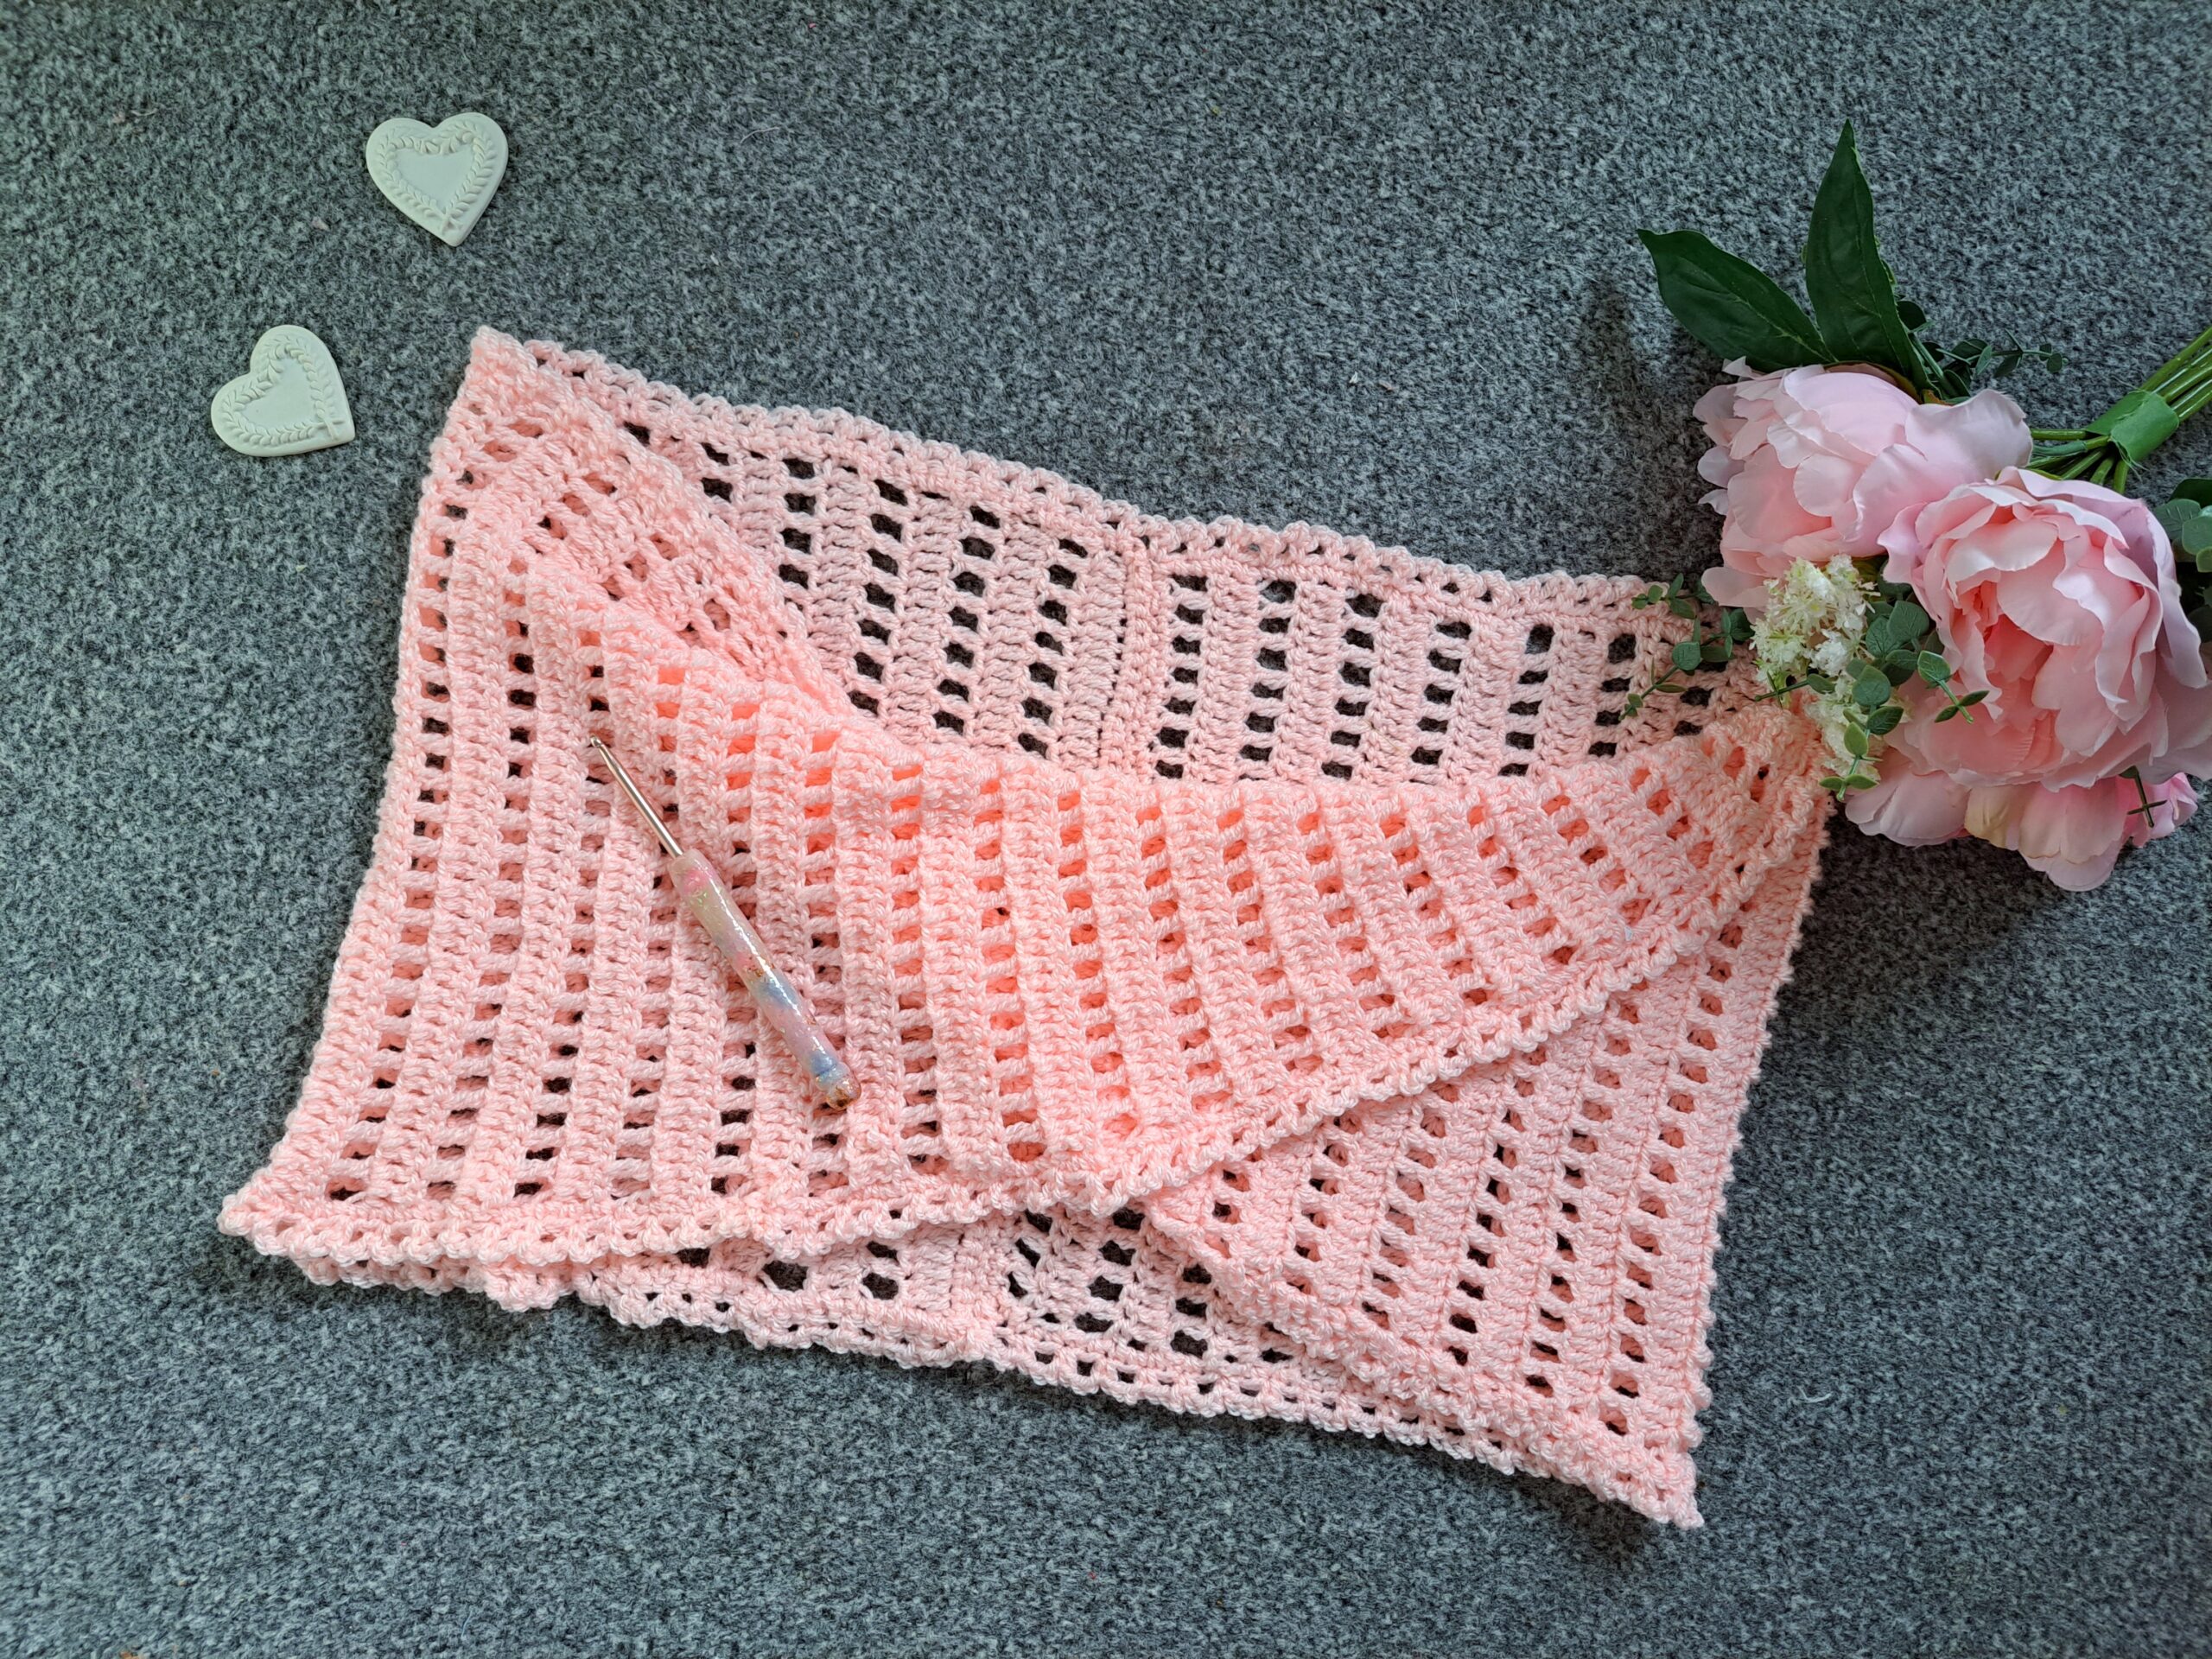
Hi everyone, today I am bringing to you a crochet Pretty Knot Wrap (free pattern). This crochet shawl is perfect for beginners, and is perfect for a special occasion too. Also, this is a simple yet very delicate project.
The video tutorial is available here:
Crochet Pretty Knot Wrap Free Pattern: The Inspiration
I love shawls and wraps so much! These projects are perfect and lovely. Most of my shawls are part of my Vintage Crochet Series. I love wraps and shawls as these are so easy to make. A few weeks ago I crocheted The Juliette Vintage Wrap, which featured a lovely shell stitch that I had never used before. I enjoy crocheting shawls so much, and this Romantic Prayer Shawl is still one of my favorite projects to date.

Lacy wraps are very dainty and feminine. As an example, this Edwardian Era shawl and this vintage Edwardian Era filet crochet wrap are very lacy and perfect for every occasion. I love wraps and this new crochet project is perfect if you want an easy cover up. Indeed, because this crochet wrap is stitched to form a poncho shape, it’s very versatile for any occasion.
I had already crocheted an Infinity Wrap which also featured a very similar shape and a knot at the back. These poncho wraps are so elegant and feminine. They are perfect for special occasions as they feature a very delicate detail (the knot at the back).
Crochet Pretty Knot Wrap Free Pattern: The Yarn
I used one of my favorite yarns for this project. Indeed, I made this new crochet wrap with Paintbox Simply DK. This yarn is very soft and is 100% acrylic; it is considered a light 3/DK yarn. I have used this yarn many times, and it can also be substituted with Bernat Softee Baby yarn if you prefer.
This yarn is perfect if you are wanting to make a light weight and delicate project. This Edwardian Era Shawl is a perfect example of a dainty and lacy wrap made with a light 3 yarn. The Edwardian Rose Wrap is also a perfect example of a filet crochet lacy romantic shawl crocheted with Bernat Softee Baby yarn. Both these Edwardian Era wraps are part of my Vintage Crochet Series.
The Vintage Crochet Series is perfect if you are looking for beautiful and feminine accessories from the past decades. The Juliette Wrap is part of this series, and is also made with a light weight yarn.
I hope you enjoy this new design! It is so easy, perfect for special occasions too!
Connecting with you
I would like to take a moment to thank every single one of you, for supporting me and my crochet journey. Indeed, If you want more exclusive crochet content from me, please do consider subscribing to my Patreon page. Thank you!
I love connecting with my Crochet Community through my blog and Social Media. You can find me on Youtube, Instagram, and Pinterest. I would love to connect with you on these platforms.
If you are on Ravelry, you can find my Ravelry page here. This is a great way to connect with me and have access to all of my PDF patterns. You can also find my Etsy shop by clicking here.
You can also join my private Facebook group to connect.
Subscribe to our weekly newsletter so that you never miss a stitch!
Crochet Pretty Knot Wrap: The Pattern
You can purchase the ad free, large print, PDF pattern in my Etsy store: Crochet Pretty Knot Wrap PDF Pattern
You can purchase the ad free, large print, PDF Pattern in my Ravelry store: Crochet Pretty Knot Wrap PDF Pattern
Level: Easy
Gauge
4” (10 cm): 16 stitches
4” (10 cm): 6 rows
Size of finished project before sewing (including chain arch edging)
Size S/M: 12” x 38” (30,5 cm x 96,5 cm)
Size L/XL: 14” x 42” (35,5 cm x 106,5 cm)
Notes
I will be writing in US terms (British terms in brackets).
Materials
2 skeins of Stylecraft Special DK in shade Apricot
A 4 mm crochet hook
Tapestry needle
A pair of scissors
Abbreviations
I will be writing in US terms (British terms in brackets)
Ch: chain
Sk: skip
Sp: space
Sl st: Slip stitch
HDC: Half Double Crochet (UK Half Treble Crochet)
SC: Single Crochet (UK Double Crochet)
EOR: End of row/end of round
Pattern
Ch 49 for size S/M
Ch 57 for size L/XL
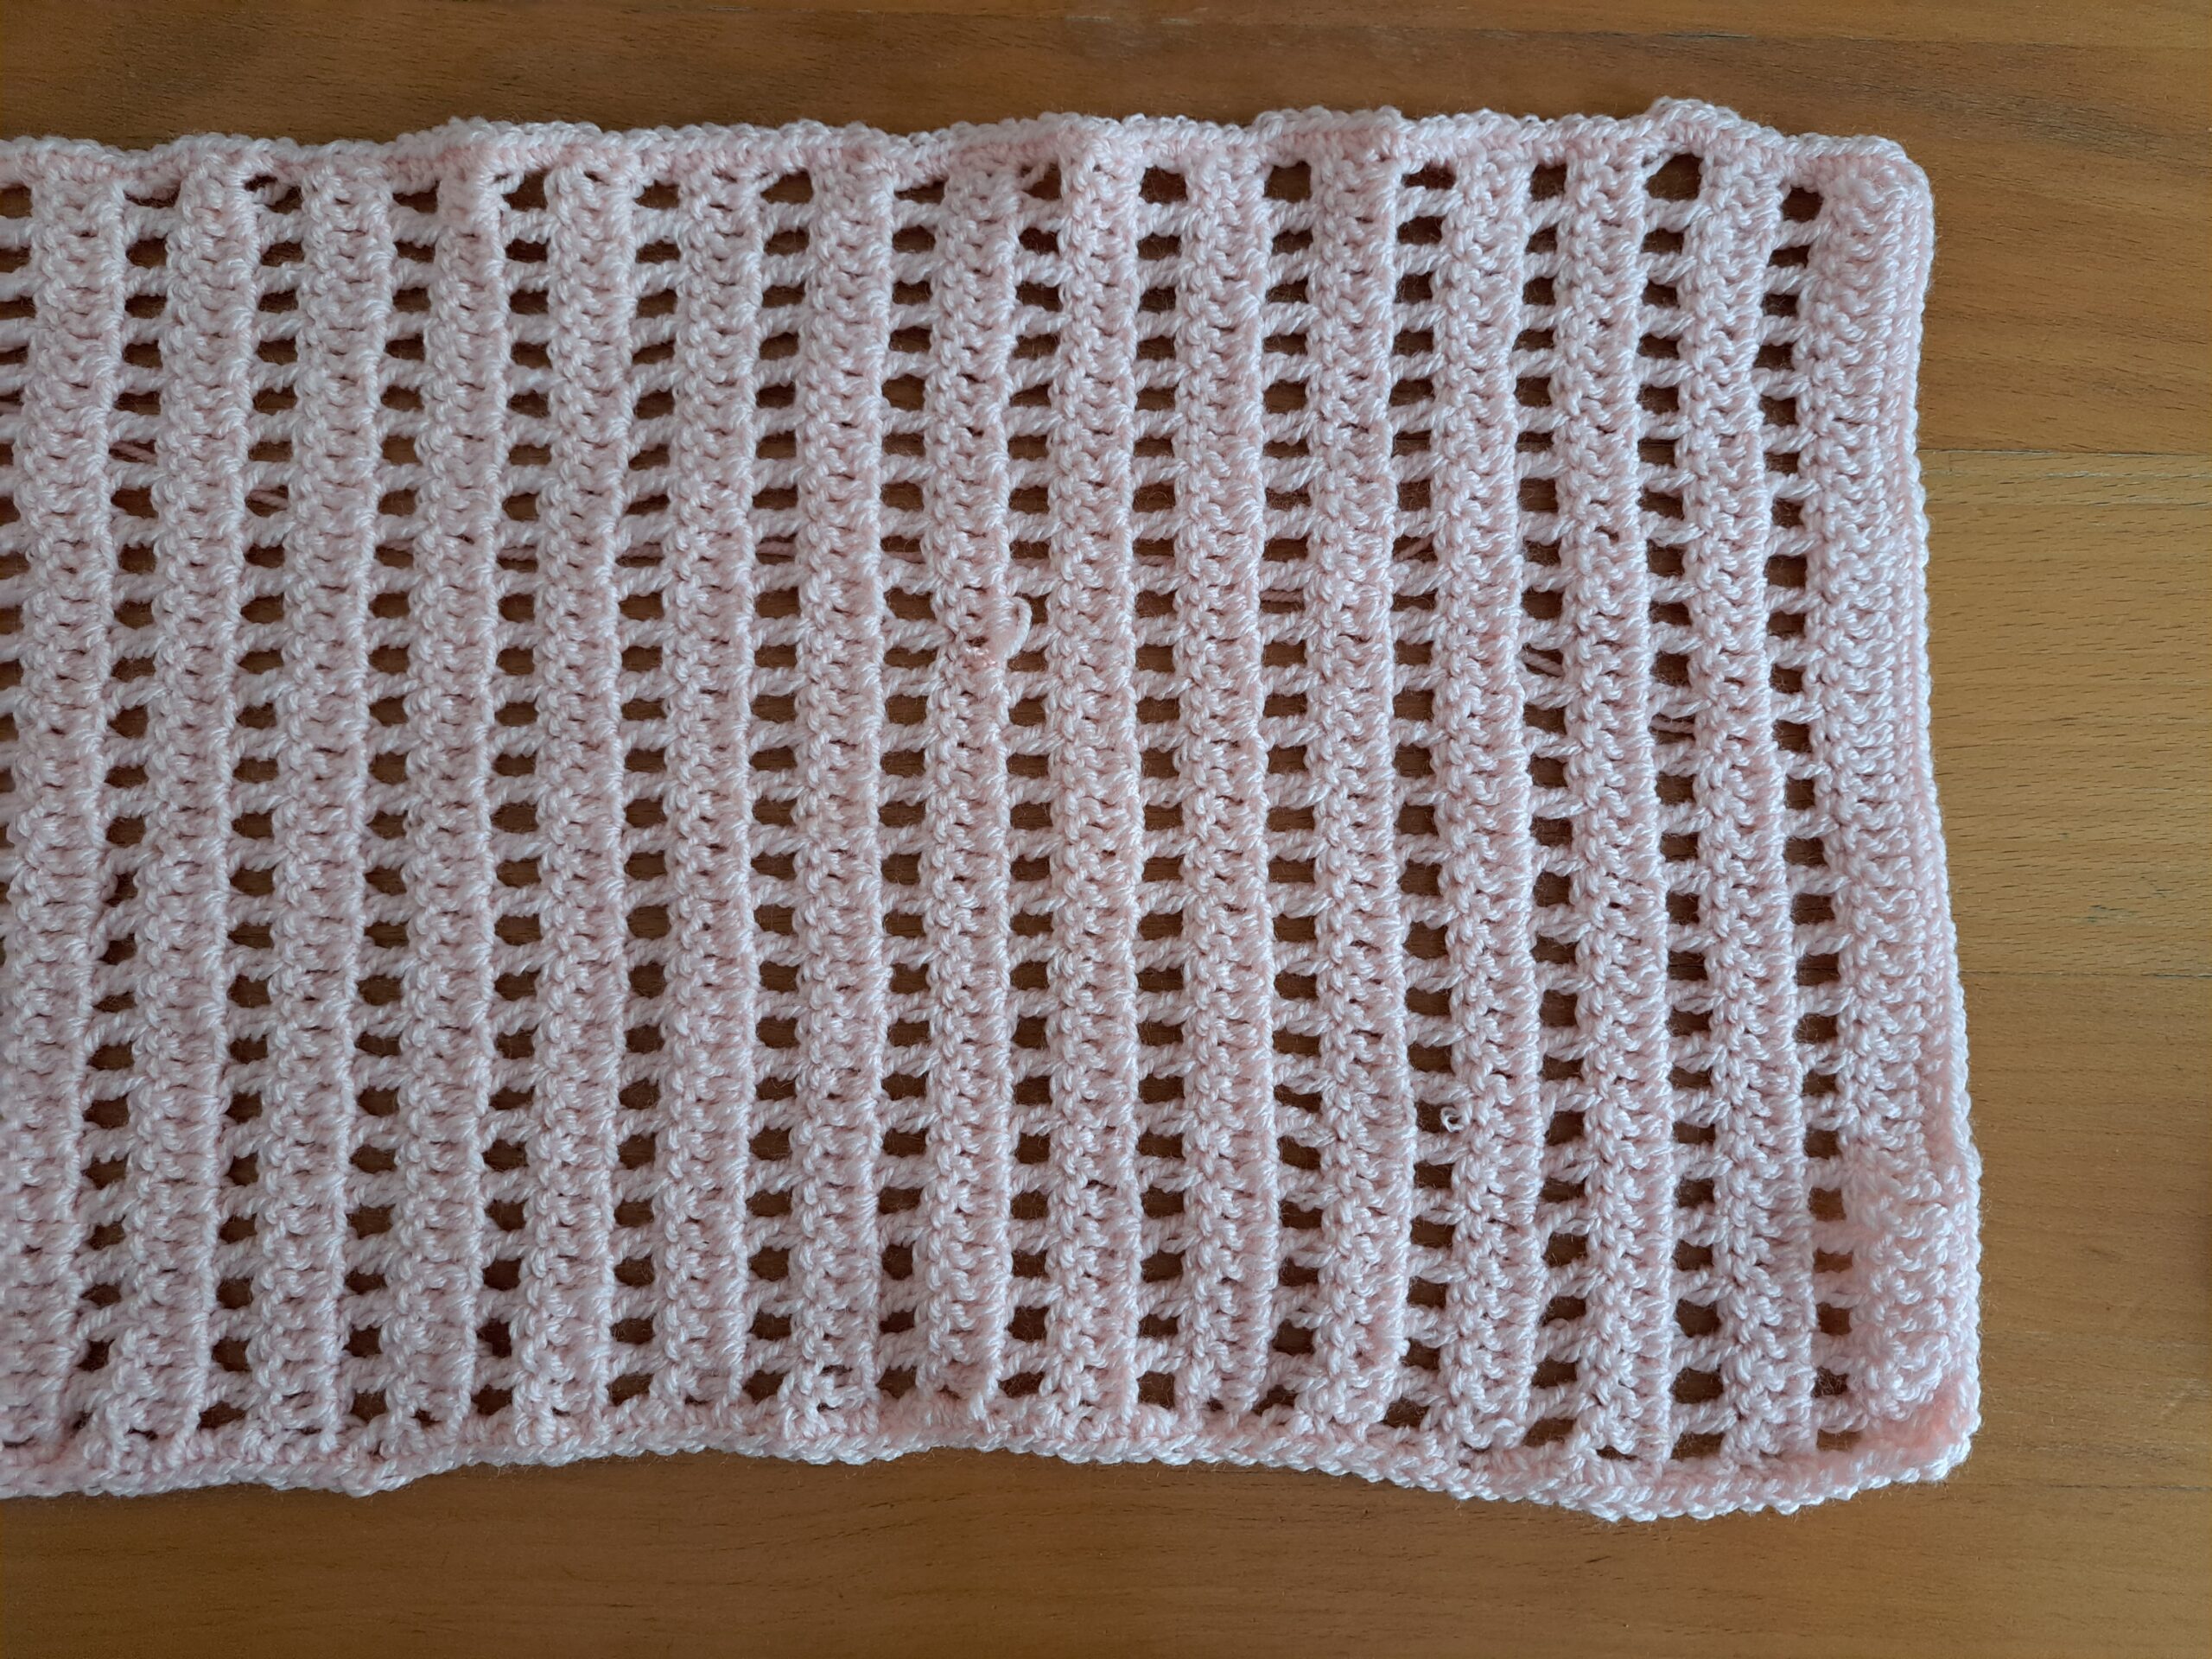
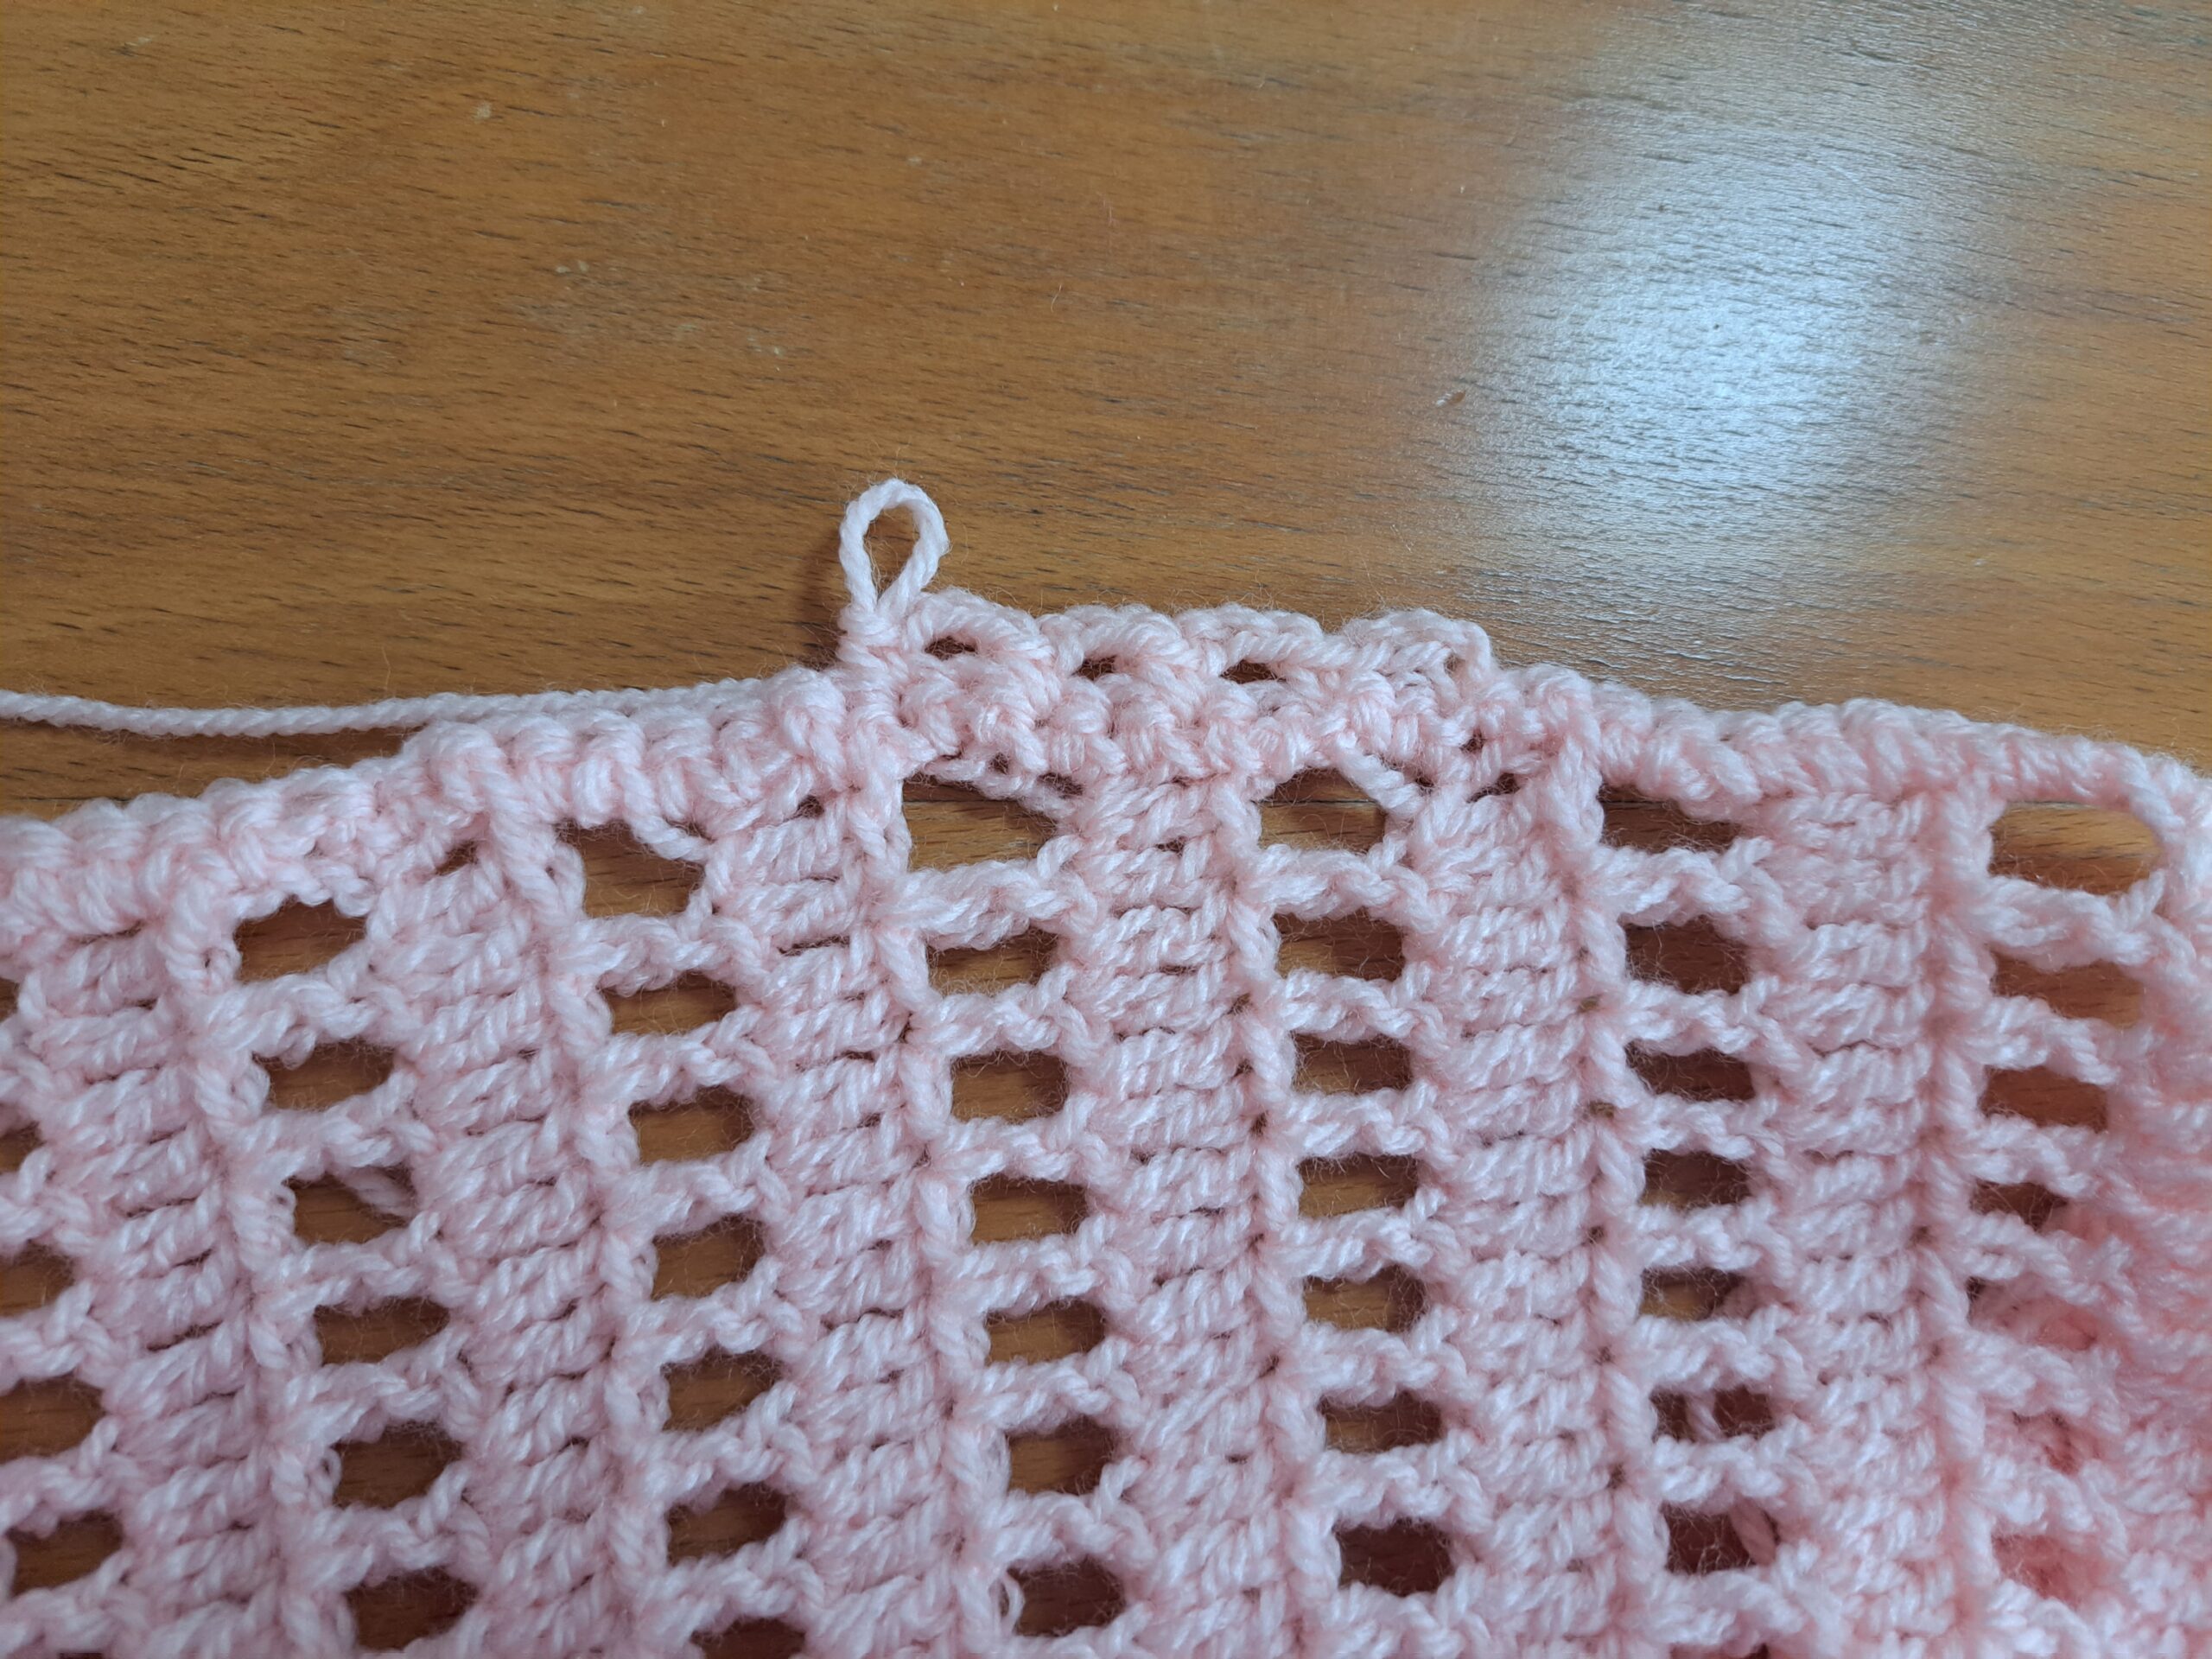
Row 1: DC in 4th ch from hook (first 3 ch counts as a DC), DC into each ch until EOR.
Row 2: Ch 4 (=DC+1 ch sp), turn your work, DC into 3rd stitch from hook, *ch 1, sk 1 ch, DC in next st* until EOR.
Row 3: Ch 3 (=DC), DC into 2nd st, and into every st (both ch sp and DC from previous row) until EOR.
For size S/M:
Rows 4-129: Repeat rows 2 and 3.
For size L/XL:
Rows 4-135: Repeat rows 2 and 3.
Once you have finished your rows, do not fasten off.
You will now be working on the 4 sides of this wrap, placing a Single Crochet edging all around the wrap (see instructions below).
Single Crochet edging (across the 4 sides of the wrap)
Ch 1 (=SC), and place SCs all along the first “side” of the wrap; once you reach the corner, place 2 SCs together before turning your project sideways and placing SCs all along the second “side” of the wrap.
Repeat this process of placing SCs all along the four sides of the wrap, making sure you space them evenly as you go along. Always place 2 SC into each corner of the project.
Once you place your last SC into the project, slip stitch into the 1st ch at beginning of round.
Fasten off, leaving long tail for sewing.
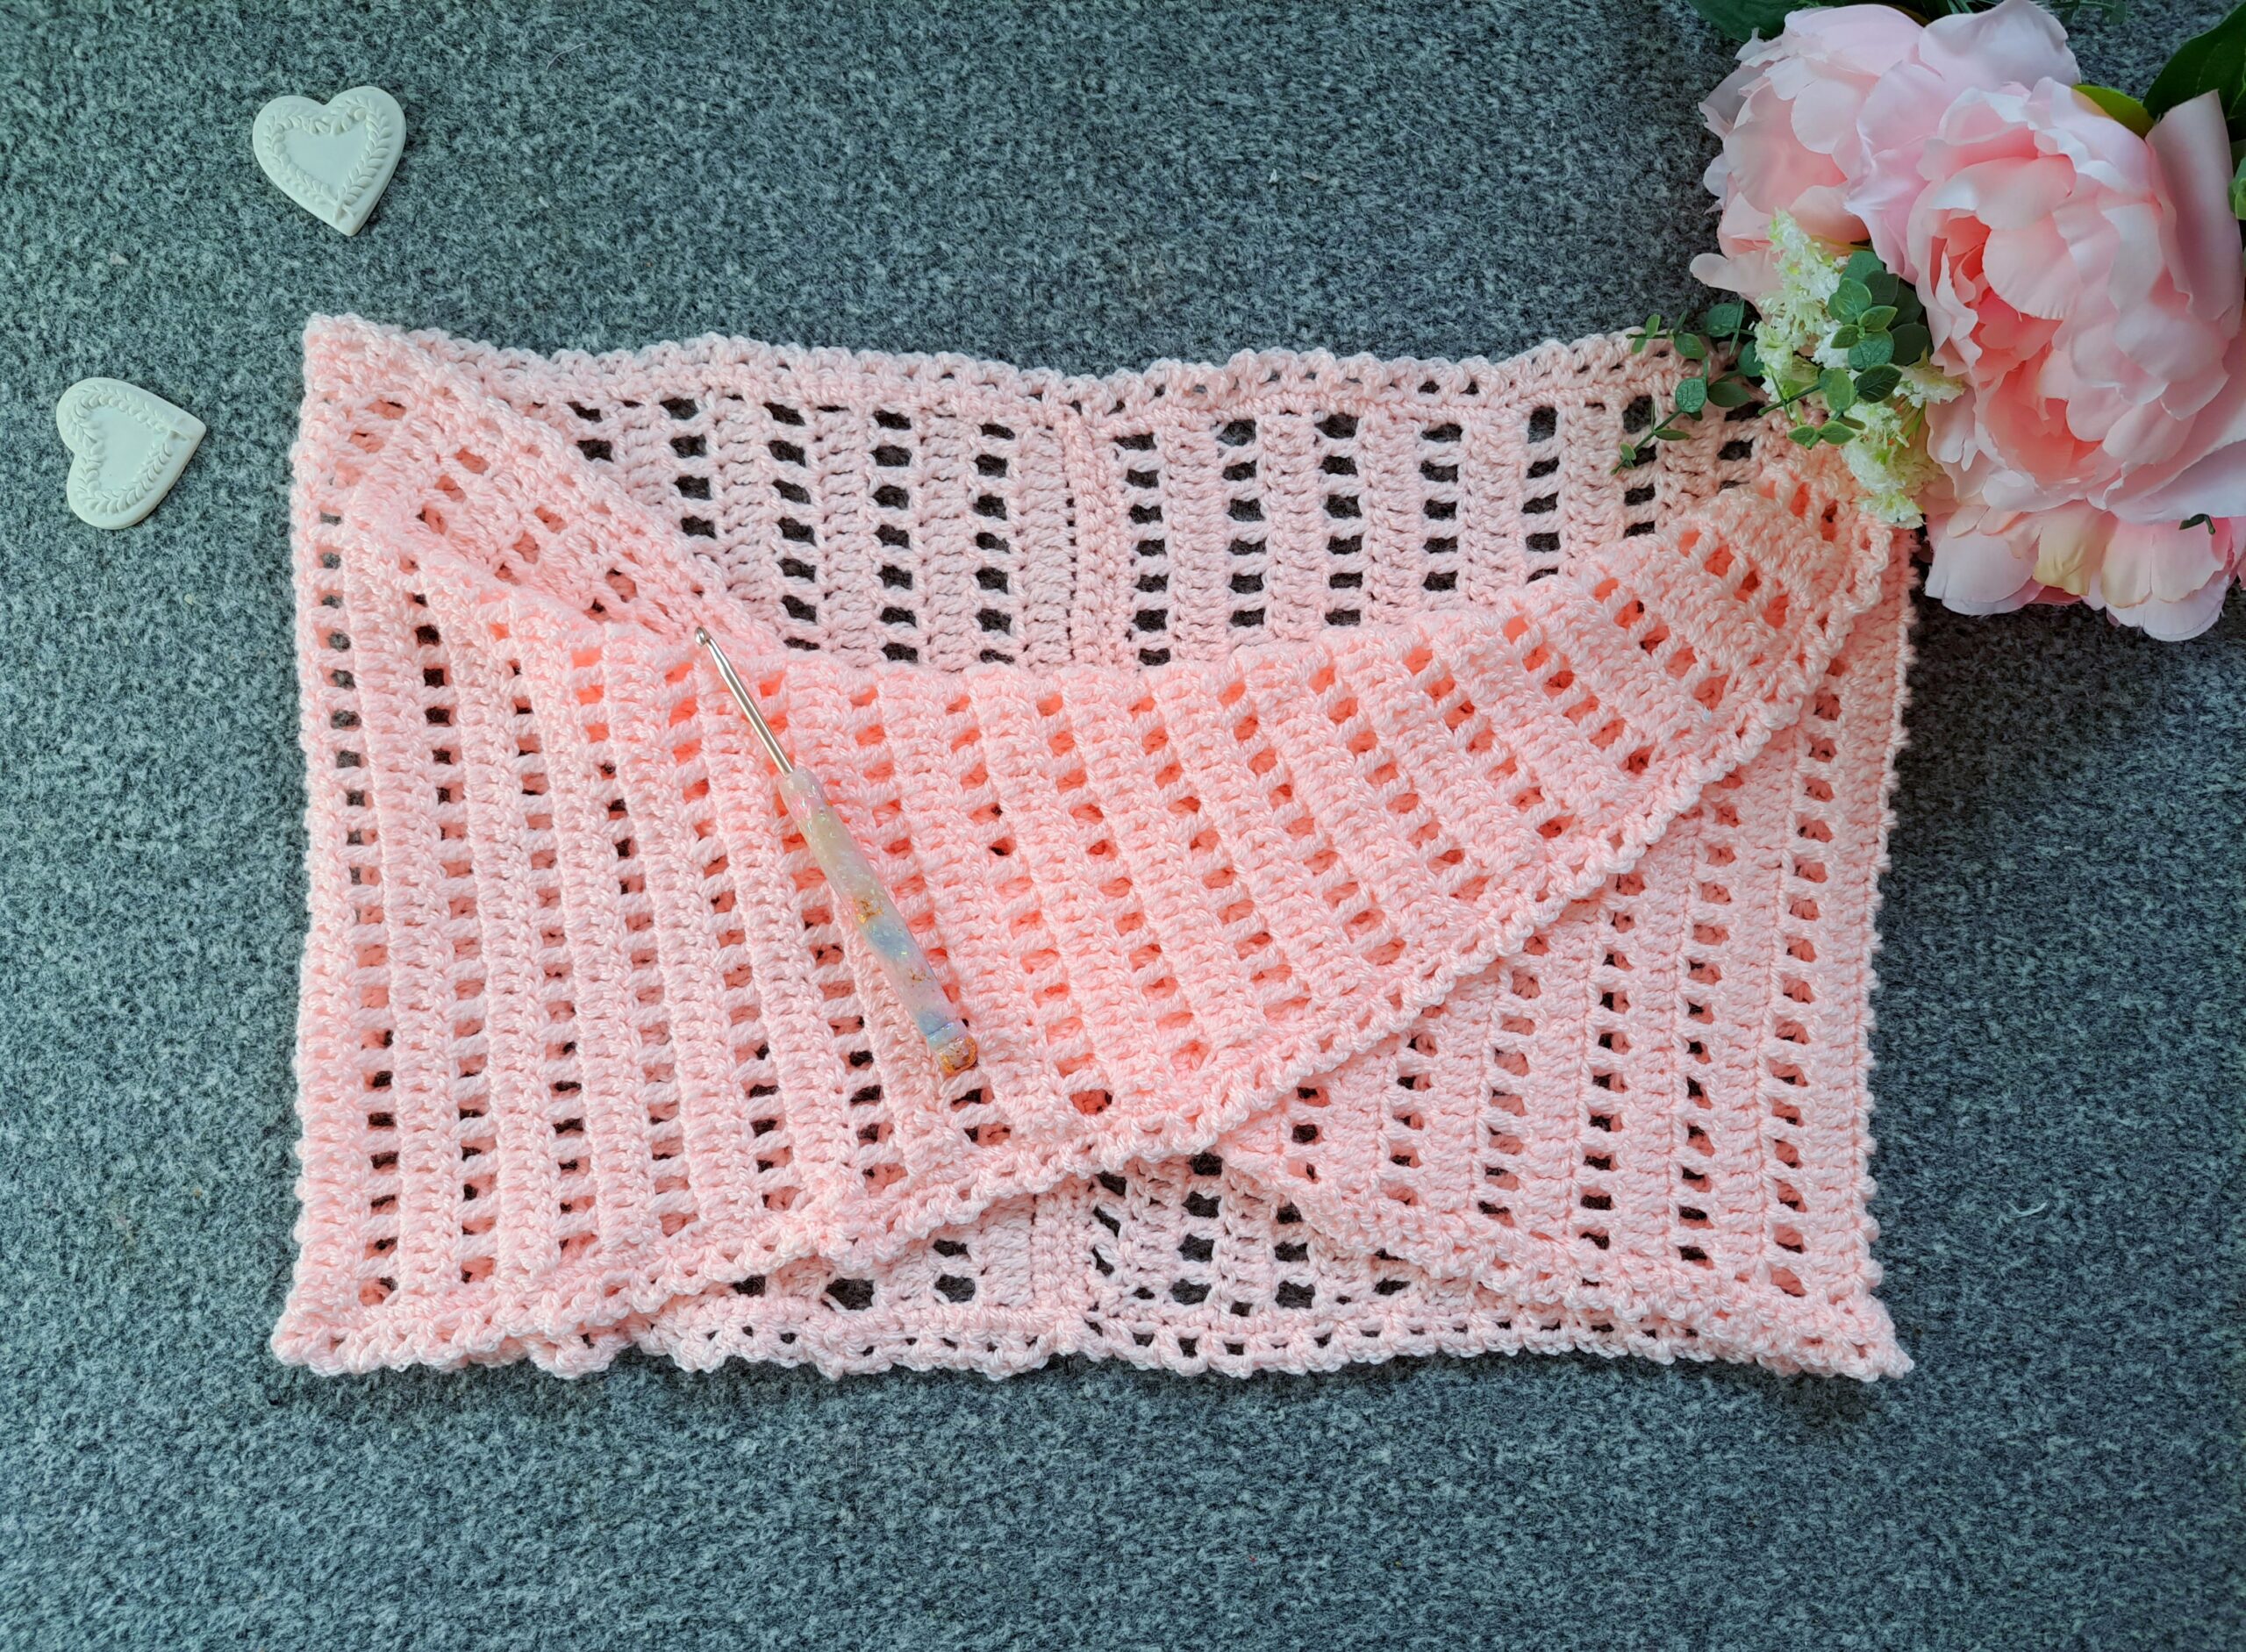
Create knot shape and sew in project
Place your project on a flat surface and fold both sides over so as to create initial shape (see photograph 1 below).
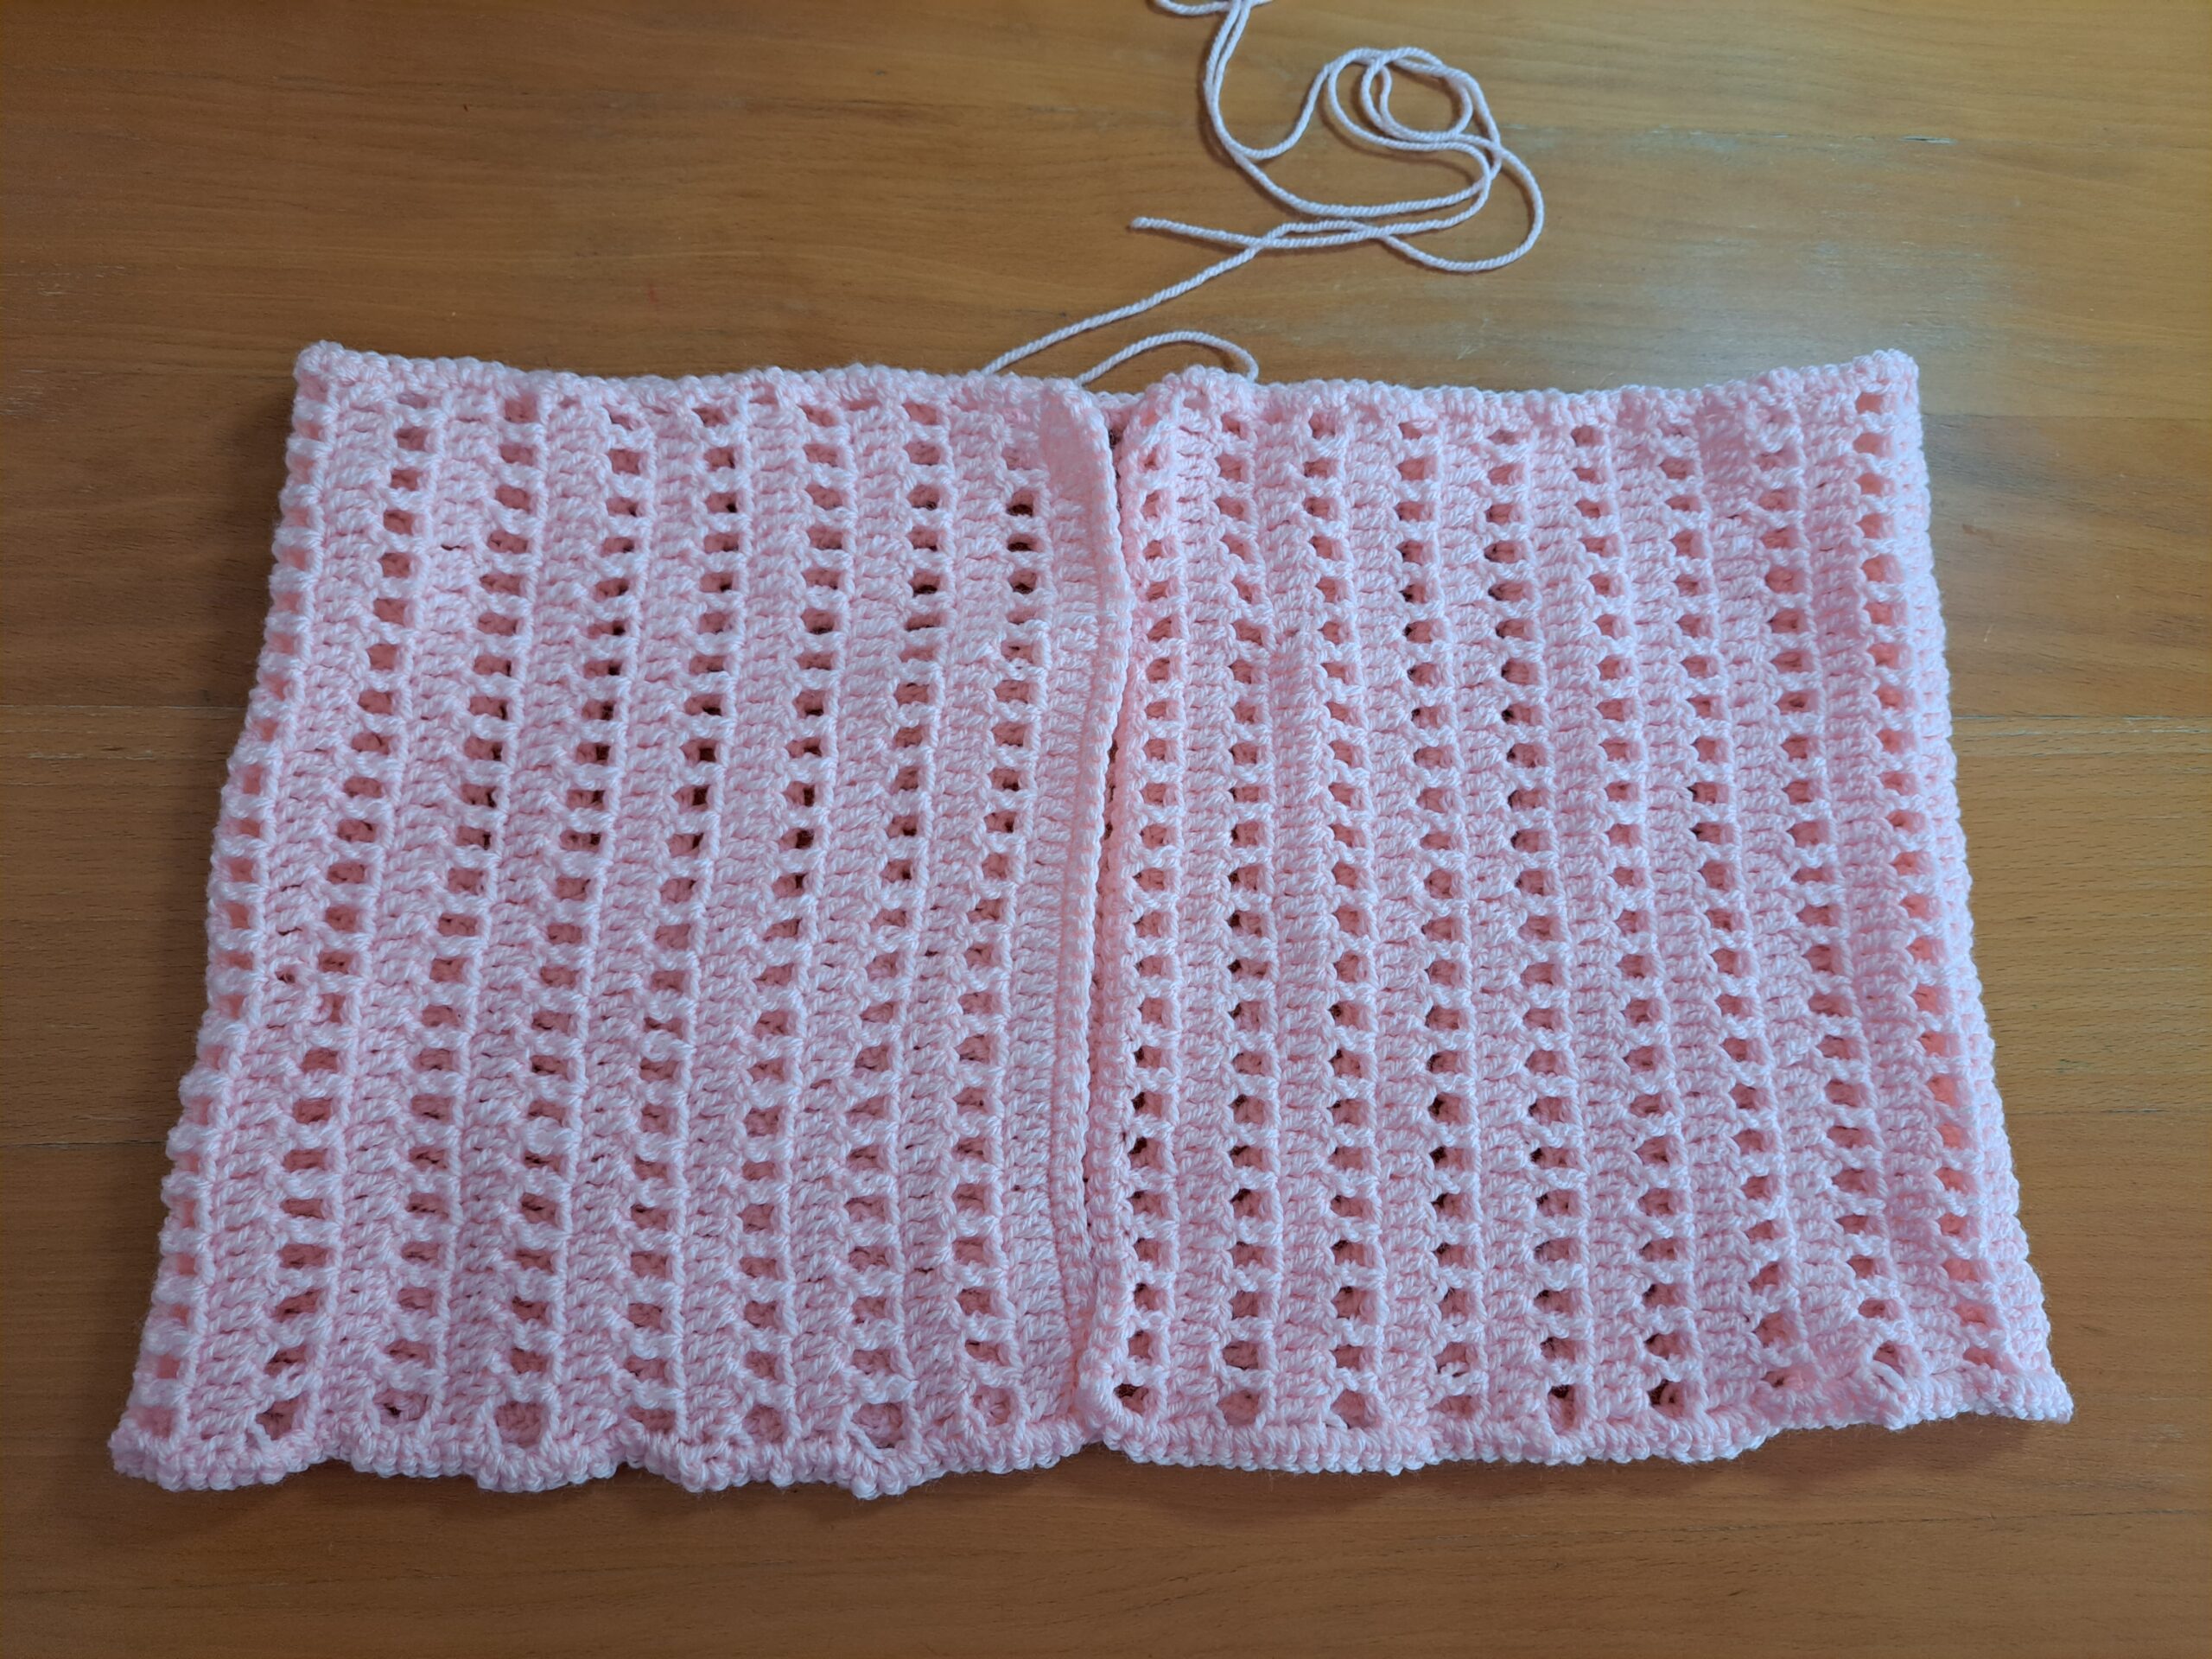
Now fold one side over to create knot shape (see photograph 2 below):
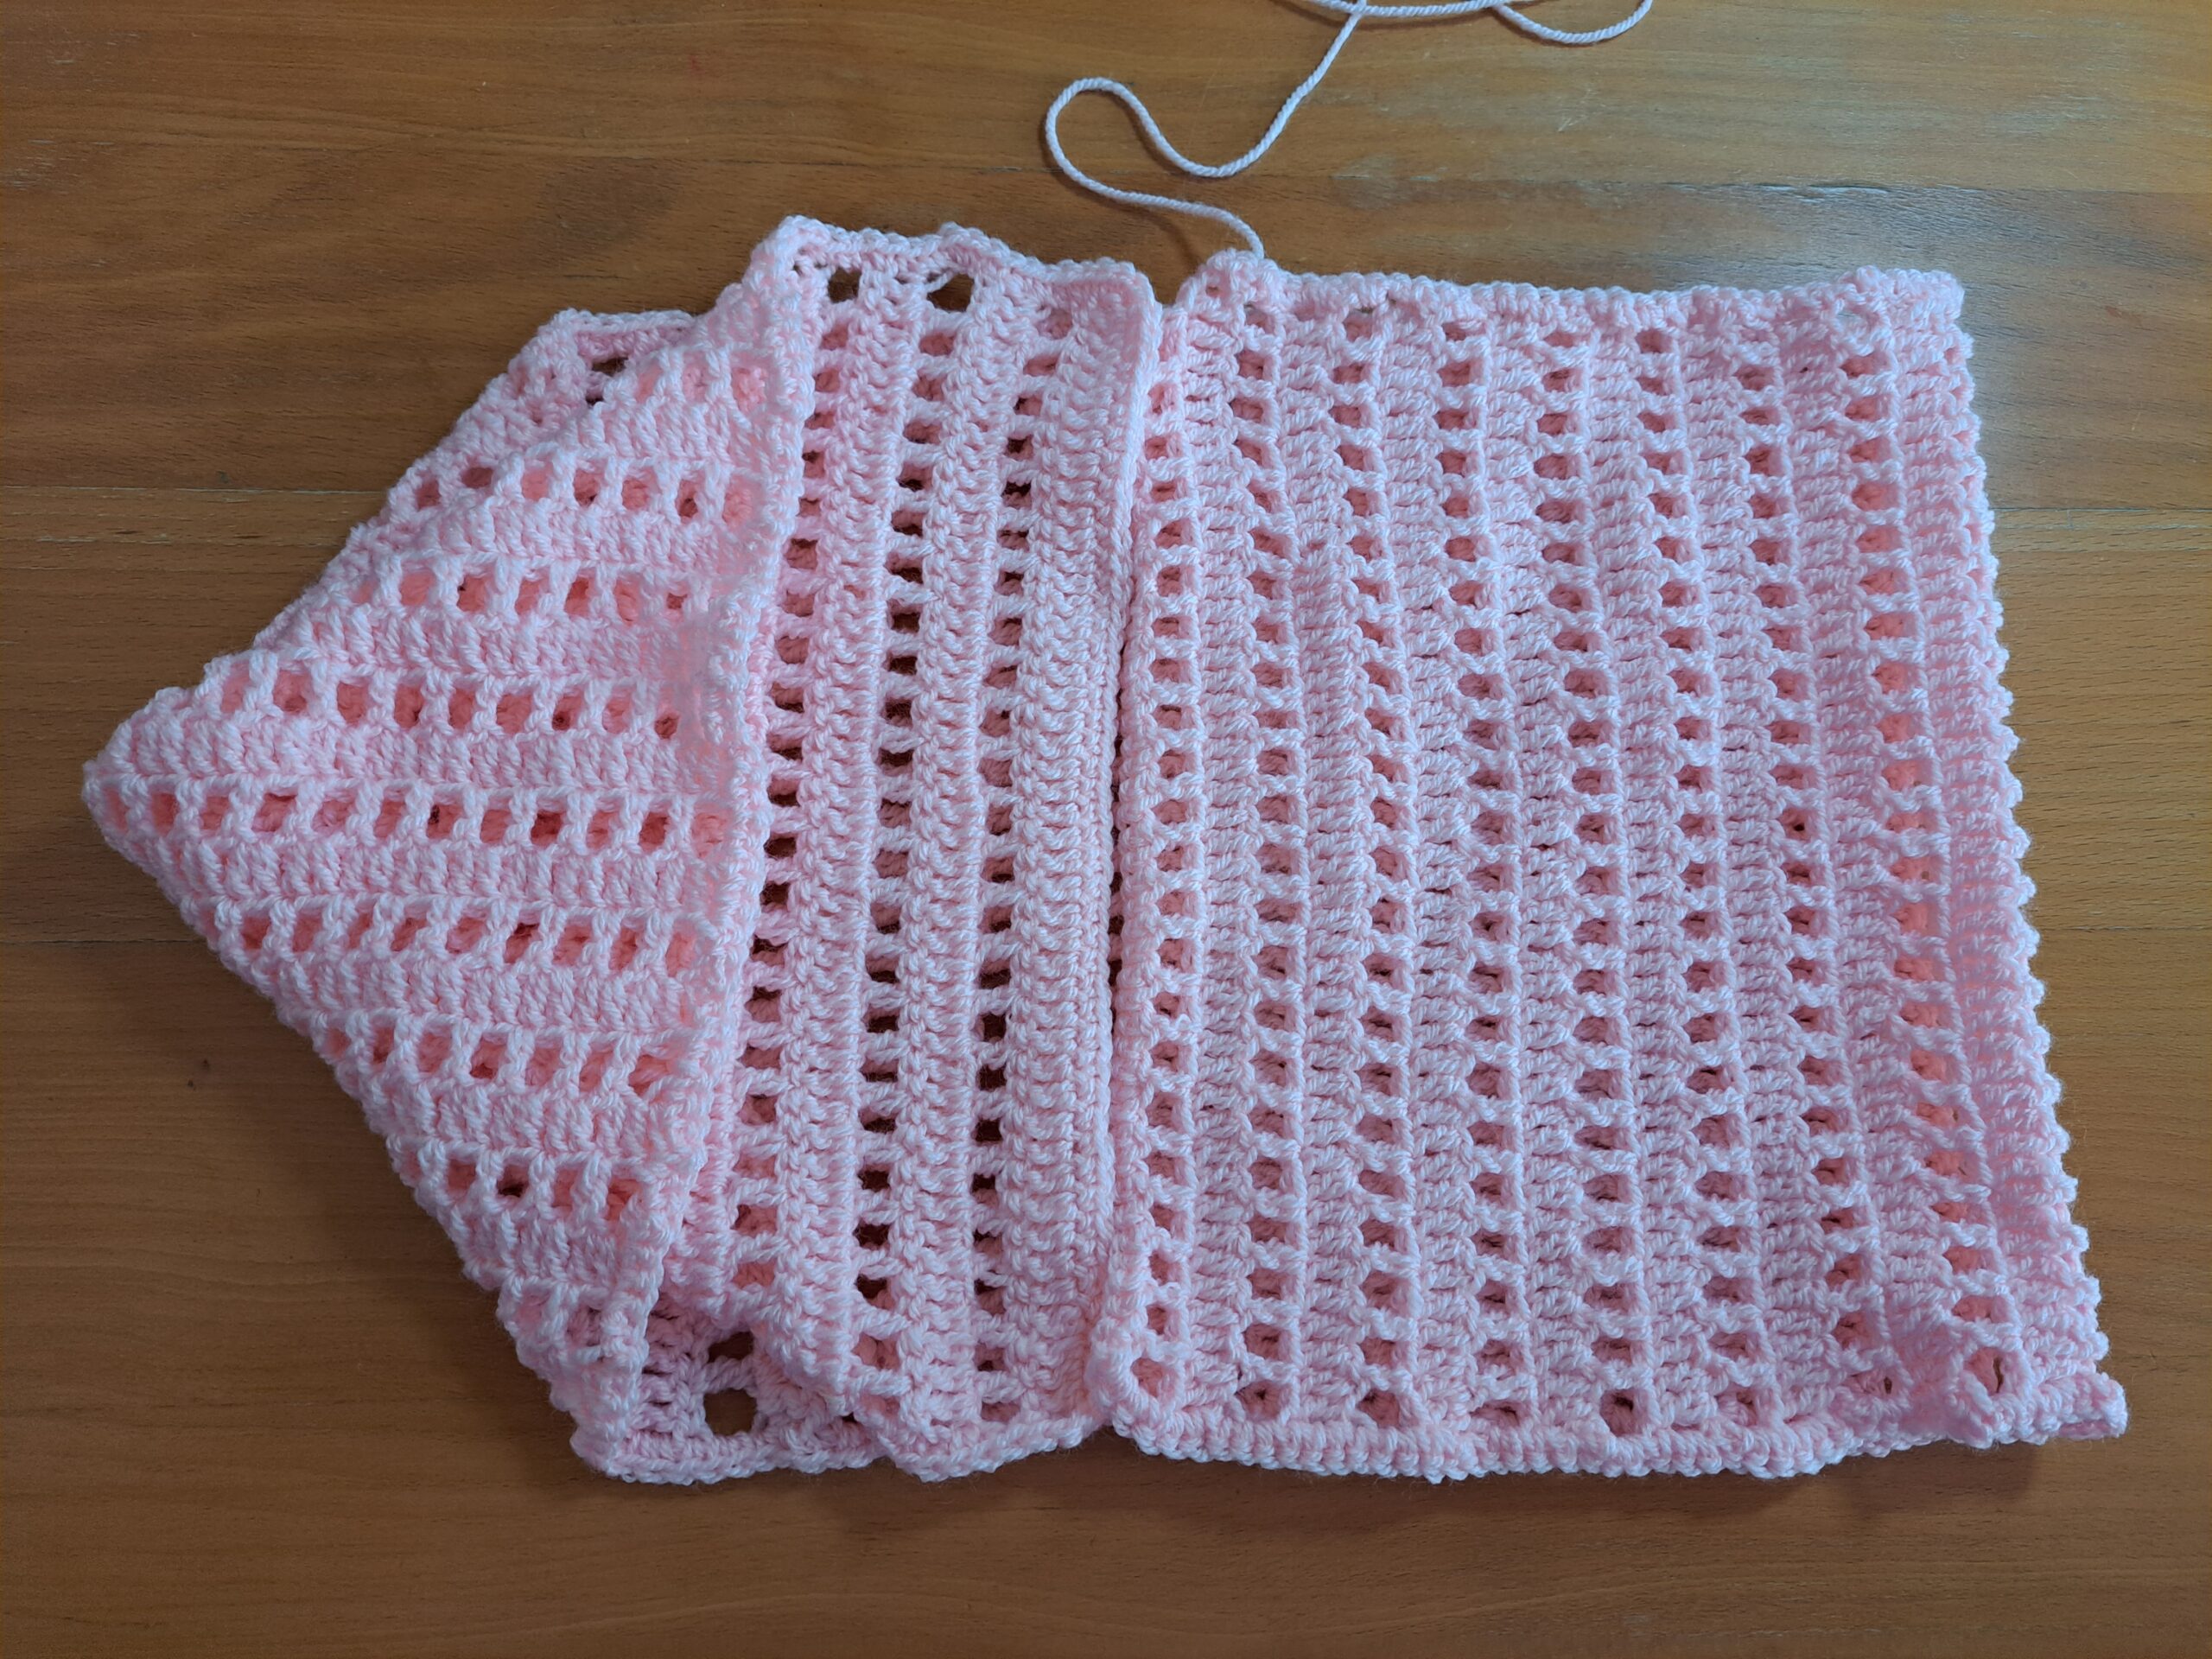
With tapestry needle and loose end, sew both sides of the wrap using the mattress stitch.
Once you have finished stitching, fasten off and tidy up all loose ends.
Chain arch edging
Once you have finished stitching your seam, you will be creating a chain arch edging all across the 2 sides of your project.
Fasten the yarn onto any SC on any side of the project to attach yarn.
Chain arch edging: [Ch 3, sk 1 st, SC into next st] until EOR. Slip stitch to first stitch where you started this round to close off this round.
Fasten off and tidy up all loose ends.


You May Also Like

Crochet The Sweetheart Scarf
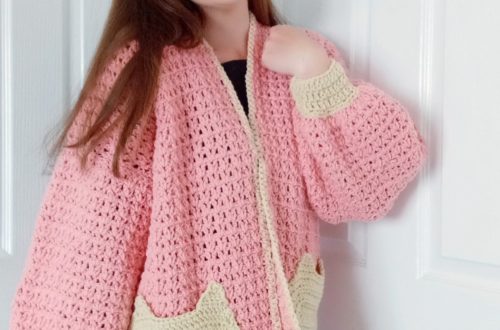
Crochet The Kitty Cat Cardigan Free Pattern