Crochet Dainty Purse Free Pattern
Crochet Dainty Purse Free Pattern
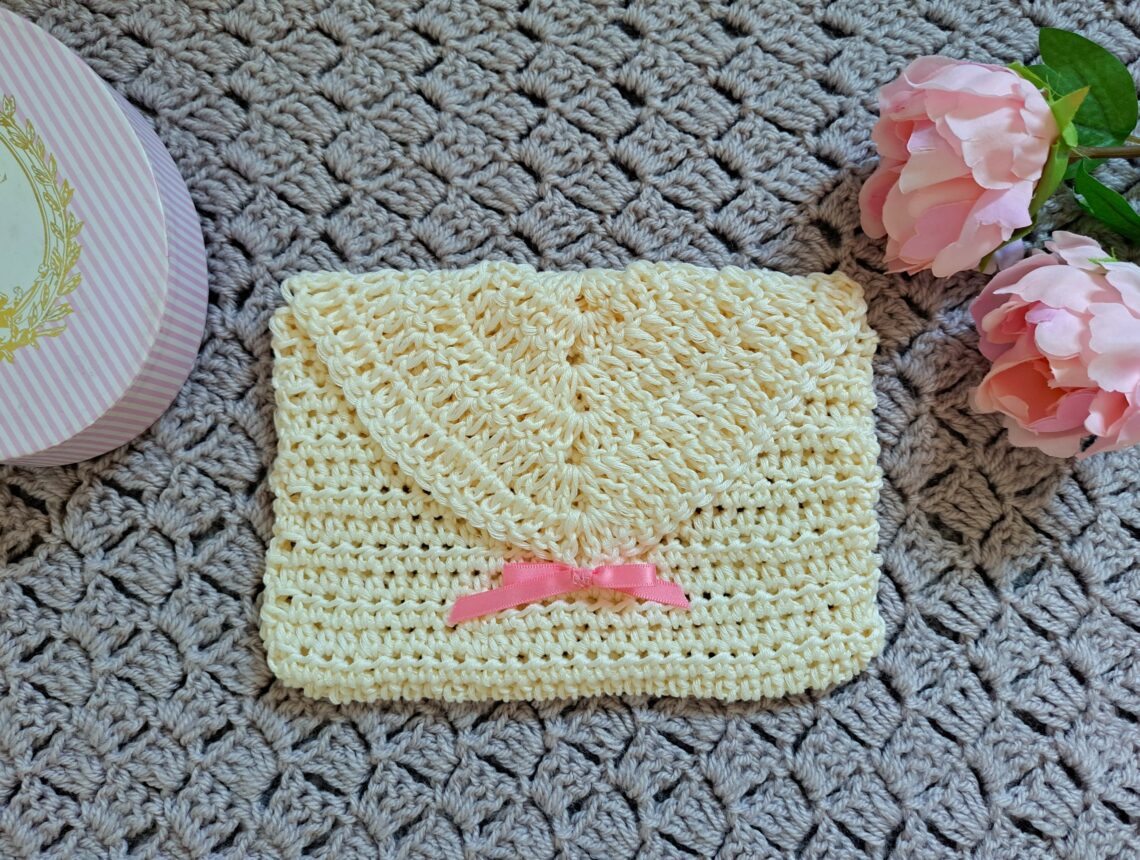
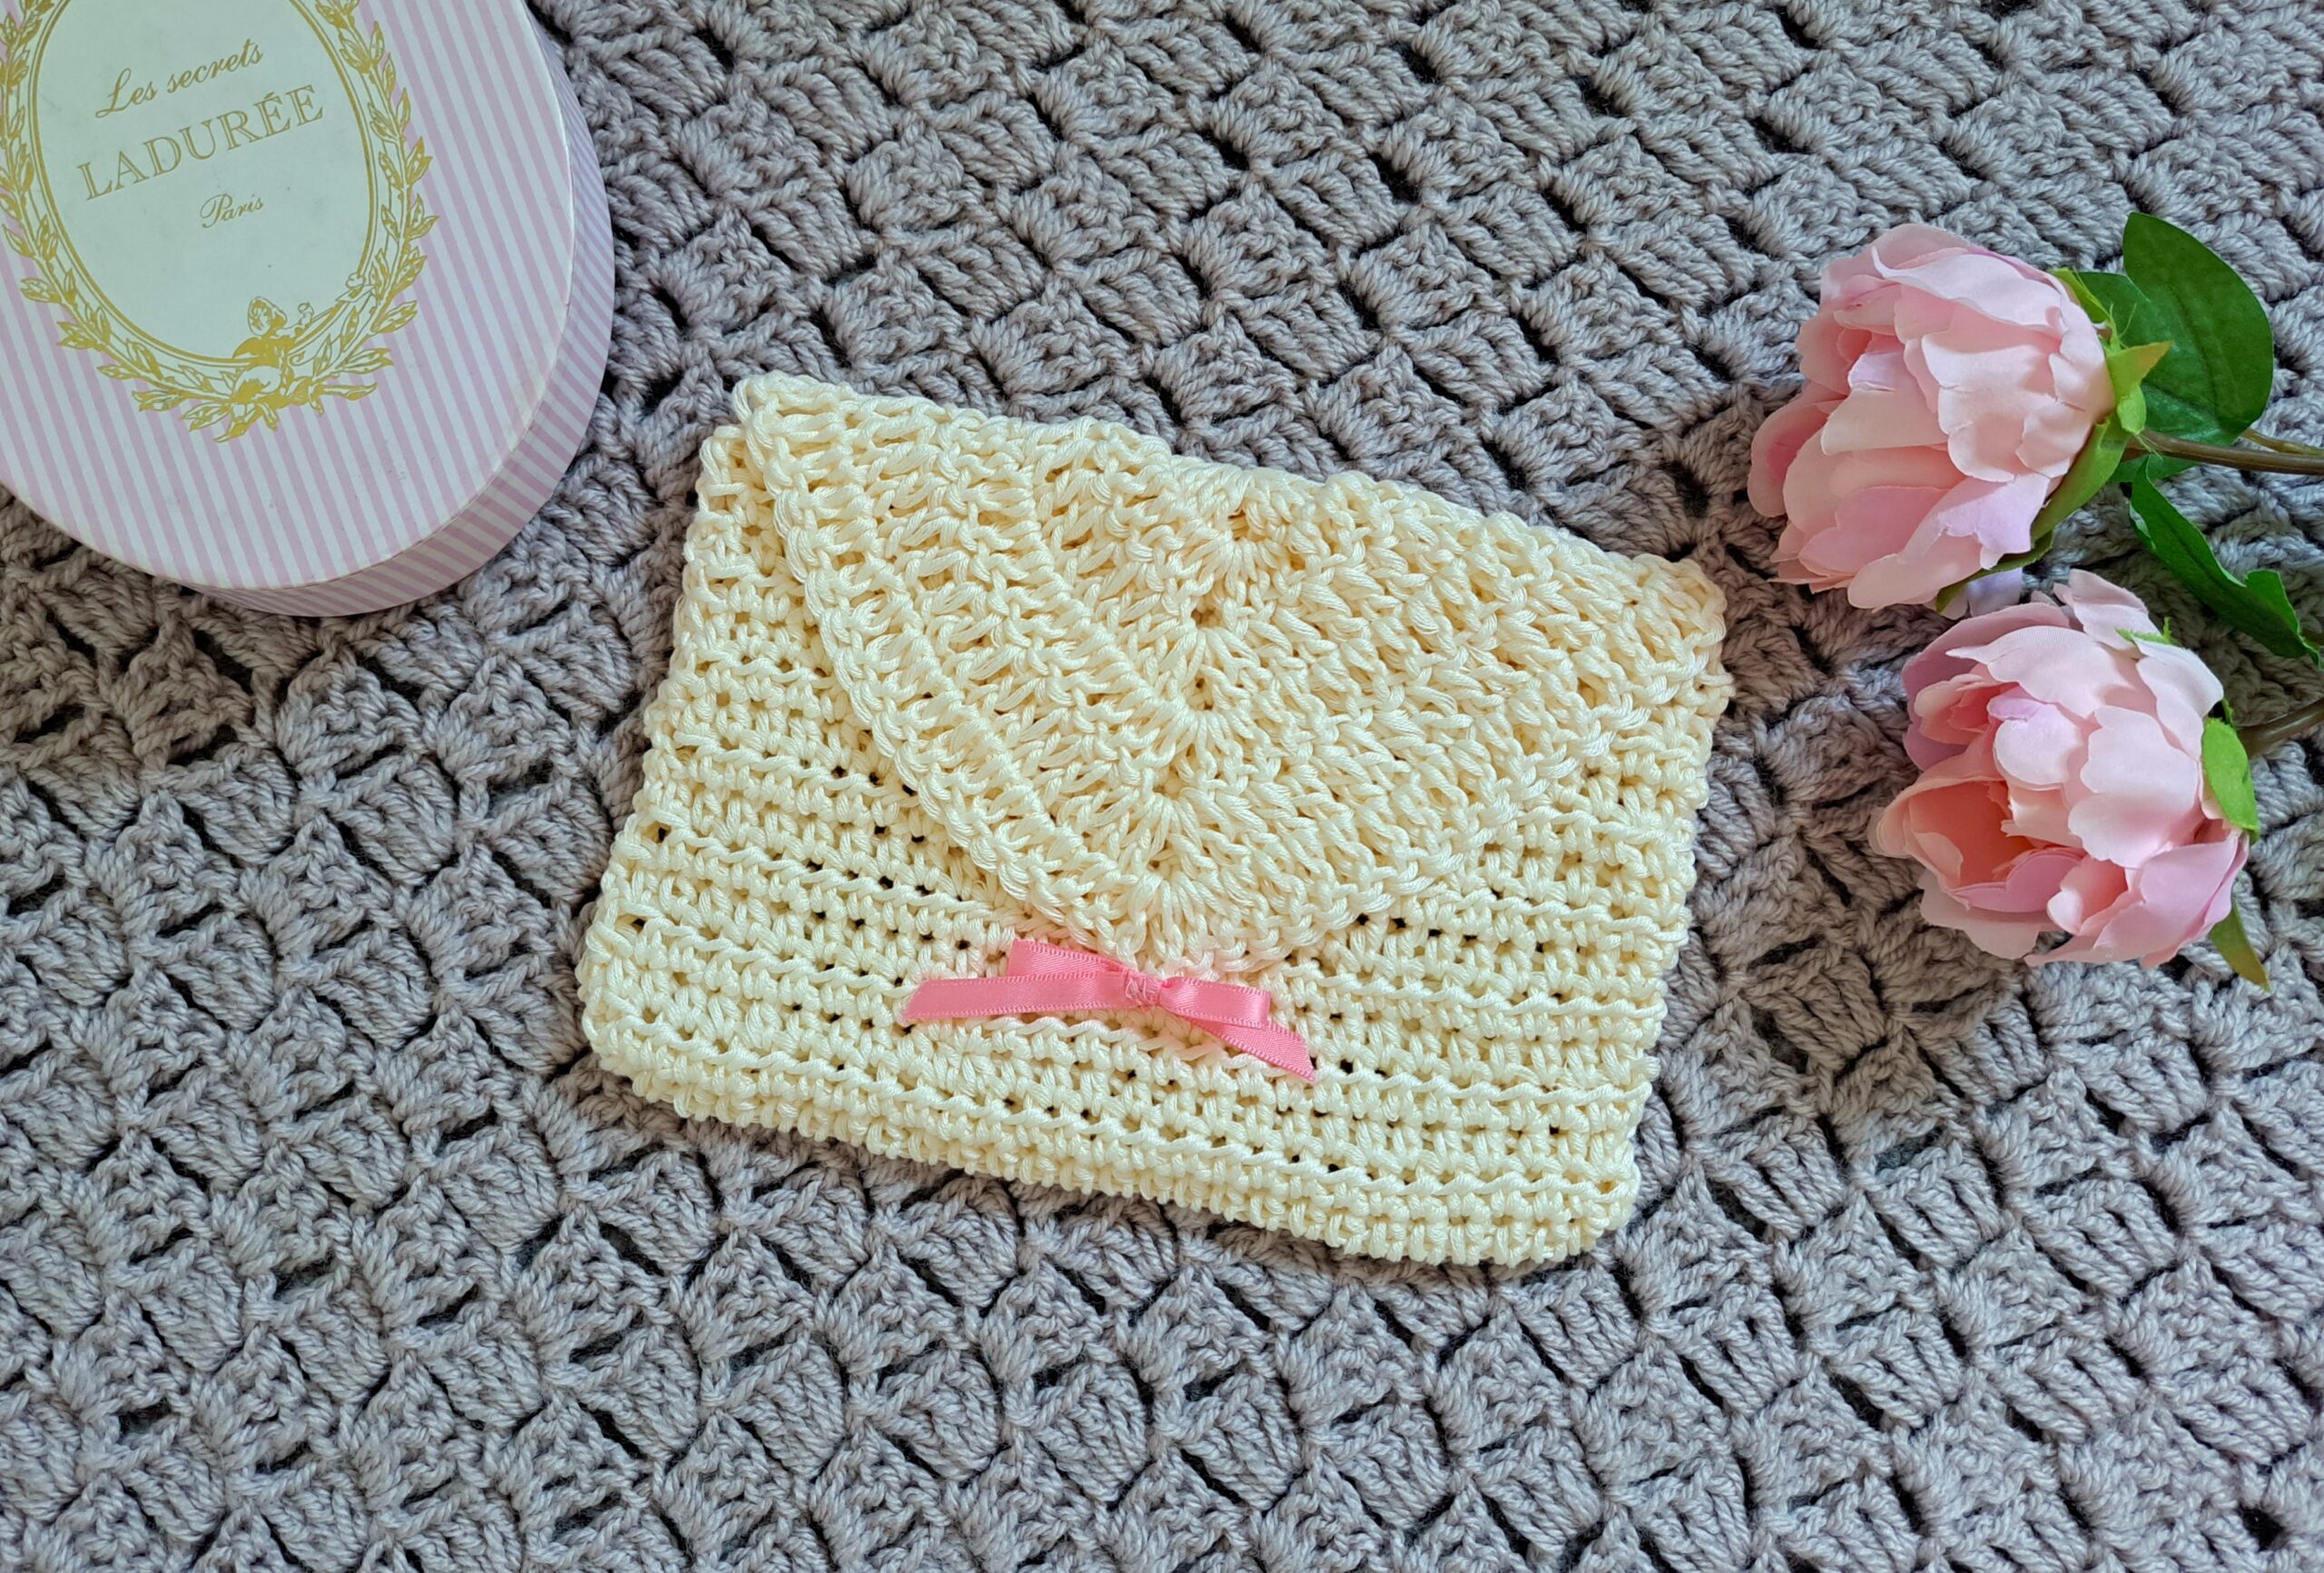
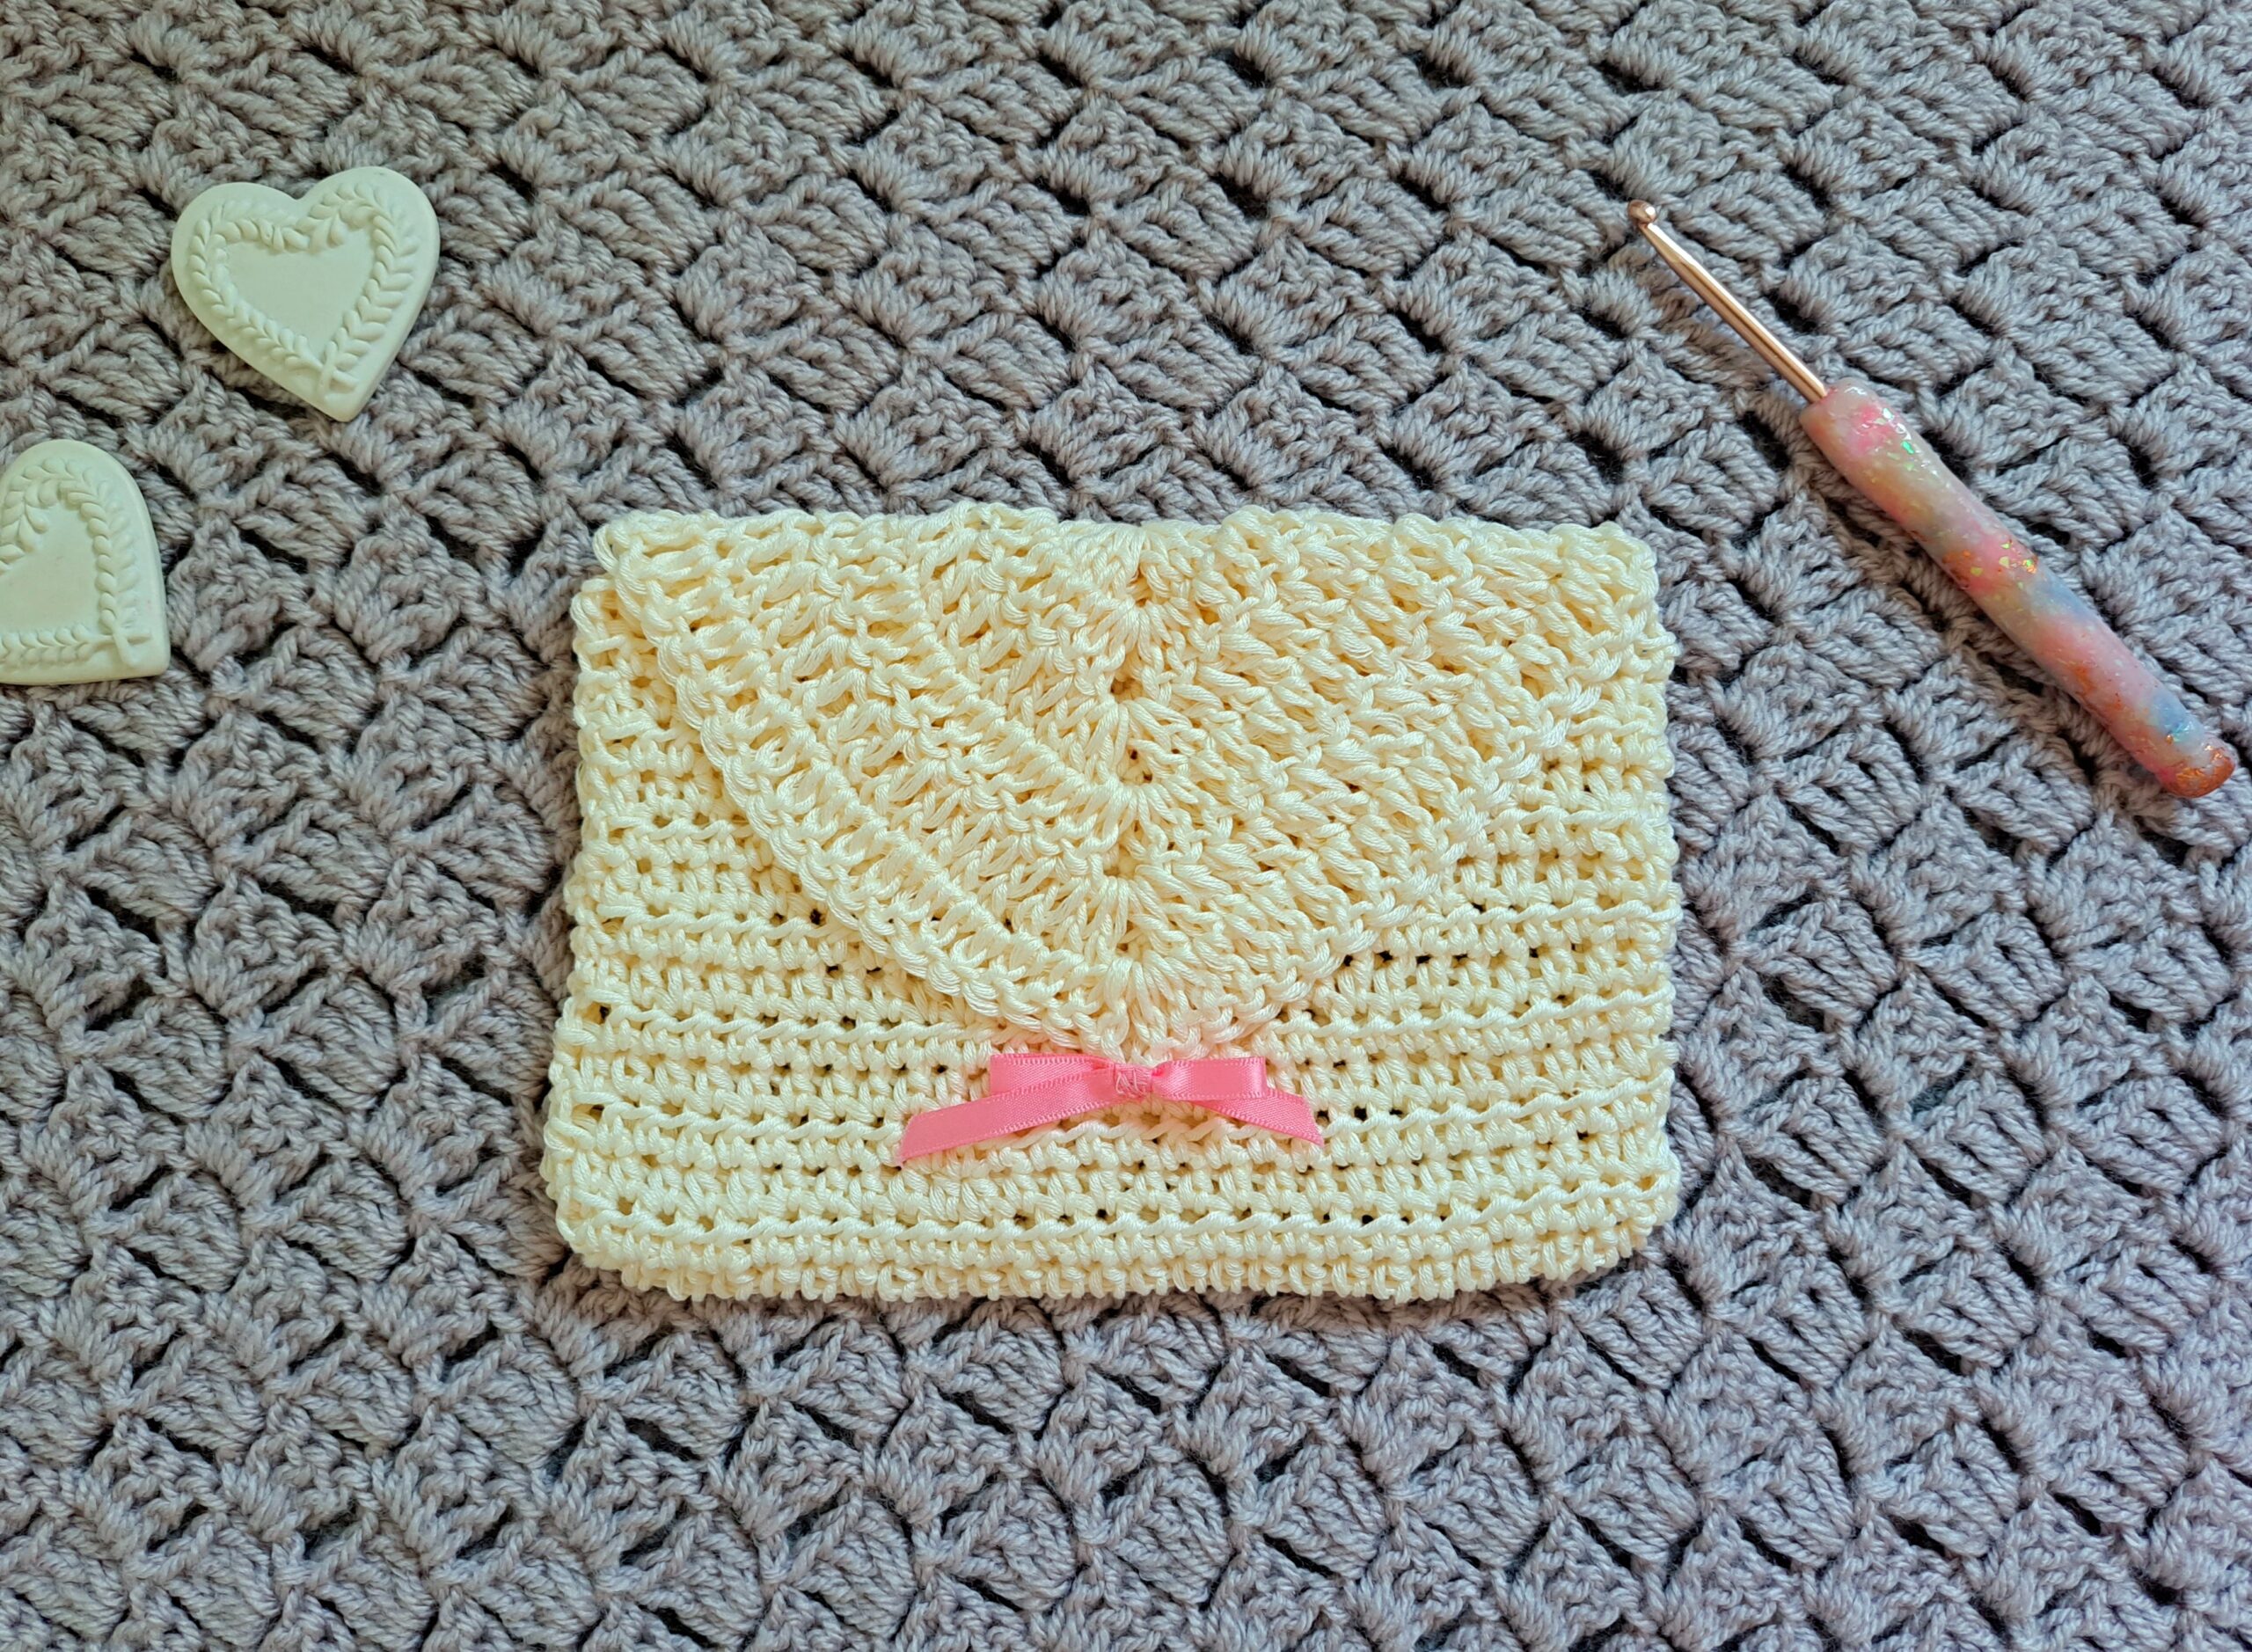
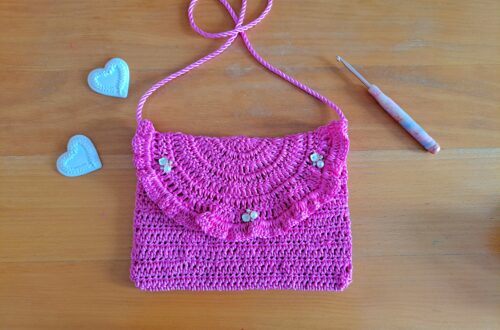
Hi everyone, this week I am bringing to you this new crochet dainty purse (free pattern). This crochet project is perfect for beginners, and looks beautiful in all seasons. It is a very feminine and dainty purse, and is inspired by Pinterest.
The video tutorial for this project can be found here:
Crochet Dainty Purse Free Pattern: A Pinterest Inspired Project
This crochet purse is Pinterest inspired. Indeed, while I was looking for inspiration on Pinterest, I noticed a crochet trend. This trend was for very cute and dainty little crochet pieces such as purses and bags, which featured either little bows or hearts. I loved this trend so much I started making my very own little Pinterest inspired purse. And I love the result!
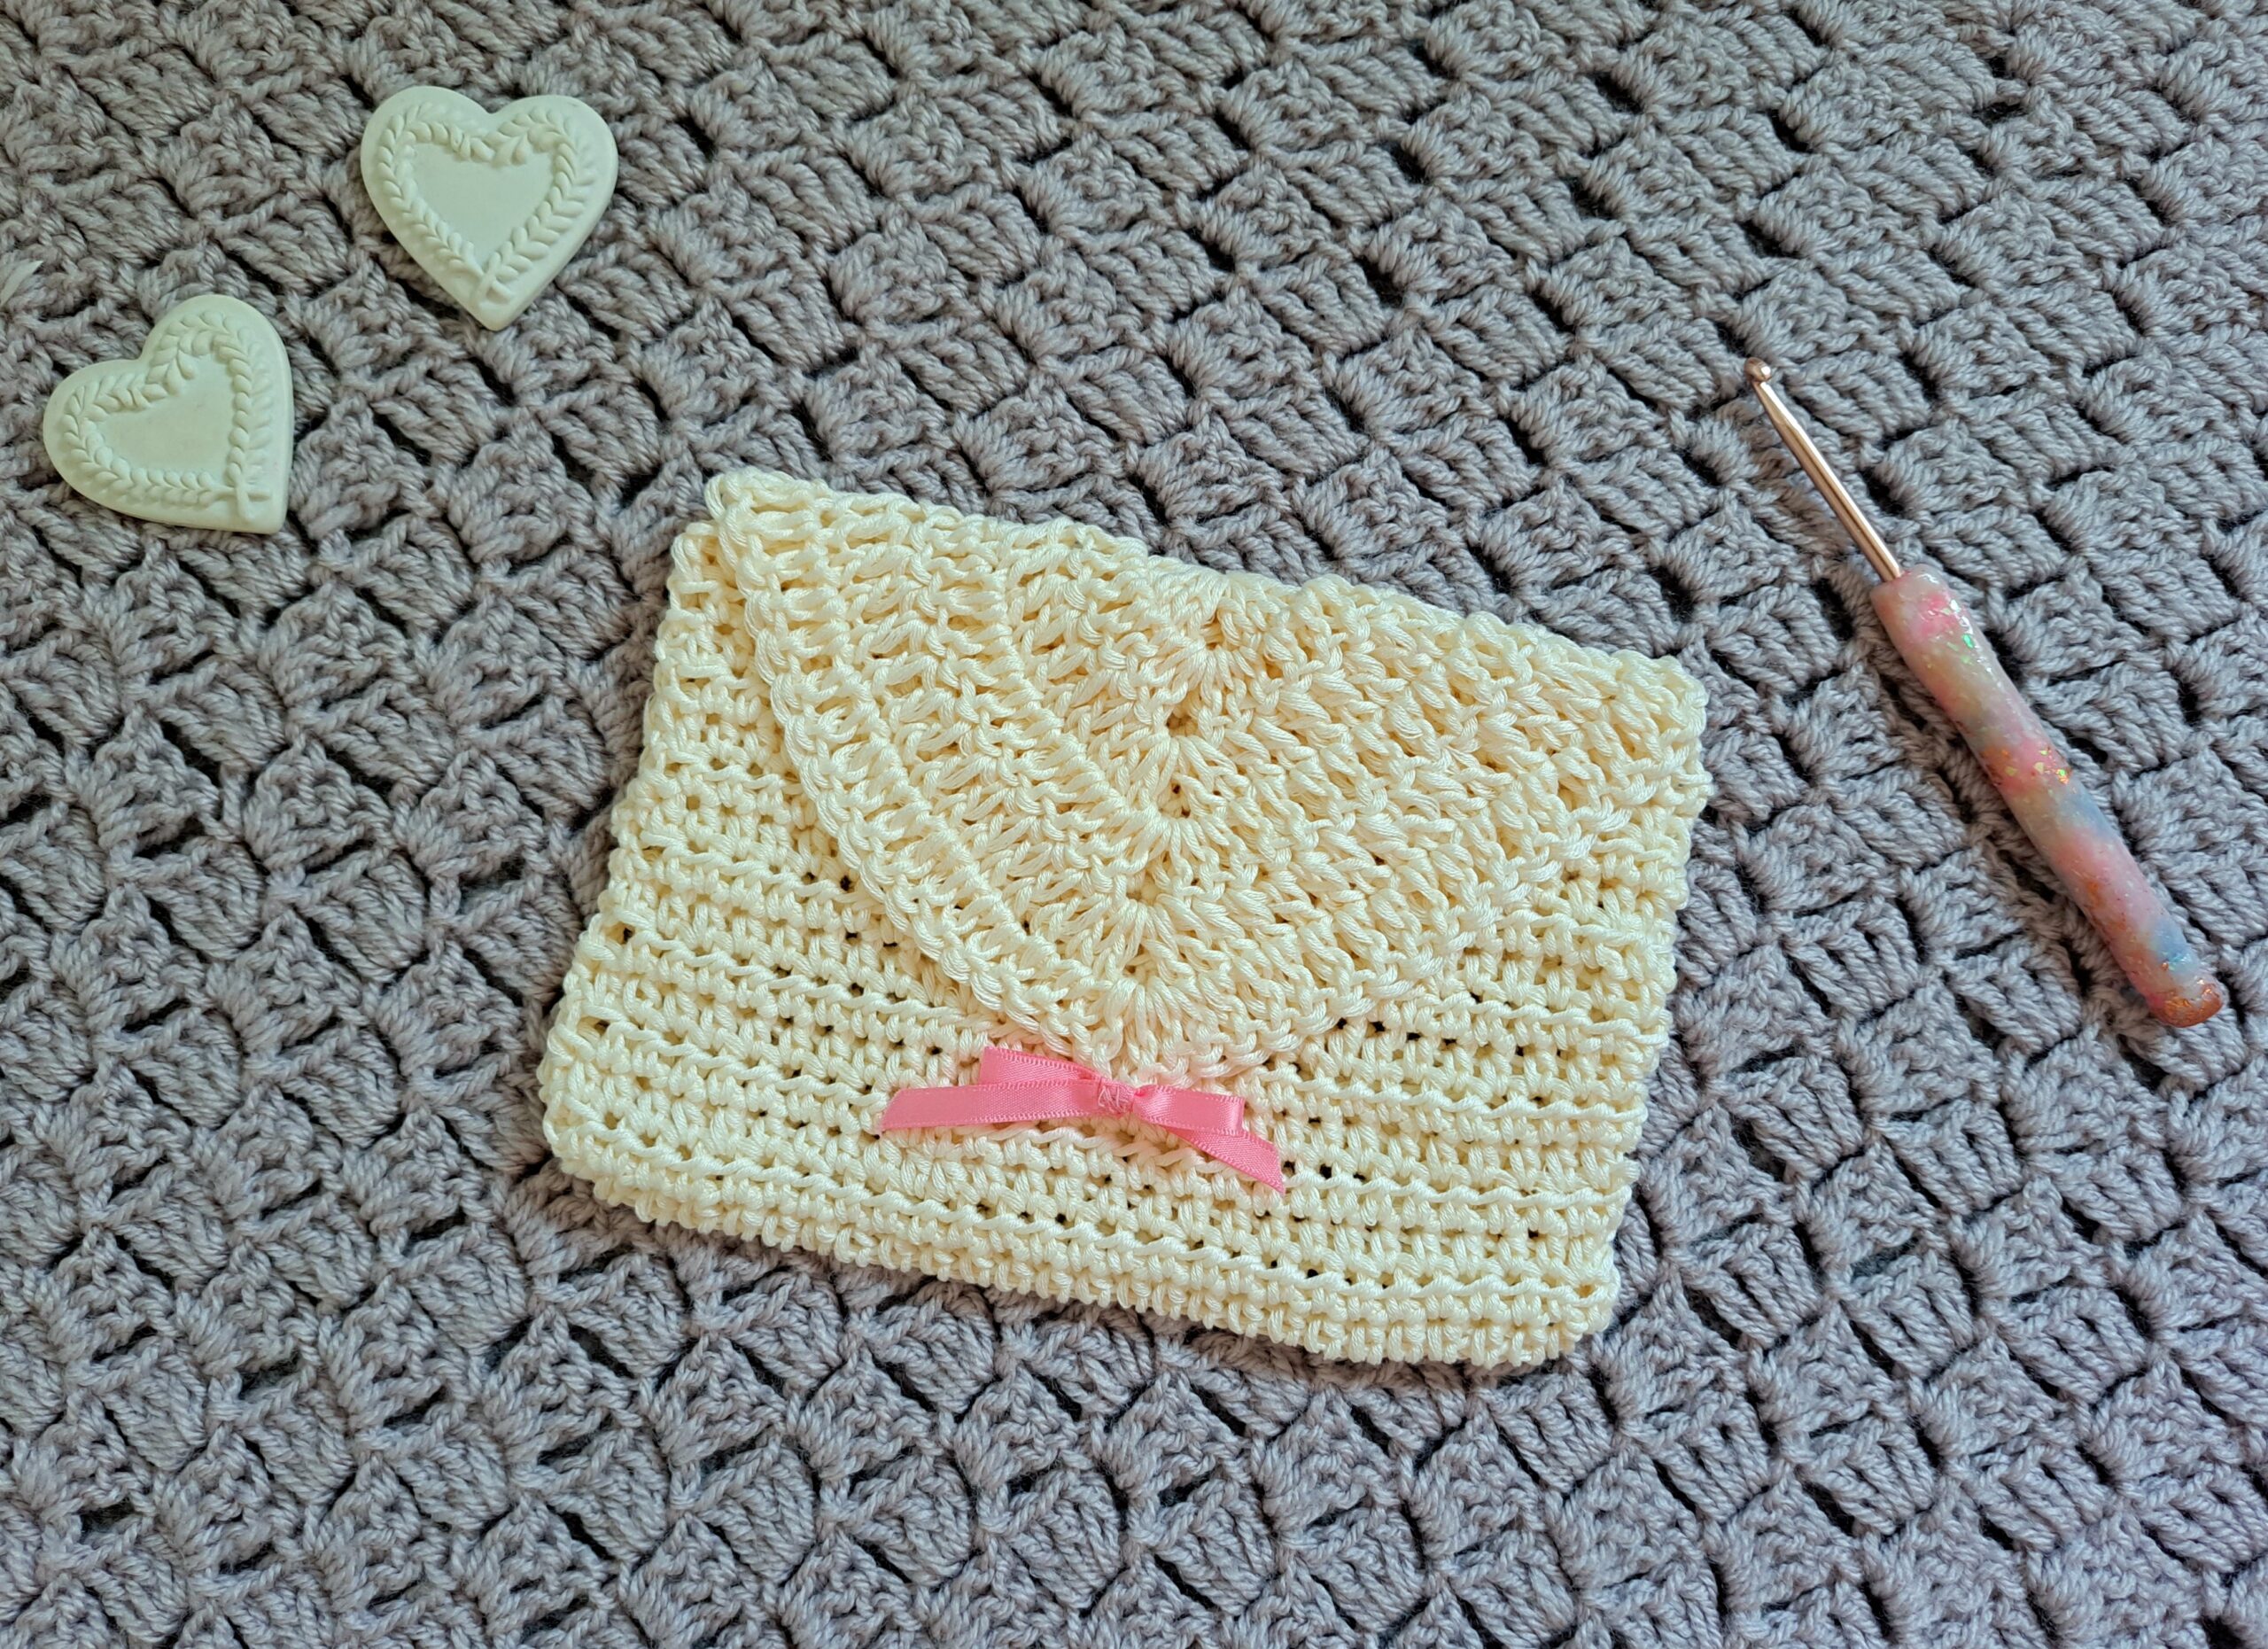
Let me know what if you have noticed this trend too. This trend tends to be inspired by the Cottagecore aesthetic, and features a lot of pastel colors too. It is so cute and I definitely will try making a crochet phone cover too. If you enjoy this aesthetic, don’t forget to check out this Cottagecore inspired bandana.
I love crochet purses so much, and a few weeks ago I created this delicate purse pattern. If you enjoy pinterest inspired projects, you can have a look at this feminine bow, which is a perfect addition to many crochet projects. This headband with flowers can also be added to this very cute and Pinterest inspired crochet section.
Crochet Dainty Purse Free Pattern: The Yarn
I used 100% cotton yarn for this project. Indeed, I made this lovely and delicate purse with Drops Muskat yarn. Once I had made the purse, I added the cute little ribbon to it. I noticed on Pinterest that these Cottagecore inspired projects often featured delicate ribbons or even crocheted hearts and flowers. I love this trend!
Recently I crocheted this beautiful vintage hair scarf with Drops Muskat yarn. This is a very versatile yarn which I have used very often. Indeed, I crocheted this flower headband with this very yarn, as well as a romantic hairband too. These are very easy and feminine projects to make, and I really enjoyed making these. They are indeed so perfect as little gifts for birthdays or Christmas too.
I also designed this sweet and delicate hair ribbon with this yarn. This is a very fun and dainty crochet project; it’s also a very fast project to crochet.
Let me know if you make any of these projects, as I love to hear from you.
Take care and see you soon for a new crochet tutorial,
xoxo Selina.
Connecting with you
I would like to take a moment to thank every single one of you, for supporting me and my crochet journey. Indeed, If you want more exclusive crochet content from me, please do consider subscribing to my Patreon page. Thank you!
I love connecting with my Crochet Community through my blog and Social Media. You can find me on Youtube, Instagram, and Pinterest. I would love to connect with you on these platforms.
If you are on Ravelry, you can find my Ravelry page here. This is a great way to connect with me and have access to all of my PDF patterns. You can also find my Etsy shop by clicking here.
You can also join my private Facebook group to connect.
Subscribe to our weekly newsletter so that you never miss a stitch!
Crochet Dainty Purse: The Pattern
You can purchase the ad free, large print, PDF pattern from my Etsy store here: Crochet Pinterest Inspired Purse PDF Pattern
You can purchase the ad free, large print, PDF pattern from my Ravelry store here: Crochet Pinterest Inspired Purse PDF Pattern
Level: Easy
Notes
I will be using US terms (British terms in brackets)
Materials
2 skeins of Drops Muskat in shade Off White
A 4.5 mm crochet hook
A tapestry needle
Pair of scissors
A little decorative ribbon
Darning thread and needle
Sewing pins (optional)
Abbreviations
Ch: chain
Sk: skip
Sp: space
Sl st: Slip stitch
HDC: Half Double Crochet (UK Half Treble Crochet)
DC: Double Crochet (UK Treble Crochet)
EOR: End of row/end of round
Gauge
4” (10 cm): 14 stitches
4” (10 cm): 11 rows
Size of finished purse
5,5” (14 cm) x 8” (20 cm)
General notes concerning this pattern
For this project, we will be crocheting 2 different pieces to create bag.
First we will be crocheting a long rectangle that will be the front and back panels (once folded and sewed); then we will be making the V shaped front flap.
Once all these items have been made, they will be assembled and sewed as explained below. Then the simple decorative ribbon will be stitched to this project.
Pattern begins here
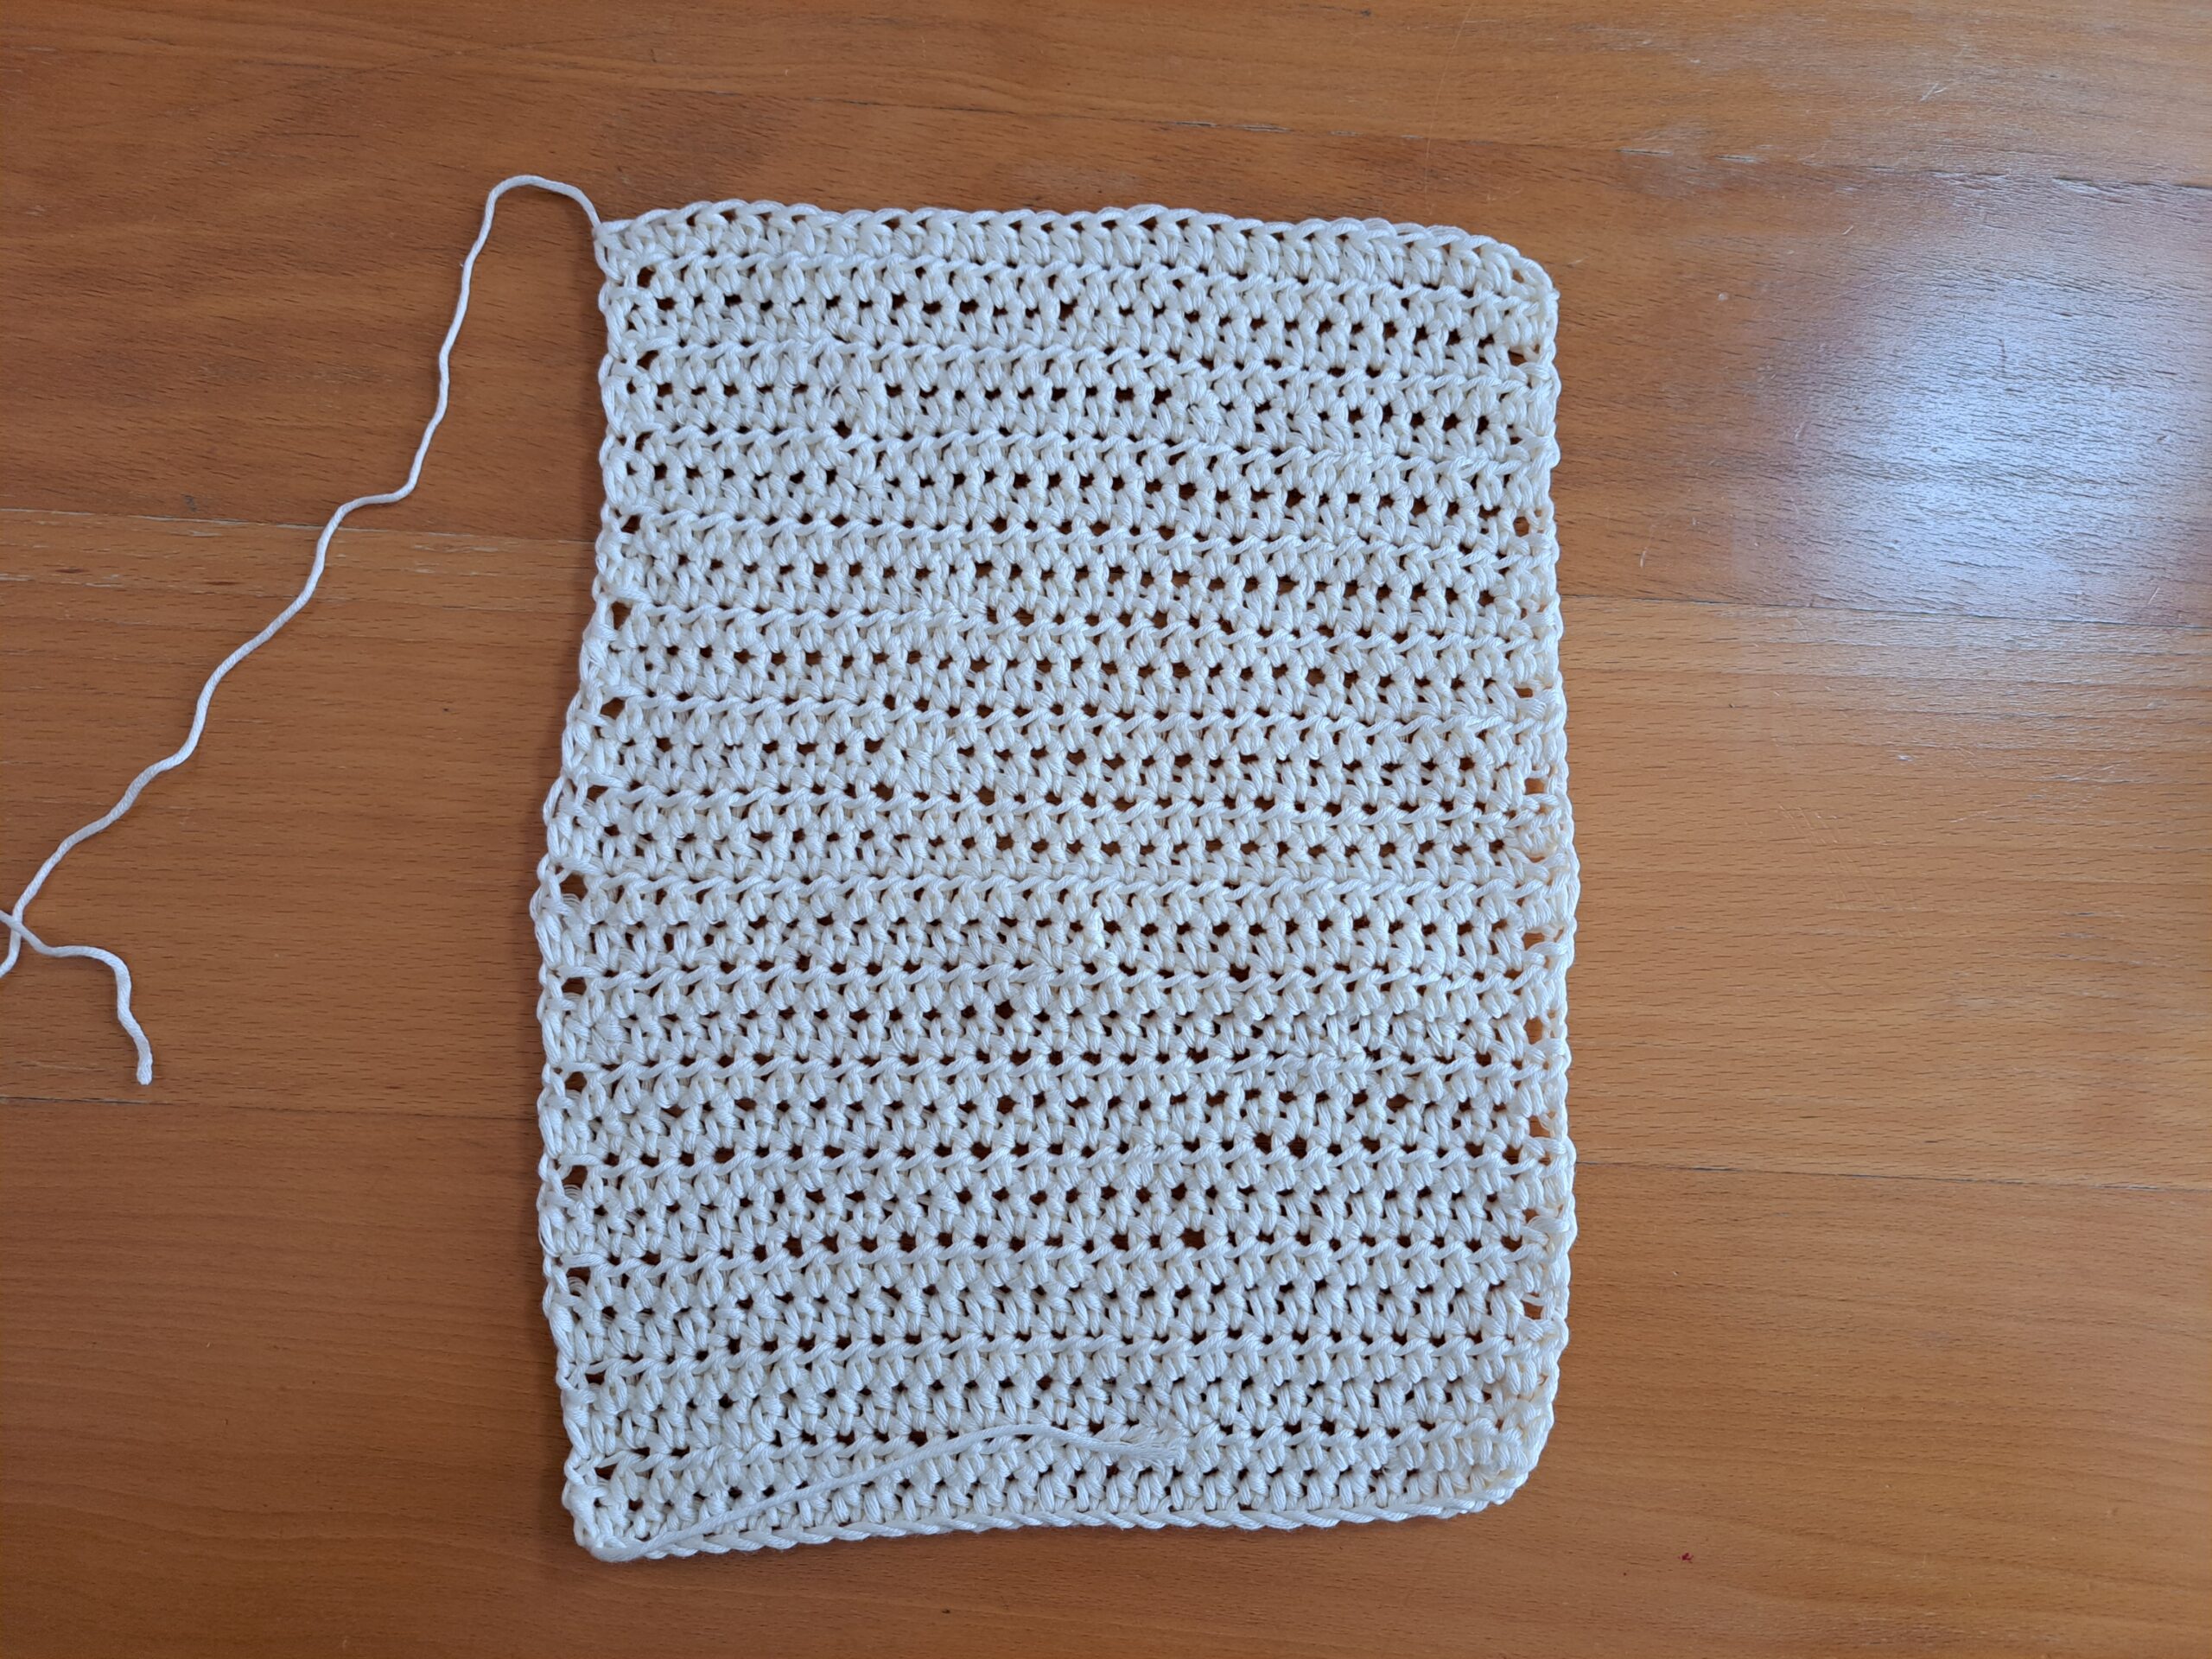
Create rectangle that will be the front and back panels once folded over and sewed
Make a slip knot, ch 30.
1: HDC in 3rd ch from hook (first ch 2 counts as a HDC), HDC into each ch until eor.
2: Ch 2 (=HDC), turn your work, HDC into 2nd HDC from previous row, and into each HDC until eor (including ch 2 from previous row).
3-29: Repeat row 2.
Fasten off, leaving long tail for sewing in seam.
Flap
To start, make a slip knot; ch 4, sl st through 1st st to form a ring.
Row 1: Ch 3 (=DC), 5 DC in ring, ch 2, 6 DC in same ring.
Row 2: Ch 3 (=DC), turn your work, DC into same 1st stitch (=2 DC together in one stitch). DC into each DC until center ch 2 space. Place 2 DC, ch 2, 2 DC into center space. DC into every DC until eor, and place 2 DC together in last stitch (ch 3 from previous row).
Row 3-6: repeat row 2.
Sewing project together
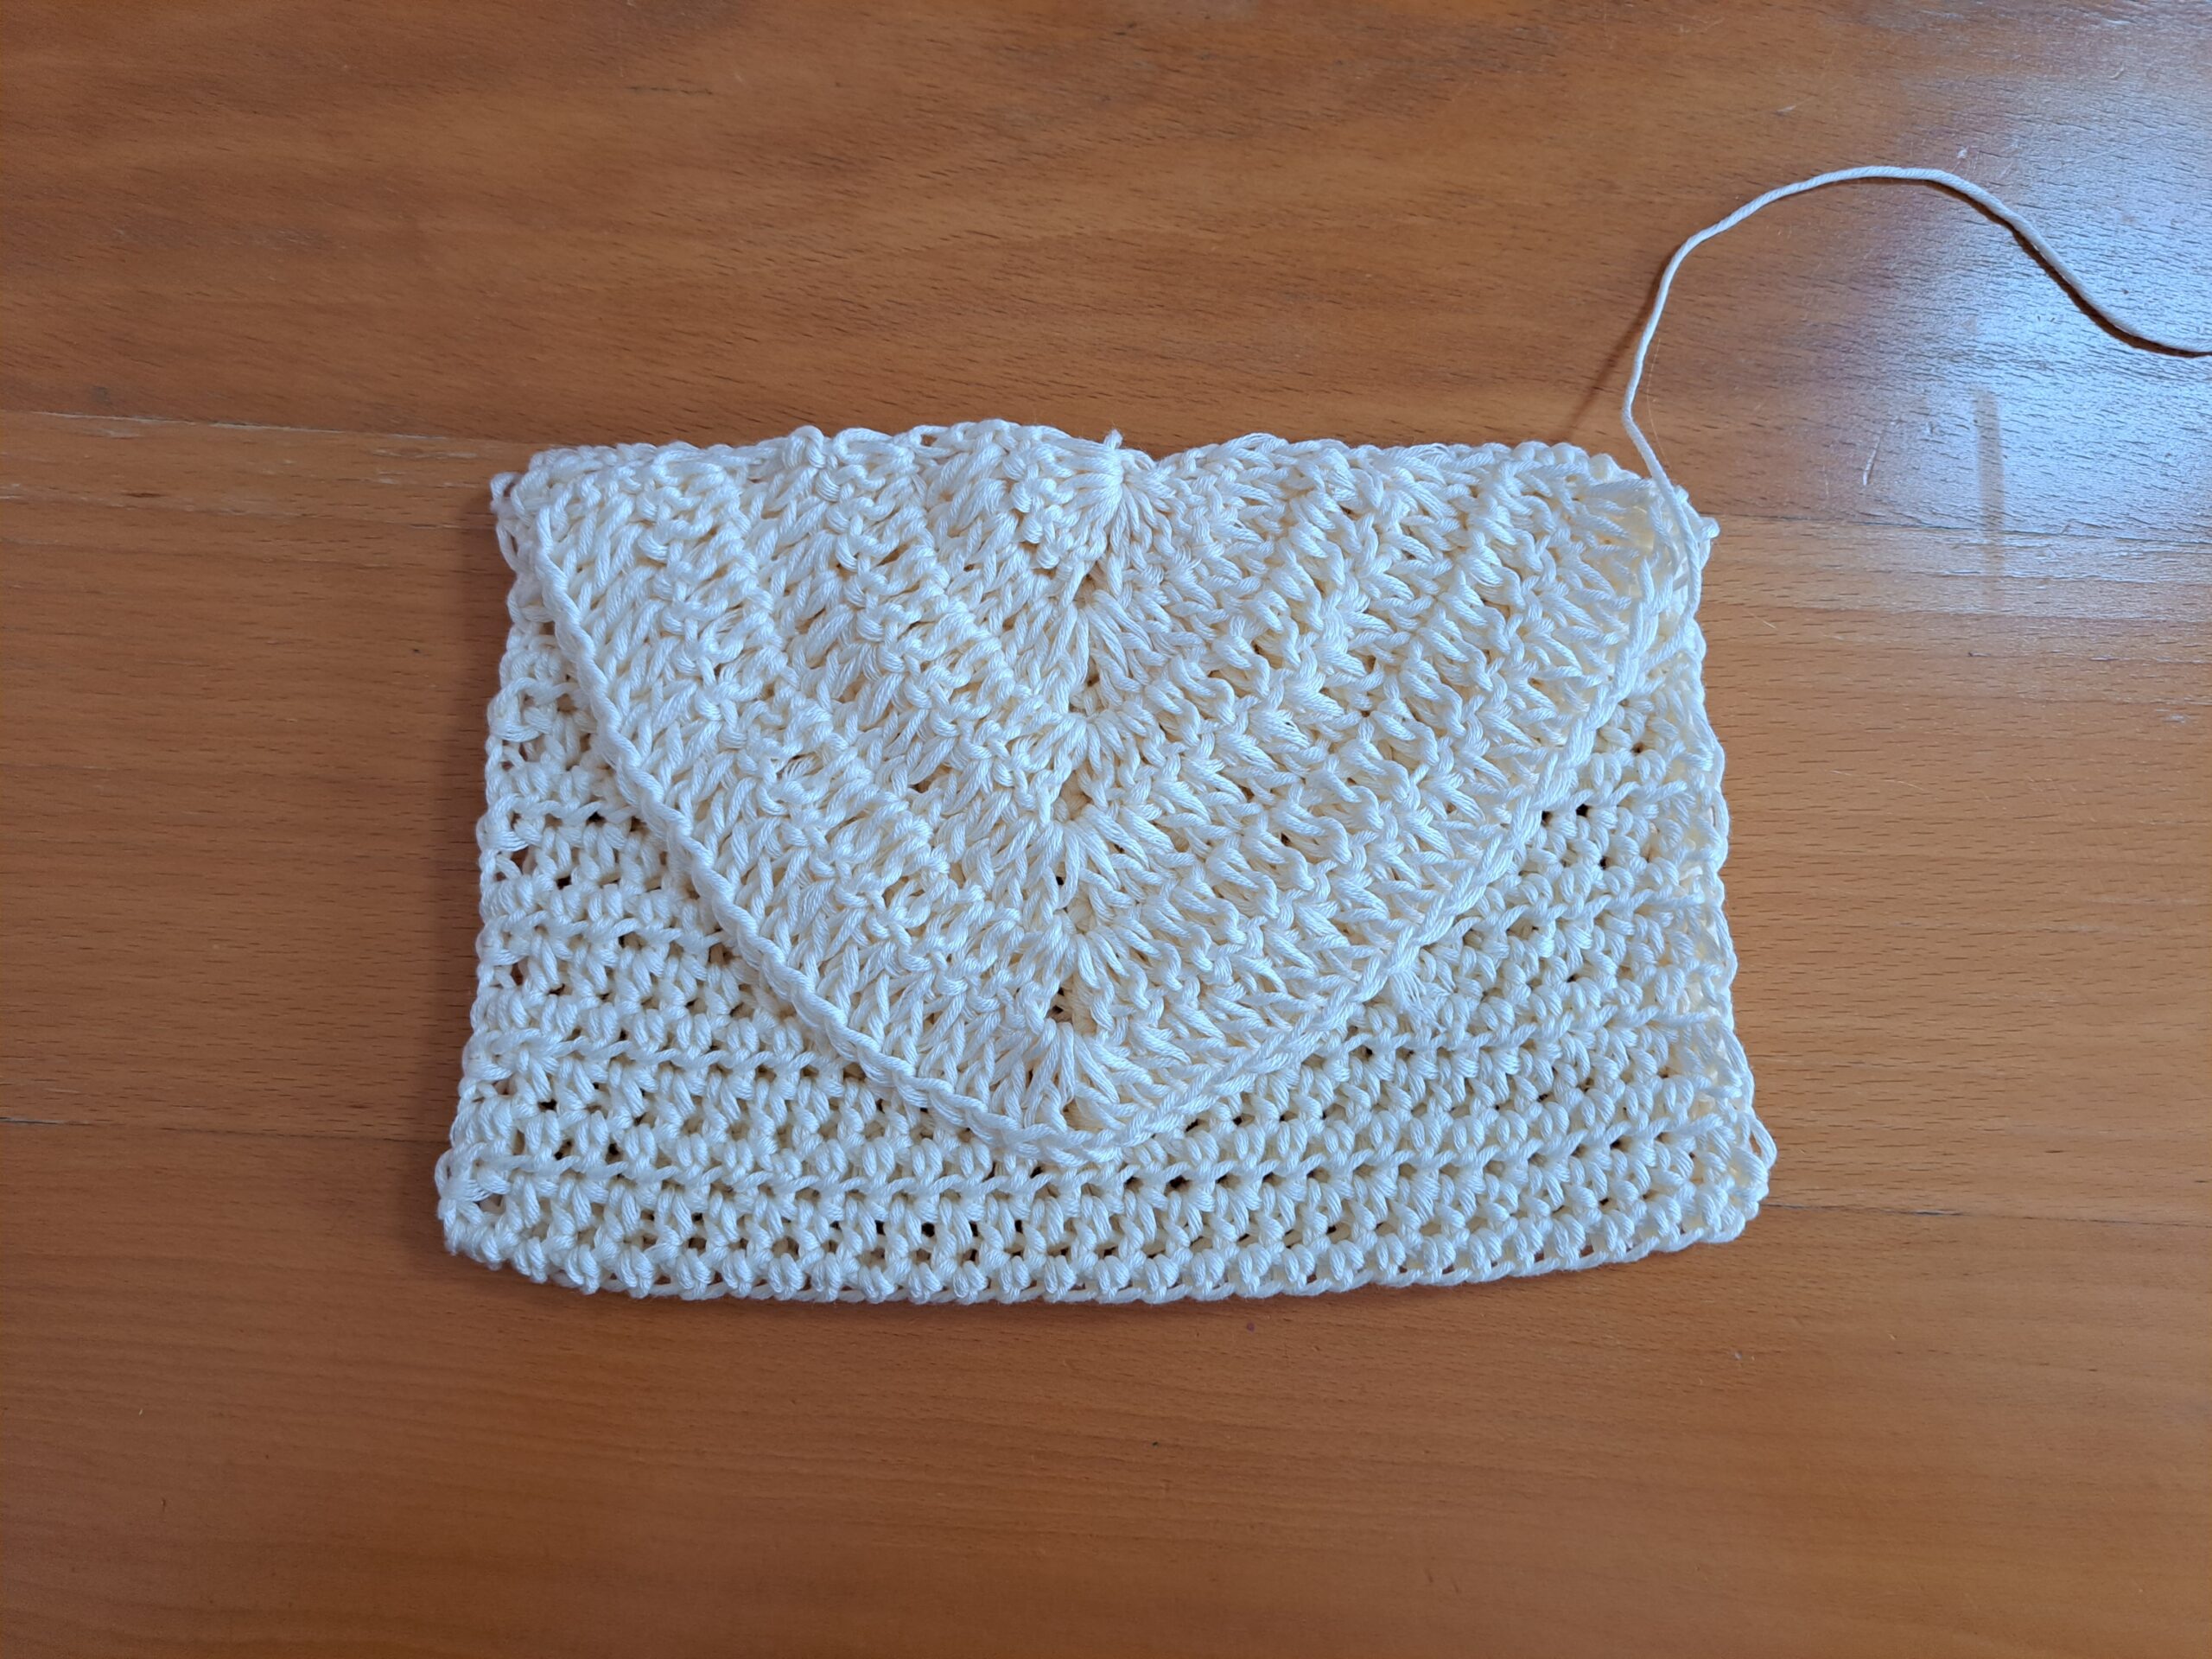
Place your rectangle on a flat surface, and fold one side over so as to create the front and back panels as seen in photograph below:
You will now be sewing the two sides of the project so as to create bag shape.
Firstly, using long tail and tapestry needle, start sewing one side up using the mattress stitch. Once you have reached the top of the project, tie a knot and fasten off, sewing in all loose ends.
Next, repeat the same thing on the other side (attach a loose piece of yarn for seaming as there is no long tail on that side of project).
Sew on the flap to the back panel
Secure your flap onto the back panel with sewing pins (optional). Sew the flap onto back panel, fasten off and tidy up loose ends.
Turn your project inside out so that the right side is now facing.
Sew your ribbon onto the project
Now you will be sewing your ribbon onto the front panel of the project with the darning thread and needle.
Place your ribbon as seen in photograph below, making sure it is centered and straight.
With darning thread and needle, secure each ornament one by one onto the flap of the bag.
Fasten off and tidy up all loose ends.


You May Also Like
Crochet La Vie en Rose Wrap
Crochet Romantic Boho Bag Free Pattern