Crochet The Cafe Des Arts Wrap
Crochet The Cafe Des Arts Wrap
Hello everyone, this week I am back with this fun tutorial on how to crochet The Cafe Des Arts Wrap. This is a super easy project to crochet, and I loved every minute of it! It is super easy, and creates a mid-season Boho shawl that I love!
You can find the video tutorial for this project on my Youtube channel here:
Crochet The Cafe Des Arts Wrap: behind the name
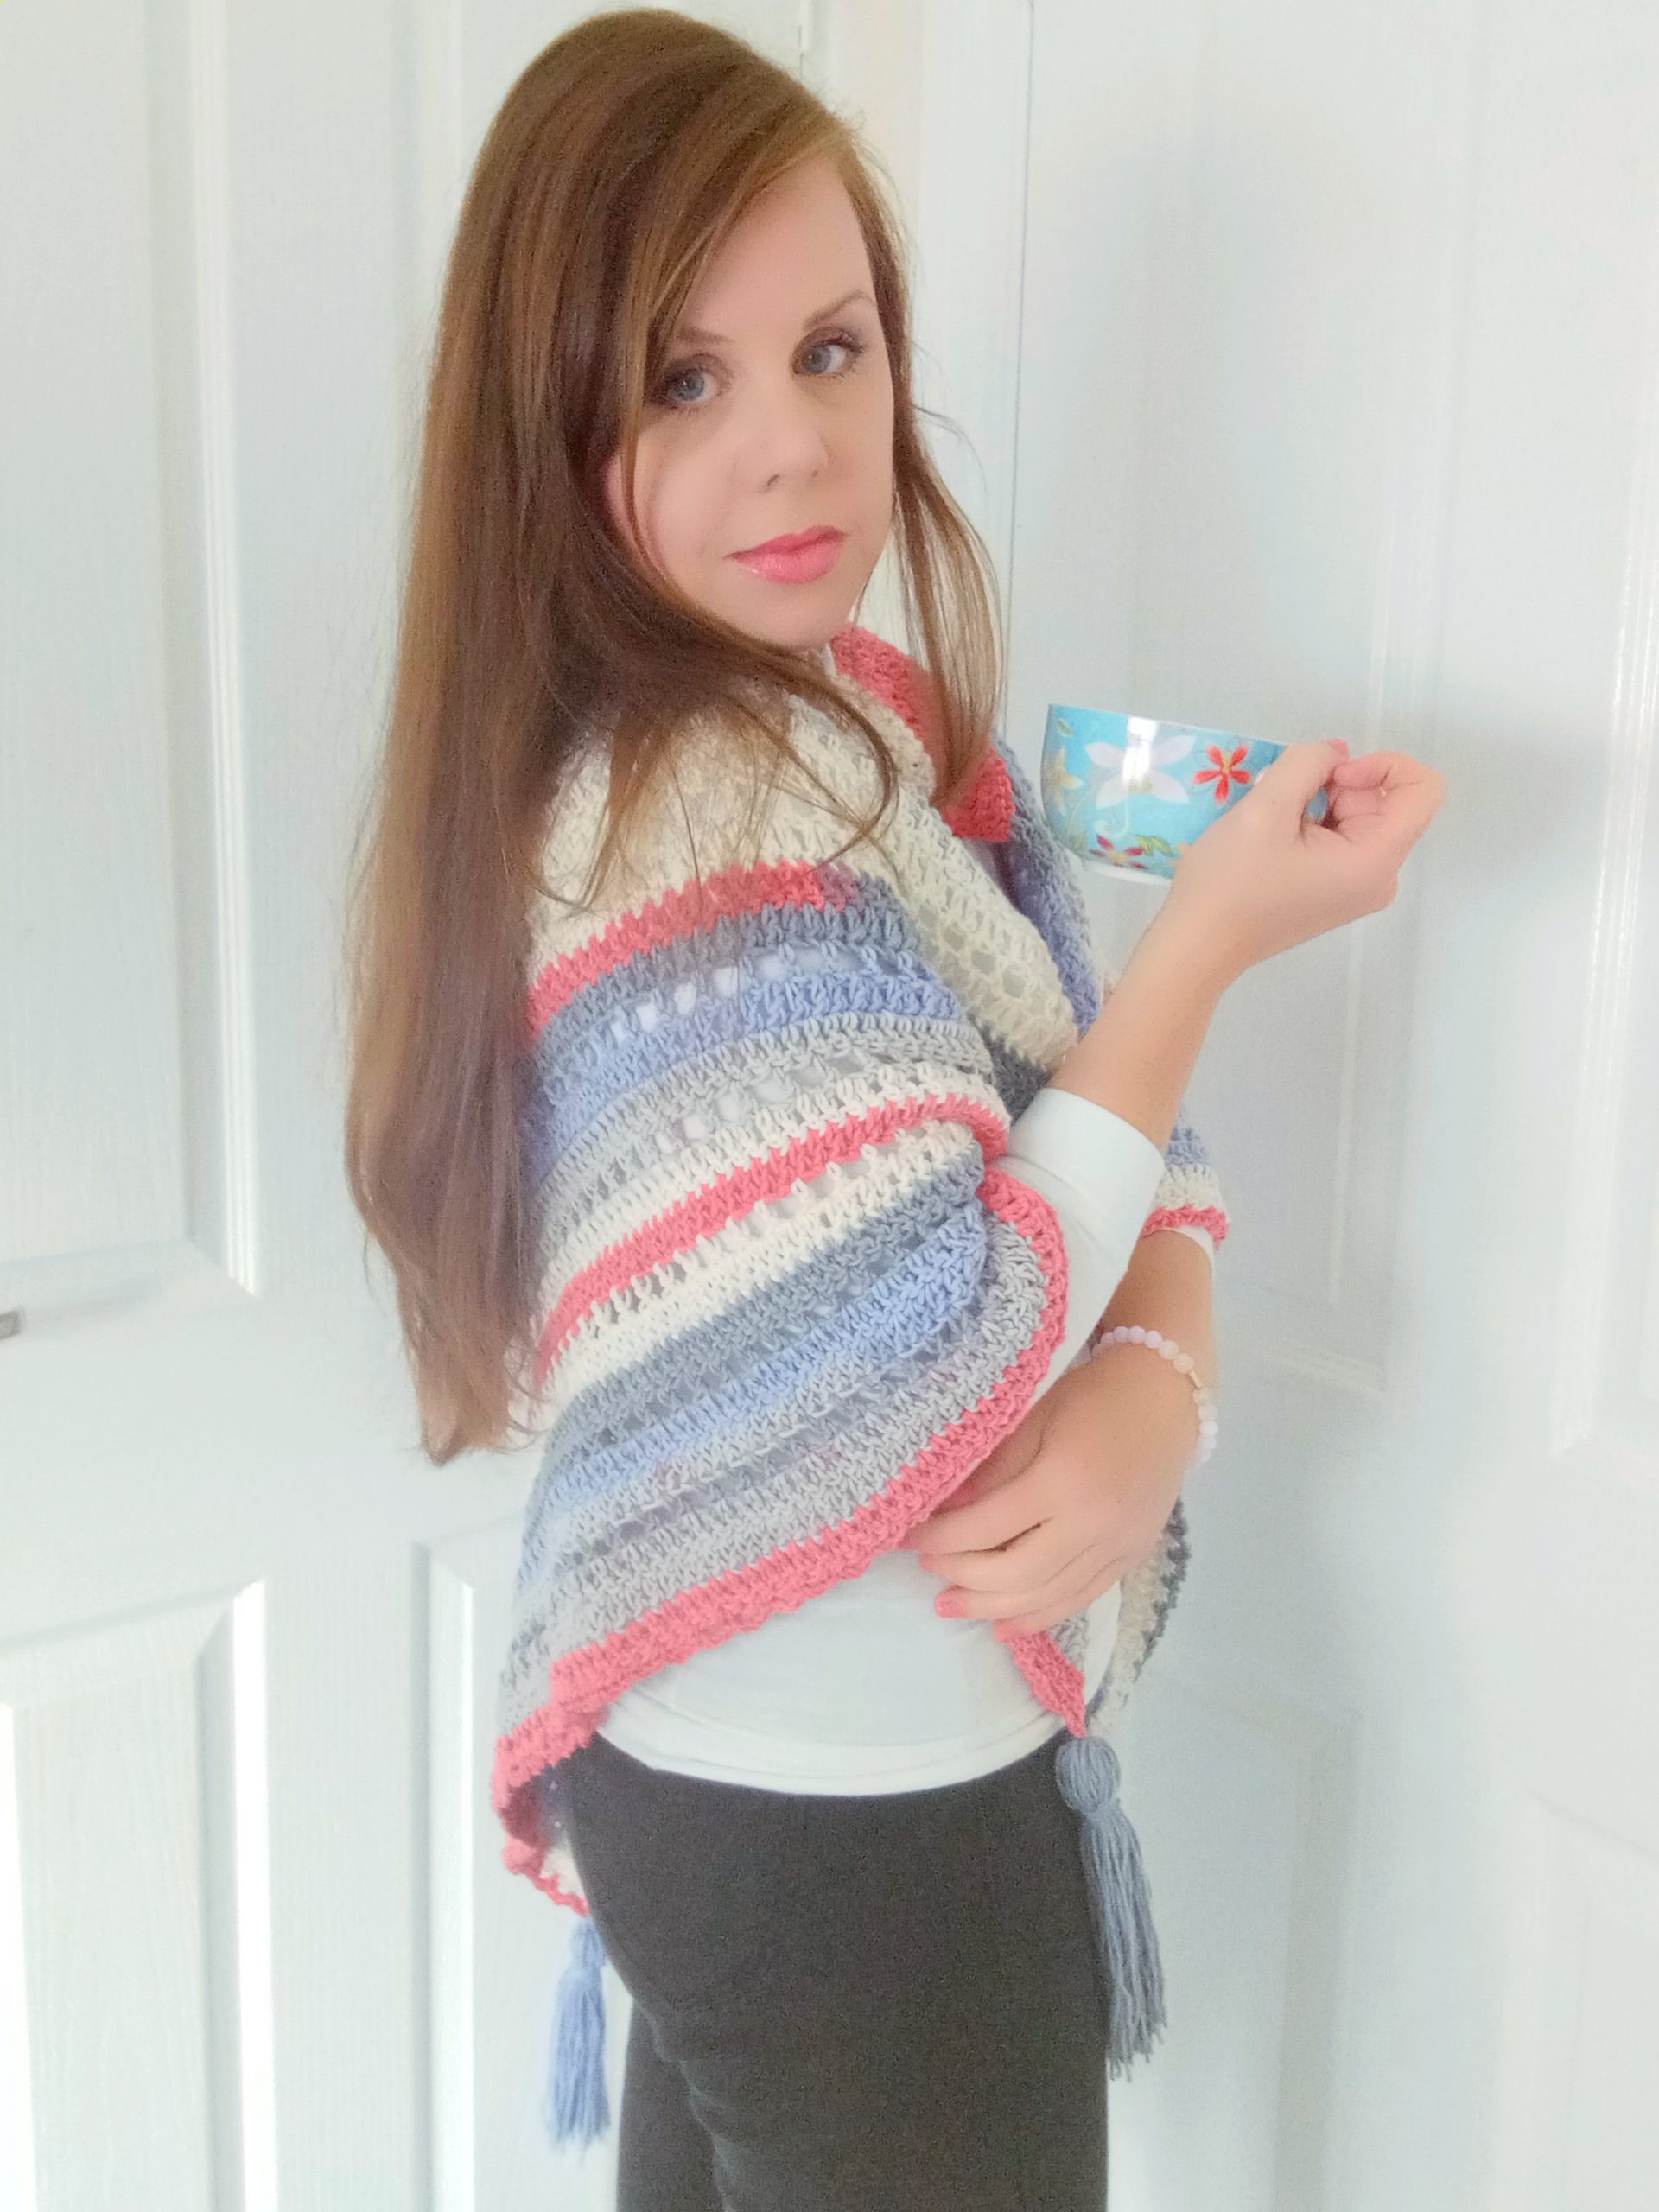
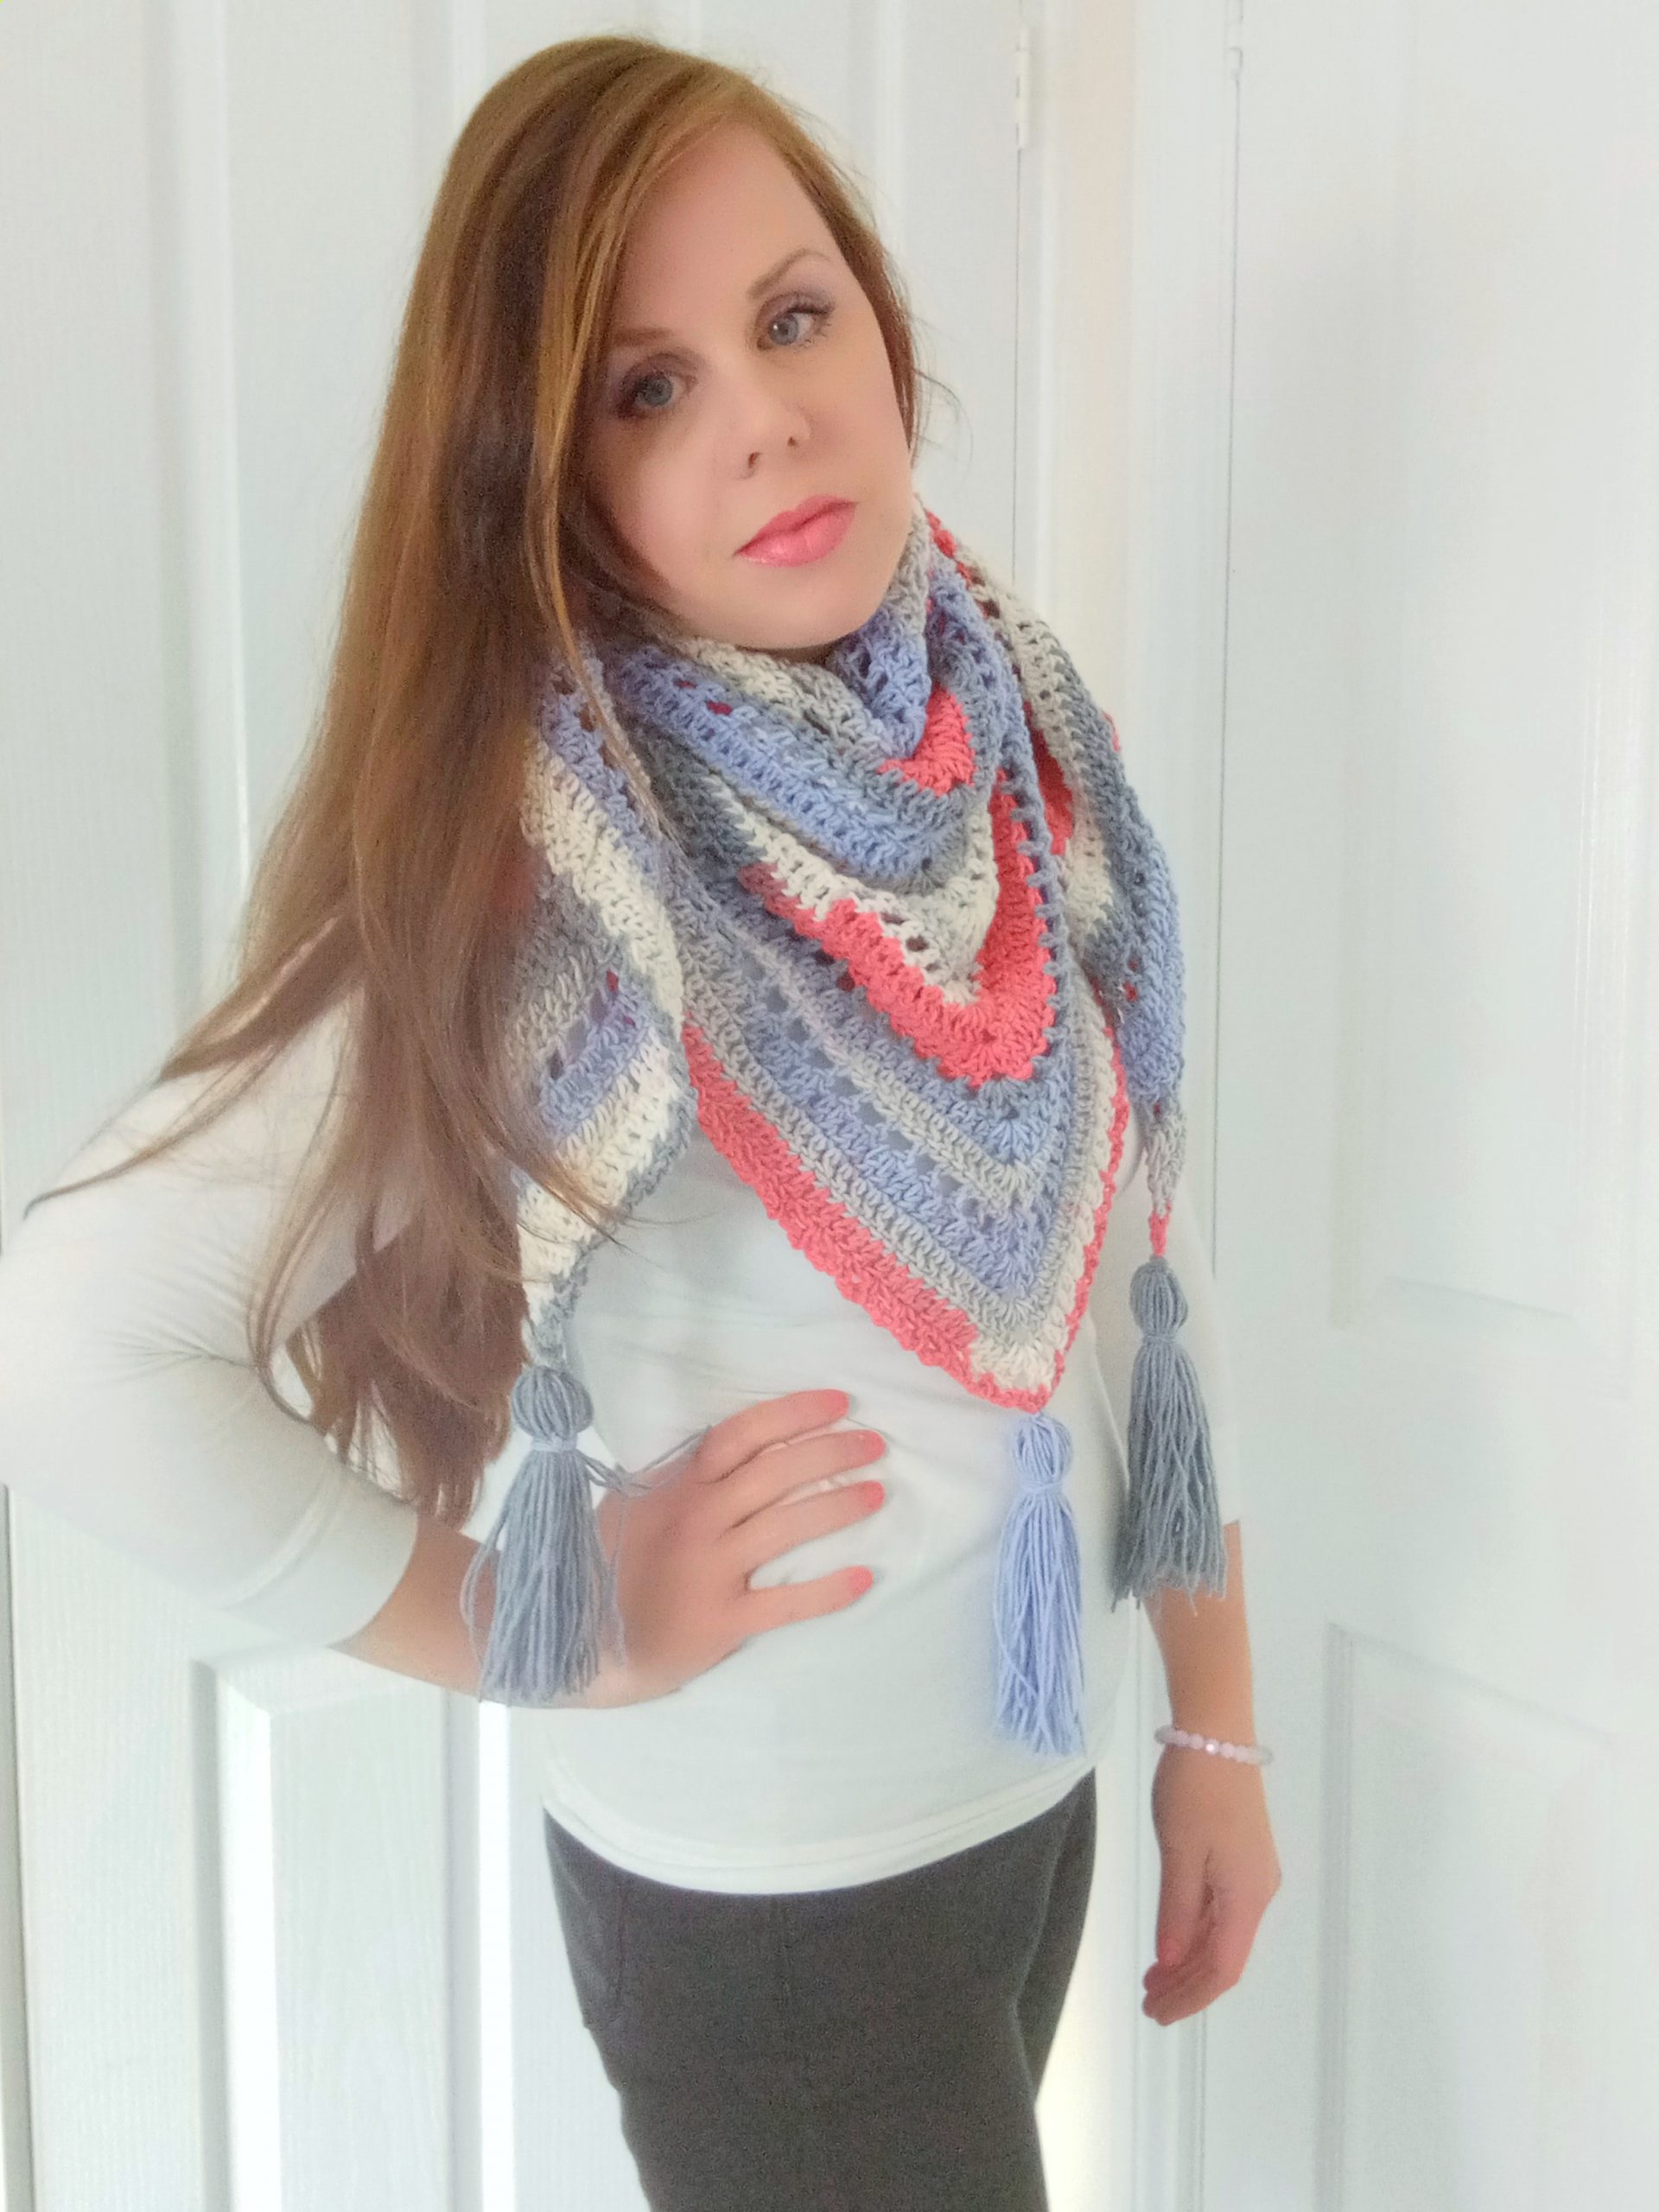
I was inspired to name this project The Cafe des Arts Wrap. Indeed, the whole vibe of this bohemian triangle shawl reminds me of a cozy Parisian accessory. I can see myself wrapped inside this shawl on chilly Autumn morning, reading a book and having a coffee in a typical Parisian cafe. I loved the name Cafe des Arts because this is a very typical name for a French cafe. As you know, I love the whole vibe of French cafes, being French myself, and I had wanted to create a wrap reminiscent of my native country.
I have already created a French vibes Parisian Crochet Wrap. I crocheted The Belle Parisienne Wrap a few years ago, and it is still one of my favorite projects.
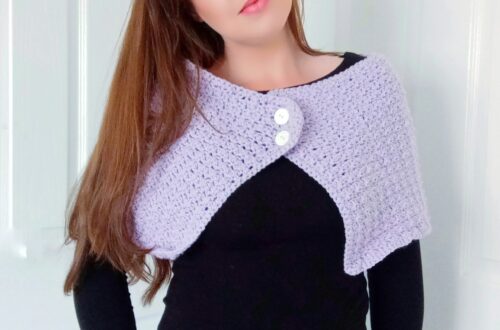
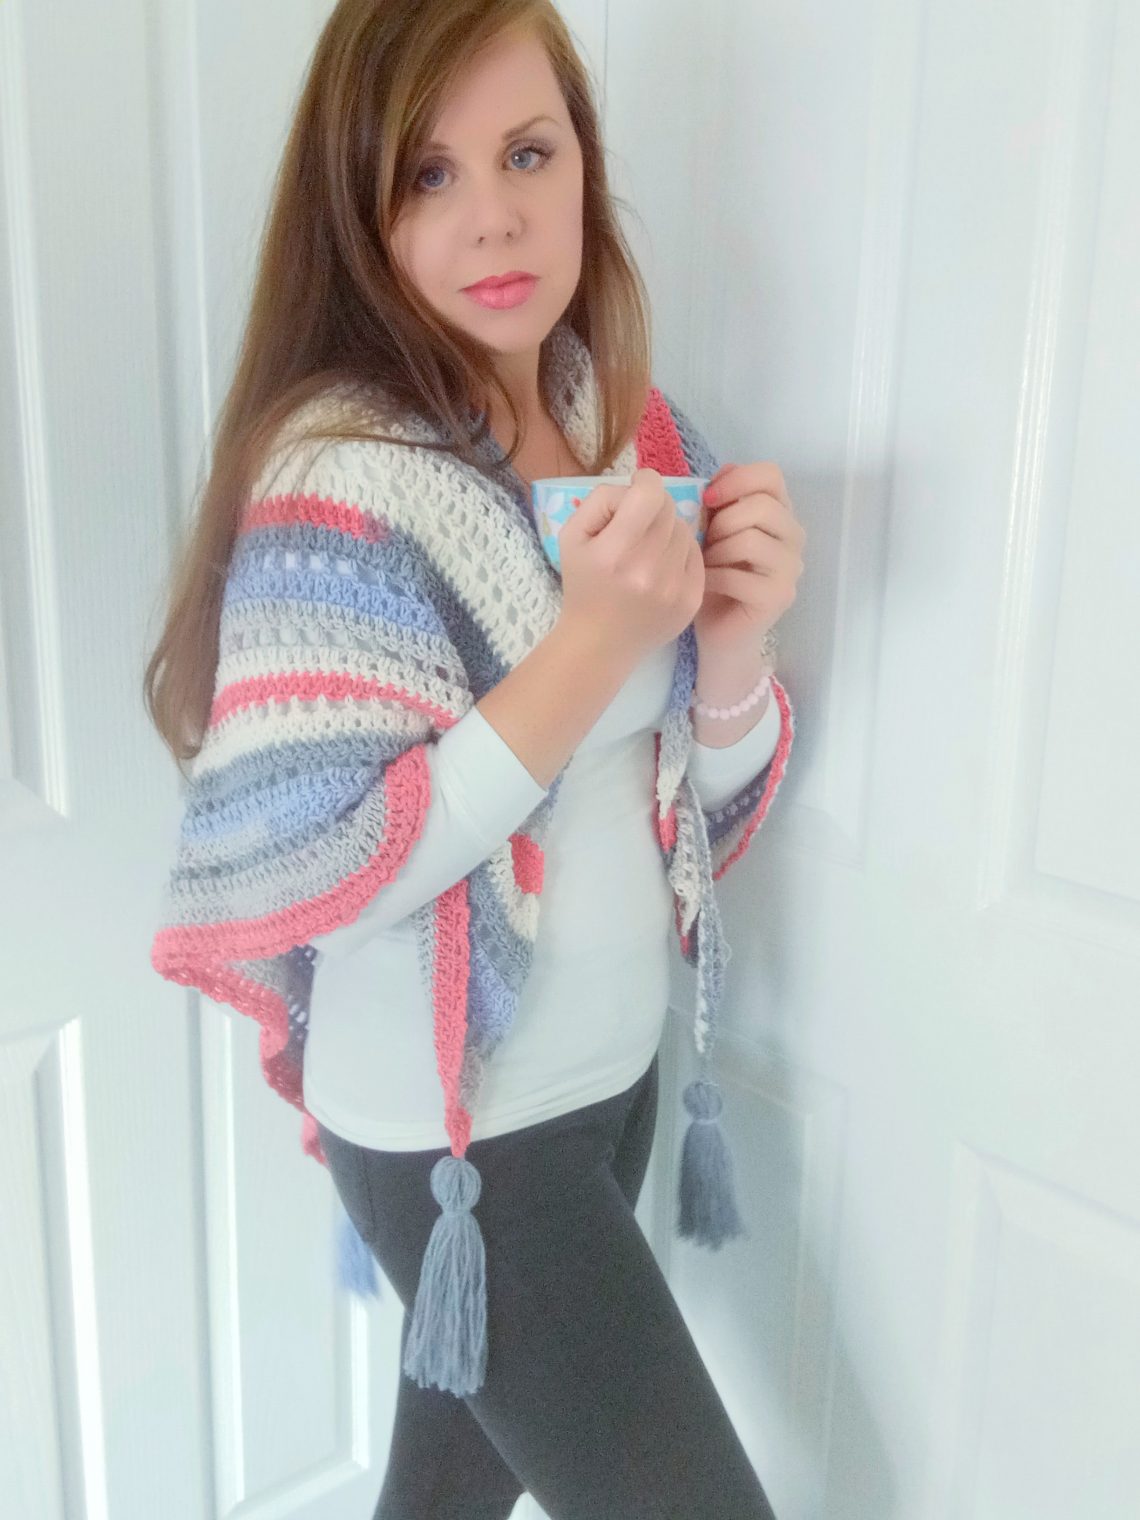
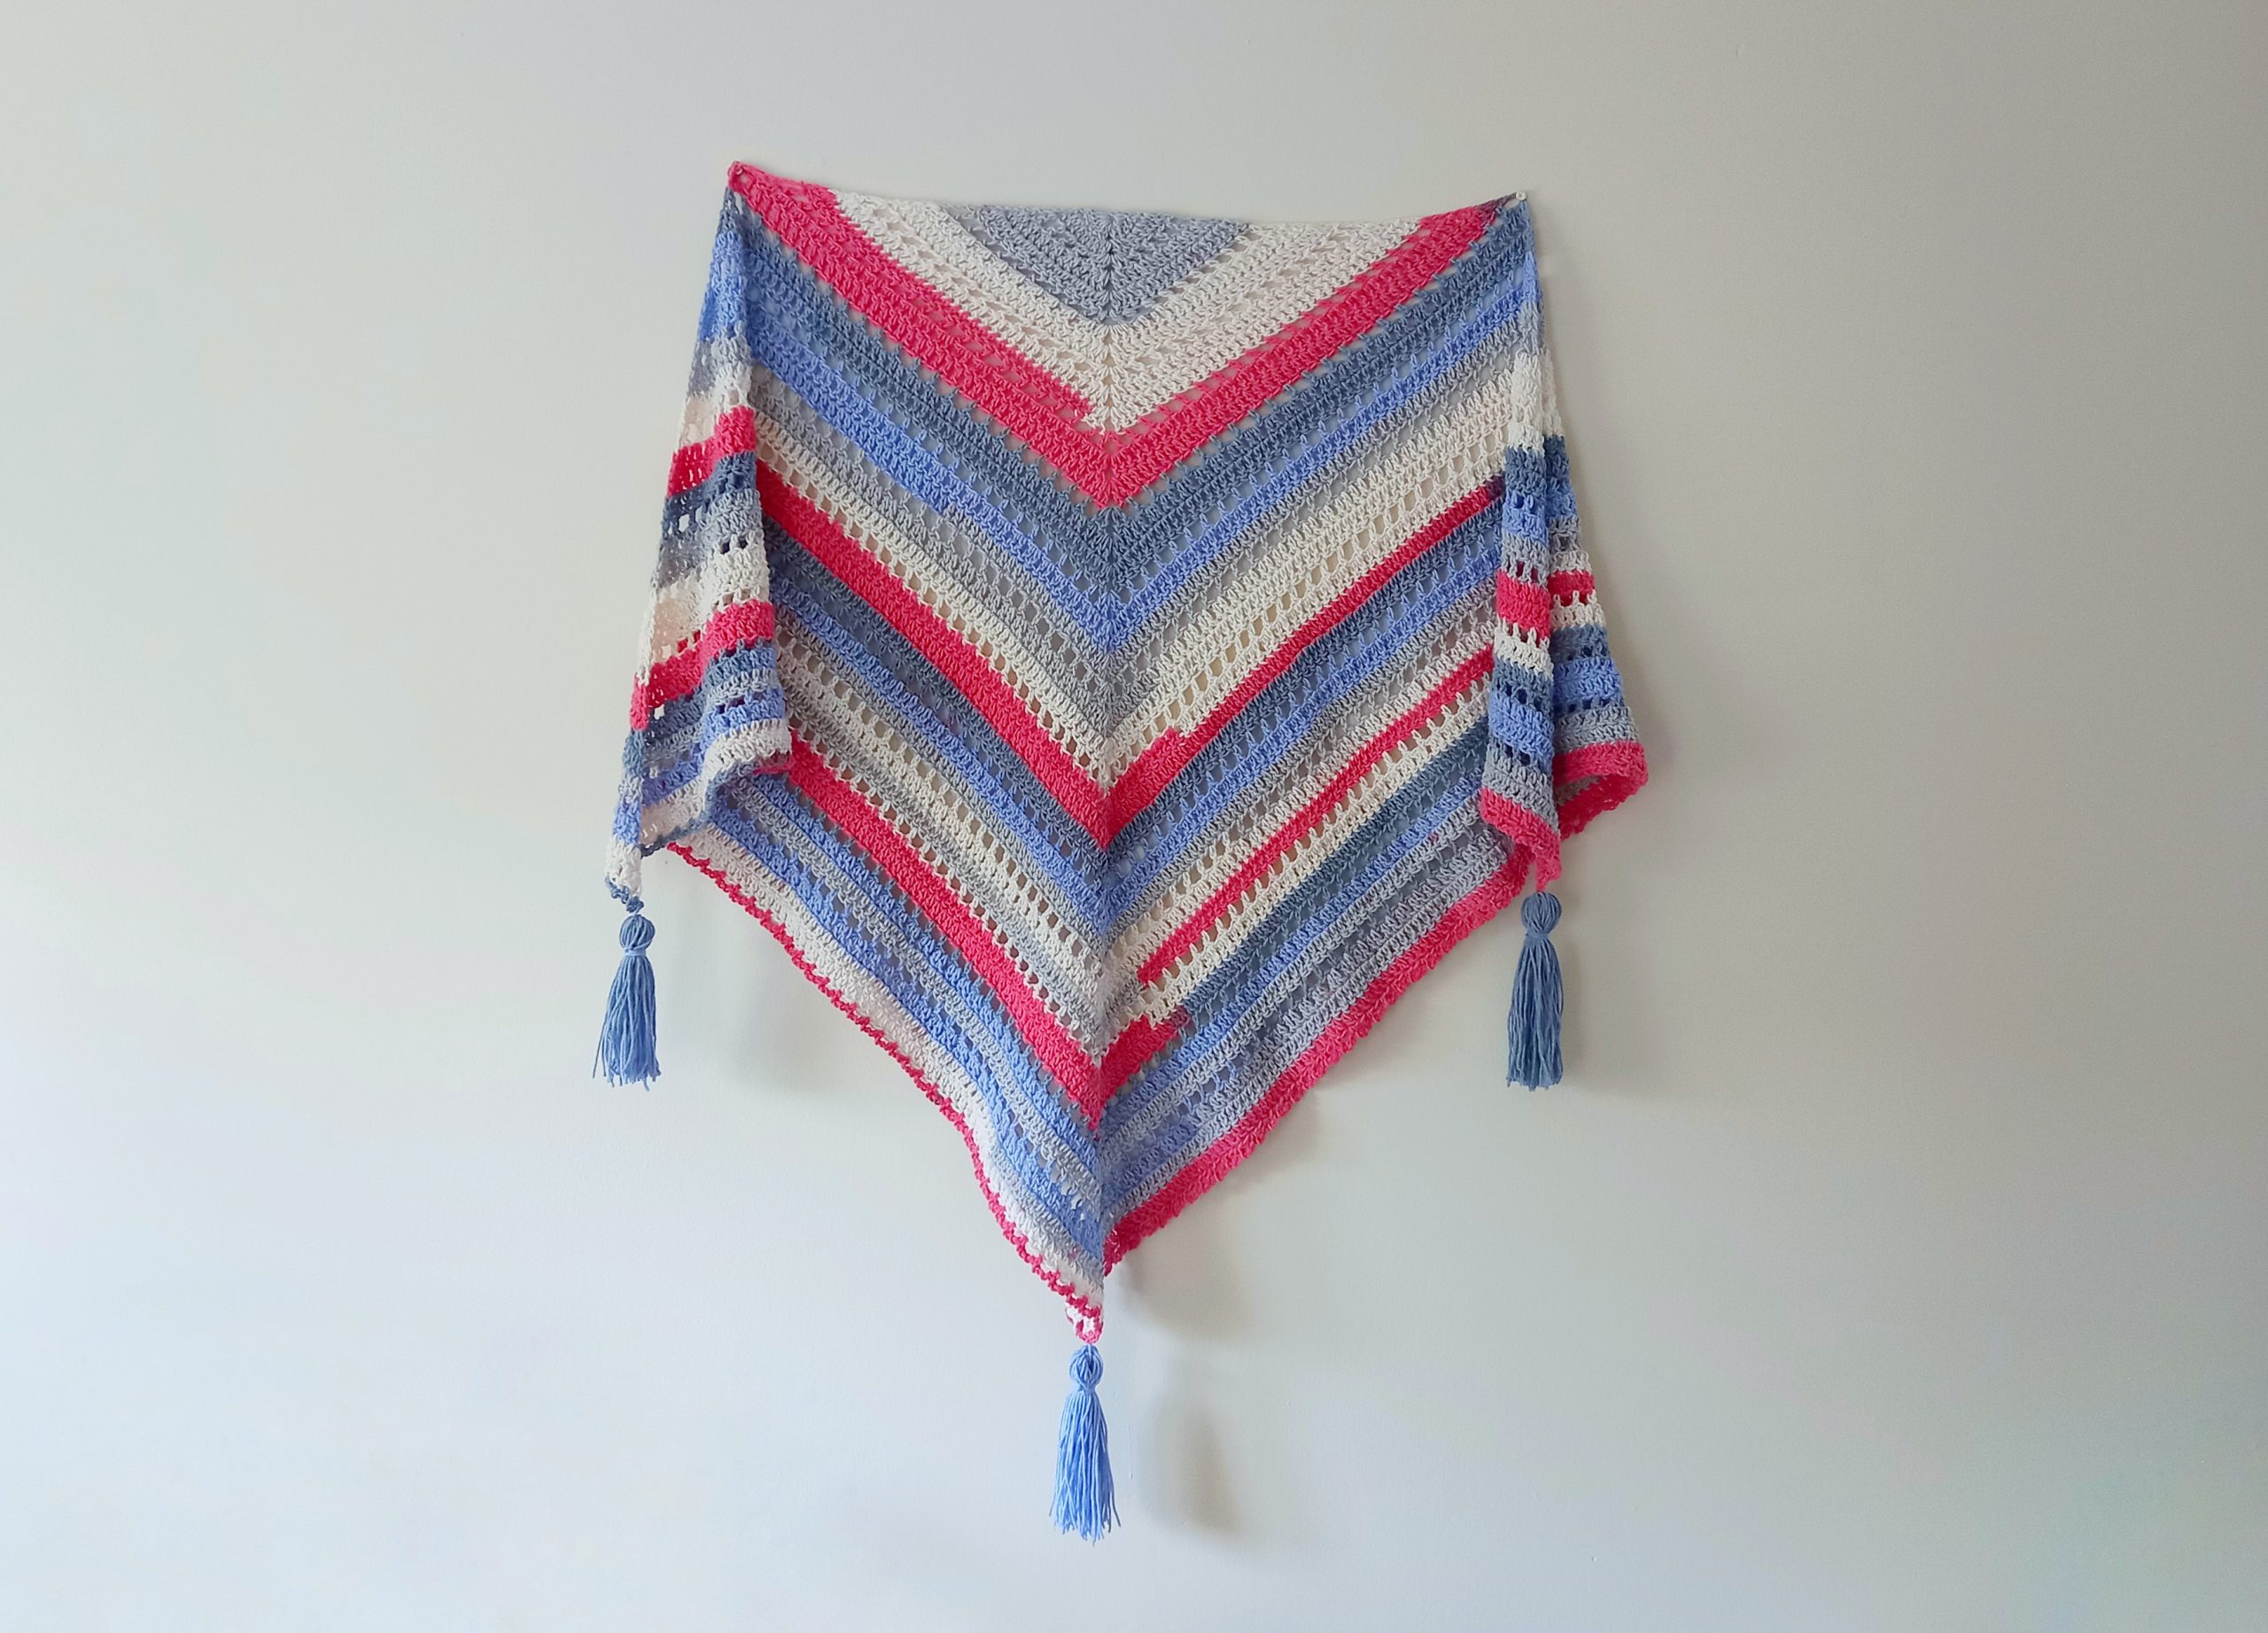
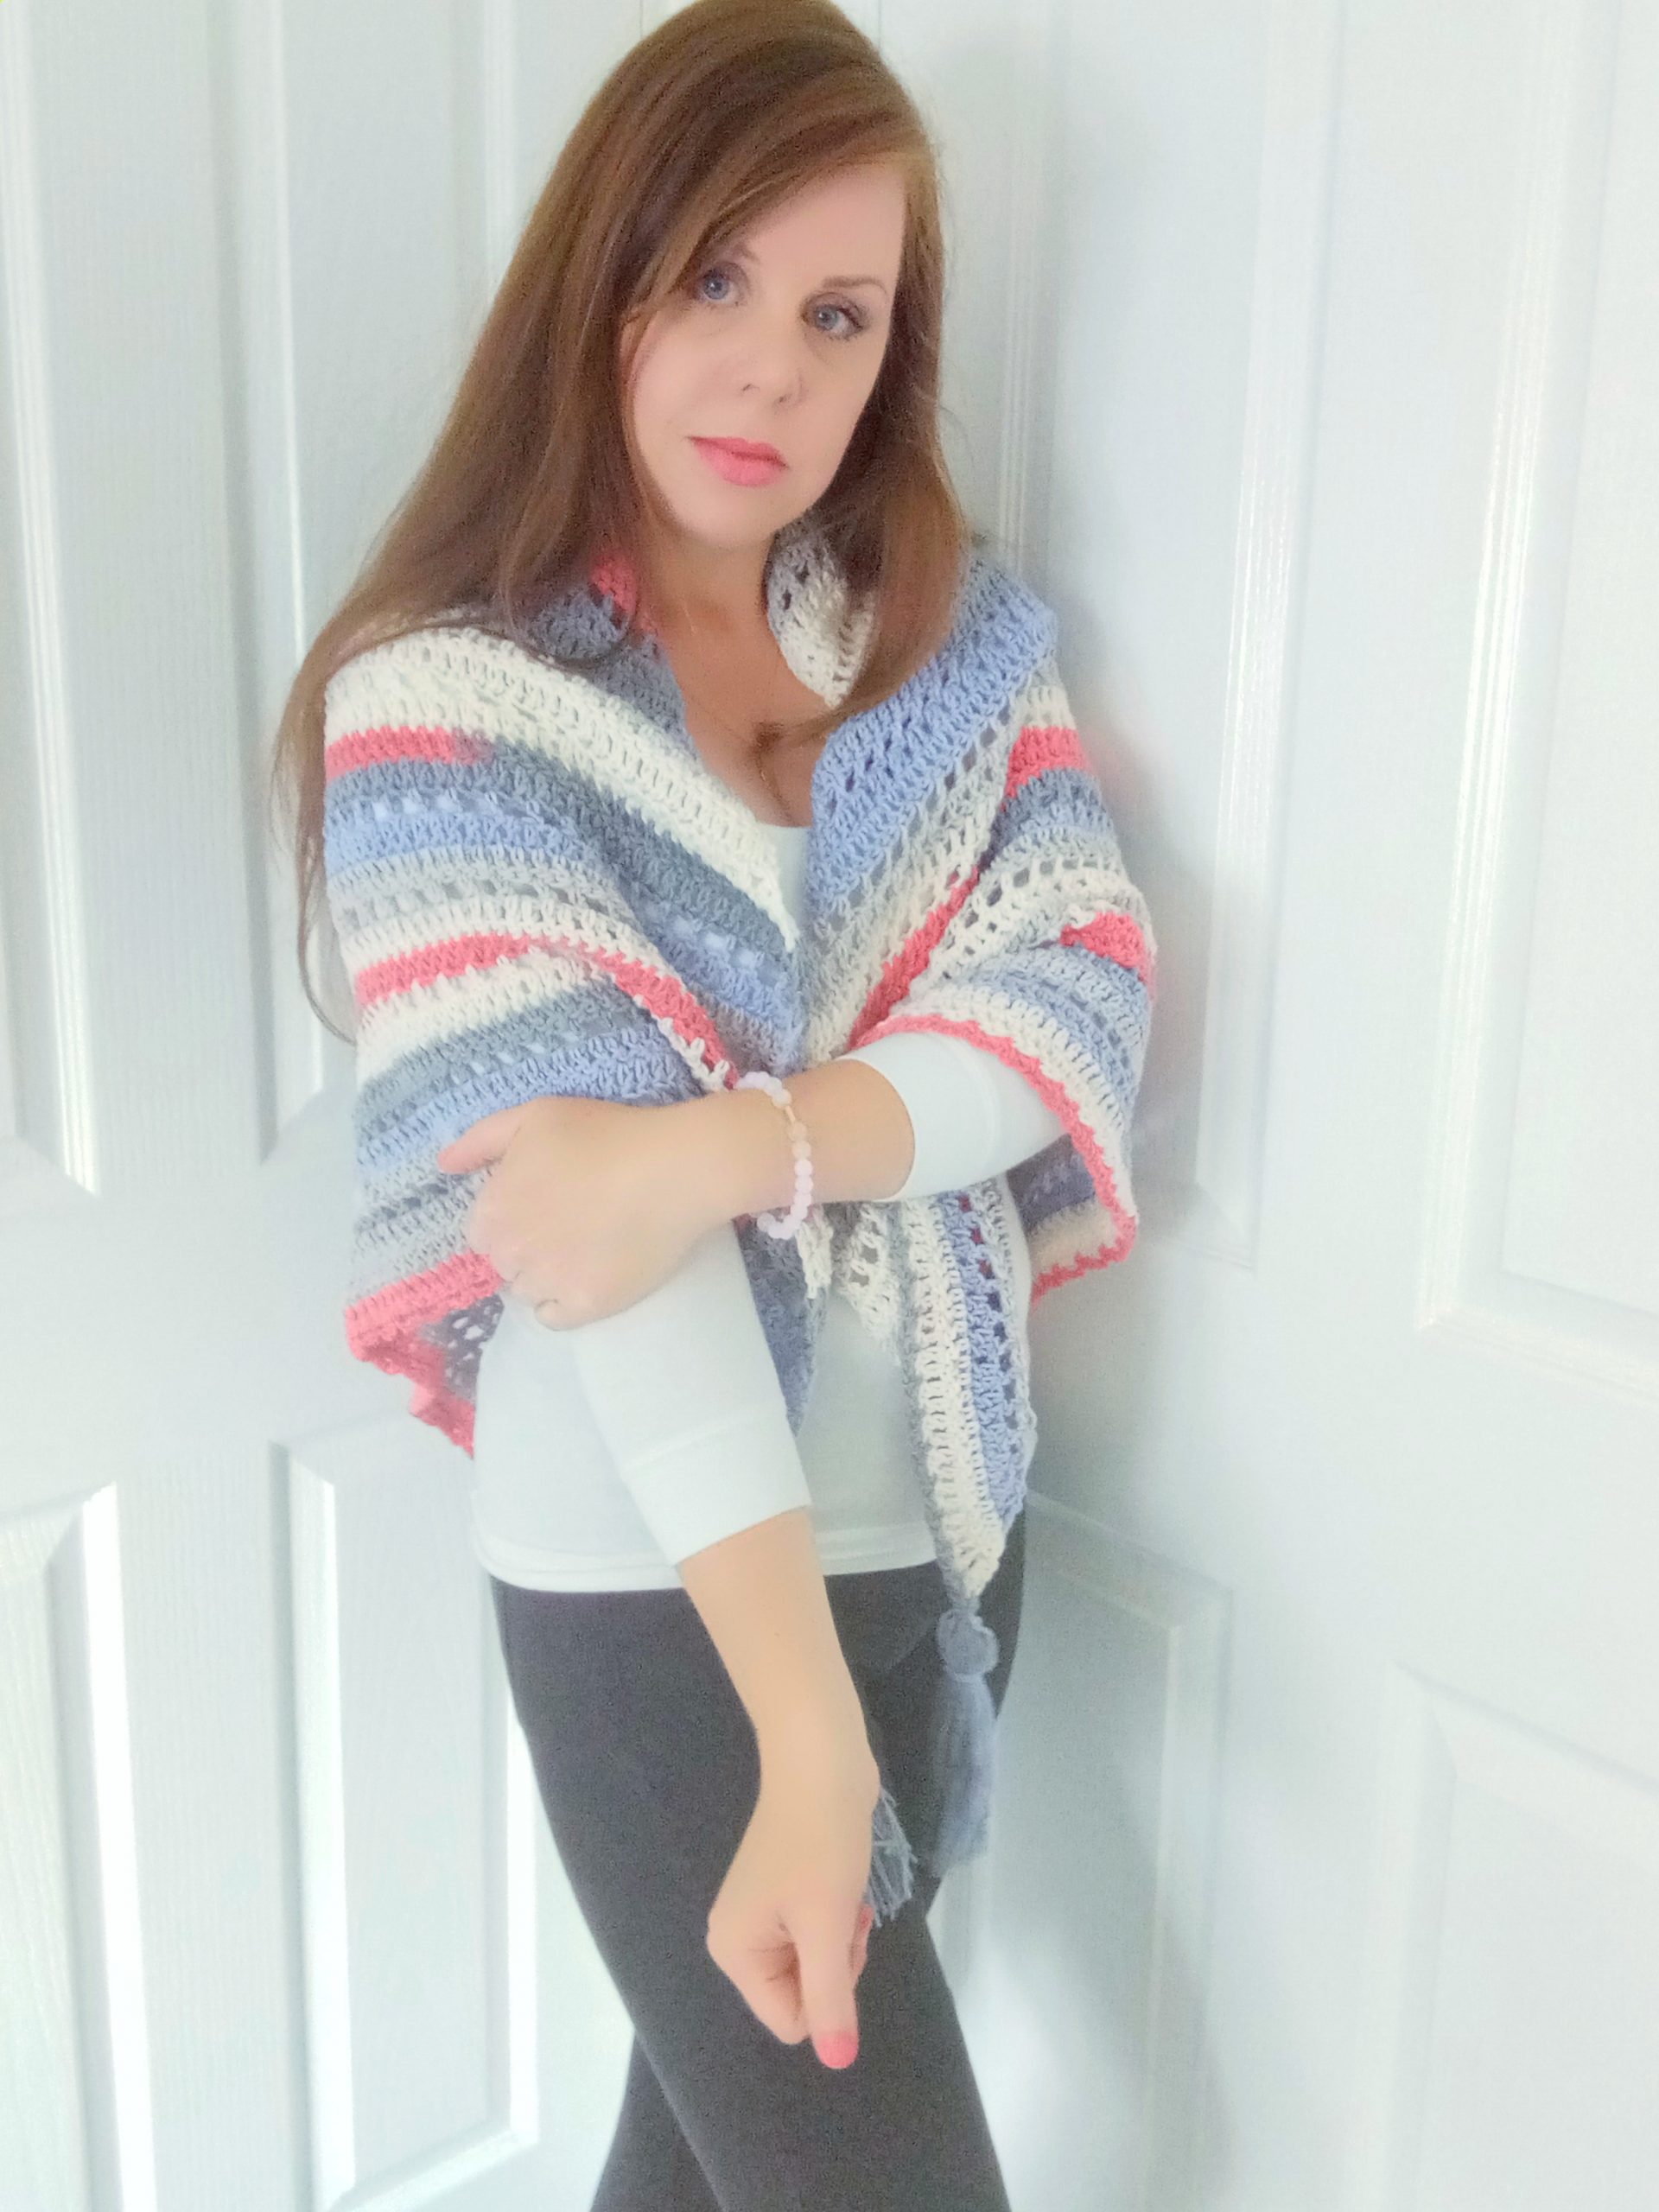
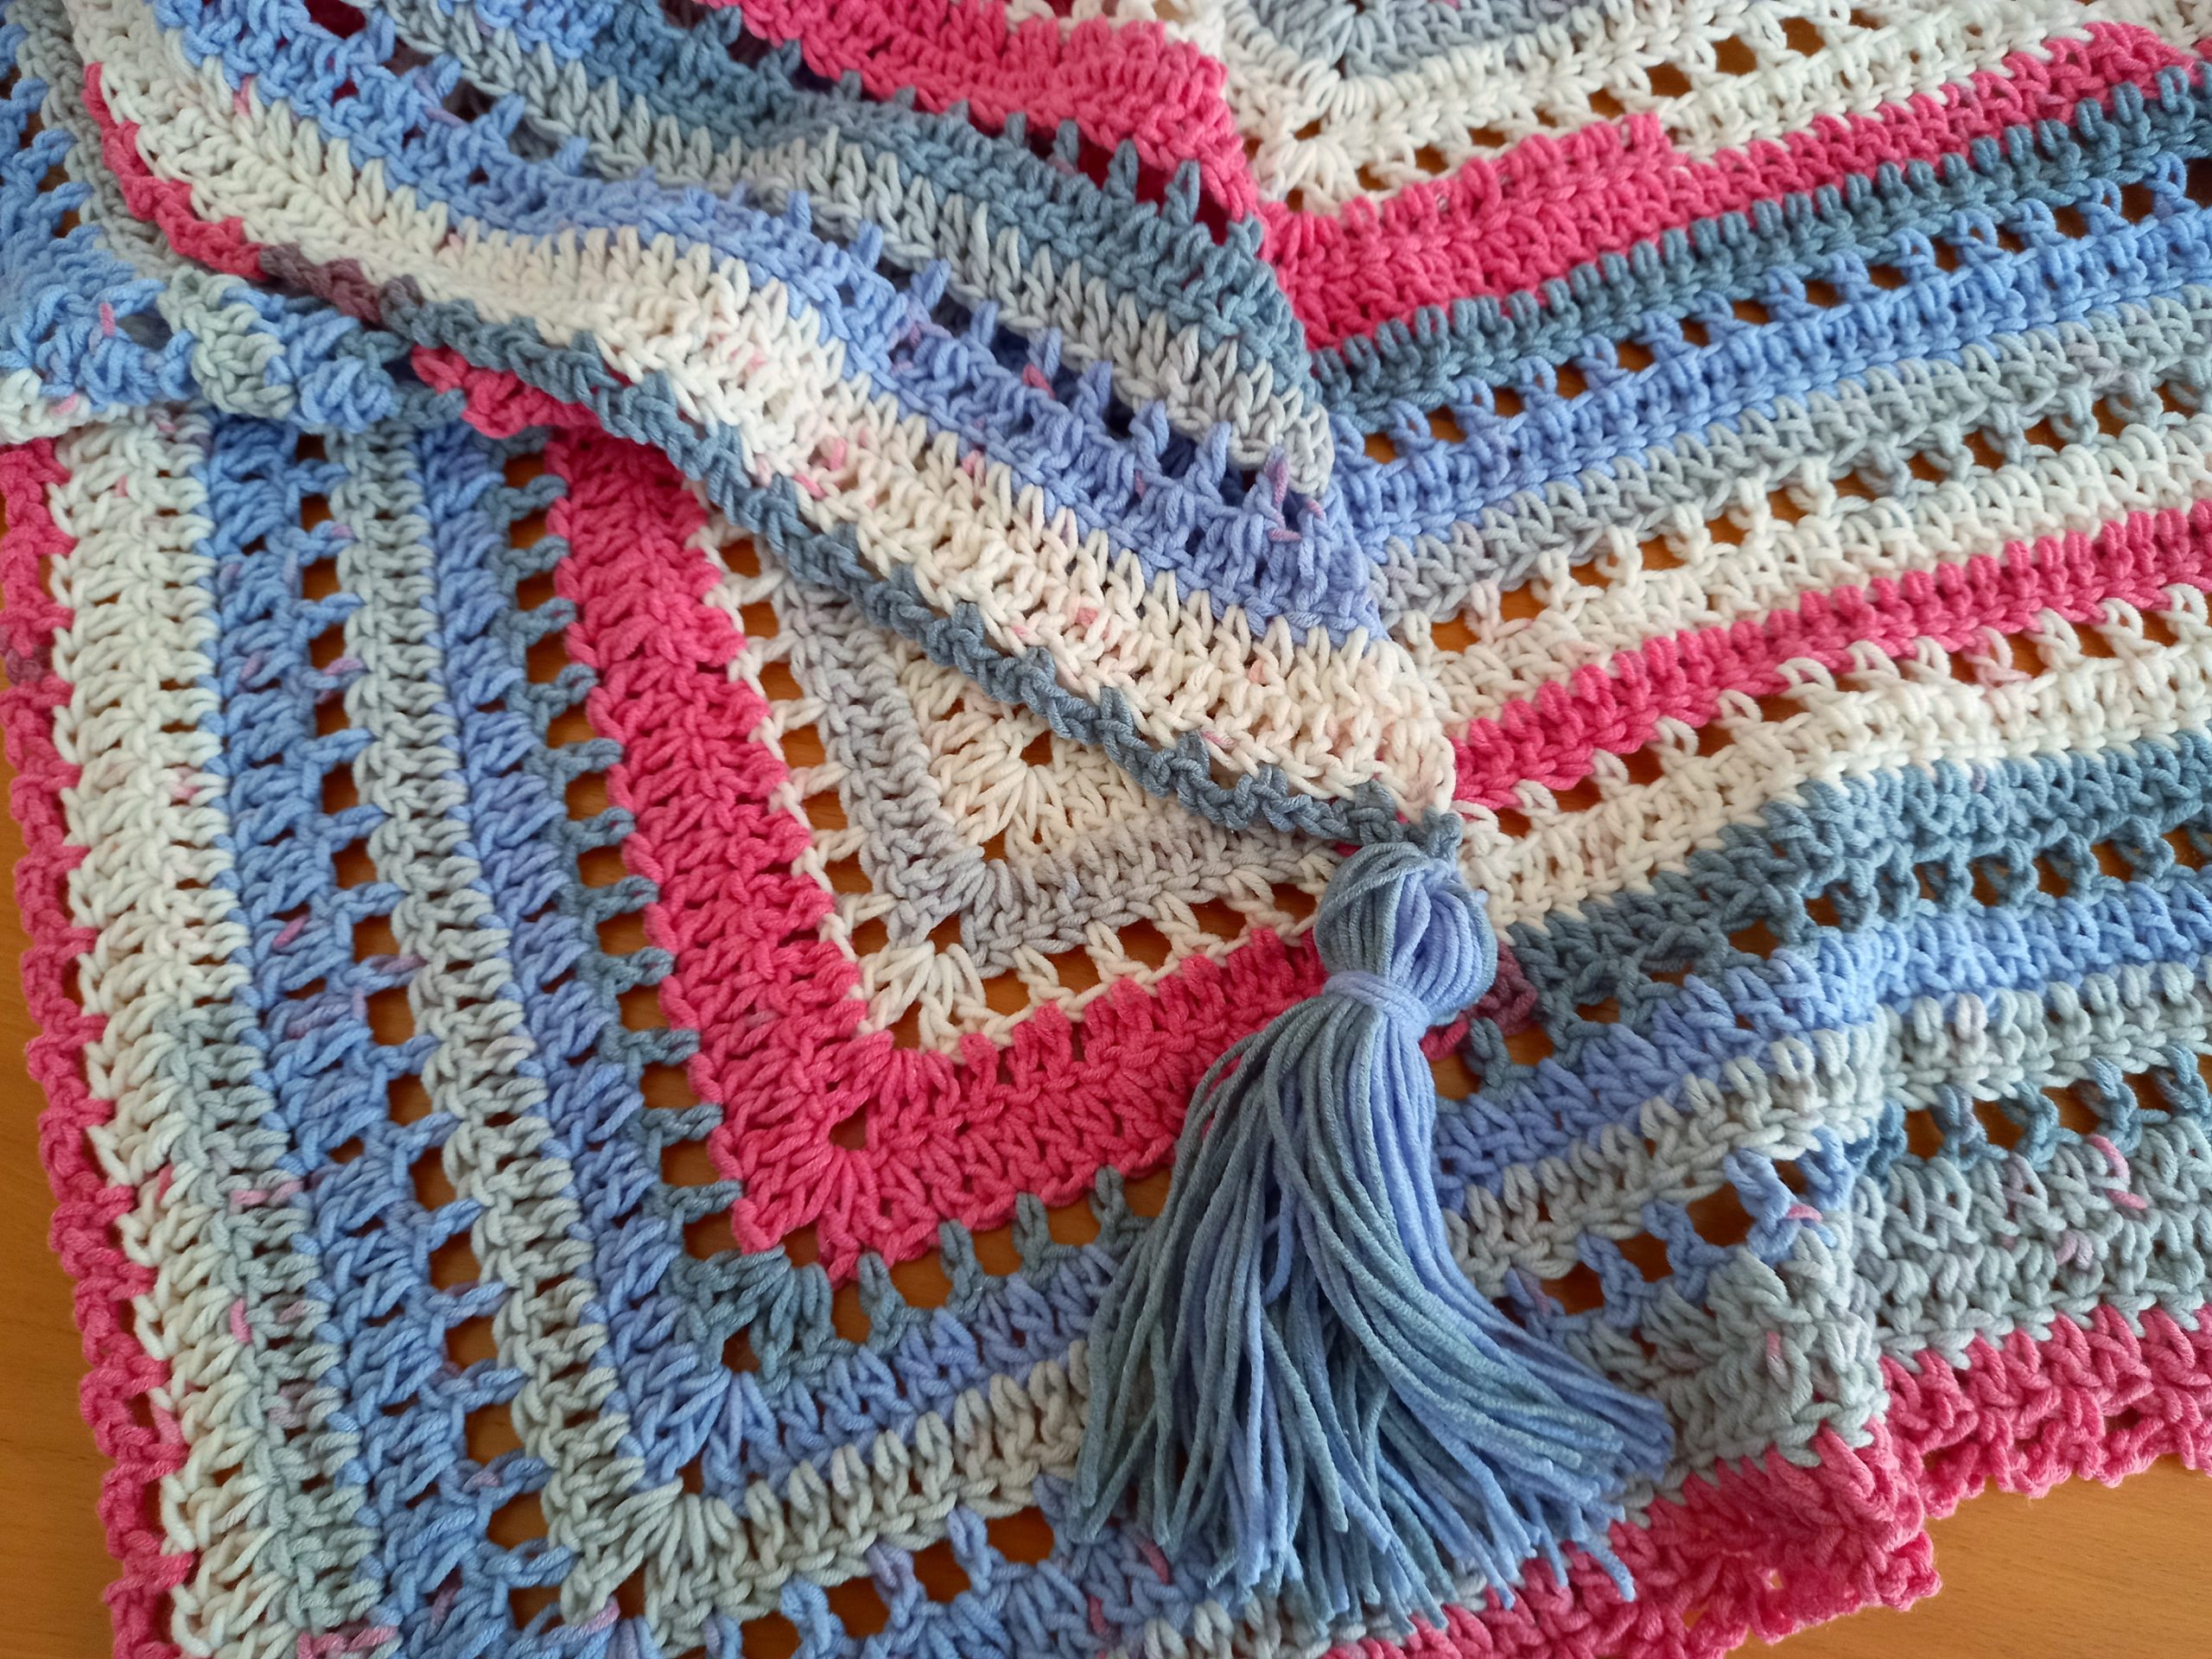
This wrap is very lovely, as well as practical. I love the fact that it has a strong bohemian vibe created by the cotton yarn (more on this later), the triangle shape, and the tassels. The tassels are absolutely lovely. I created them thick and fluffy to give off a cozy vibe.
Autumn is almost upon us, and I am already very excited to create Autumn and Winter projects! This is a perfect project going into Autumn. It is cozy yet light. The cotton yarn is very soft, but gives off an earthy natural earthy vibe that I love. As I said, I can picture myself wearing this wrap in a Parisian cafe, drinking an espresso coffee and maybe writing in my crochet journal.

I sometimes really miss my home country, especially at the moment when traveling is so complicated. I know I will go back one day, when things have quietened down a bit. And I will for sure be bringing this gorgeous wrap with me then!
Crochet The Cafe Des Arts Wrap: the yarn
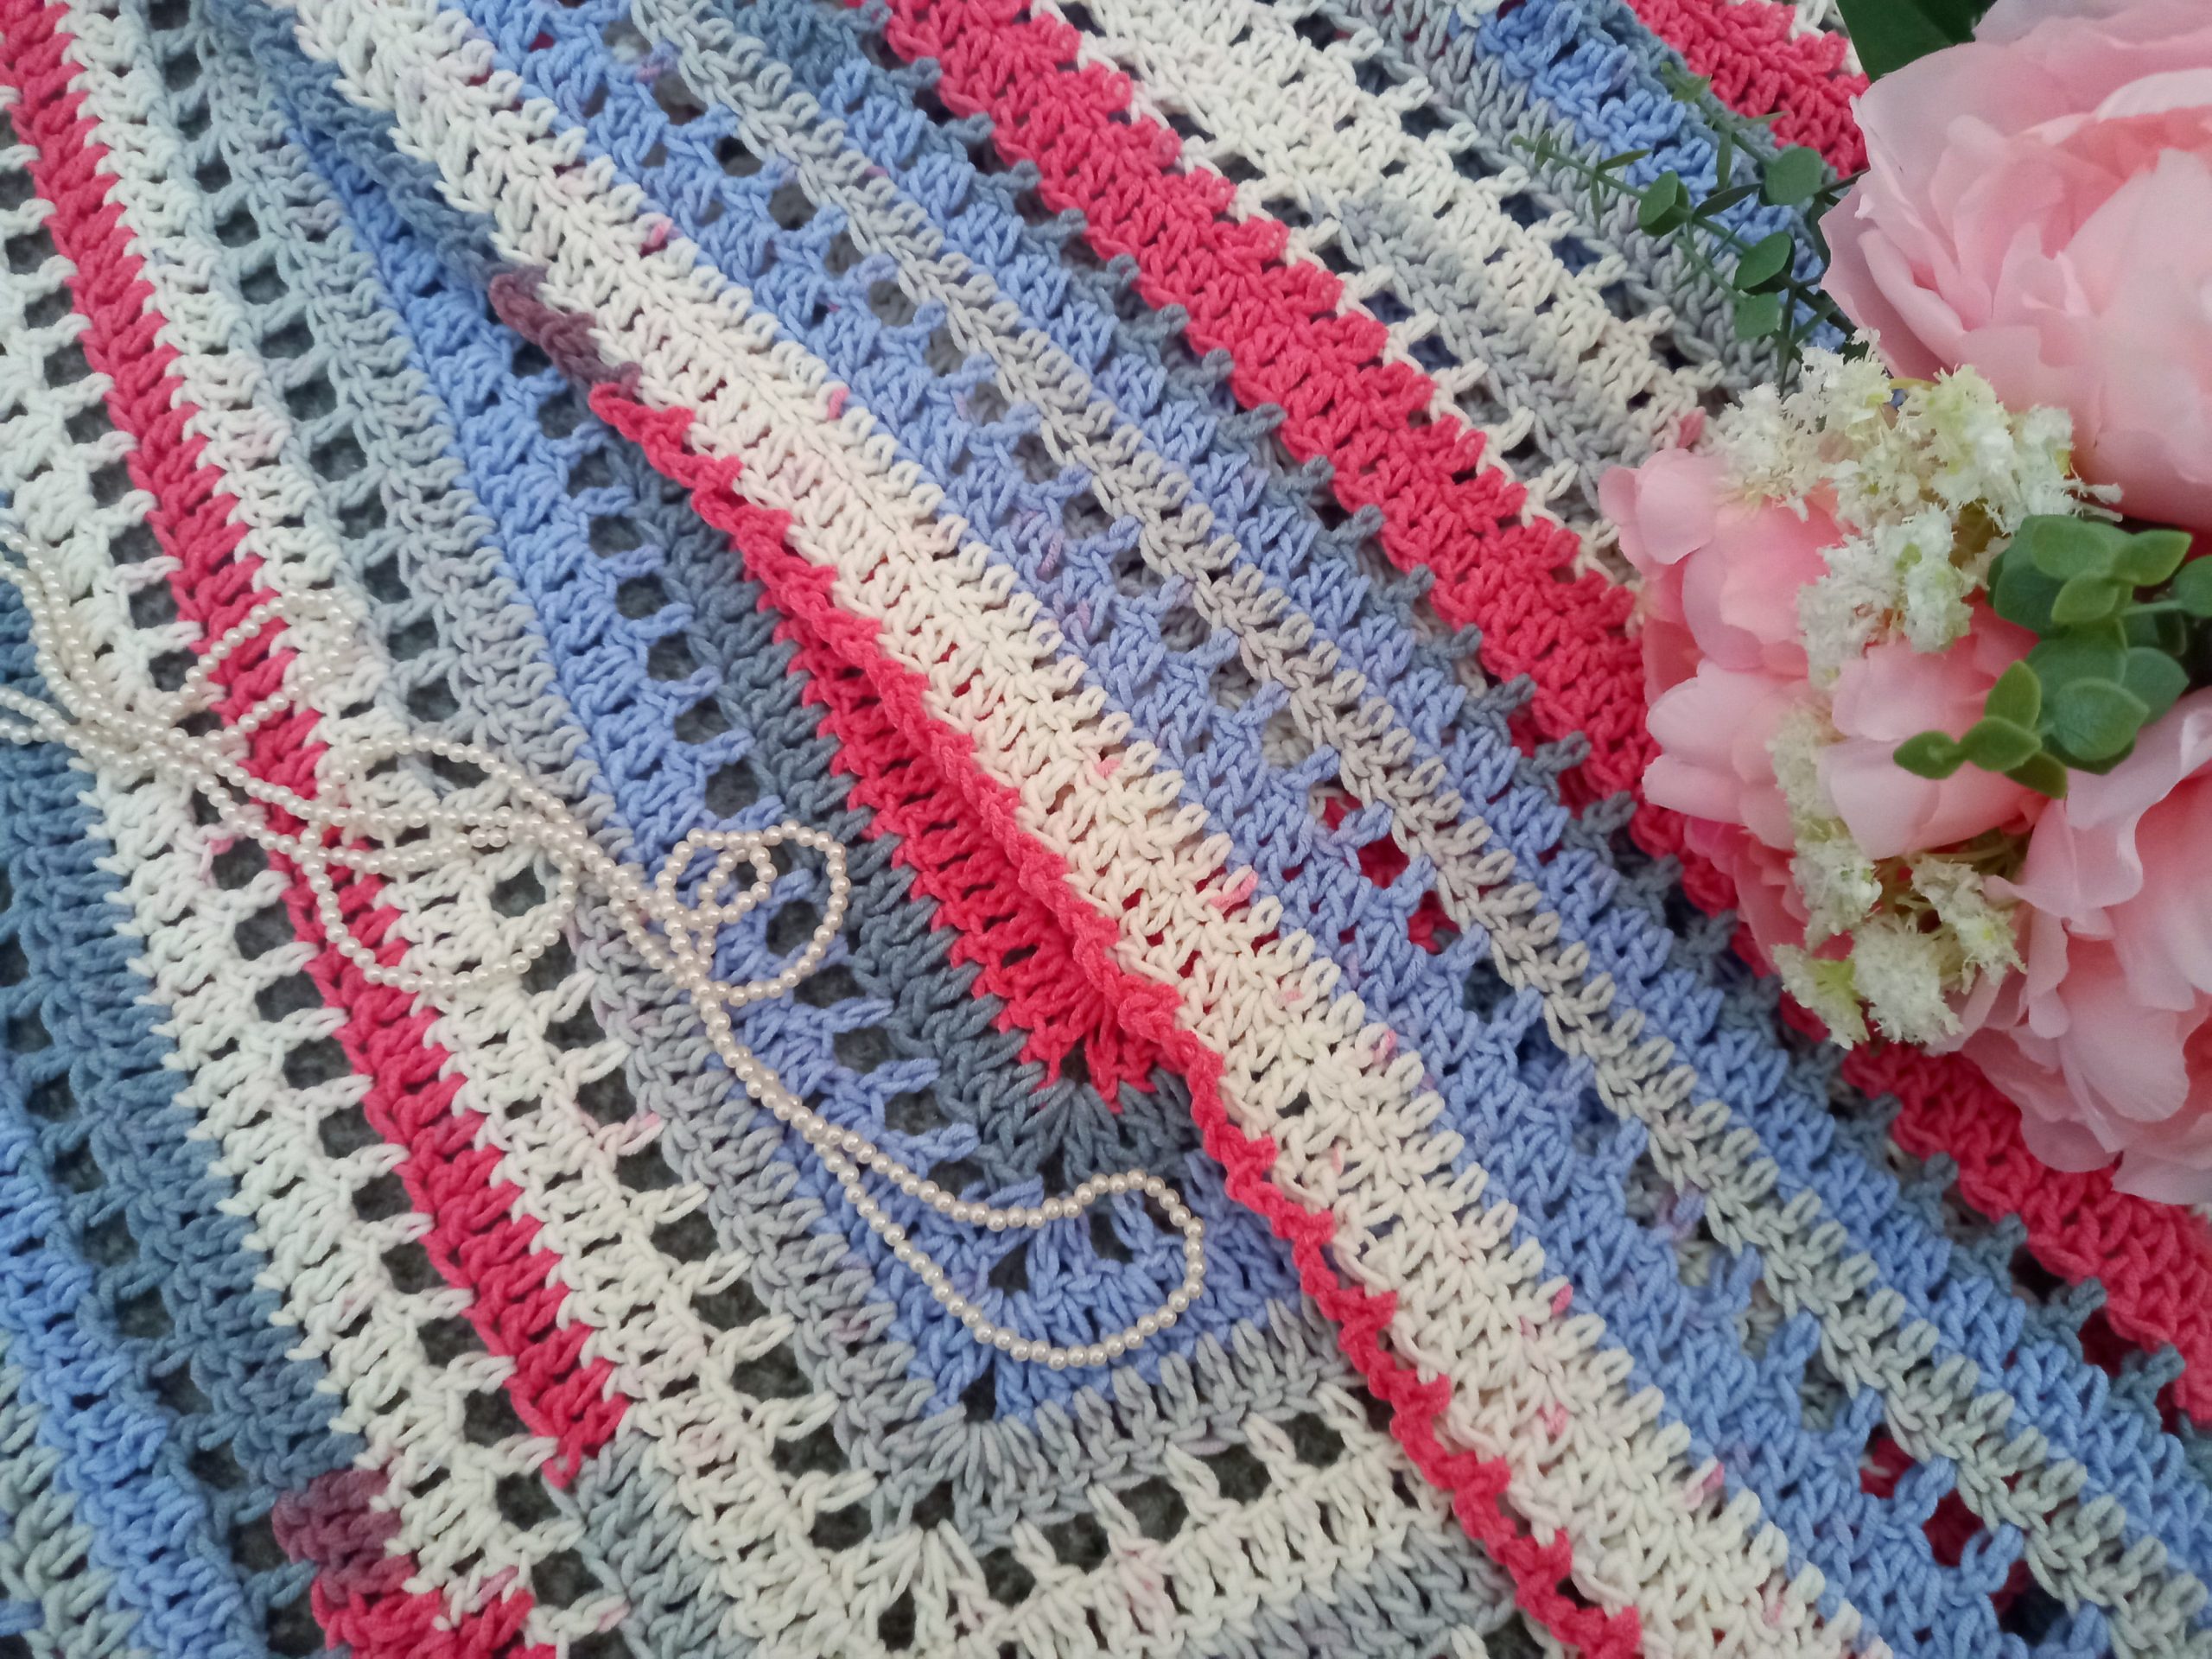
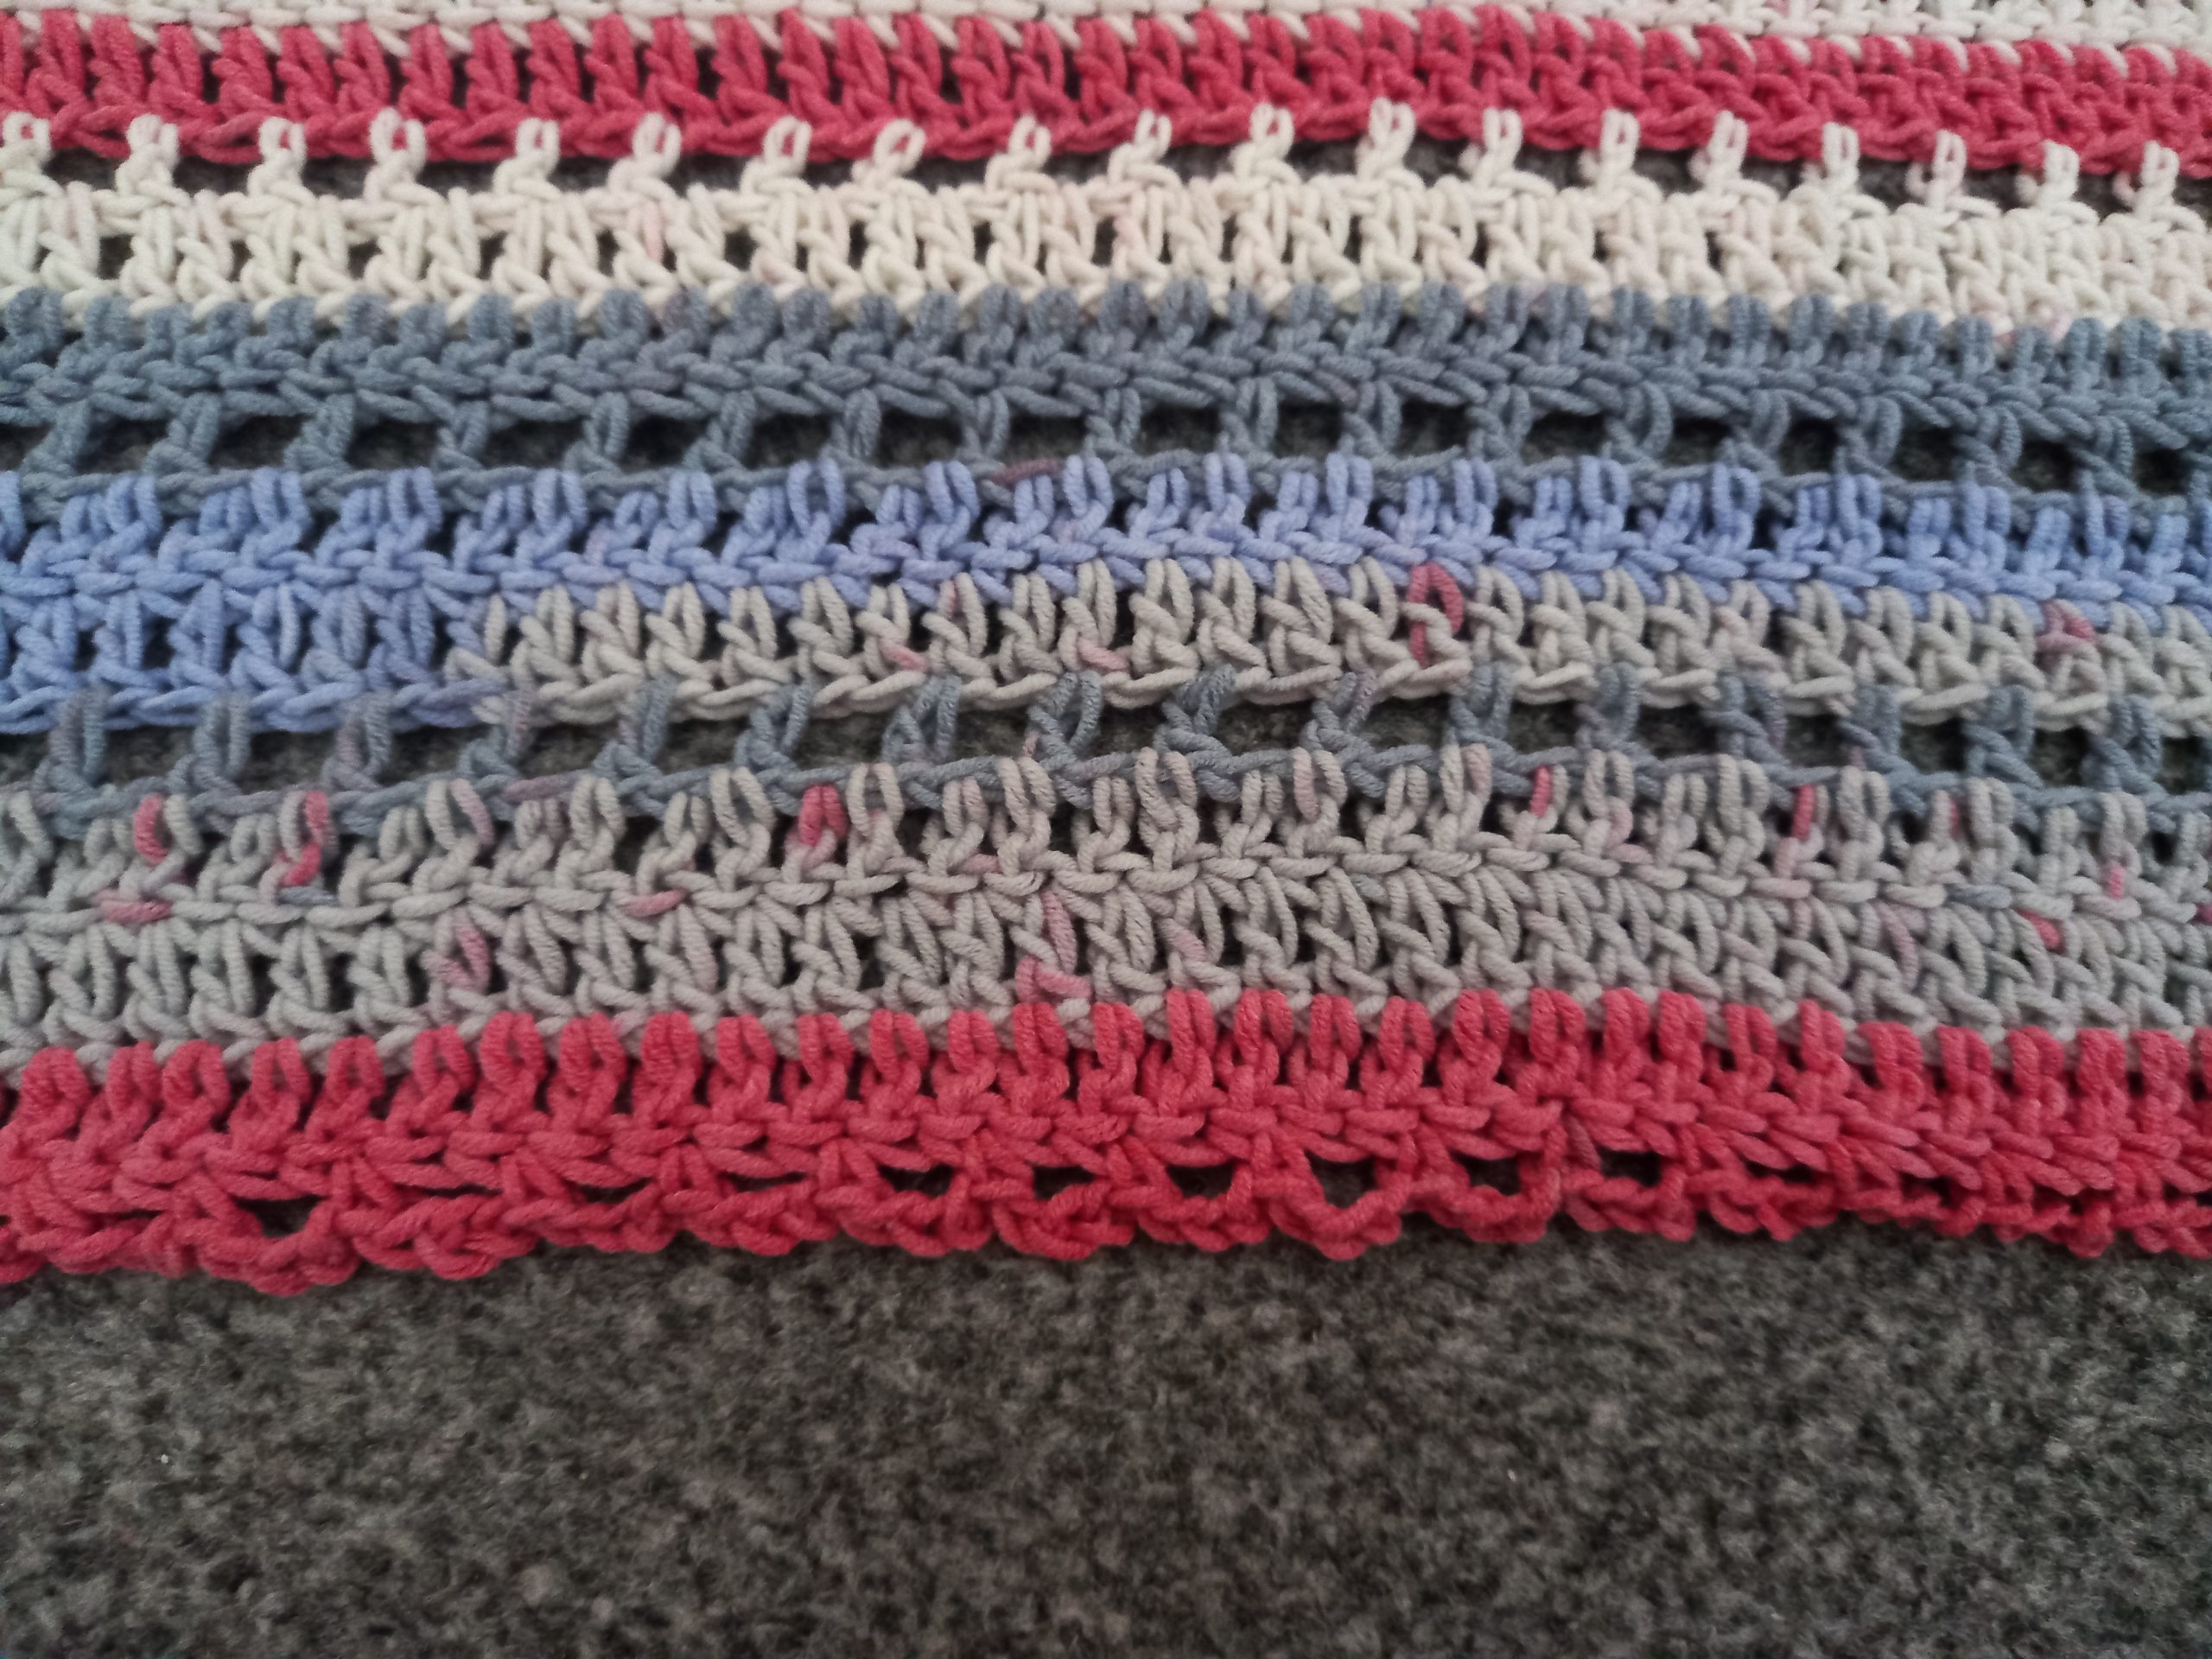
I absolutely adore this yarn. I used Caron Cotton Cakes for this project. This was my first time using Caron Cotton Cakes, and I loved it! I had bought this yarn a while back, and was waiting for the perfect opportunity to create with it. It is a soft yarn. It is also very vibrant, the cotton within it giving a very natural and bohemian effect to the yarn. I cannot praise this yarn enough. It glides quite seamlessly onto the crochet hook. I have to say I love how this whole project turned out! Also, I can’t wait to wear this wrap this coming Autumn.
Caron Cotton Cakes are made of 60% cotton and 40% acrylic. It is considered a medium size 4 yarn, which is also known as Aran weight yarn. I used shade Maritimes, and it mixes lilac, grey, cream and pink shades. It’s a stunning yarn. I love the effect it gives once crocheted into a wrap too.
Let me know if you have ever used this yarn for a project! I can imagine this yarn used for a hexagon cardigan for instance.
Connecting with you
My dear crochet friends, I love connecting with you through social media. You can find me on Youtube, Instagram, and Pinterest. I would love to connect with you on these platforms.
You can also join my private Facebook group to connect.
Thank you so much for stopping by my blog! I really appreciate your support, and hope you have a lovely week!
Lots of love,
Selina.
Crochet The Cafe Des Arts Wrap: the pattern
You can purchase the ad free, large print, PDF pattern from my Etsy shop here: Crochet The Cafe Des Arts PDF Pattern
Level: Easy/Beginner
Gauge
4″x4″ (10×10 cm)= 5 rounds of pattern
Size of finished shawl:
33″ (84 cm) x 60″ (152,4 cm)
Notes
I will be using US terms (British terms in brackets)
You will need
4 skeins of Caron Cotton Cakes in shade Maritimes. You can substitute with any medium size 4/Aran yarn you prefer.
A 5 mm crochet hook
Pair of scissors
Tapestry needle
Piece of cardboard measuring 7.5″ to create tassels
Abbreviations
Ch: chain
St: stitch
Sl st: slip stitch
Sk: skip
SC: Single Crochet (UK Double Crochet)
DC: Double Crochet (UK Treble Crochet)
EOR: End of row
Begin pattern here
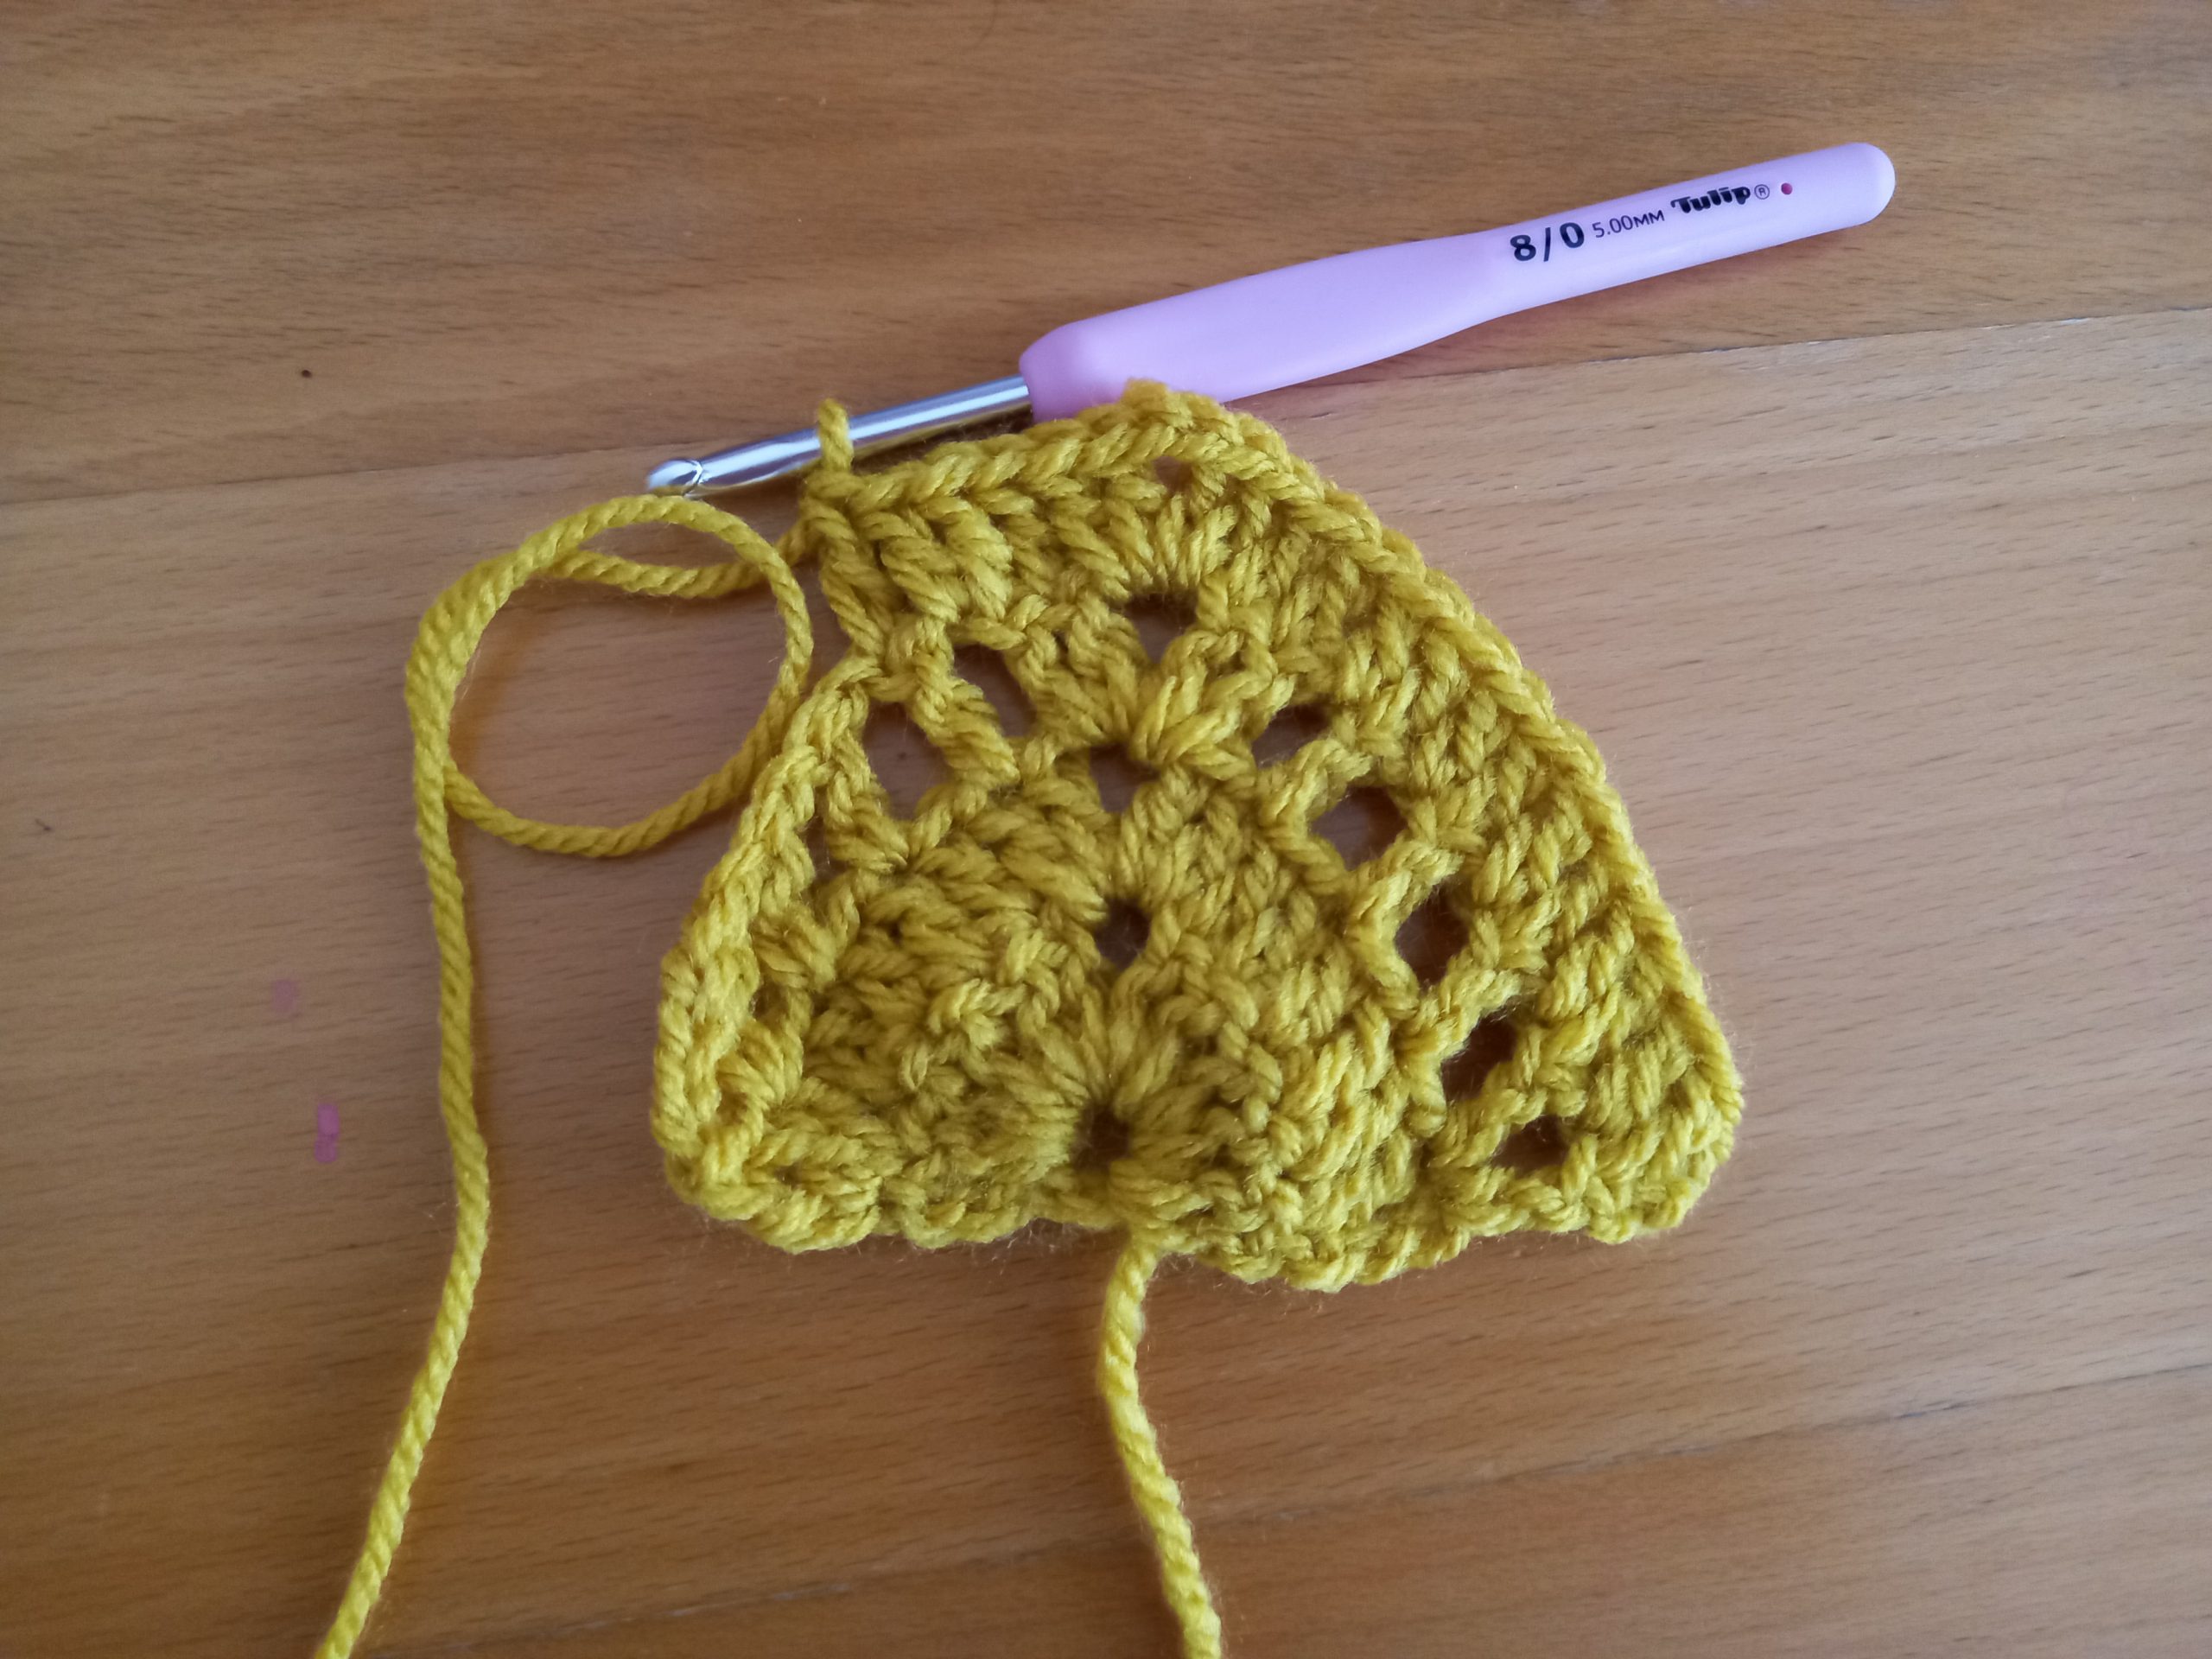
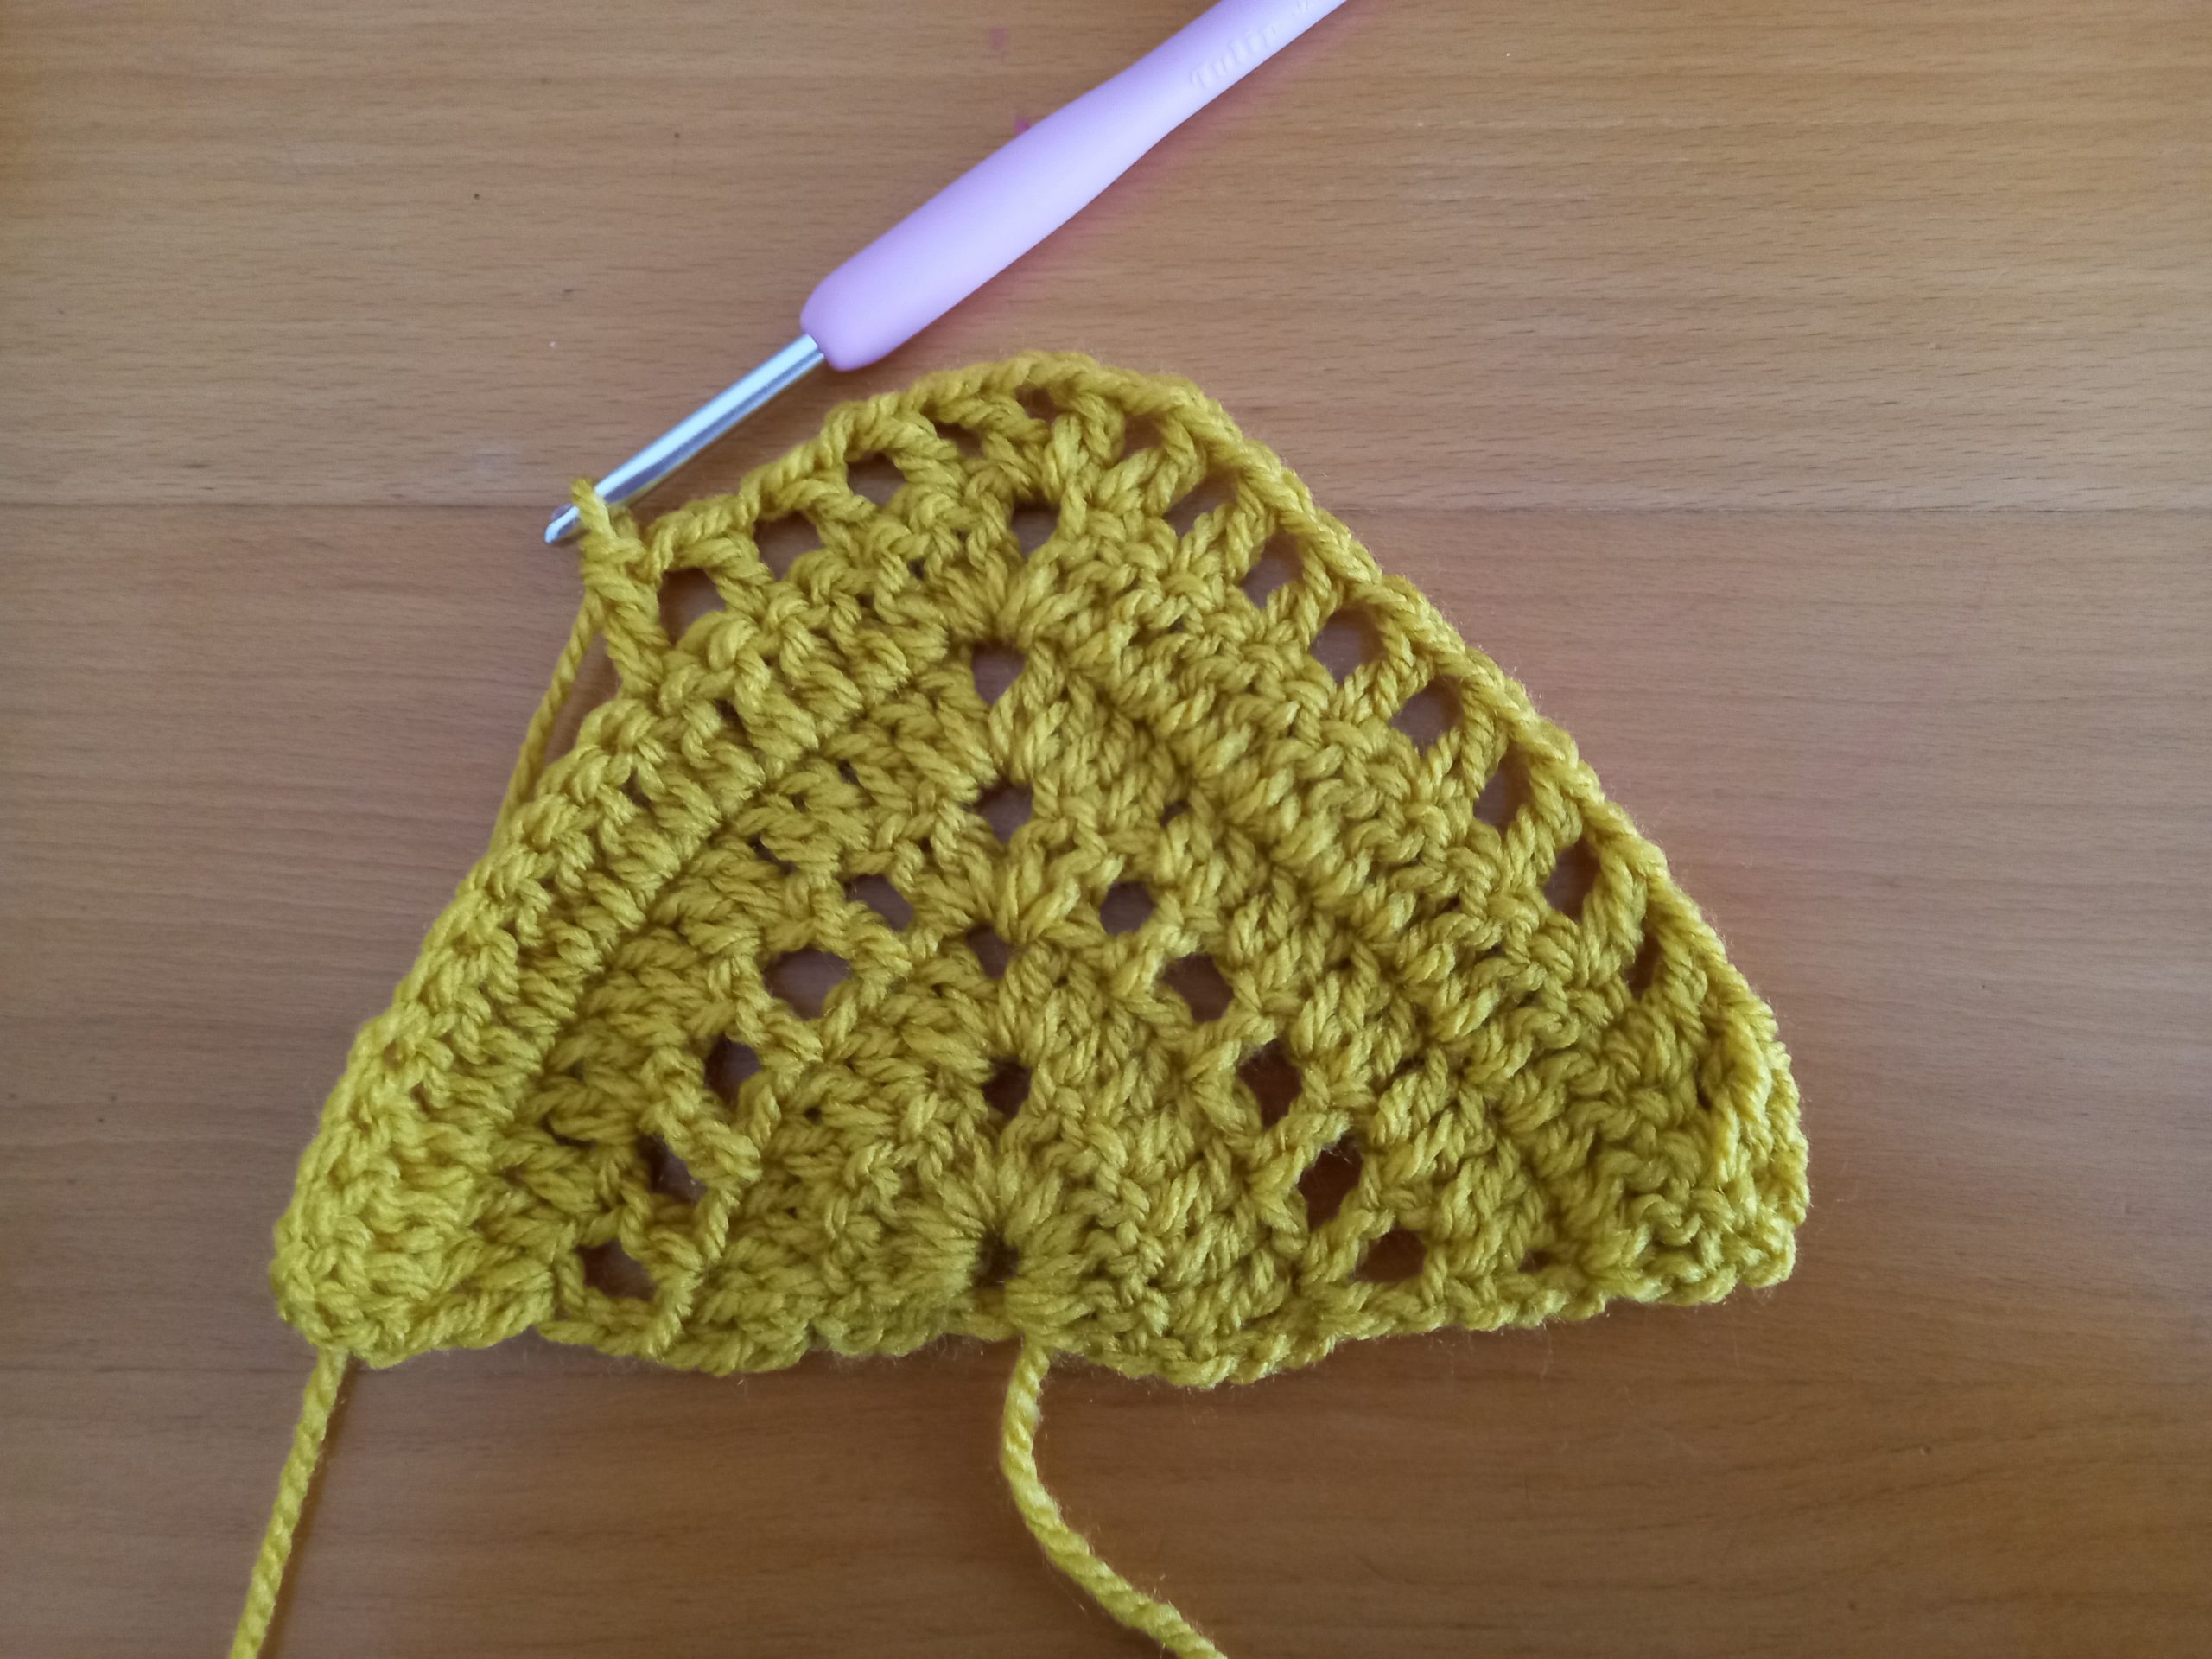
To start, make a slip knot. Ch 4, sl st through 1st stitch to form a ring.
1: Ch 3 (=DC), 5 DC in ring, ch 2, 6 DC in same ring.
2: Ch 3 (=DC), turn your work, DC into same 1st stitch (=2 DC together in one stitch). DC into each DC until center ch 2 space. Place 2 DC, ch 2, 2 DC into center space. DC into every DC until eor, and place 2 DC together in last stitch (which is also the chain 3 from previous row).
3: Ch 4 (= DC and ch 1 space), DC in next stitch, [ch 1, sk 1 stitch, DC in next st, ch 1] until last stitch before center ch 2 space. Sk this stitch, and in center ch 2 space, 2 DC, ch 2, 2 DC. Now [ch 1, sk 1 st, DC in next stitch, ch 1] until last stitch. Place DC in very last stitch (which is also the ch 3 from previous row).
4: Ch 3 (=DC), place a DC into same first stitch (=2 DC together in one stitch); now place a DC into each st along, including the ch spaces. In center ch 2 space from previous row, place 2 DC, ch 2, 2 DC, before placing a DC into each st until eor. Place 2 DC together in last stitch (which is the ch 3 from previous row).
5: Repeat row 2
6: Ch 4 (=DC and ch 1 sp), [DC in next st, ch 1, sk 1 st, DC in next st] until center ch 2 space. In center ch 2 space, ch 1, 1 DC in center, ch 2, 1 DC, ch 1. [DC in next st, ch 1, sk 1 stitch, DC in next st] until second to last stitch. Make sure when you reach the last stitch (which is the ch 3 from previous row), to ch 1 and place a DC into that last stitch.
7: Ch 3 (=DC), place a DC into same first st (=2 DC together in one stitch); now place a DC into each st along, including the ch spaces. In the center ch 2 space from previous row, place 2 DC, ch 2, 2 DC, before placing a DC into each st until eor. Place 2 DC together in last stitch (which is the ch 3 from previous row).
8: Repeat row 2.
9: Repeat row 3.
Rows 10-39: Repeat rows 3 through 9.
40: Repeat row 4.
Rows 41-42: Repeat row 2 (meaning that you finish on 3 “full” rows).
Chain arch edging:
1: [Ch 3, sk 1 st, SC into next st] until ch 2 space from previous row. In ch 2 space, place 2 SC. SC into next st, [ch 3, sk 1 st, SC into next st] until EOR.
Fasten off, tidy up all loose ends.
Tassels
Create 3 identical tassels as follows.
To make one tassel:
Cut out 2 pieces of yarn measuring about 10″ each, place them to the side.
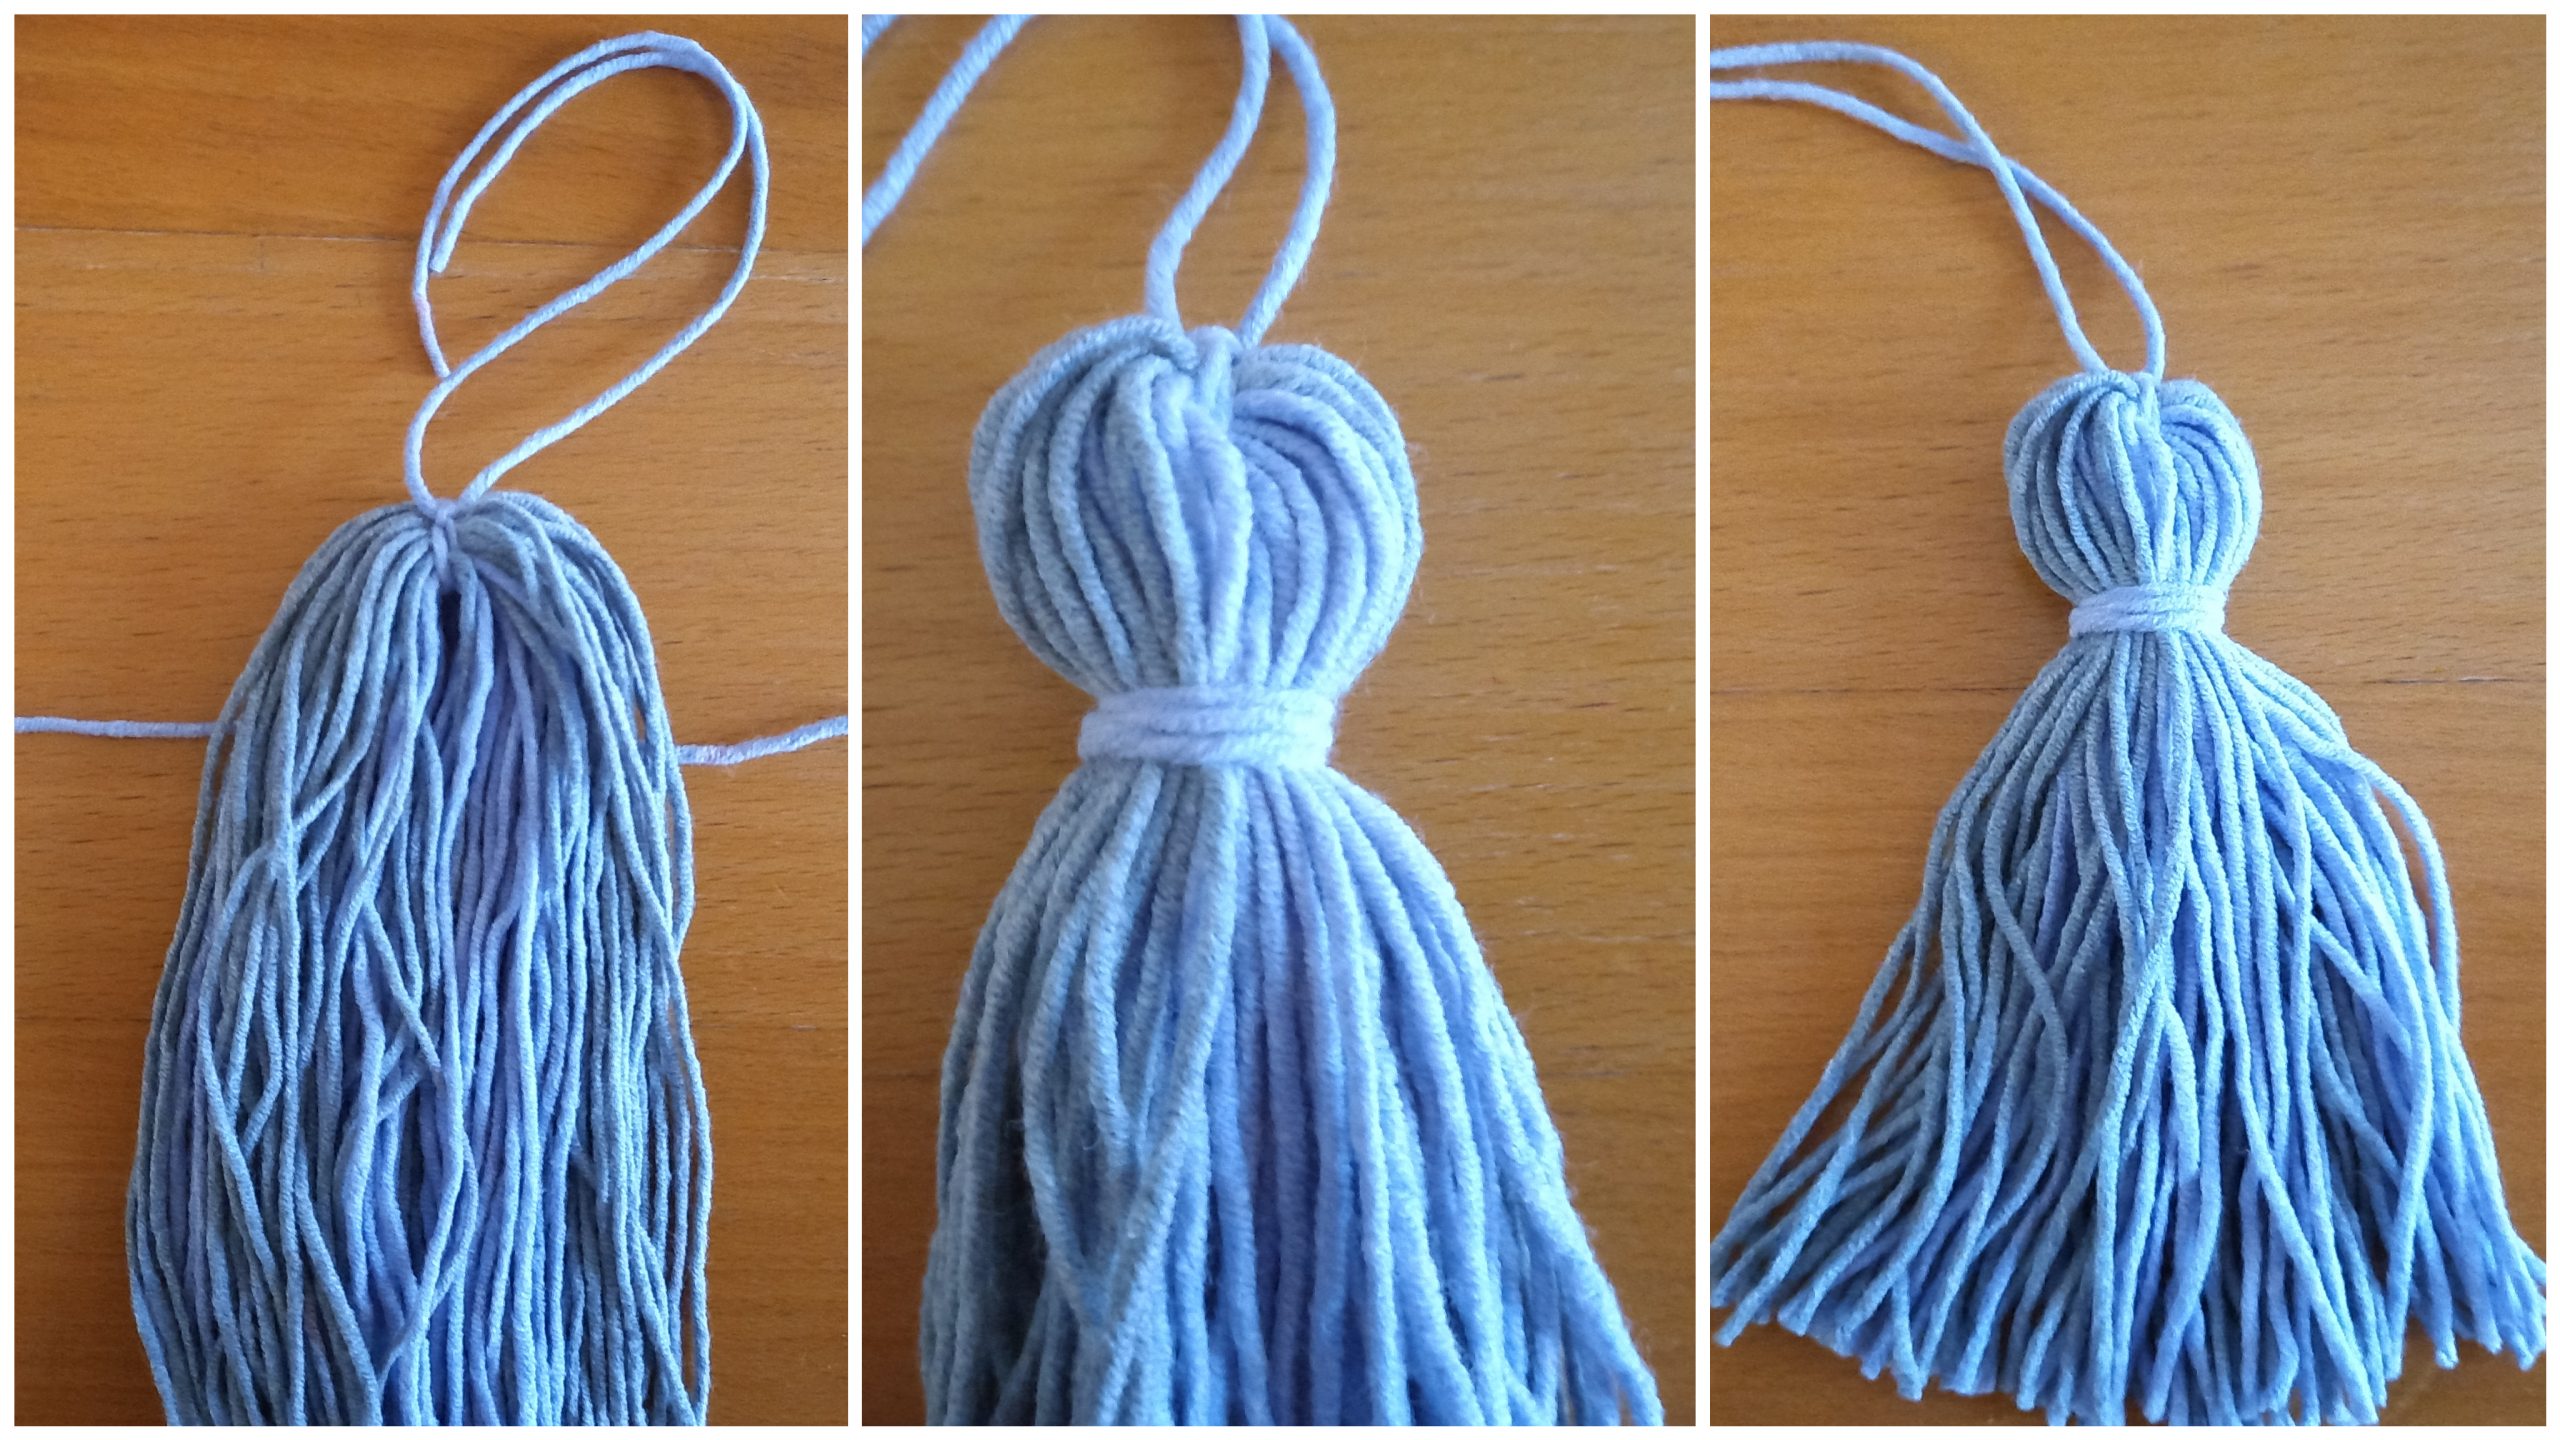
Take selected cardboard measuring about 7.5″. Wrap your yarn around this piece of cardboard until you are satisfied with the fullness (please note the tassel will be twice the size of the yarn around the board).
Now slide your wound up yarn off the cardboard, and lay it on a flat surface. Take one piece of 10″ yarn, and insert it through the center of the wound up yarn you just created.

Making sure your wound up yarn does not come undone, pick it up, and tie the single 10″ piece of yarn you just inserted in the center. Tie this piece of yarn tightly at the top of the wound up yarn to secure it.
Take the second 10″ piece of yarn and place it horizontally on the flat surface. Place the tassel on top of this piece of yarn, making sure that your piece of yarn is placed approximately an inch below the top of the tassel. Gently tie a knot across the tassel, then go around the tassel once again with the piece of yarn, and make a second knot at the front. Fasten off piece of yarn.
Pulling gently on the wound up yarn, take your scissors and cut the bottom pieces of yarn so as to create the tassels. Make sure all the tassel pieces are equal.
Placing each tassel onto project
Place a tassel onto each corner of project (three tassels in total). To fasten on tassel, use the first 10″ piece of yarn we used at the beginning to secure the top of the tassel. Tidy up all loose ends.


You May Also Like
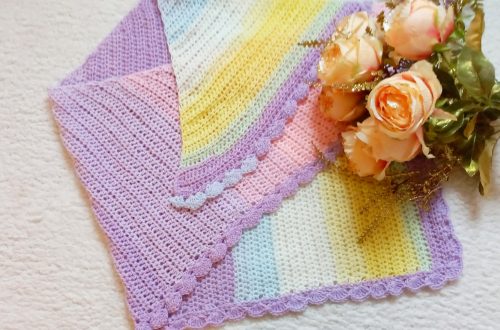
Crochet The Asymmetrical Rainbow Shawl with Shell Border
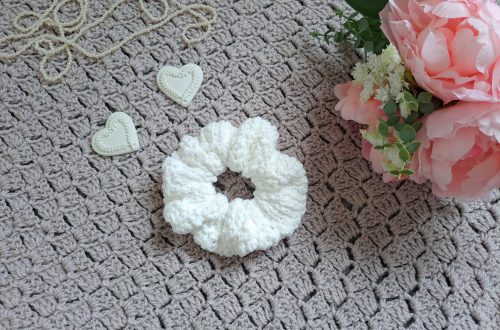
Crochet Easy Scrunchie Free Pattern