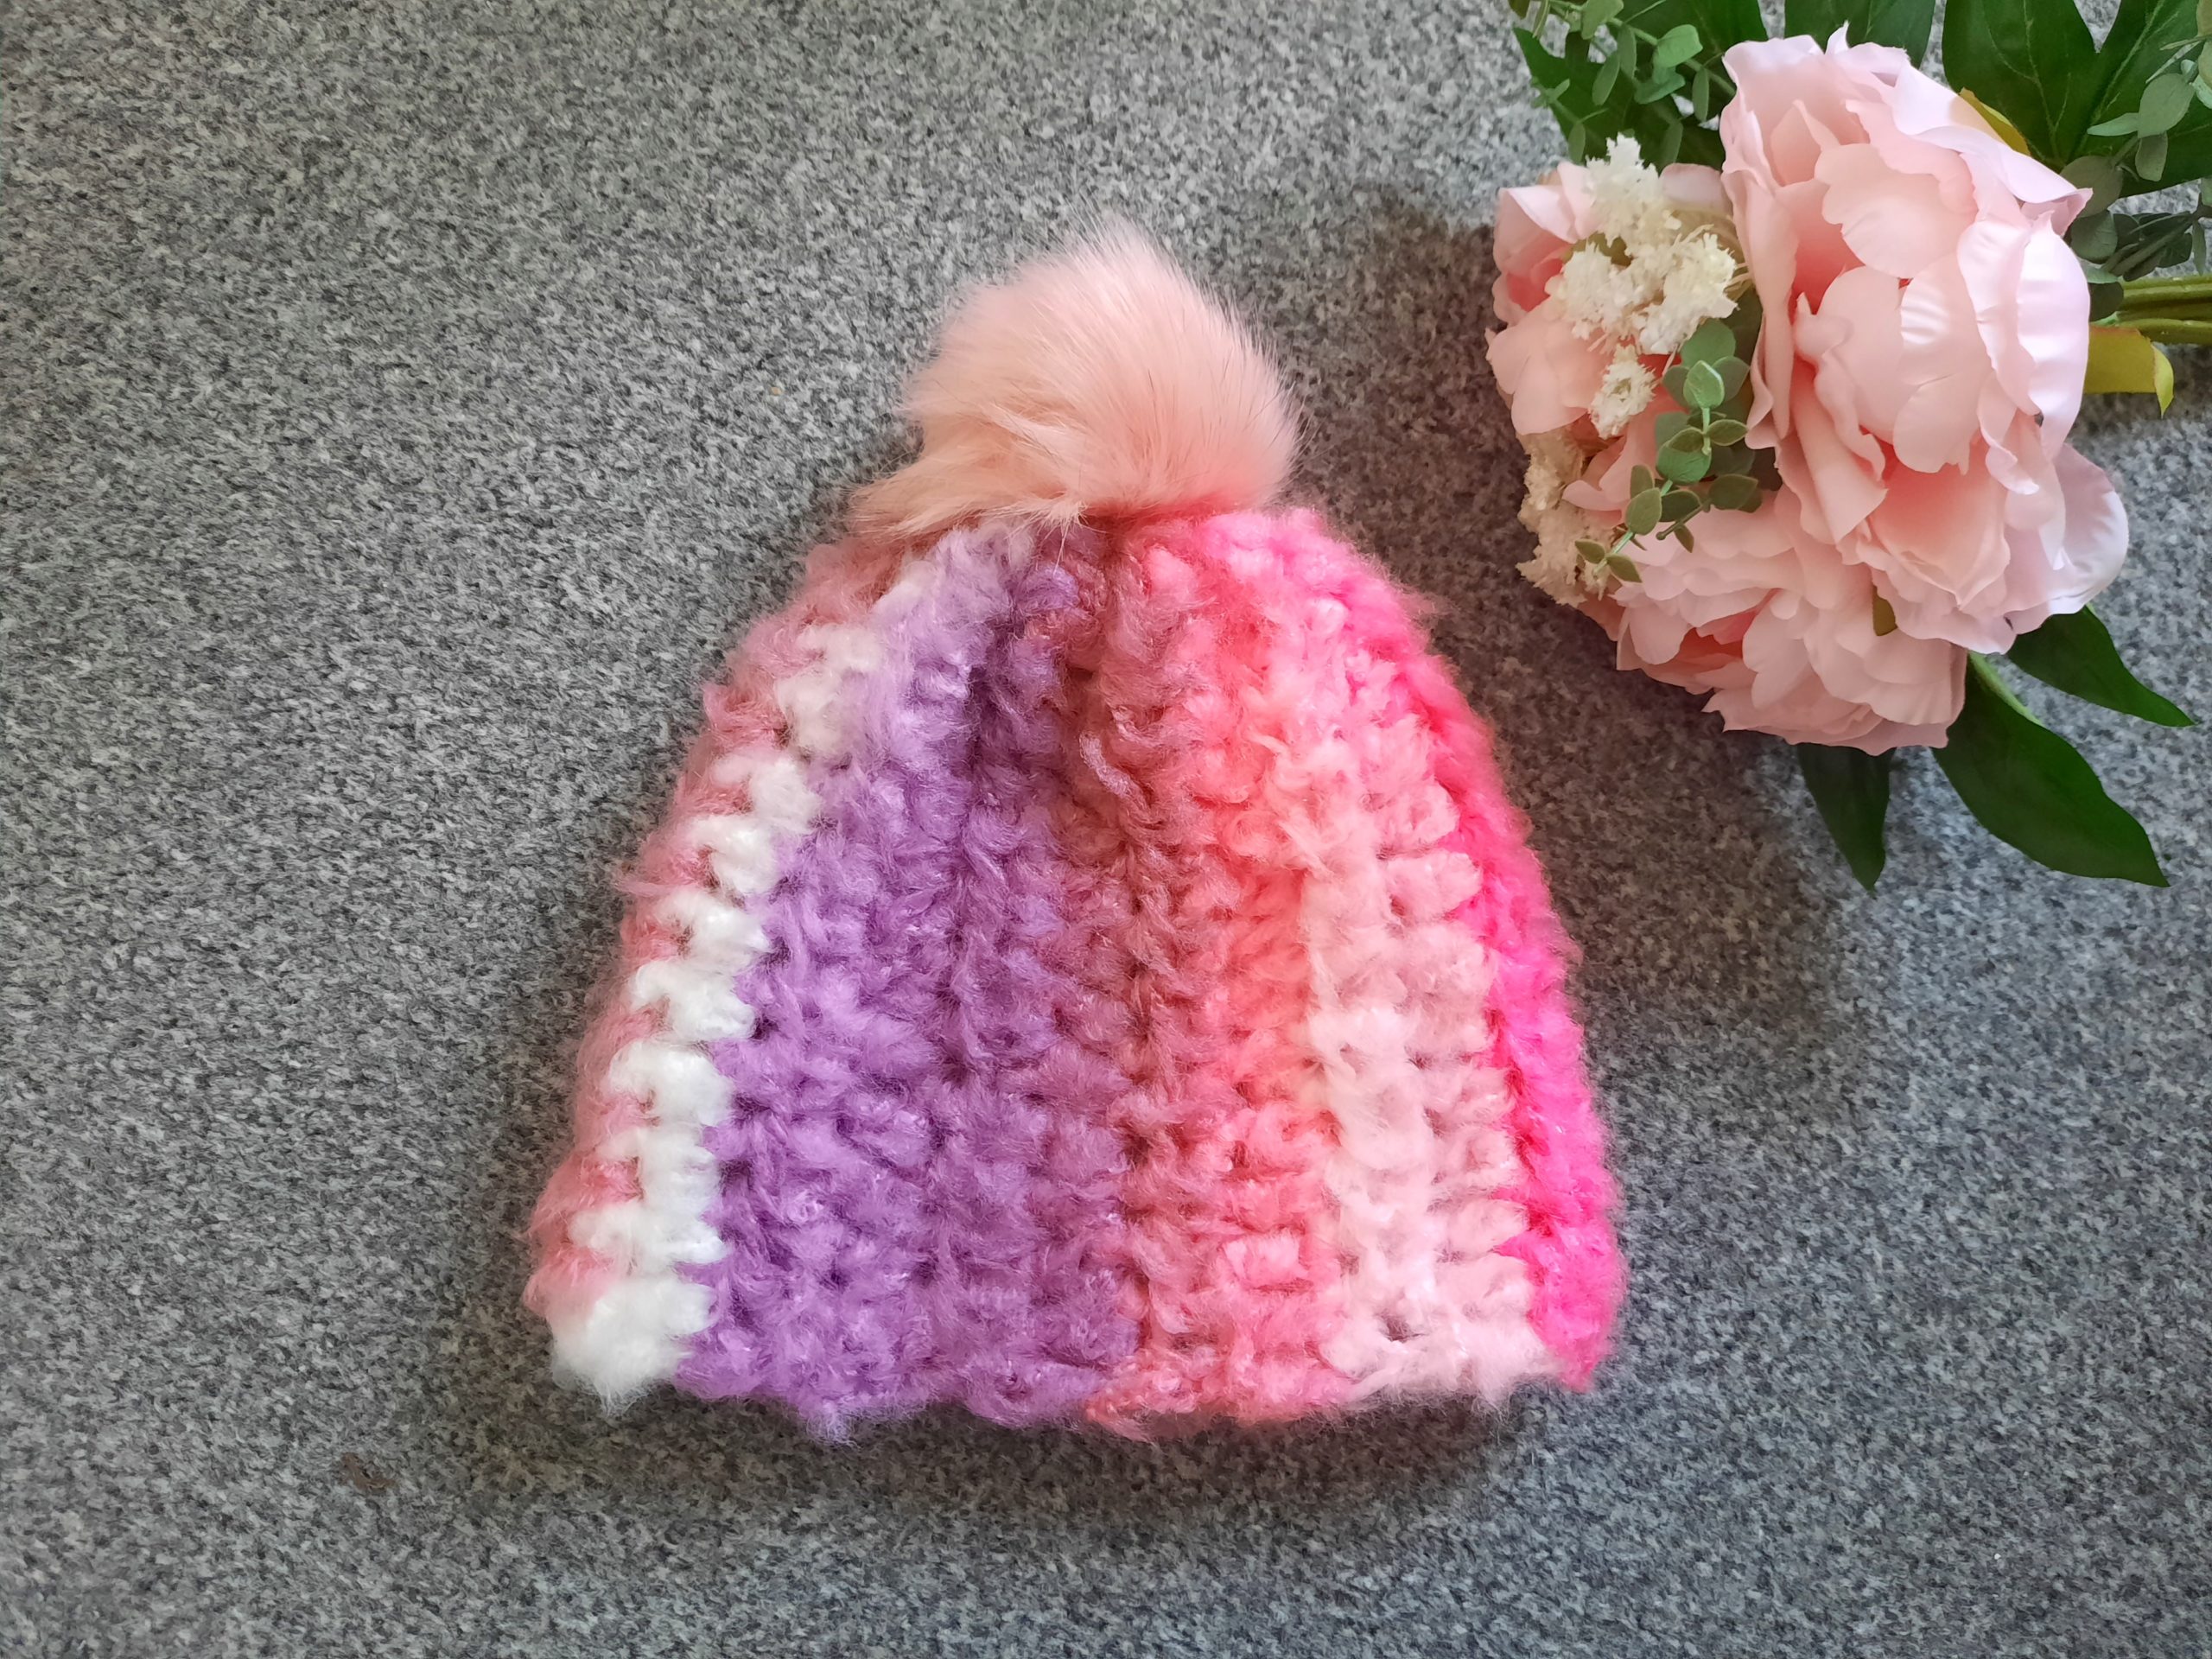
Crochet Easy Mandala Fluffy Beanie
Crochet Easy Mandala Fluffy Beanie
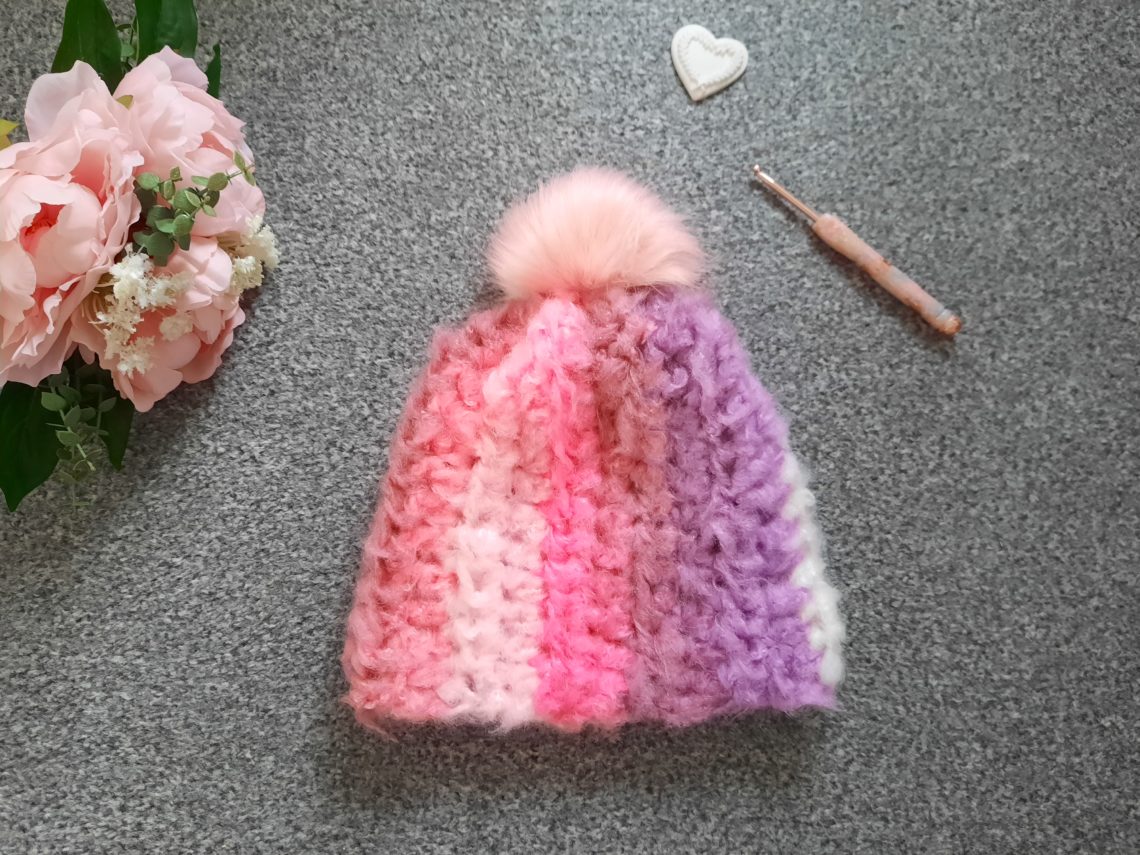
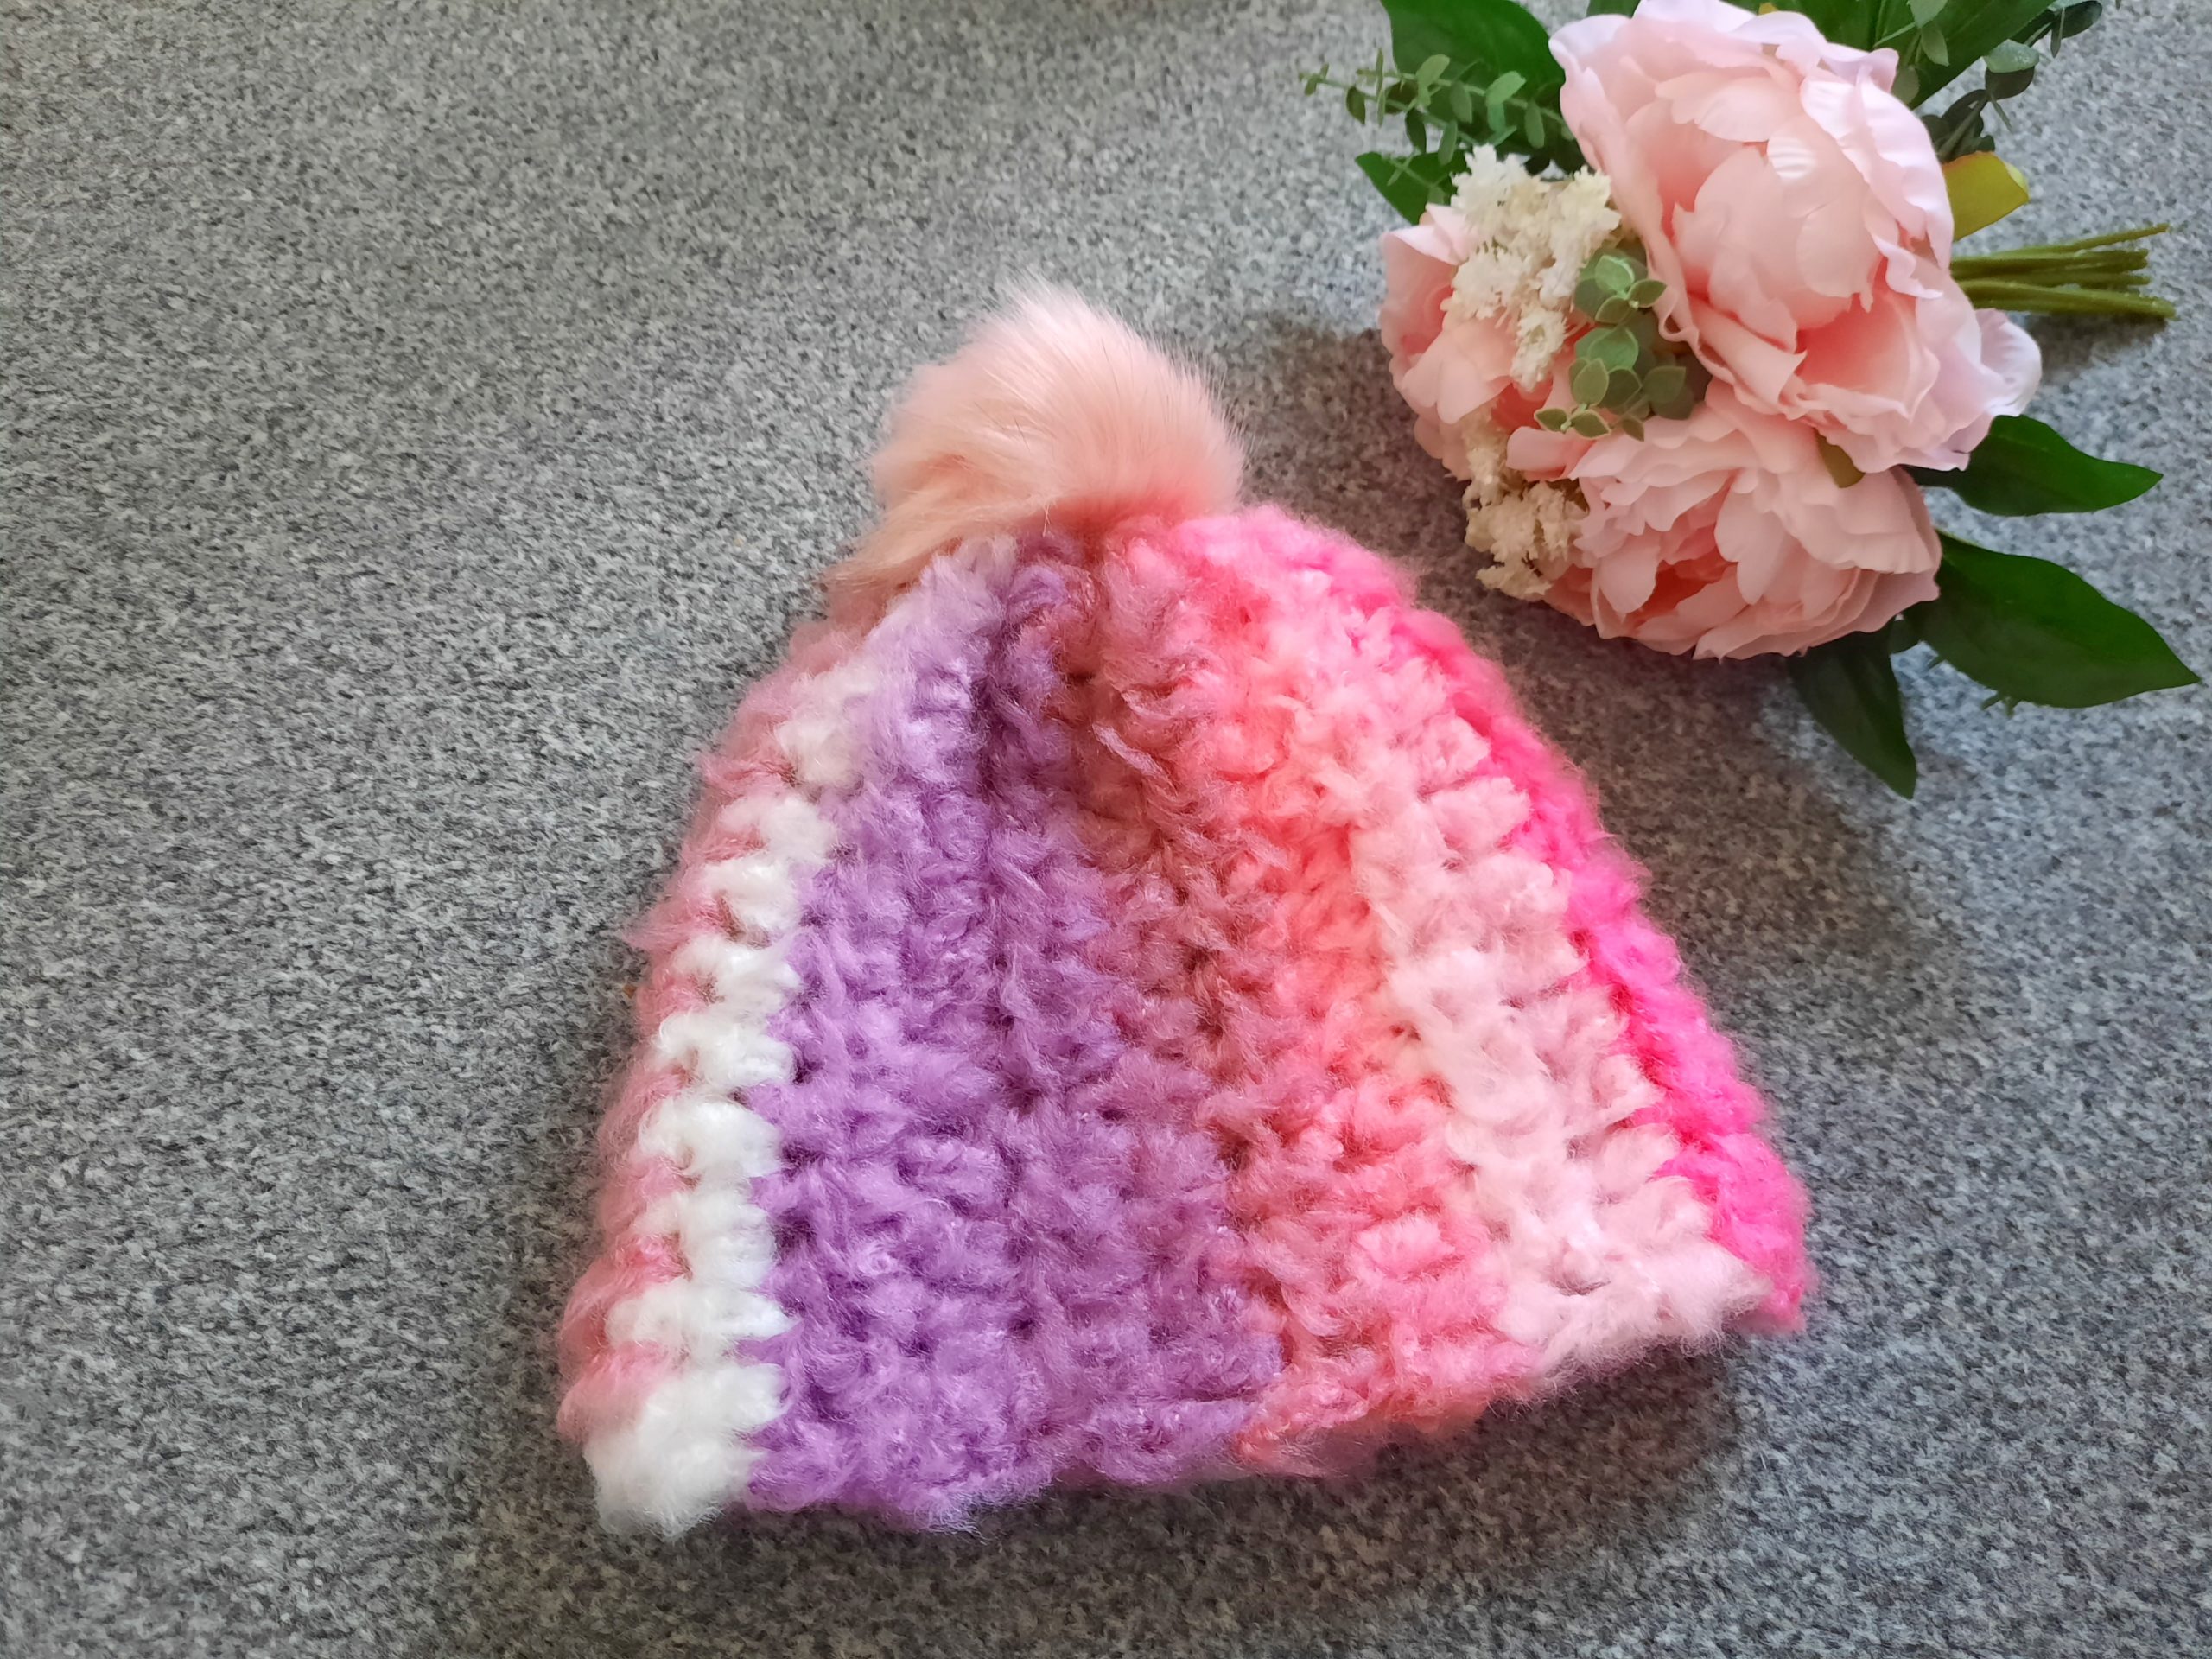
Hi everyone, this week I am bringing to you a new crochet tutorial for an easy crochet Mandala Fluffy Beanie. This crochet project is really easy and fun to crochet.
The video tutorial can be found on Youtube as always: Crochet Easy Mandala Fluffy Beanie Video Tutorial
Crochet Easy Mandala Fluffy Beanie: the yarn
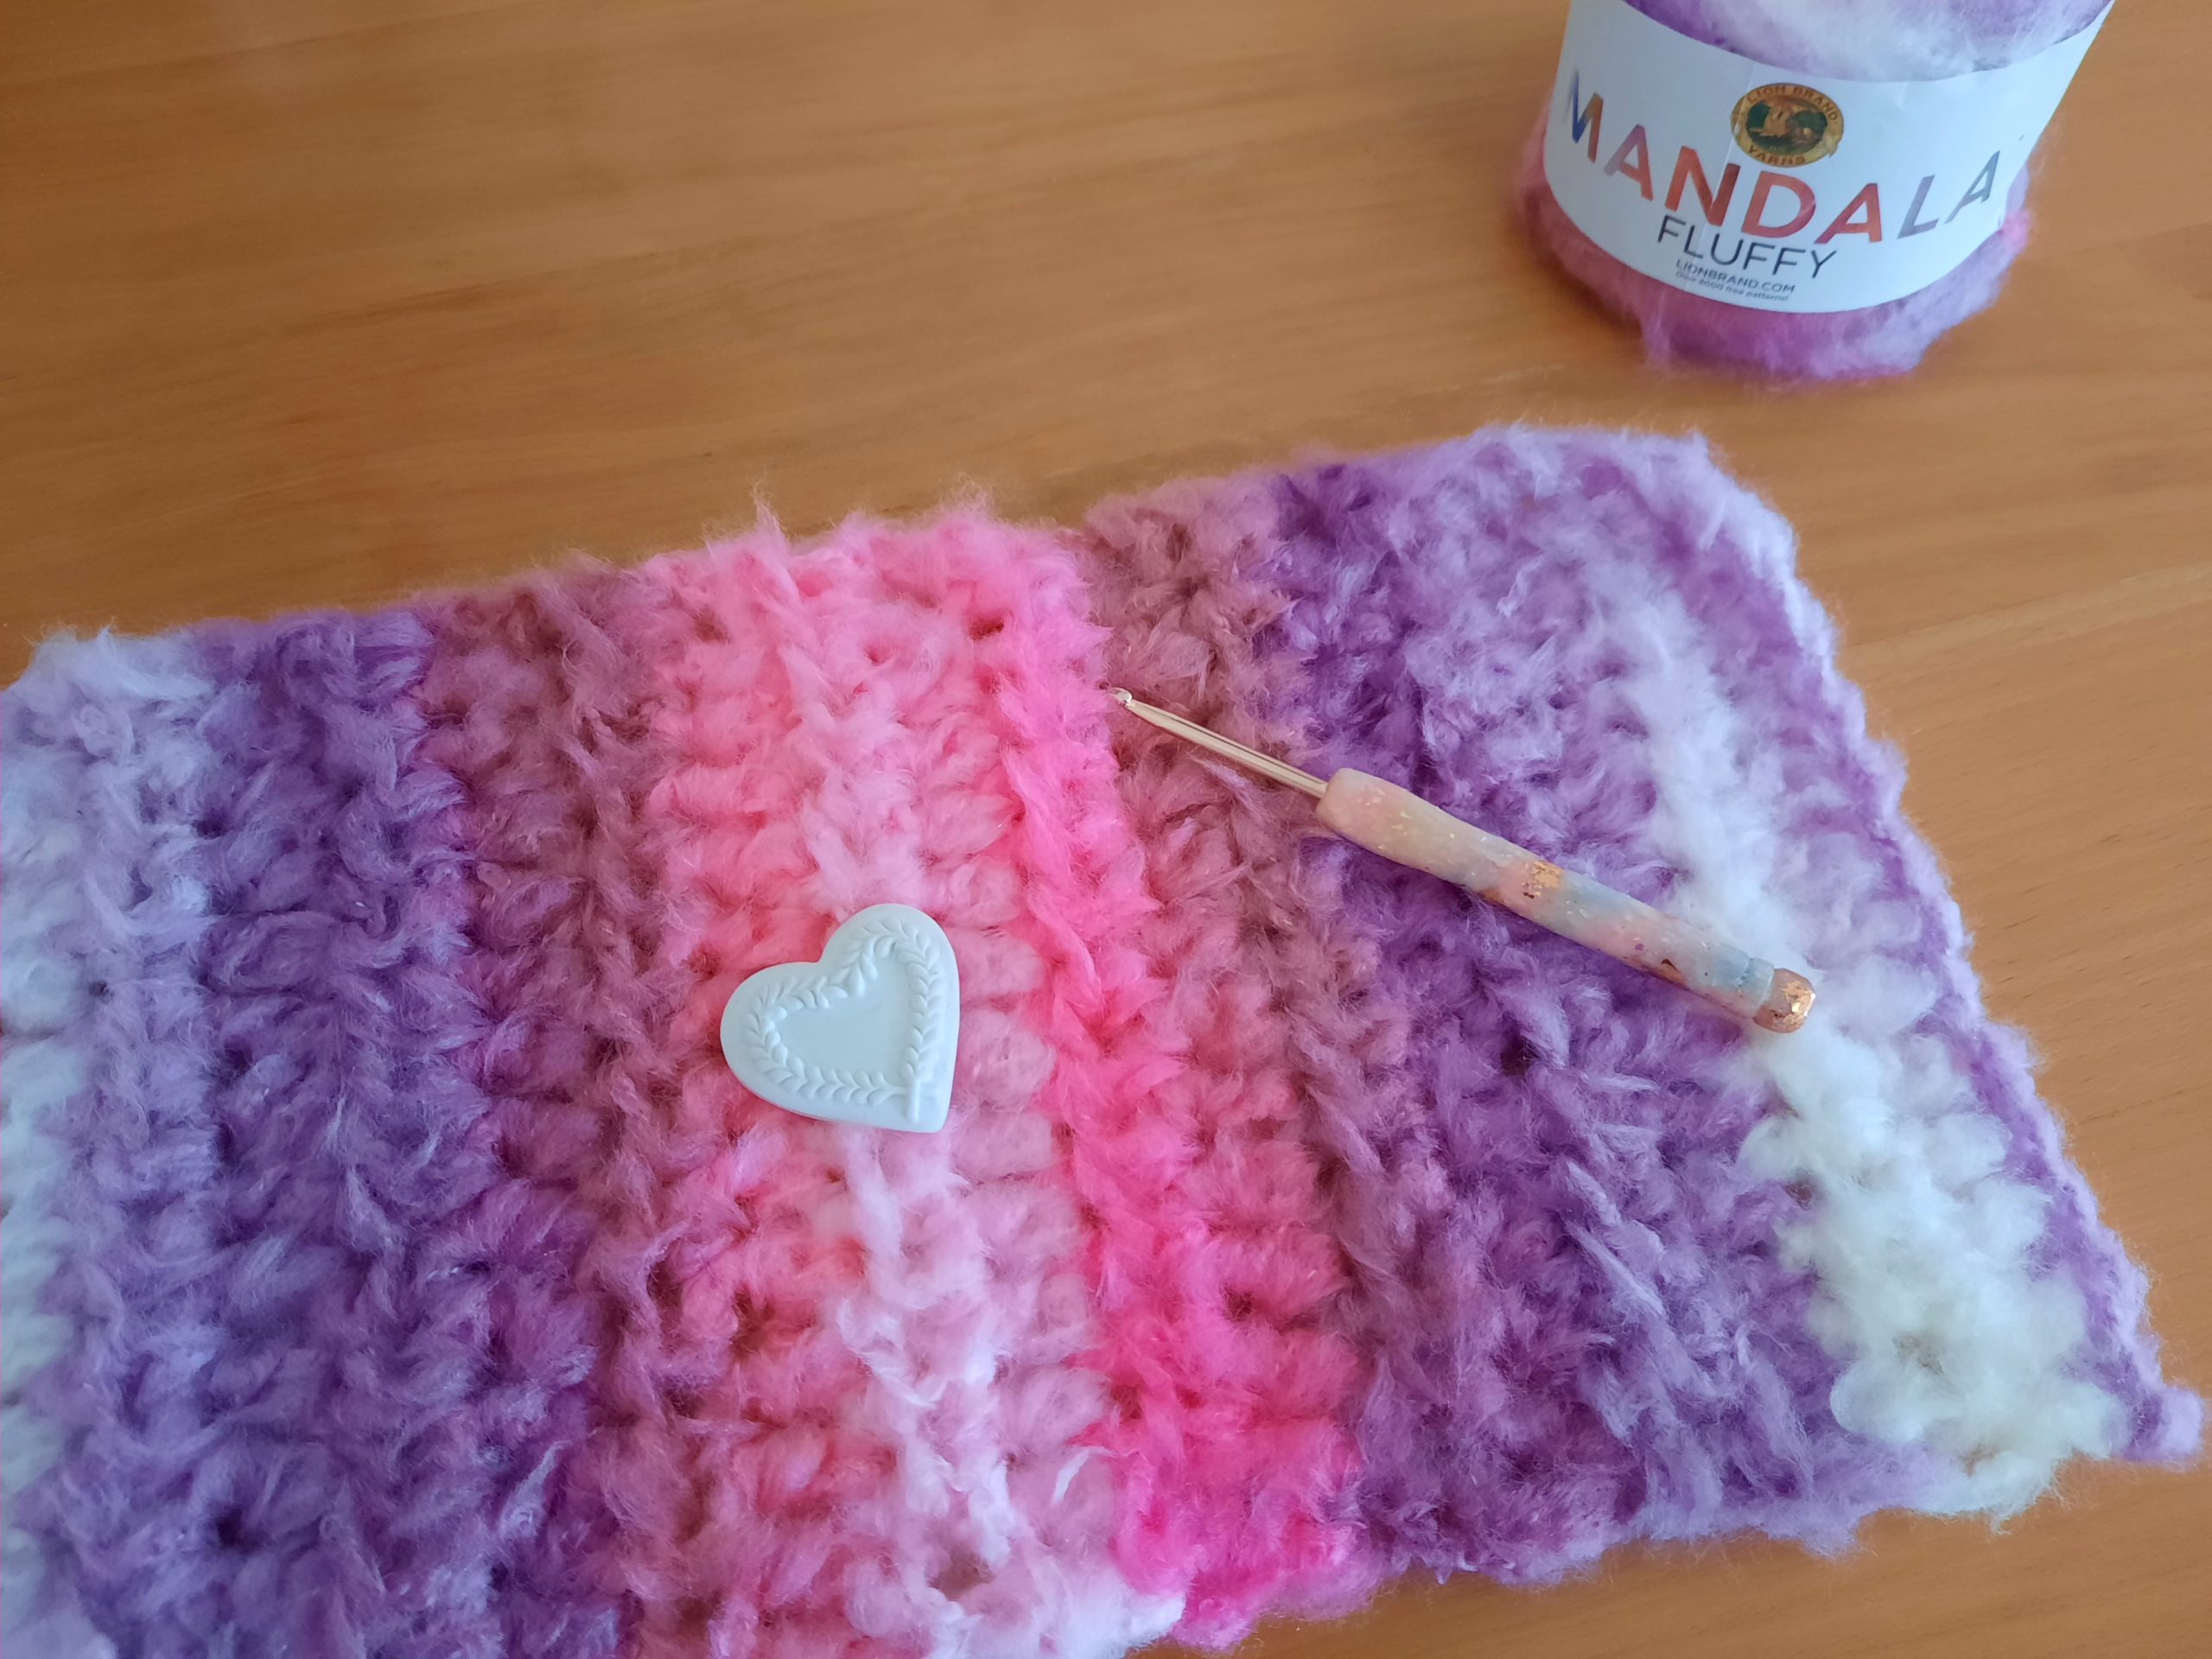
Mandala fluffy yarn is a jumbo sized yarn, and is a delight to work with. I ordered this beautiful Mandala yarn last month, as I loved how cosy and soft it looked. For this project, I used the shade Pixie Hawkfish for this project, and it is the most delightful and feminine colour.
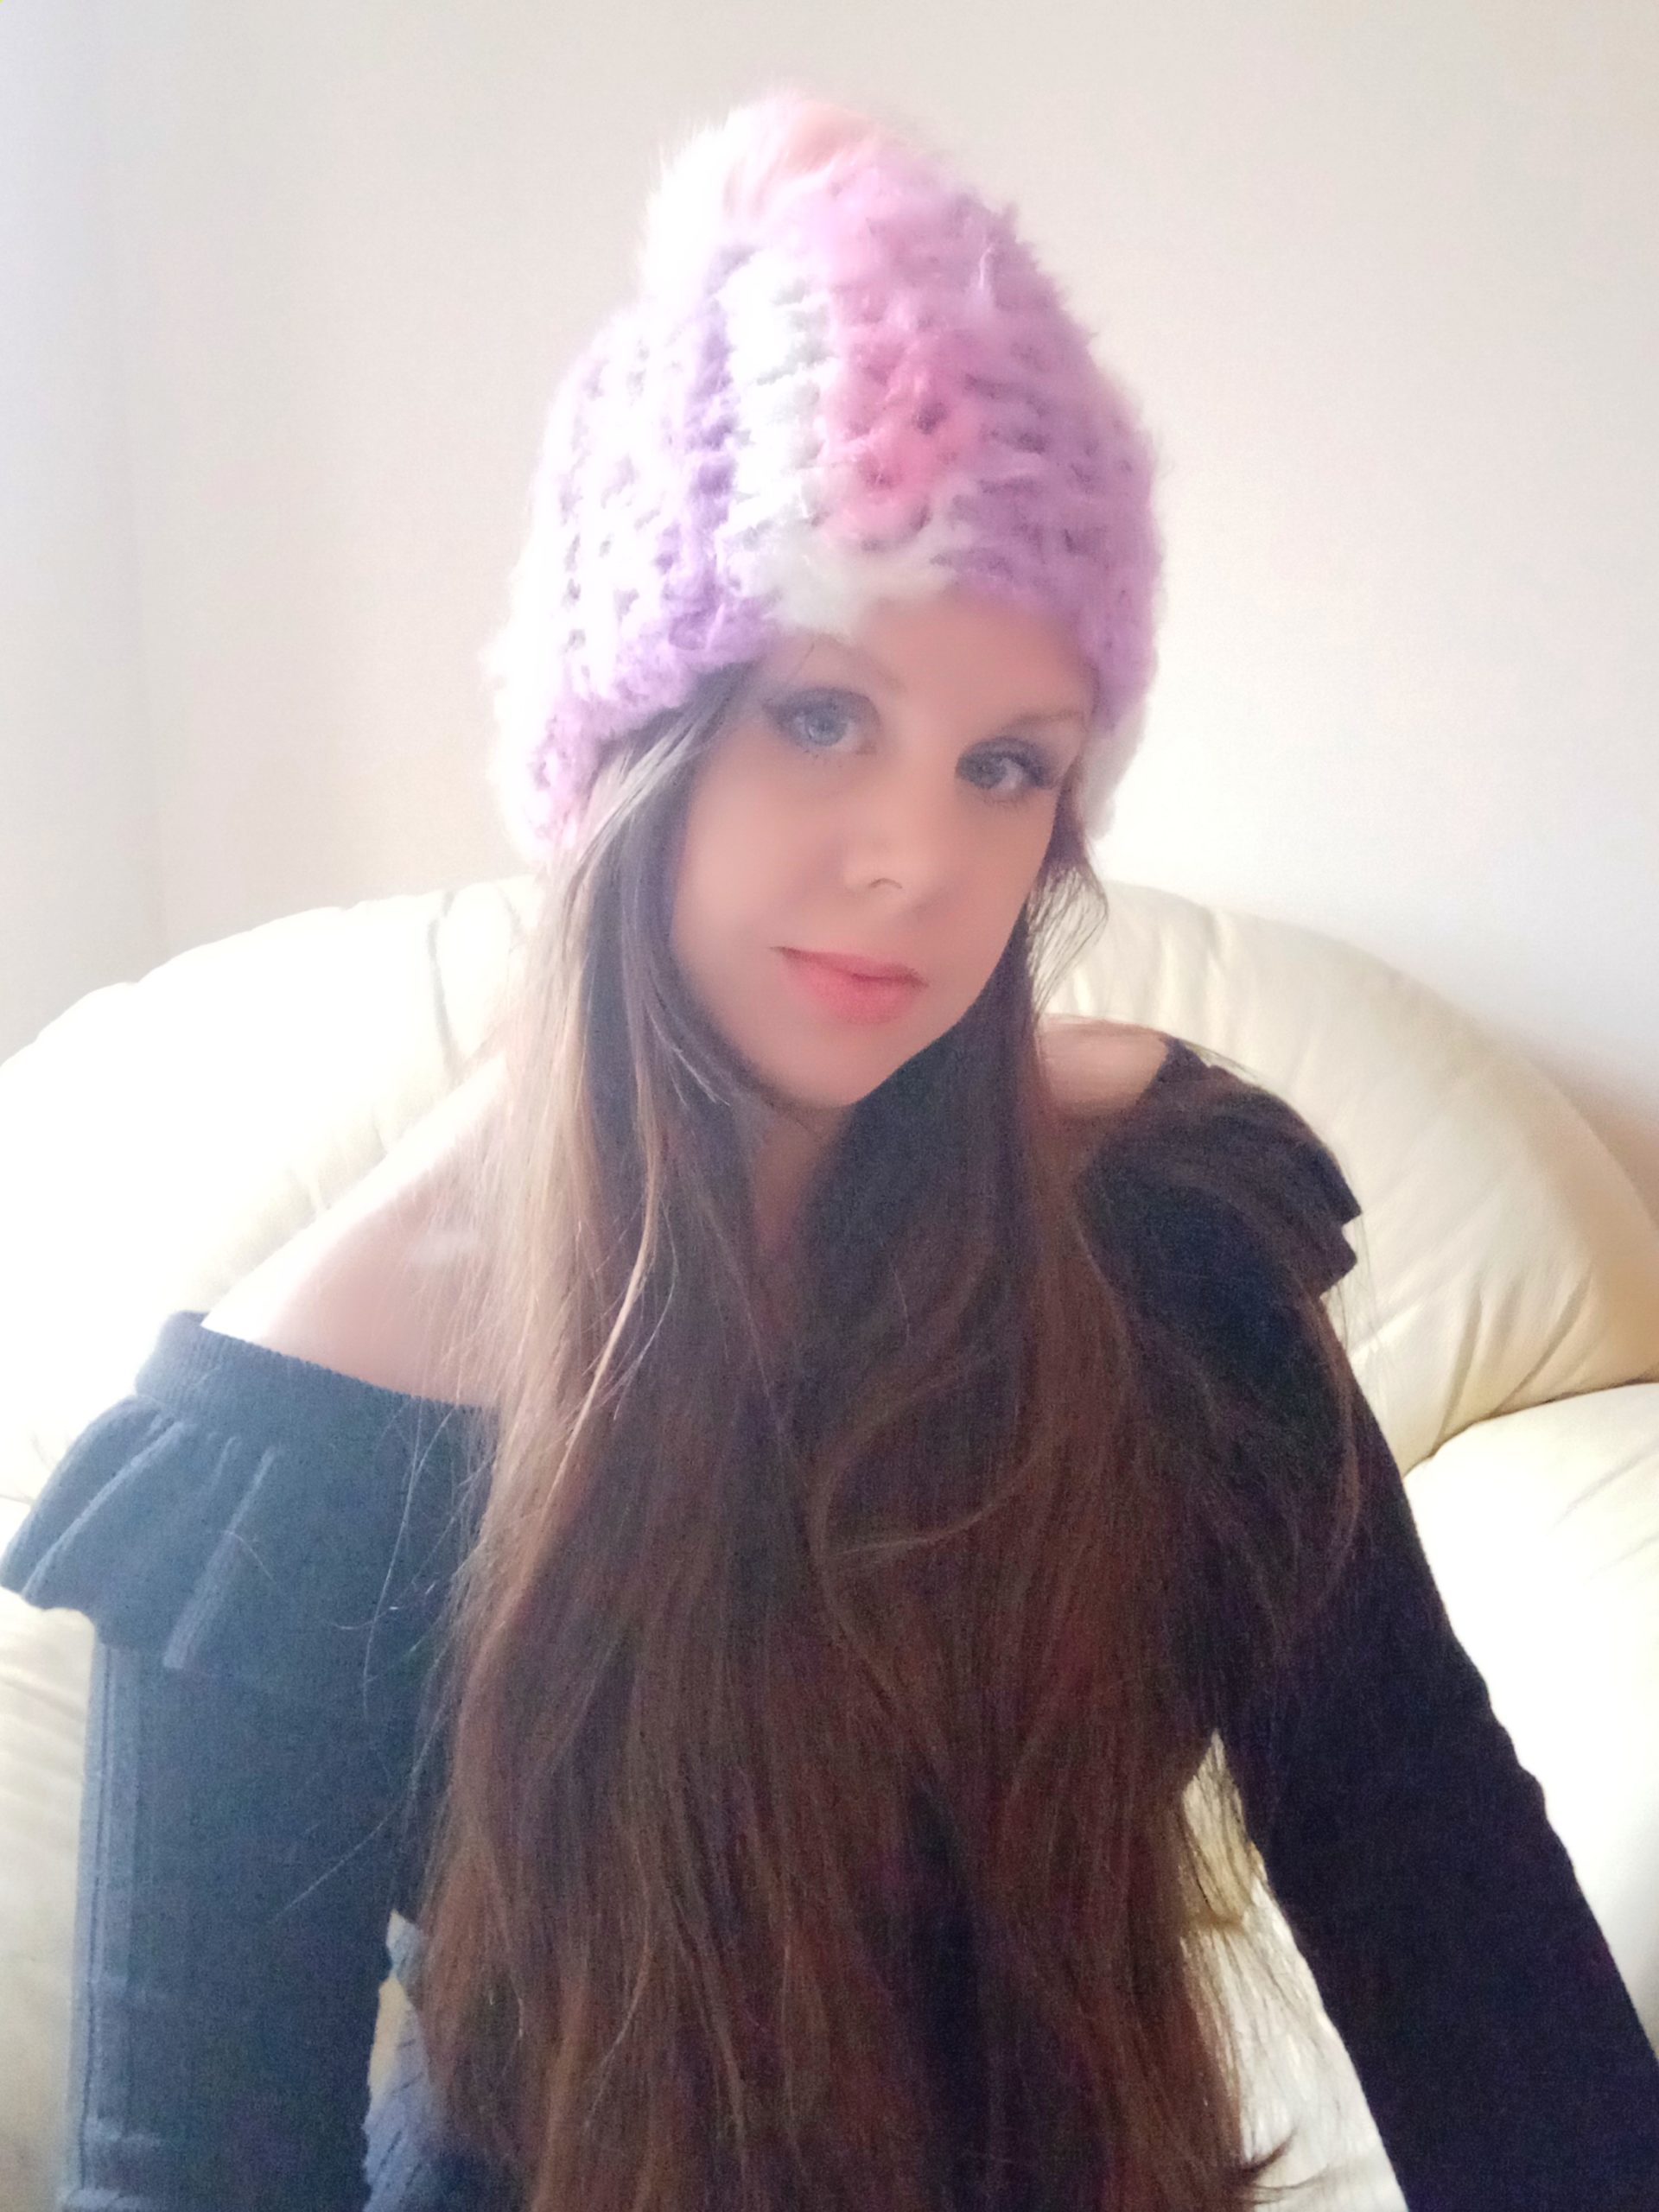
I love variegated pink yarns, and this was perfect for me. I had always known I would create a warm fluffy beanie with this yarn. The result I got was not disappointing. This project worked up quickly, and this yarn is super soft to work with.
I am a great lover of Lion Brand’s Mandala classic yarn. Indeed, I crocheted a beautiful asymmetrical shawl pattern called The Unicorn Shawl a while back. This easy crochet project can be found on my blog: Crochet The Asymmetrical Unicorn Shawl Free Pattern & Video Tutorial
Crochet Easy Mandala Fluffy Beanie: the inspiration
I had had the inspiration for a thick and warm beanie quite a long time ago. To be honest, I was just waiting to find the perfect yarn for such a project.
The weather here in the UK has been freezing cold of late, so I really needed an extra warm addition to my hat collection quickly.
This jumbo yarn looks and feels extra warm. It is absolutely perfect for the extra warmth needed on very cold days. I love it already, and am presently making a warm cowl to go with this crochet hat already.
Do you love warm cosy hats as much as me?
Connecting with you
I love nothing more than to connect with you. Of course, you can follow me on Youtube (I am at almost 10,000 subscribers!), on Instagram, and of course Pinterest and Facebook. You can find me under the username Selina Veronique Crochet, and the direct links to all my Social Media accounts are on my Home Page.
You can also join me in my private Facebook group here: My crochet group to connect
I would be delighted if you joined my exclusive weekly newsletter. You will then be the first to know when I release a new fee pattern, video tutorial, giveaway, as well as exclusive discounts to my Etsy pattern store.
Thank you so much for stopping by my blog!
I truly appreciate your support,
Lots of love,
Selina.

Crochet Easy Mandala Fluffy Beanie: the pattern
You can purchase the ad free, PDF pattern from my Etsy shop here: Crochet Mandala Beanie ad free PDF Pattern
This is a great way to support my small business, and I really appreciate it.
Level
Easy/beginner
Notes
I will be using US terms (British terms in brackets)
Gauge
4 in (10 cm) : 4 rows
4 in (10 cm) : 6 HDC
Gauge is not crucial for completion of this project
Size of finished project before sewing
9.5 in x 19 in (24 cm x 49 cm)
You will need
1 skein of Mandala Fluffy yarn in shade Pixiy Hawkfish
A 12 mm crochet hook
A pair of scissors
A tapestry needle
A fur pompom
A darning needle and thread
Abbreviations
Ch : chain
Sl st : slip stitch
HDC: Half Double crochet (UK Half Treble Crochet)
To begin
To start, make a slip knot.
Ch. 15
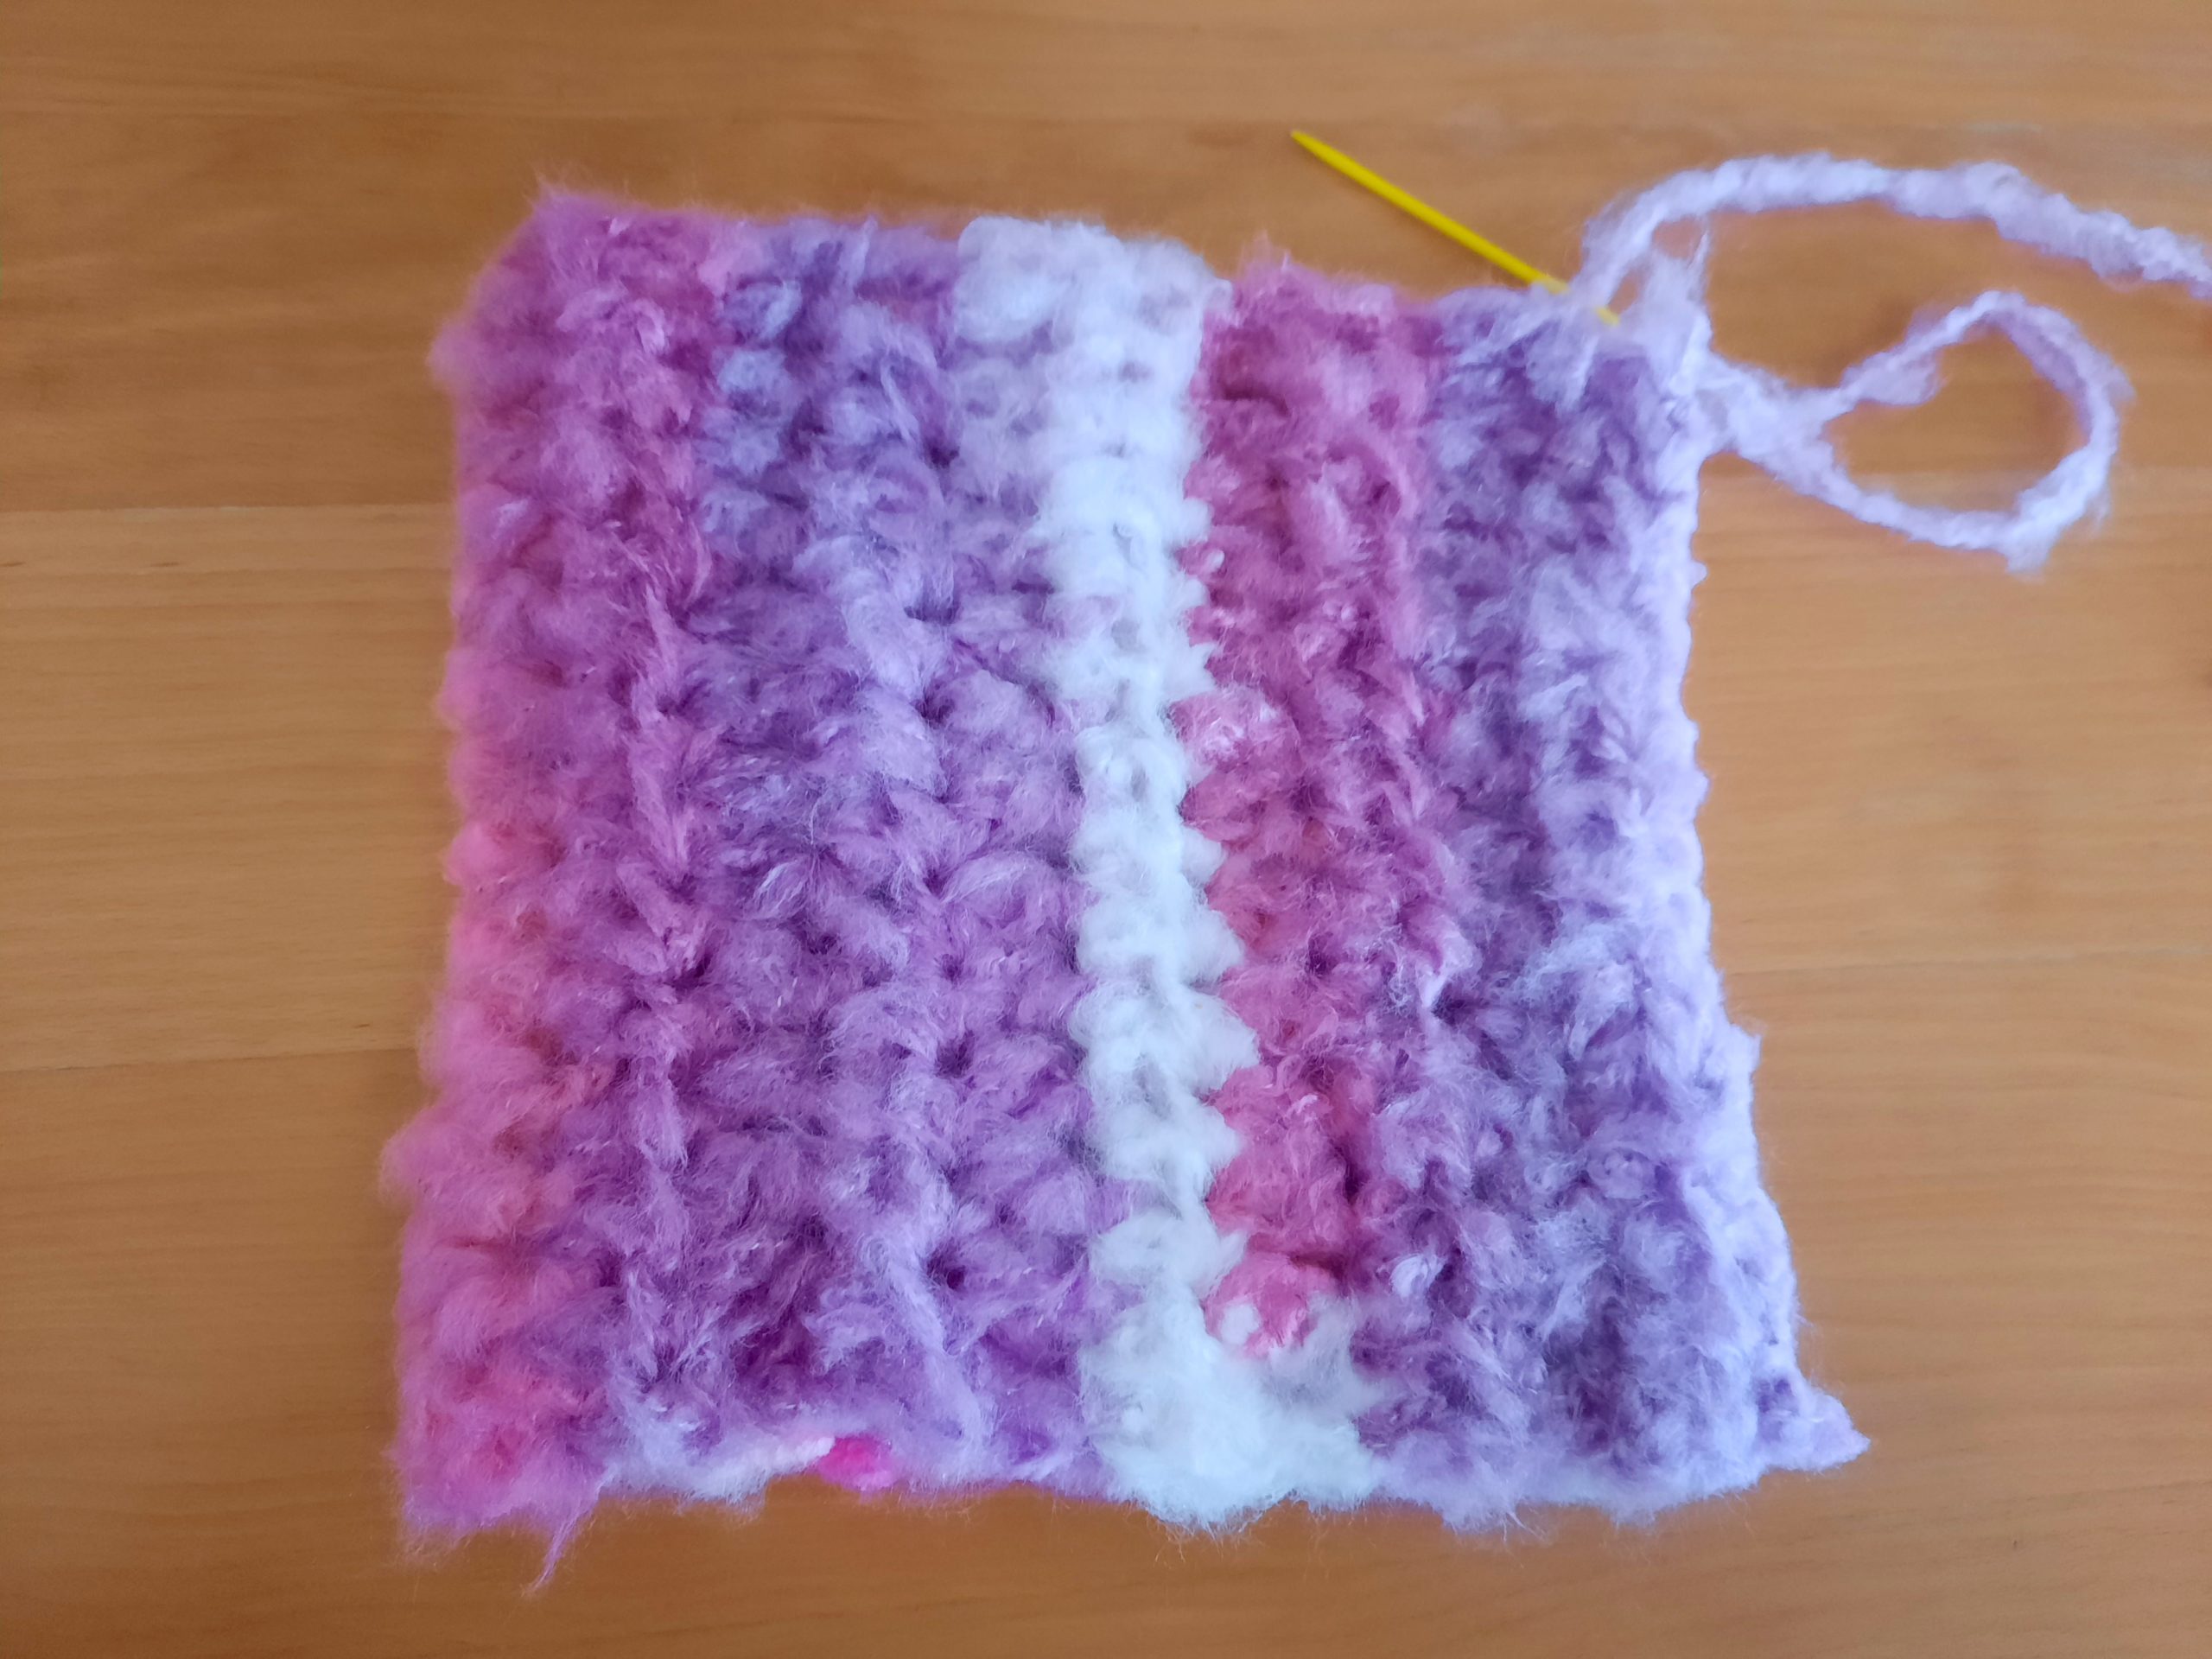
Row 1: HDC in 3rd chain from the hook, HDC into each ch until end of row (first ch 2 counts as a HDC) = 14 HDC total
Row 2: Ch 2 (=HDC), turn your work, HDC into next HDC from previous row, and into each HDC until eor
Rows 3-10 : Repeat row 2
Fasten off, leave a long tail for sewing hat together.

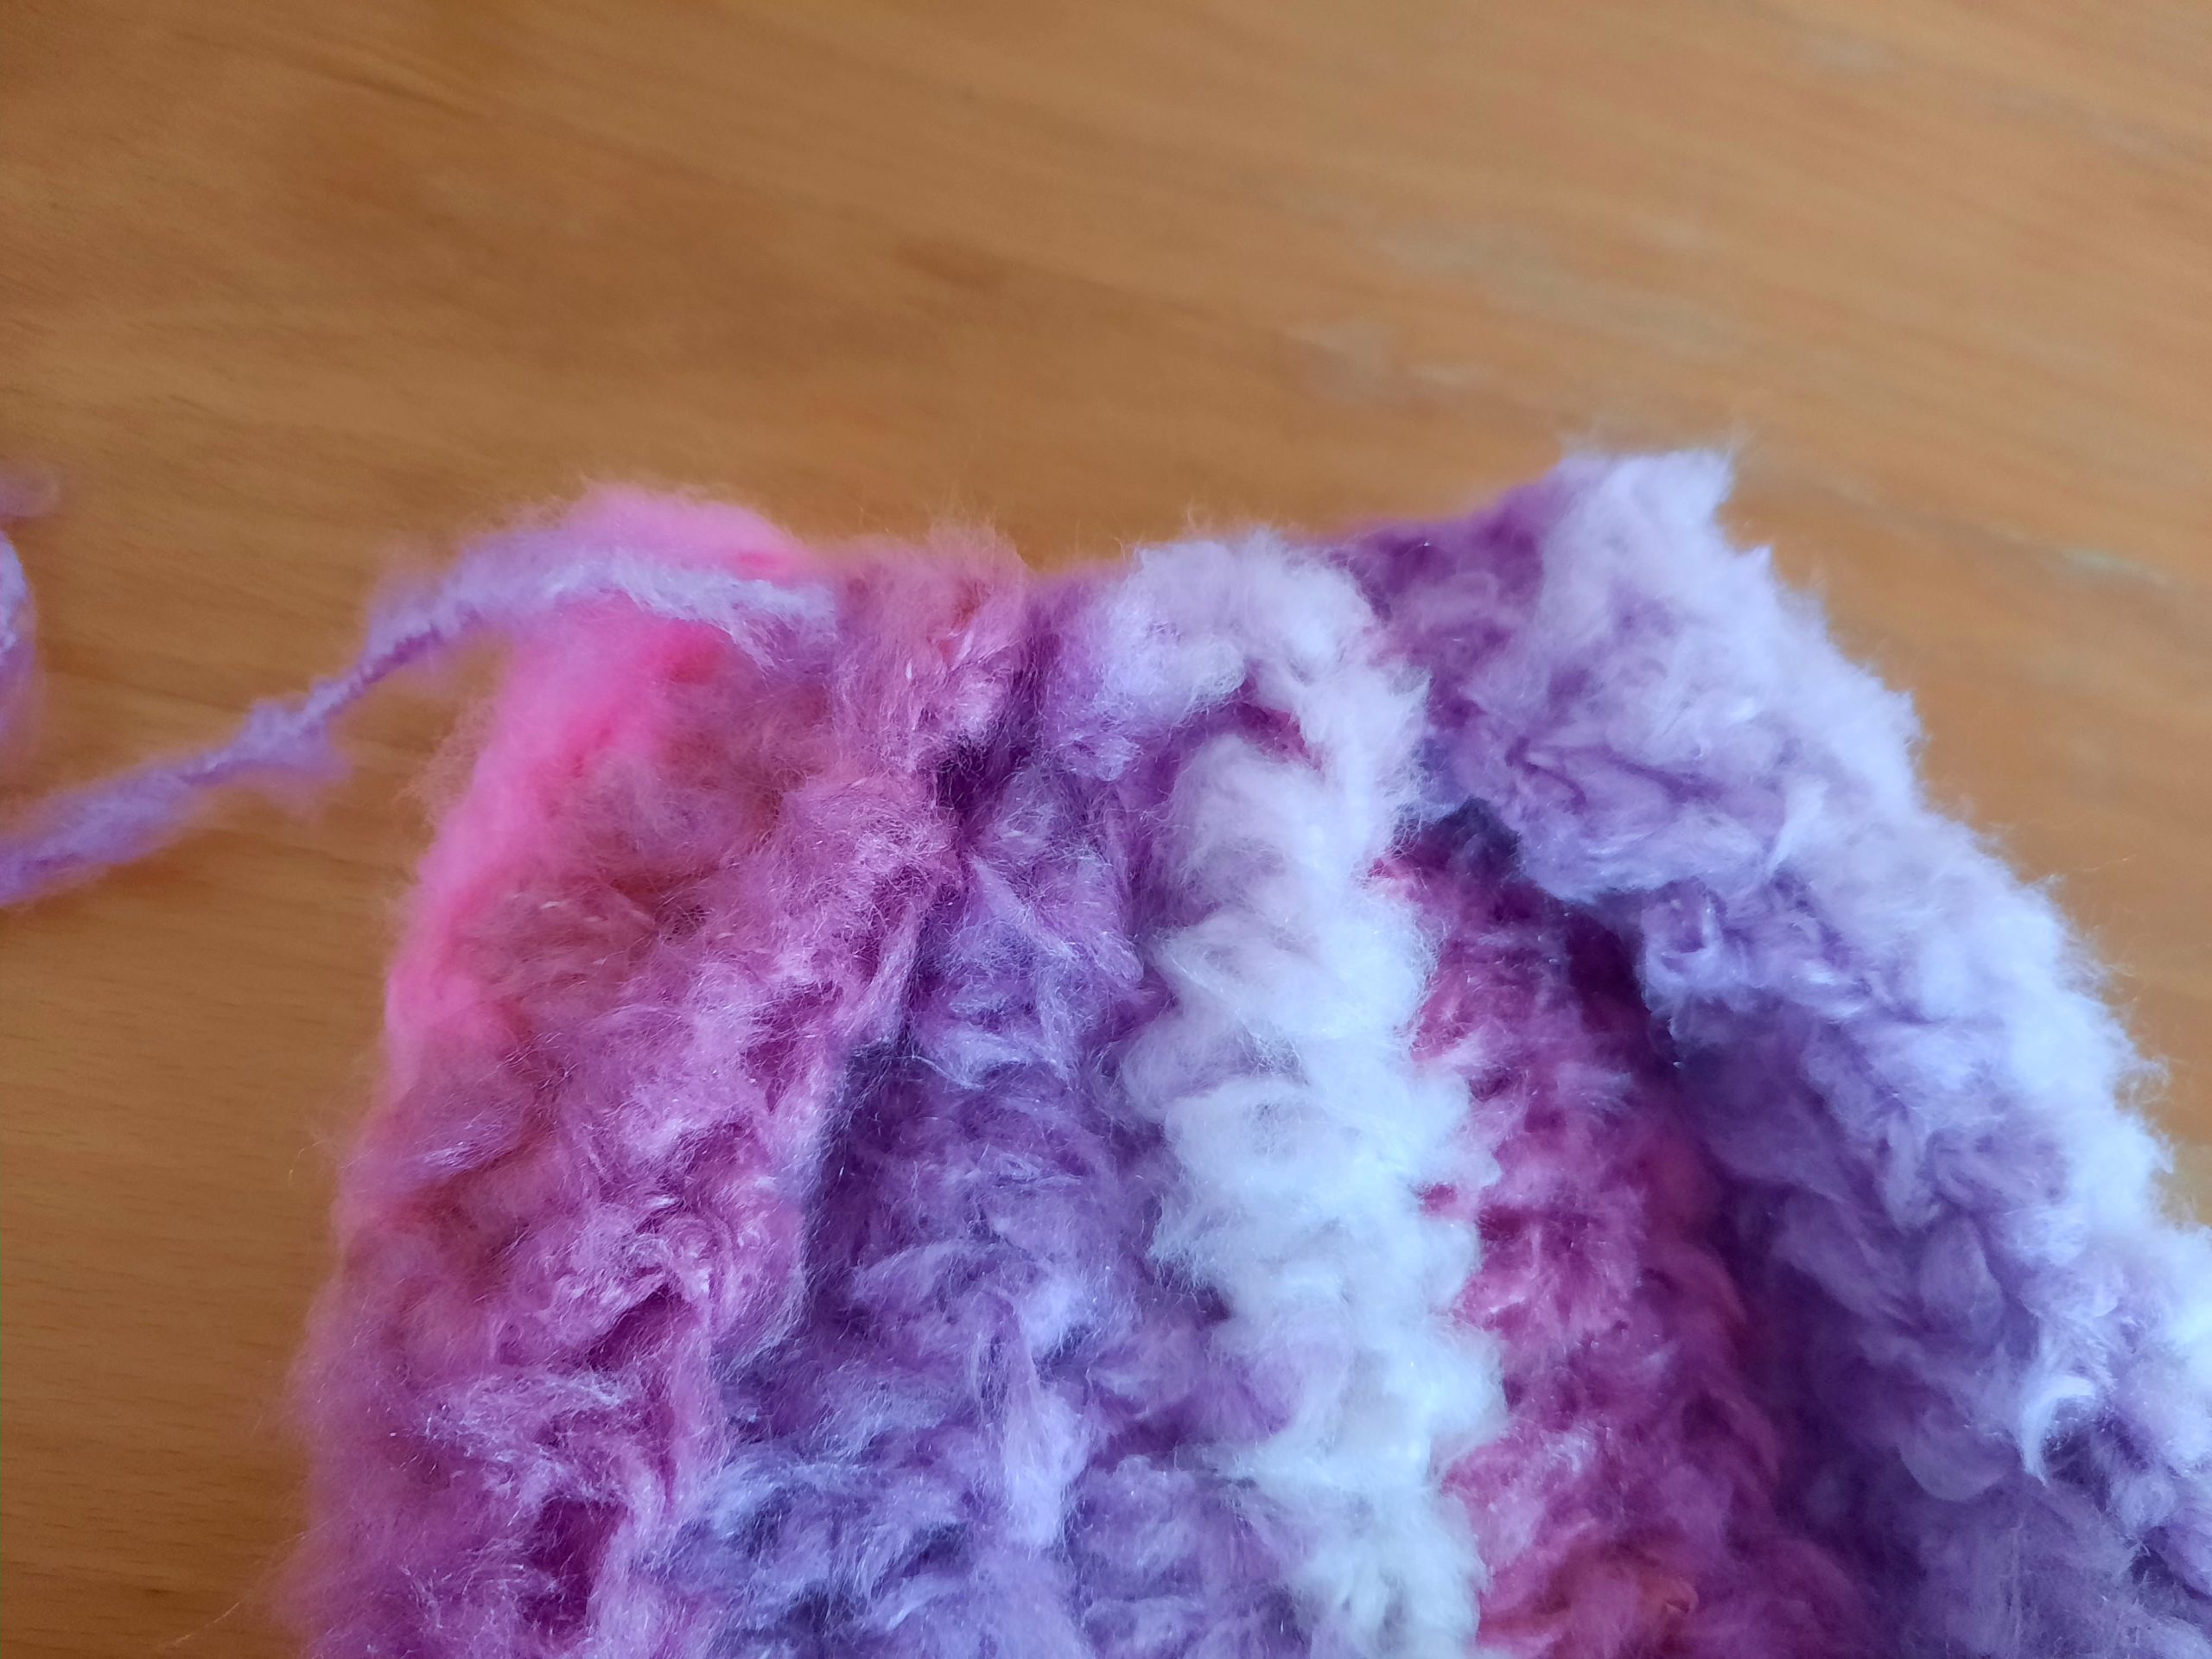
Sewing in your hat
With tapestry needle and yarn, start sewing up your hat from the bottom up (wrong side). Use whichever stitch you are most comfortable with (I will be using the mattress stitch).
When you reach the top of the hat, insert needle in and out of hat. When you gently pull on yarn, it closes up the top of the hat. Once your hat is securely stitched together, and you are happy with the result, pull tightly on top of hat (still on the wrong side). Make a double knot to secure it’s stitching.
Sewing on the pompom
Either with darning thread and needle, or yarn and tapestry needle, secure fur pompom on the top of the hat, making sure it is securely fastened.
Turn your hat so the right side is facing.
Fasten off, tidy up all loose ends.


4 Comments
Berni Joubert
Pretty and cute! FYI – the comments are turned off on your YouTube tutorial. 🙂
Selina Veronique
Thank you so much for your comment! I know, I don’t know why Youtube does this to some of my videos upon release. I have switched them back on, and hopefully they will stay on.
So glad you like this project 🙂
JC
Thanks for the cute pattern! I have Dolphin and Viperfish in my stash, so at least one will become a beanie. 😁
FYI, in the print instructions above, you have turning the beanie right-side out AFTER sewing on the pompon. I think you perhaps meant to insert that turning instruction BEFORE the sewing on the pompon instruction?
Thanks again for the pattern!
Selina Veronique
Hello, thank you for your comment! Glad you enjoyed this pattern.