Crochet Flower Granny Square Headband Free Pattern
Crochet Flower Granny Square Headband Free Pattern
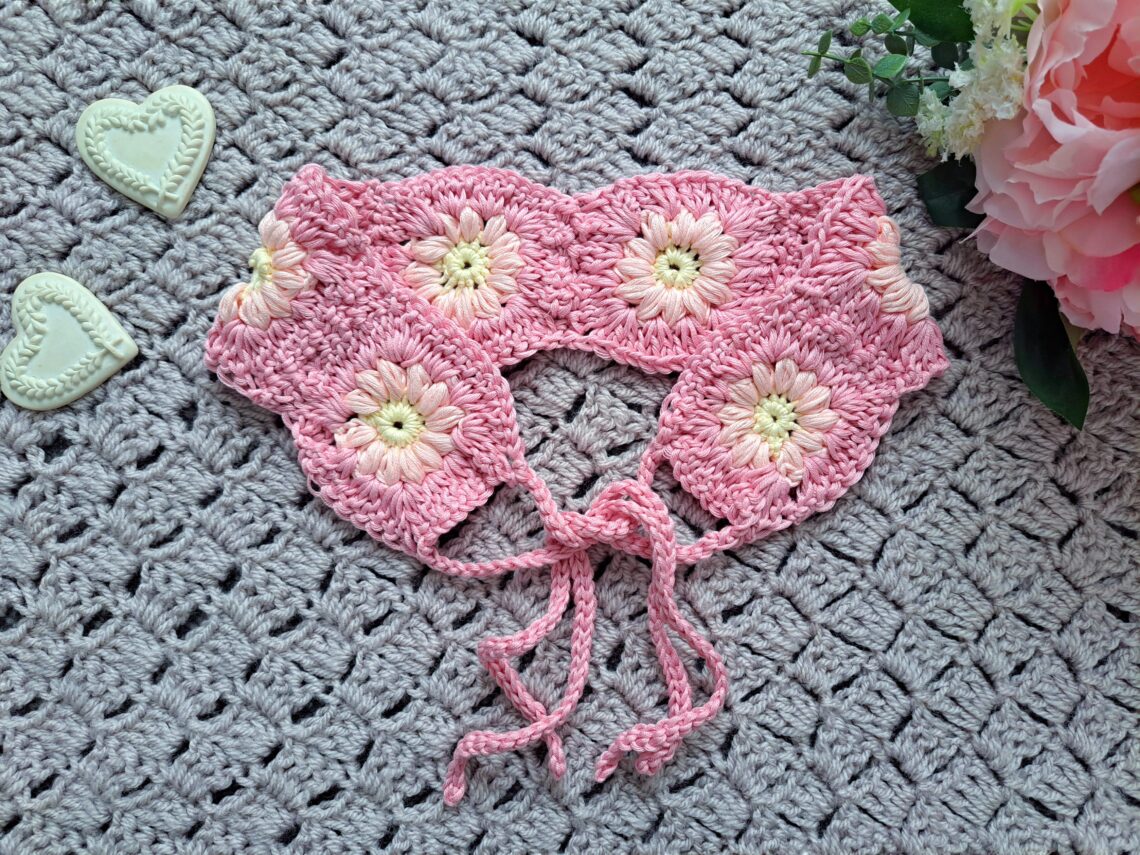
Hi everyone, today I am bringing to you this crochet Flower Granny Square Headband free pattern. This is such a lovely and feminine project! I love it so much. It is crocheted using 6 flower granny squares sewed together. This crochet headband is both functional and perfect for the Spring and Summer. In fact, it’s perfect for every season!
The video tutorial for this project can be found here:
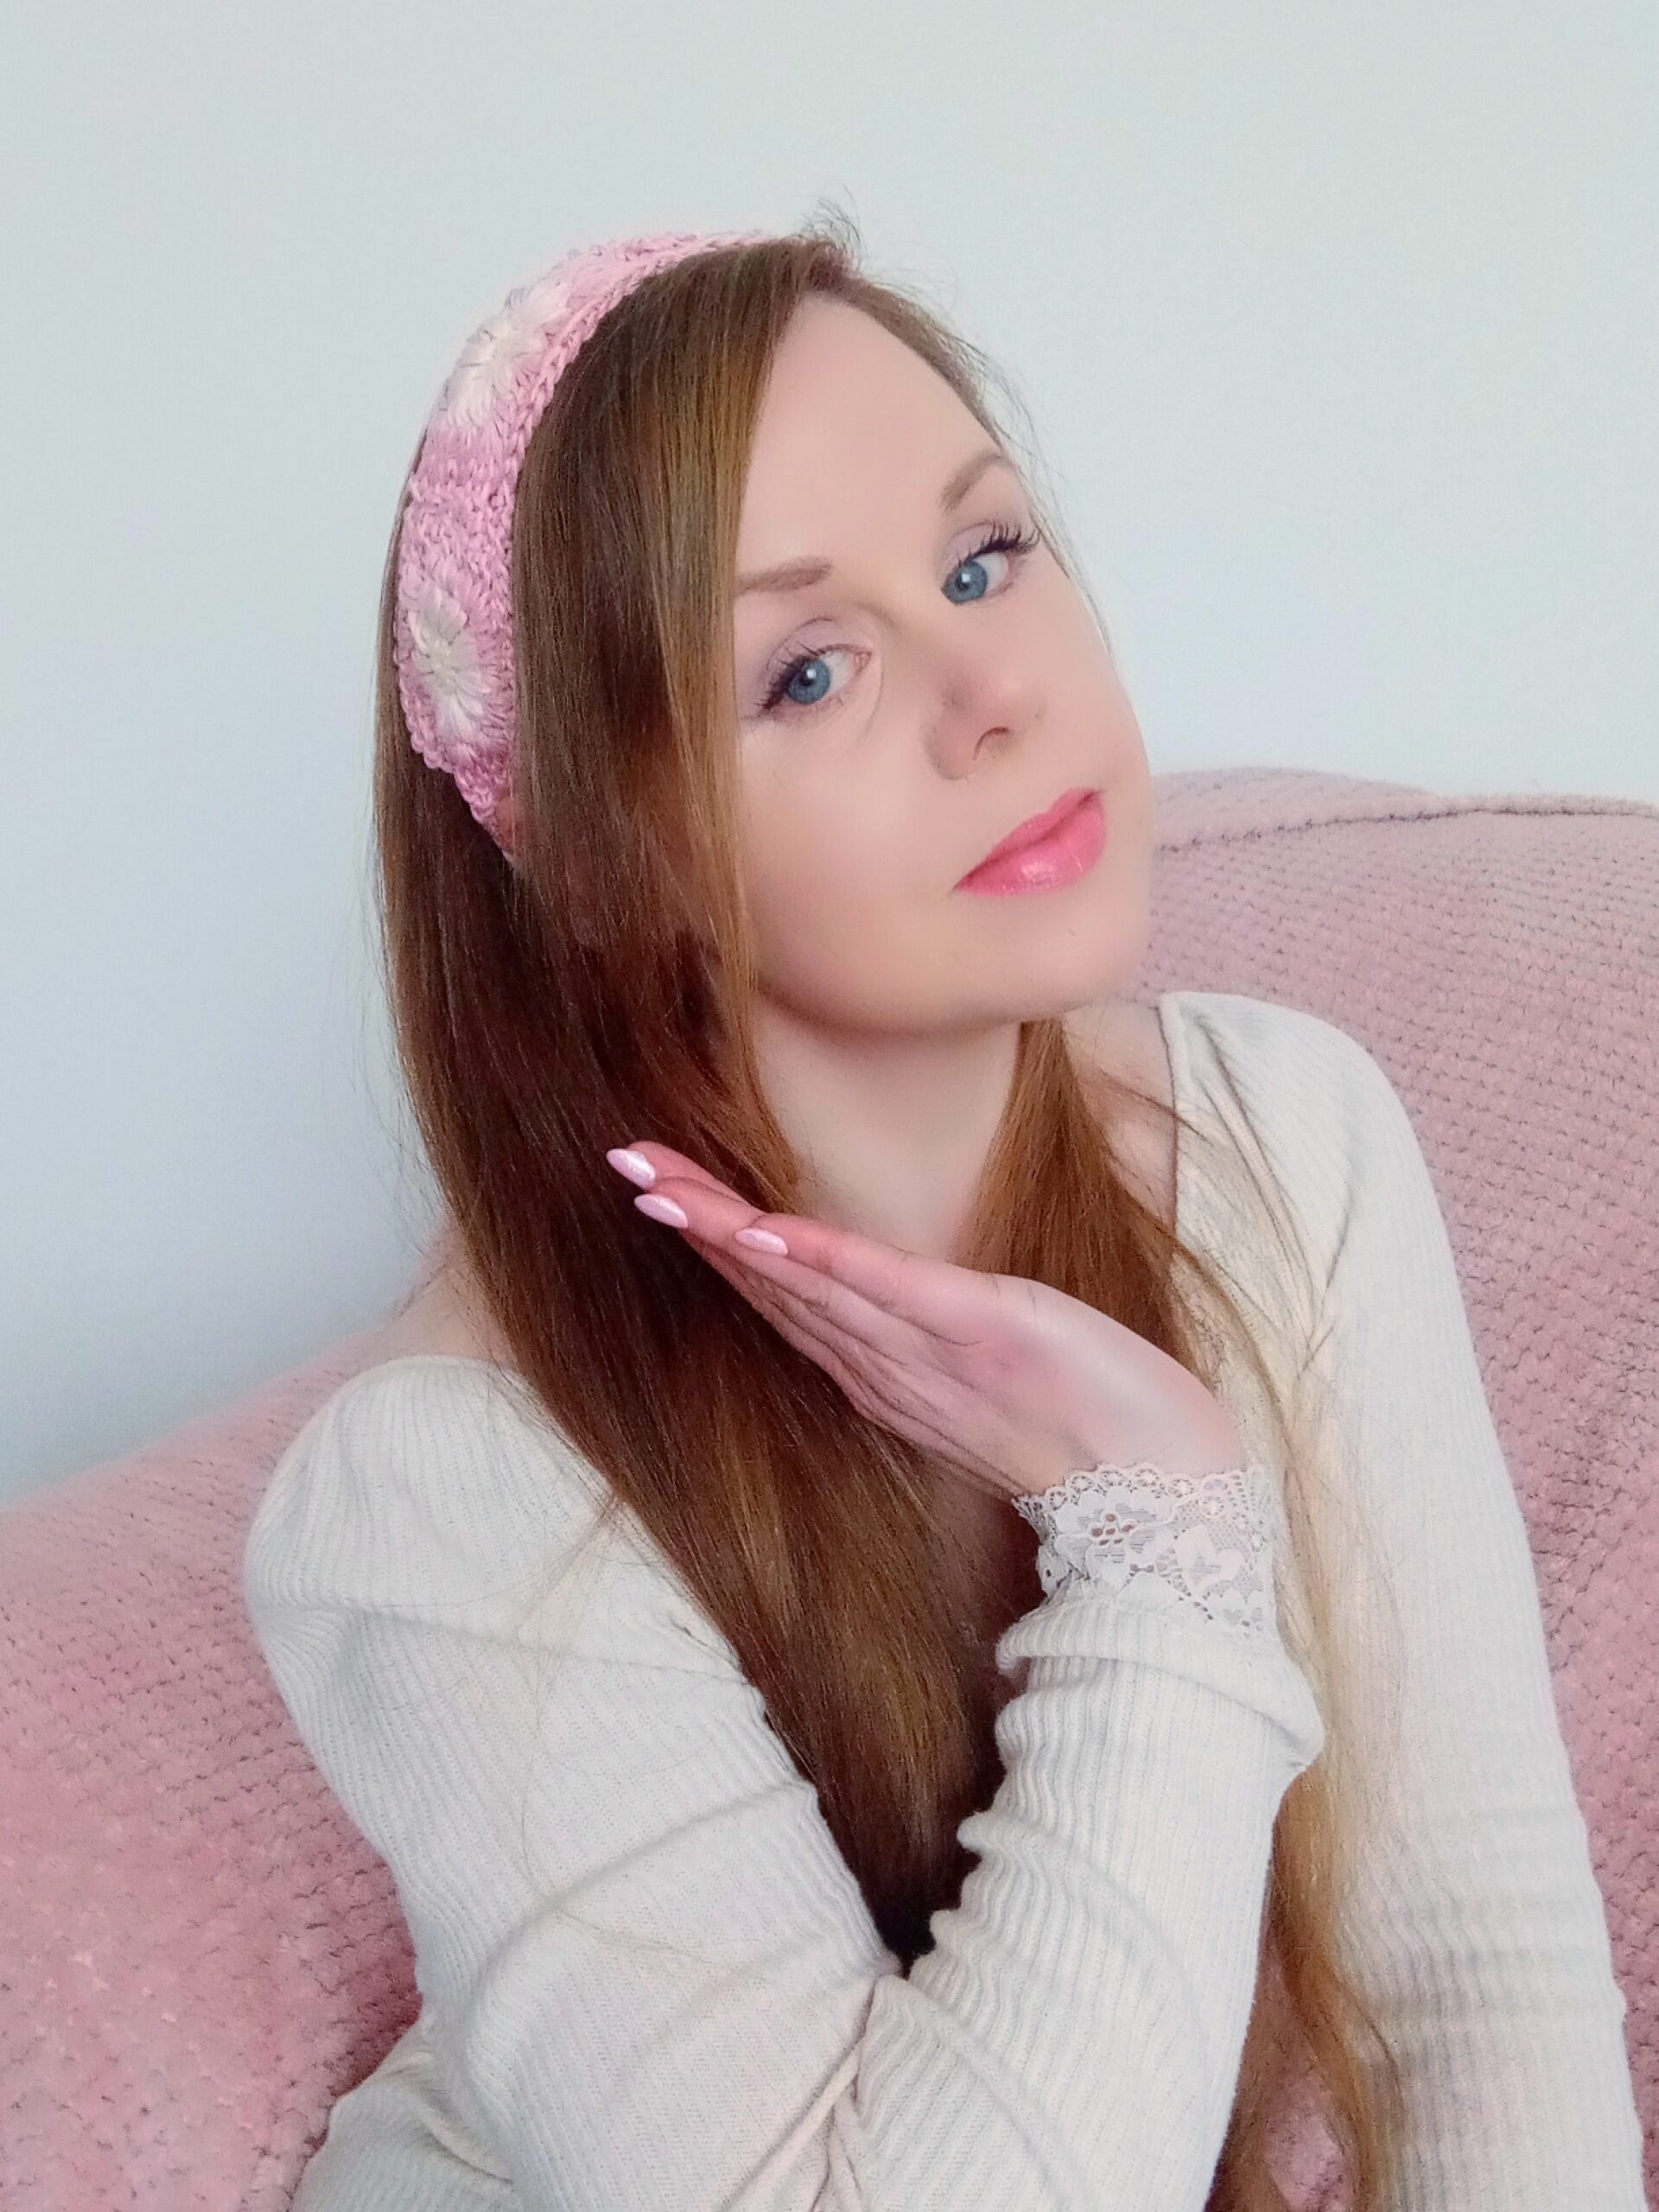
Crochet Flower Granny Square Headband Free Pattern: A Perfect Hairband
This headband is perfect in so many ways! Last year I crocheted the Lovely Flower headband, which is so popular still. I love these styles of headbands so much. As you probably know, I love crochet headbands so much!
A few years ago, I made two of my most popular projects: this Boho headband and romantic lilac headband. Both these projects are perfect in all seasons, and are so dainty and beautiful. I love crochet hair accessories so much.
Indeed, I find crochet hair accessories so perfect in most circumstances! This most recent hair ribbon is a perfect hair accessory also! Let me know in the comments if you love these crochet projects as much as I do.
Crochet Flower Granny Square Headband Free Pattern: An Original Granny Square design
This new crocheted flower granny square is a very new original design that I made last week. I love this new crochet flower granny square so much!
Indeed, I love crocheted squares so much. I crocheted this classic granny square a year ago; I love the lovely and classic look of a basic granny square so much. The Sunburst Granny Square is beautiful and lovely, and is a perfect alternative to the classic granny square.
Last year, I designed this Flower Granny Square which I love so much! I loved this square so much I have crocheted many different projects with this square. This lovely flower headband was crocheted with this design. I also crocheted this flower granny square bag with this design. Both look so beautiful and match perfectly.
This newest design is so beautiful that I know I will be making quite a few projects with this square! Watch this space and subscribe to my bi-weekly newsletter to know when I release these new projects.
Connecting with you
I would like to take a moment to thank every single one of you, for supporting me and my crochet journey. Indeed, I absolutely am so touched by all your messages, comments, and every person who has become a patron of my work through Patreon. Thank you!
I love connecting with my Crochet Community through my blog and Social Media. You can find me on Youtube, Instagram, and Pinterest. I would love to connect with you on these platforms.
You can also join my private Facebook group to connect.
Subscribe to our bi-weekly newsletter so that you never miss a stitch!
Crochet Flower Granny Square Headband: The Pattern
You can purchase the ad free, large print, PDF pattern from my Etsy store here: Crochet Flower Granny Headband PDF Pattern
You can purchase the ad free, large print, PDF pattern from my Ravelry store here: Crochet Flower Granny Headband PDF Pattern
Level: Easy +
Gauge
Gauge is not crucial for completion of this project. Please refer to individual Granny Square measurements for gauge information.
Size of each Flower Granny Square
3”x3” (7,5 cm x 7,5 cm)
Size of finished project (excluding straps)
3” (7,5 cm) x 18,5” (47 cm)
Notes
I will be using US terms (British terms in brackets).
Materials
– 1 skein each of Drops Muskat yarn in shades:
07 Light Yellow
10 Light Peach
06 Desert Rose
– A 4 mm crochet hook
– A pair of scissors
– A tapestry needle
– Sewing pins (optional)
Abbreviations
Ch: chain
Sl st: slip stitch
St: stitch
Sk: skip
SC: Single Crochet (UK Double Crochet)
DC: Double Crochet (UK Treble Crochet)
EOR: End of round
Pattern begins here
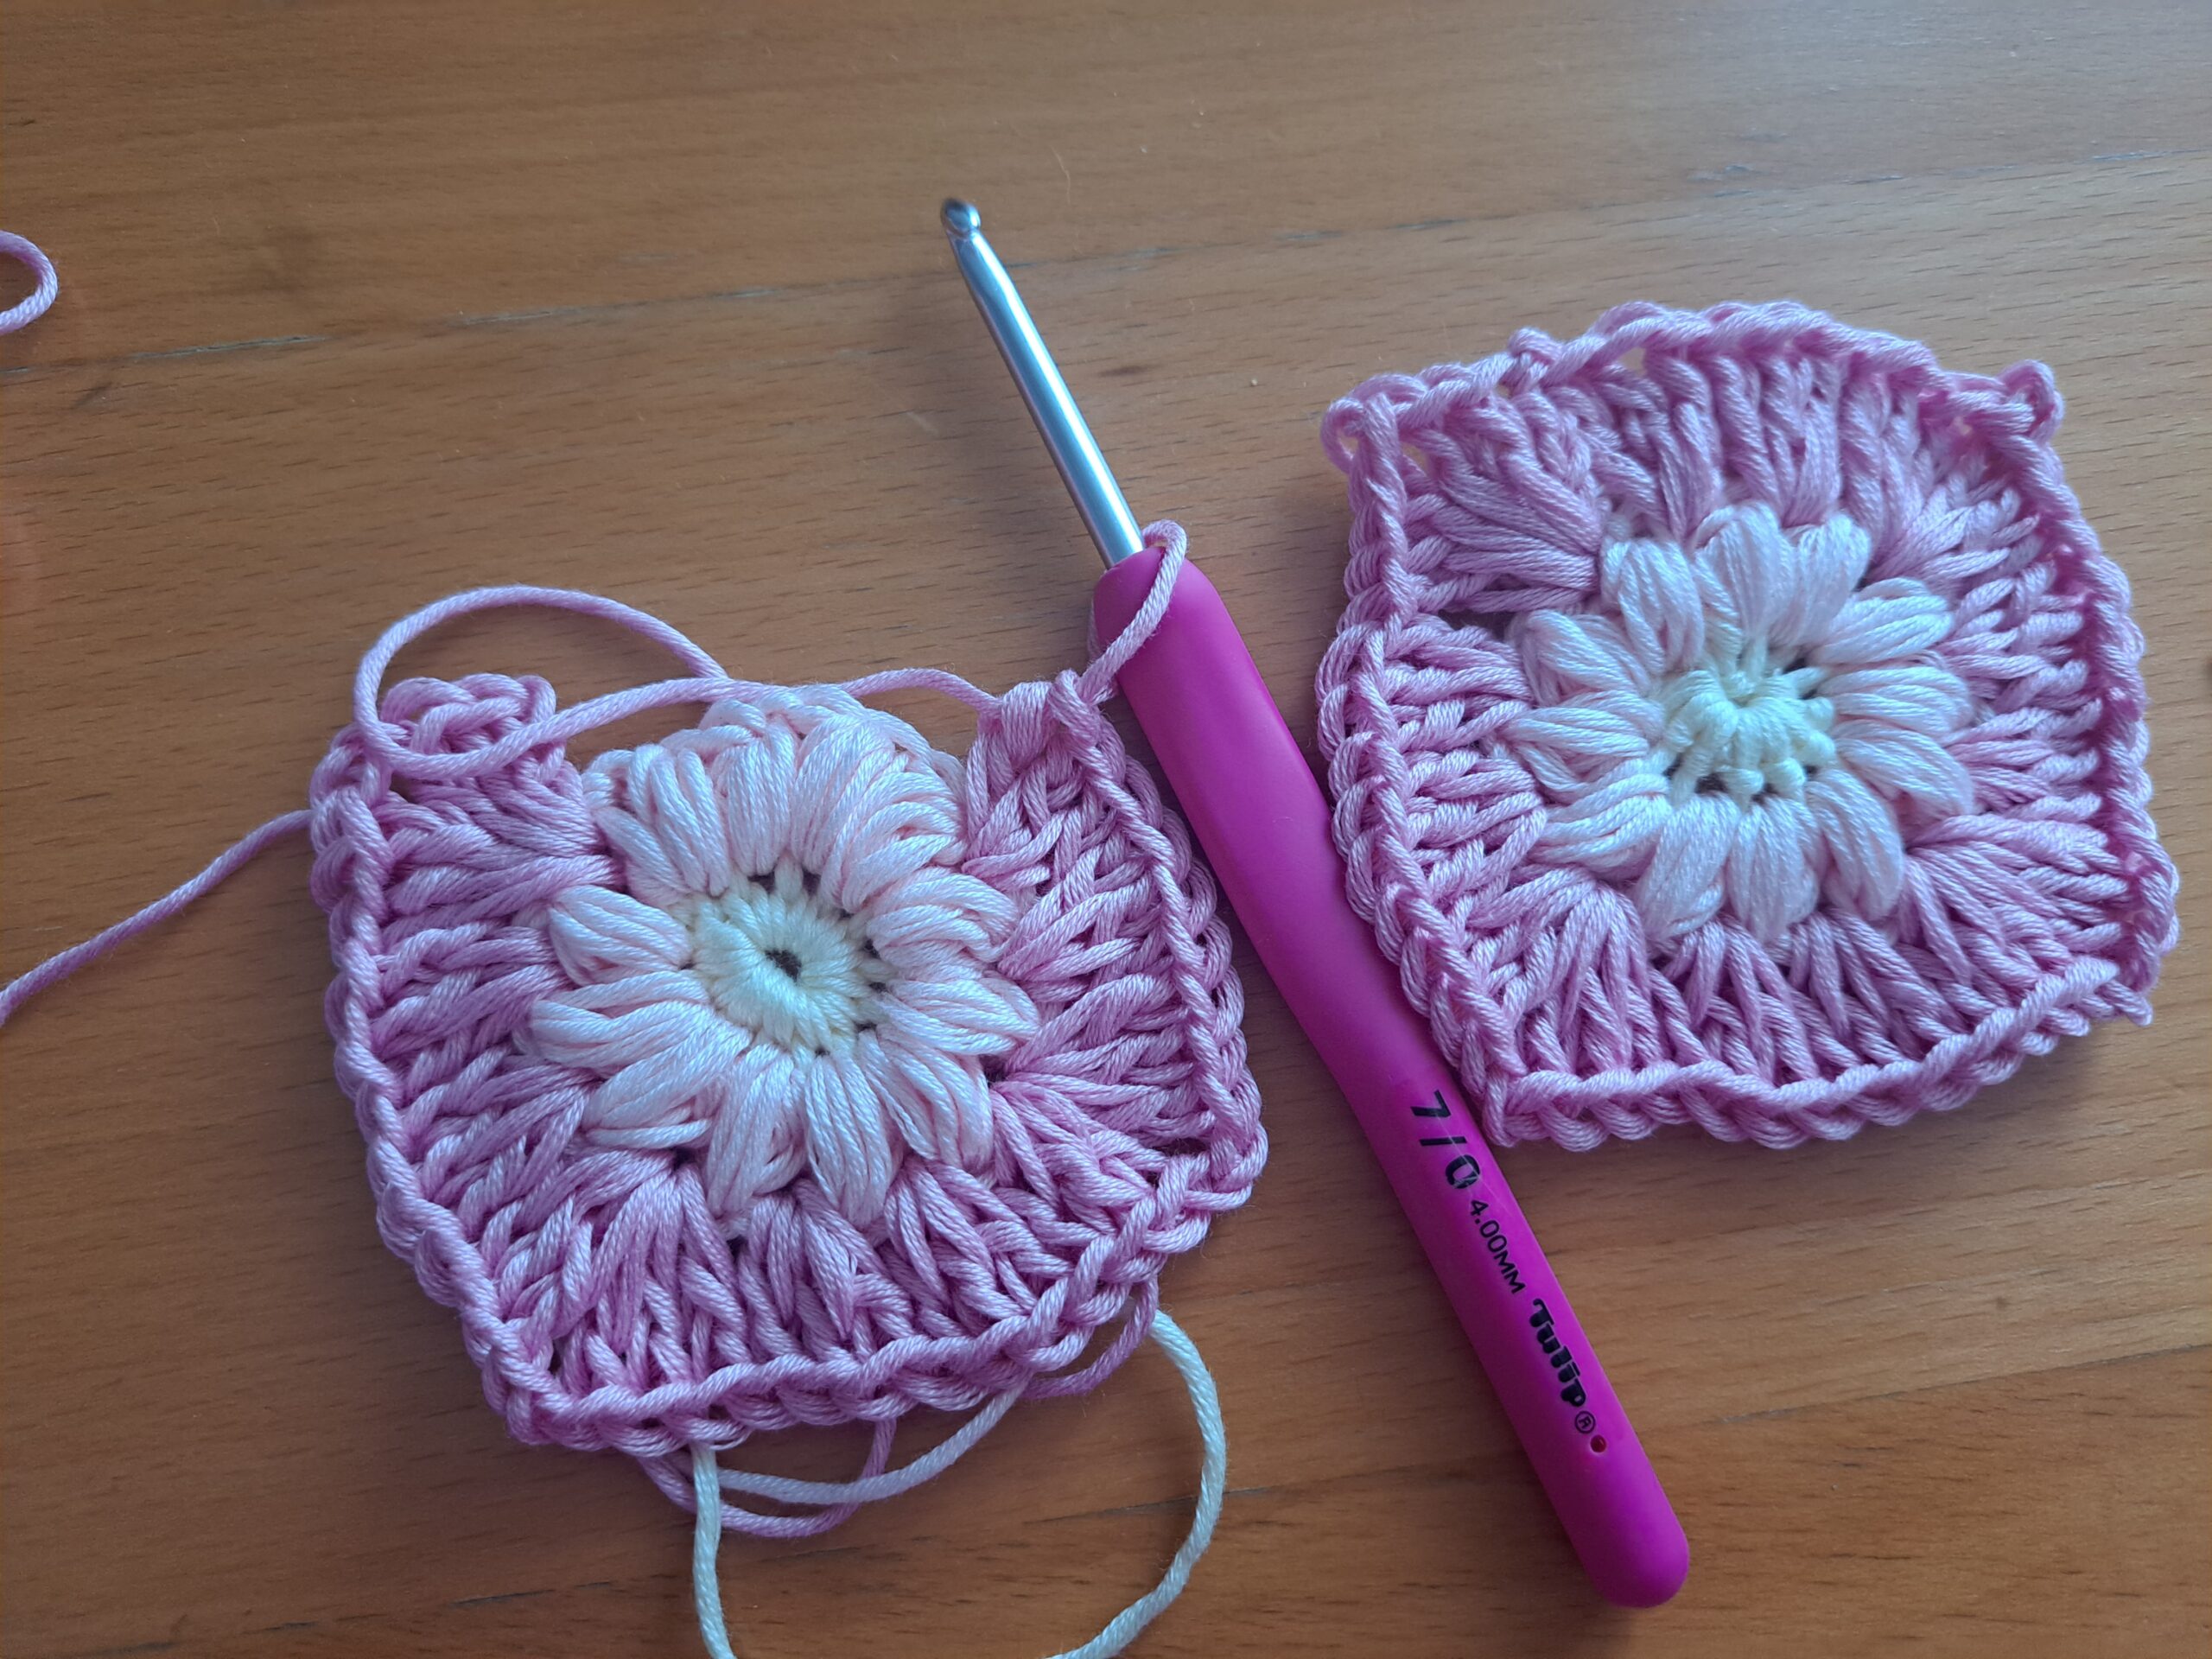
For this project, we will start by making 6 individual flower Granny Squares in the three different colors indicated above, and as explained step by step in this pattern. Once all these squares are crocheted, we will be sewing them together to create the initial shape of the headband.
We will then crochet identical straps on each corner of the 4 corners of this headband.
Flower Granny Square (make 6)
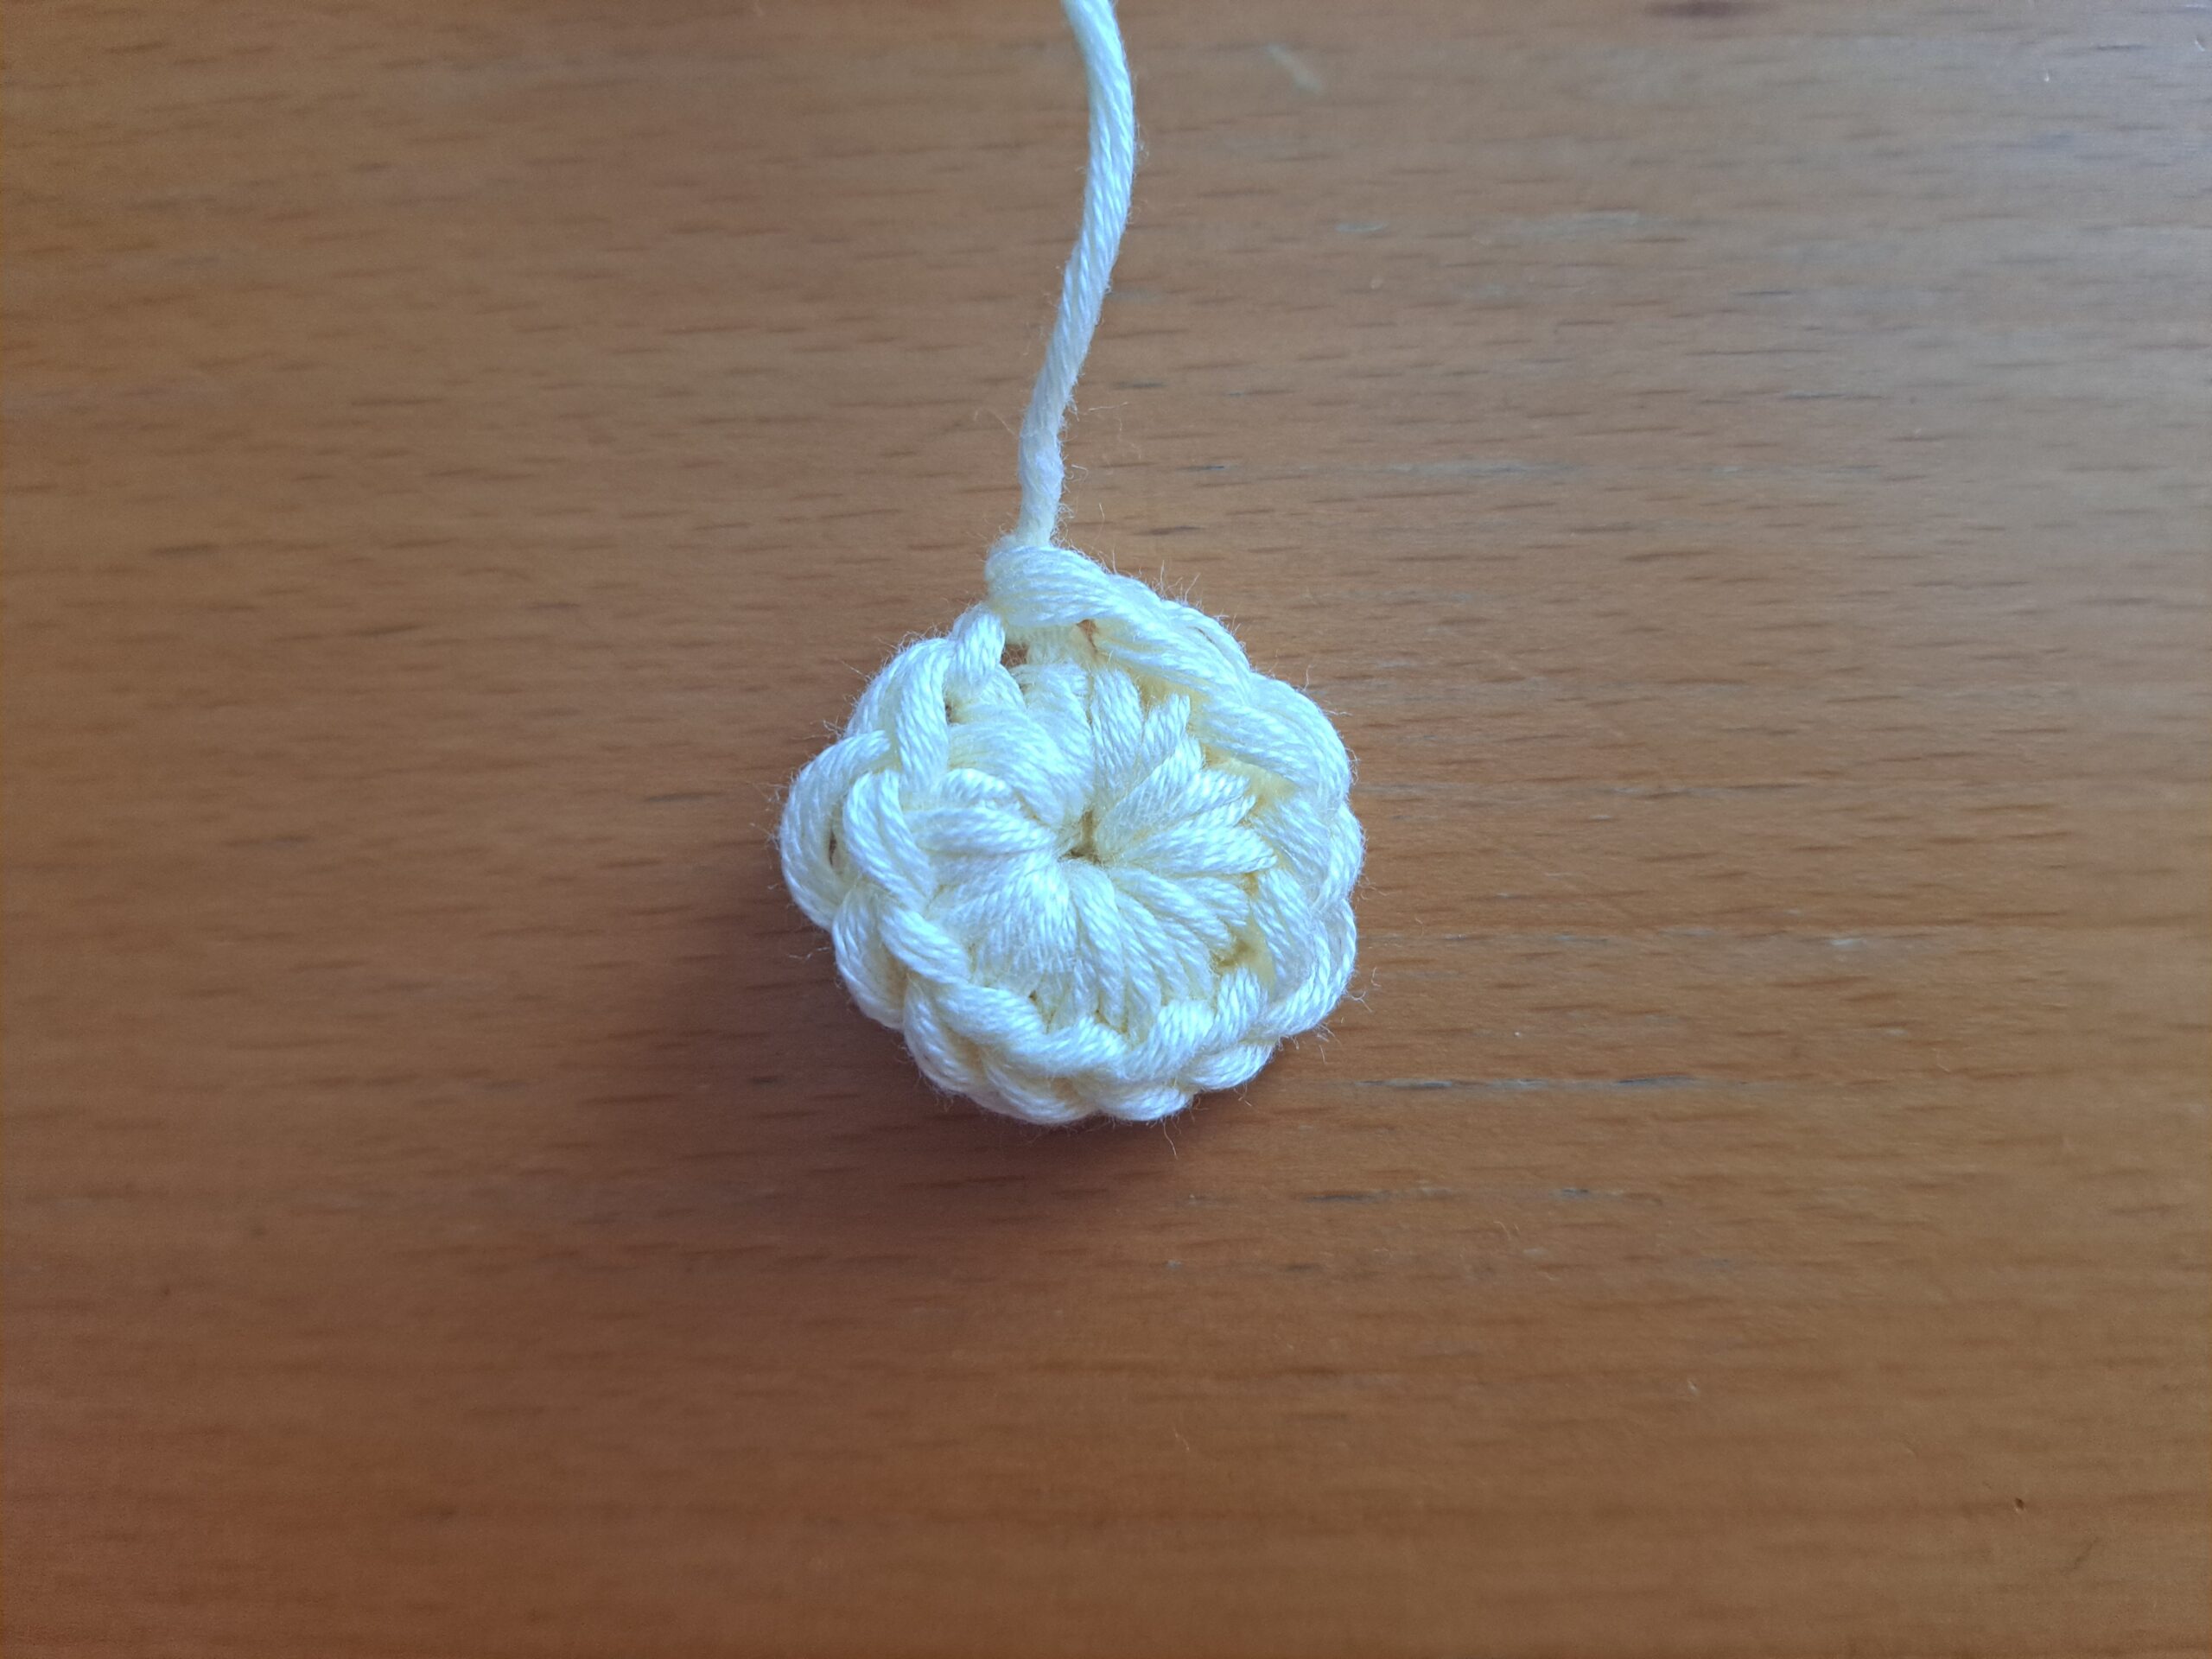
With shade 07 Light Yellow, make a slip knot.
Ch 4, sl st to 1st chain to create a circle into which we will be working.
Note: you can use the magic circle to begin if you prefer.
Round 1: Ch 1 (does not count as a stitch), place 12 SC inside the circle you made. Slip stitch to the first SC to close off round.
Note: Make sure you fasten in your loose end under your stitches, so that you can pull this loose end to tighten original circle made of 4 chains or magic circle.
Fasten off color Light Yellow.
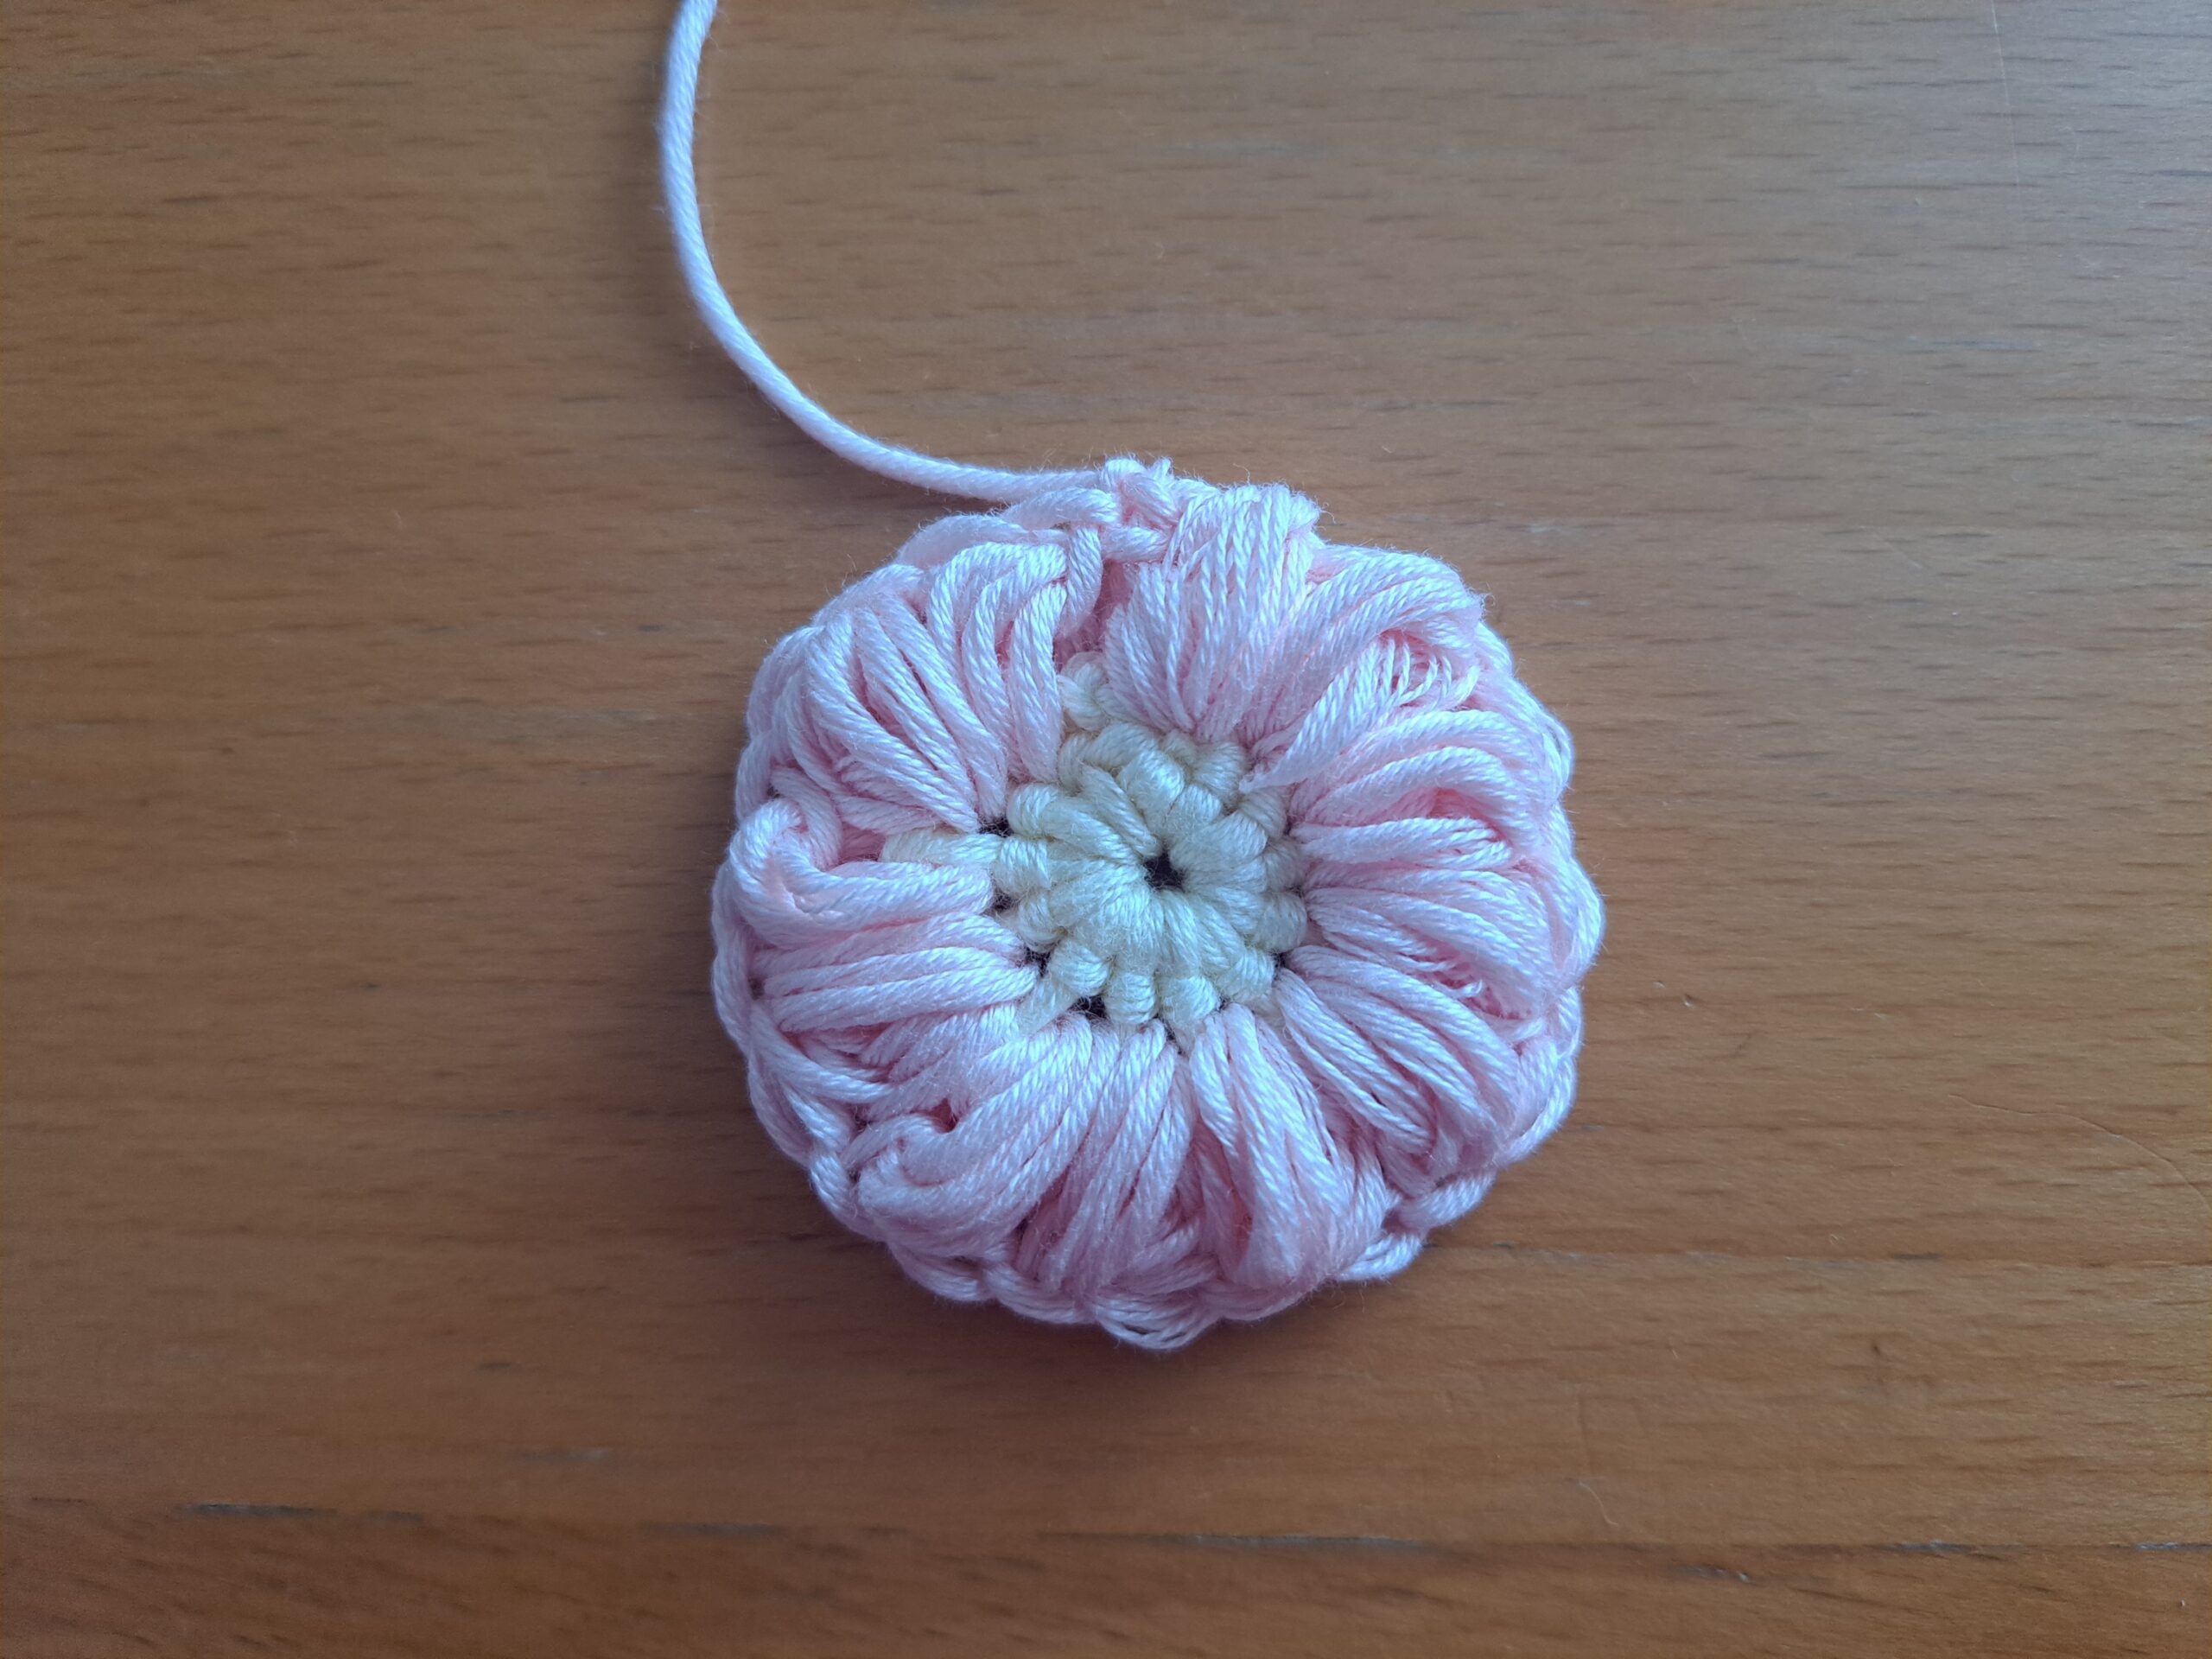
Round 2: Attach color 10 Light Peach to any stitch.
Ch 1 (does not count as stitch throughout), * yarn over, go back into stitch, pull up a loop, and pull yarn up gently to create a “height” to the stitch * 4 times. Now yarn over and go through all loops on hook to create petal. Ch 1. (=1st petal)
Now to create next petal throughout round (there will be 16 petals total):
Yarn over, go directly into next stitch, pull up a loop and pull yarn up gently to create a “height” to the stitch 4 times. Now yarn over and go through all loops on hook to create a petal, ch 1.
Repeat this process into each and every stitch from previous round (=12 petals).
Fasten off shade 10 Light Peach.
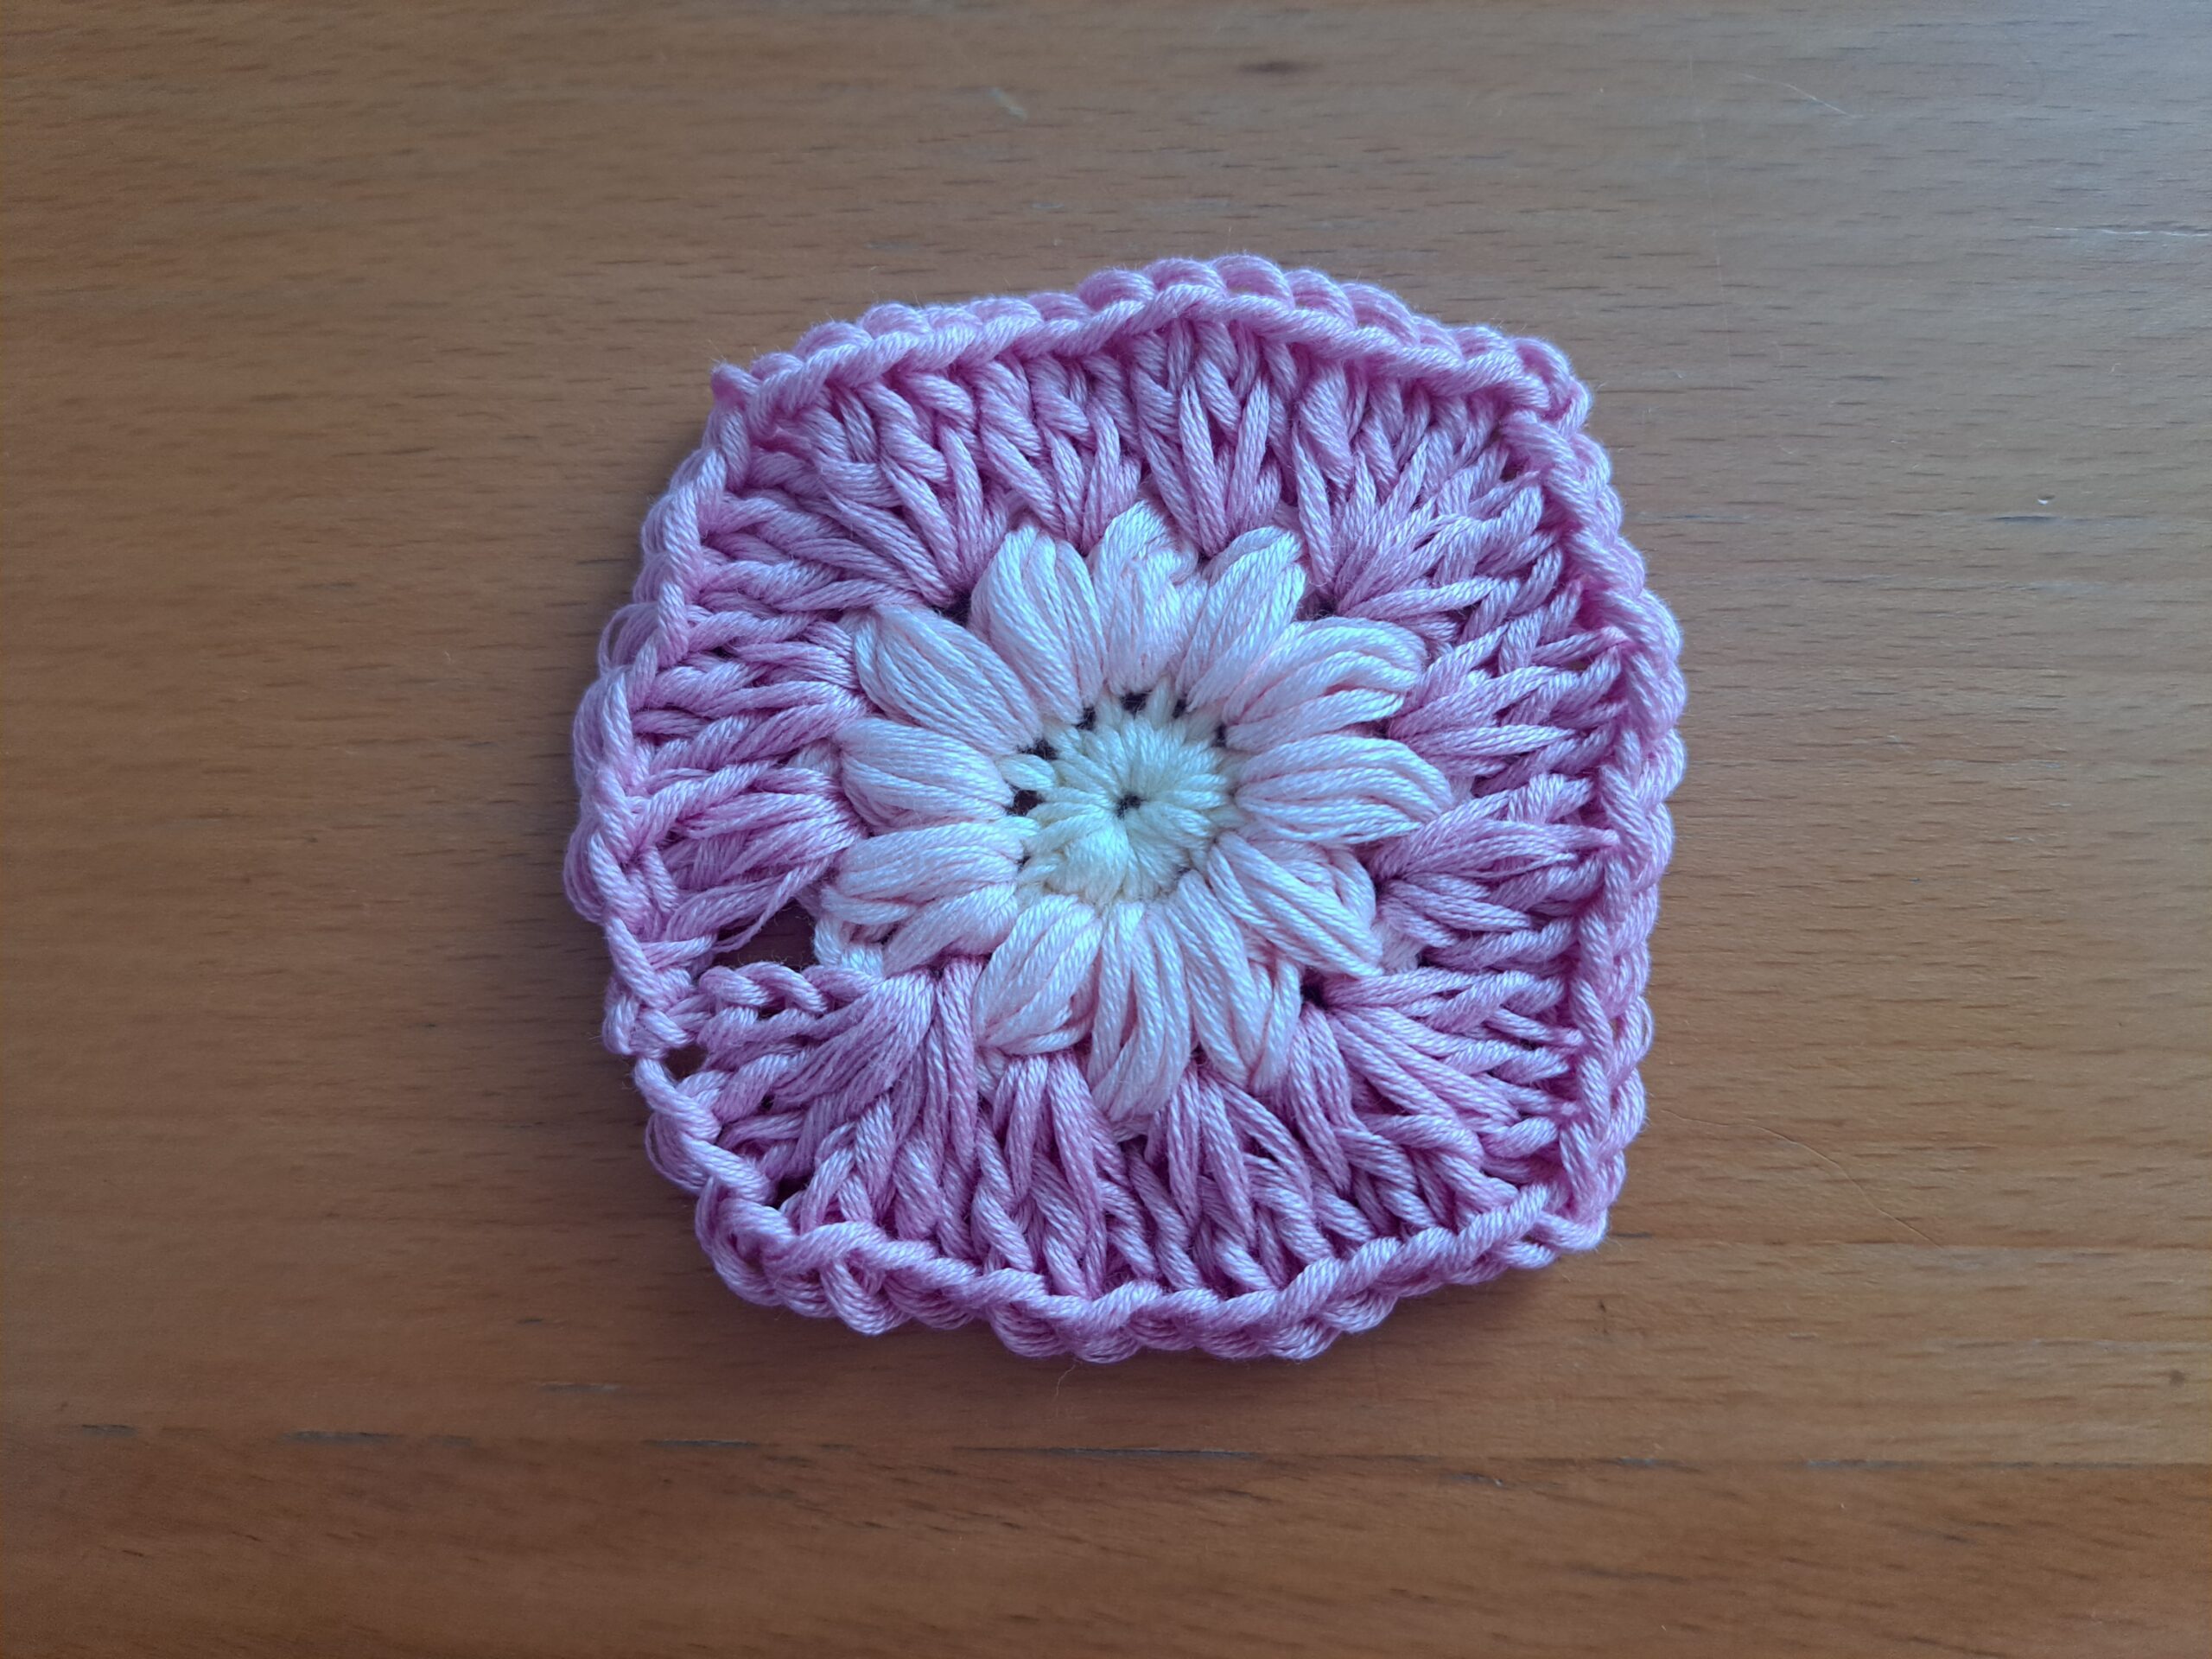
Round 3
Fasten on shade 06 Desert Rose to any chain space from round 2.
Note: We will be placing this round’s stitches in the spaces in between each petal from previous round.
Ch 3 (=DC), place 2 DC, ch 2, 3 DC into chain space from previous round (=1st corner); [skip next petal from previous round and go directly into next space with 3 DC together] twice.
*Sk next petal from previous round, go directly into next space with 3 DC, ch 2, 3 DC (=corner); [sk next petal from previous round and go directly into next ch sp with 3 DC] twice*; repeat from * to * another two times.
Sl st to first ch 3 to close off round.
Fasten off and tidy up all loose ends.
Create headband shape and sewing
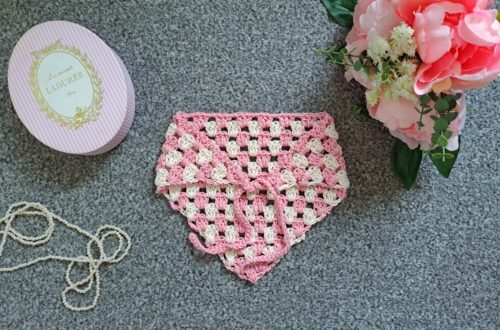
Place your 6 squares on a flat surface as follows:
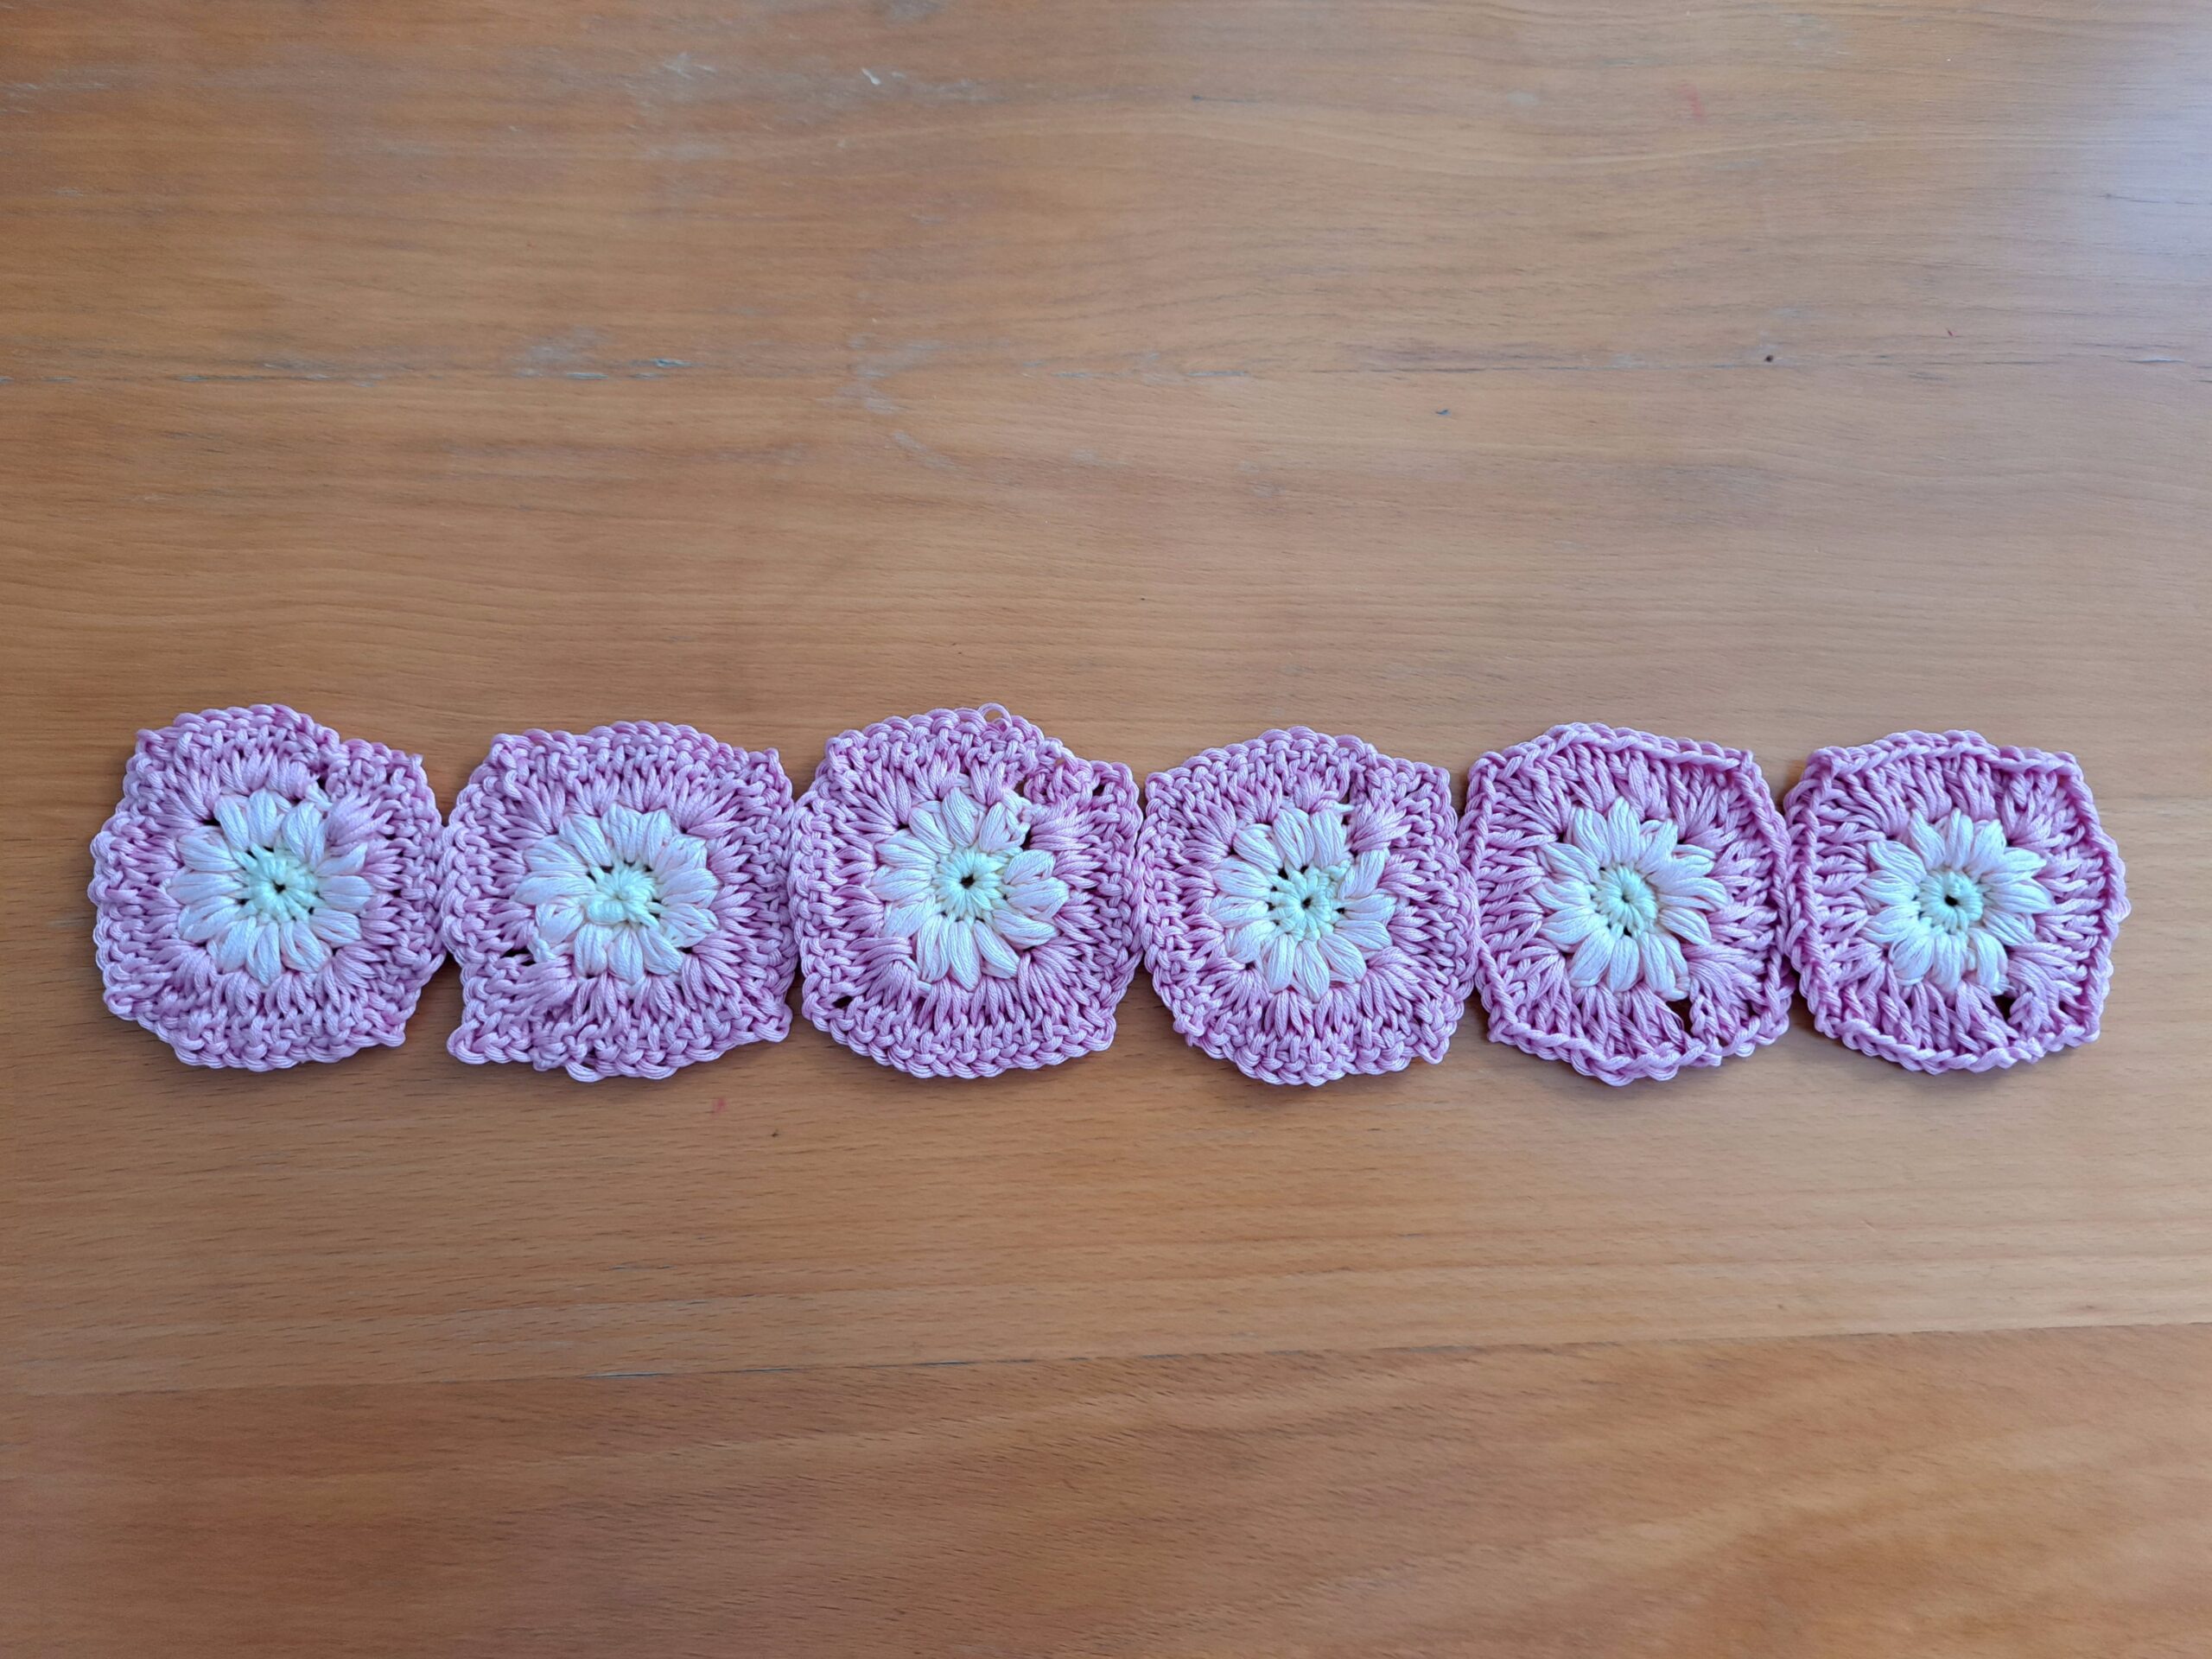
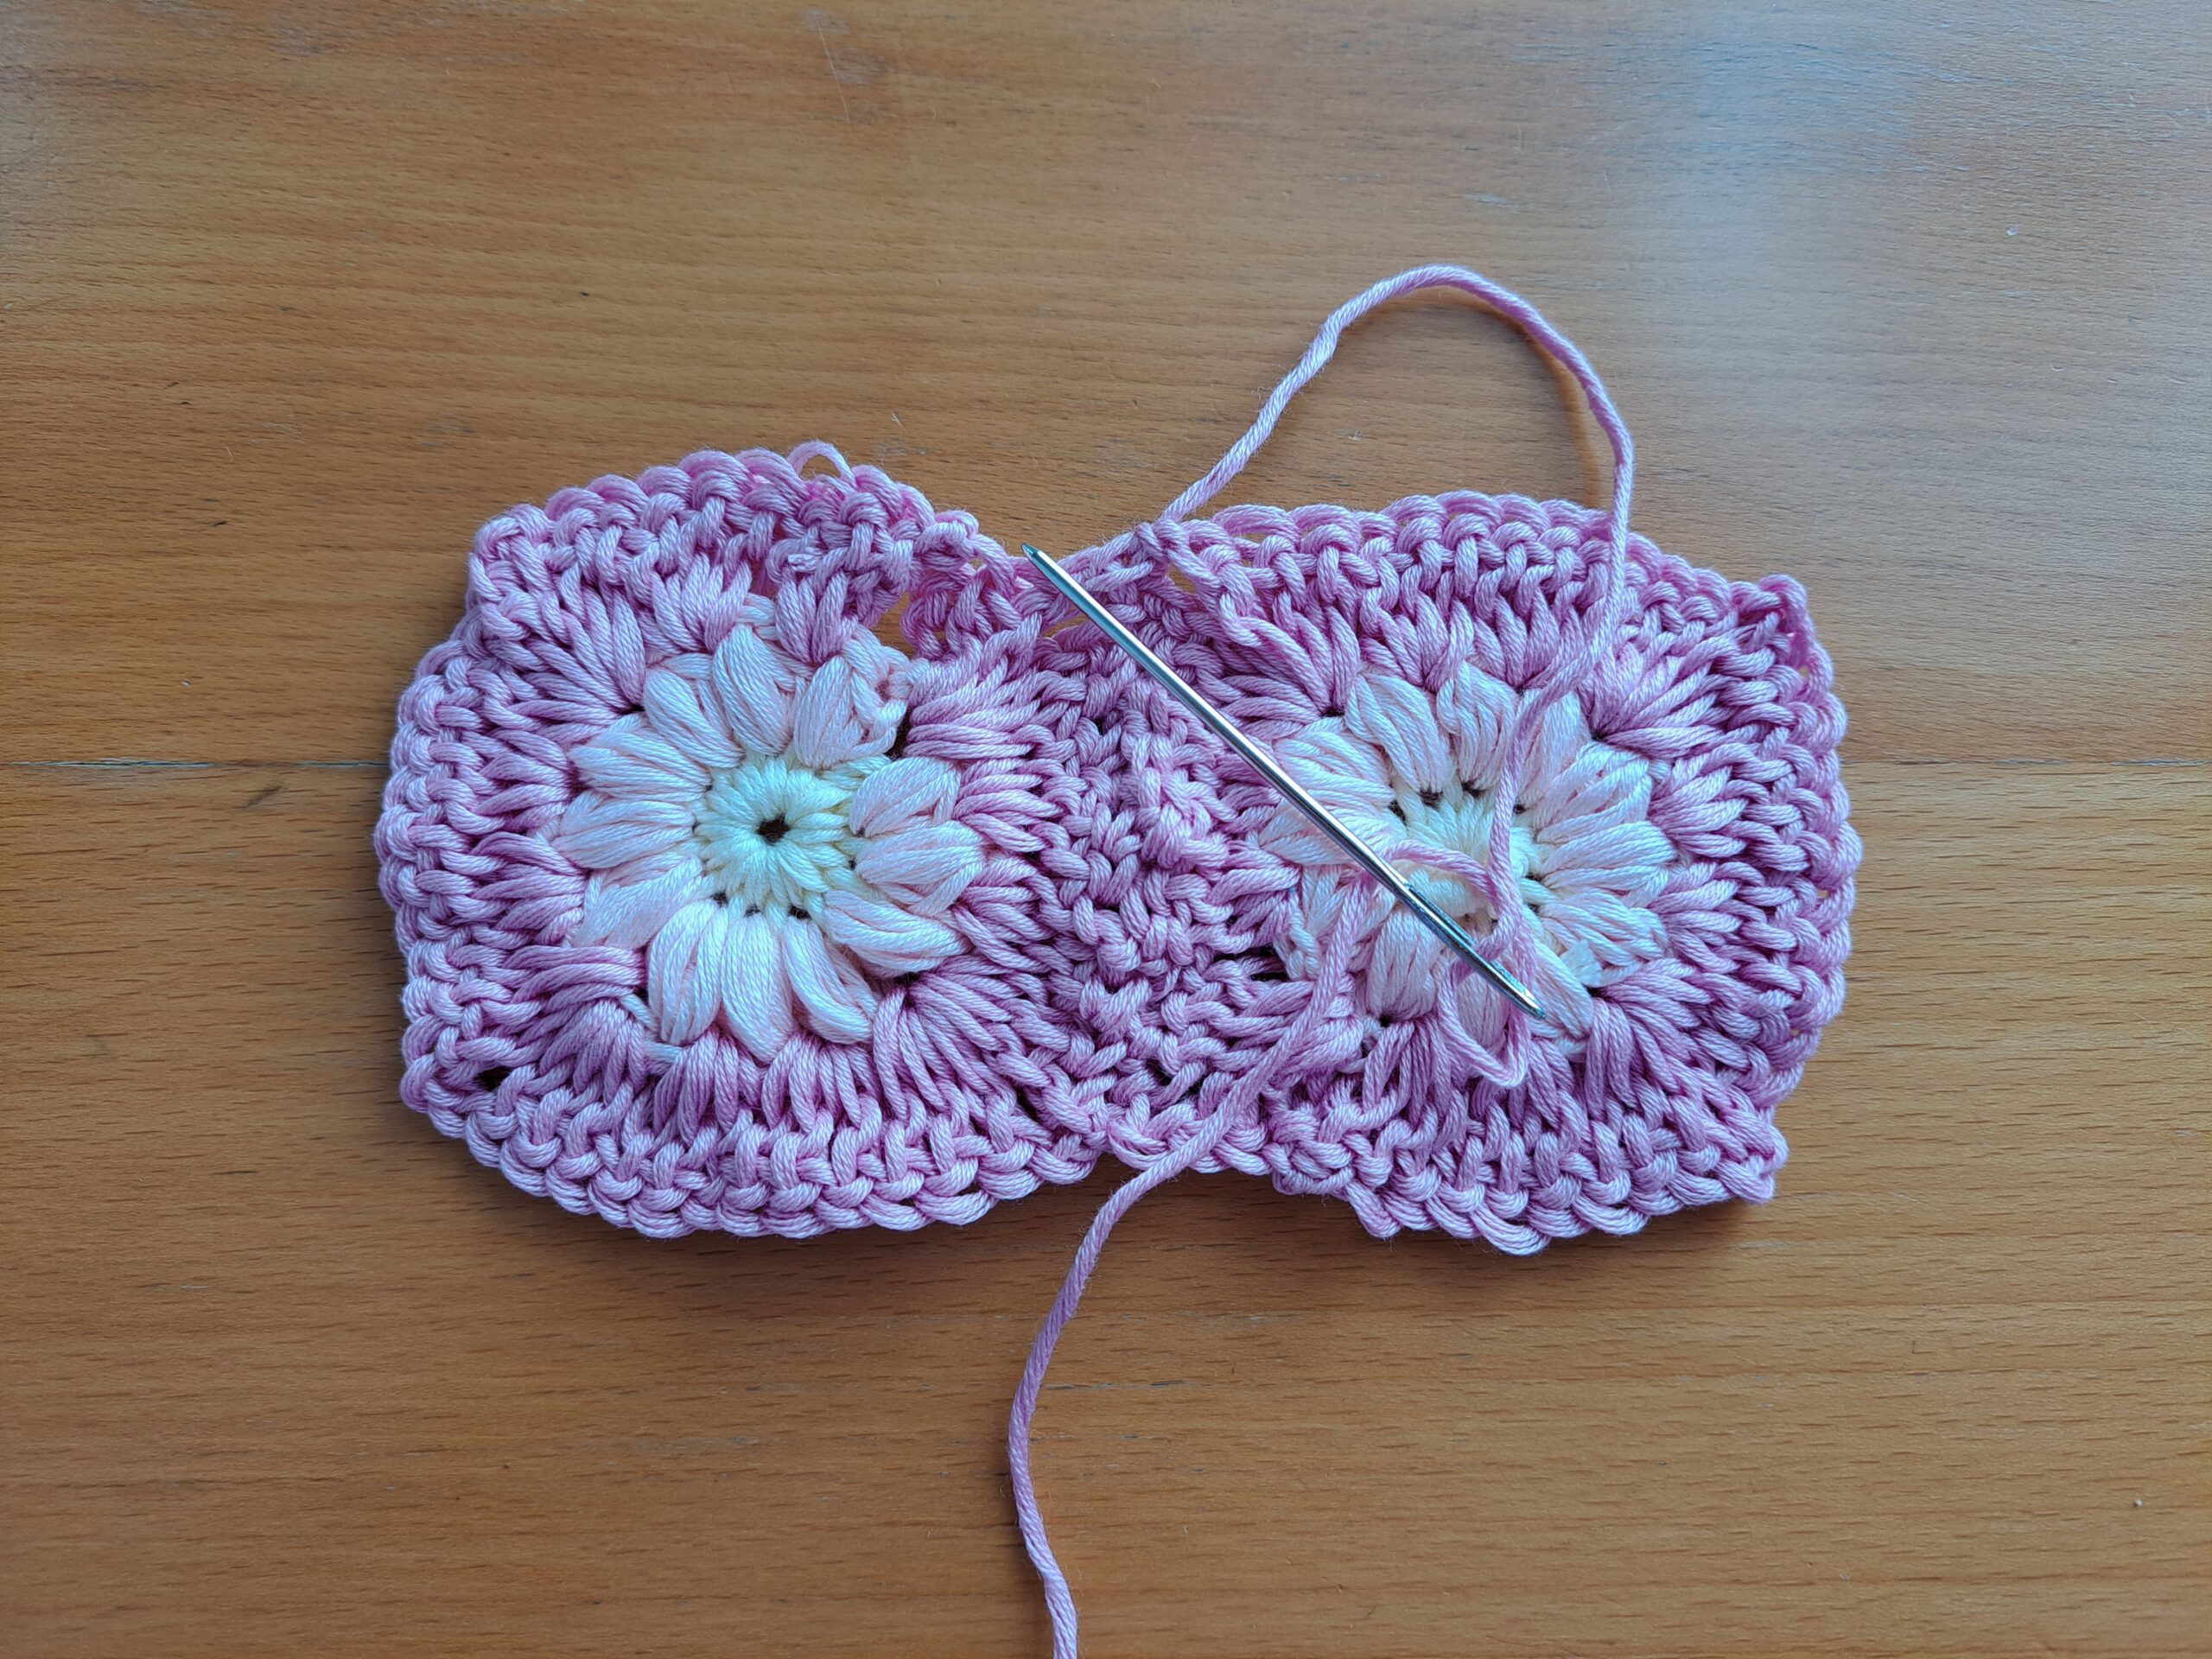
Once you have placed your squares as seen in photo above, sew the squares together so as to create a long strip of flower squares. For this part of the project, you should use a piece of yarn in color 06 Desert Rose and a tapestry needle, and you can use the mattress stitch for this part.
Once you have finished sewing each square together, fasten off and tidy up all loose ends.
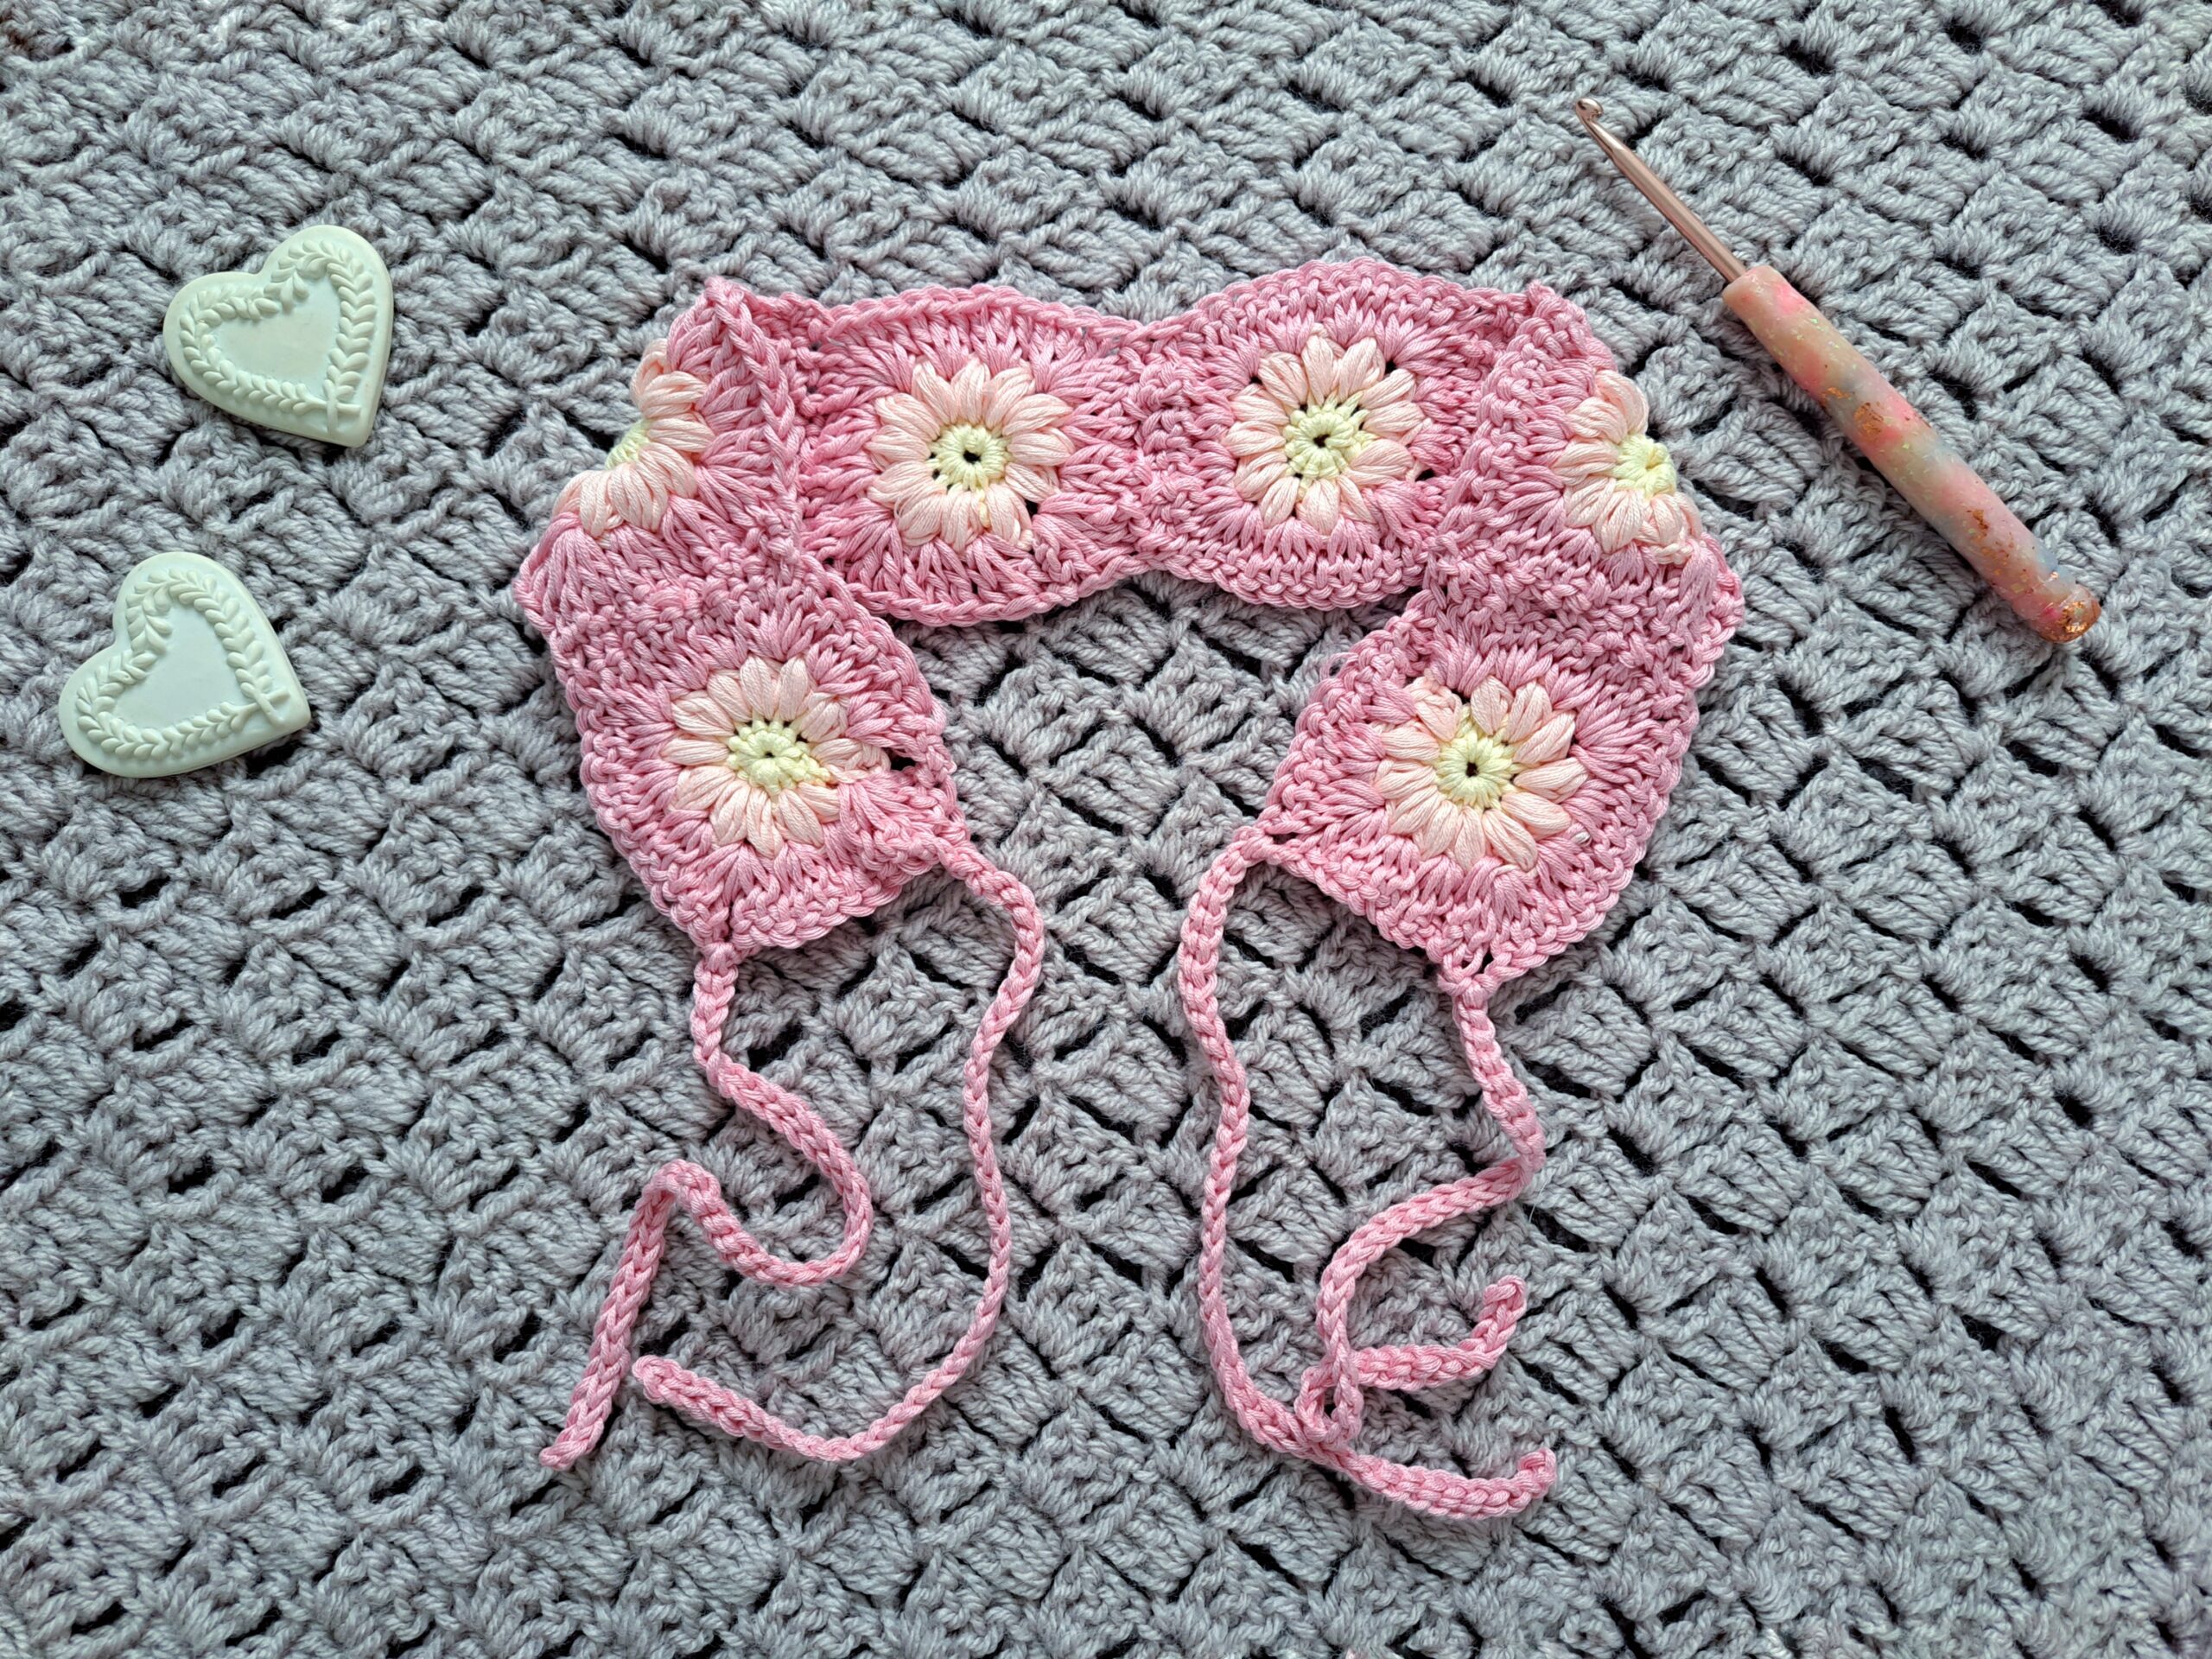
Crochet the straps onto each corner of the project
Attach yarn (color Desert Rose) to 1st corner of the headband, and ch 40.
Sl st through 2nd ch, and until eor; secure hair tie to project by slip stitching through a stitch on the headband, fasten off and tidy up loose end.
Tie yarn to each remaining 3 corners of project, ch 40 and sl st into 2nd ch, and into each chain until you reach eor. Fasten off and tidy up all loose ends.


You May Also Like
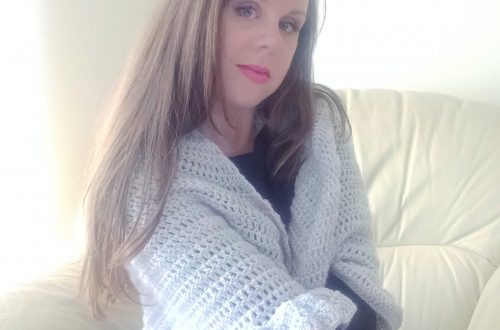
Crochet The Marissa Dainty Wrap
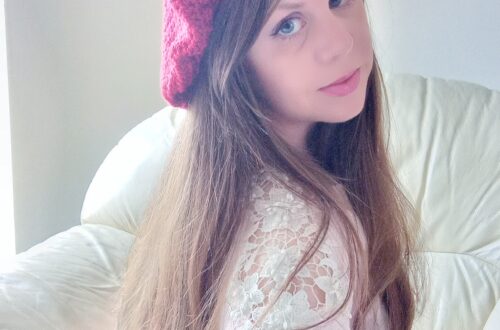
Crochet Easy French Beret Free Pattern