Crochet Easy Silky Scrunchie Free Pattern
Crochet Easy Silky Scrunchie Free Pattern
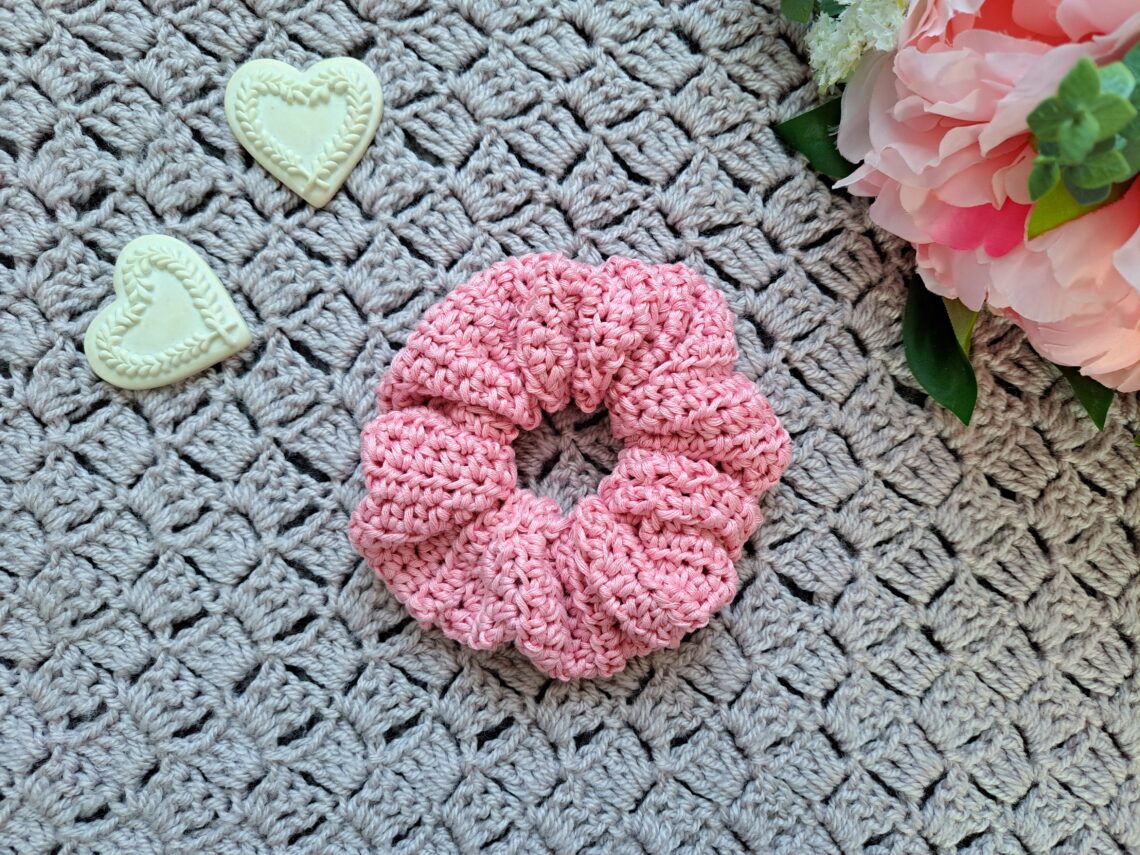
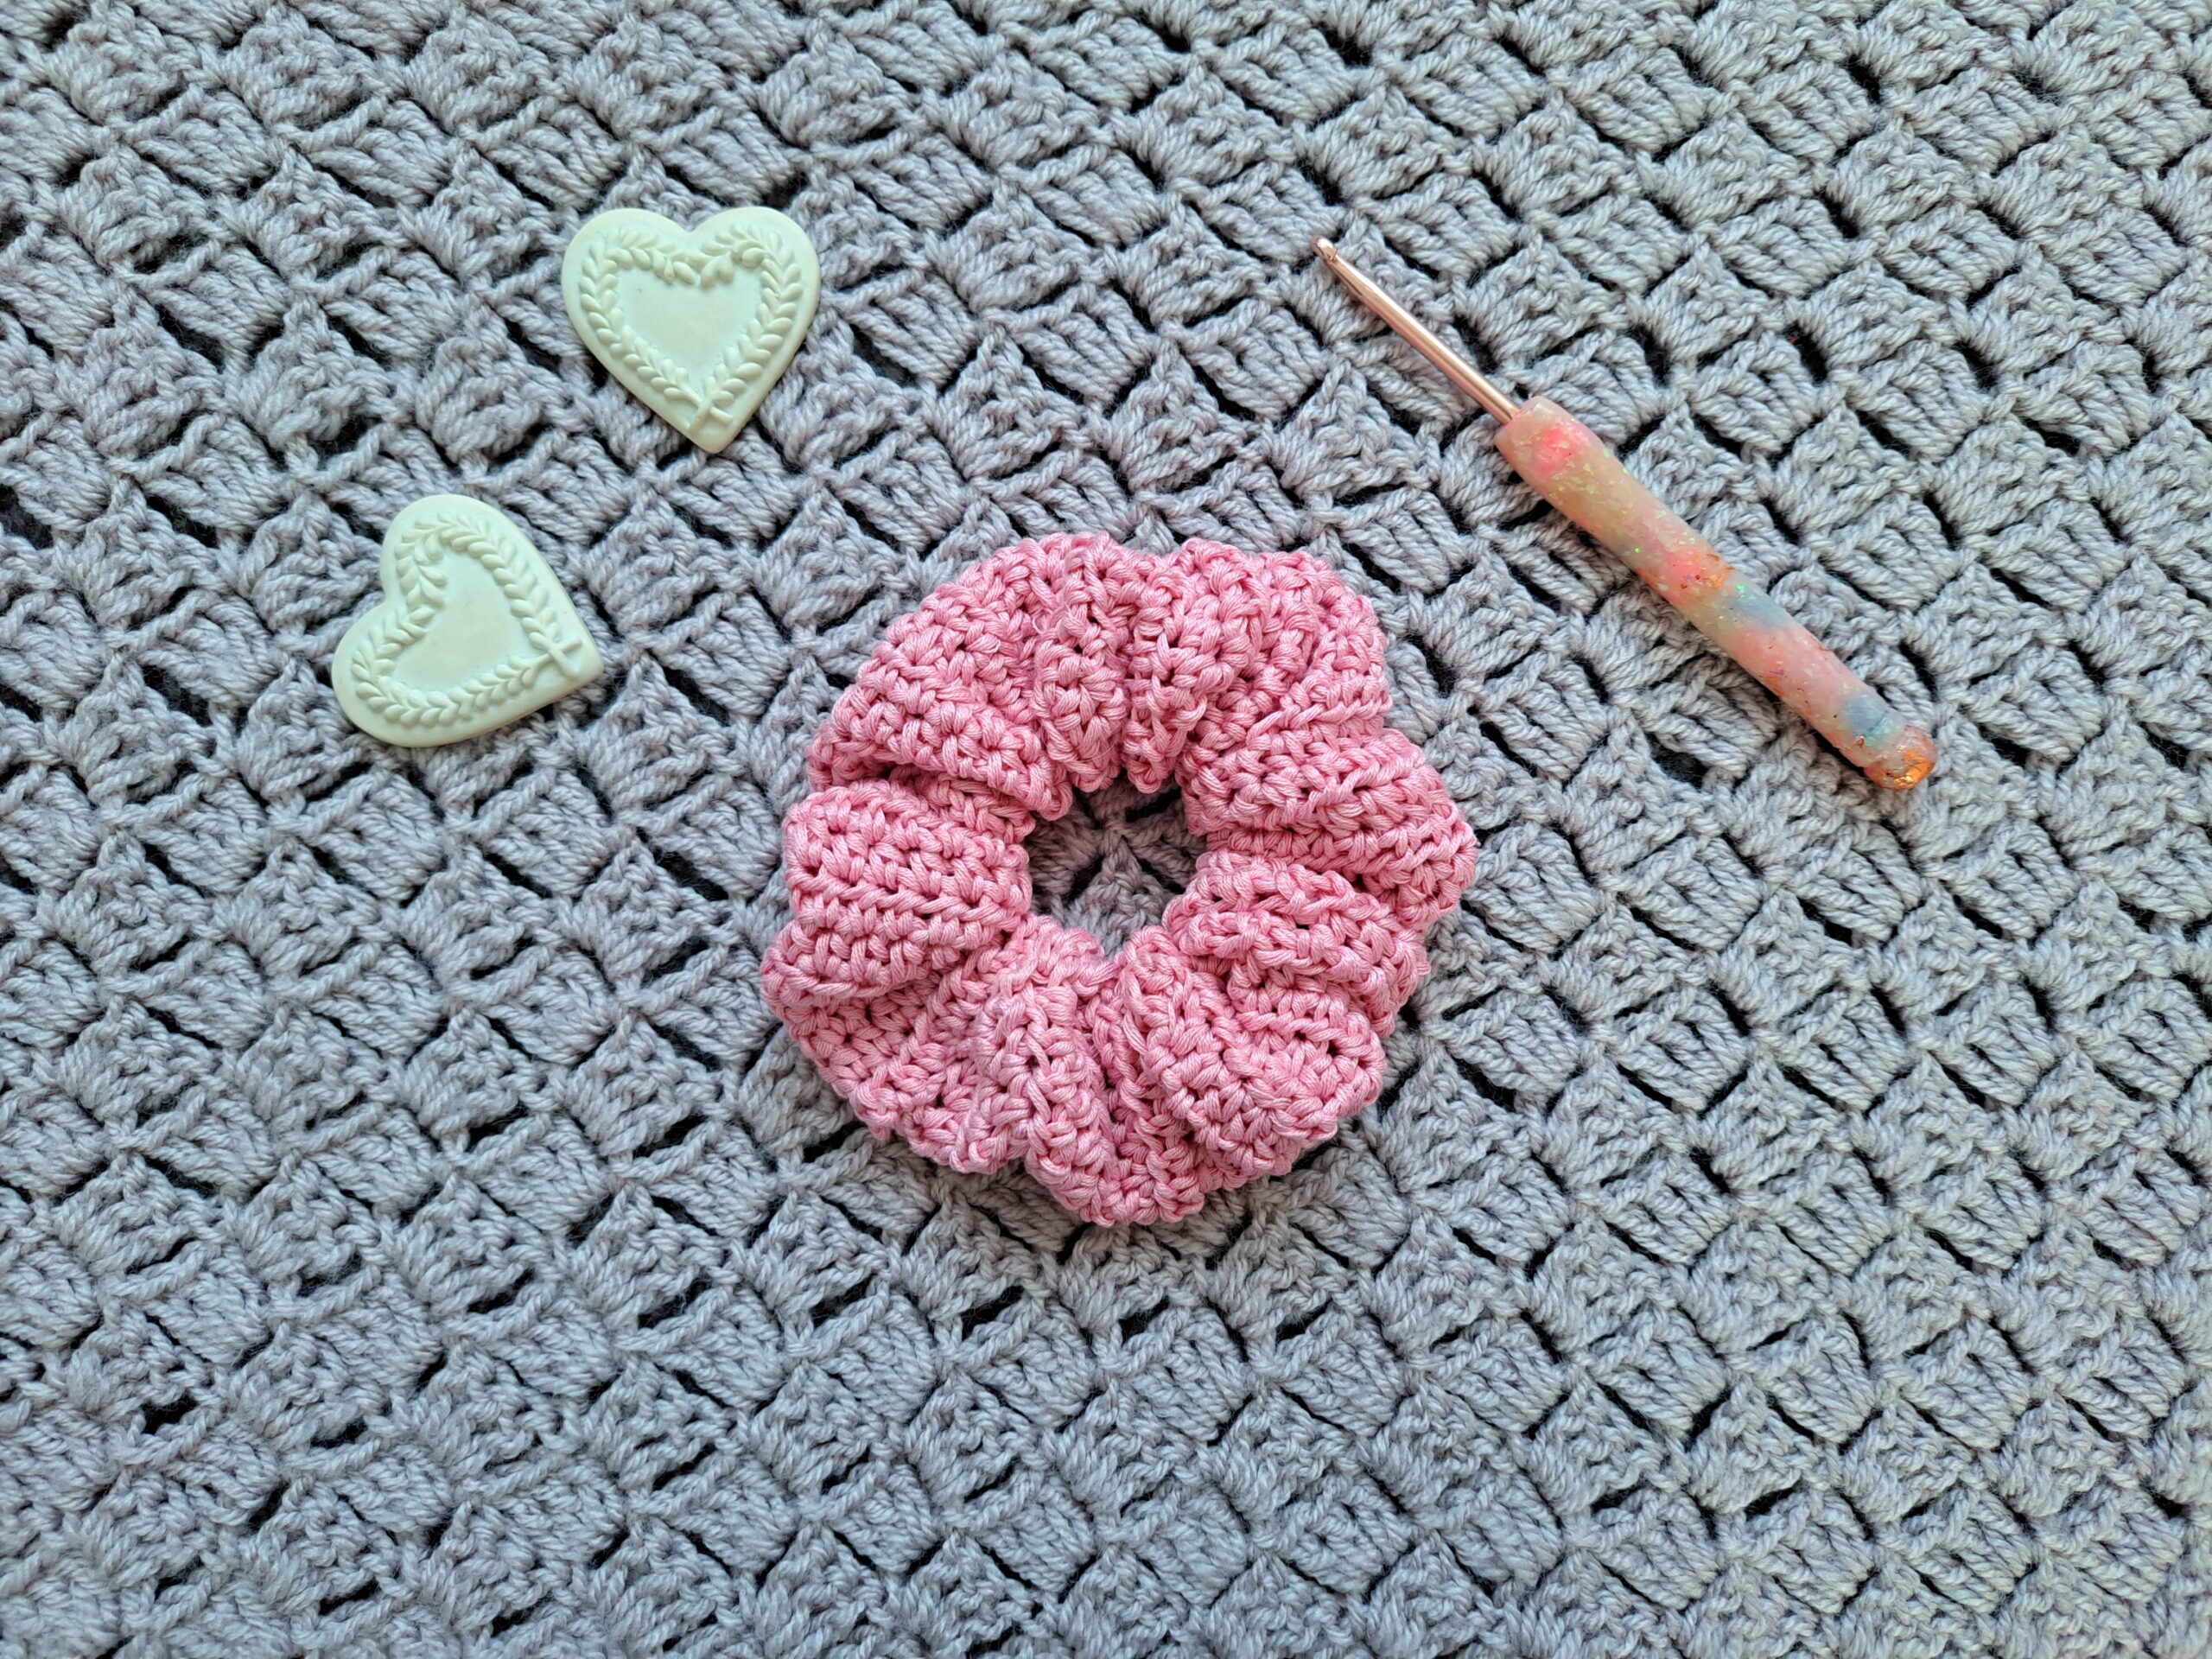
Hi everyone, today I am bringing to you a crochet easy silky scrunchie free pattern. A video tutorial is also available for this project. This crochet pattern is so simple, yet so effective! I really love crocheted scrunchie, and am looking forward to making many more.
The video tutorial can be found here:
Crochet Easy Silky Scrunchie Free Pattern: A Simple Project
Last week, I released this easy bamboo scrunchie tutorial. I love this scrunchie pattern so much, as it is not only fast and easy, but very feminine too. Crochet scrunchies are perfect in all seasons. Lately, I have enjoyed crocheting scrunchies with cotton yarn.
This feminine simple scrunchie has always been one of my most popular projects. It is feminine and has a soft look too. This crochet pattern is also very simple to follow. This lacy and delicate hair scrunchie is beautiful and dainty too.
Today I wanted to bring you a brand new design for a simple scrunchie. I wanted to crochet a scrunchie that has a “silk” like look. To be able to do this, I chose Drops Muskat yarn which is 100% cotton yarn, and is mercerized too. This gives this project a very silky look, and I love this so much!
Crochet Easy Silky Scrunchie Free Pattern: A Feminine Pattern
As you know, I love feminine and delicate crochet design. The Cottagecore aesthetic is so inspiring to me and my designs! Crochet is perfect if you love delicate feminine patterns.
Hair accessories are amazing if you enjoy unique and dainty crochet designs. I crocheted this feminine hair bow a few months ago. This is a lovely crocheted hair accessory that was uniquely designed by myself.
This delicate and lacy hair ribbon is perfect also! It looks beautiful, and can be made very fast too! This ribbon can be used as a hair accessory, as well as a little addition to any crochet design (such as a bag). As you can see, I love to crochet feminine and delicate patterns. Don’t forget to subscribe to my bi-weekly newsletter so that you never miss a free pattern or tutorial.
Connecting with you
I would like to take a moment to thank every single one of you, for supporting me and my crochet journey. Indeed, I absolutely am so touched by all your messages, comments, and every person who has become a patron of my work through Patreon. Thank you!
I love connecting with my Crochet Community through my blog and Social Media. You can find me on Youtube, Instagram, and Pinterest. I would love to connect with you on these platforms.
You can also join my private Facebook group to connect.
Subscribe to our bi-weekly newsletter so that you never miss a stitch!
Crochet Easy Silky Scrunchie: The Pattern
You can purchase the ad free, large print, PDF pattern from my Etsy store here: Crochet Easy Silky Scrunchie PDF Pattern
You can purchase the ad free, large print, PDF pattern from my Ravelry store here: Crochet Easy Silky Scrunchie PDF Pattern
Level: Easy
Gauge
Gauge is not crucial for completion of this project
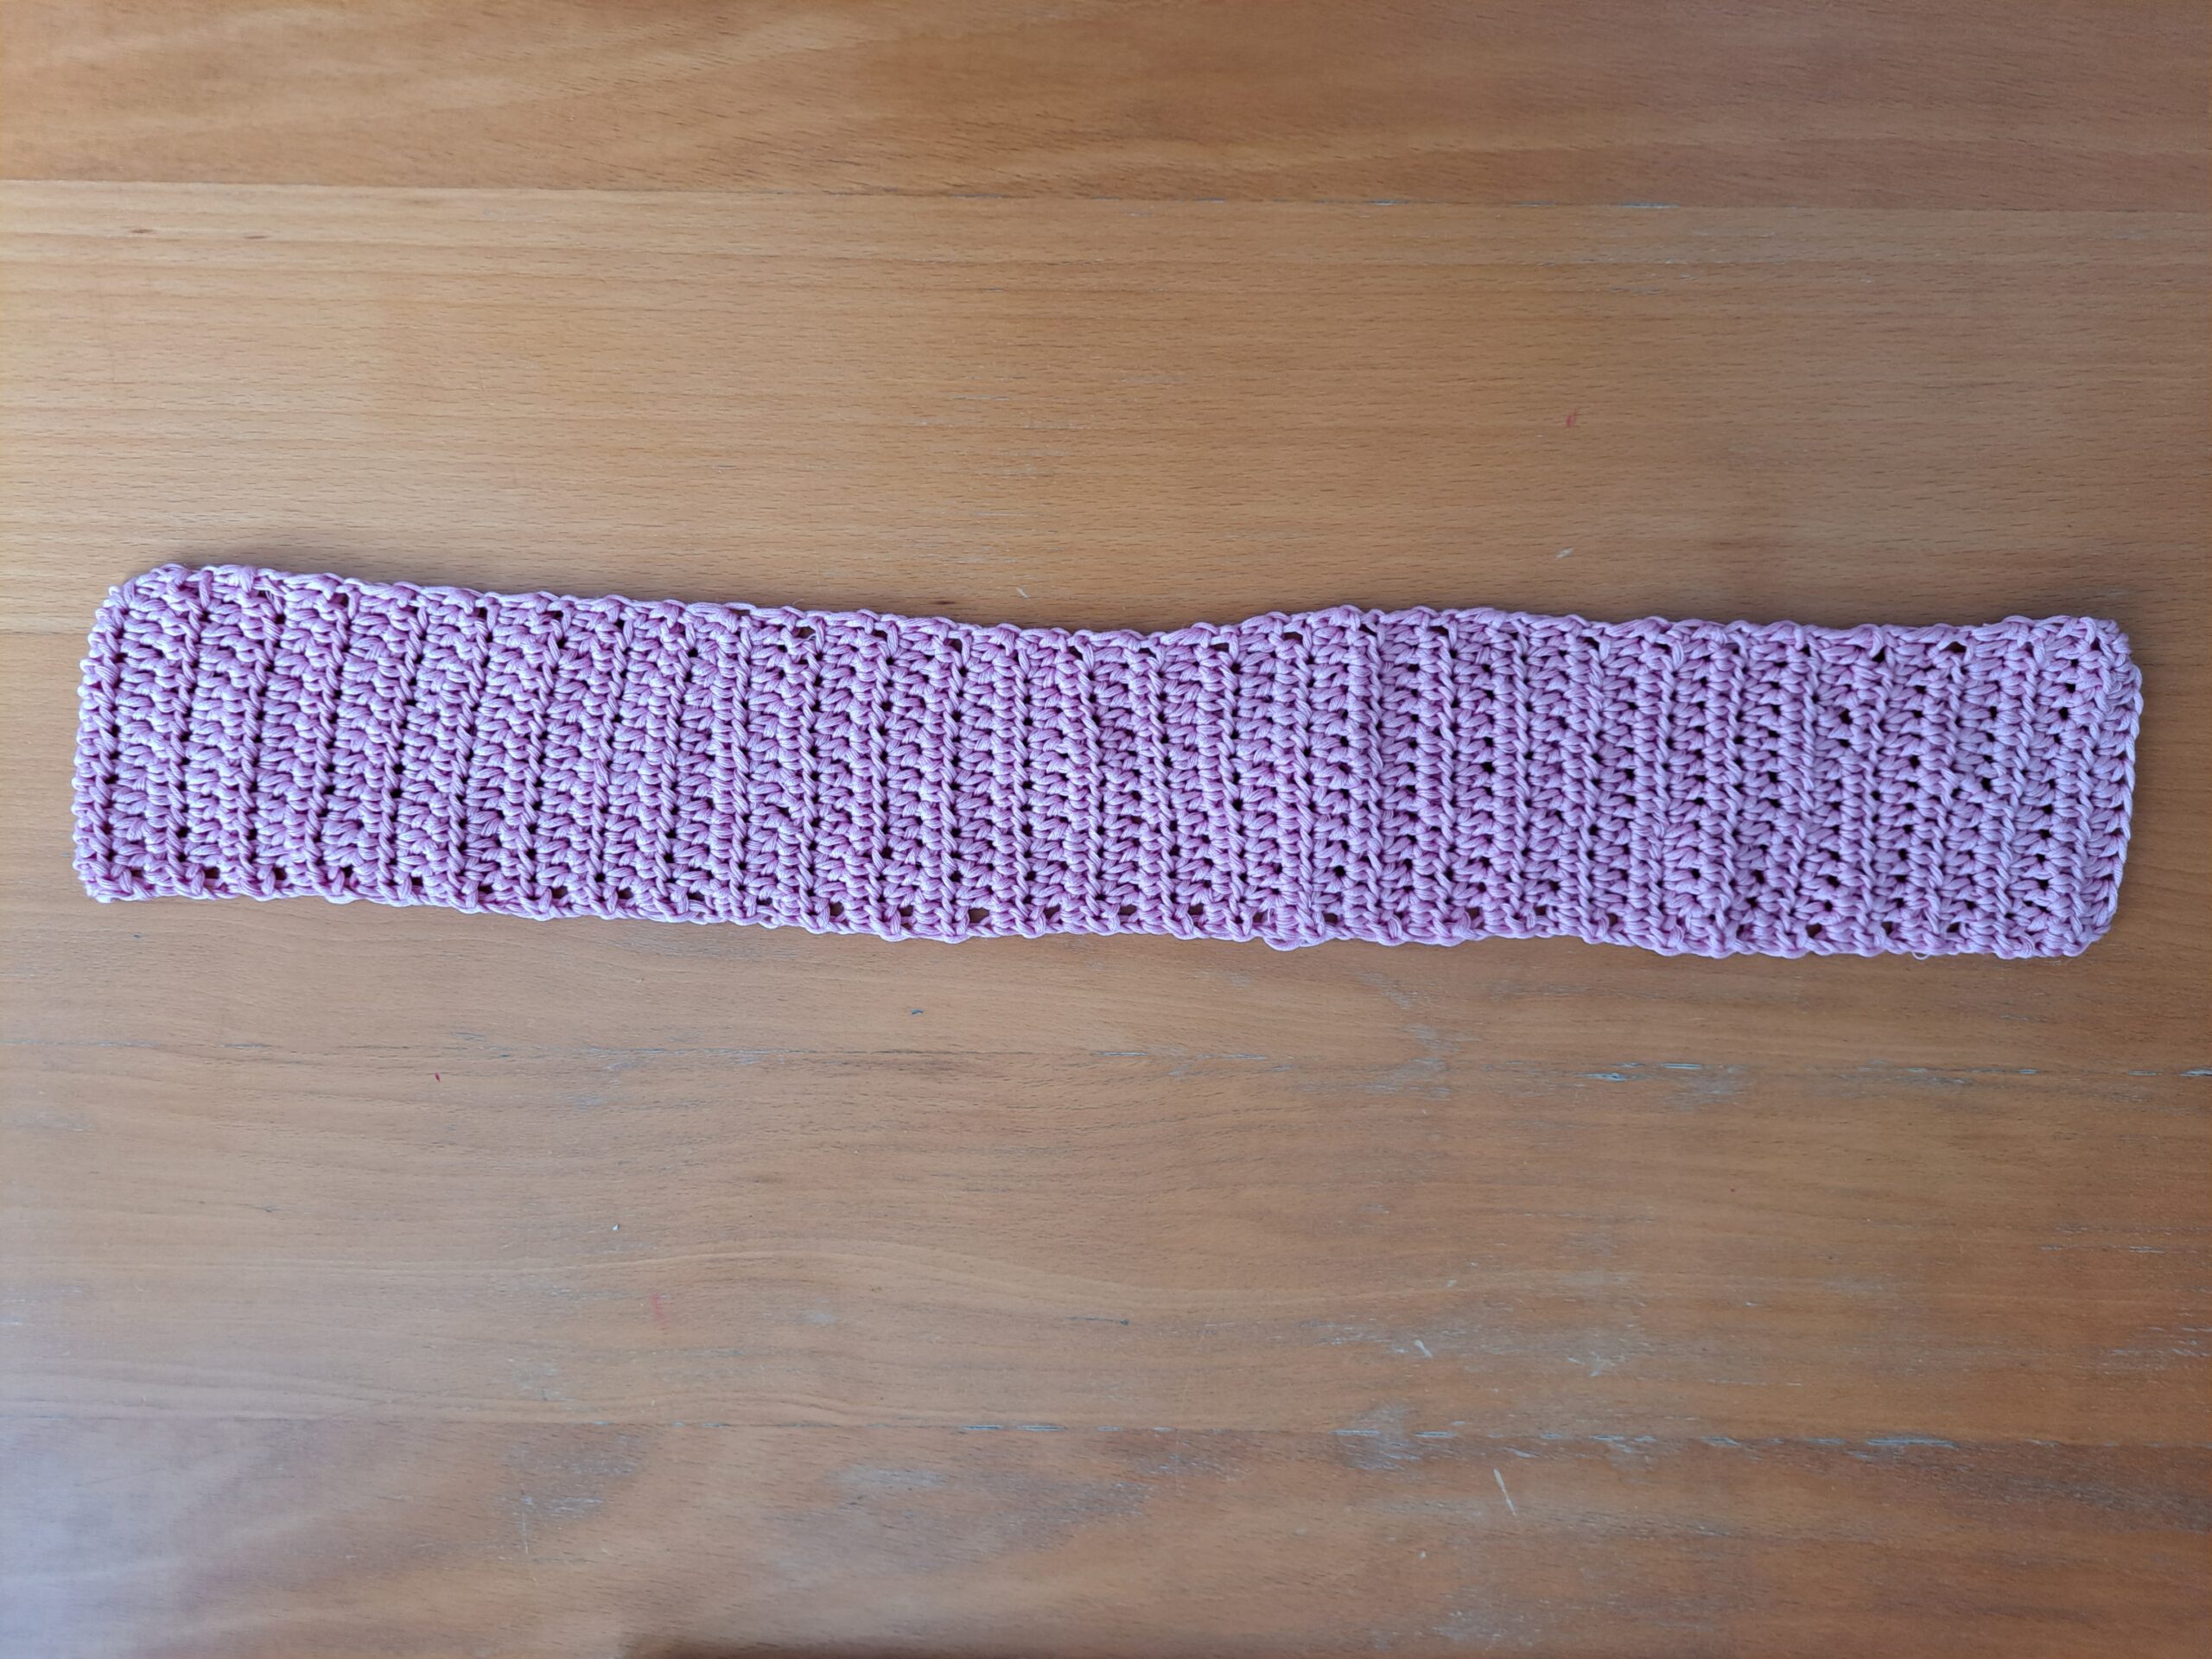
Size of project before assembling and sewing
3,2” (8 cm) x 21” (53 cm)
Size of finished project
5,2” (13 cm) x 5,2 (13 cm)
Notes
I will be writing in US terms (British terms in brackets)
Materials
1 skein of Drops Muskat in shade Desert Rose (or any 100% cotton yarn of your preference in a Light 3/DK weight)
A 4 mm crochet hook
8” elastic piece
A tapestry needle
A pair of scissors
Safety Pin
Abbreviations
Ch: Chain
St: Stitch
Sl st: Slip stitch
HDC: Half Double Crochet (UK Half Treble Crochet)
EOR: End of row
Start pattern here
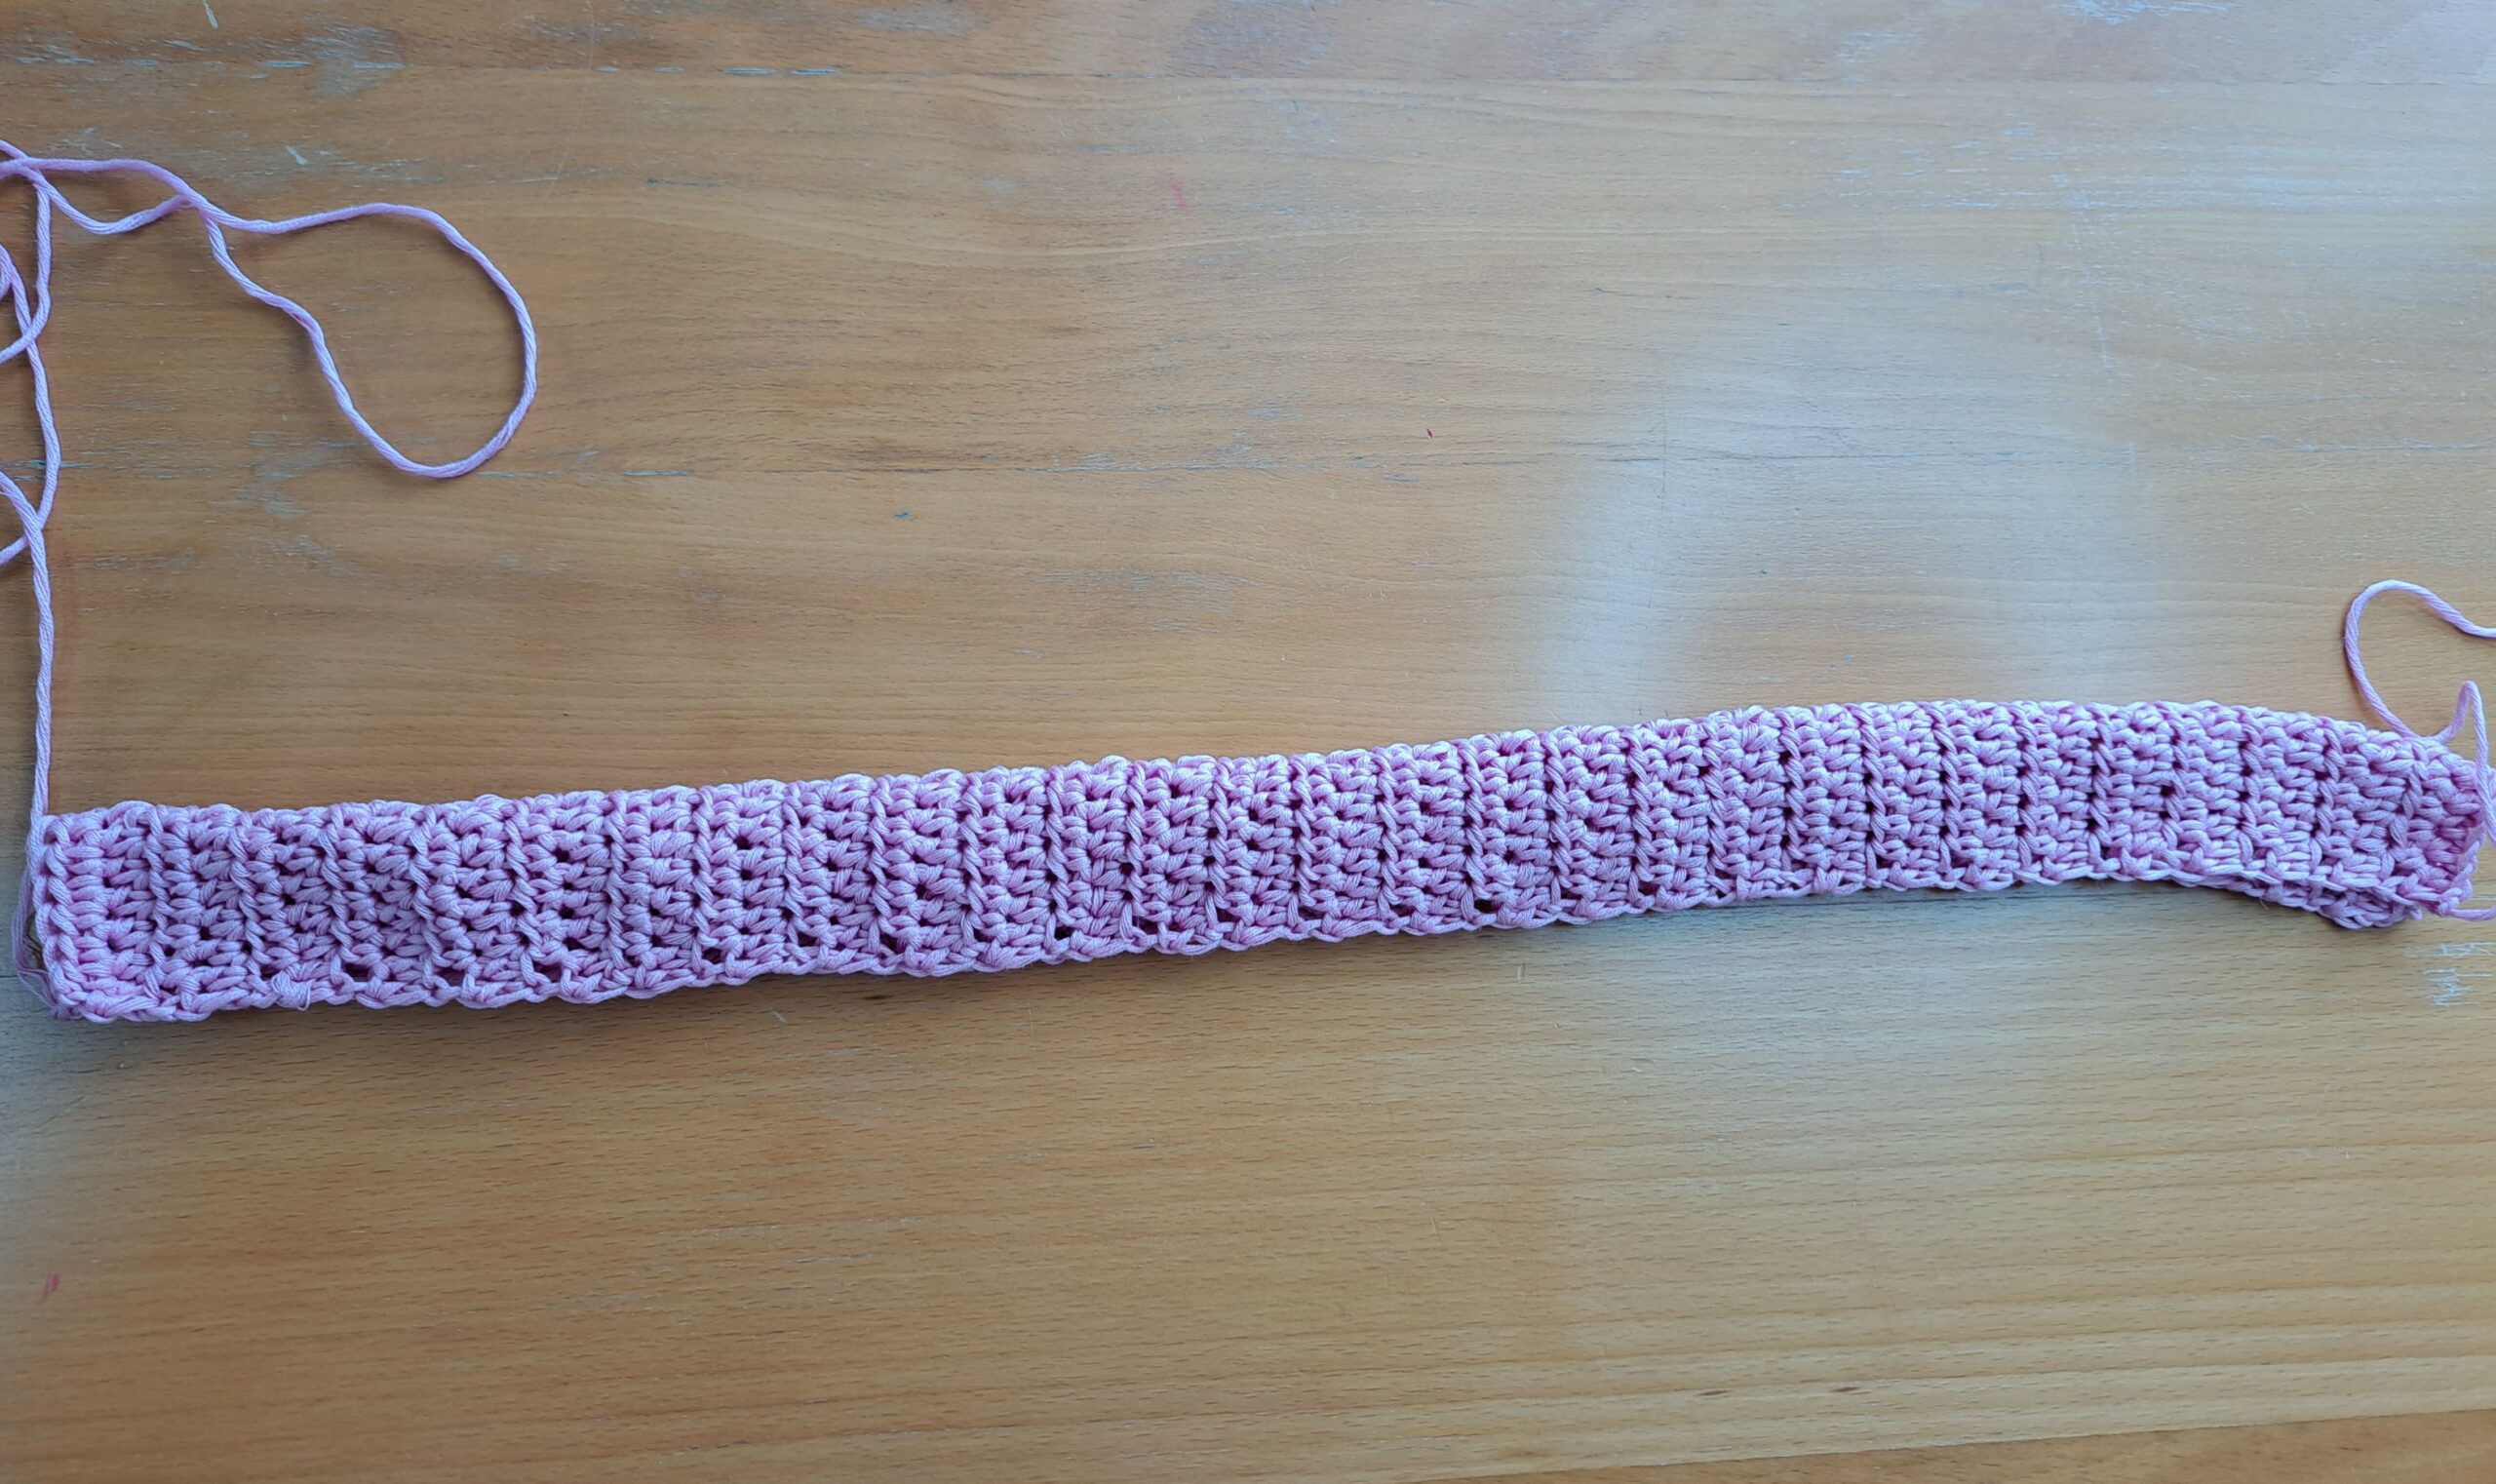
Make a slip knot, and ch 15.
1: HDC into 3rd ch from hook, and into every ch until eor (first ch 2=HDC).
2: Ch 2 (=HDC), turn your work, HDC into 2nd st and into every st until eor.
3-58: repeat row 2.
Fasten off, leaving long tail for sewing.
Sewing and finishing off your scrunchie
Fold the long strip of HDC in half lengthwise, and sew both sides together.
Once you have sewed this part, turn your project inside out so that the seam is inside it.
It’s now time to put in your elastic band into the project. Take the elastic band and place the safety pin on one end. Scrunch up your scrunchie, and pop your elastic band through it; once this is done, tie both sides of the elastic band together.
Fasten on a piece of yarn to the edge of the seam of the scrunchie. Sew in the seam as neatly as possible (using the mattress stitch if possible), making sure to place all your loose ends inside the scrunchie.
Fasten off, tidy up all loose ends if you have any.


You May Also Like
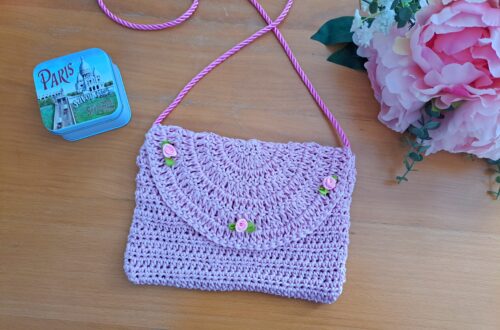
Crochet Dainty Envelope Bag Free Pattern
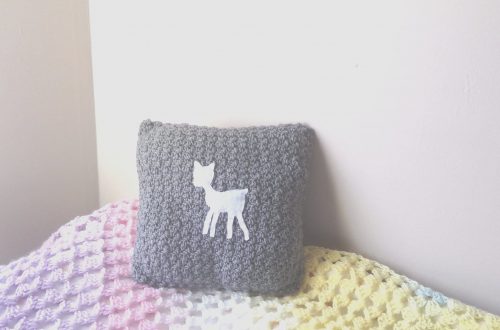
Crochet Nursery Cushion Tutorial