Crochet Romantic Bow Free Pattern
Crochet Romantic Bow Free Pattern
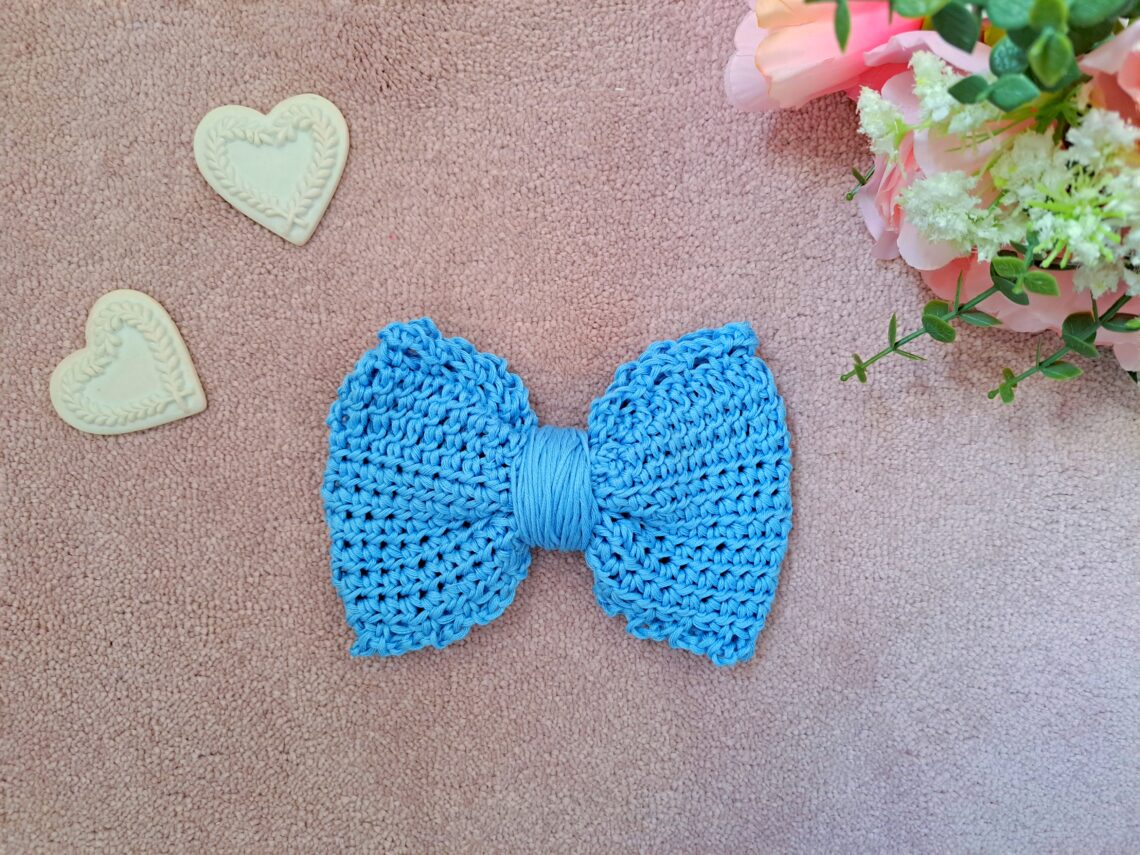
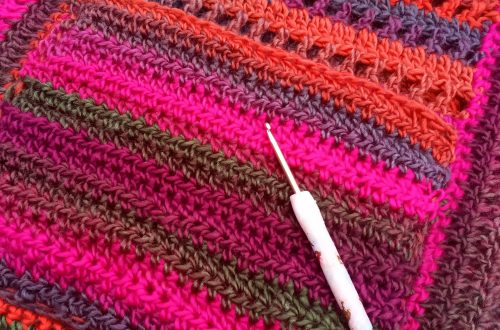
Hi everyone, this week I am bringing to you a crochet romantic bow (free pattern). This crochet project is perfect for beginners, and looks beautiful in all seasons. Crocheted with a very soft and beautiful cotton yarn, this feminine bow features a very lovely design.
The video tutorial for this project can be found here:
Crochet Romantic Bow Free Pattern: The Design
I love crocheted bows, they are so feminine and versatile. Indeed, this feminine bow I crocheted a few months ago has been very popular since it’s release. A crochet bow is very versatile and perfect for many different projects.
I love hair bows, which have been so popular in recent years. Inspired by the Cottagecore aesthetic, I designed the dainty hair bow which is so feminine and lovely! I also crocheted the delicate rose hair bow a while ago and I still love it so much today. Bows are perfect as stand alone crochet projects, or as an adornment for more substantial crocheted designs.
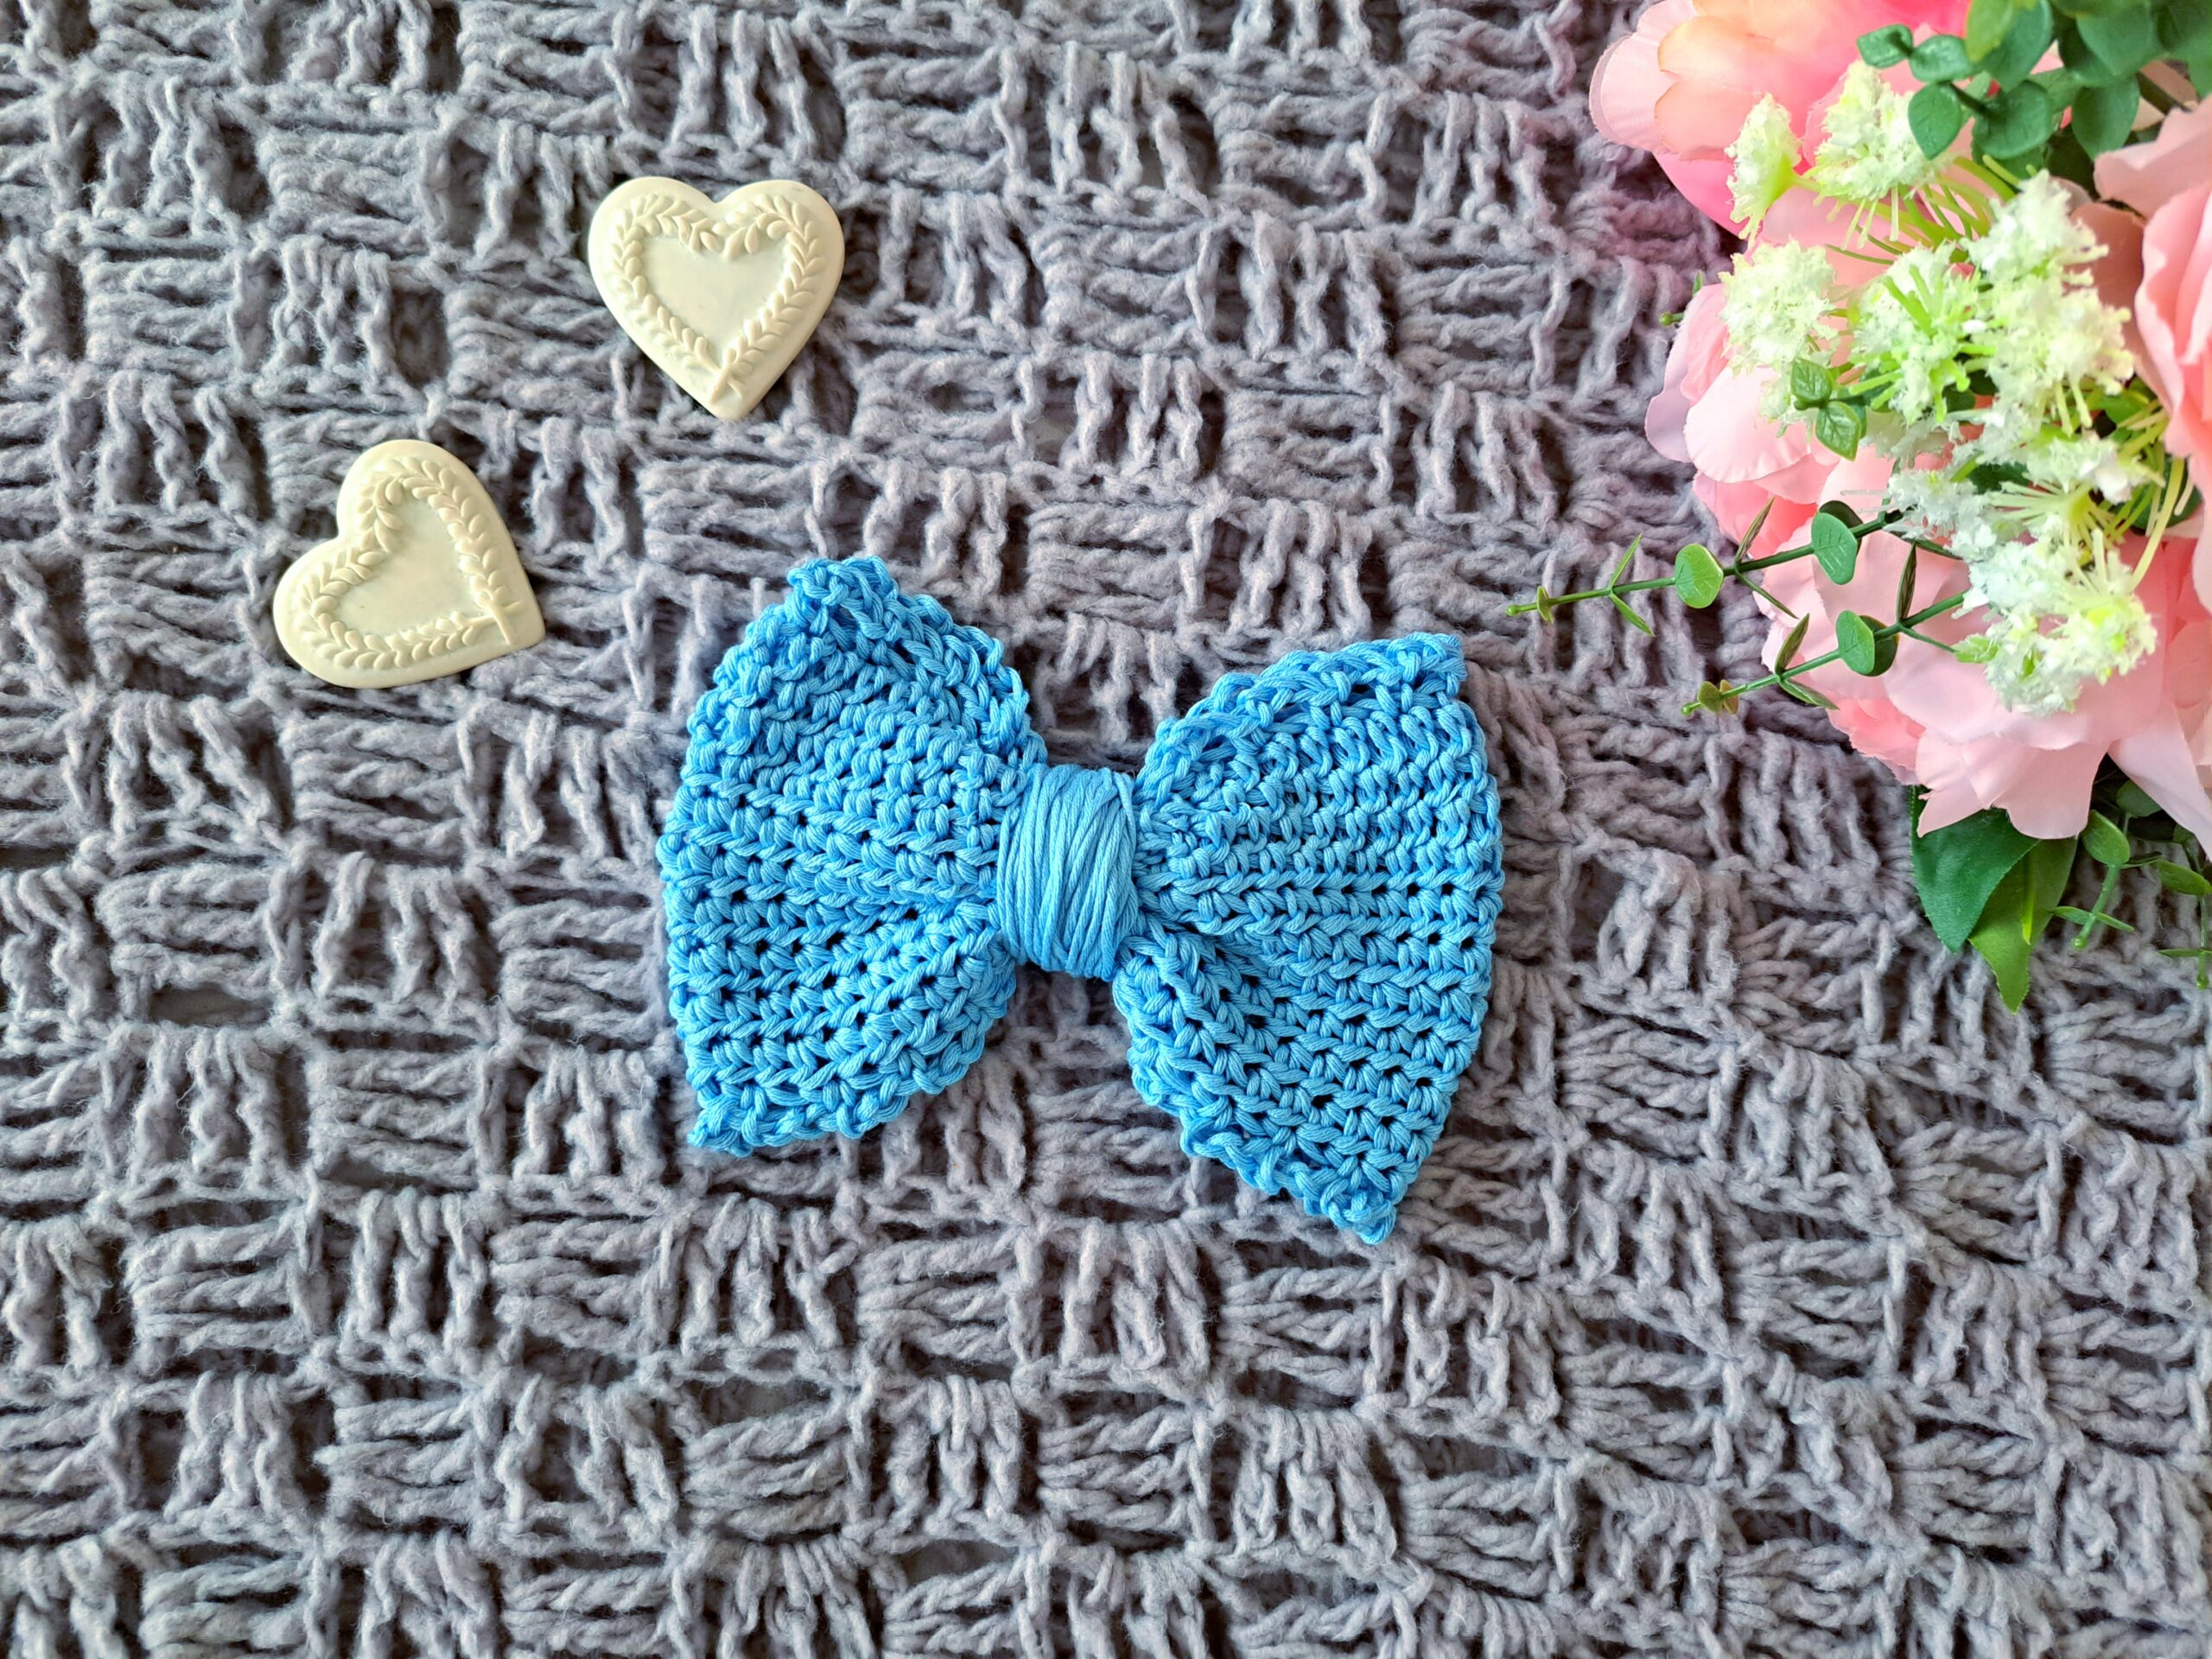
This new crochet bow design is perfect as a stand alone design, or can be used to add to another project. I love how feminine and dainty they look. Let me know in the comments if you make this bow, and what you used it for.
Crochet Romantic Bow Free Pattern: The Yarn
For this design, I used one of my favorite yarns, which is Drops Muskat. This 100% mercerized cotton yarn is very high quality while still being very affordable. It is definitely a must for any crocheter! I love how soft and high quality it is, as well as the many colors this yarn comes in.
For this project I used the color 02 light blue; this is a delicate and deep persimmon shade of blue. I already crocheted the dainty hair bow a few months ago with this yarn.

Indeed, I have used this yarn many times in the past. The Lovely Flower headband was crocheted using this light 3 (DK) weight yarn, and I love it today as much as I did when I first made it. I also made this romantic boho bag with this yarn.
This Pinterest inspired purse featuring a ribbon bow was also crocheted with this lovely yarn. If you enjoy larger projects, I made this Regency Era Shawl with this very yarn.
As you can see, this beautiful yarn can be used for many different projects. I love how it looks, and how it feels; I hope you enjoy this new tutorial.
Connecting with you
I would like to take a moment to thank every single one of you, for supporting me and my crochet journey. Indeed, I absolutely am so touched by all your messages, comments, and every person who has become a patron of my work through Patreon. Thank you!
I love connecting with my Crochet Community through my blog and Social Media. You can find me on Youtube, Instagram, and Pinterest. I would love to connect with you on these platforms.
You can also join my private Facebook group to connect.
Subscribe to our weekly newsletter so that you never miss a stitch!
Crochet Romantic Bow: The Pattern
You can purchase the ad free, large print, PDF pattern from my Etsy store here: Crochet Easy Bow PDF Pattern
You can purchase the ad free, large print, PDF pattern from my Ravelry store here: Crochet Easy Bow PDF Pattern
Level: Easy +
Gauge
4” (10 cm): 16 stitches
4” (10 cm): 11 rows
Size of finished project
4,5” (11 cm) x 6,5” (16,5 cm)
Notes
I will be using US terms (British terms in brackets).
Materials
1 skein of Drops Muskat in shade 02 Light Blue
4 mm crochet hook
A pair of scissors
A tapestry needle
Abbreviations
Ch: chain
St: stitch
Sl st: slip stitch
SC: Single Crochet
HDC: Half Double Crochet (UK Half Treble Crochet)
EOR: End of round
Notes concerning this pattern
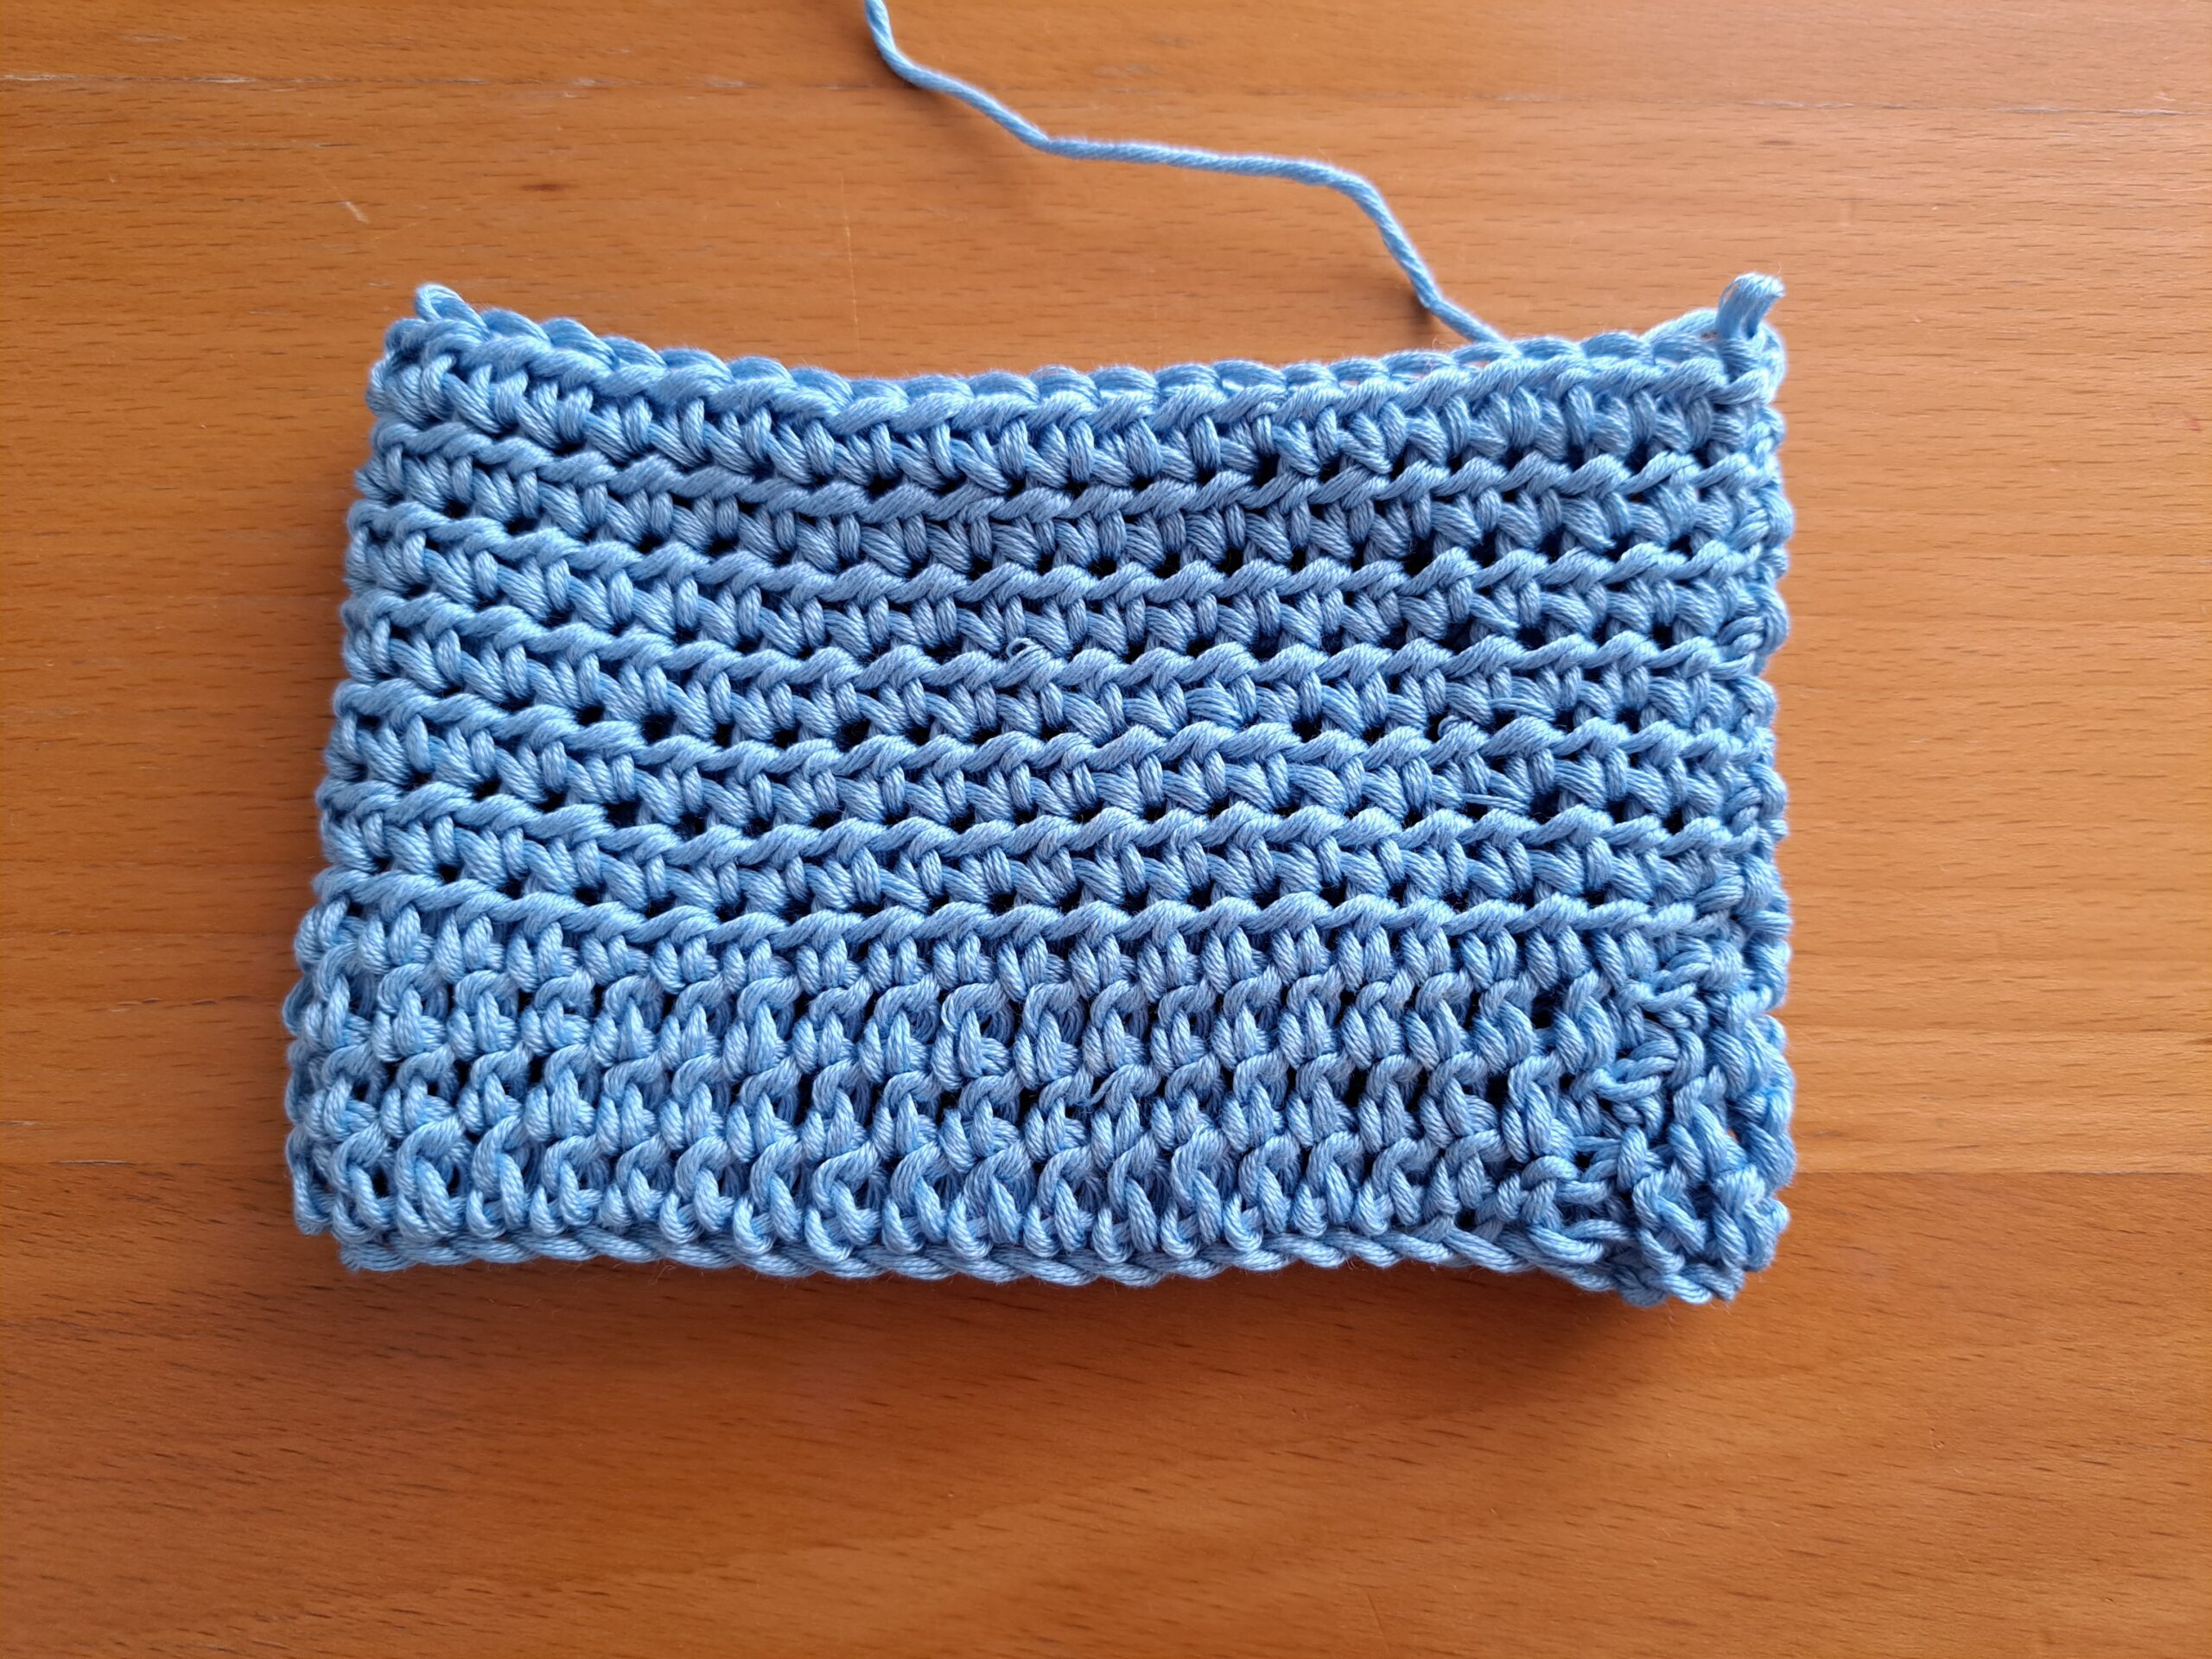
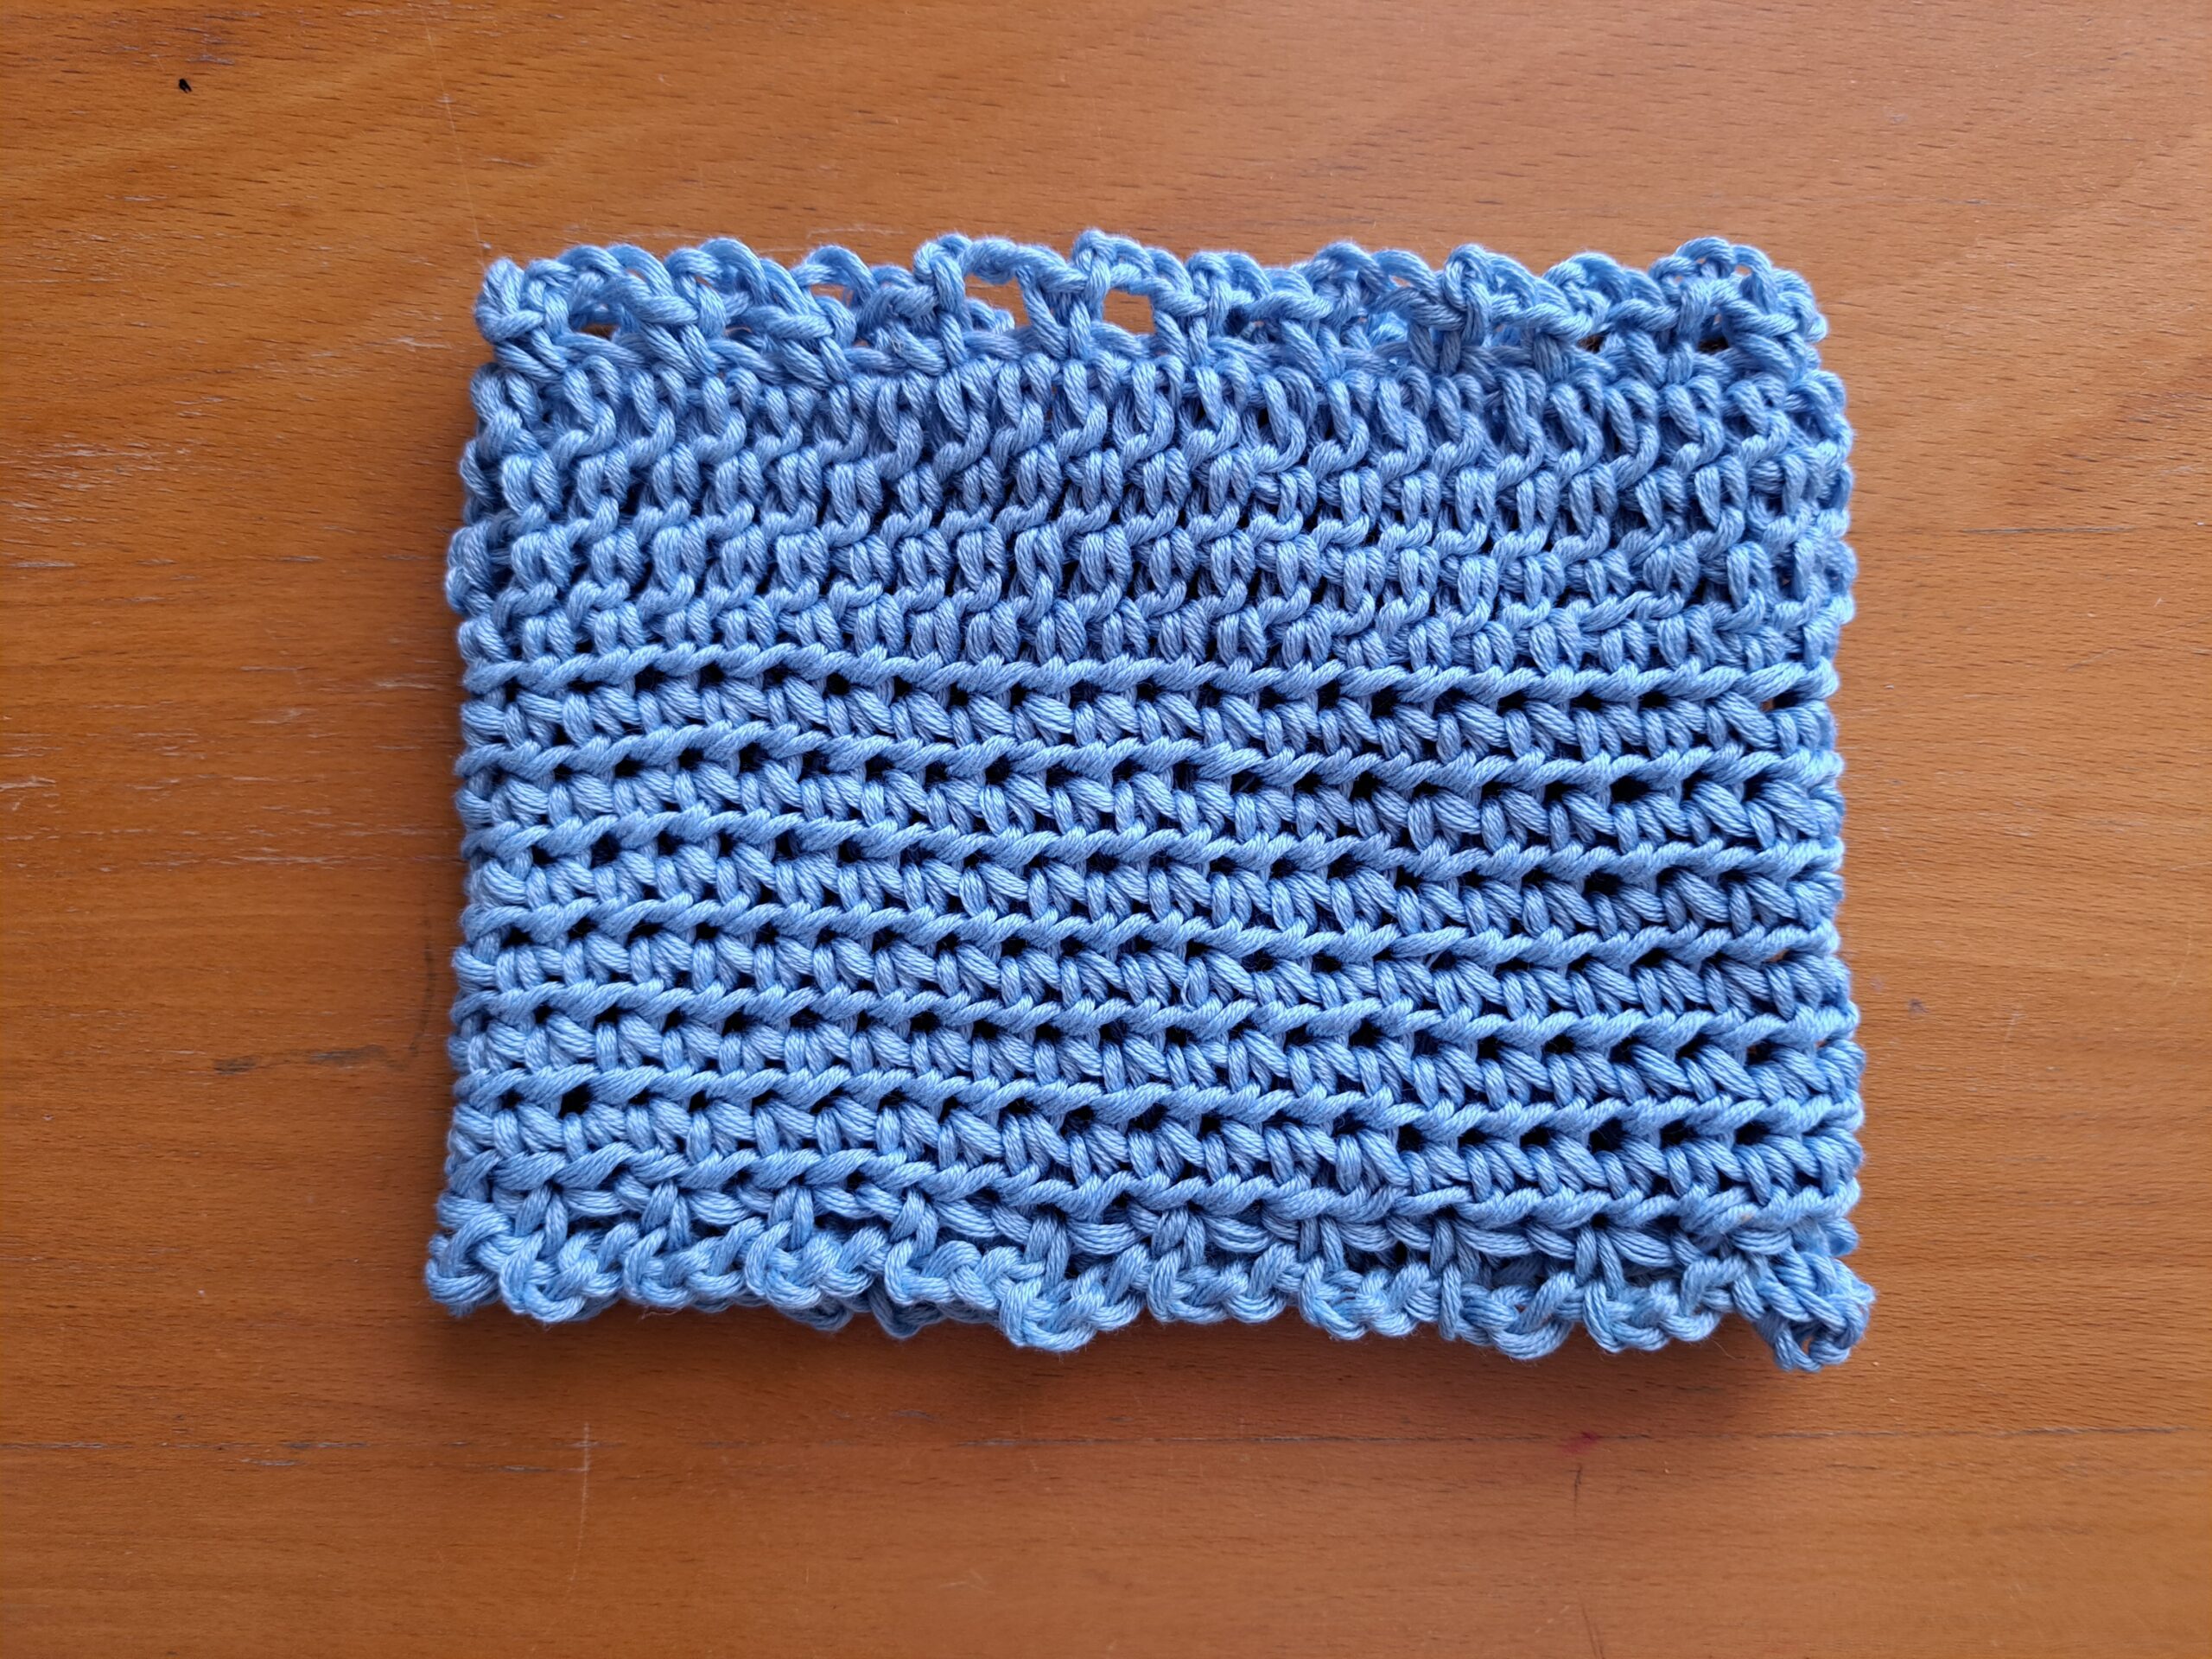
For this project, we will start by crocheting the initial rectangle shape of the bow in the rounds.
Once this is completed, the bow shape will be given to the project by adding the center piece (as explained below in the pattern).
Begin pattern here
To start, make a slip knot.
Ch 50, slip stitching to 1st ch to create a circle shape. Please make sure you are not twisting the chain when you slip stitch.
1: Ch 2 (=HDC), HDC into next chain until end of chain. Sl st to 1st st to close off round.
2: Ch 2 (=HDC), HDC into next stitch until eor. Sl st to 1st st to close off round.
3-10: Repeat round 2.
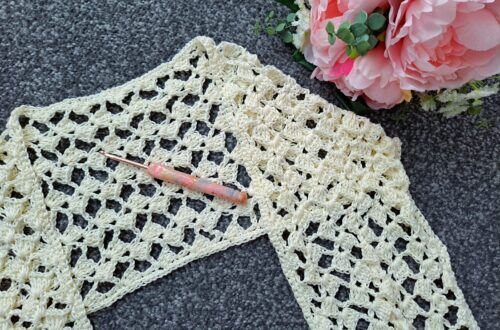
Do not fasten off, as we will now be creating the chain arch edging all around this part.
11: Ch 1 (=SC), SC into next st until eor; sl st to first ch 1 to close off round.
12: Ch 3, sk 1 st, SC into next st until eor.
Fasten off.
Turn the project around so as to work on the other side of it; attach yarn to any stitch, and repeat rows 11 and 12 on this side.
Create the center part of the bow (create shape)
Place your project on a flat surface, with the back part facing you. Make sure the seam of the project is centered.
Take your yarn and attach it around the center of the project (see photograph below).
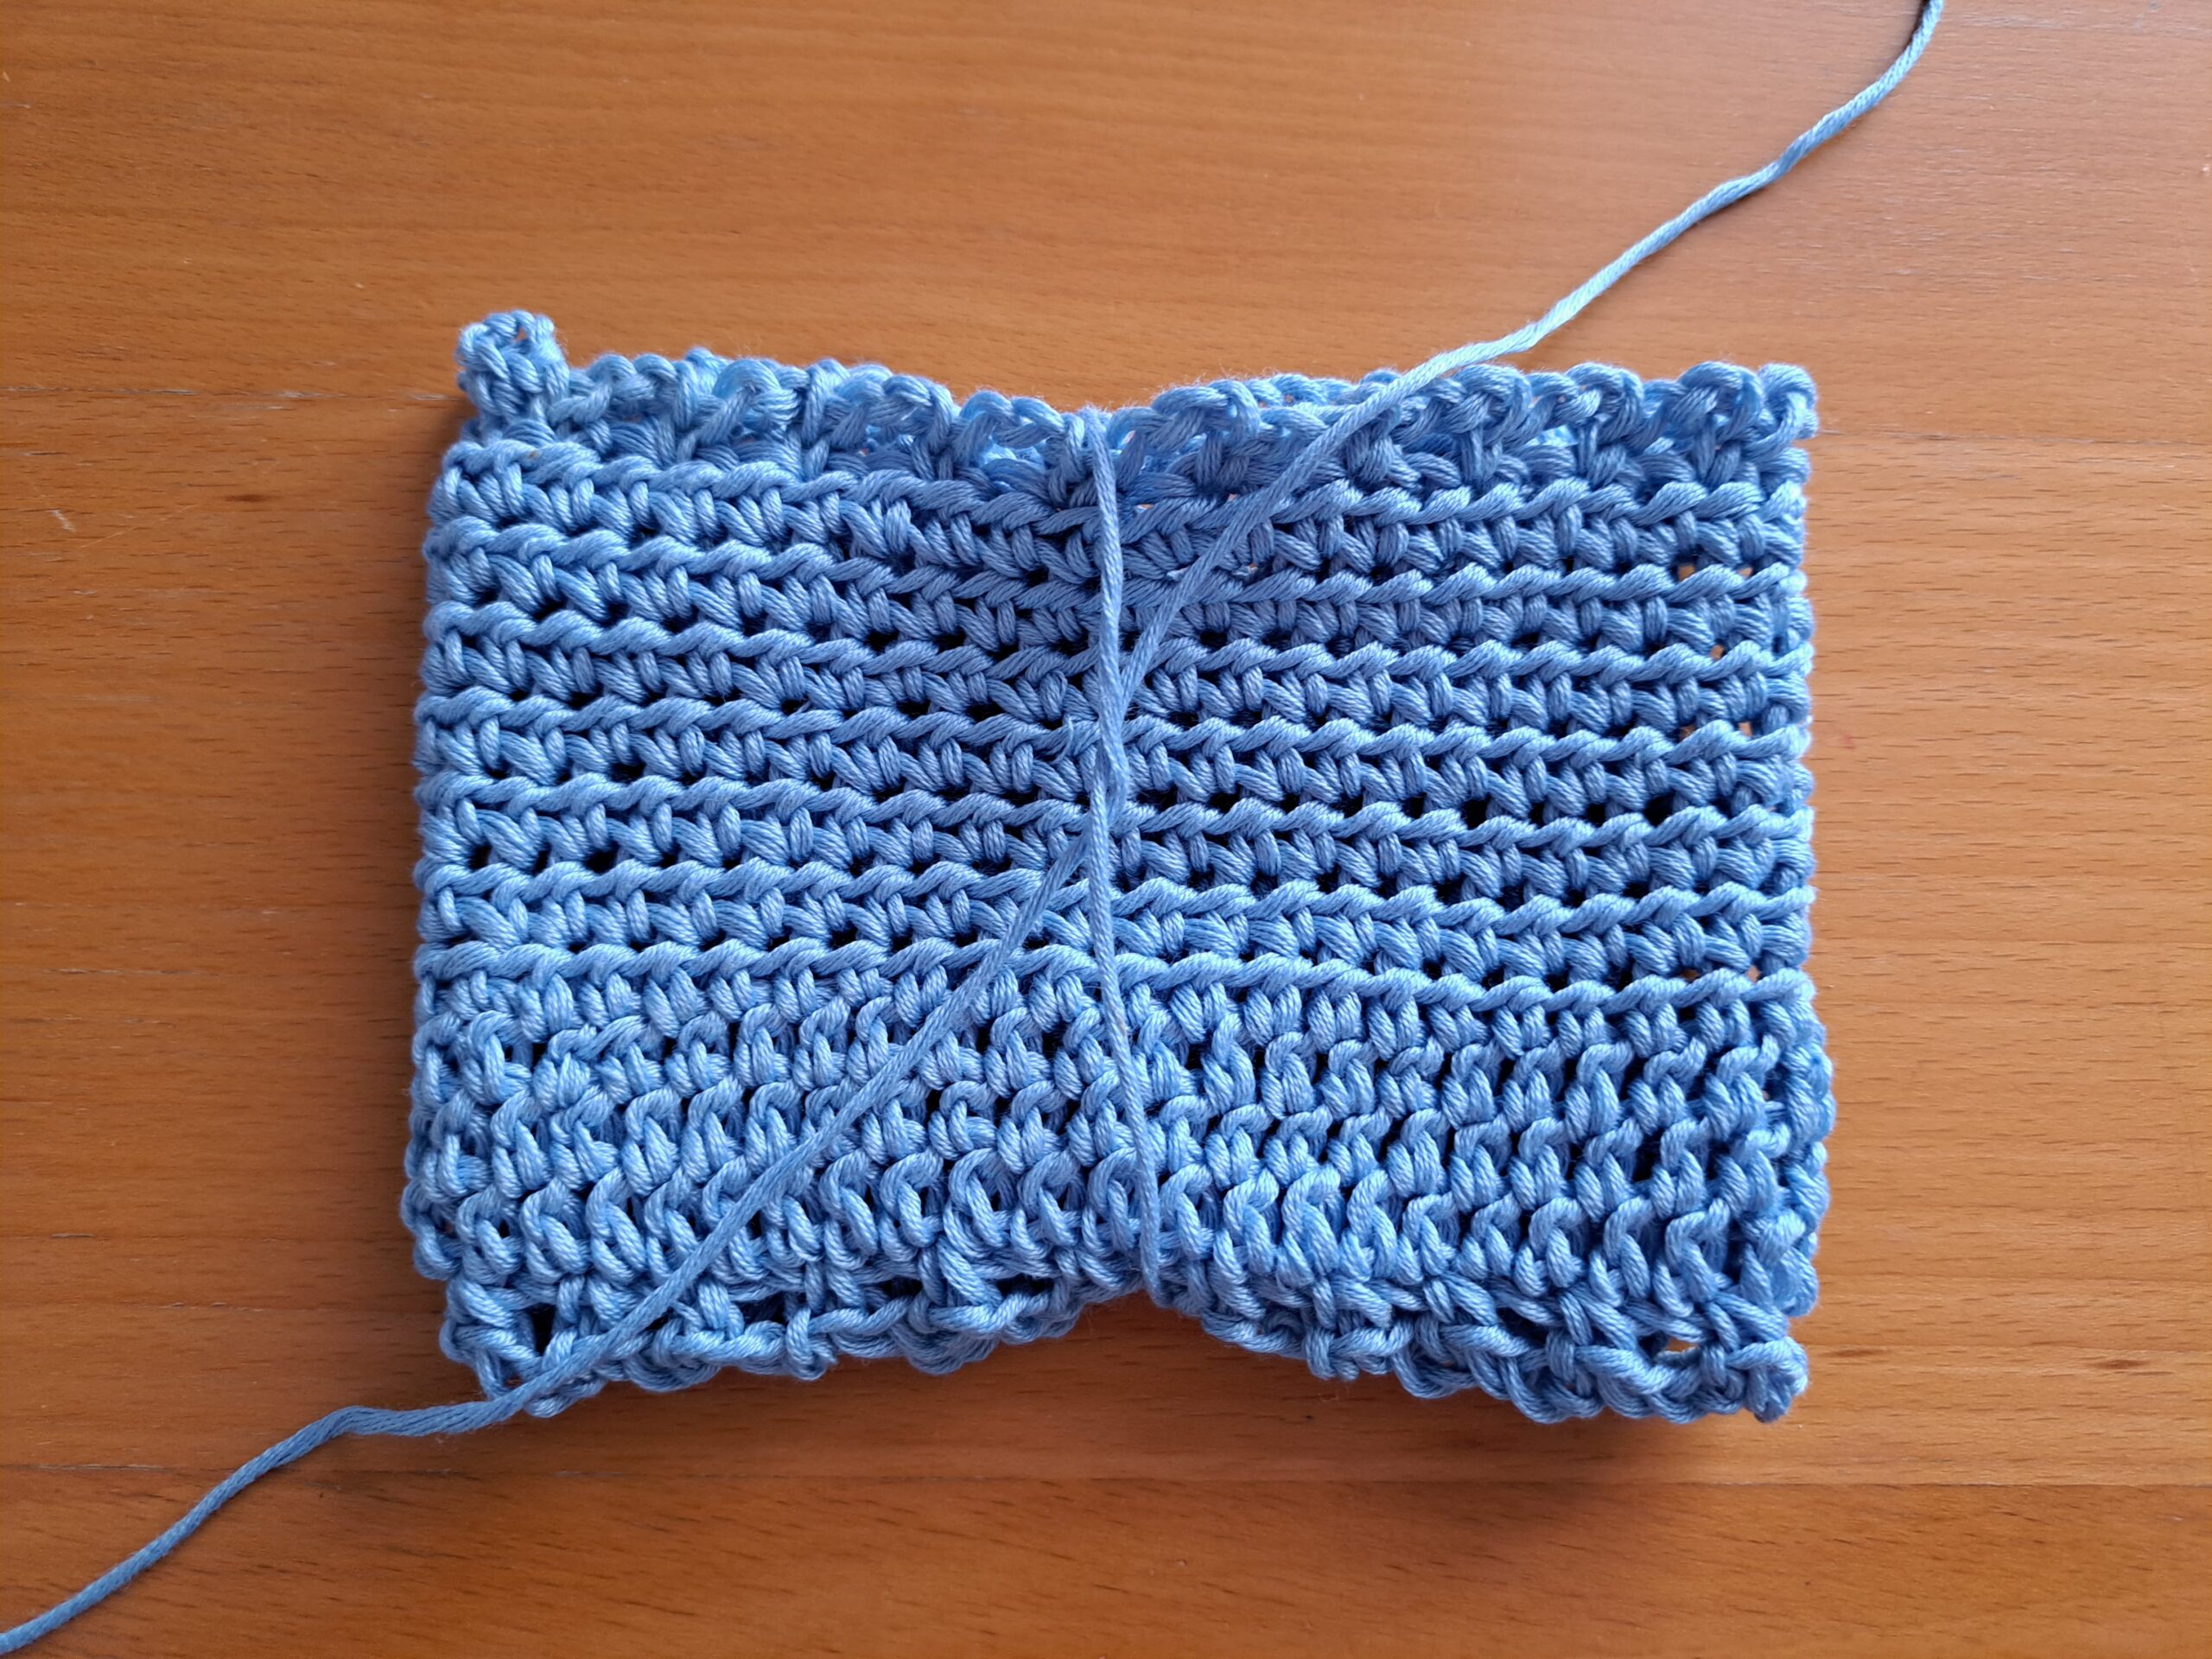
Tighten yarn gently so as to create the bow shape (see photo below).
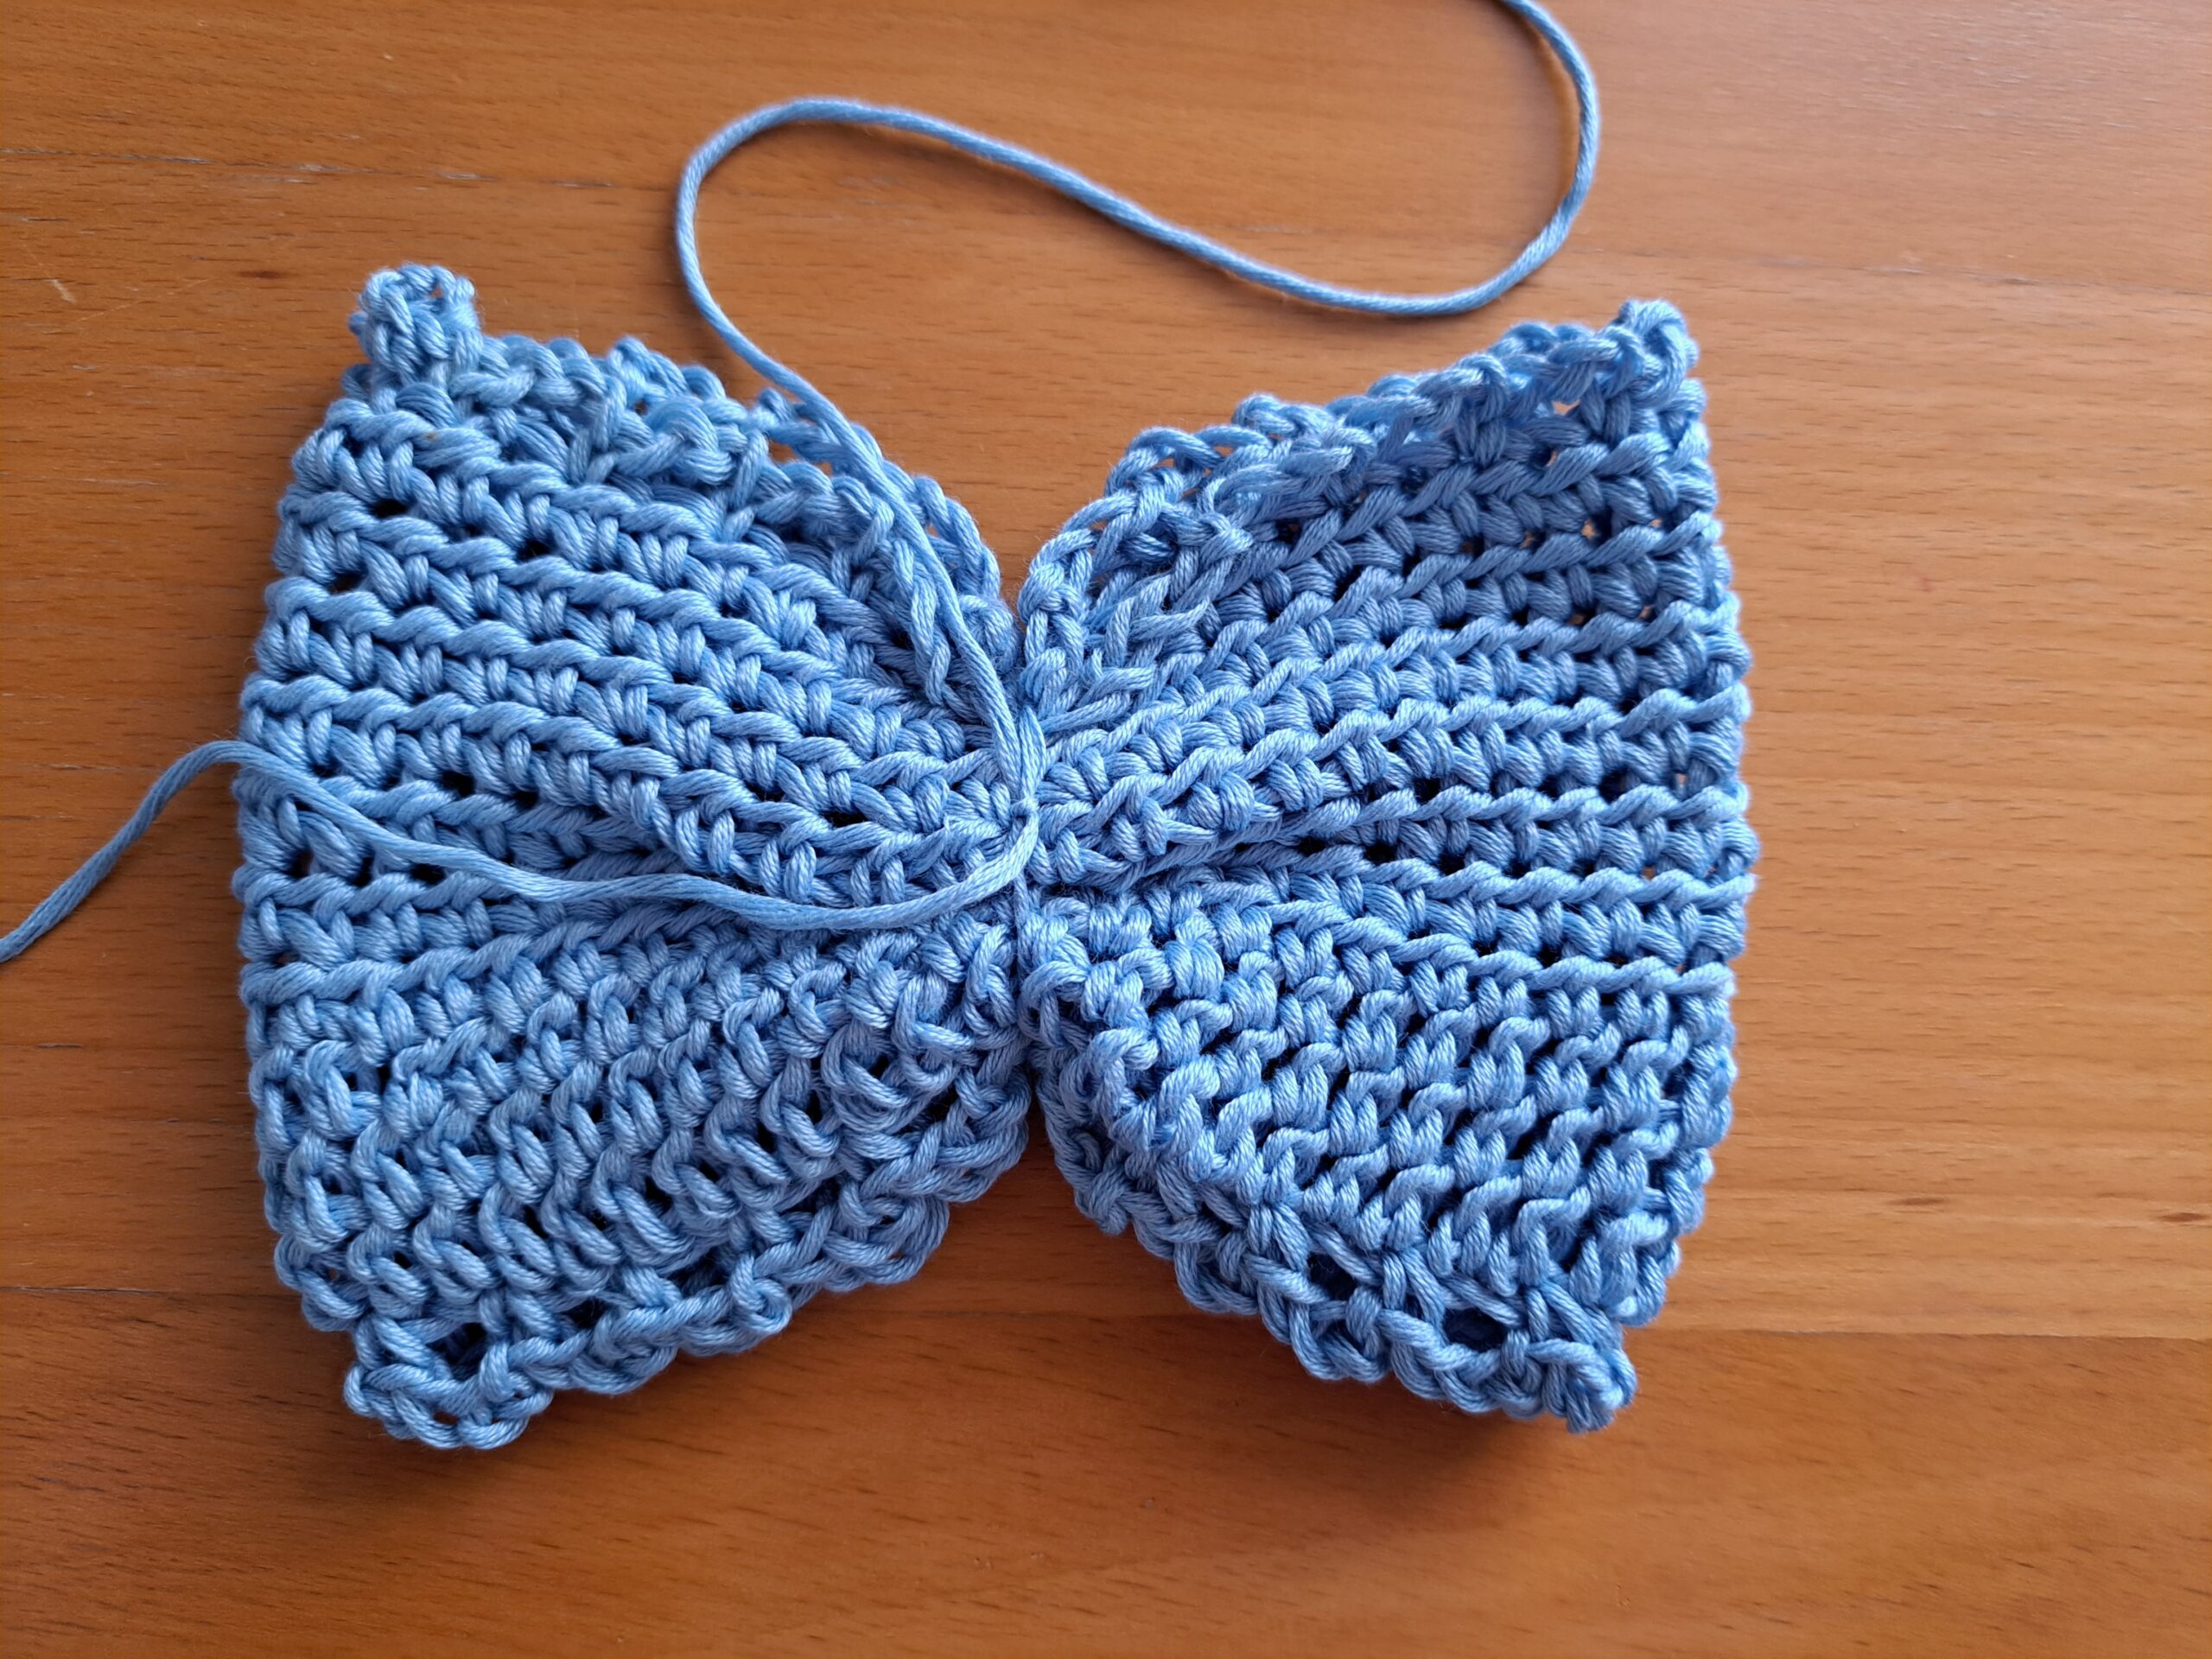
Now wrap your yarn around center of project approximately 50 times (see photo below):
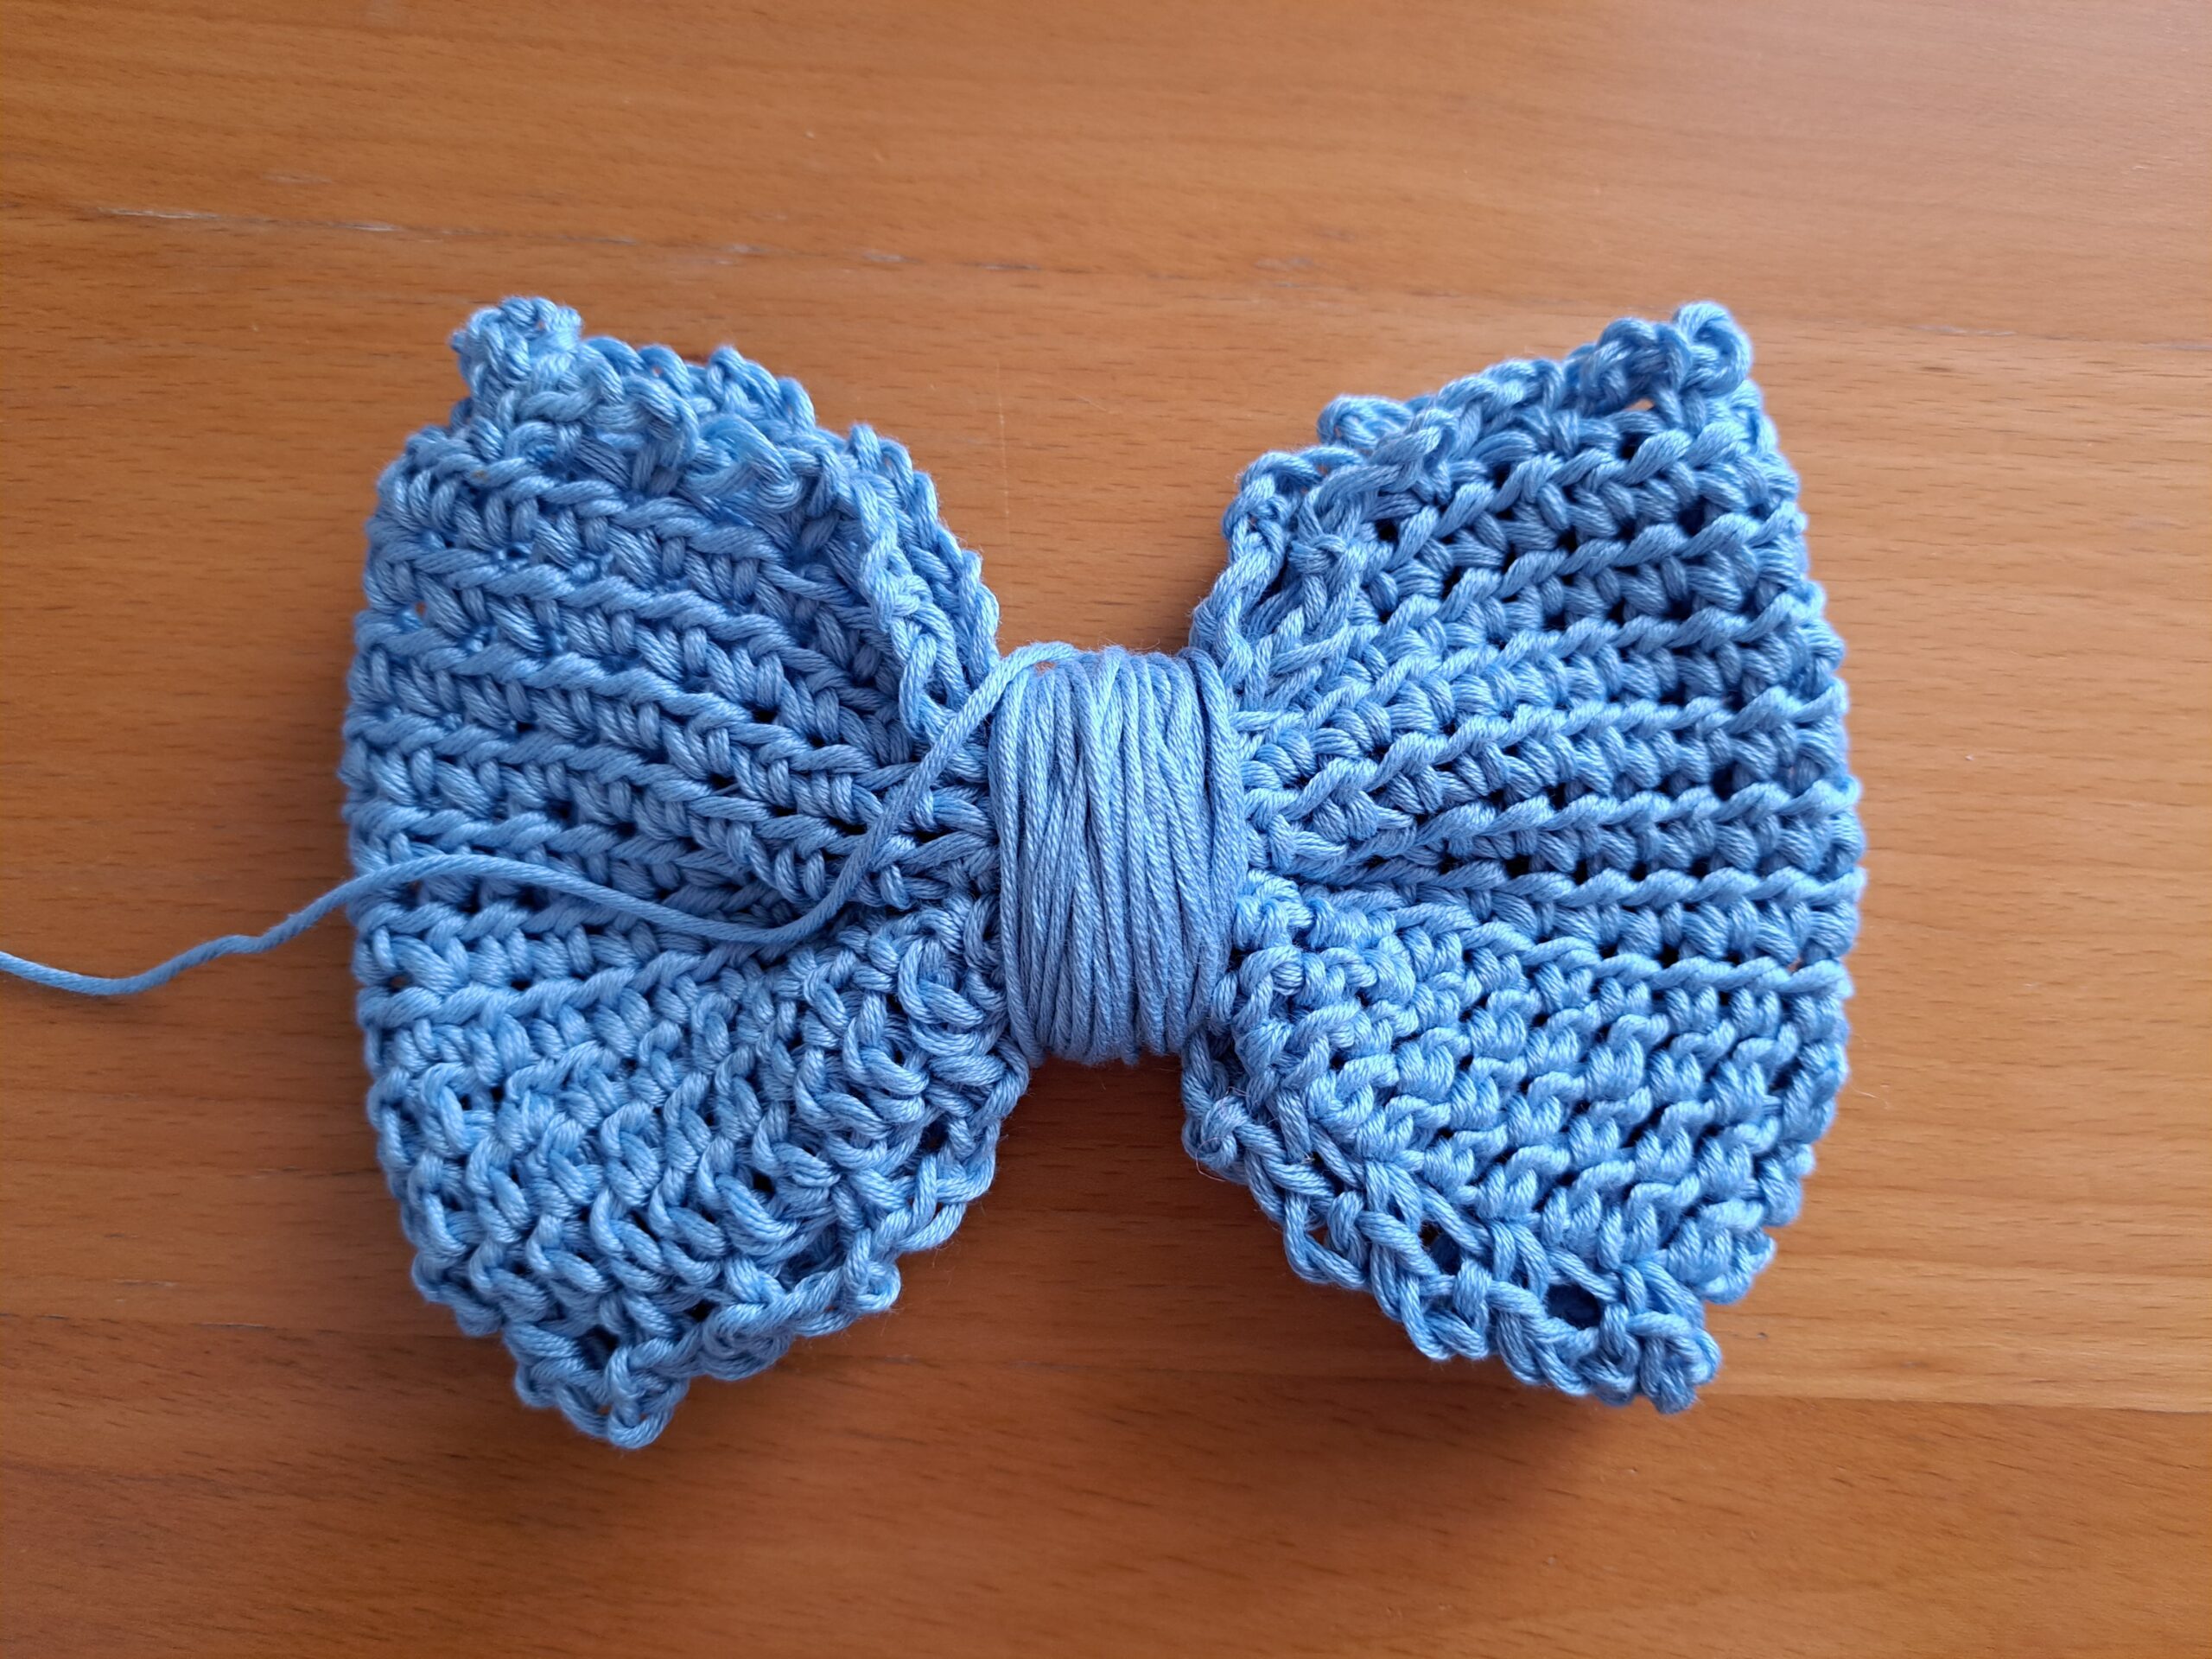
To finish off this part, tie your yarn at the back of bow. Fasten off and tidy up all loose ends.


You May Also Like
Crochet A Fall Pocket Shawl
Crochet Edwardian Rose Wrap Free Pattern