Crochet Soft Dreams Headband Free Pattern
Crochet Soft Dreams Headband Free Pattern
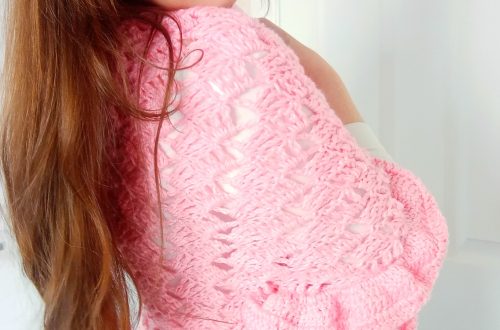
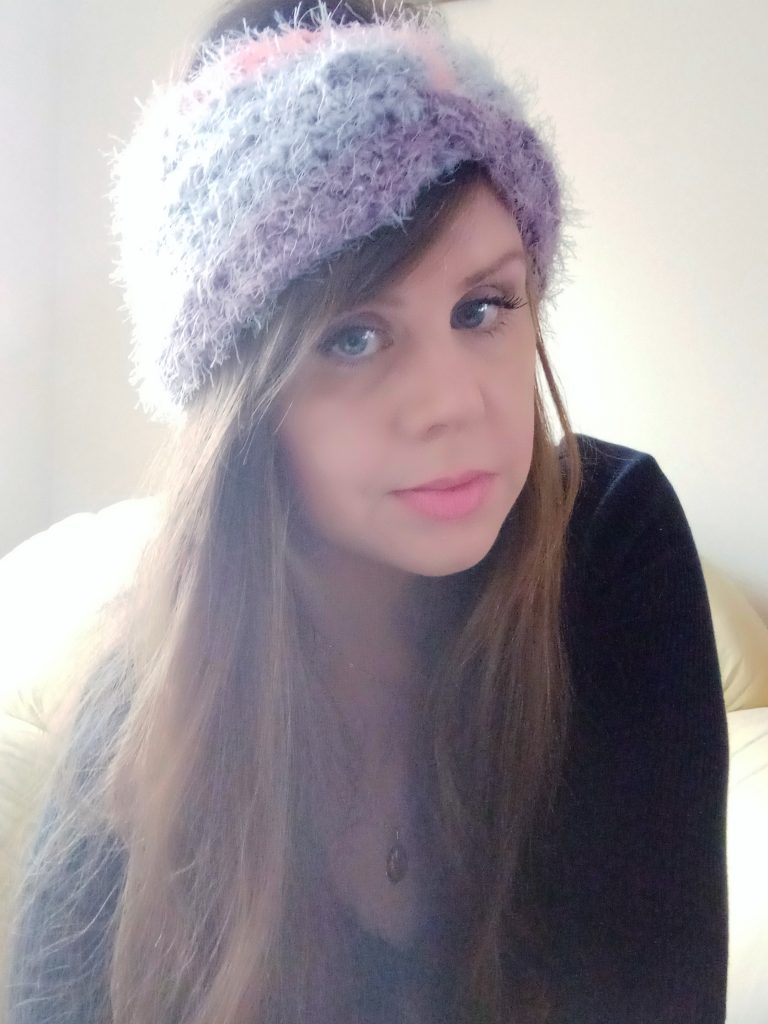
Hi everyone, this week I am bringing to you a tutorial on how to crochet The Soft Dreams Headband free pattern. This headband pattern is beautiful and easy to crochet. It matches The Soft Dreams poncho pattern which I released last week. This soft and feminine headband features a twist and looks so pretty with all outfits. The full written instructions for this simple project can be found in this blog post.
The video tutorial can be found here:
Crochet Soft Dreams Headband Free Pattern: the inspiration
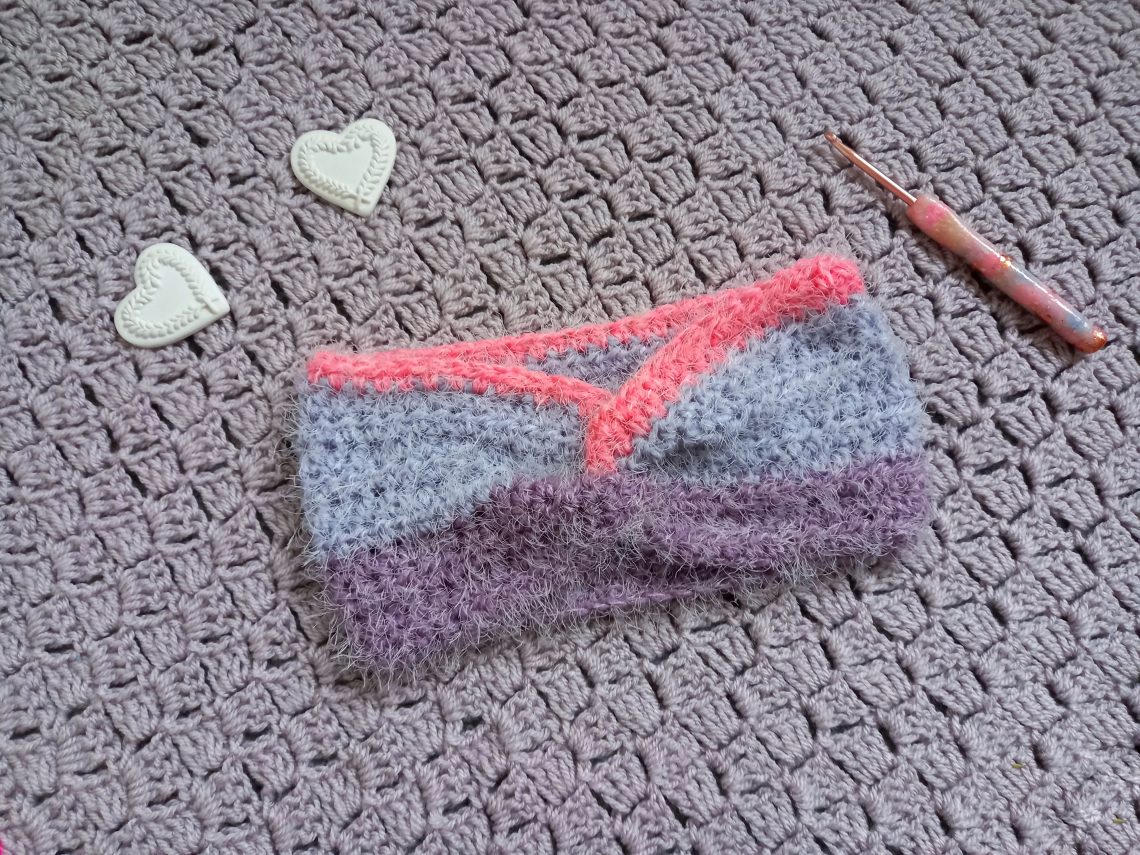
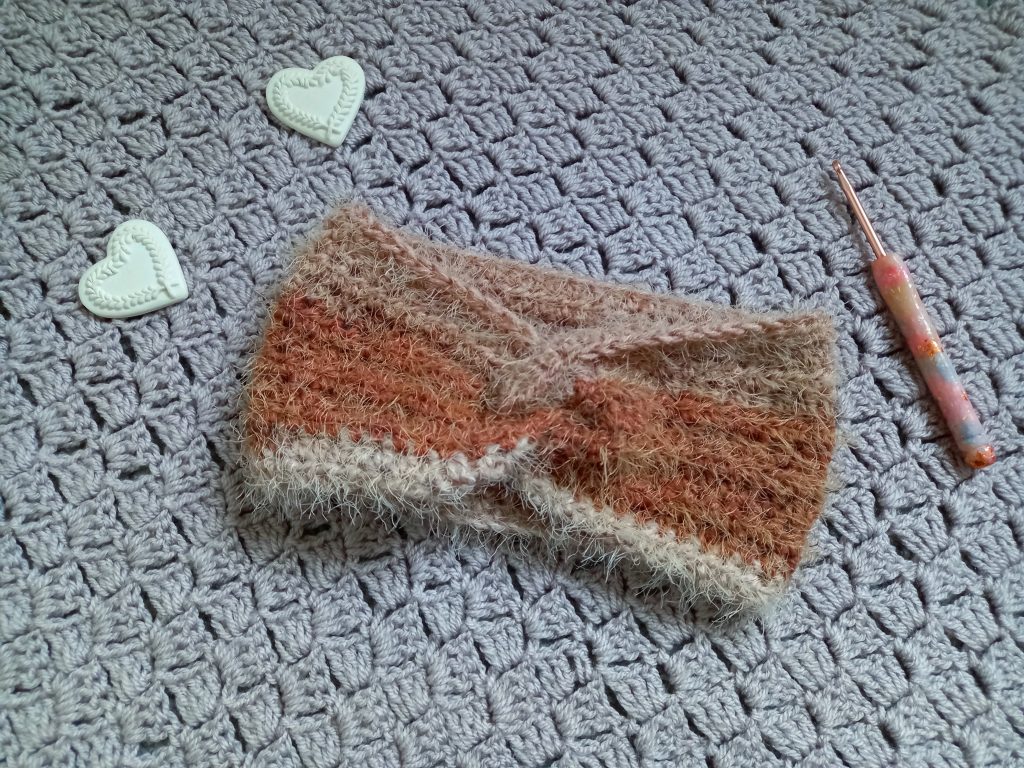
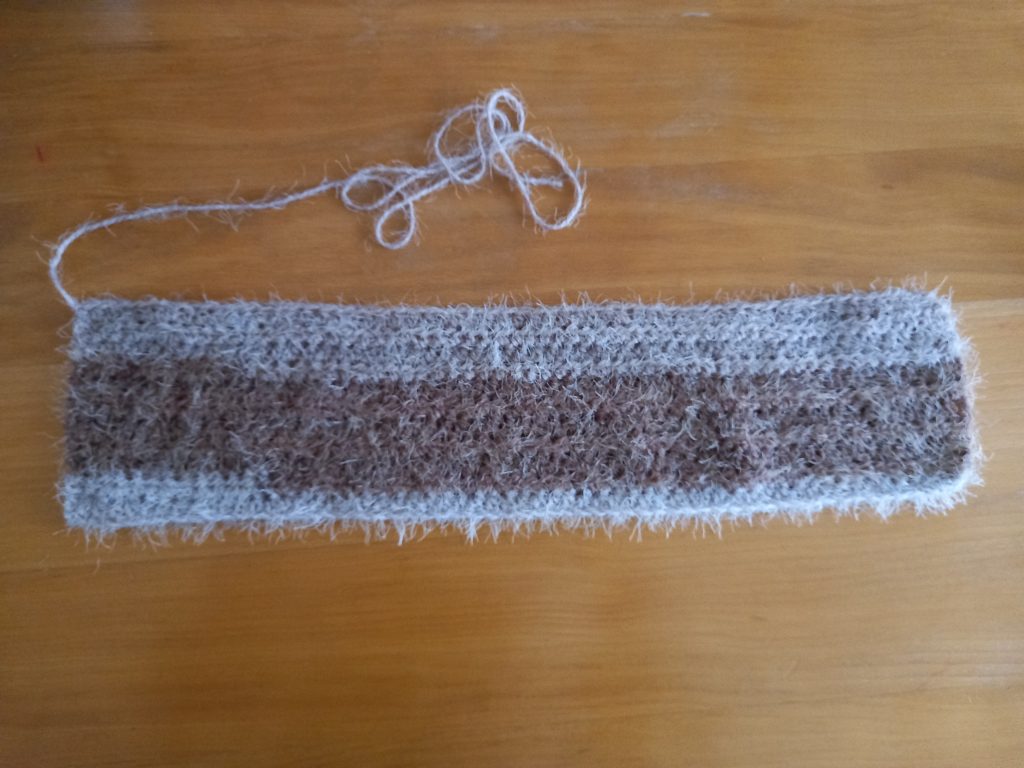
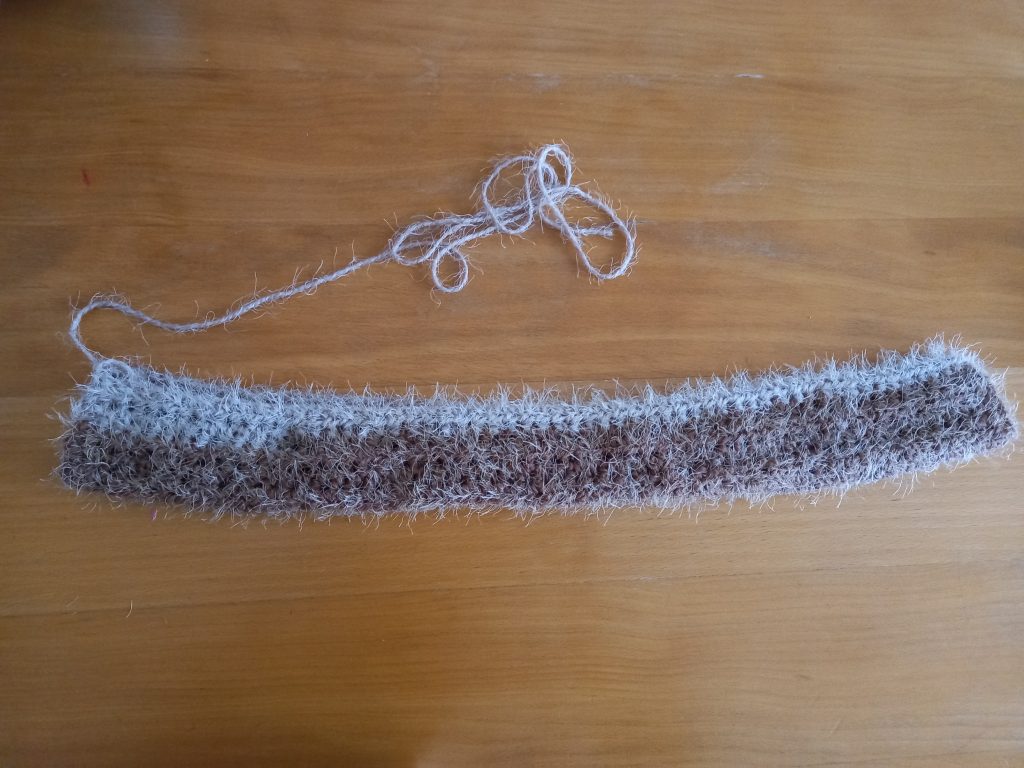
I was inspired to crochet a matching headband for my Soft Dreams Poncho from last week. Indeed, I did not use up a complete skein of Caron Latte Cake for the poncho. I therefore decided to use the leftover yarn to crochet The Soft Dreams Headband Pattern. This easy to crochet project is perfect for beginners. It is made with a very simple pattern repeat of Half Double Crochets before it is sewed together. Again, very basic sewing skills are required for this project. The big bonus of this project is that it works up really fast, with very little yarn, so it is definitely a win-win.
As I mentioned last week with my Soft Dreams Poncho, I absolutely love Caron Latte Cakes. I thinks this yarn is so soft and fluffy, and yet because it is made of 100% acrylic yarn it is not scratchy at all. It is soft and feminine, and I have yet to find another yarn that can compete with this one! My secret dream is that Caron will release Caron Latte Cakes in block colors. Indeed, as much as I love the variegated version that we know and love, I really would love to have set colors so that I can make jumpers, cardigans and shawls with this exact texture, but in set colors that I would choose! I hope my dream comes true one day!
Please let me know if you know of a yarn that is similar to Caron Latte Cakes, but that is in set colors not variegated. Thank you!
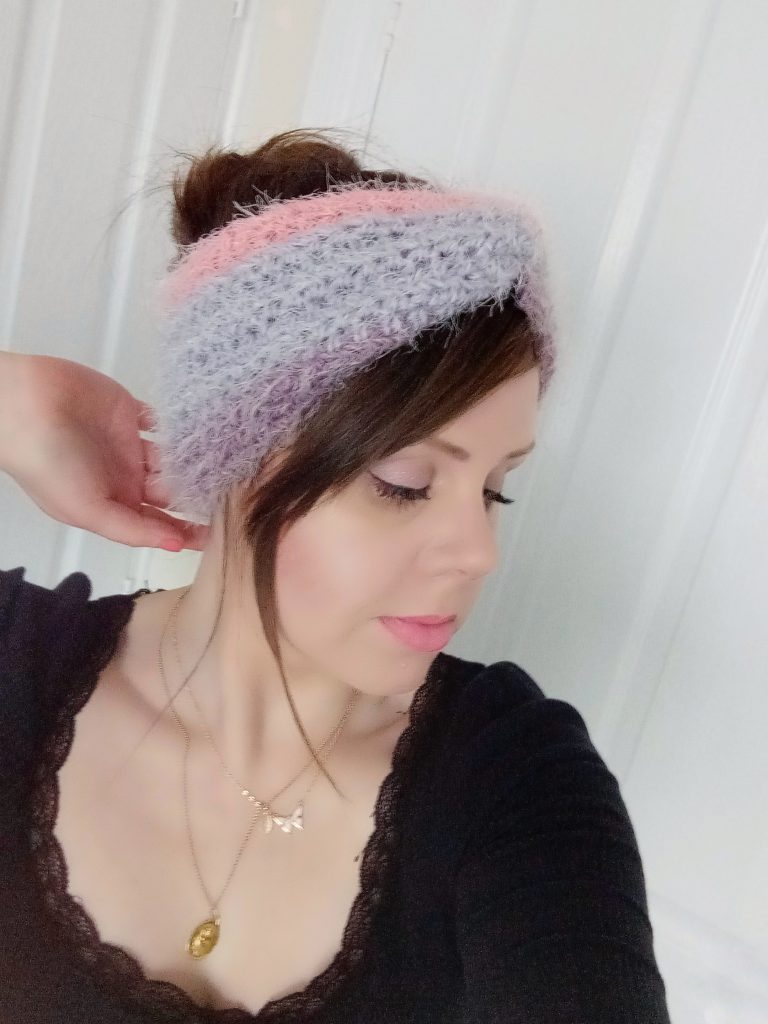
Crochet Soft Dreams Headband Free Pattern: A Soft Twist Headband
I do love headbands that feature a twist at the top. This simple knot gives so much dimension to an otherwise simple project! It makes a simple crochet headband look elegant, effortlessly elevating one’s look. I had never thought to crochet a simple headband with Caron Latte Cake yarn, and yet it seemed an obvious choice last week once I had finished crocheting the Soft Dreams Poncho.
I hope you enjoy this simple project as much as I. Please let me know if you have crocheted more items with Caron Latte Cakes yarn.
In the meantime, have a lovely rest of the week, sending lots of love and good vibes your way,
Xoxo Selina.
Connecting with you
I love connecting with my Crochet Community through my blog and Social Media. You can find me on Youtube, Instagram, and Pinterest. I would love to connect with you on these platforms.
You can also join my private Facebook group to connect.
Please consider subscribing to my weekly newsletter, as you will then be the first to know when I release a pattern, video tutorial and much more.
Crochet Soft Dreams Headband: the Pattern
You can purchase the ad free, large print, PDF pattern from my Etsy shop here: Crochet The Soft Dreams Headband PDF Pattern
Level: Easy
Gauge
4” (10 cm) = 9 rows
4” (10 cm) = 11 stitches
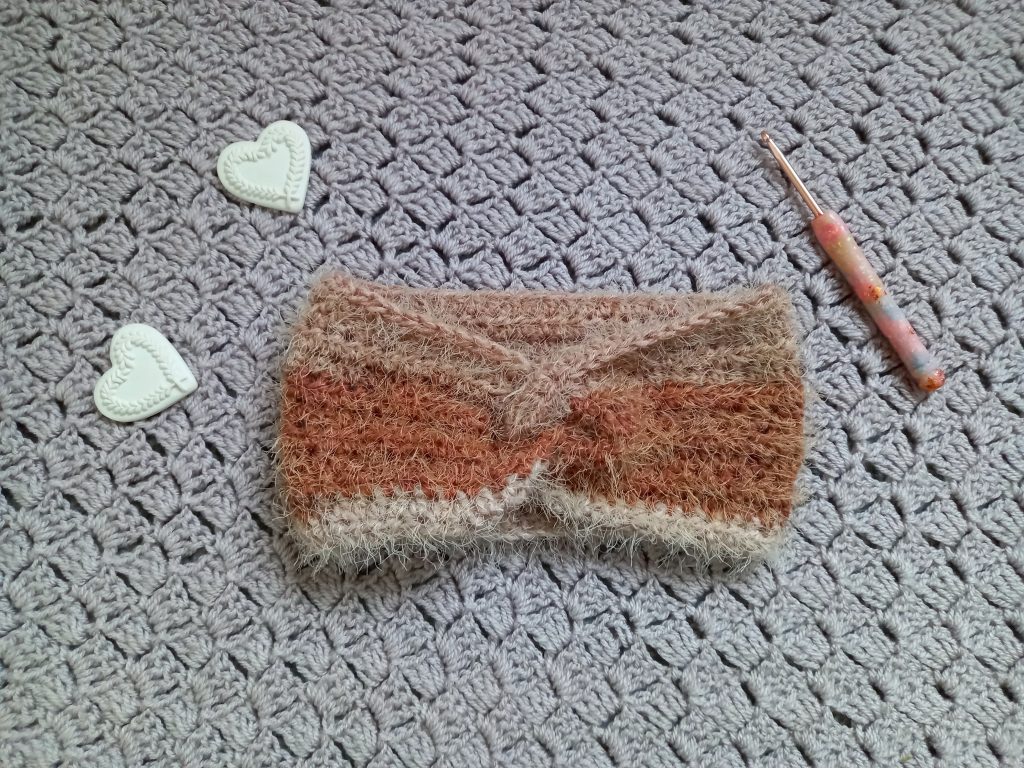
Size of finished project before sewing
5” (13 cm) x 21” (54 cm)
Materials
1 skein of Caron Latte Cake in shade Plum Fresh or shade Coconut Cream (you will only need 50 meters of this yarn, not the whole skein)
A 6 mm crochet hook
A tapestry needle
A pair of scissors
Abbreviations
I will be writing in US terms (British terms in brackets)
Ch: chain
Sk: skip
SP: space
Sl st: Slip stitch
HDC: Half Double Crochet (UK Half Treble)
EOR: End of row
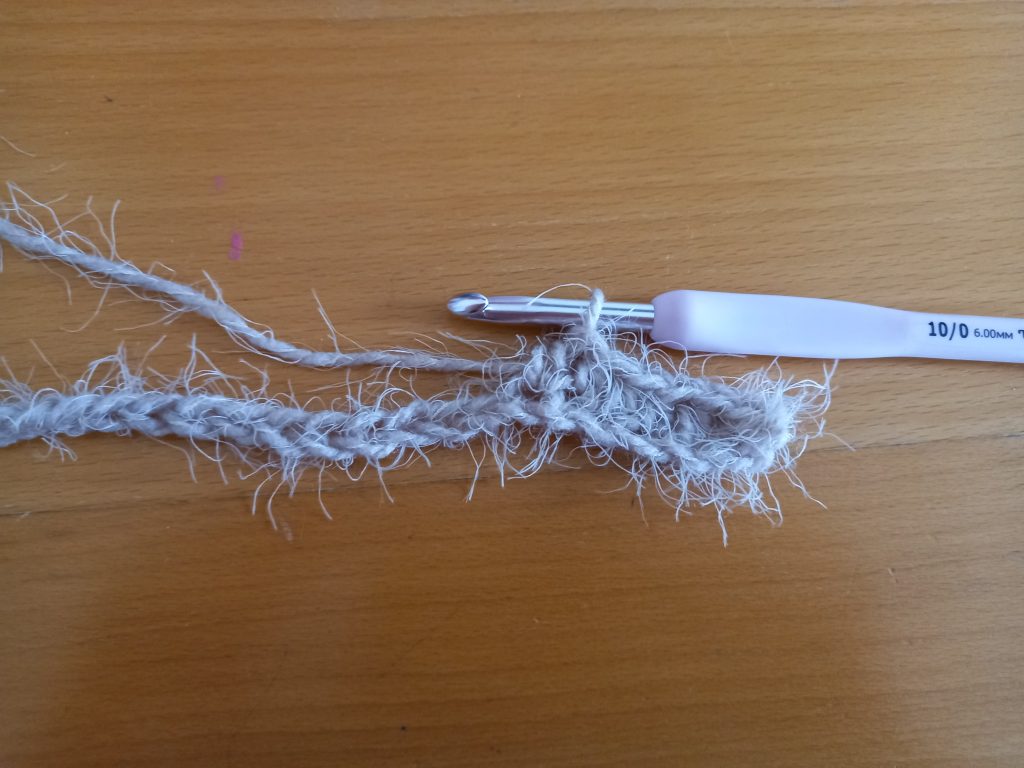
Pattern begins here
Ch 60
Complete rows as follows:
1: HDC into 3rd chain from hook, HDC into next chain until eor.
2: Ch 2 (=HDC), HDC into 2nd stitch and each stitch across until eor.
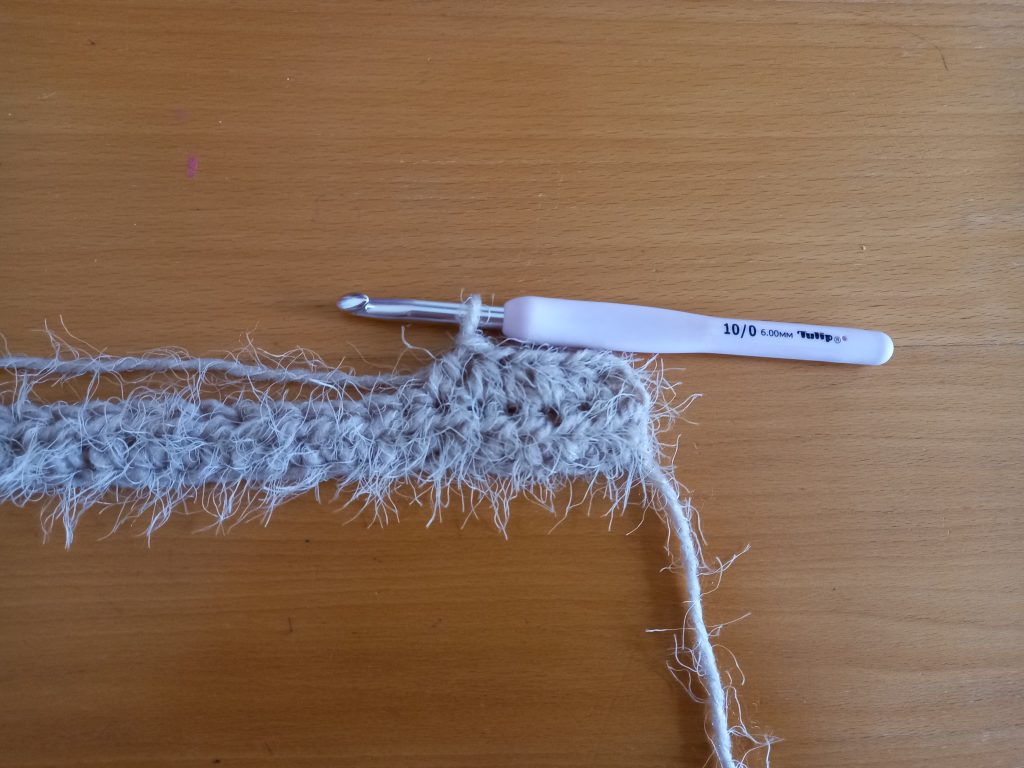
3-11: repeat row 2.
Fasten off, leaving long tail for sewing.
Sew your headband together and create twist
Place your project flat, and fold in two lengthwise.
Make sure project is neatly folded, then fold the two sides of your project to create a center fold.
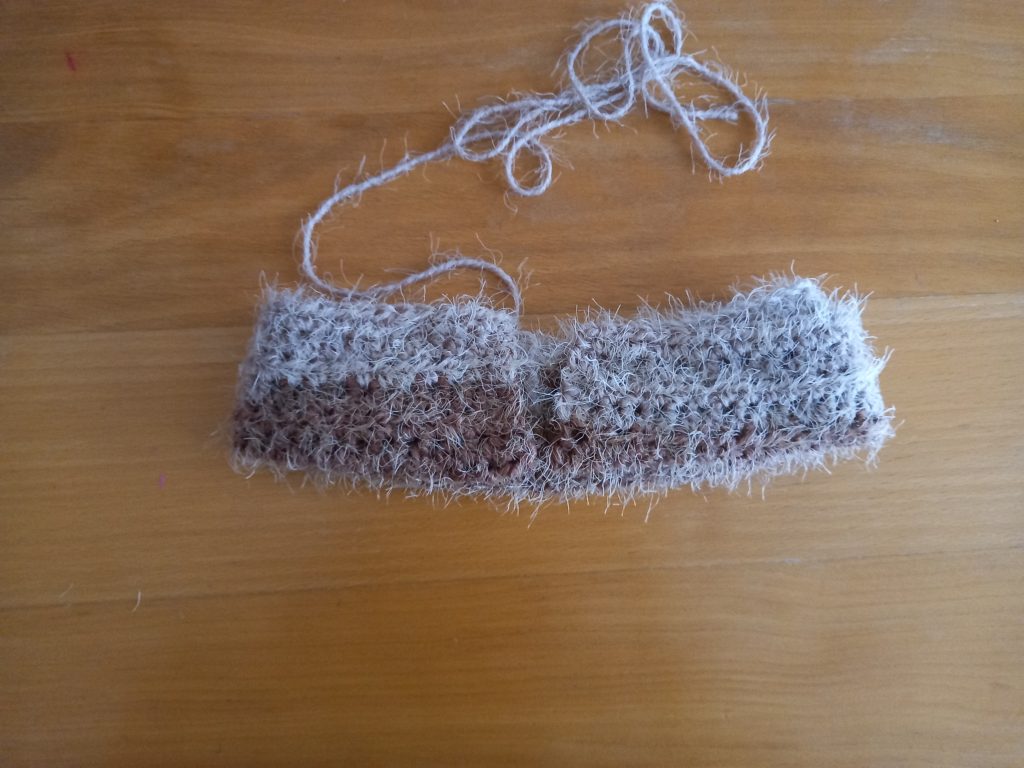
Take one side and twist it so that it creates a twist on one side.

Once this is done, take both sides and place them facing you, and slide each side into the opposite side so to create a “sandwich” effect.
You now have four layers to stitch together.
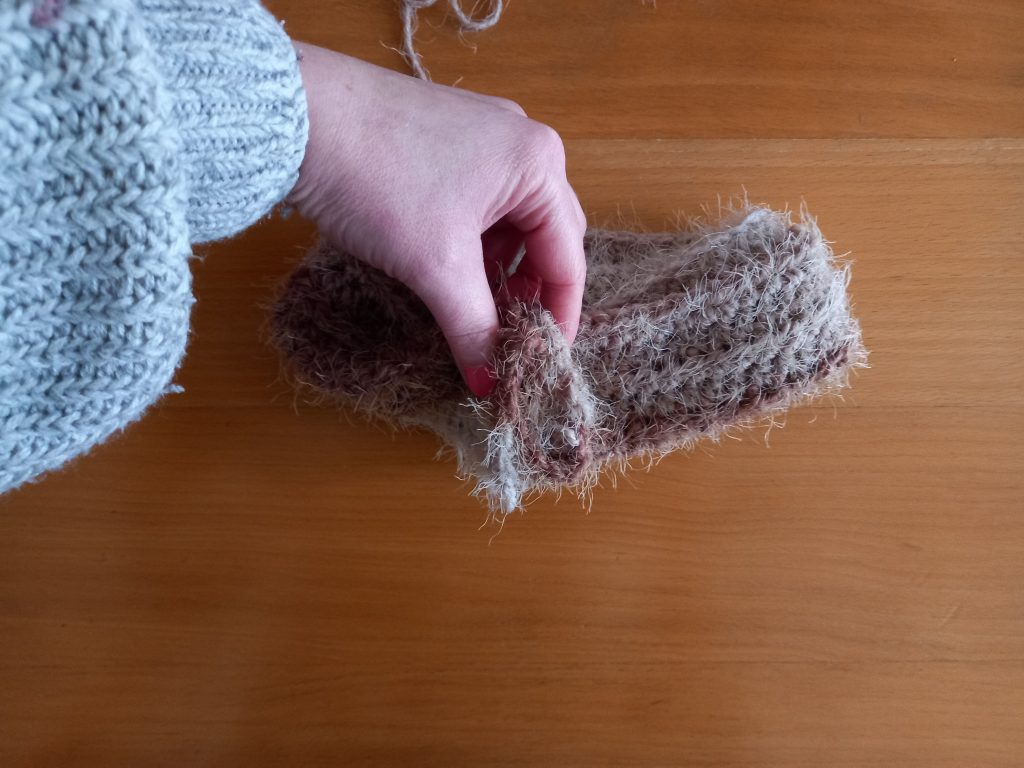
With tapestry needle and loose end, sew these layers together securely. You can sew this seam in twice if you wish (I did).
Create a knot once you have finished seaming the project, fasten off and tidy up all loose ends.
Turn your project inside out so the right side is facing.


You May Also Like
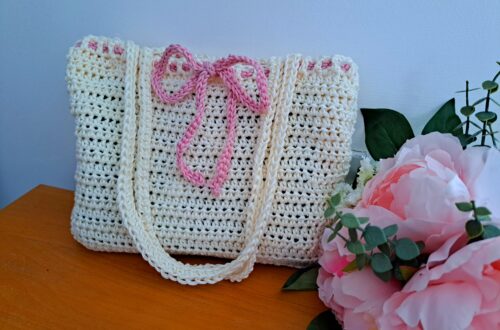
Crochet Romantic Ribbon Bag Free Pattern
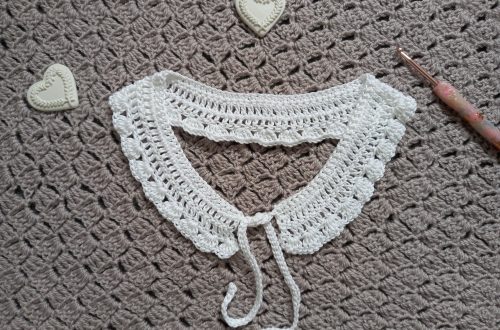
Crochet Feminine Vintage Collar