Crochet Snow Princess Scarf Free Pattern
Crochet Snow Princess Scarf Free Pattern
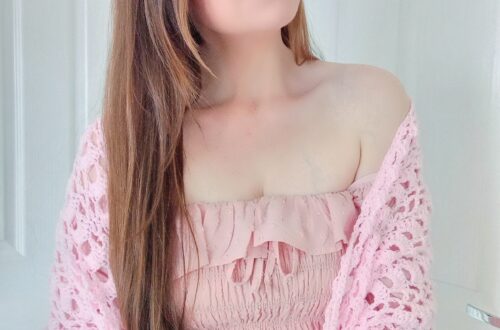
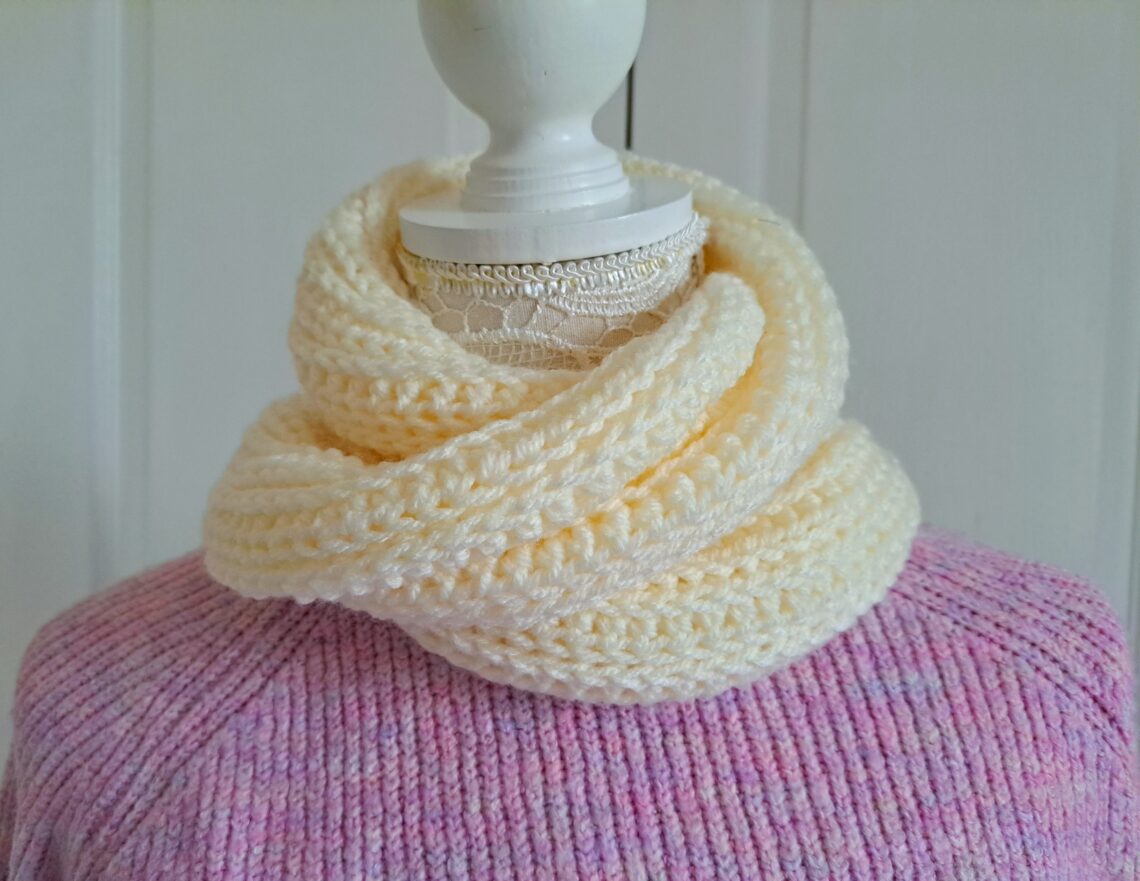
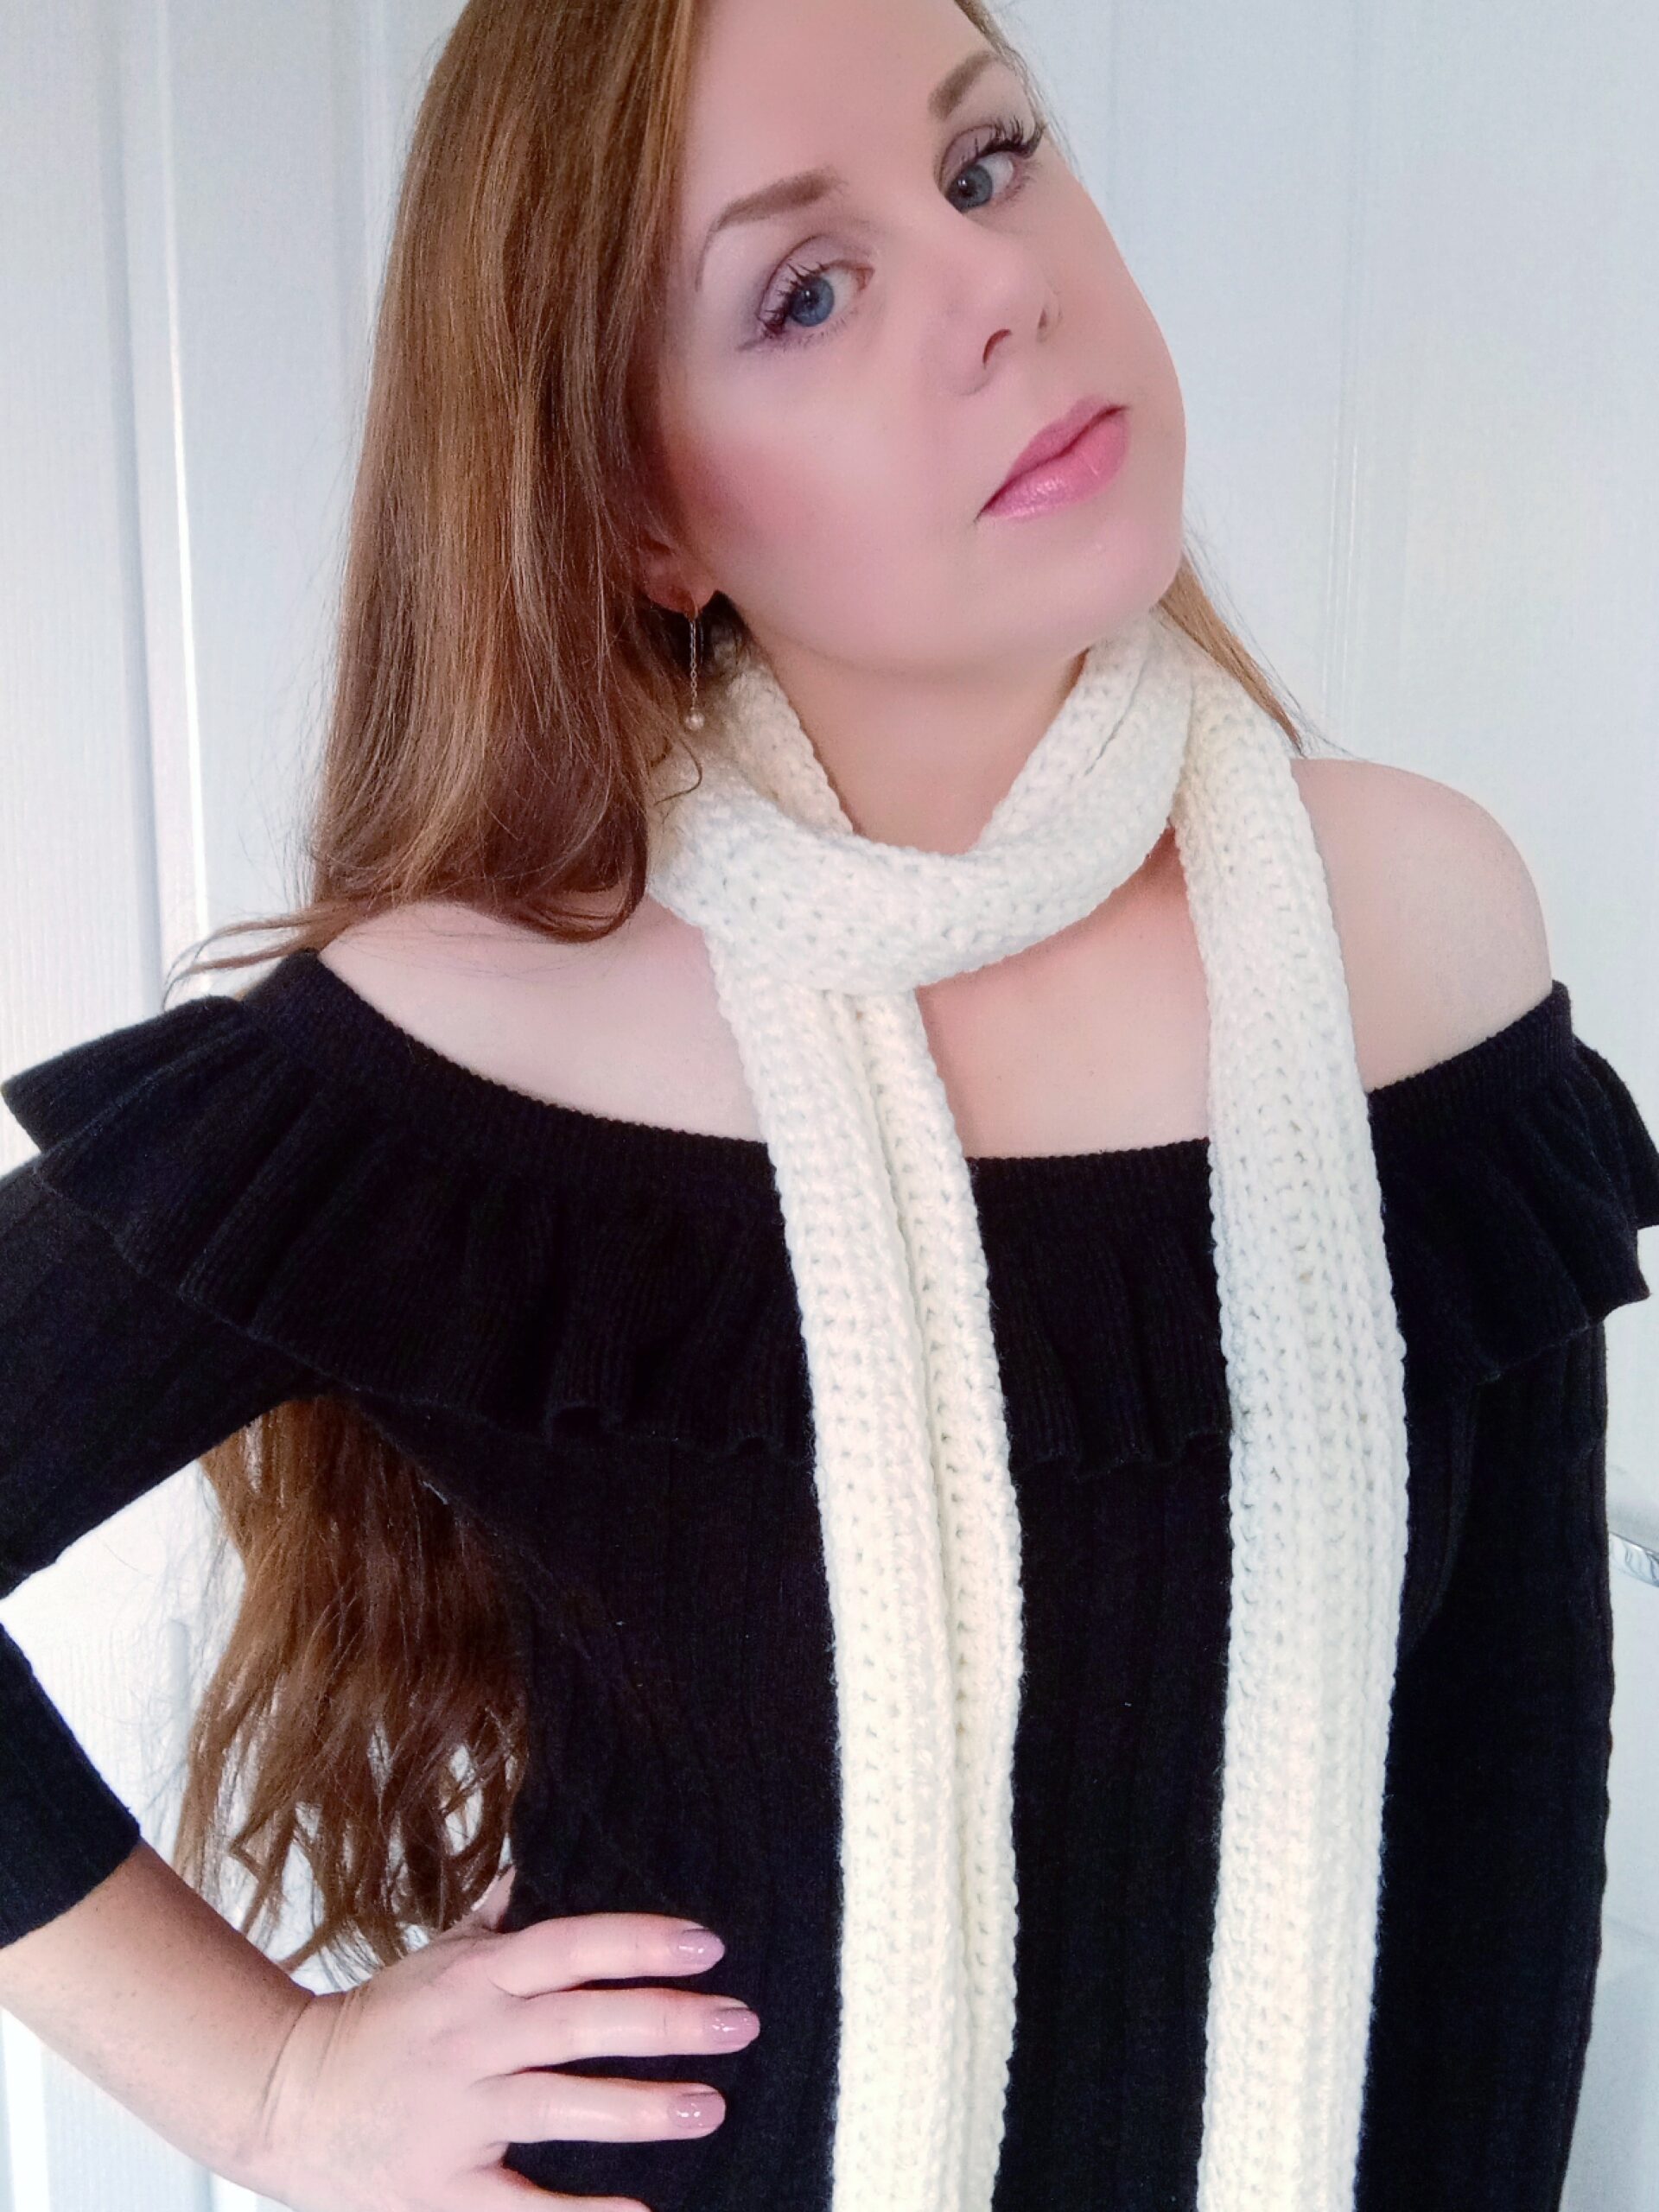
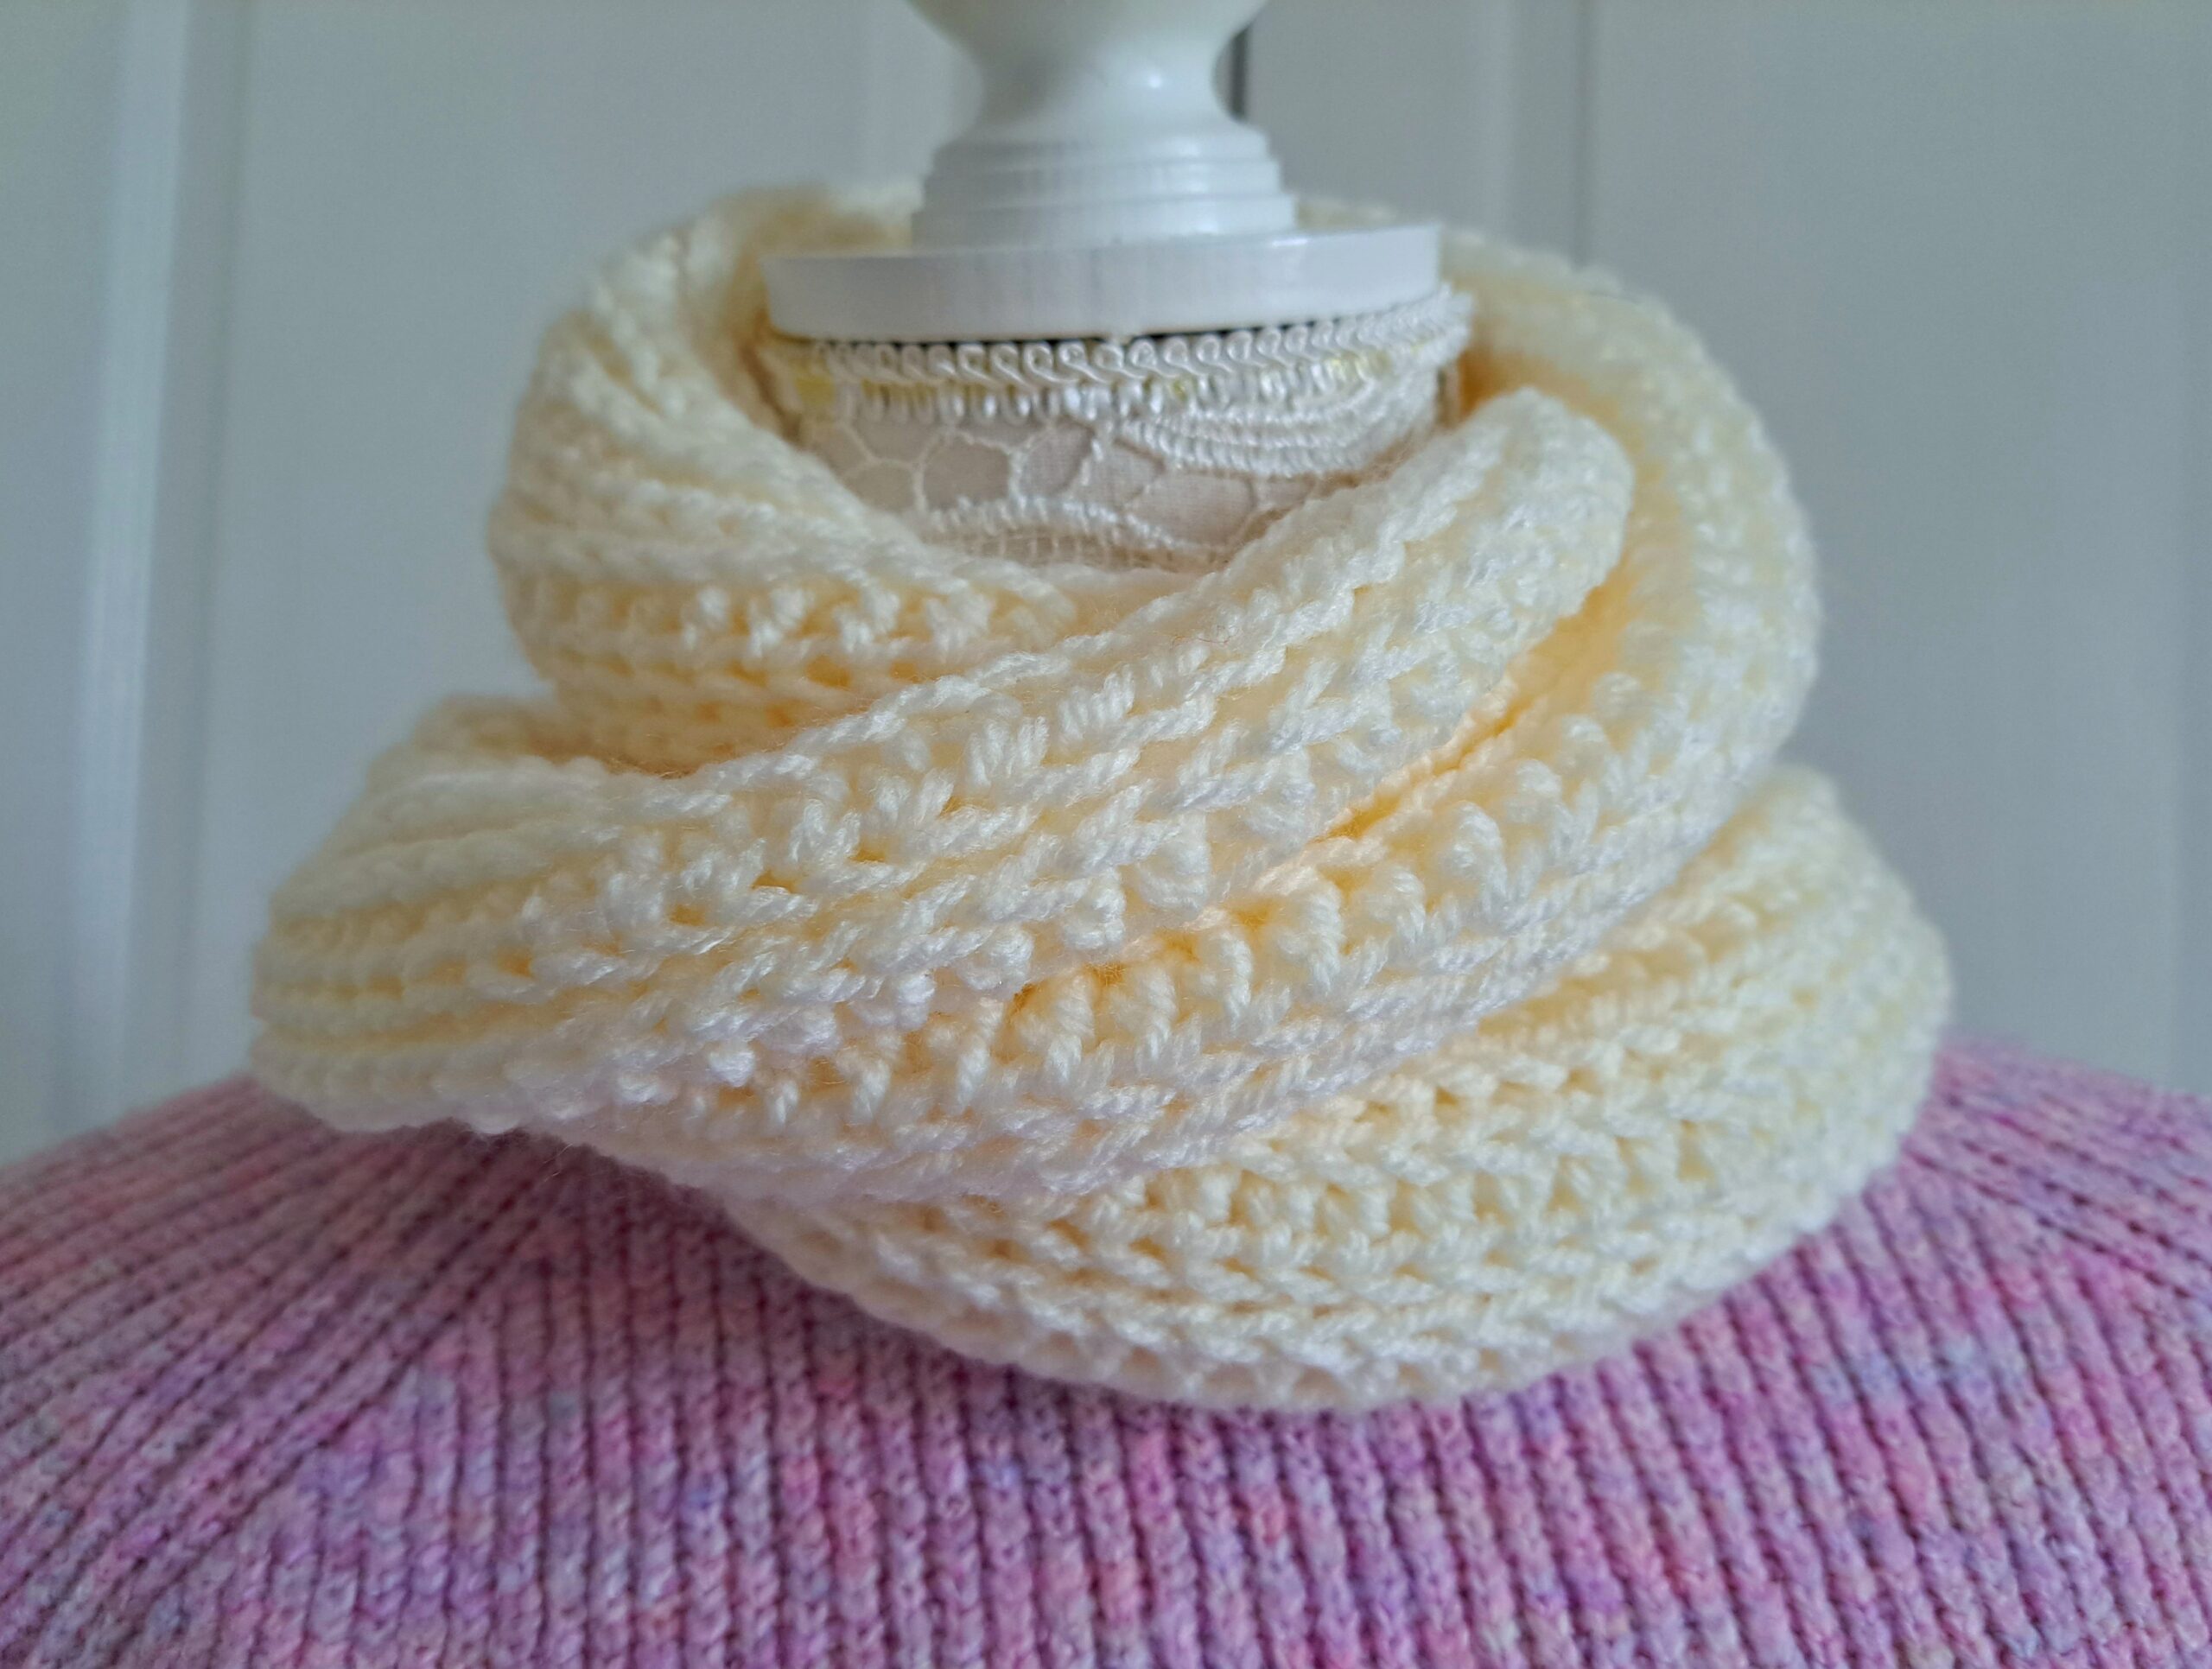
Hi everyone, this week I am bringing to you this crochet Snow Princess Scarf free pattern. This crochet scarf for women is perfect for the colder months. It features a lovely knit look stitch, and is very feminine too. This textured scarf can be made fast too, and is also a perfect Christmas gift as well.
The video tutorial can be found here:
Crochet Snow Princess Scarf Free Pattern: The Inspiration
I was inspired to crochet a woman’s scarf because I hadn’t yet made one for this new season. Indeed, I recently crocheted this elegant man scarf, which makes for a perfect gift for a man at Christmas. I wanted to create a new women’s scarf design and was inspired to use this knit look stitch.
This knit look stitch is perfect for crocheted accessories. Indeed, I have used this stitch many times to crochet multiple projects. This delicate twist headband features this stitch and is a very feminine and dainty accessory. It looks lovely paired with a matching scarf!
This stitch is easy to crochet, as it features a simple 2 row Half Double Crochet repeat. It is simple, yet so elegant! Let me know if you enjoy using this elegant stitch as much as I do. This classic man scarf from last year also features this stitch (as well as the Griddle stitch). This stitch was also used for this feminine cardigan I crocheted over the Summer.
Crochet Snow Princess Scarf Free Pattern: The Yarn
For this project I used Stylecraft Special Aran yarn in shade Cream. This yarn is so soft, and is made from 100% acrylic. This yarn is therefore perfect for creating a lightweight and soft scarf that would go with everything. You can substitute this yarn for your preferred Aran weight yarn, such as Vanna’s Choice by Lion Brand or Paintbox Simply Aran yarn.
I love aran weight yarn so much for this season! This lavender hooded pocket shawl is one of my favorite projects to date. This is a perfect project to keep you nice and warm too. The Solange Cropped Sweater is lovely and crocheted with aran weight yarn too.

The Lavender Cocoon Cardigan is also perfect for beginners, and is crocheted with Paintbox Simply Aran. It is so beautiful and lovely too. If you are looking for a feminine accessory, you can have a look at the vintage Edwardian Era wrap from a few weeks ago. This Edwardian Era accessory is part of my Vintage Crochet Series.
Crochet Snow Princess Scarf Free Pattern: A Feminine Scarf
If you love crochet scarves so much! I love this new project, as it is so feminine and lovely. If you enjoy scarf project, don’t forget to check out the Pink Ballerina Scarf. This is also a very pretty scarf that is easy to make.
If you are looking for a more lightweight crochet scarf, you can have a look at this easy infinity scarf which is so easy to make. The Jade Pool scarf is also perfect if you are looking for a simple yet delicate project to crochet. This is so dainty and also fast to crochet.
I love feminine scarves as they elevate an otherwise simple outfit. The Sweetheart Scarf is one of my favorite projects too: it features a very feminine design (granny squares). The soft fluffy scarf is also a great project to make with Caron Latte Cake.
I hope you enjoy these crochet projects, let me know in the comments,
xoxo Selina.
Connecting with you
I would like to take a moment to thank every single one of you, for supporting me and my crochet journey. Indeed, If you want more exclusive crochet content from me, please do consider subscribing to my Patreon page. Thank you!
I love connecting with my Crochet Community through my blog and Social Media. You can find me on Youtube, Instagram, and Pinterest. I would love to connect with you on these platforms.
If you are on Ravelry, you can find my Ravelry page here. This is a great way to connect with me and have access to all of my PDF patterns. You can also find my Etsy shop by clicking here.
You can also join my private Facebook group to connect.
Subscribe to our weekly newsletter so that you never miss a stitch!
Crochet Snow Princess Scarf: The Pattern
You can purchase the ad free, large print, PDF pattern from my Etsy store here: Crochet The Snow Princess Scarf PDF Pattern
You can purchase the ad free, large print, PDF pattern from my Ravelry store here: Crochet The Snow Princess Scarf PDF Pattern
Level: Easy/beginner +
Gauge
4” (10 cm)= 13 HDC
4” (10 cm)= 9 rows
Size of finished scarf (before sewing)
6” (16 cm) wide and 81” (205 cm) in length
Notes
I will be using US terms (British terms in brackets)
You will need
2 skeins of Stylecraft Special Aran in shade Cream (or any other Aran/Medium 4 yarn of your preference)
A 5 mm crochet hook
Pair of scissors
A tapestry needle
Abbreviations
Ch: chain
St: Stitch
Sl st: slip stitch
Sk: Skip
HDC: Half Double Crochet (Half Treble Crochet)
EOR: End of row
To begin
To start, make a slip knot.
Ch 250
Complete rows as follows:
1: HDC in 3rd chain from the hook, HDC into each ch until end of row (first ch 2 counts as a HDC)
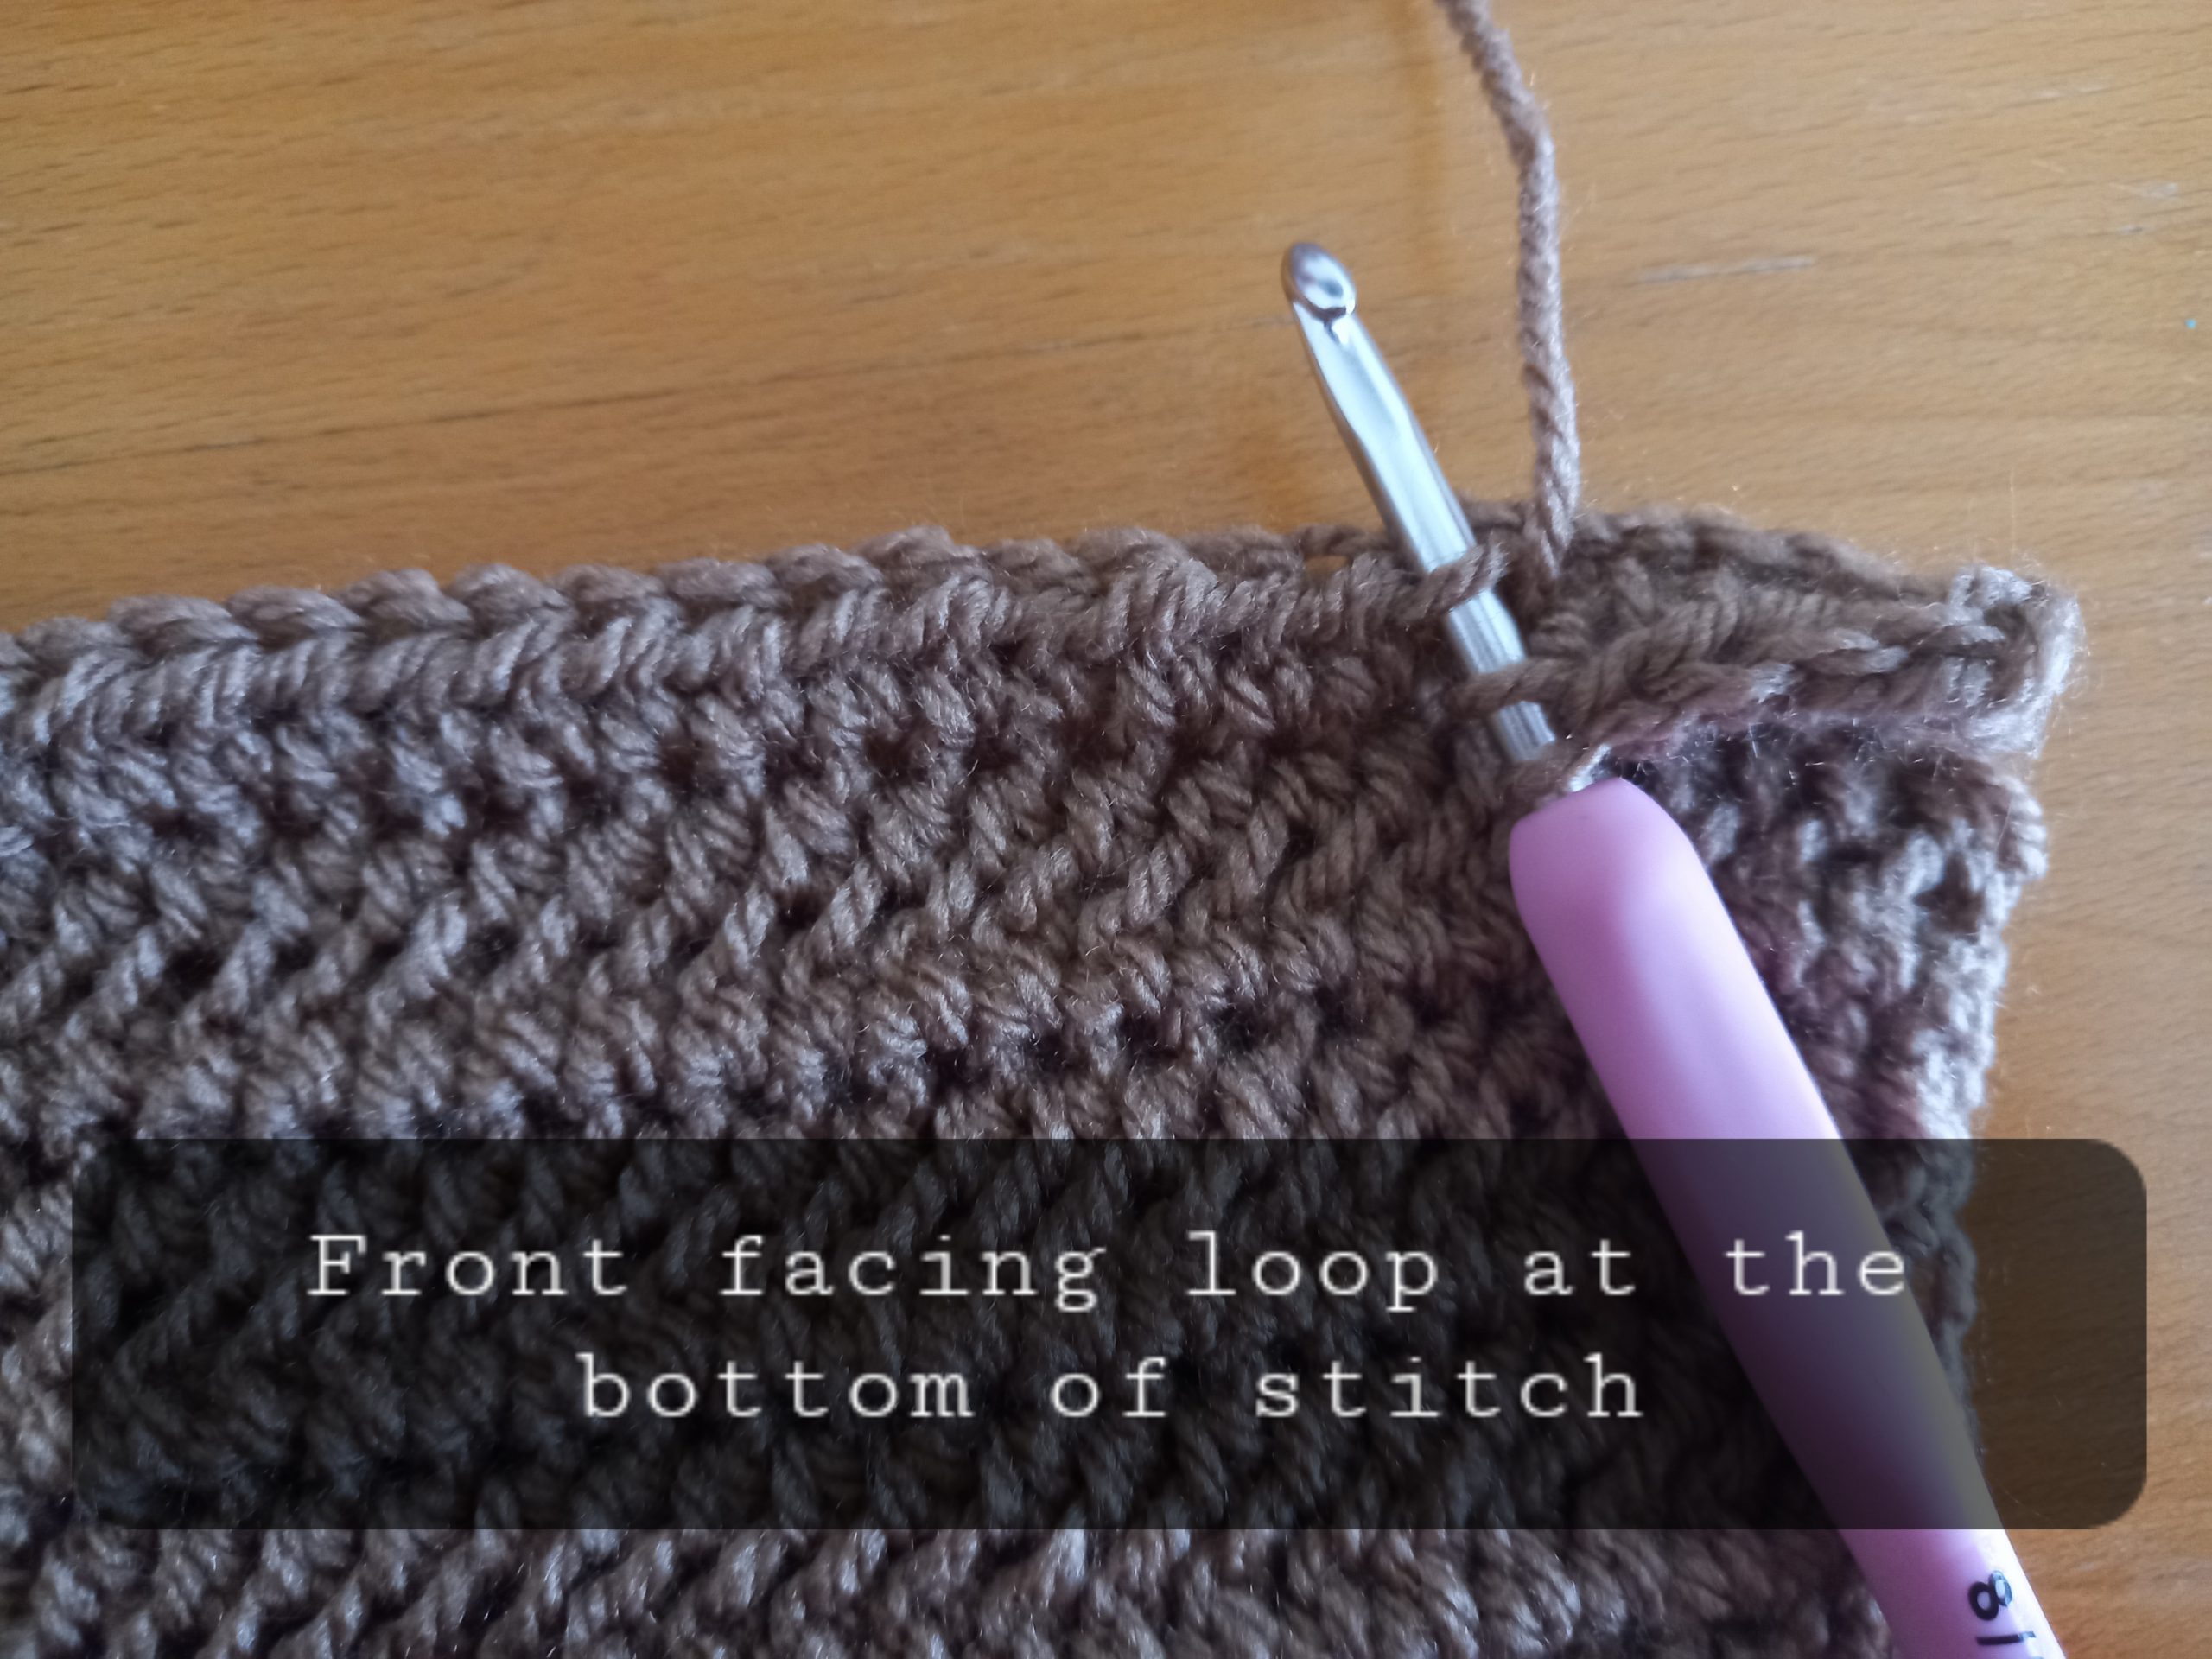
2: Ch 1 (=turning chain throughout), turn your work, HDC into front facing loop of the bottom of each HDC from previous row (see photo below for more details) until eor, placing your last stitch into the ch 2 from previous row. This front facing loop is not one of the 2 loops at the top of each stitch, but this is the loop which is at the bottom front of the stitch.
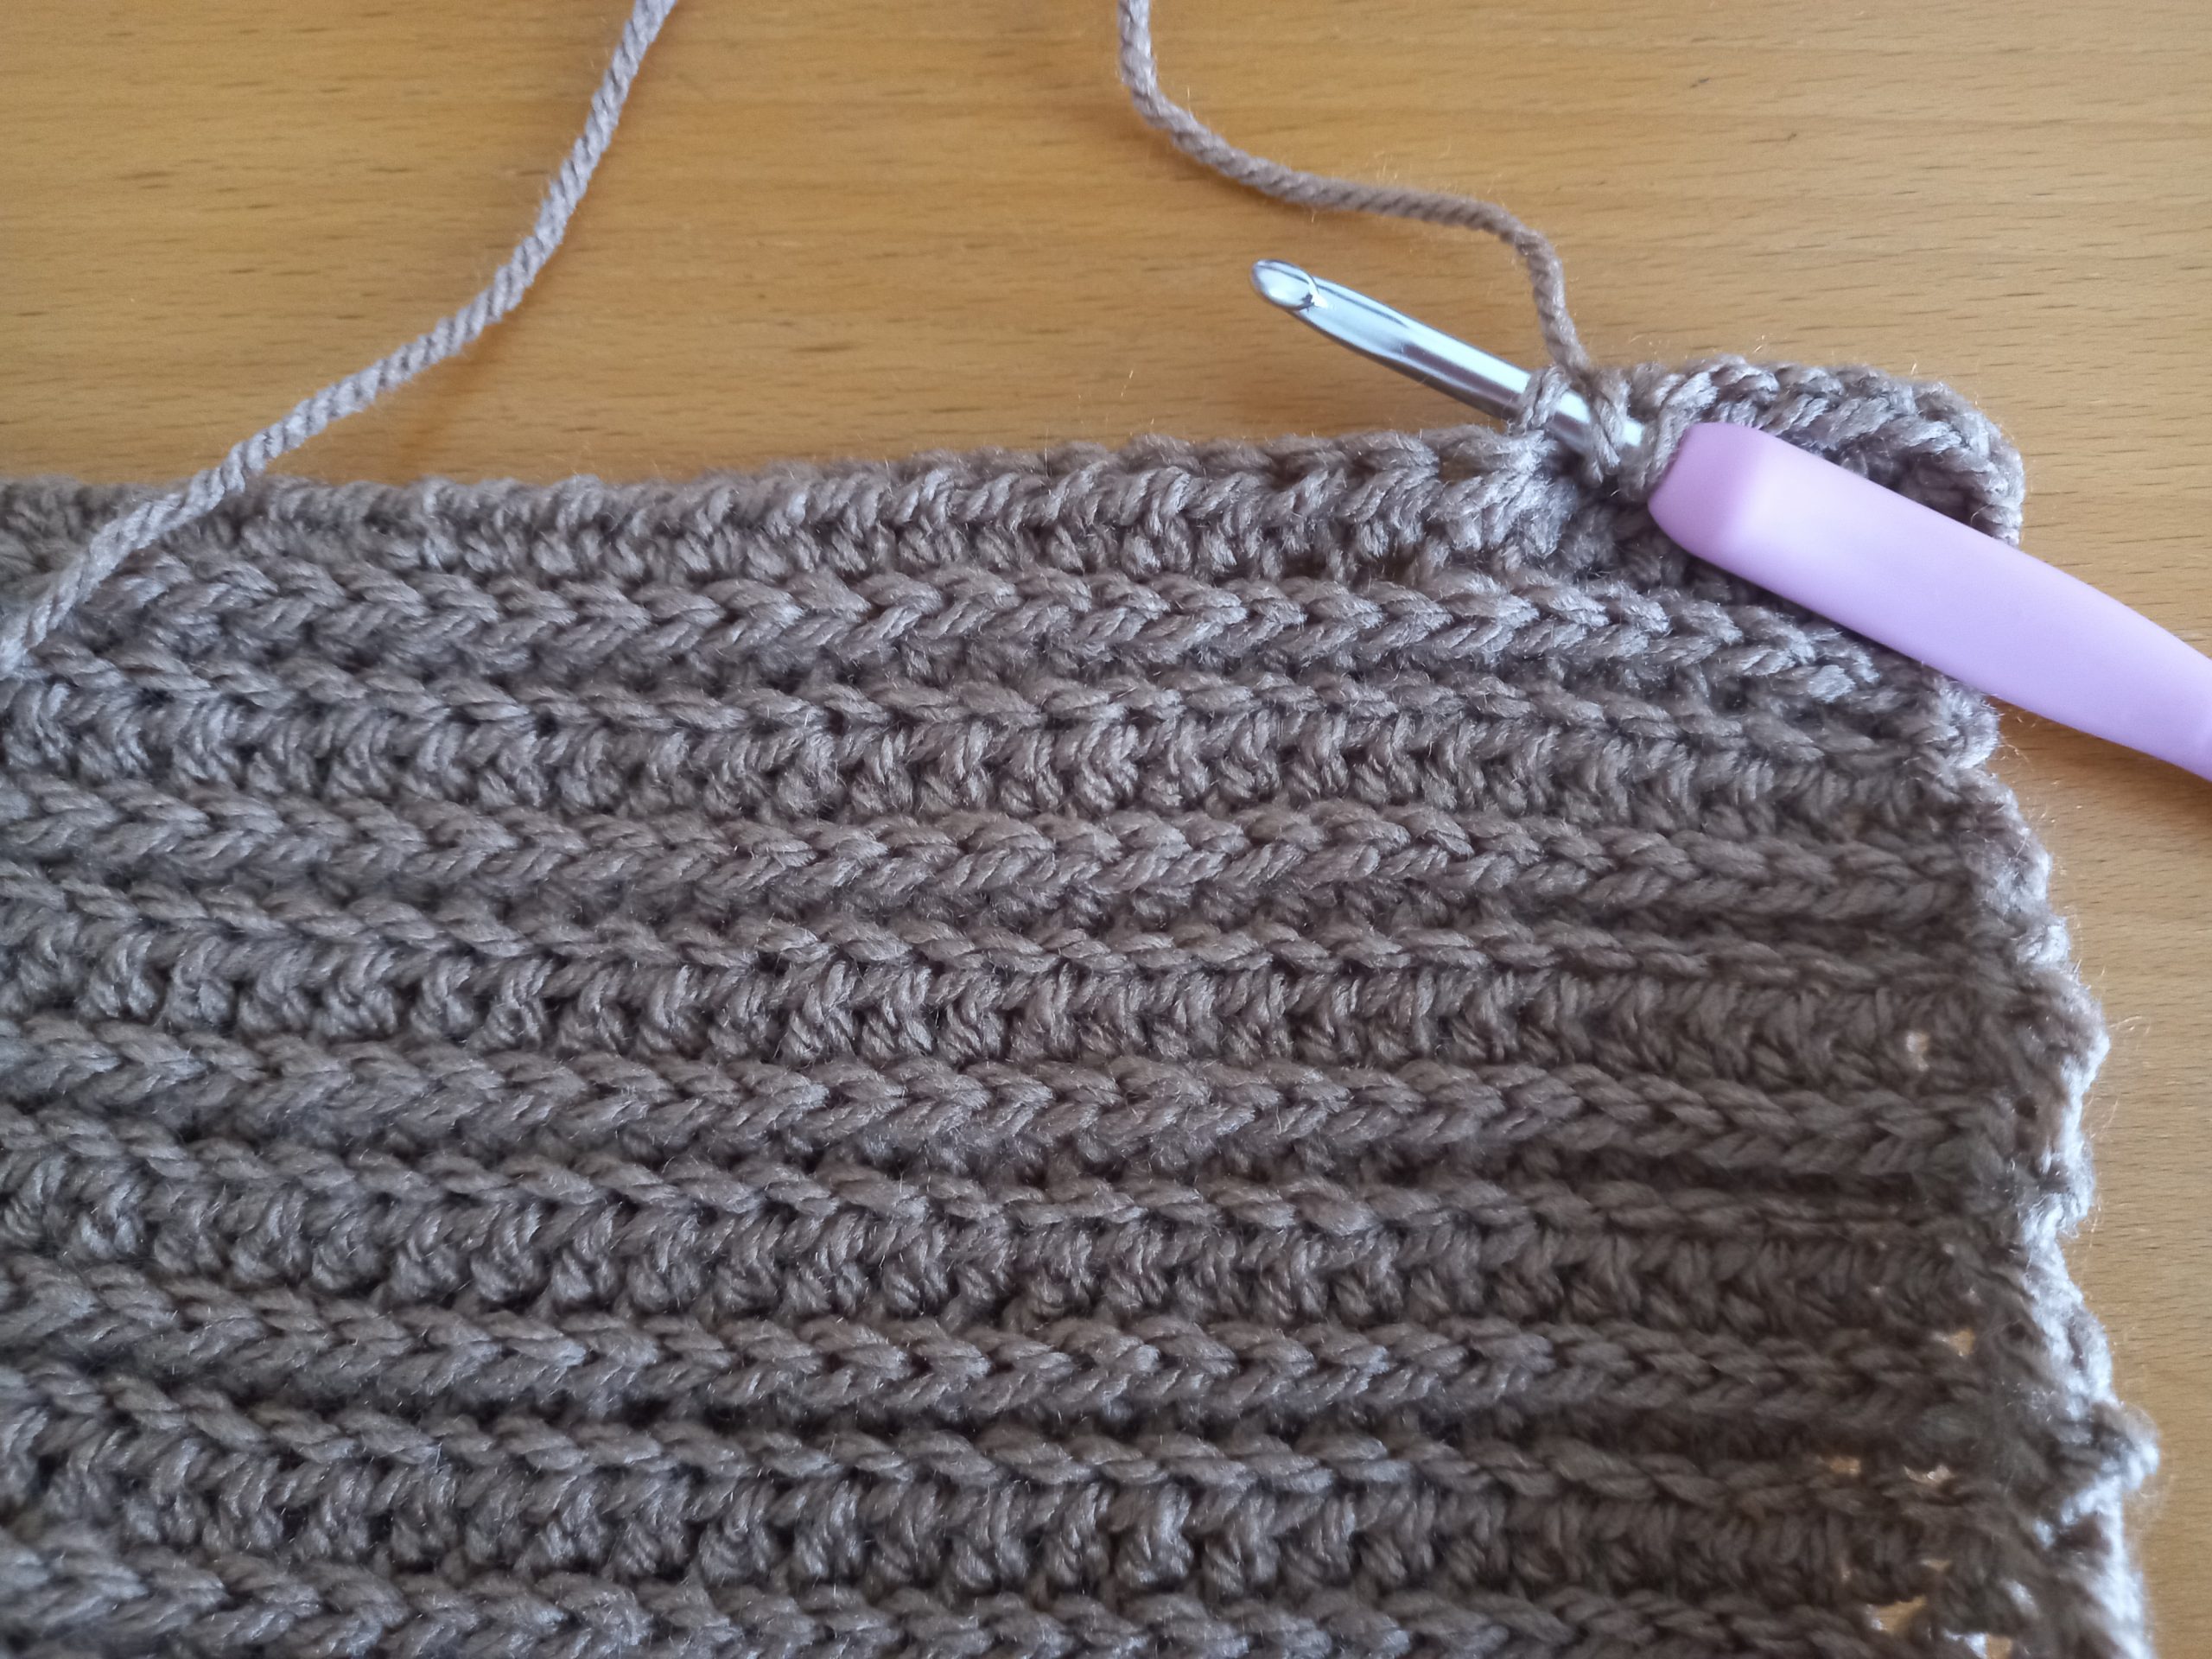
3: Ch 1, turn your work, HDC into the back loop only of each HDC until eor (see photo).
4: Ch 1 (=turning chain), turn your work, HDC into front facing loop of the bottom of each HDC from previous row until eor.
5-14: Alternate rows 2 and 3 until you reach row 15, or until you are satisfied with length of project.
You can add more rows if you wish to make this project larger.
Fasten off, tidy up all loose ends.
Optional: Block your project to avoid “curling”.


You May Also Like
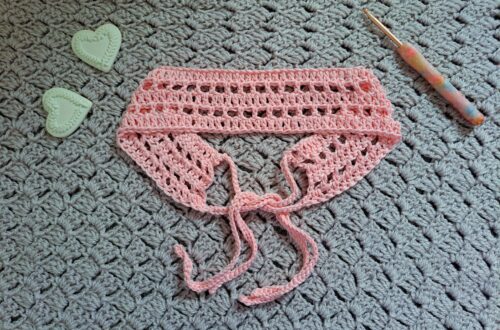
Crochet Romantic Headband Free Pattern
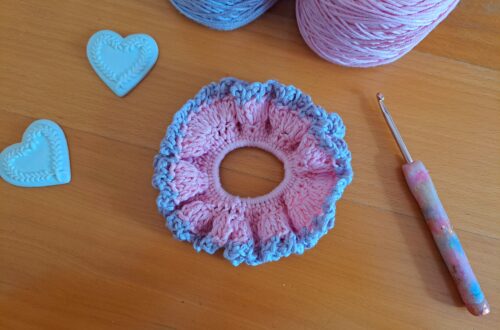
Crochet Two Toned Lacy Scrunchie Free Pattern