Crochet Textured French Beret Free Pattern
Crochet Textured French Beret Free Pattern
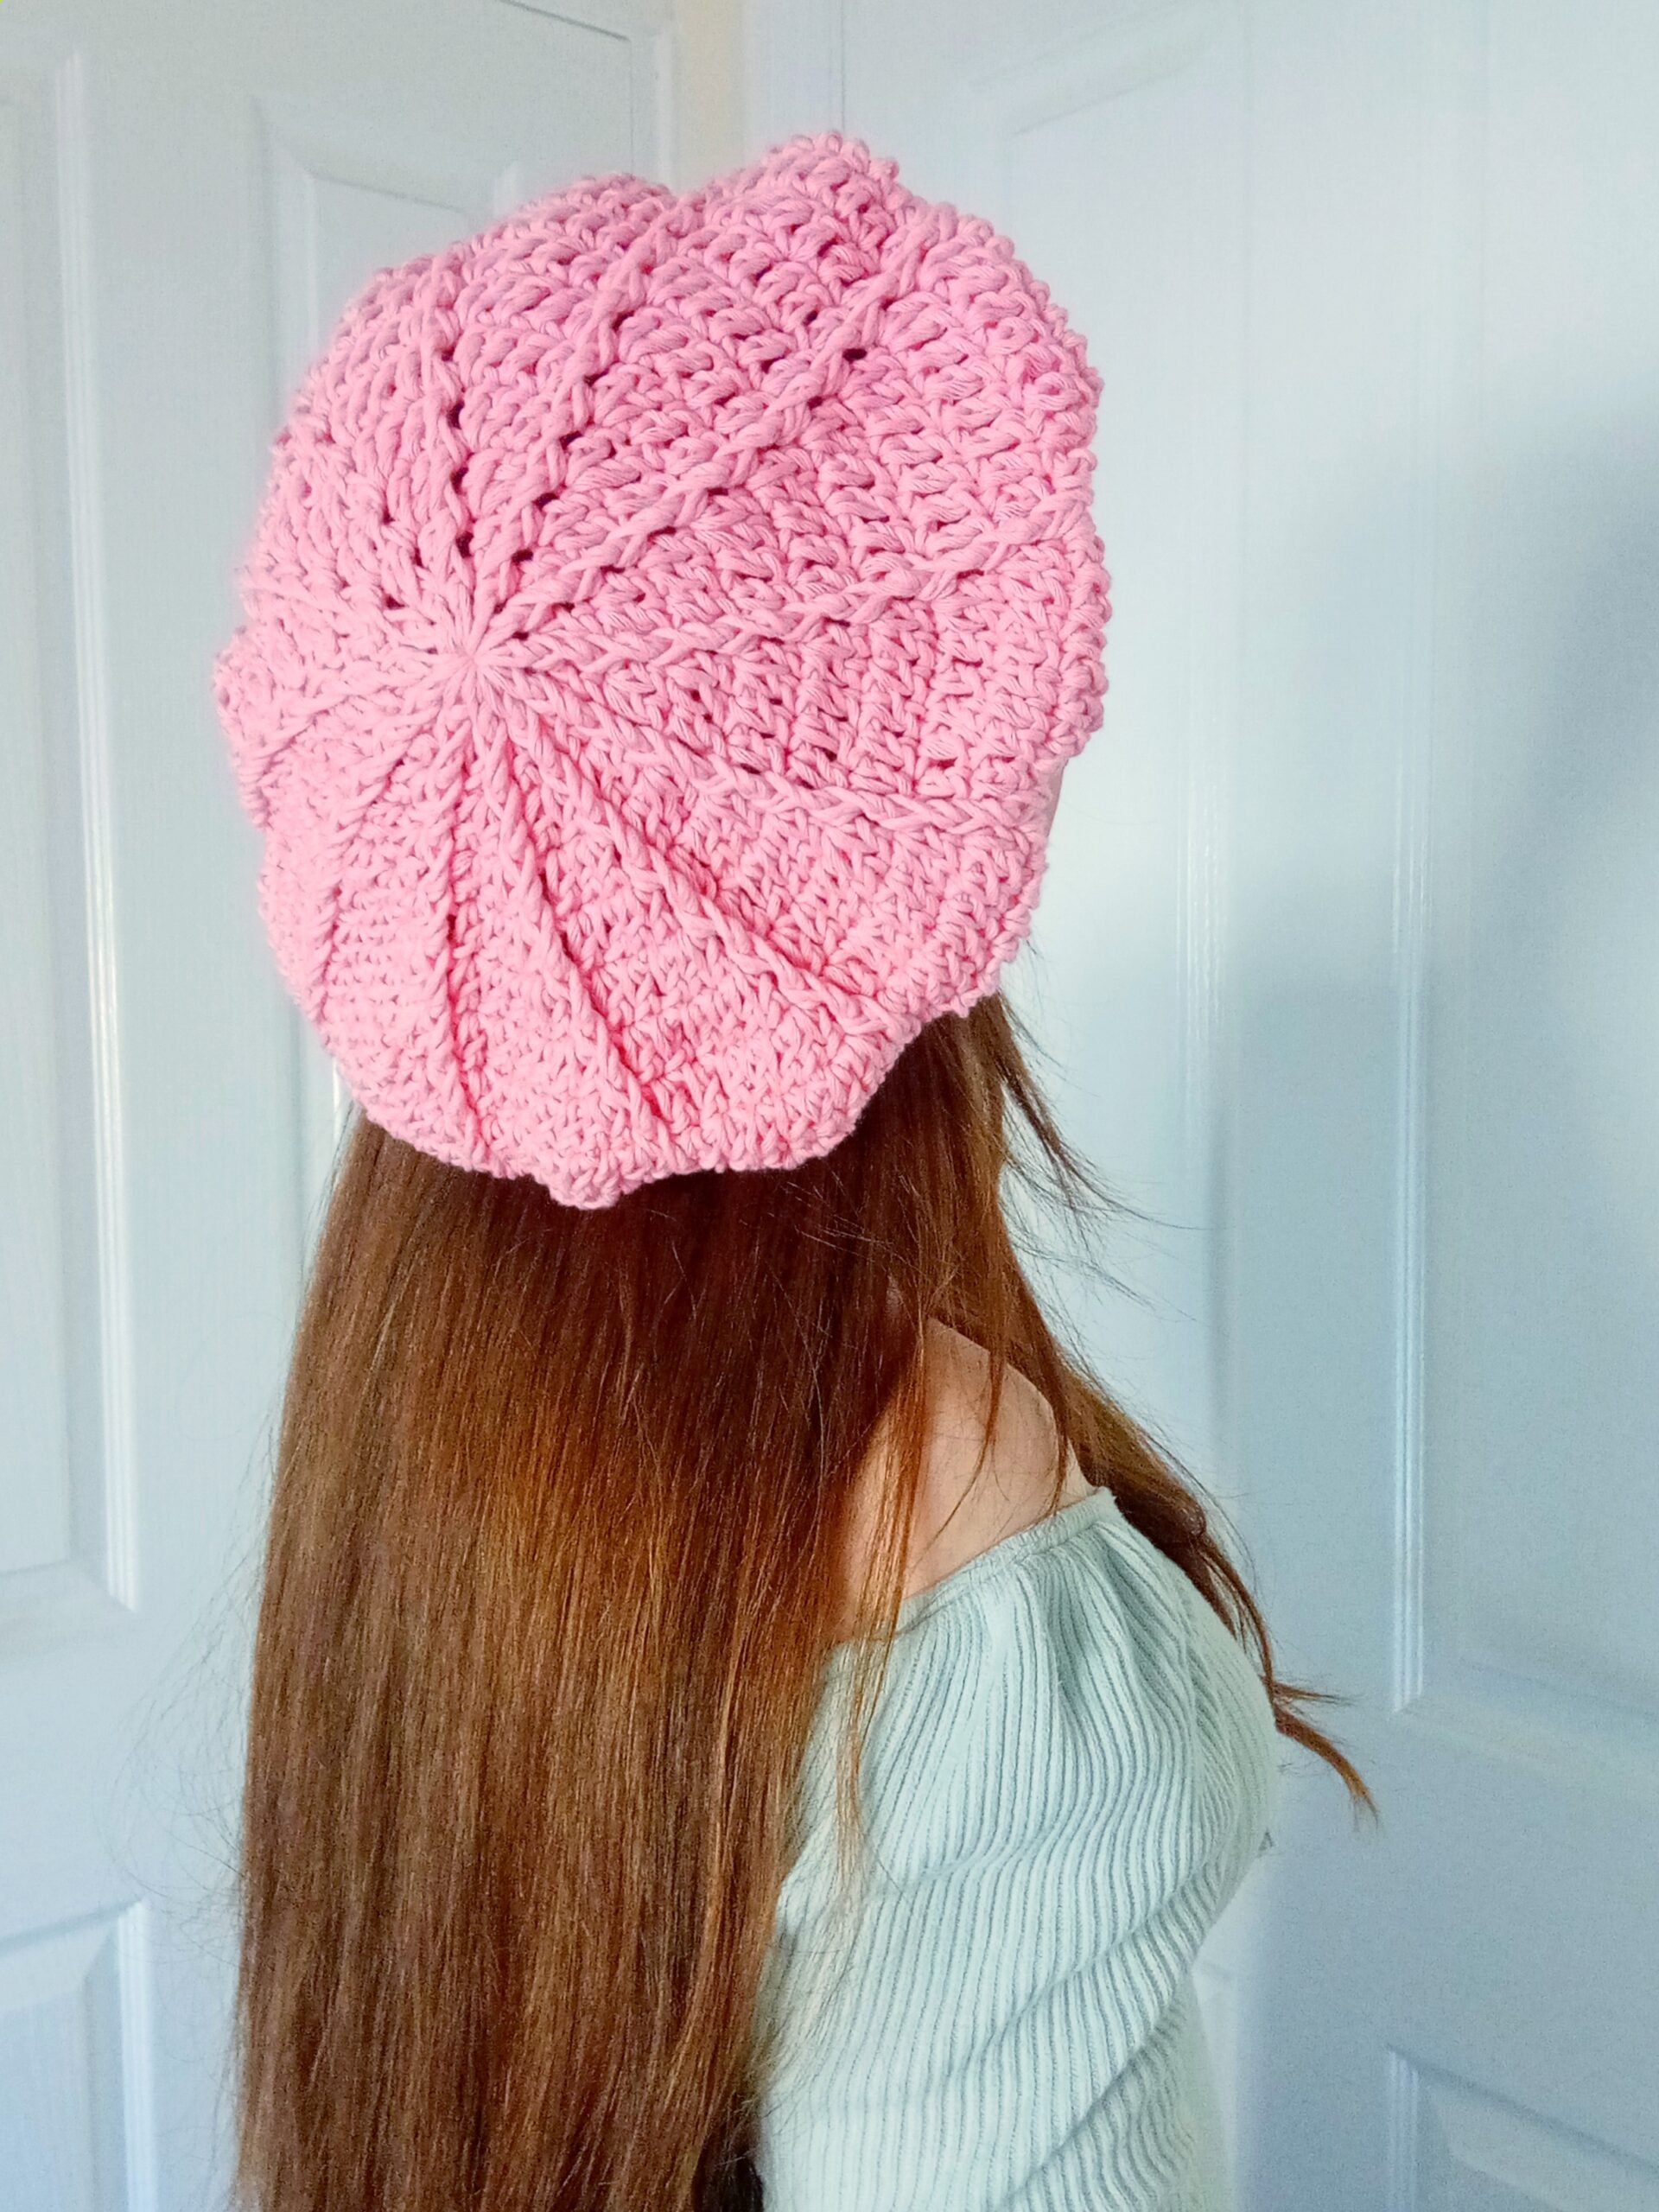
Hi everyone, this week I am bringing to you this easy crochet textured French beret (free pattern). This is a lovely and feminine beret that can be crocheted by beginners too. Textured and elegant, this crochet project is inspired by the classic French beret.
The video tutorial for this project can be found here:
Crochet Textured French Beret Free Pattern: The Inspiration
I absolutely love berets. Last Spring, I crocheted this lovely and feminine beret. This project has been very successful ever since. I absolutely love berets, and have since crocheted a few more designs. The Fleur De Lys Beret is a super chunky beret that is perfect for Autumn Winter. A few weeks ago, I also released Classic Red French Beret perfect for all seasons.
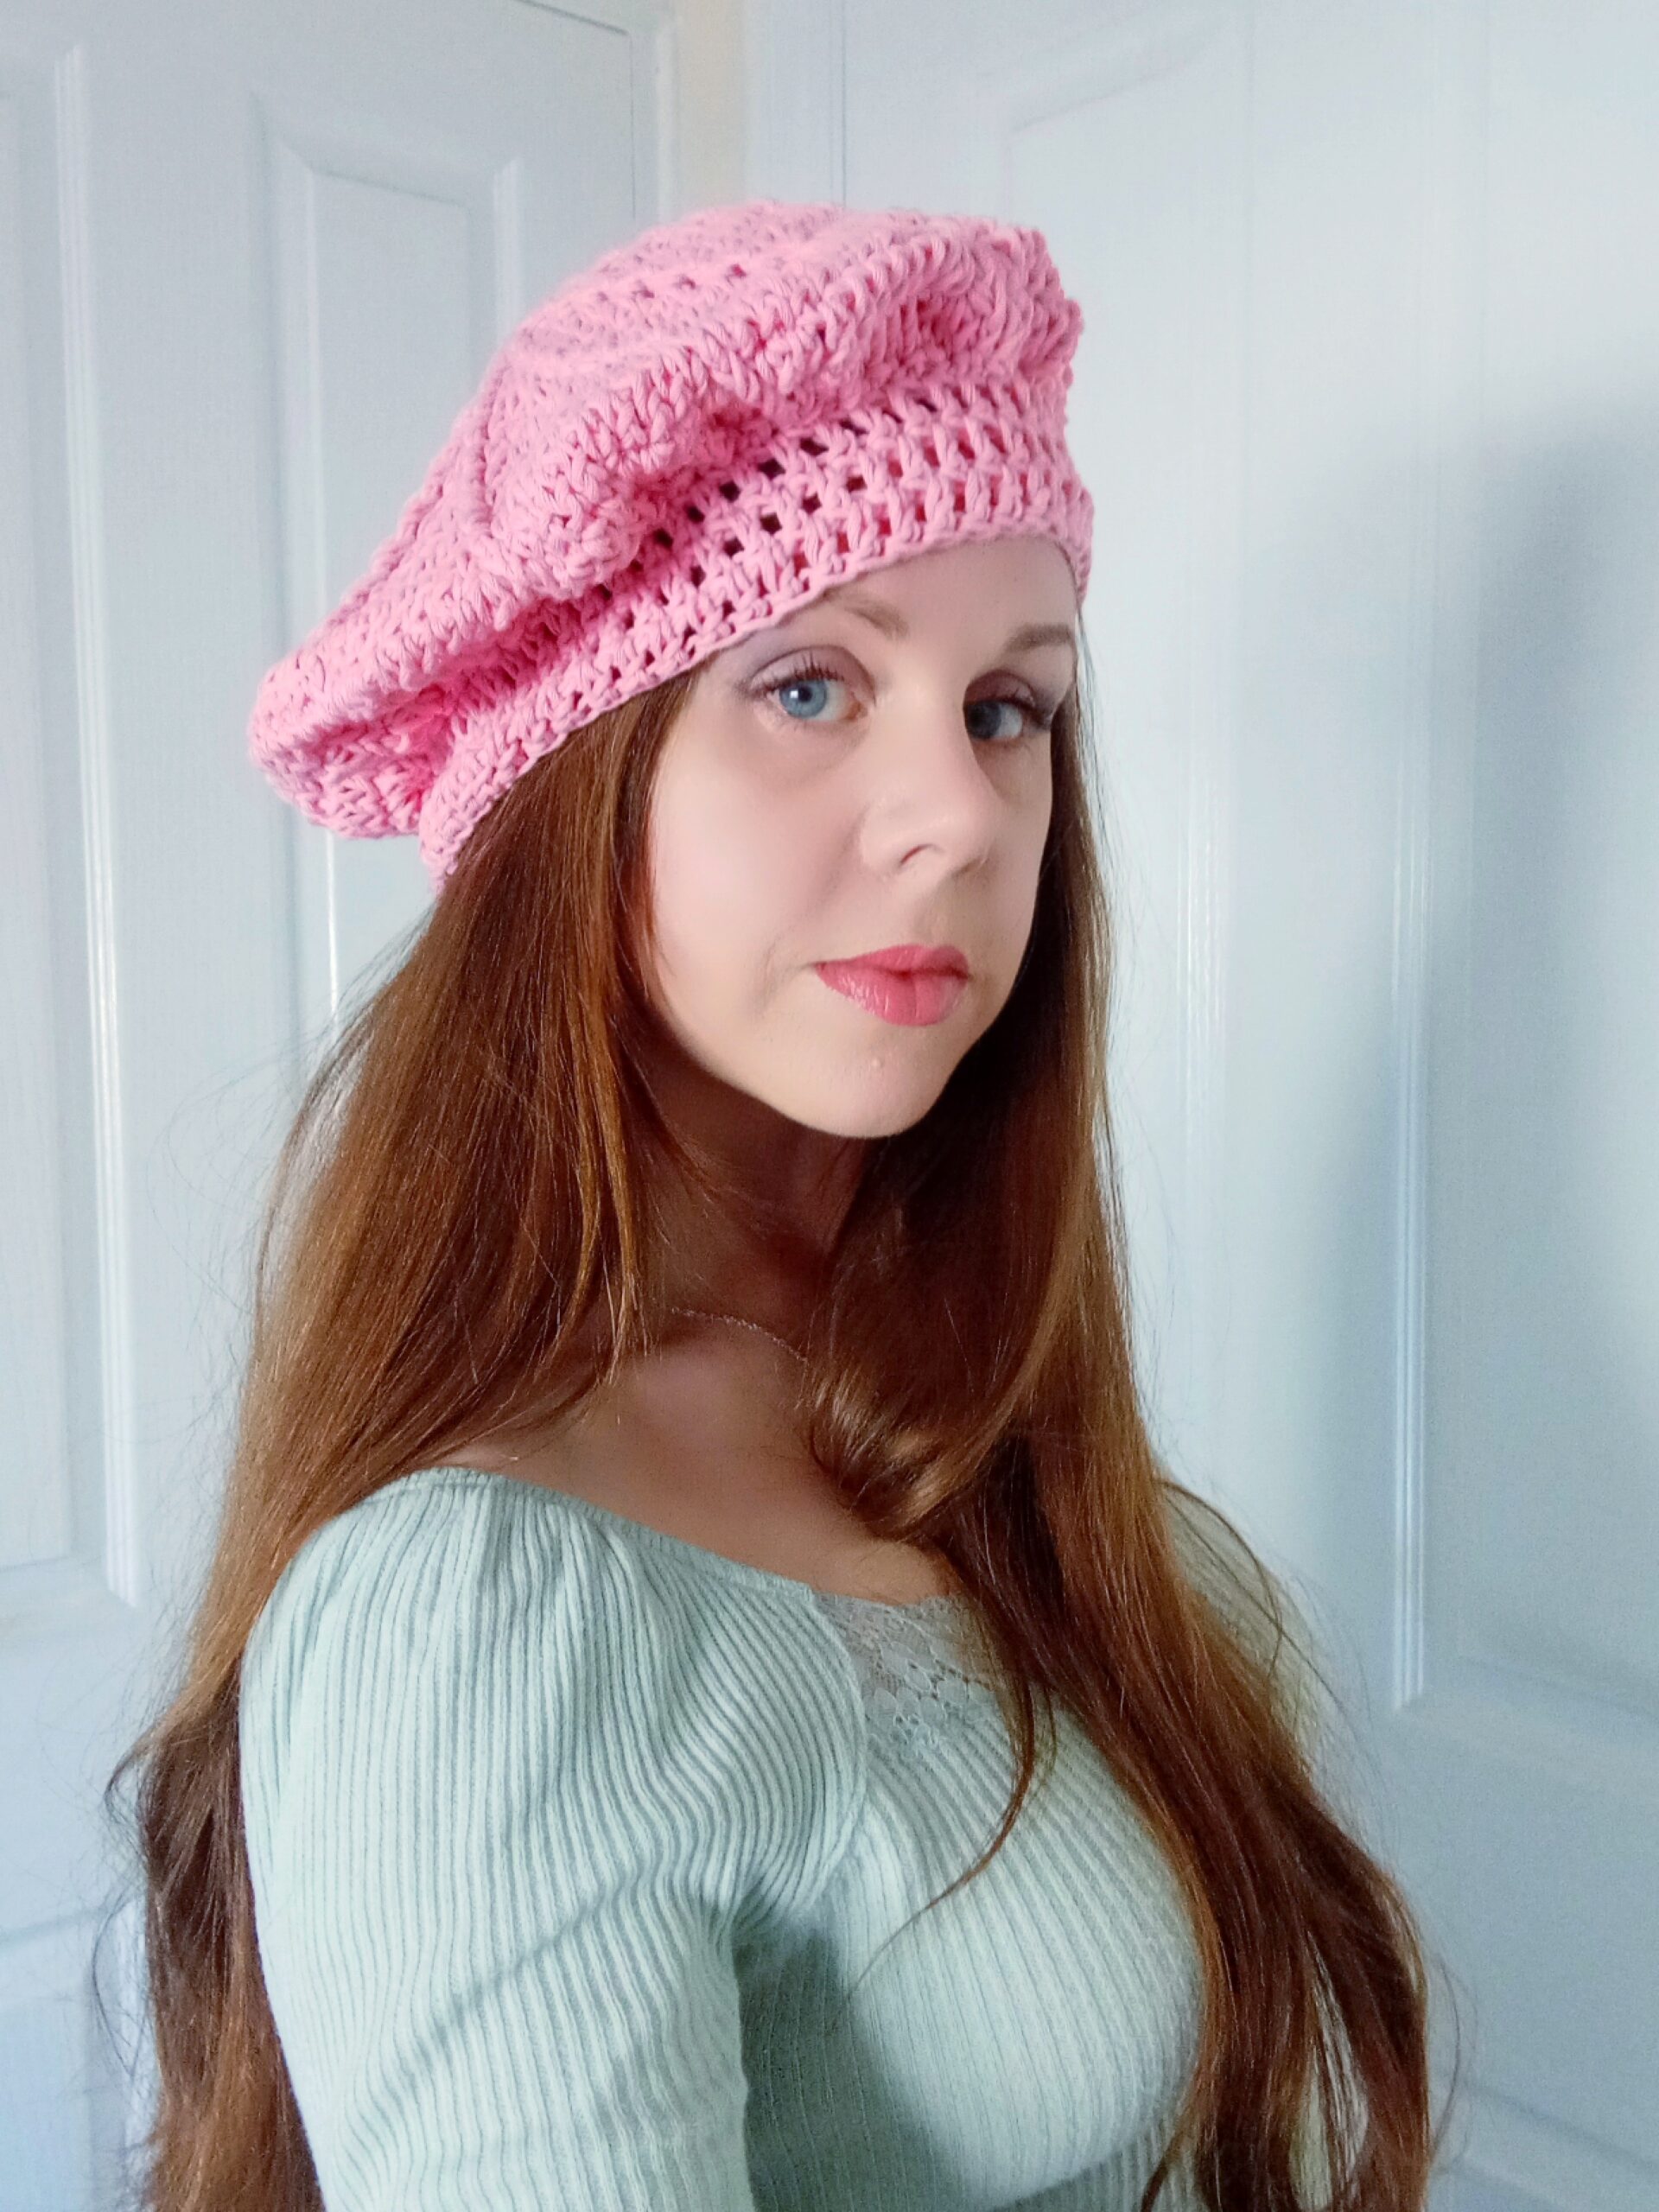
For this new crochet beret design, I wanted to crochet a textured design. I love French berets as I said, and this crochet beret is no exception. Indeed, I wanted to add a little something to this crochet beret, and this textured effect is perfect.
To create the textured effect of this beret, the Front Post Double Crochet stitch is used. I absolutely love this stitch, and have used before. The Mint Heart Sweater is perfect for Spring and Summer, and features the Front Post Double Crochet. This is a perfect crochet project featuring a lovely filet crochet design. The Bella Flower Cardigan is also perfect for Spring and Summer, and also features this textured stitch.
Crochet Textured French Beret Free Pattern: An Easy And Fast Project
This crochet project is really fast and easy to make. I decided to crochet this French beret with Caron Simply Soft yarn. I love this yarn as it is so soft, yet sturdy. It’s absolutely perfect for accessories. I used this yarn in the past for different projects, including The Sweet Sixteen Crochet Bag. This crocheted bag is perfect, and would be a perfect match combination with this textured beret pattern.
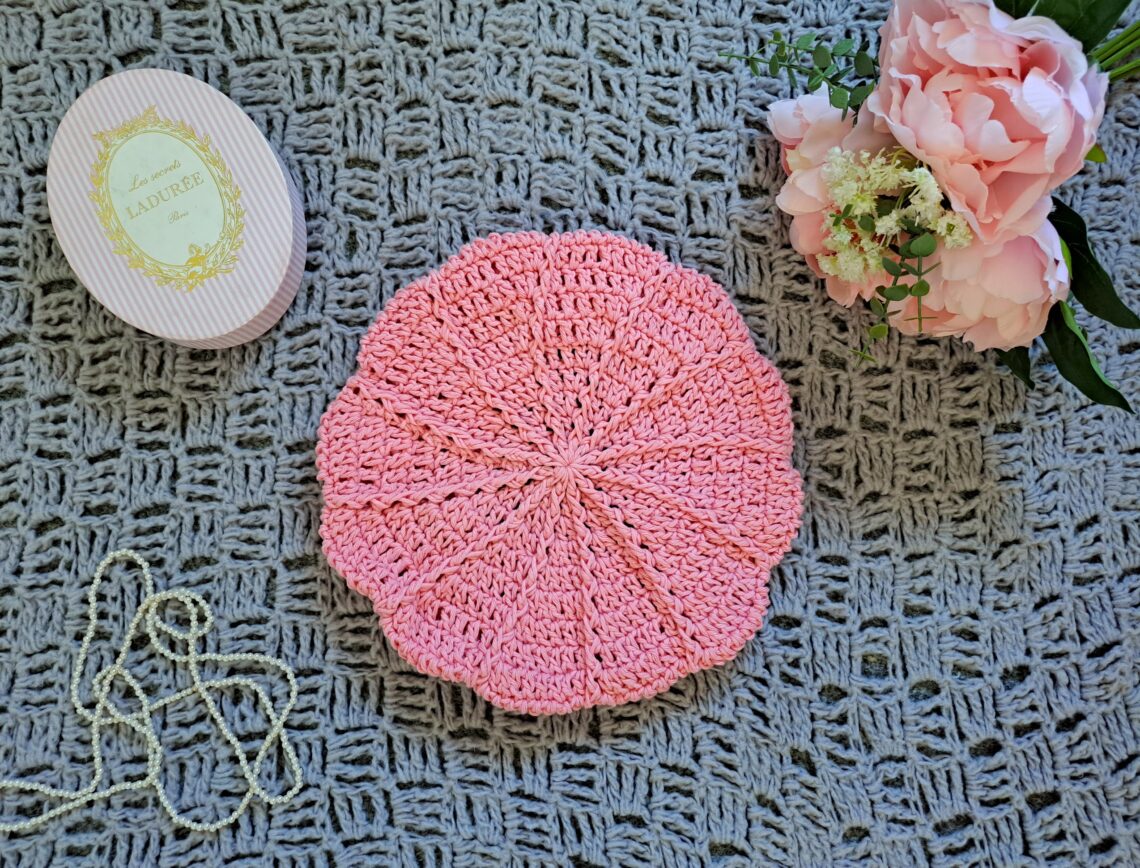
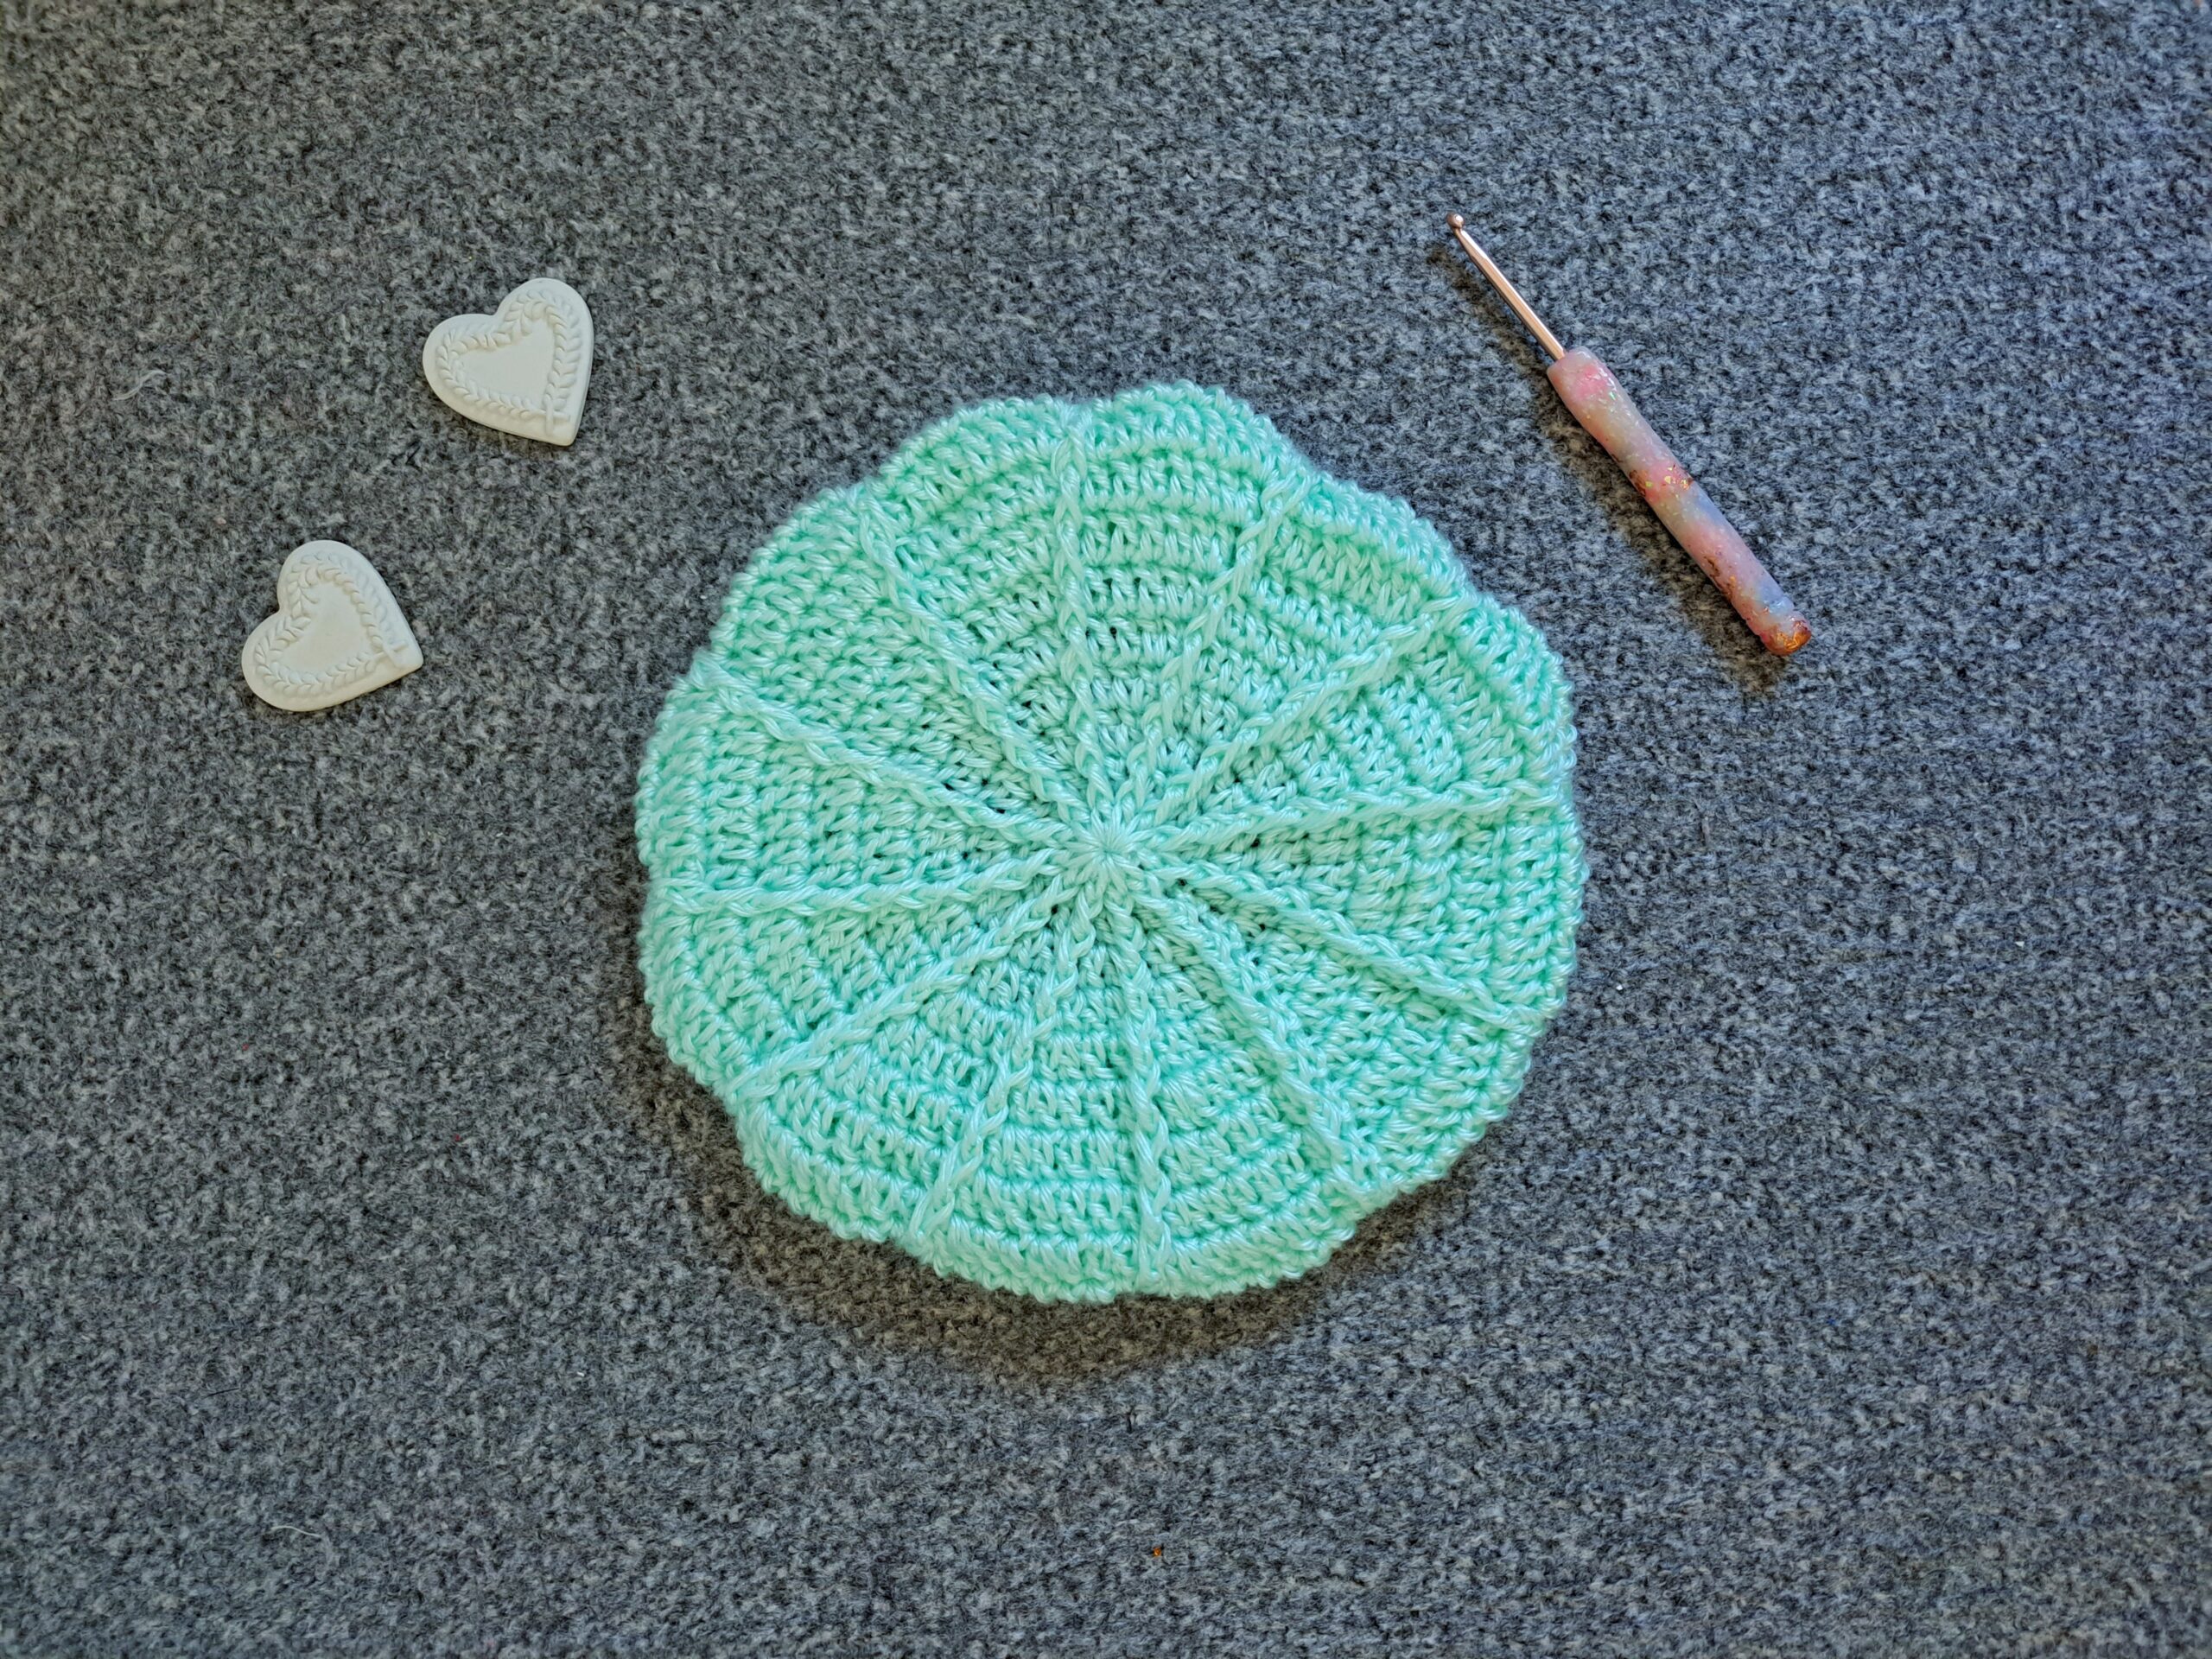
You can also use the yarn Drops Paris for this project. This is a beautiful sturdy 100% cotton yarn that is perfect to crochet accessories with. For reference, the pink crochet beret is crocheted with Drops Paris yarn, and the green beret is crocheted with Caron Simply Soft yarn.
I also crocheted the Perfectly Pretty Pocket Shawl and the Lucienne Hexagon Cardigan with this yarn. Caron Simply Soft is 100% acrylic, and is so very easy to work with. This yarn is very soft, and very versatile too. It offers many different colors, which is great too. You can therefore crochet your favorite designs using one of their many different color choices. I love this versatility! And I know I will be using this yarn again very soon.
Let me know if you have ever crocheted with Caron Simply Soft, and if you love beret designs as much as I do!
Connecting with you
I would like to take a moment to thank every single one of you, for supporting me and my crochet journey. Indeed, If you want more exclusive crochet content from me, please do consider subscribing to my Patreon page. Thank you!
I love connecting with my Crochet Community through my blog and Social Media. You can find me on Youtube, Instagram, and Pinterest. I would love to connect with you on these platforms.
You can also join my private Facebook group to connect.
Don’t forget to subscribe to our weekly newsletter, so you never miss a stitch!
Crochet Textured French Beret: The Pattern
You can purchase the ad free, large print, PDF pattern from my Etsy shop here: Crochet Textured French Beret PDF Pattern
You can purchase the ad free, large print, PDF pattern from my Ravelry shop here: Crochet Textured French Beret PDF Pattern
Level: Easy
Notes
I will be using US terms (British terms in brackets)
Gauge
4” (10 cm) = 8 rounds of stitches
Size of finished project
10,5” (27,5 cm) x 10,5” (27,5 cm)
Size of finished circle before creating finishing border (which tightens the beret and gives it the finished shape)
14” (35,5 cm) x 14” (35,5 cm)
Materials
1 skein of Caron Simply Soft yarn in shade Soft Green or 2 skeins of 100% cotton Drops Paris in shade 20
A 5 mm crochet hook
A tapestry needle
A pair of scissors
A stitch marker (optional)
Abbreviations
Ch: chain
Sk: skip
St: Stitch
Sl st: Slip stitch
DC: Double Crochet (UK Treble Crochet)
SC: Single Crochet (UK Double Crochet)
FPDC: Front Post Double Crochet (UK Front Post Treble Crochet)
EOR: End of round
General notes concerning this pattern
This crochet beret is crocheted in the round, and features a textured design made by using the Front Post Double Crochet (referred to as FPDC in this pattern).
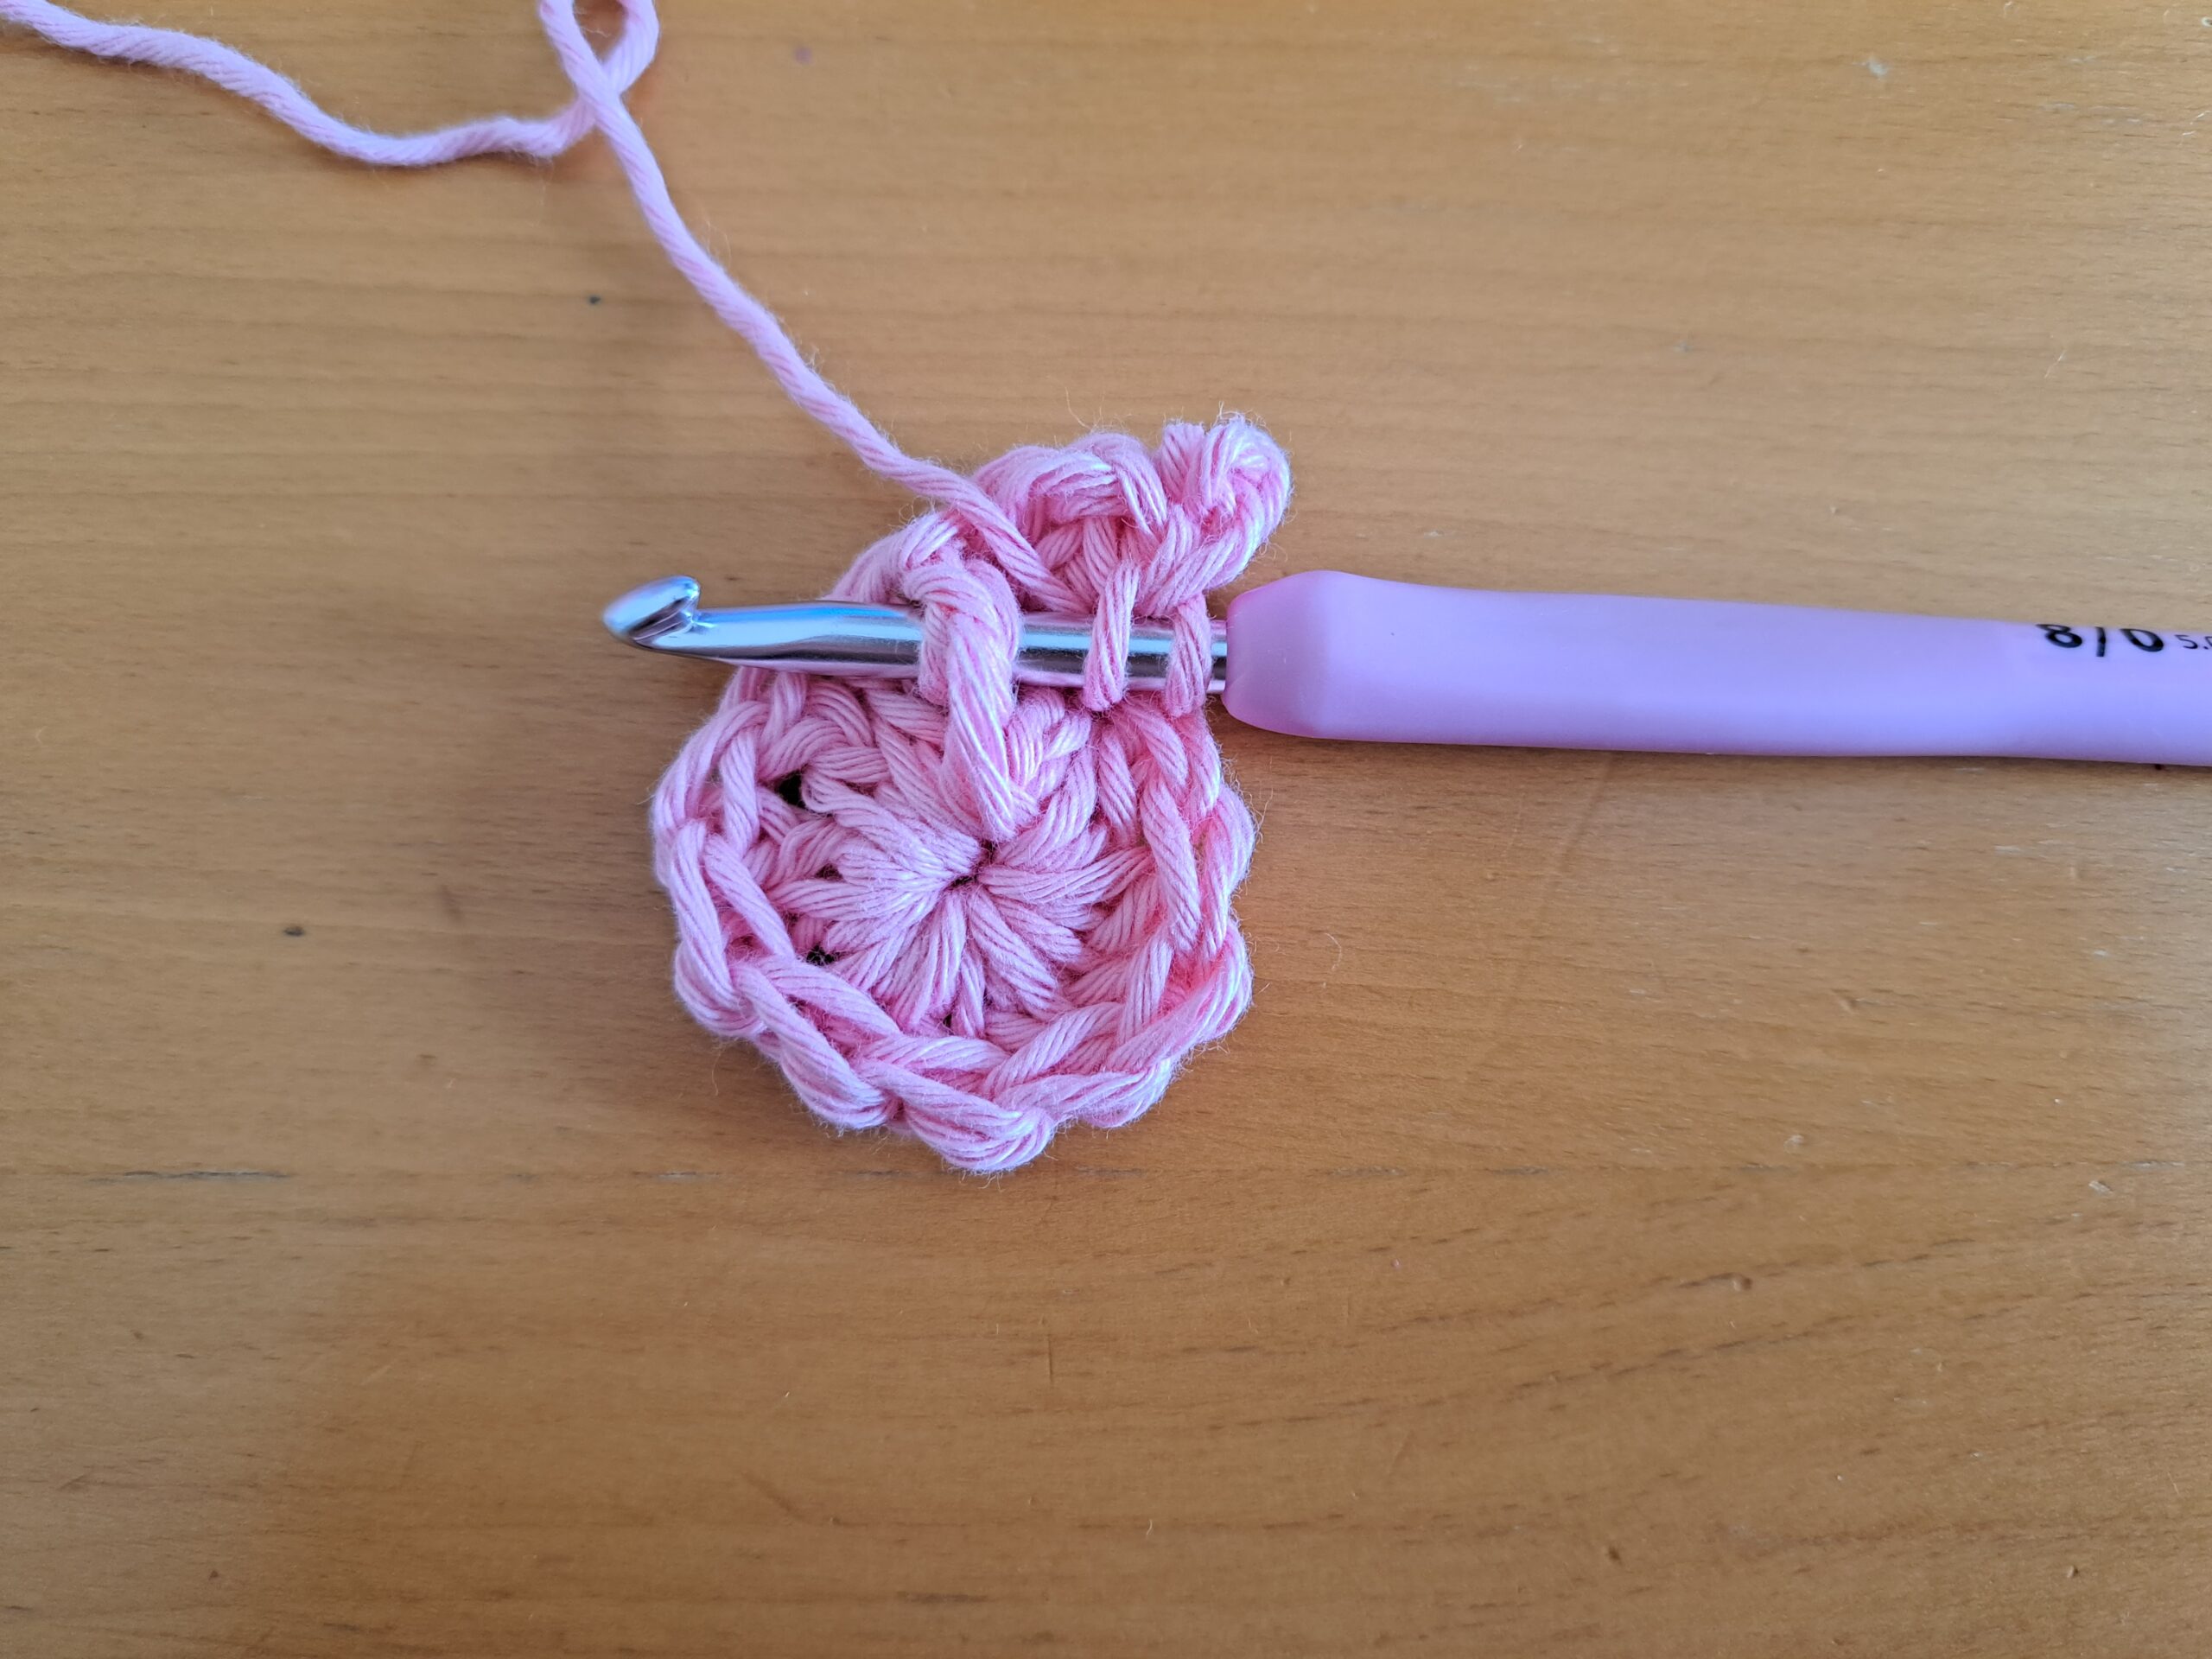
To create a Front Post Double Crochet, you will be creating a Double Crochet around the corresponding Double Crochet from the previous row (see photograph). You will therefore yarn over, place your hook around the post (ie Double Crochet from previous row), pull up a loop and pull through 2 loops, yarn over and pull through 2 loops.
Pattern begins here
Ch 4, sl st to form a ring.
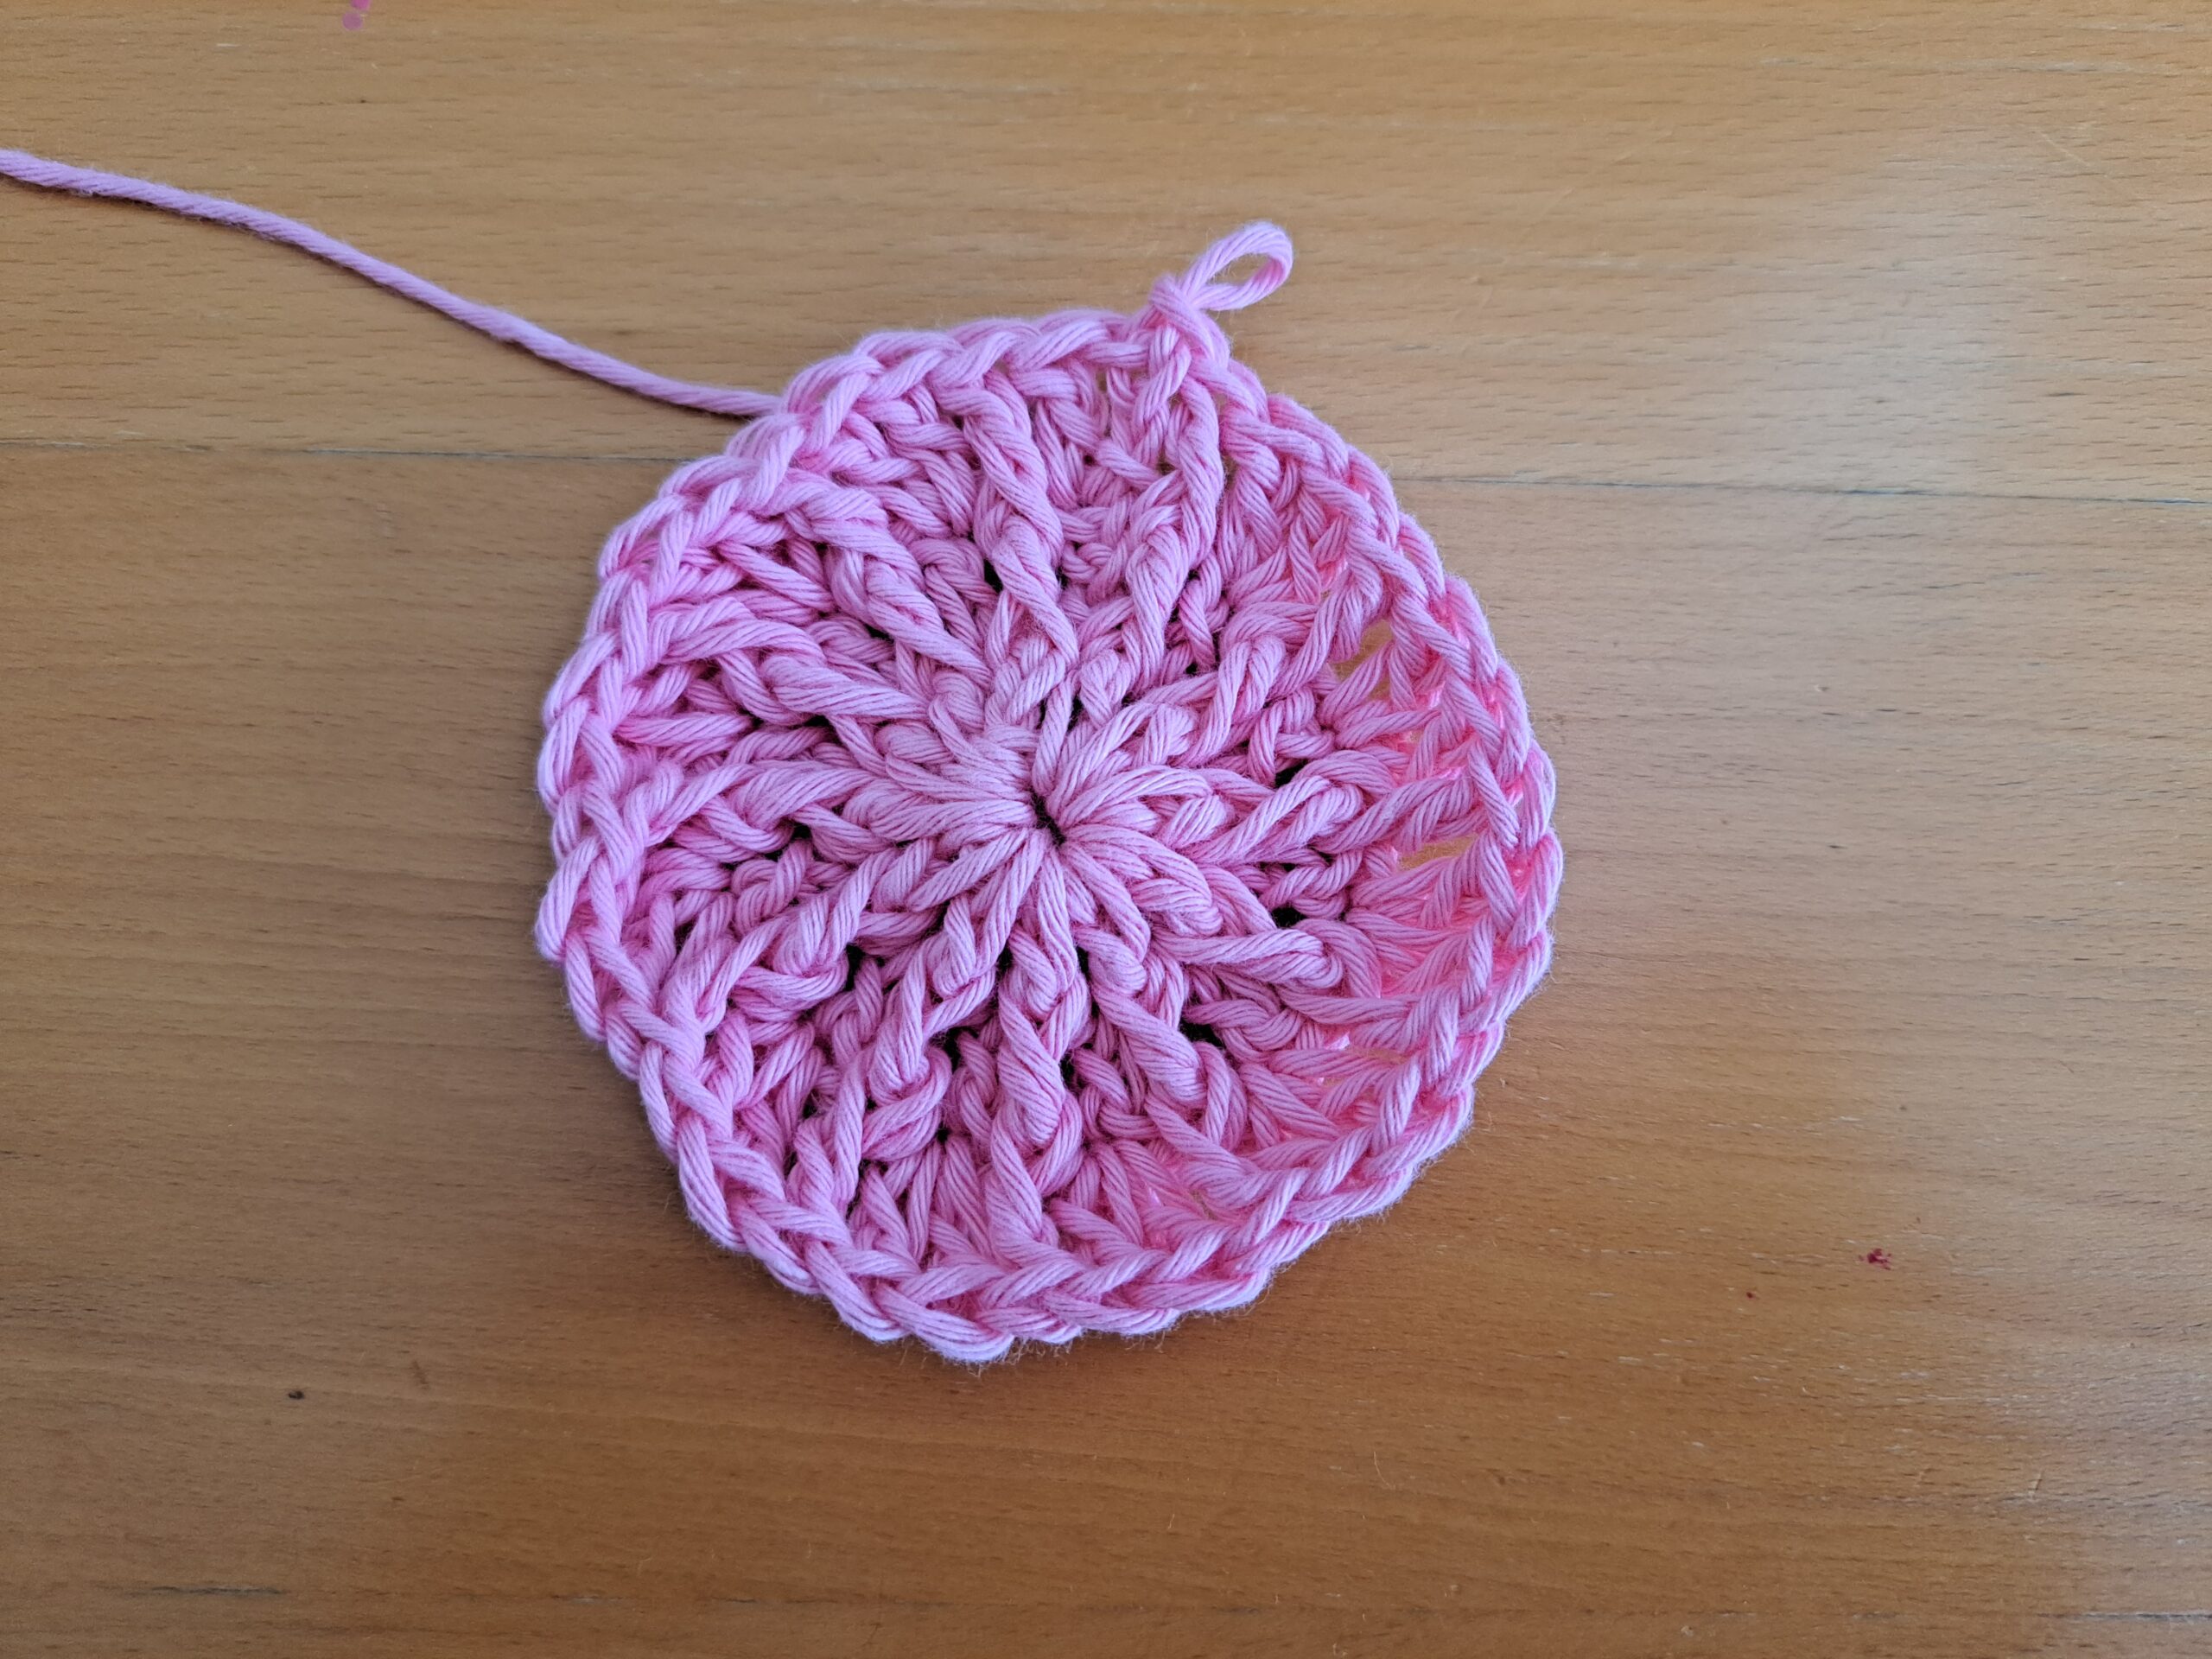
1: Ch 3 (=DC), place 11 DC inside the ring (=12 DC total). Sl st to 1st ch 3 to close off round.
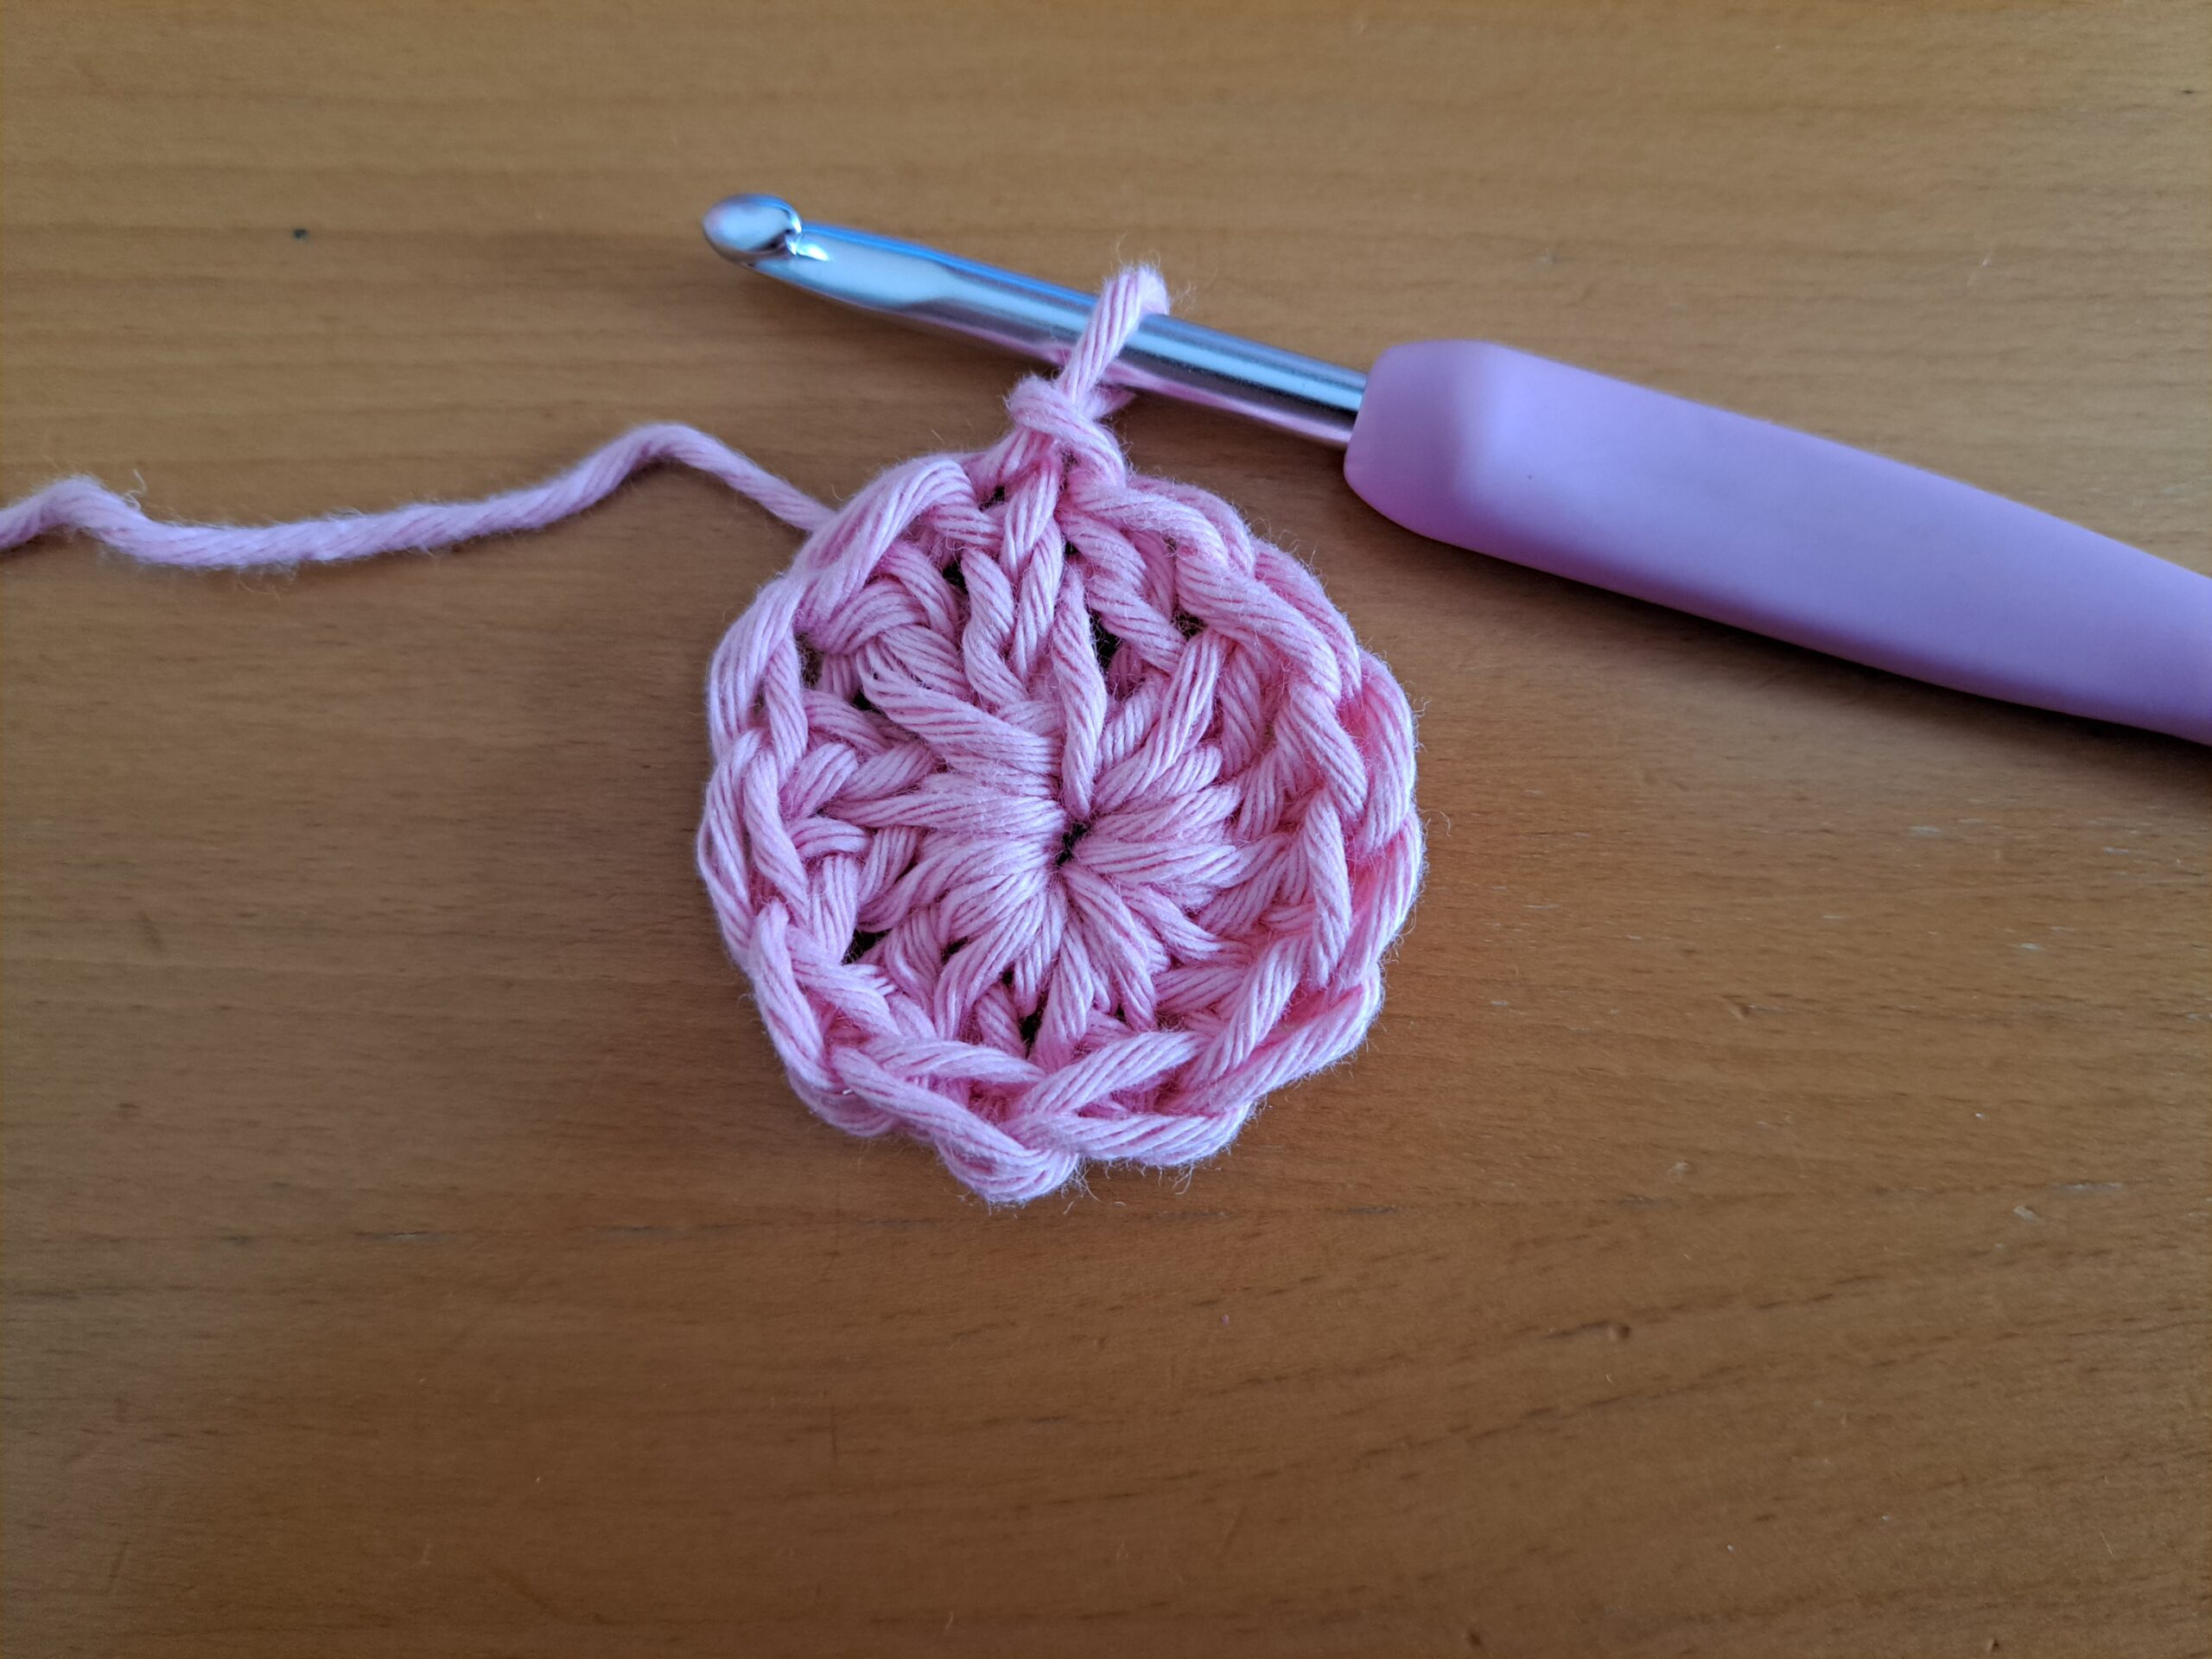
2: Ch 3 (=DC), FPDC into the first stitch from the previous row (this creates 2 stitches inside the 1st stitch of this round); [DC, FPDC into next st] until eor. Sl st to first ch 3 at beginning to close off round.
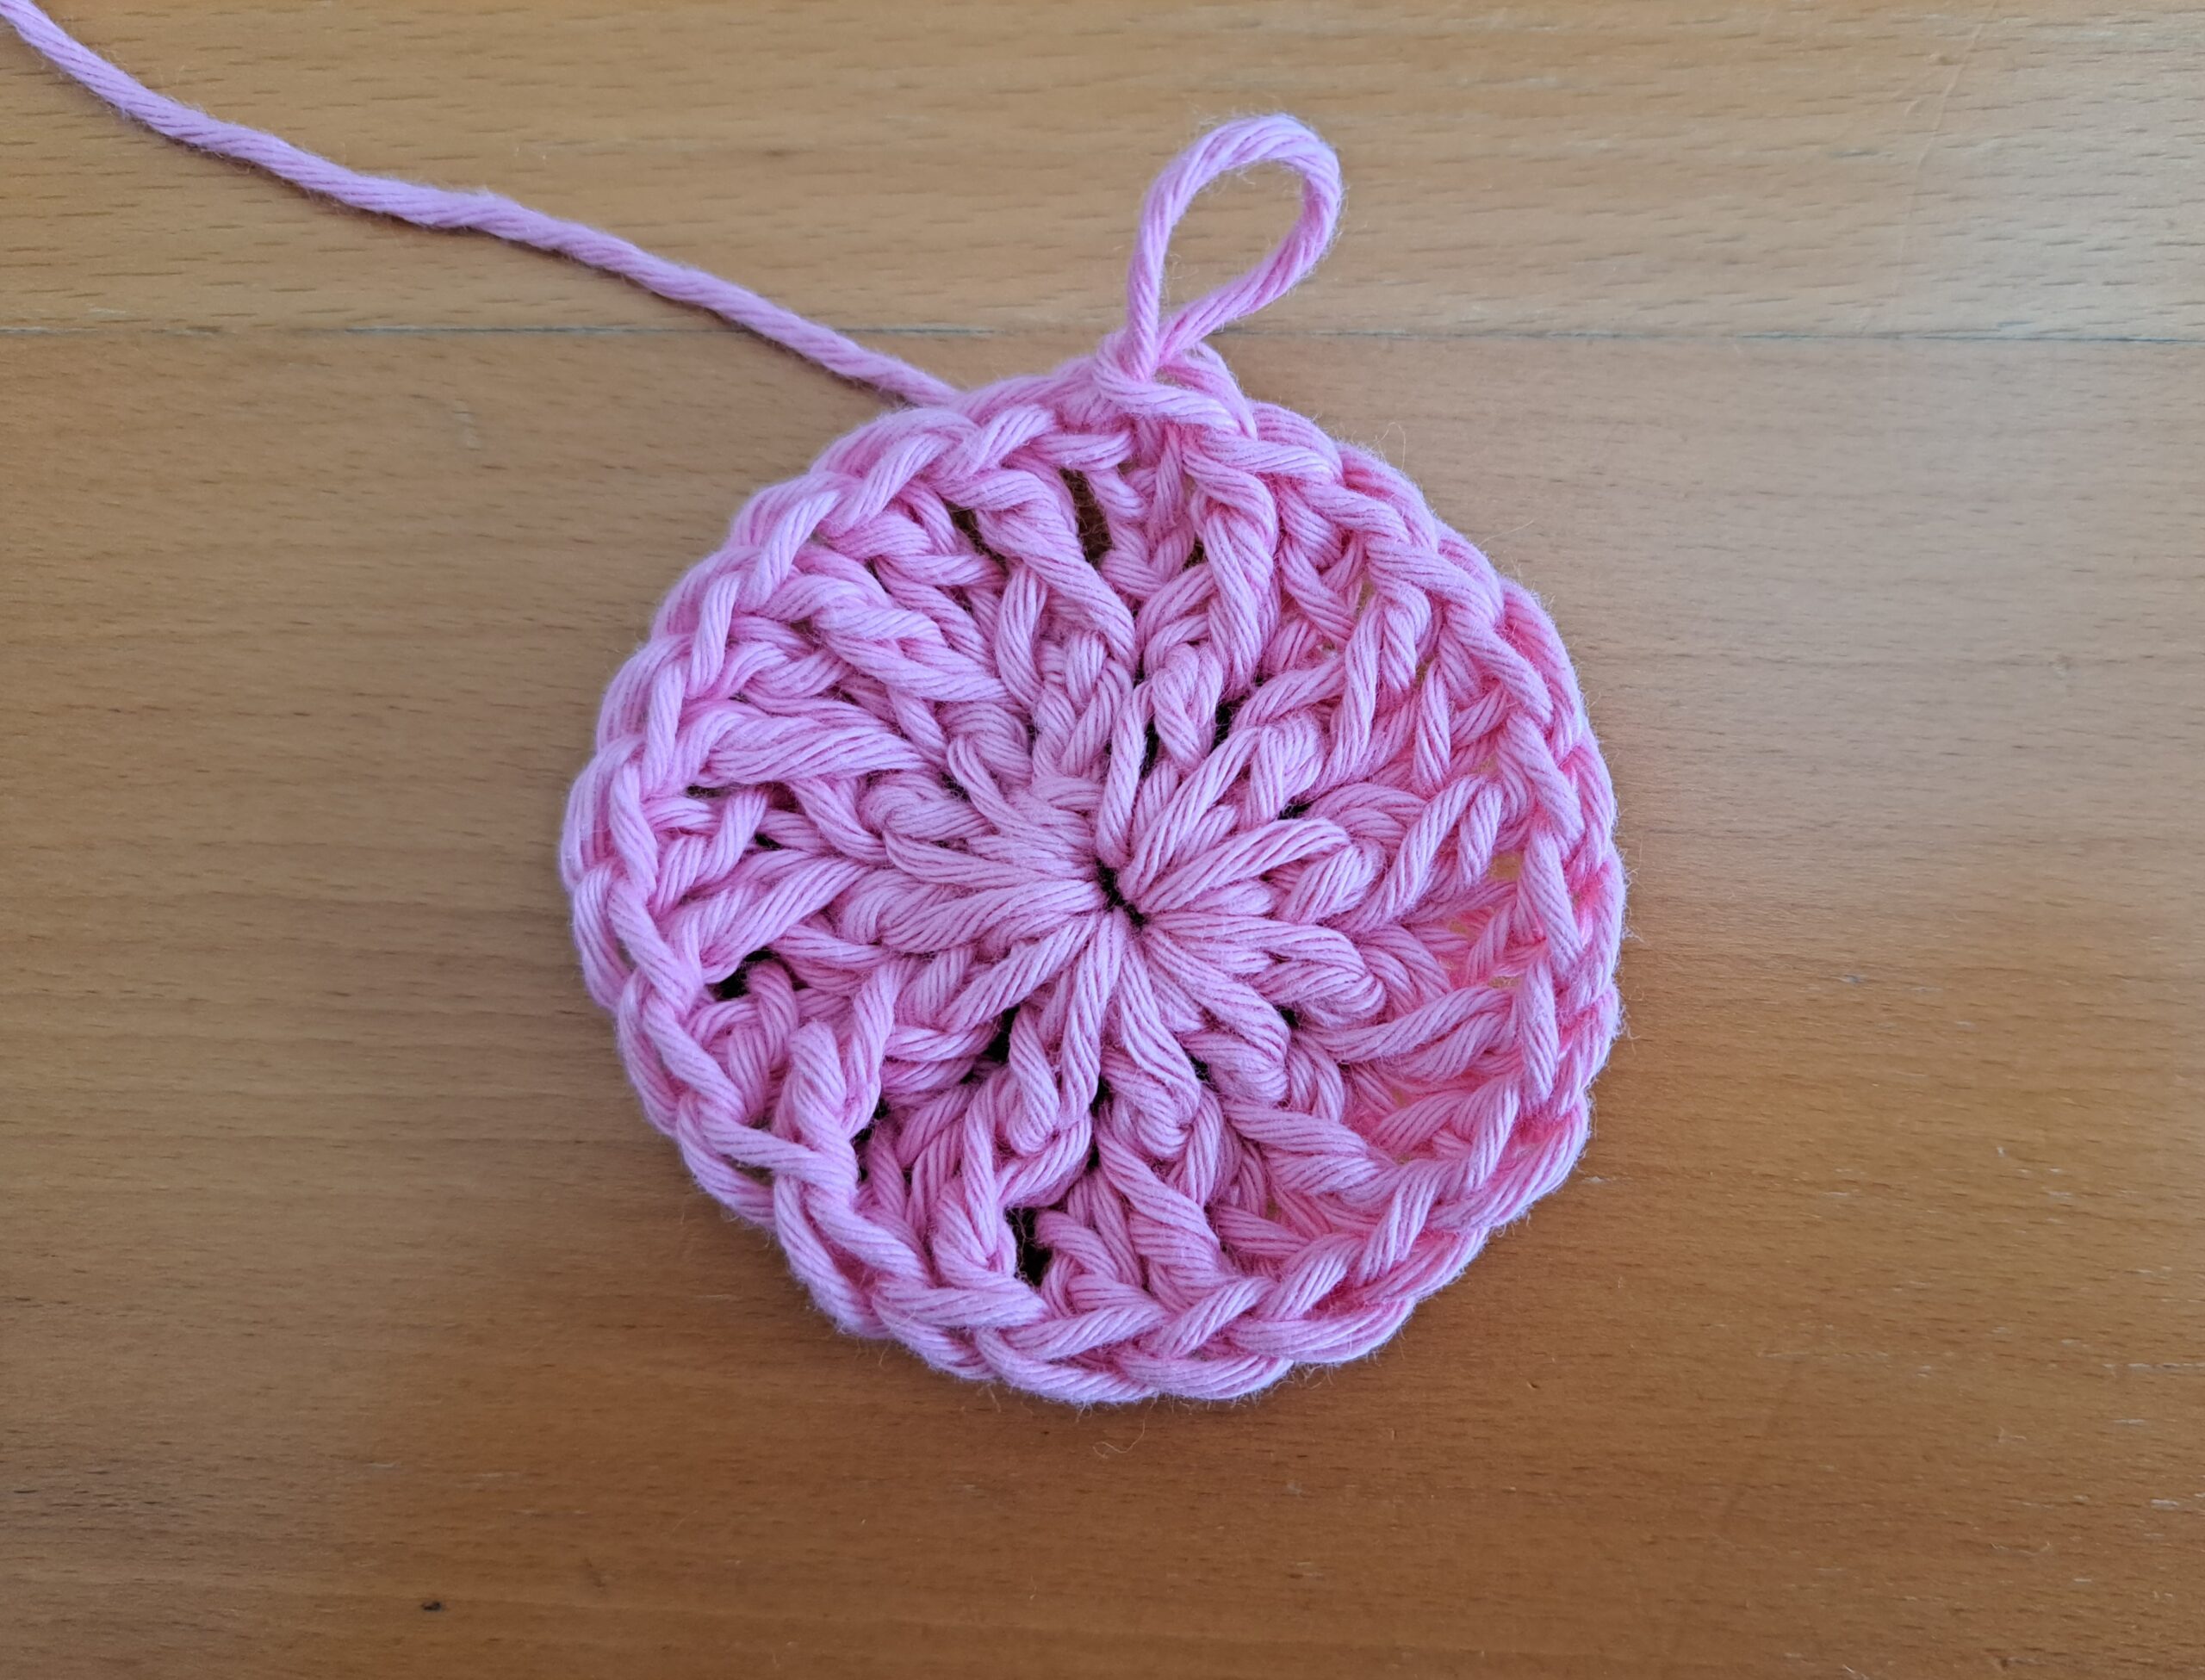
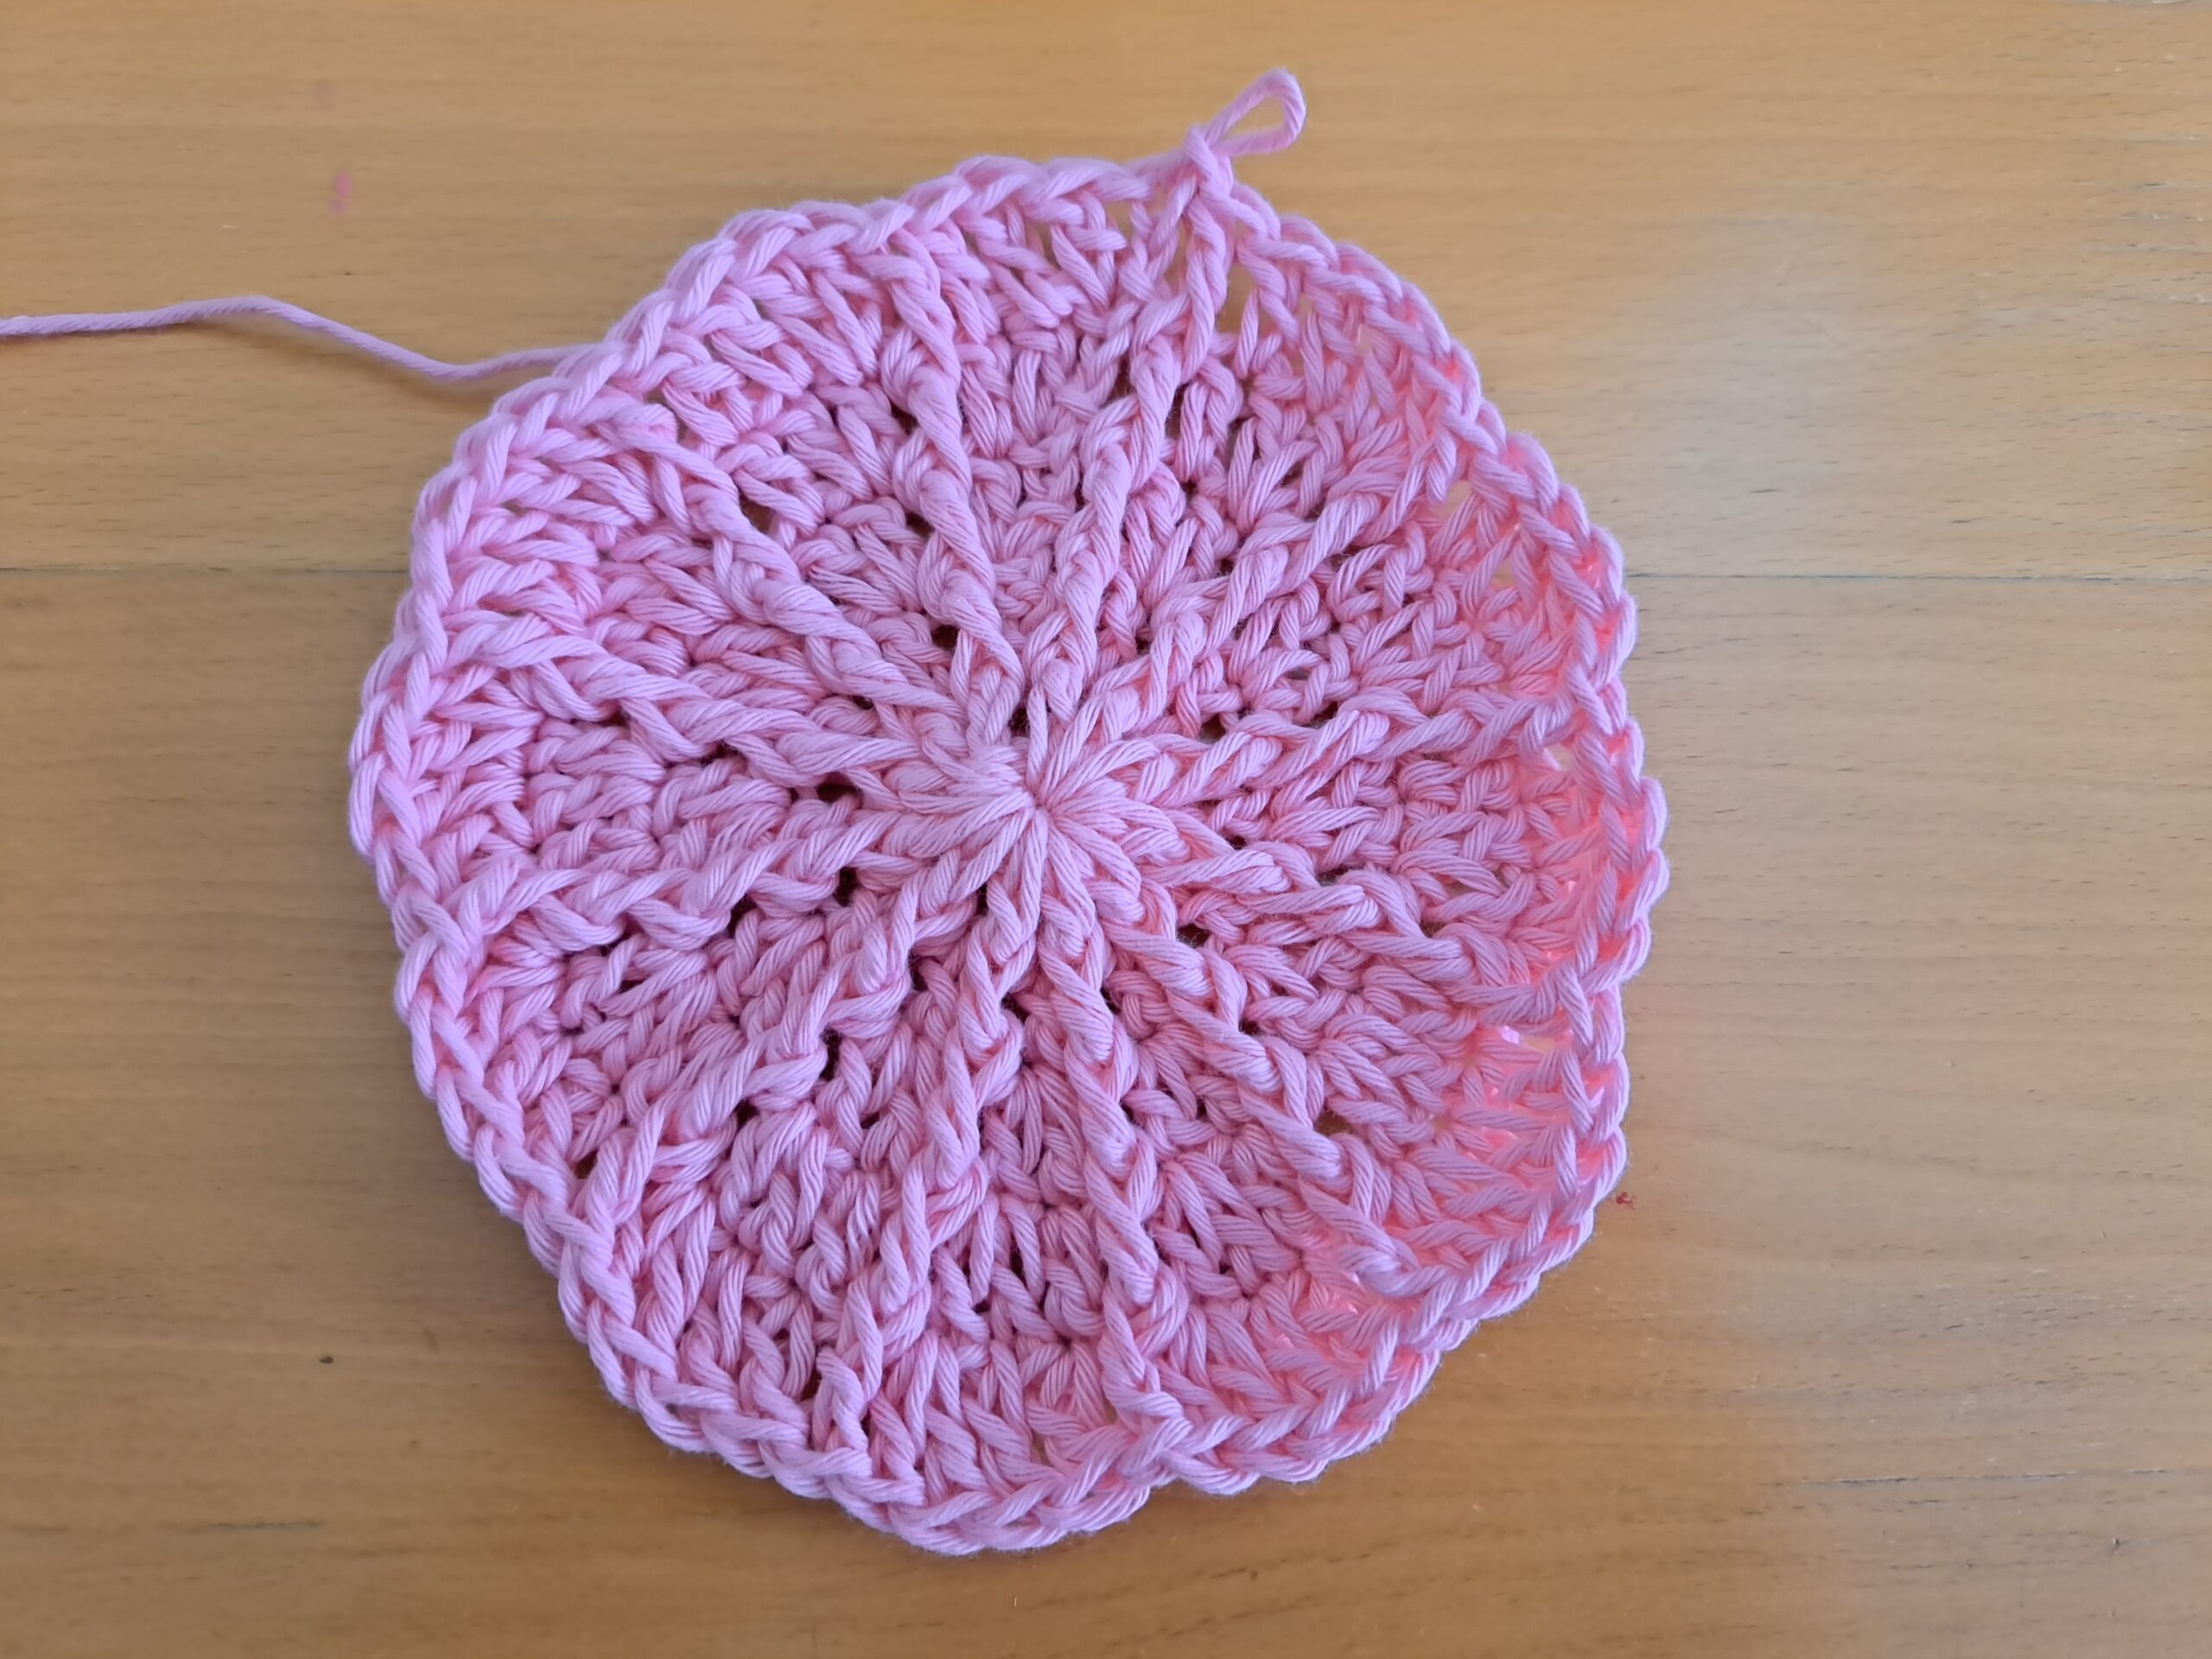
3: Ch 3 (=DC), place another DC inside the first stitch (=2 DC together in one stitch). Place a FPDC in next st (on top of the FPDC from previous row); [2 DC into next st, FPDC into next st] until eor. Sl st to first ch 3 at beginning to close off round.
4: Ch 3 (=DC), place another DC inside the first stitch (=2 DC together in one stitch). Place a DC into next st, then FPDC into next st (on top of the FPDC from previous round). [2 DC into next st, DC into next st, FPDC into next st] until eor. Sl st to 1st ch 3 to close off round.
5: Ch 3 (=DC), place another DC inside the first stitch (=2 DC together in one stitch). Place a DC into next 2 st, then FPDC into next st (on top of the FPDC from previous round). [2 DC into next st, DC into next 2 st, FPDC into next st] until eor. Sl st to 1st ch 3 to close off round.
Round 6
6: Ch 3 (=DC), place another DC inside the first stitch (=2 DC together in one stitch). Place a DC into next 3 st, then FPDC into next st (on top of the FPDC from previous round). [2 DC into next st, DC into next 3 st, FPDC into next st] until eor. Sl st to 1st ch 3 to close off round.
7: Ch 3 (=DC), place another DC inside the first stitch (=2 DC together in one stitch). Place a DC into next 4 st, then FPDC into next st (on top of the FPDC from previous round). [2 DC into next st, DC into next 4 st, FPDC into next st] until eor. Sl st to 1st ch 3 to close off round.
8: Ch 3 (=DC), place another DC inside the first stitch (=2 DC together in one stitch). Place a DC into next 5 st, then FPDC into next st (on top of the FPDC from previous round). [2 DC into next st, DC into next 5 st, FPDC into next st] until eor. Sl st to 1st ch 3 to close off round.
9: Ch 3 (=DC), place another DC inside the first stitch (=2 DC together in one stitch). Place a DC into next 6 st, then FPDC into next st (on top of the FPDC from previous round). [2 DC into next st, DC into next 6 st, FPDC into next st] until eor. Sl st to 1st ch 3 to close off round.
Round 10
10: Ch 3 (=DC), place another DC inside the first stitch (=2 DC together in one stitch). Place a DC into next 7 st, then FPDC into next st (on top of the FPDC from previous round). [2 DC into next st, DC into next 7 st, FPDC into next st] until eor. Sl st to 1st ch 3 to close off round.
11: Ch 3 (=DC), place another DC inside the first stitch (=2 DC together in one stitch). Place a DC into next 8 st, then FPDC into next st (on top of the FPDC from previous round). [2 DC into next st, DC into next 8 st, FPDC into next st] until eor. Sl st to 1st ch 3 to close off round.
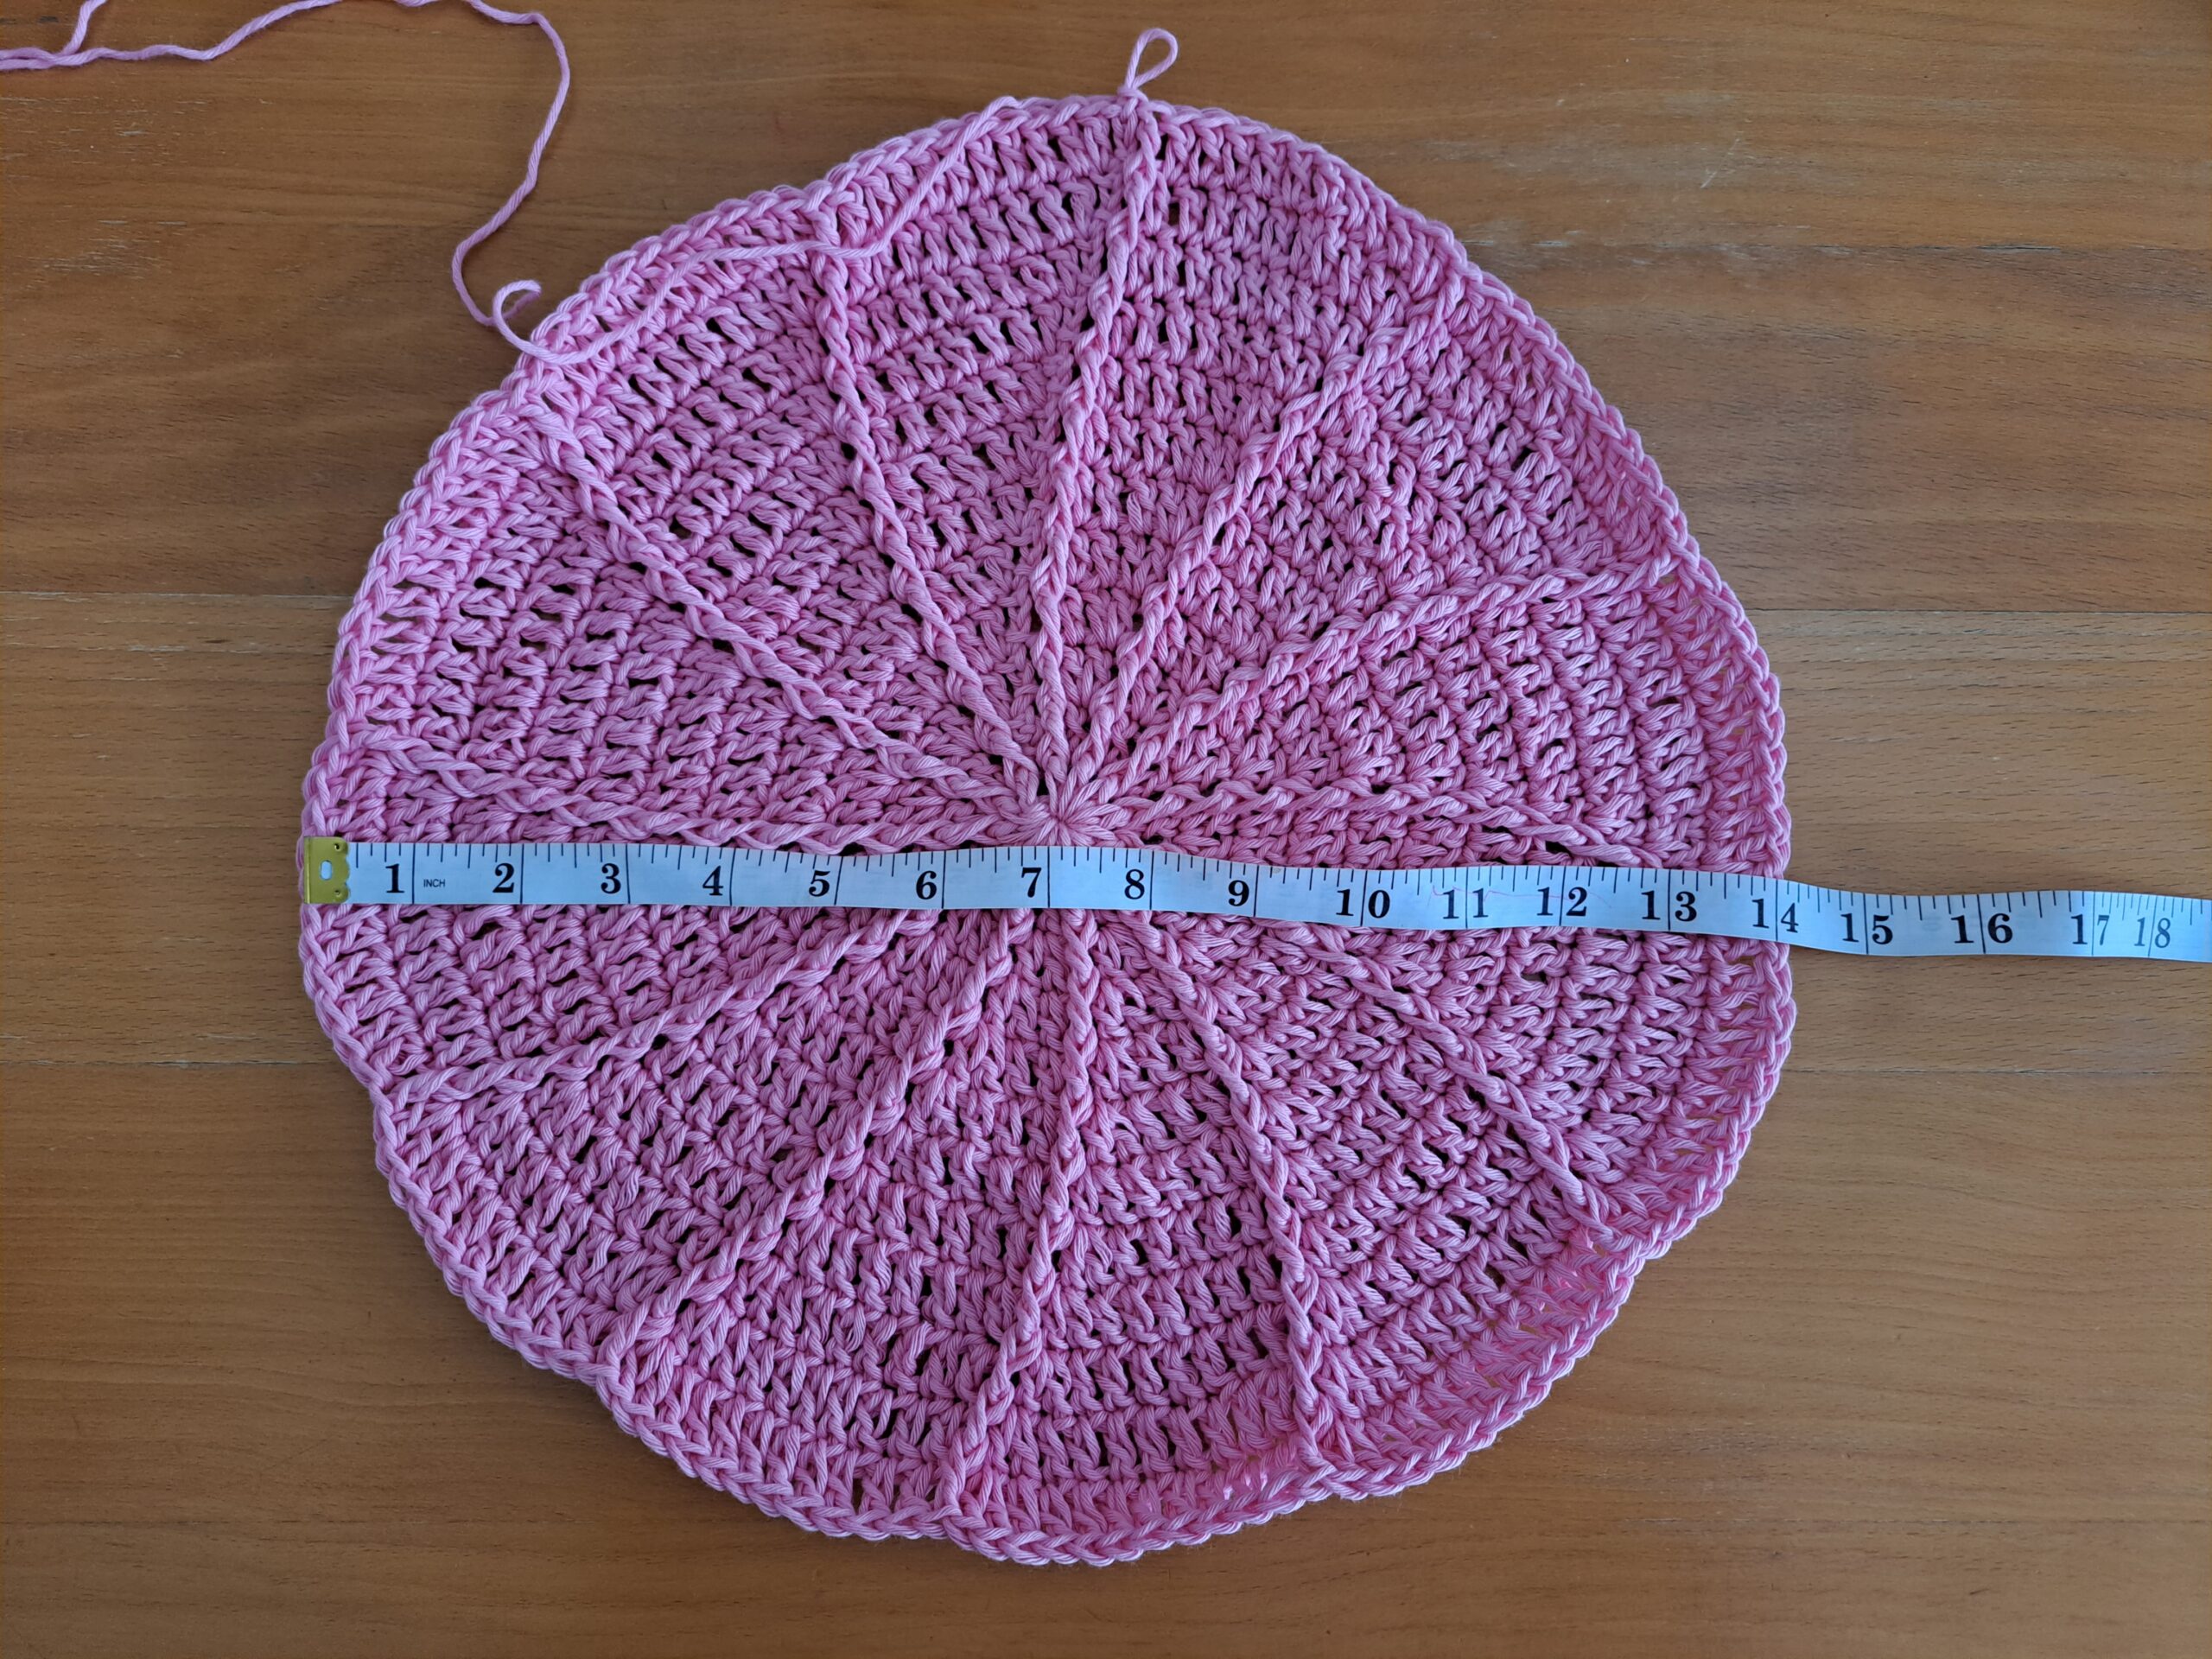
12: Ch 3 (=DC), place another DC inside the first stitch (=2 DC together in one stitch). Place a DC into next 9 st, then FPDC into next st (on top of the FPDC from previous round). [2 DC into next st, DC into next 9 st, FPDC into next st] until eor. Sl st to 1st ch 3 to close off round.
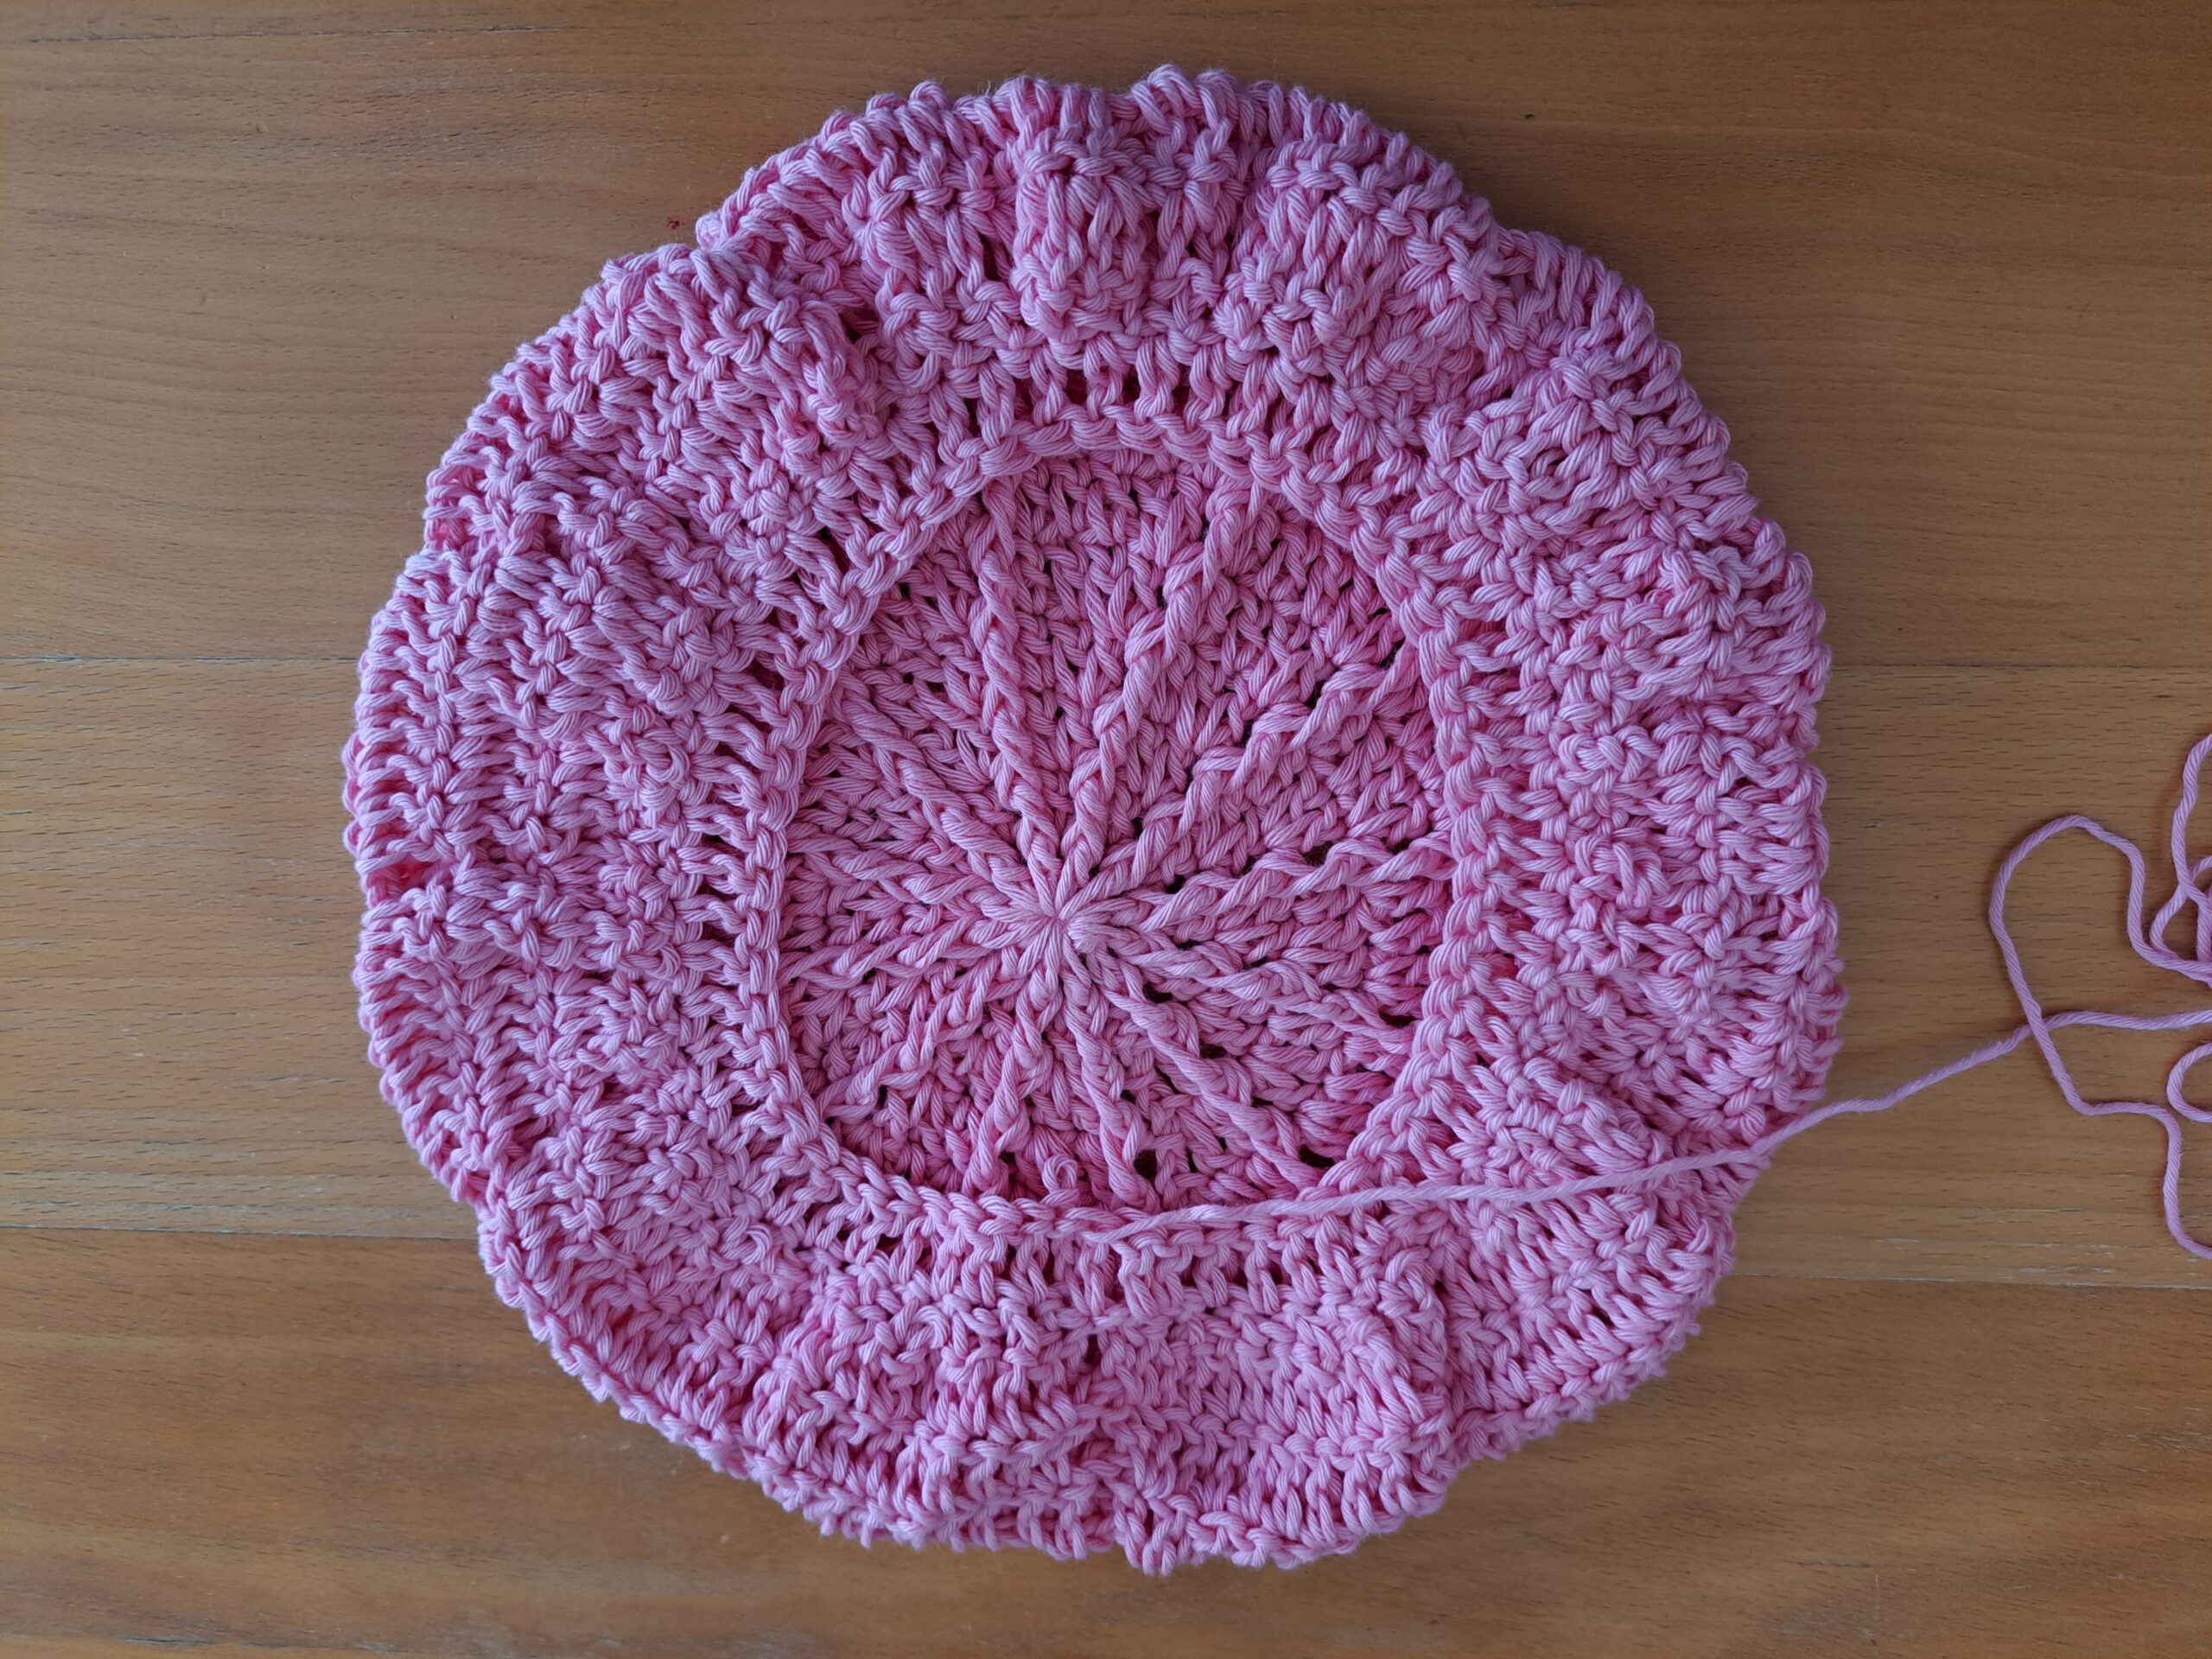
Your project should now measure approximately 14” diameter (see photo below):
Round 13 (to create beret shape)
Ch 1 (=SC), [sk 2 stitches, SC into next stitch, sk 1 st, SC into next st] until eor, finishing row with a SC. Sl st to first ch to close off round.
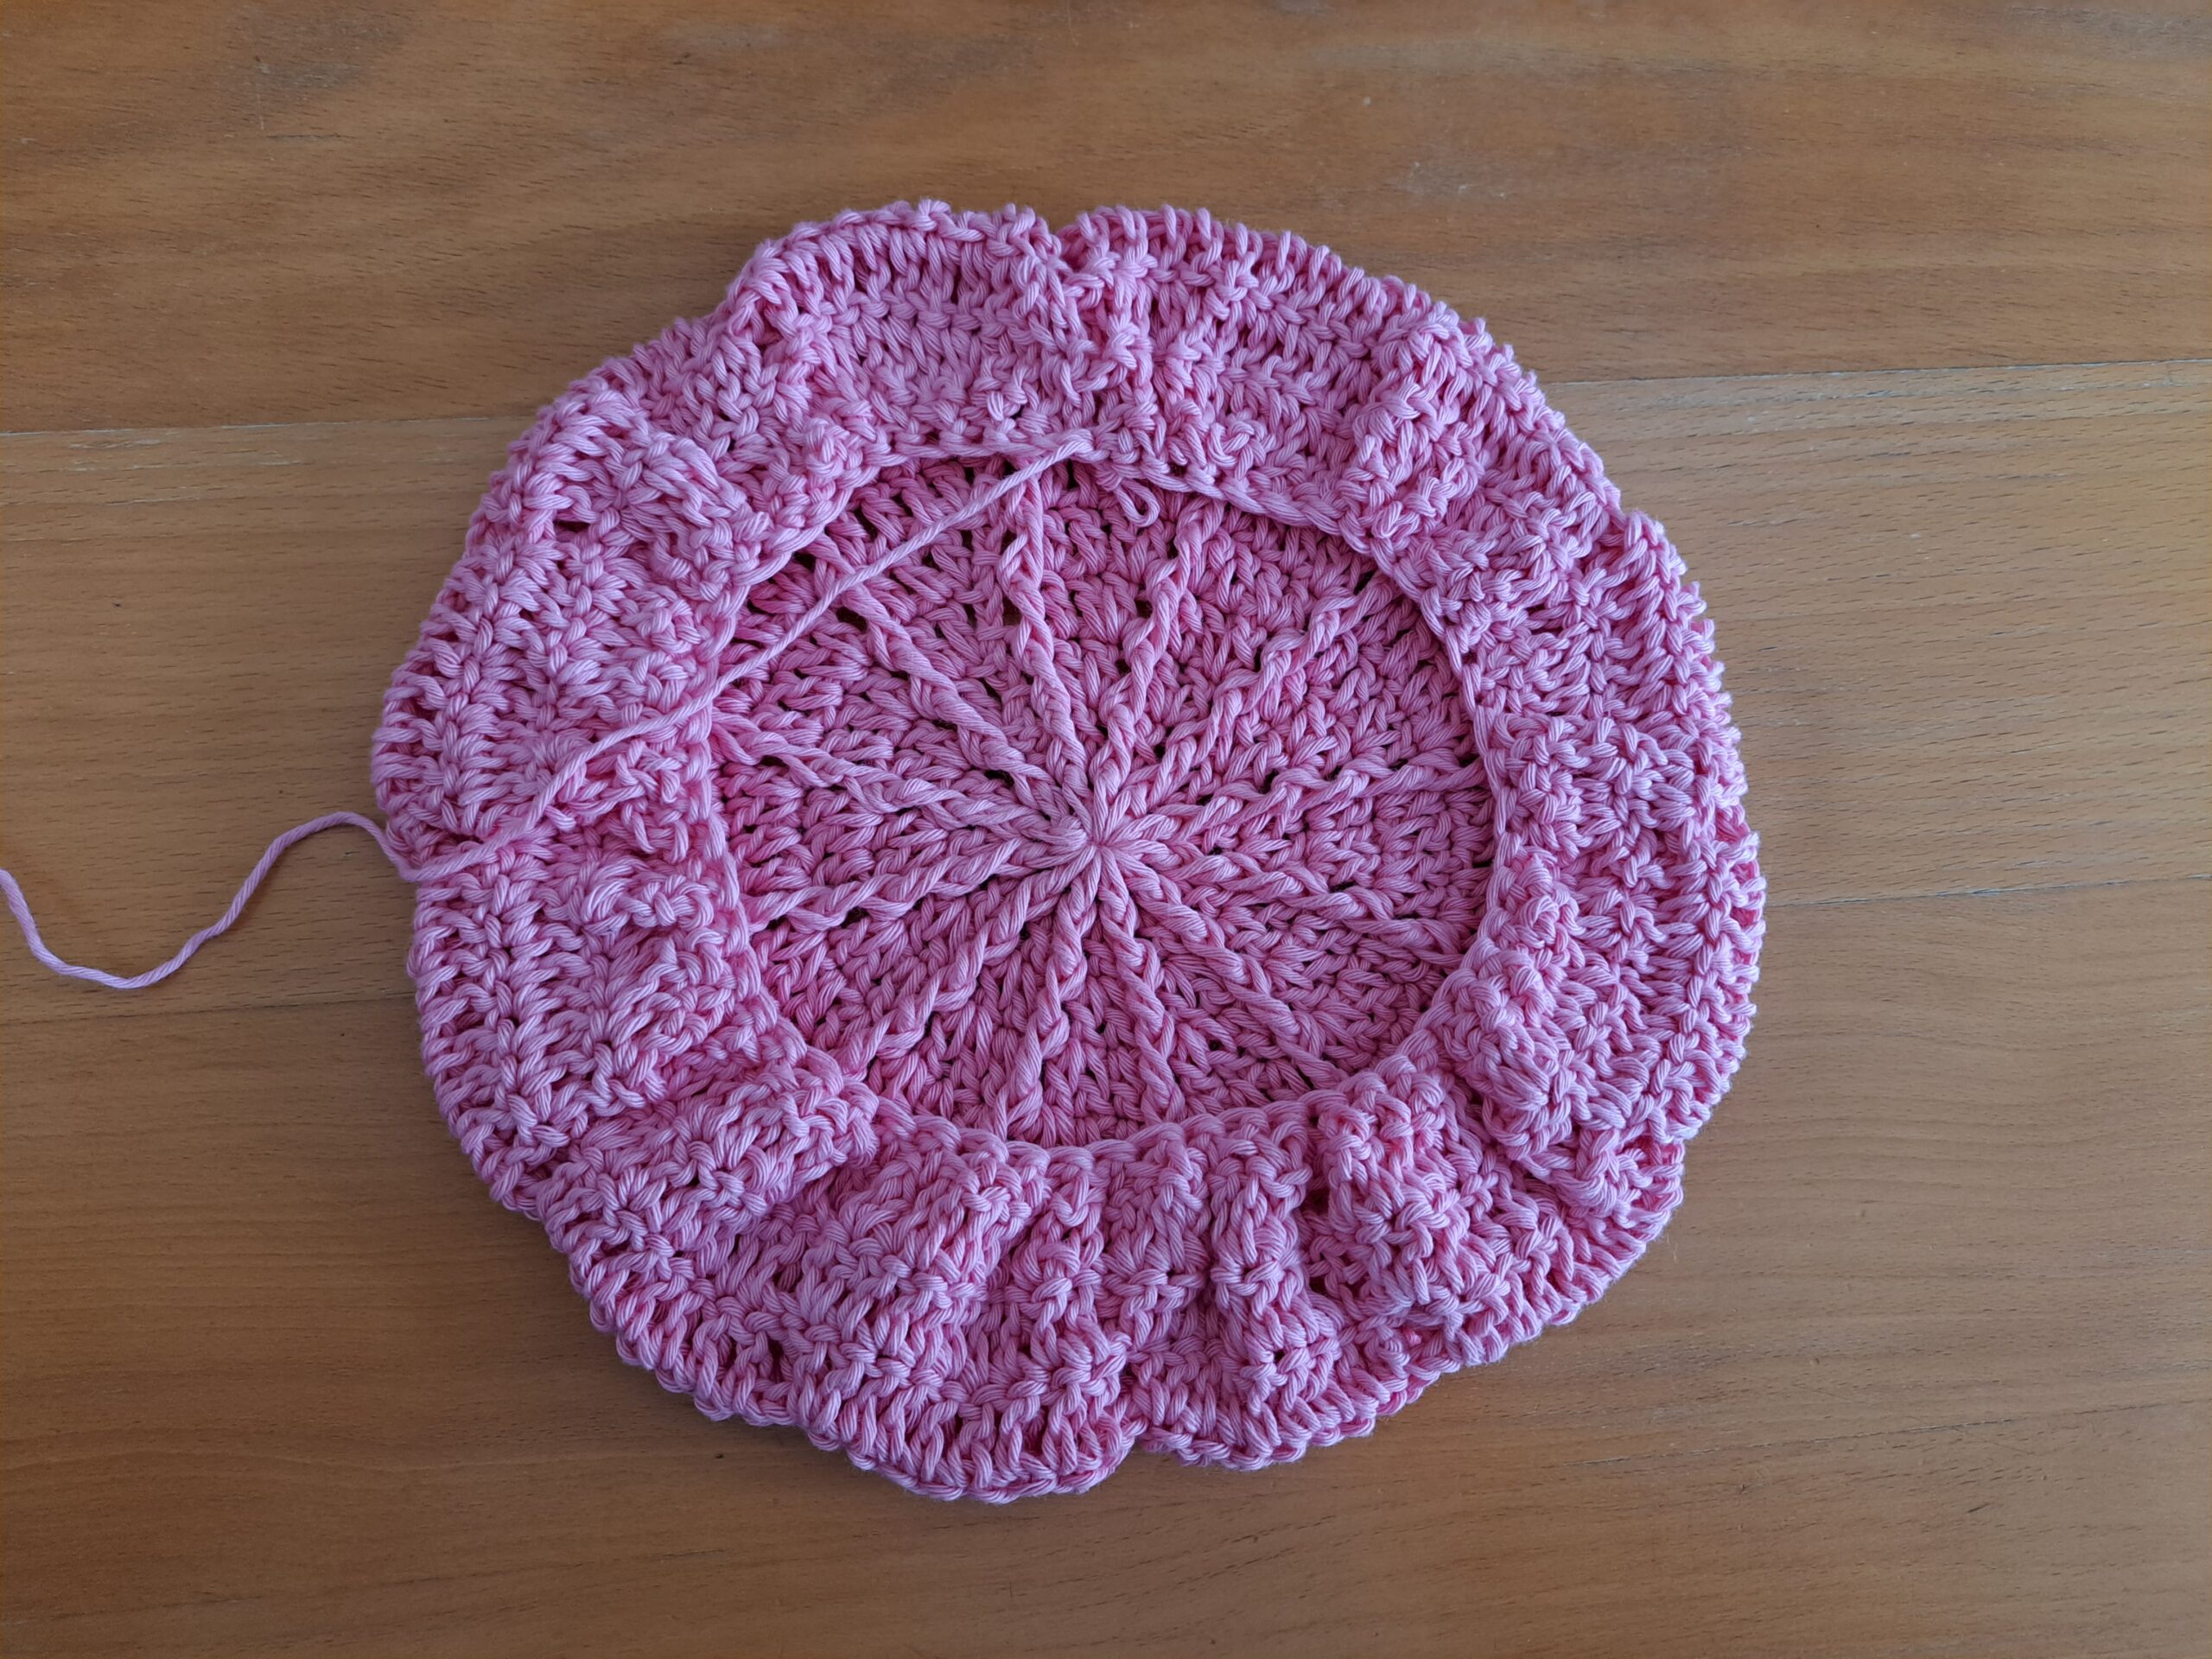
14: Ch 3 (=DC), DC into next st until eor. Sl st to first ch 3 to close off round.
15-16: Repeat row 14
Fasten off, tidy up all loose ends.


You May Also Like
Crochet Rose Whisper Shawl Free Pattern
Crochet The Biker Man Bandana Free Pattern