Crochet The Angel Wings Cardigan Free Pattern
Crochet The Angel Wings Cardigan Free Pattern
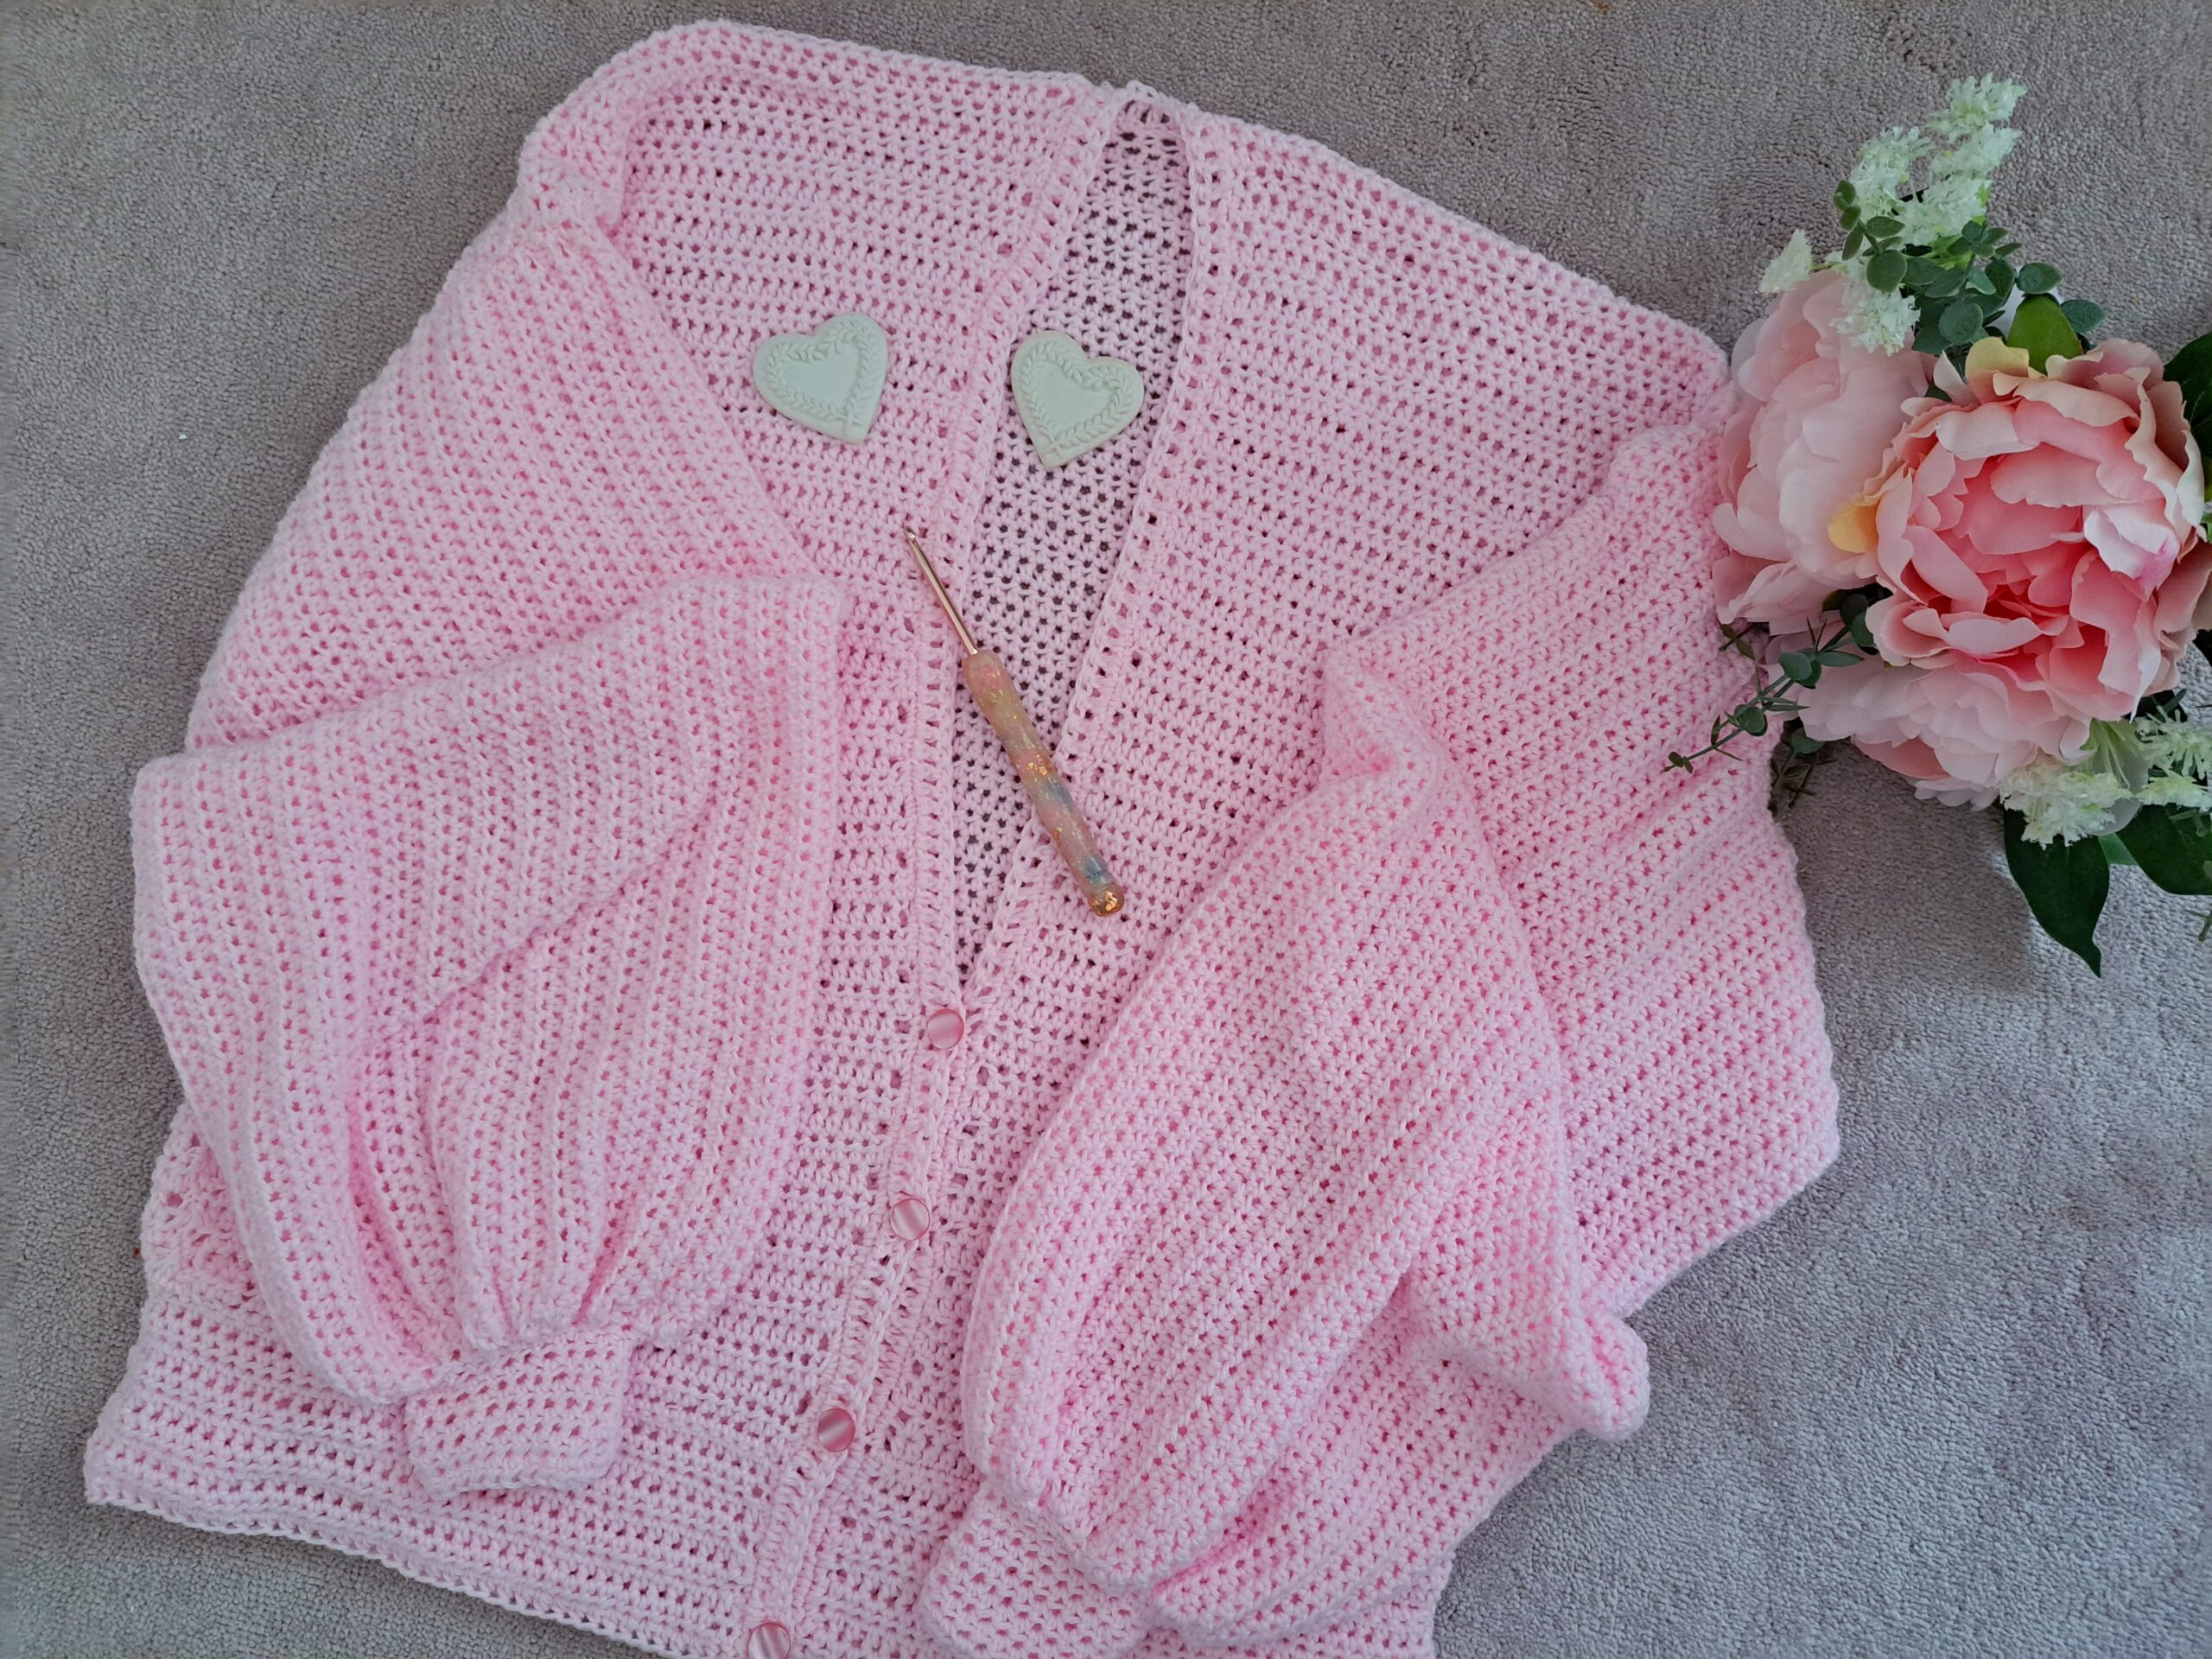
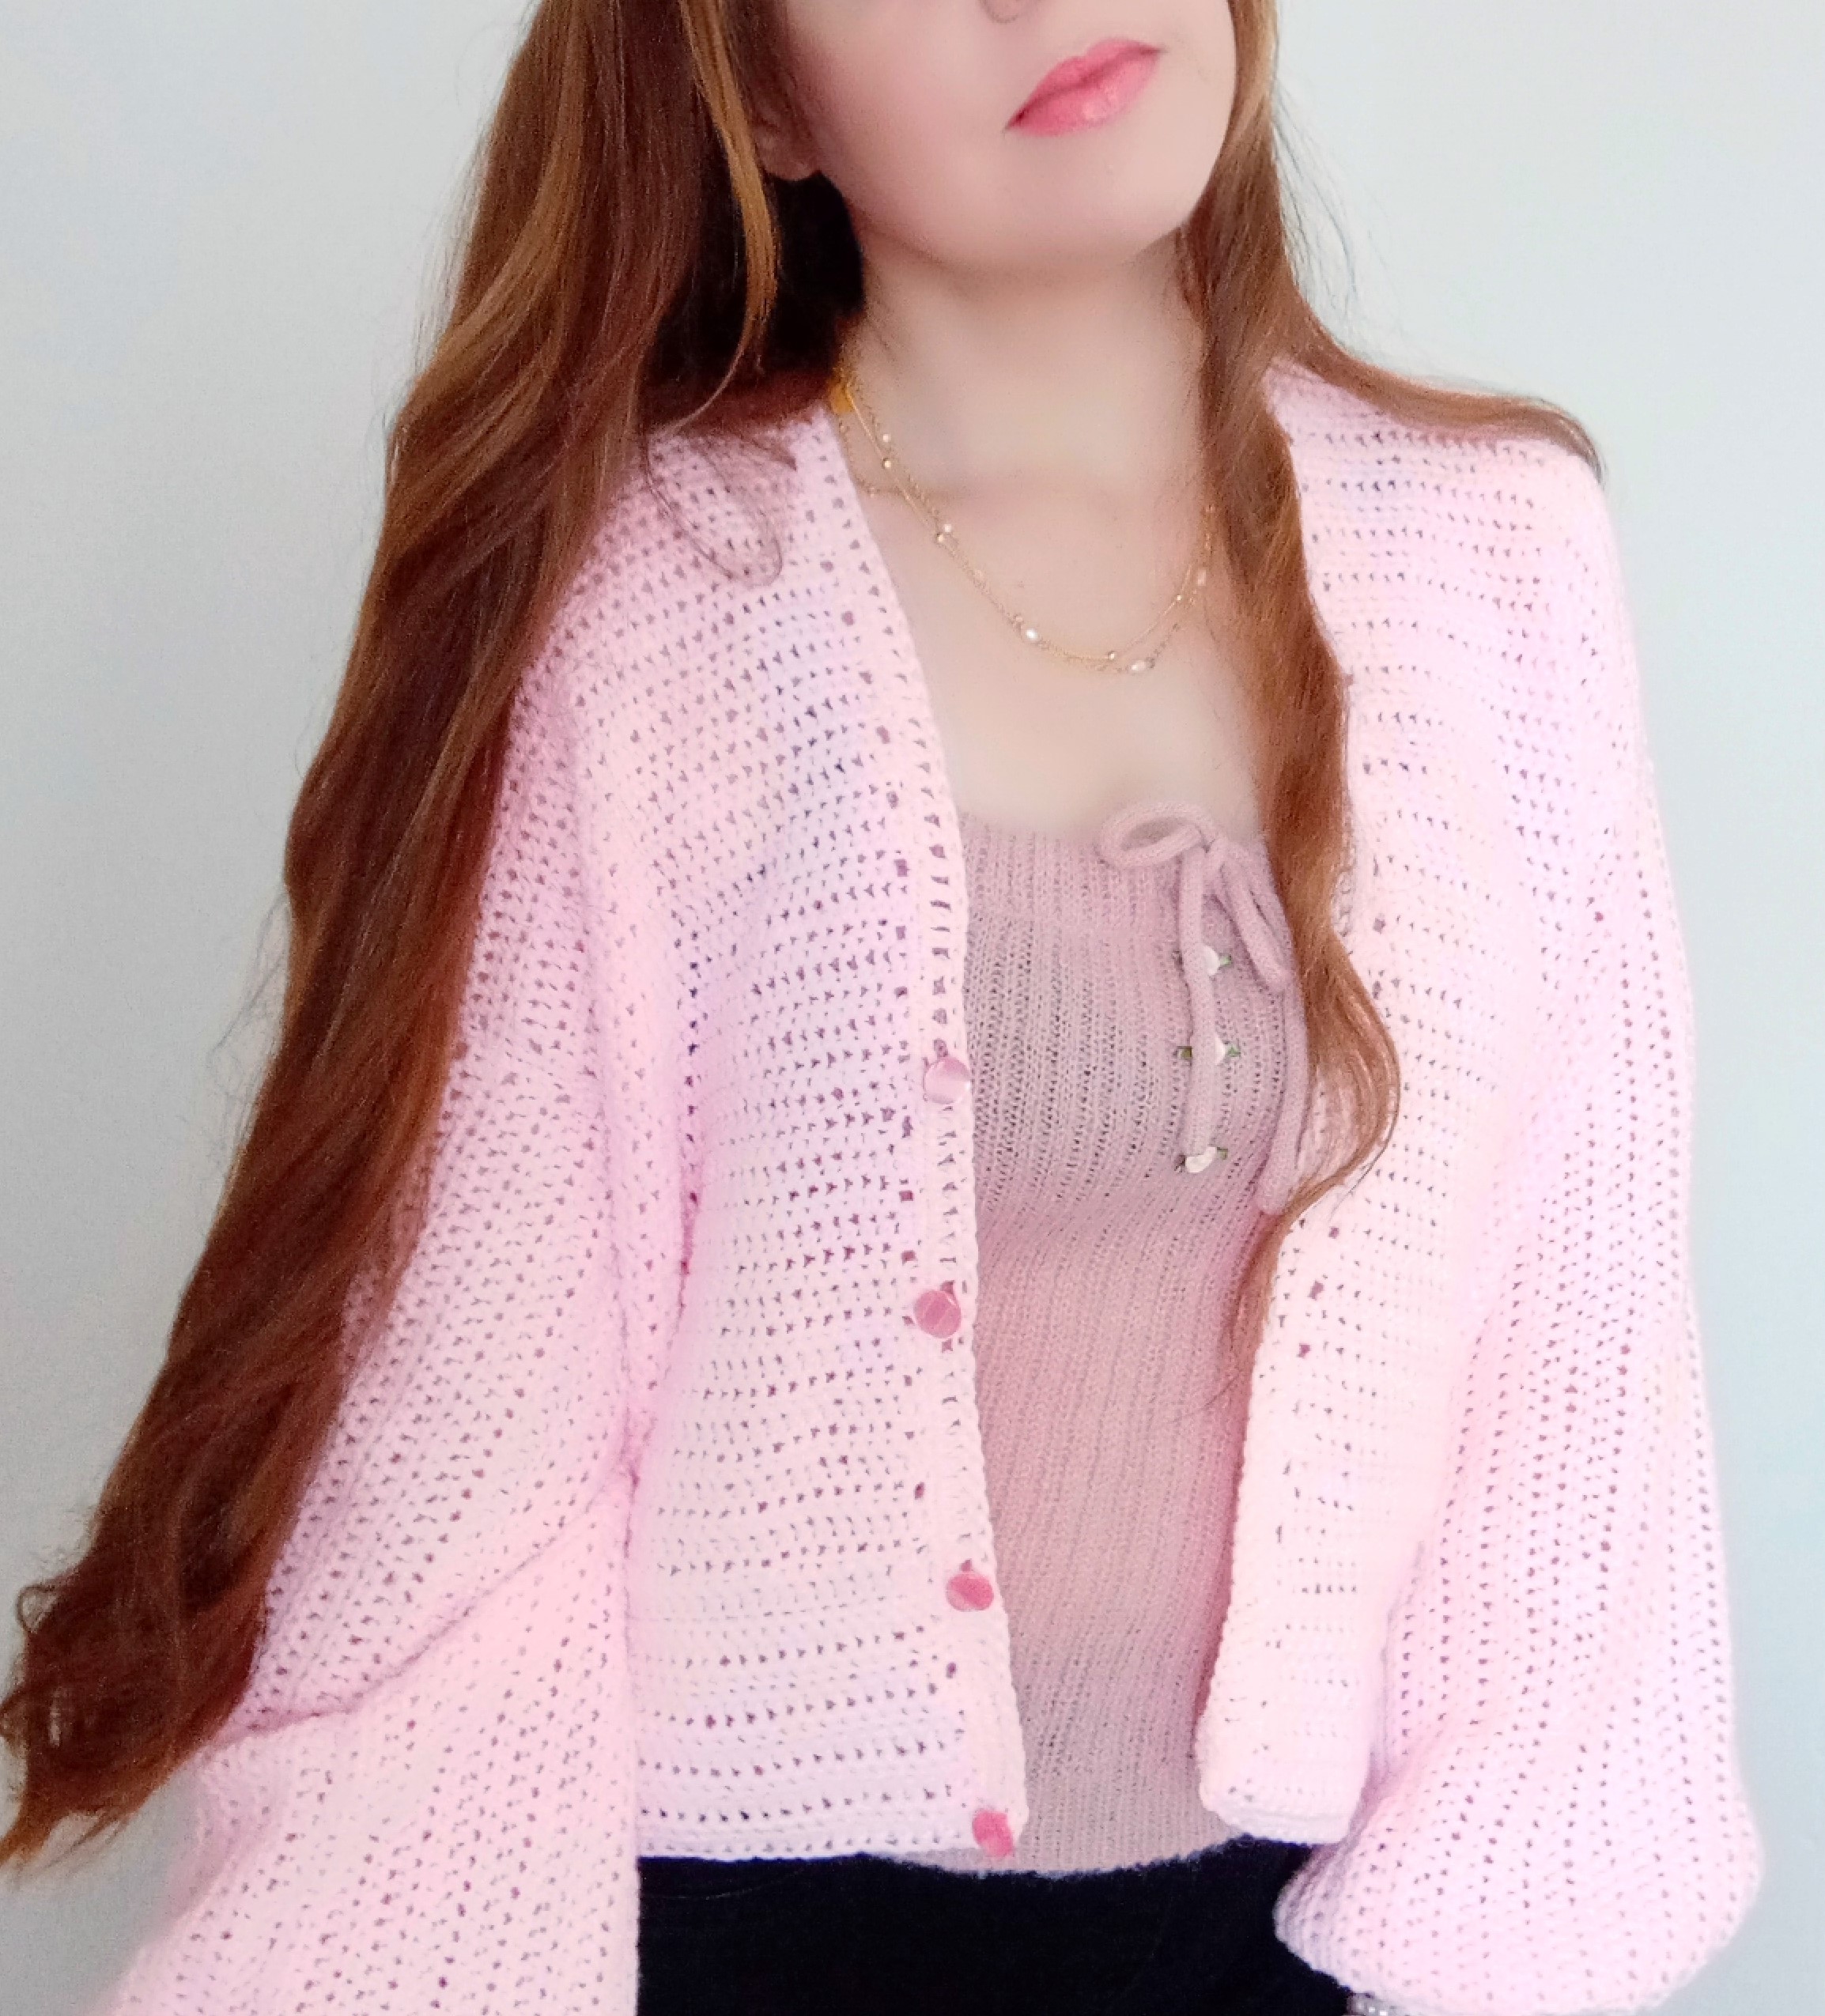
Hi everyone, this week I am bringing to you the Angel Wings Cardigan free pattern. This crochet cardigan is so beautiful and dainty! I really love this project so much, and I hope you enjoy this project it soon. This crochet cardigan is very feminine and fine, and it also comes in sizes S to XXXL.
The video tutorial for this project can be found here:
Crochet The Angel Wings Cardigan Free Pattern: The Inspiration
The Angel Wings Cardigan is so beautiful and feminine. It is crocheted with a fine light 3/DK yarn which is very soft and delicate. Indeed, I used Emu’s Treasure DK in shade Baby Pink. This yarn is so beautiful, and has become one of my favorite yarns ever since I have discovered it. I crocheted the Edwardian Era Wrap has been crocheted with this lovely yarn.
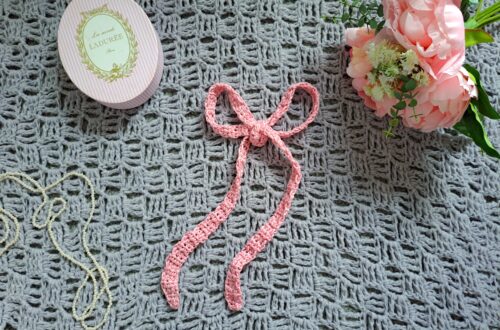
If you live in the USA and Canada you can substitute this yarn for Bernat Softee Baby yarn. Both these yarns are very similar and are very soft and beautiful. I used this yarn for The Lily Hexagon Cardigan, which is so beautiful and fine. The Pretty Knot Wrap is also crocheted with Bernat Softee Baby yarn, and it is so delicate and feminine.
The Juliette Vintage French Wrap is also a perfect example of a lovely fine yarn. All these lovely accessories and items look beautiful and very delicate because the yarn is so fine. Crocheting with fine light 3/DK yarn is very pleasant and makes for very delicate looking items.
Crochet The Angel Wings Cardigan Free Pattern: The Name
I decided to call this cardigan the Angel Wings Cardigan because I love angels so much. At the moment, I feel like angelic activity is even more present than usual; I really wanted to crochet a cardigan that put me in mind of an angel.
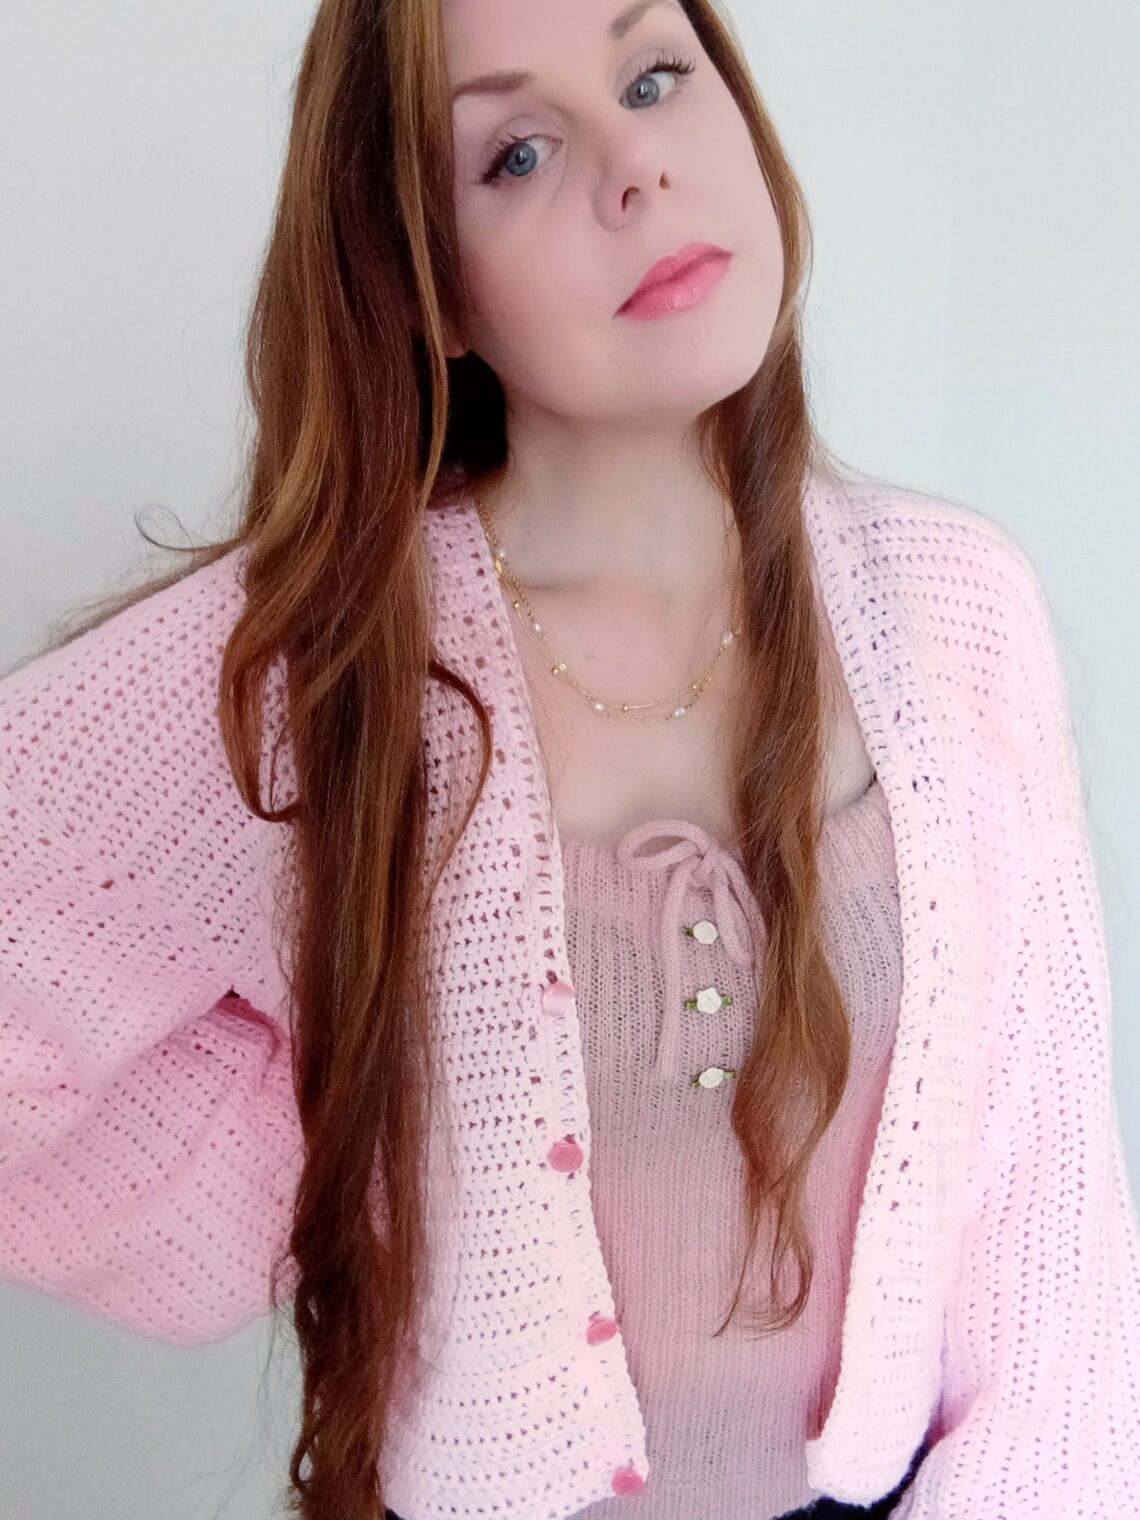
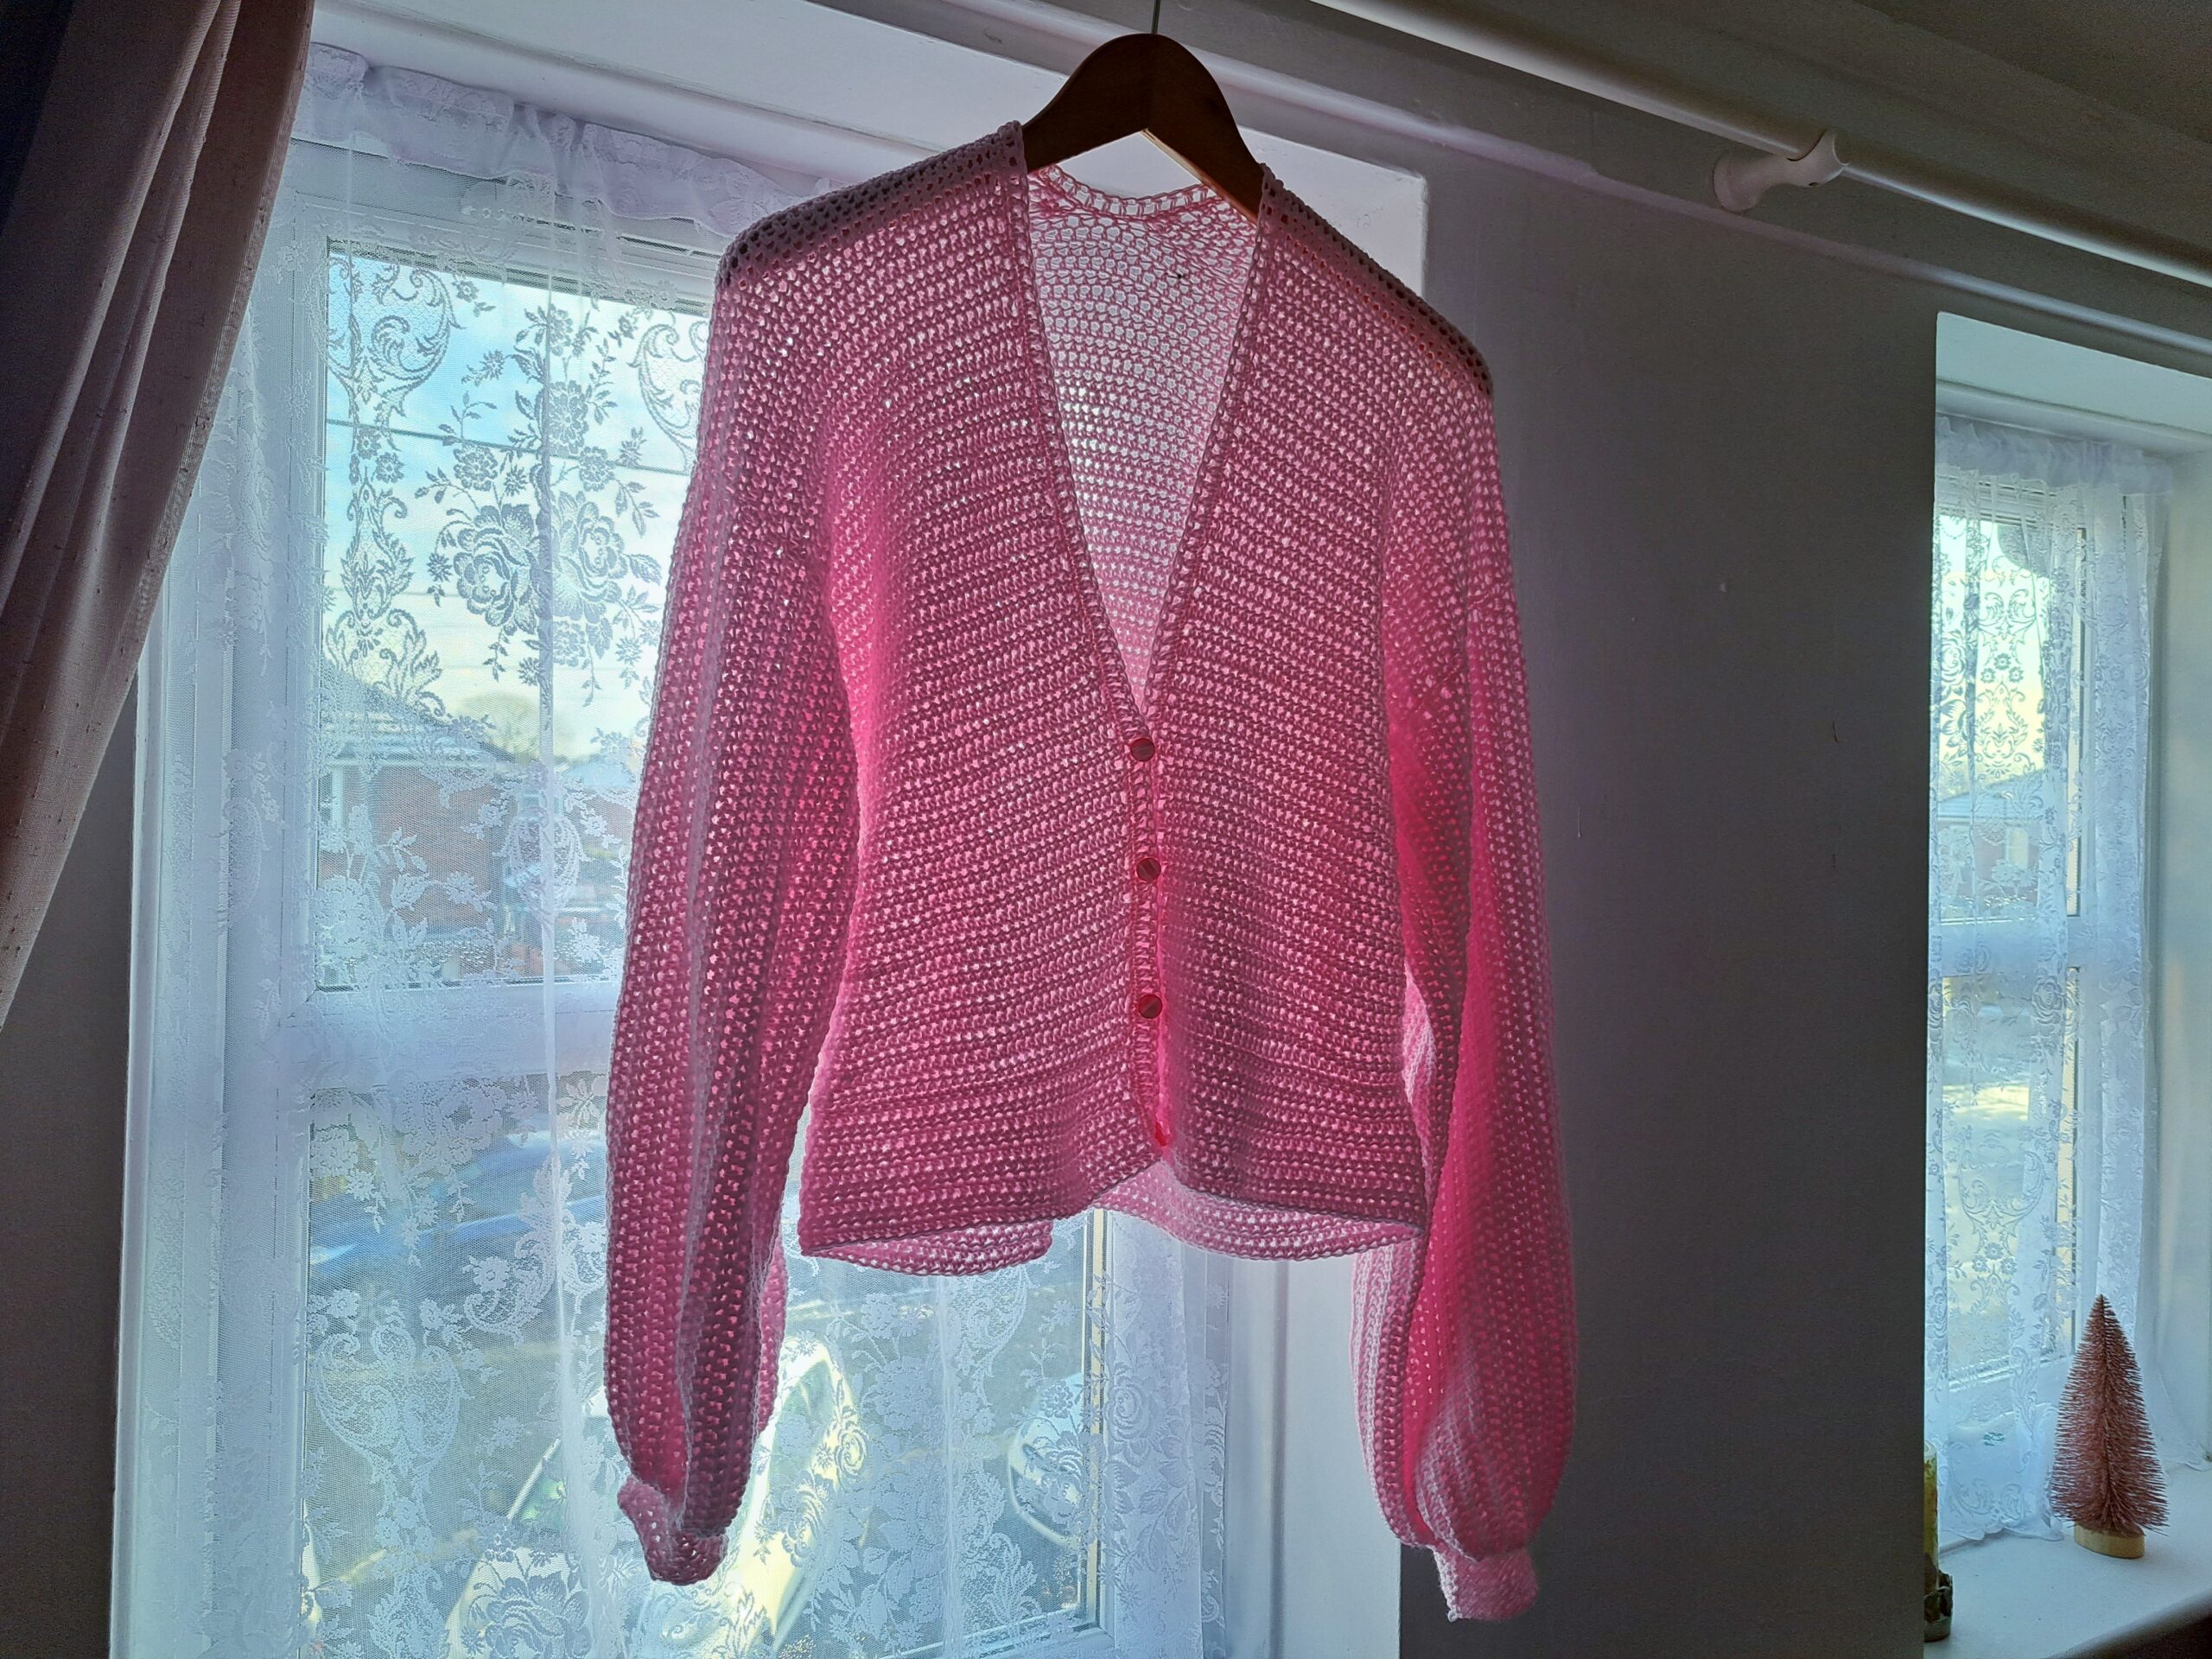
The bell sleeves and the delicate design are really inspired by the grace and beauty which emanates from angels. The soft color and pearly buttons also add to the beauty and delicate look of this cardigan. I decided to use a simple yet pretty stitch for this cardigan. This cardigan is versatile and can be worn in every season too. I personally can’t wait to wear this cardigan!
I crocheted The Pastel Patchwork Cardigan recently, and it is also a very lovely and feminine cardigan to make and wear. A few years ago I crocheted the Iconic Patchwork Cardigan which is so beautiful and also easy to make. For the winter time, you can also have a look at the Coconut Cream Cardigan, made with Caron Latte Cakes.
Let me know if you love crochet cardigans as much as I do!
Connecting with you
I would like to take a moment to thank every single one of you, for supporting me and my crochet journey. Indeed, I absolutely am so touched by all your messages, comments, and every person who has become a patron of my work through Patreon. Thank you!
I love connecting with my Crochet Community through my blog and Social Media. You can find me on Youtube, Instagram, and Pinterest. I would love to connect with you on these platforms.
You can also join my private Facebook group to connect.
Subscribe to our weekly newsletter so that you never miss a stitch!
Crochet The Angel Wings Cardigan: The Pattern
You can purchase the ad free, large print, PDF pattern from my Etsy store here: Crochet The Angel Wings PDF Pattern
You can purchase the ad free, large print, PDF pattern from my Ravelry store here: Crochet The Angel Wings PDF Pattern
Level: Easy +
Notes
I will be using US terms (British terms in brackets).
Gauge
4” (10 cm): 18 stitches
4” (10 cm): 13 rows
Size of finished cardigan (including borders, excluding sleeves)
Size S: 21” (53,5 cm) x 17,5” (44,5 cm)
Size M: 23” (58,5 cm) x 19,5” (49 cm)
Size L: 25” (63,5 cm) x 21,5” (54,5 cm)
Size XL: 27” (68,5 cm) x 23,5” (60 cm)
Size XXL: 29” (73,5 cm) x 25,5” (64 cm)
Size XXXL: 31” (79 cm) x 27,5” (69 cm)
Materials
7 skeins of Emu Treasure DK yarn in shade Baby Pink (S/M), 8 skeins (L/XL), 9 skeins (XXL/XXXL) OR 3 /4 skeins of Bernat Softee Baby in shade Pink
4 mm crochet hook
Pair of scissors
Tapestry needle
Four 15 to 20 mm buttons
Darning thread and needles
Stitch marker
Sewing pins (optional)
Abbreviations
Ch: Chain
Sl st: slip stitch
St: Stitch
Sk: skip
Sp: Space
SC: Single Crochet (UK Double Crochet)
DC: Double Crochet (UK Treble Crochet)
HDC: Half Double Crochet (UK Half Double Treble)
EOR: End of row/end of round
General Pattern Notes
We will be crocheting different parts of this project using the 4 mm crochet hook.
You will be making the back, the 2 front panels, and 2 identical sleeves before sewing your cardigan together.
You will then be making the bottom edging, each sleeve cuff edging, and front opening edging. Once these are added directly to the project, we will be sewing on the 4 buttons to the front opening of the cardigan.
Pattern written for size S, M written in ( ), L in [ ], XL in bold, XXL in cursive, XXXL in ().
Begin pattern here
Back panel
Chain 73 (82) [91] 100, 109 (118)
Row 1: HDC in 3rd chain from the hook, HDC into each ch until end of row (first ch 2 counts as a HDC).
Row 2: Ch 2 (=HDC), turn your work, HDC into second HDC from previous row and each stitch across until eor.
Rows 3–56 (62) [69] 75, 82 (88): Repeat row 2.
Fasten off, leaving long tail to sew project together.
Front panels (make 2)
Chain 37 (42) [47] 52, 57 (62)
Row 1: HDC in 3rd chain from the hook, HDC into each ch until end of row (first ch 2 counts as a HDC).
Row 2: Ch 2 (=HDC), turn your work, HDC into second HDC from previous row and each stitch across until eor.
Rows 3–56 (62) [69] 75, 82 (88): Repeat row 2.
Fasten off, leaving long tail to sew project together.
Fasten off, leaving long tail to sew project together.
Sleeves (make 2)
Chain 73 for all sizes.
Row 1: HDC in 3rd chain from the hook, HDC into each ch until end of row (first ch 2 counts as a HDC).
Row 2: Ch 2 (=HDC), turn your work, HDC into second HDC from previous row and each stitch across until eor.
Rows 3–64 (70) [76] 82, 88 (94): Repeat row 2.
Fasten off, leaving long tail to sew project together.
To sew your cardigan together
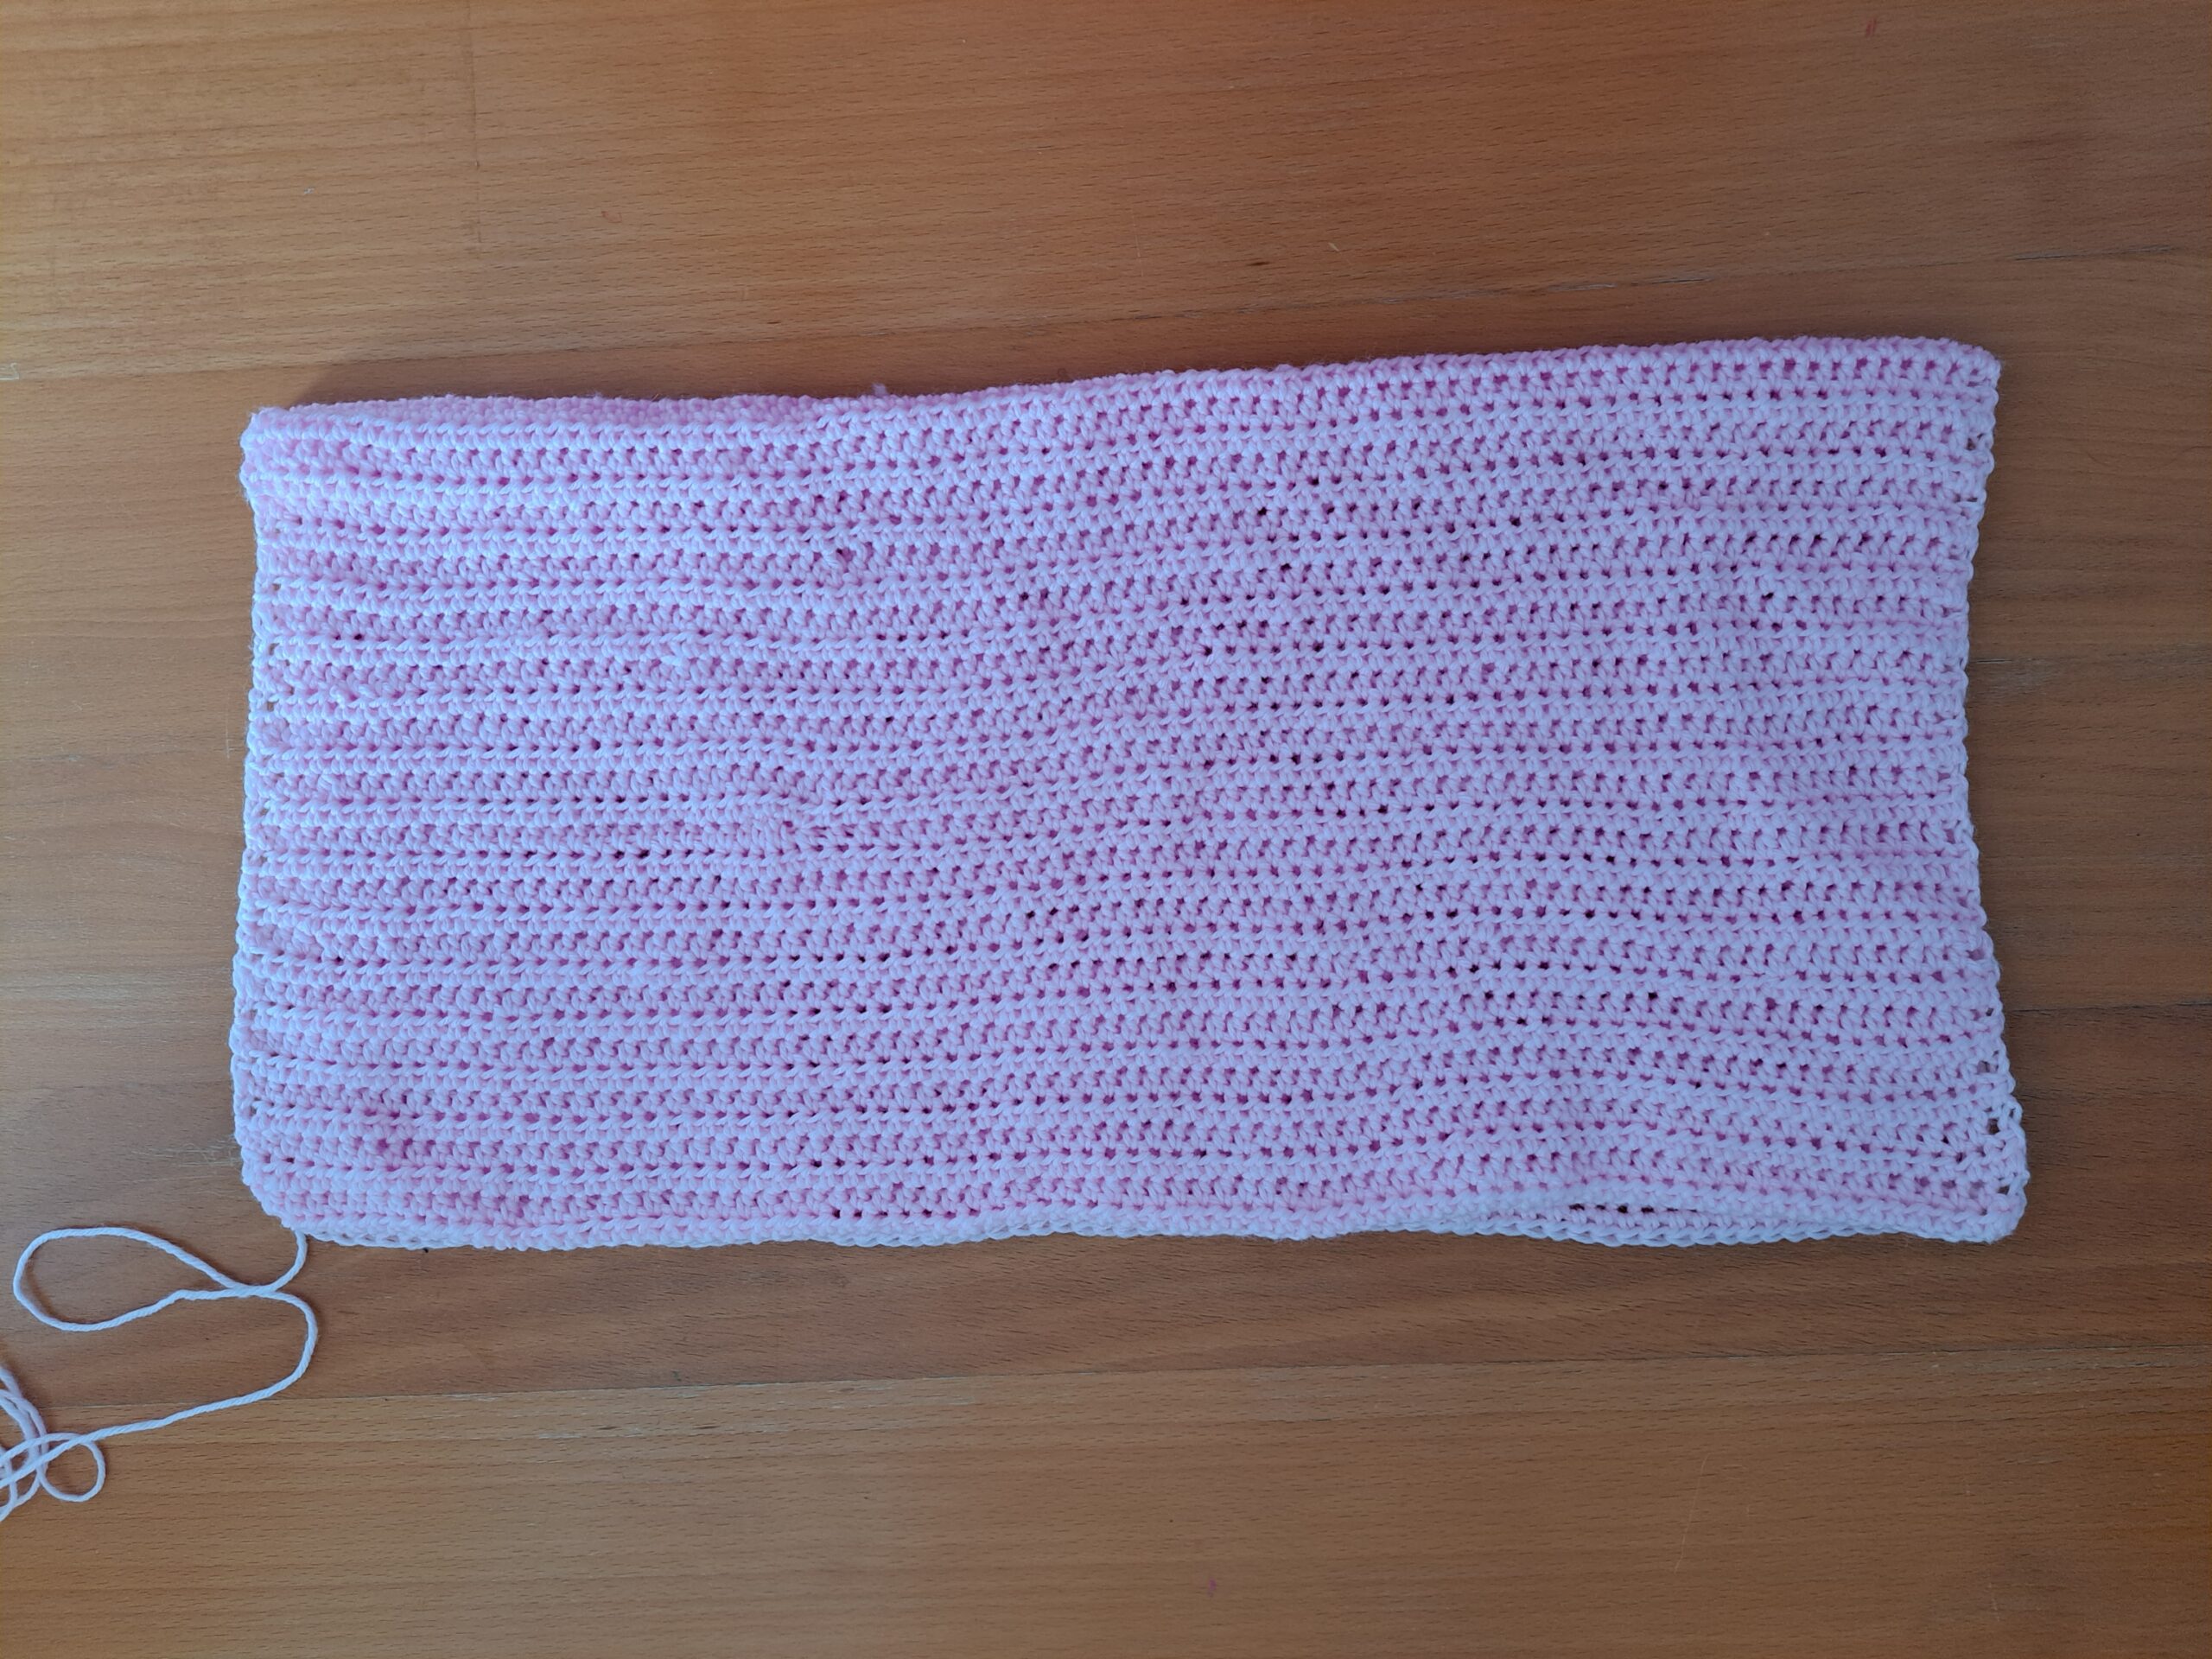
With wrong side facing, place your sleeves flat and fold in half (make sure you fold them so that the rows are horizontal, see photo).
With tapestry needle and yarn, sew your seam across so as to create your sleeves.
Do not turn inside out yet.
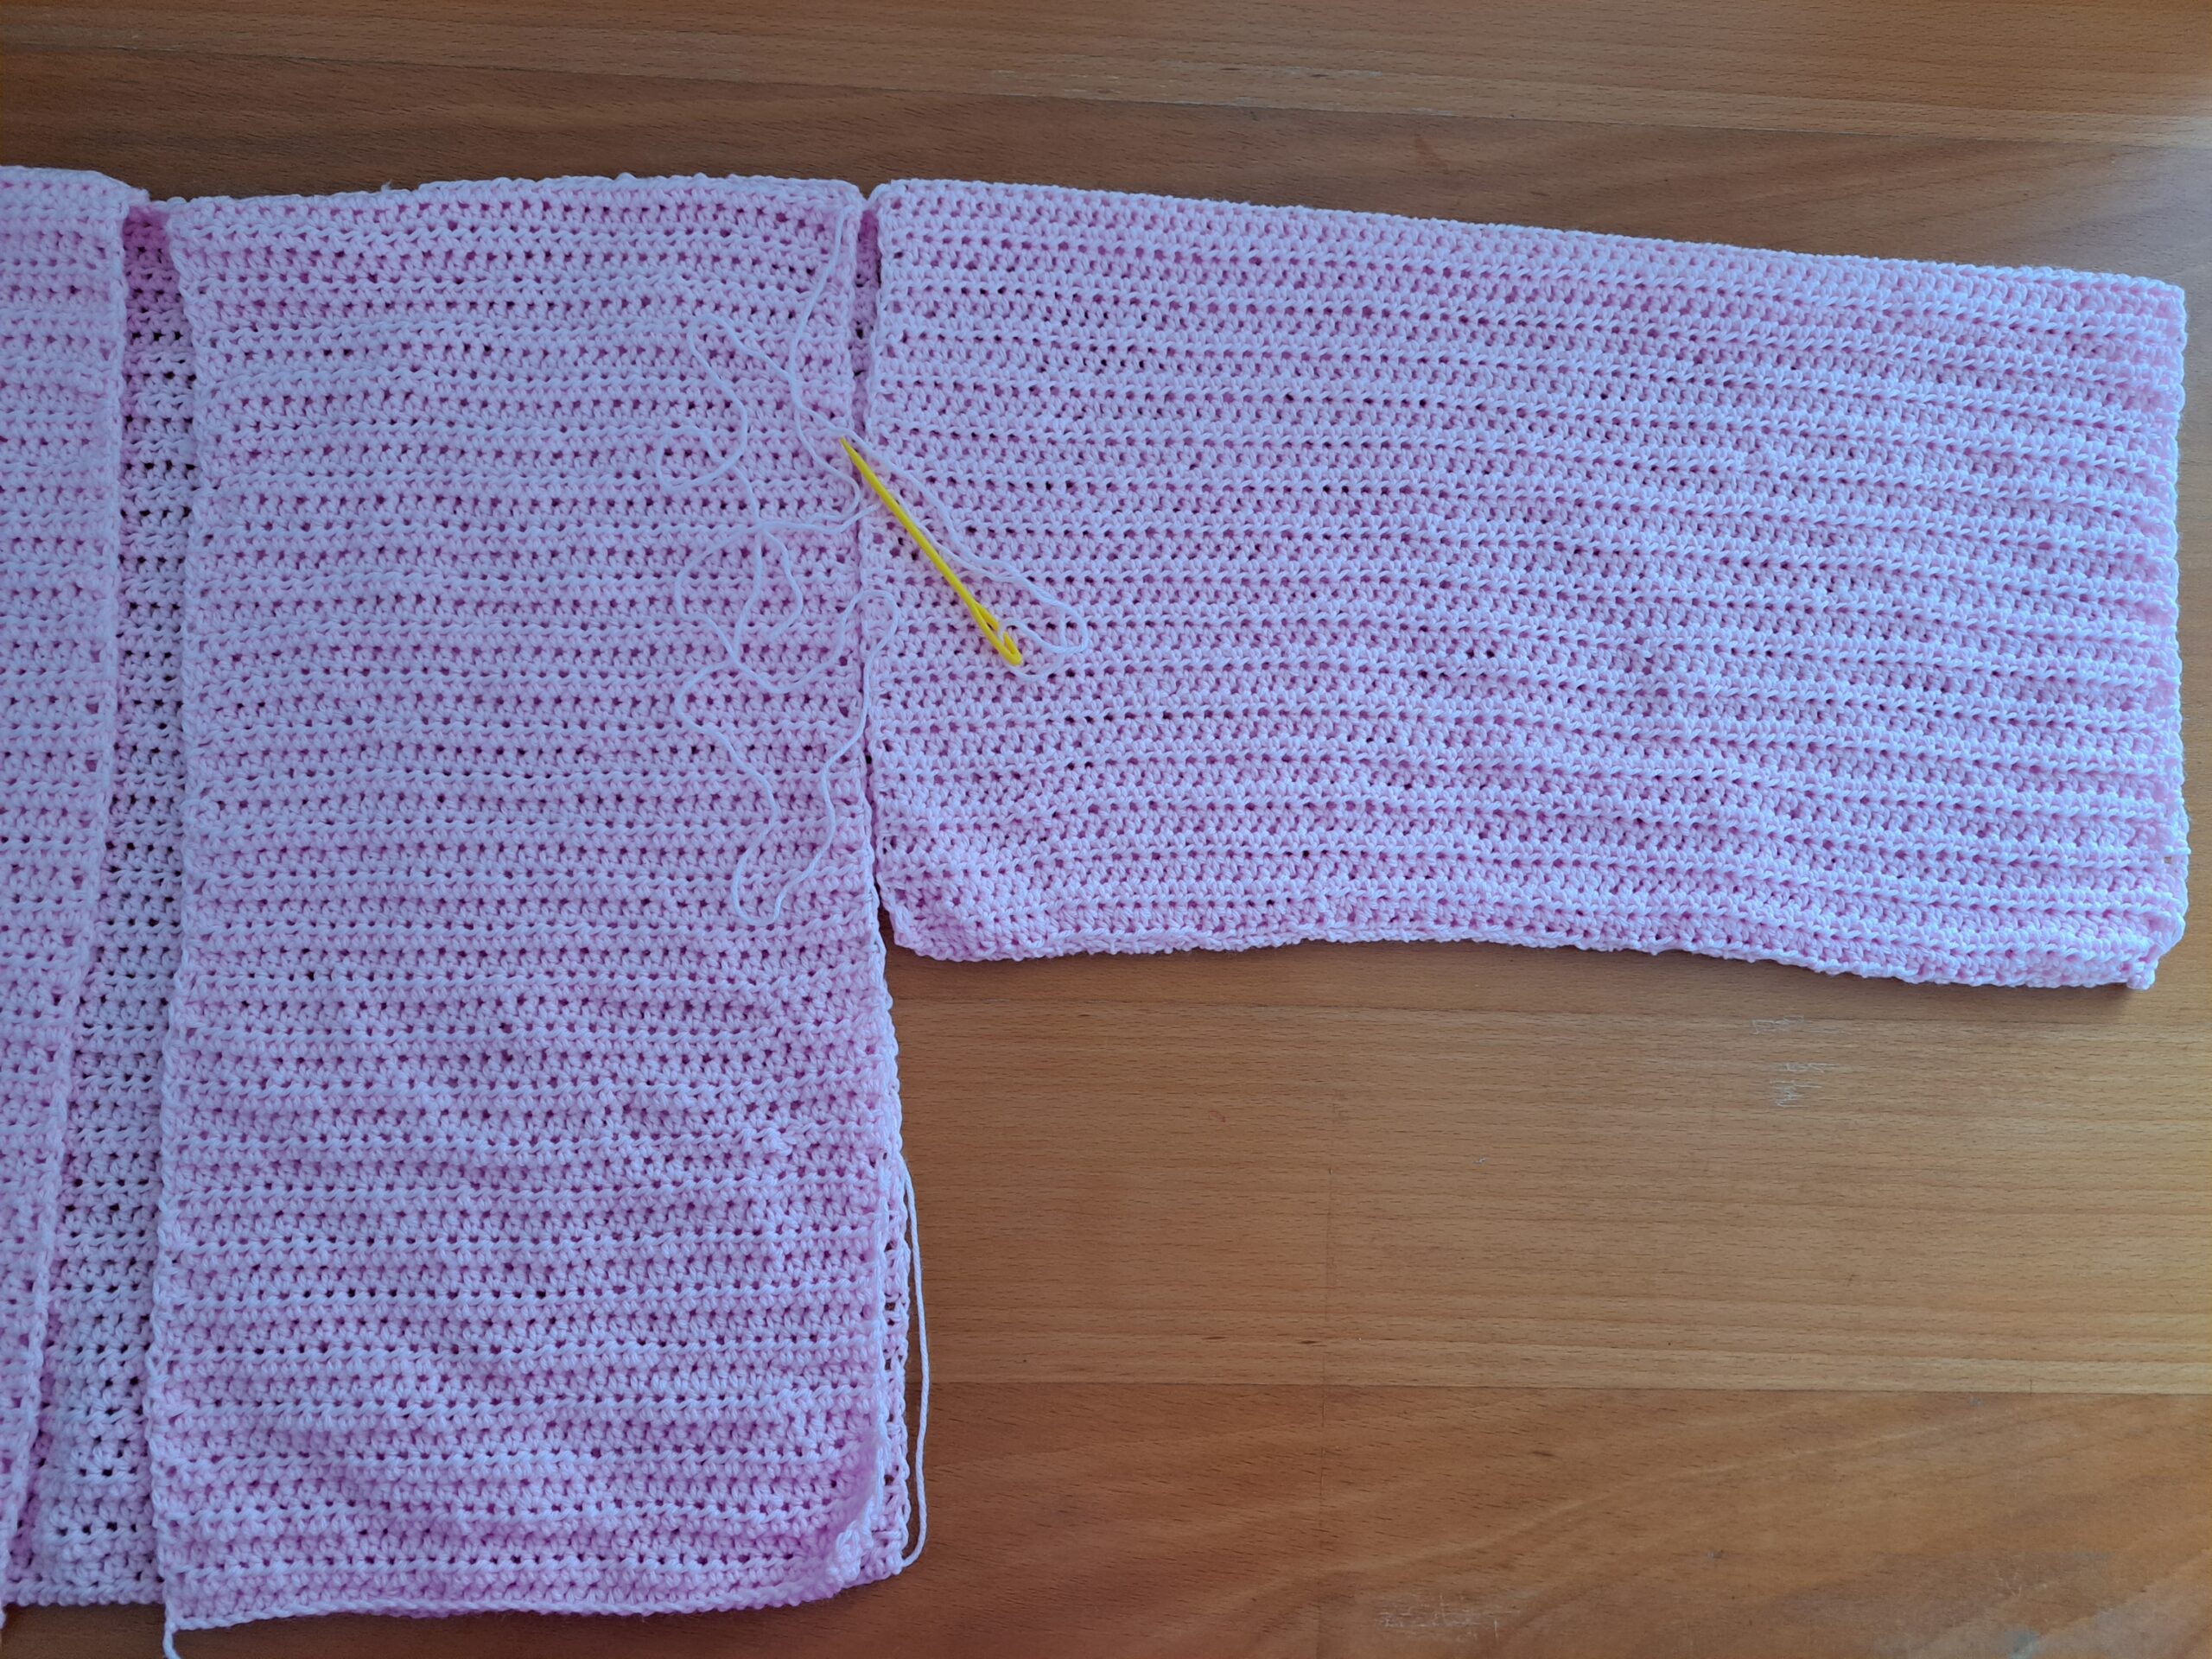
With wrong side facing, place your back panel onto a flat surface. Place your 2 front panels front facing on each side of the back panel symmetrically, making sure the corners of the front and back panels are symmetrical and touching.
Start sewing the shoulder seams straight across (see photo below).
Once this is done, sew your sleeves onto each side of the cardigan. To do this, place your sleeve at the top of the cardigan on each side, so that the top of each sleeve joins the top of the body of the cardigan. Make sure the seams of your sleeves are facing down.
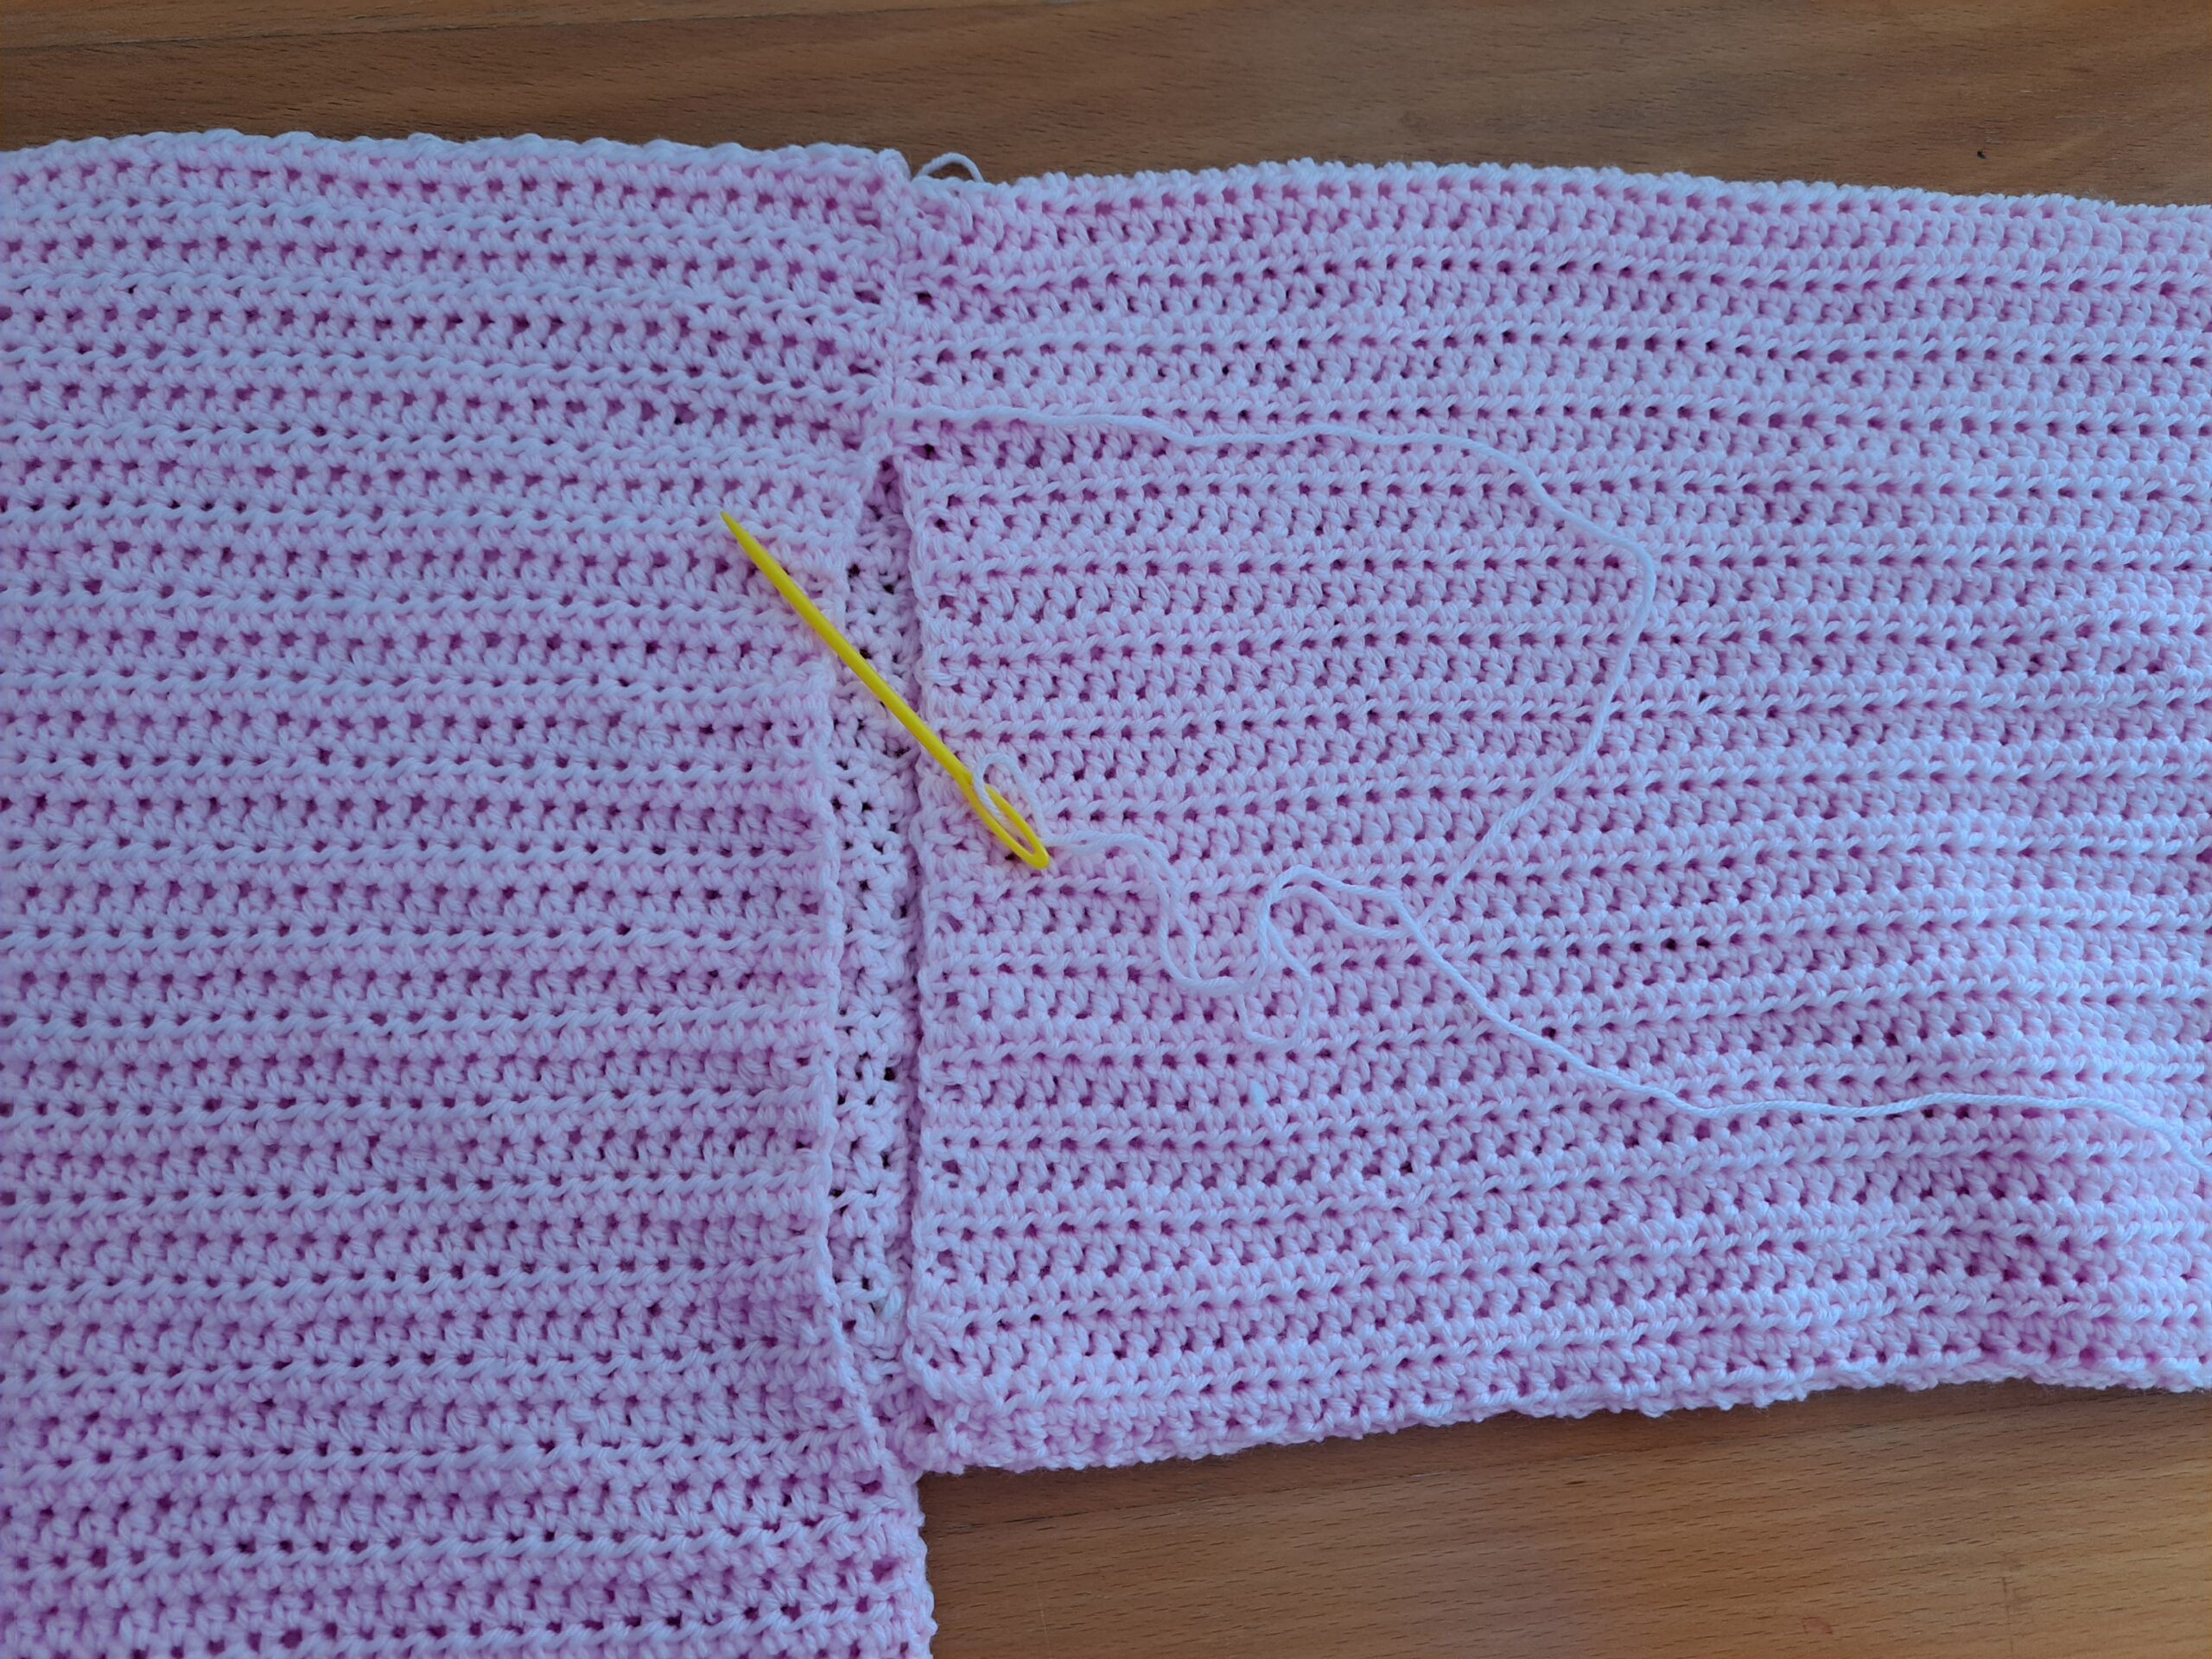
Now attach a piece of yarn to the top of the cardigan, where the top front panel is touching the sleeve; start sewing the sleeve and front panel together. Once you reach the bottom side of the sleeve, just carry on sewing the front and back panels together, without stopping. When you reach the bottom of the cardigan, fasten off.
Now turn your project around so as to sew in the back part of your sleeve to the back panel. Attach yarn at the top of shoulder, and sew both parts together. Once you reach the bottom of the sleeve, fasten off.
Repeat this process on the other side of the cardigan.
Add cuff edging (repeat process on both sleeve cuffs)
Attach yarn to first sleeve end (attach yarn to any stitch on the sleeve end).
Round 1: Ch 1 (counts as a SC), sk one stitch. [Place a SC into next stitch, sk a stitch] until eor. Sl stitch to first ch 1 to close round. This is the row side (as opposed to the stitch side), so make sure you place SCs evenly across this round.
Round 2: Ch 1 (counts as a SC), [Place a SC into next 2 stitches, sk a stitch] until eor. Sl stitch to first ch 1 to close round.
Round 3: Ch 2 (=HDC), turn your work, HDC into next st until eor.
Round 4-8: Repeat row 3.
Fasten off and tidy up all loose ends.
Add border to the bottom of the cardigan
Attach yarn to either bottom edge of the front opening.
Row 1: Ch 1 (=SC), SC into next stitch until eor all the way around the bottom of cardigan.
Row 2: Ch 2 (=HDC), turn your work, HDC into next st until eor.
Row 3-9: Repeat row 2.
Fasten off and tidy up all loose ends.
Add edging to the front opening of the cardigan
Attach yarn to the front opening of the cardigan; attach yarn to the first stitch at the bottom of either side of the front opening.
Row 1: Ch 1 (=SC), place a SC into next stitch until eor all the way around the front of cardigan, until you reach the other side of the front opening.
Row 2: Ch 3 (=DC), turn your work, place a DC into each SC from previous row until eor.
Fasten off and tidy up all loose ends.
Sew buttons onto the project
Place your completed cardigan on a flat surface with the front facing.
With your darning thread and needle, sew your 3 buttons onto the front opening of the cardigan.
Start by sewing your first button at the very bottom of the DC row we have just added to the front opening. Now sew your two other buttons above your first button, measuring about 2” between each button.


You May Also Like

Crochet Periwinkle Cocoon Cardigan Free Pattern
Crochet Dainty Envelope Bag Free Pattern