Crochet Petite Fleur Sweater Free Pattern
Crochet Petite Fleur Sweater Free Pattern
Hi everyone, this week I am bringing to you the Crochet Petite Fleur Sweater free pattern. This crochet project is so lovely and feminine! It is inspired by the Cottagecore aesthetic, which I will be explaining in depth in this blog post. This crochet sweater is lovely and dainty, and the pattern easy to follow. I hope you enjoy it!
The video tutorial for this project can be found here:
Crochet Petite Fleur Sweater Free Pattern: A Cottagecore Inspired Sweater
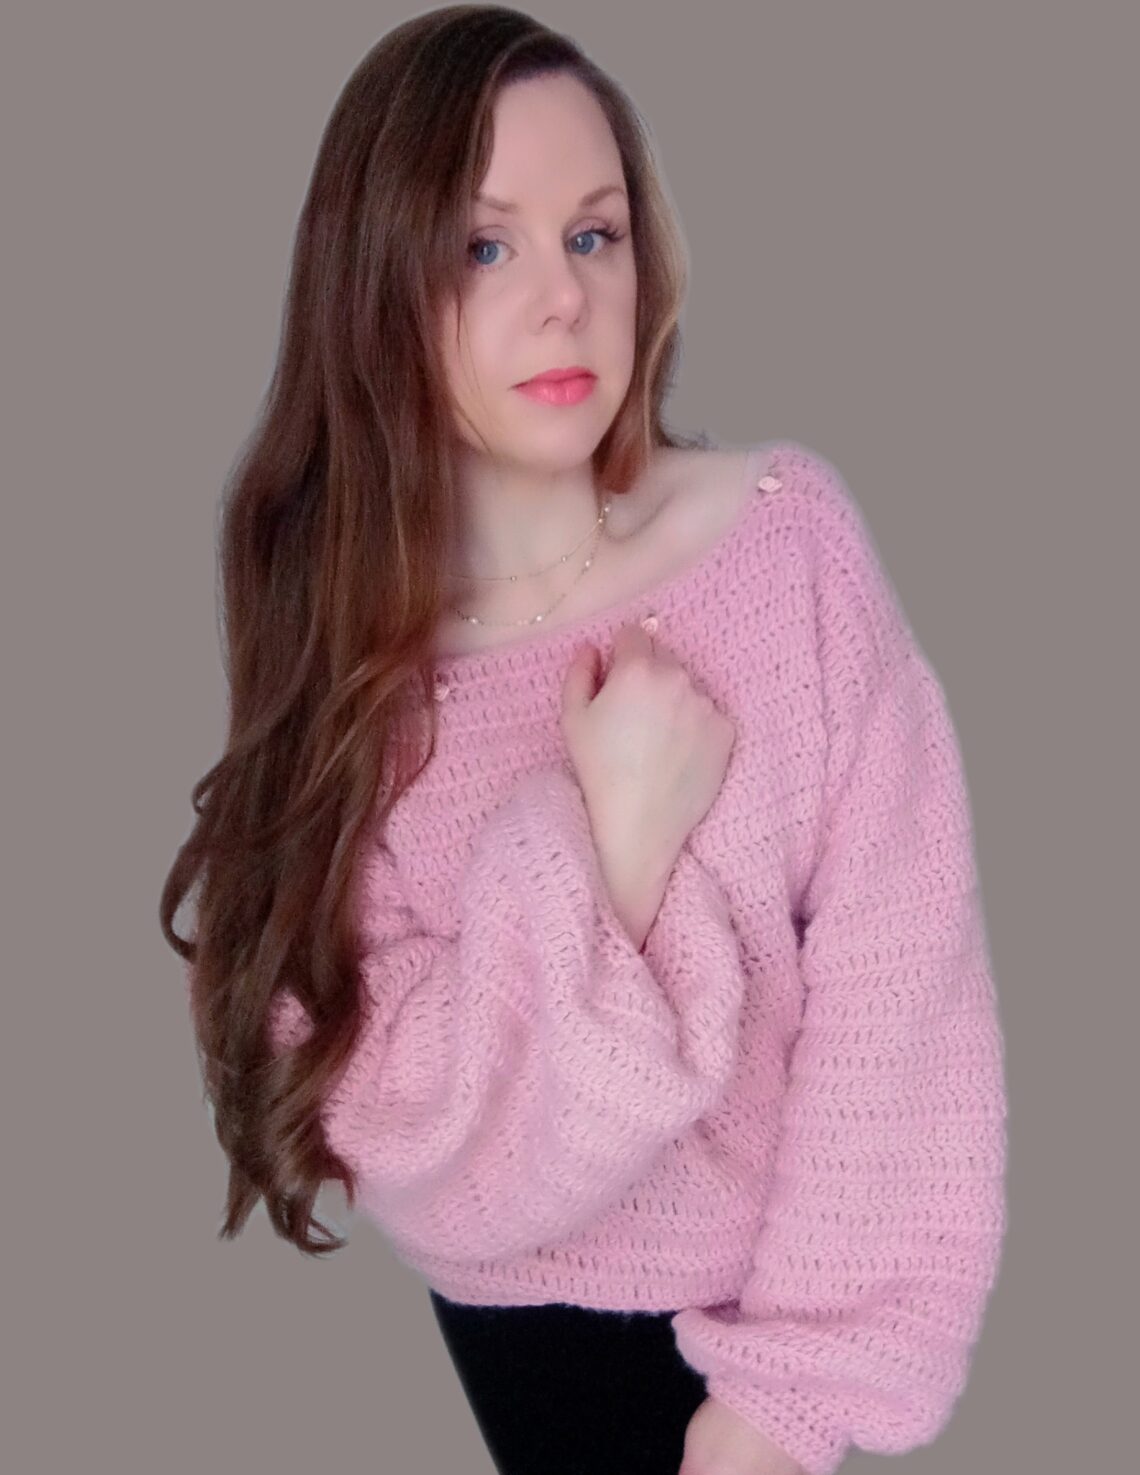
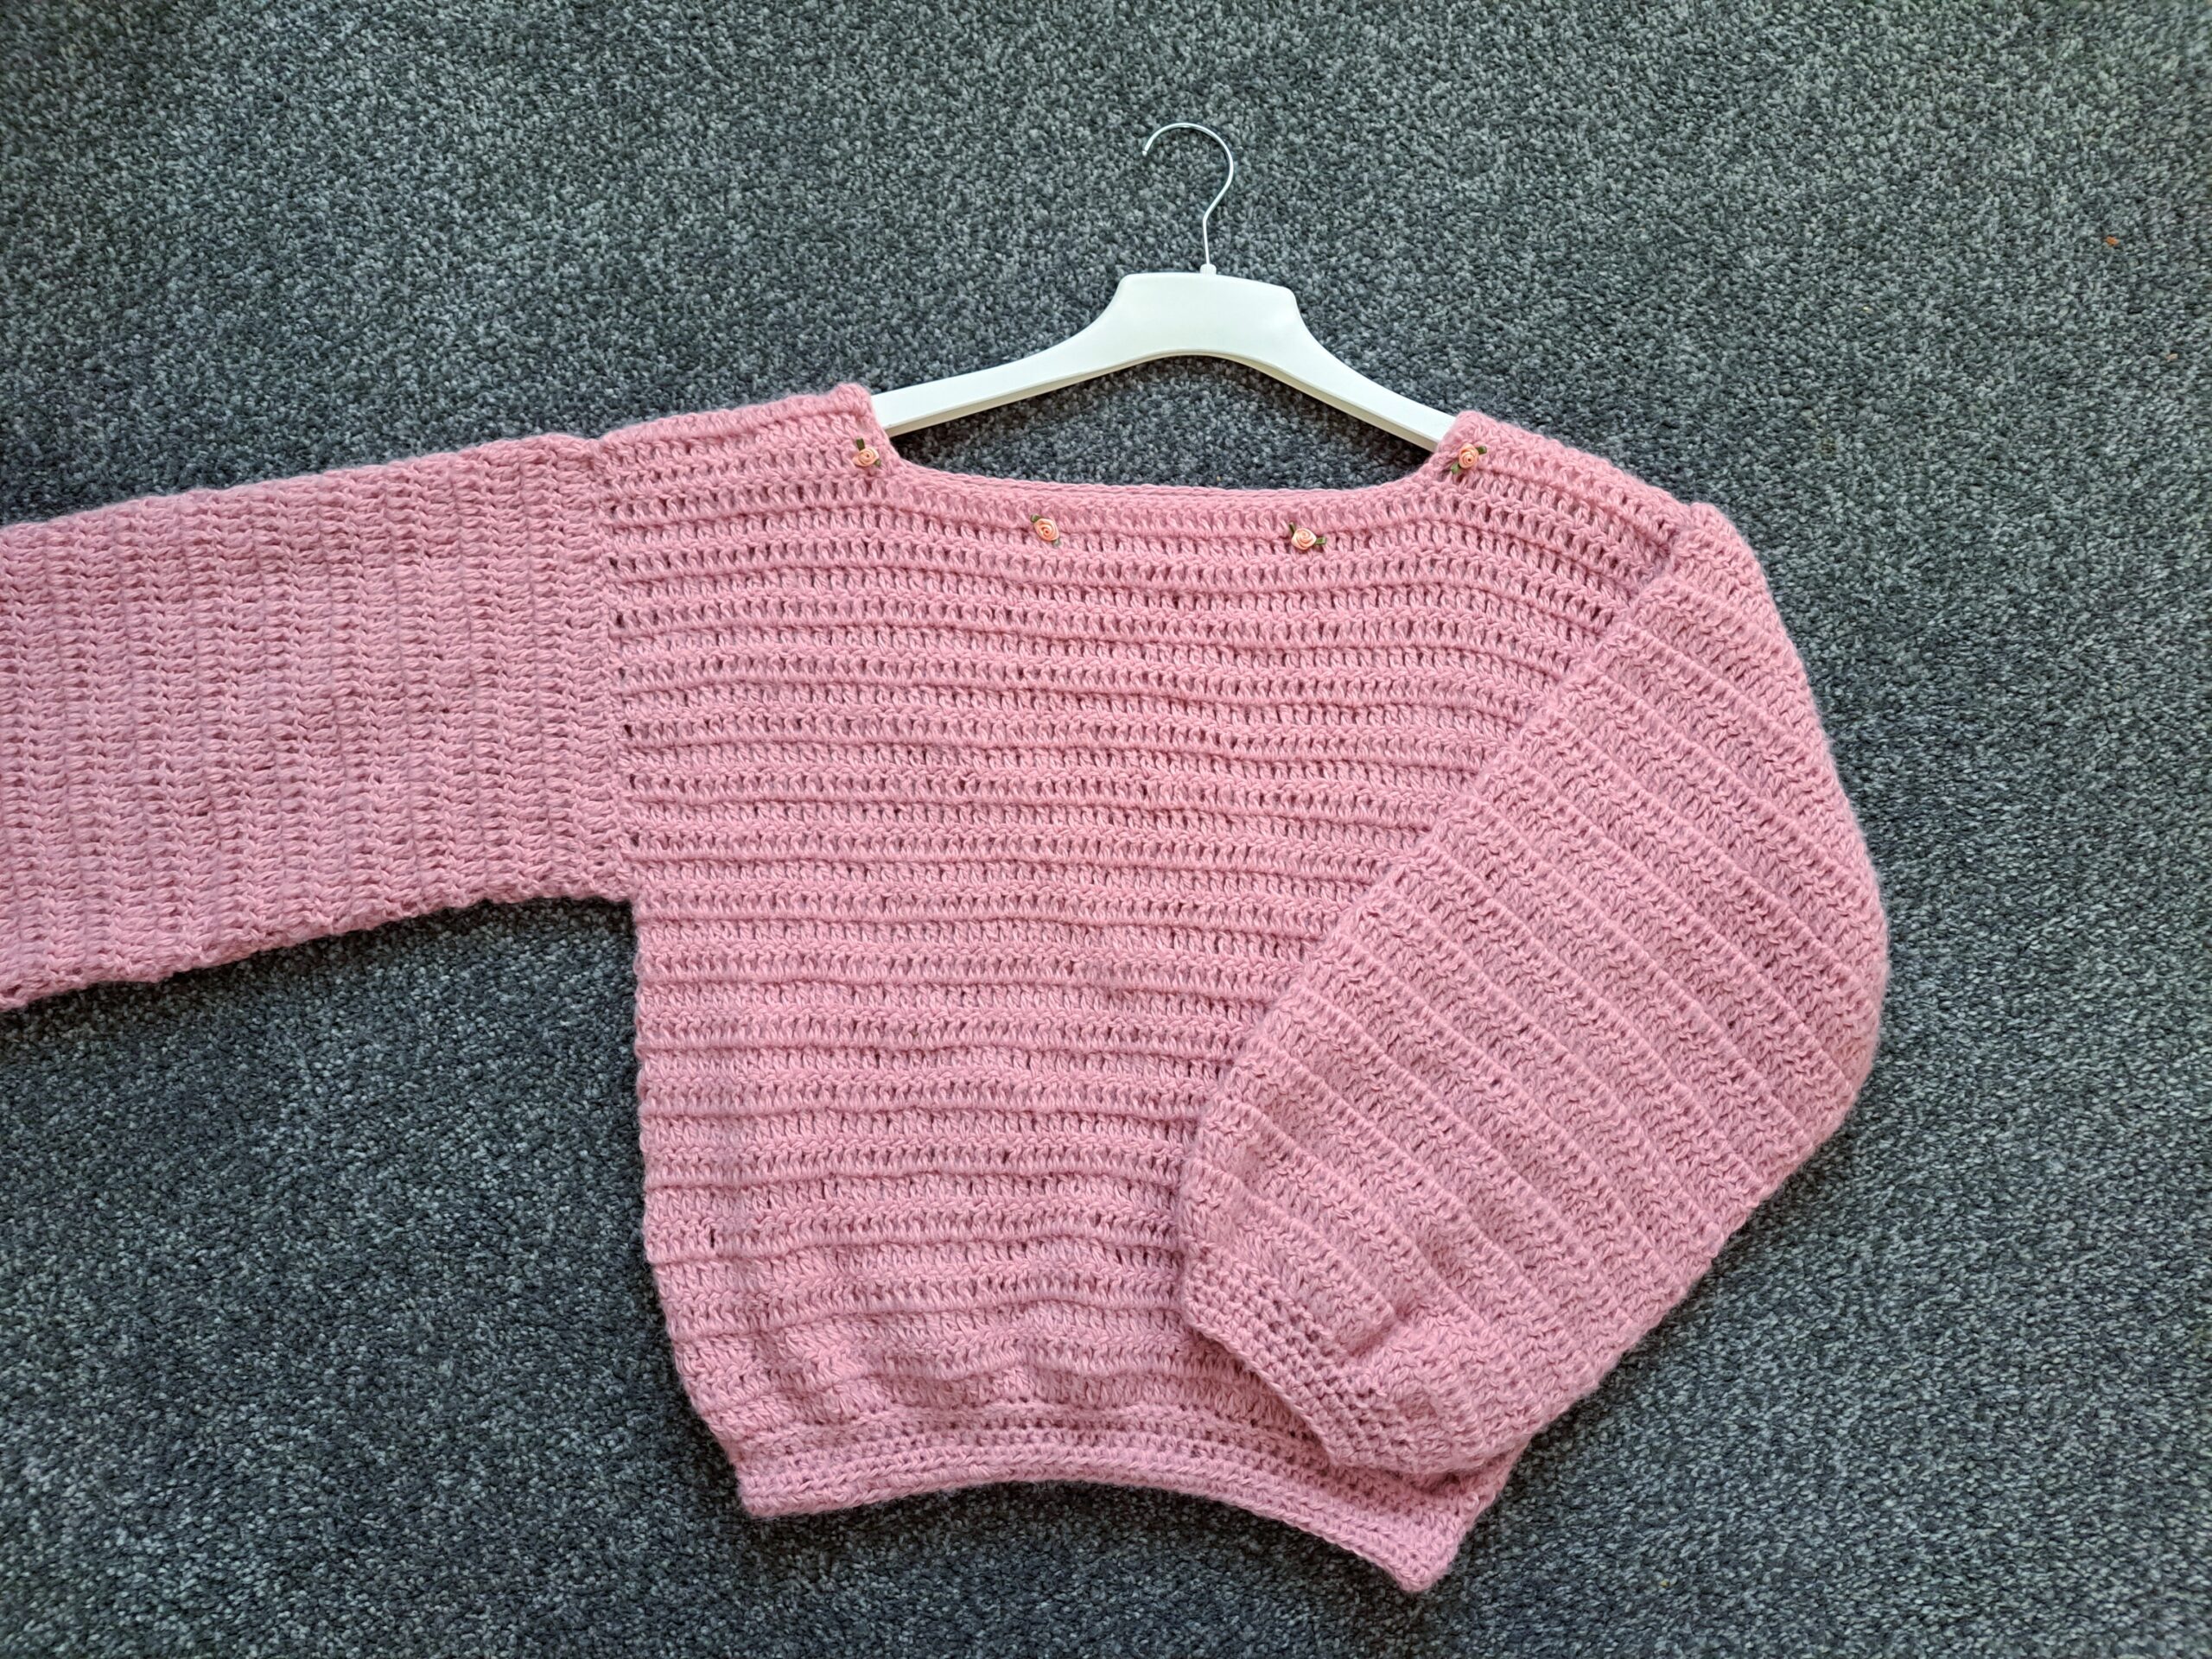
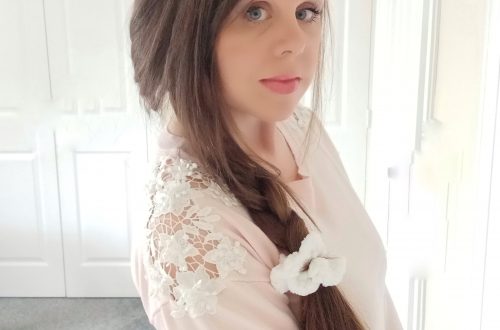
This crochet sweater is very lovely and features delicate flowers stitched onto the neck edging. Inspired by the Cottagecore aesthetic, this sweater comes in sizes S to XXXL (see pattern section). According to the Collins dictionary definition of the word, this means “a lifestyle revolving around rural living and pursuits; a style of clothes appropriate to the lifestyle”. I love this definition! However, I would add also as a lover of this feminine aesthetic that the Cottagecore trend also has a little more substance to it!
I think the Cottagecore aesthetic is characterized by soft and feminine clothes, and can look quite enchanting and ethereal too!
Some people may suggest a lot of my designs are inspired by the Cottagecore movement, and they would not be wrong! Indeed, most of my crochet patterns are feminine and dainty. If you love the Cottagecore aesthetic too, you should have a look at my Cottagecore Inspired Bandana from last year.
Don’t forget to also look at this bandana, also inspired by the lovely and bucolic Cottagecore aesthetic. My latest hair bow design is strongly inspired by this movement.
Crochet Petite Fleur Sweater Free Pattern: A Feminine Design
This is a design I really enjoyed creating. Indeed, it is both feminine and easy to crochet. I love designing cardigans, but thought I would make a sweater for a change. And I really enjoyed making it!
If you enjoy crocheted sweaters, you can check out the Solange Cropped Sweater from last year; the Mint Heart Sweater is also one of my all time favorite projects. It features a simple design, and three delicate heart motifs in the front. I am definitely going to be crocheting a new heart design this year, so watch this space!
The Scarlet Sweater and the Rose Petal Jumper are also perfect if you are looking for a sweater design that is feminine and easy to make.
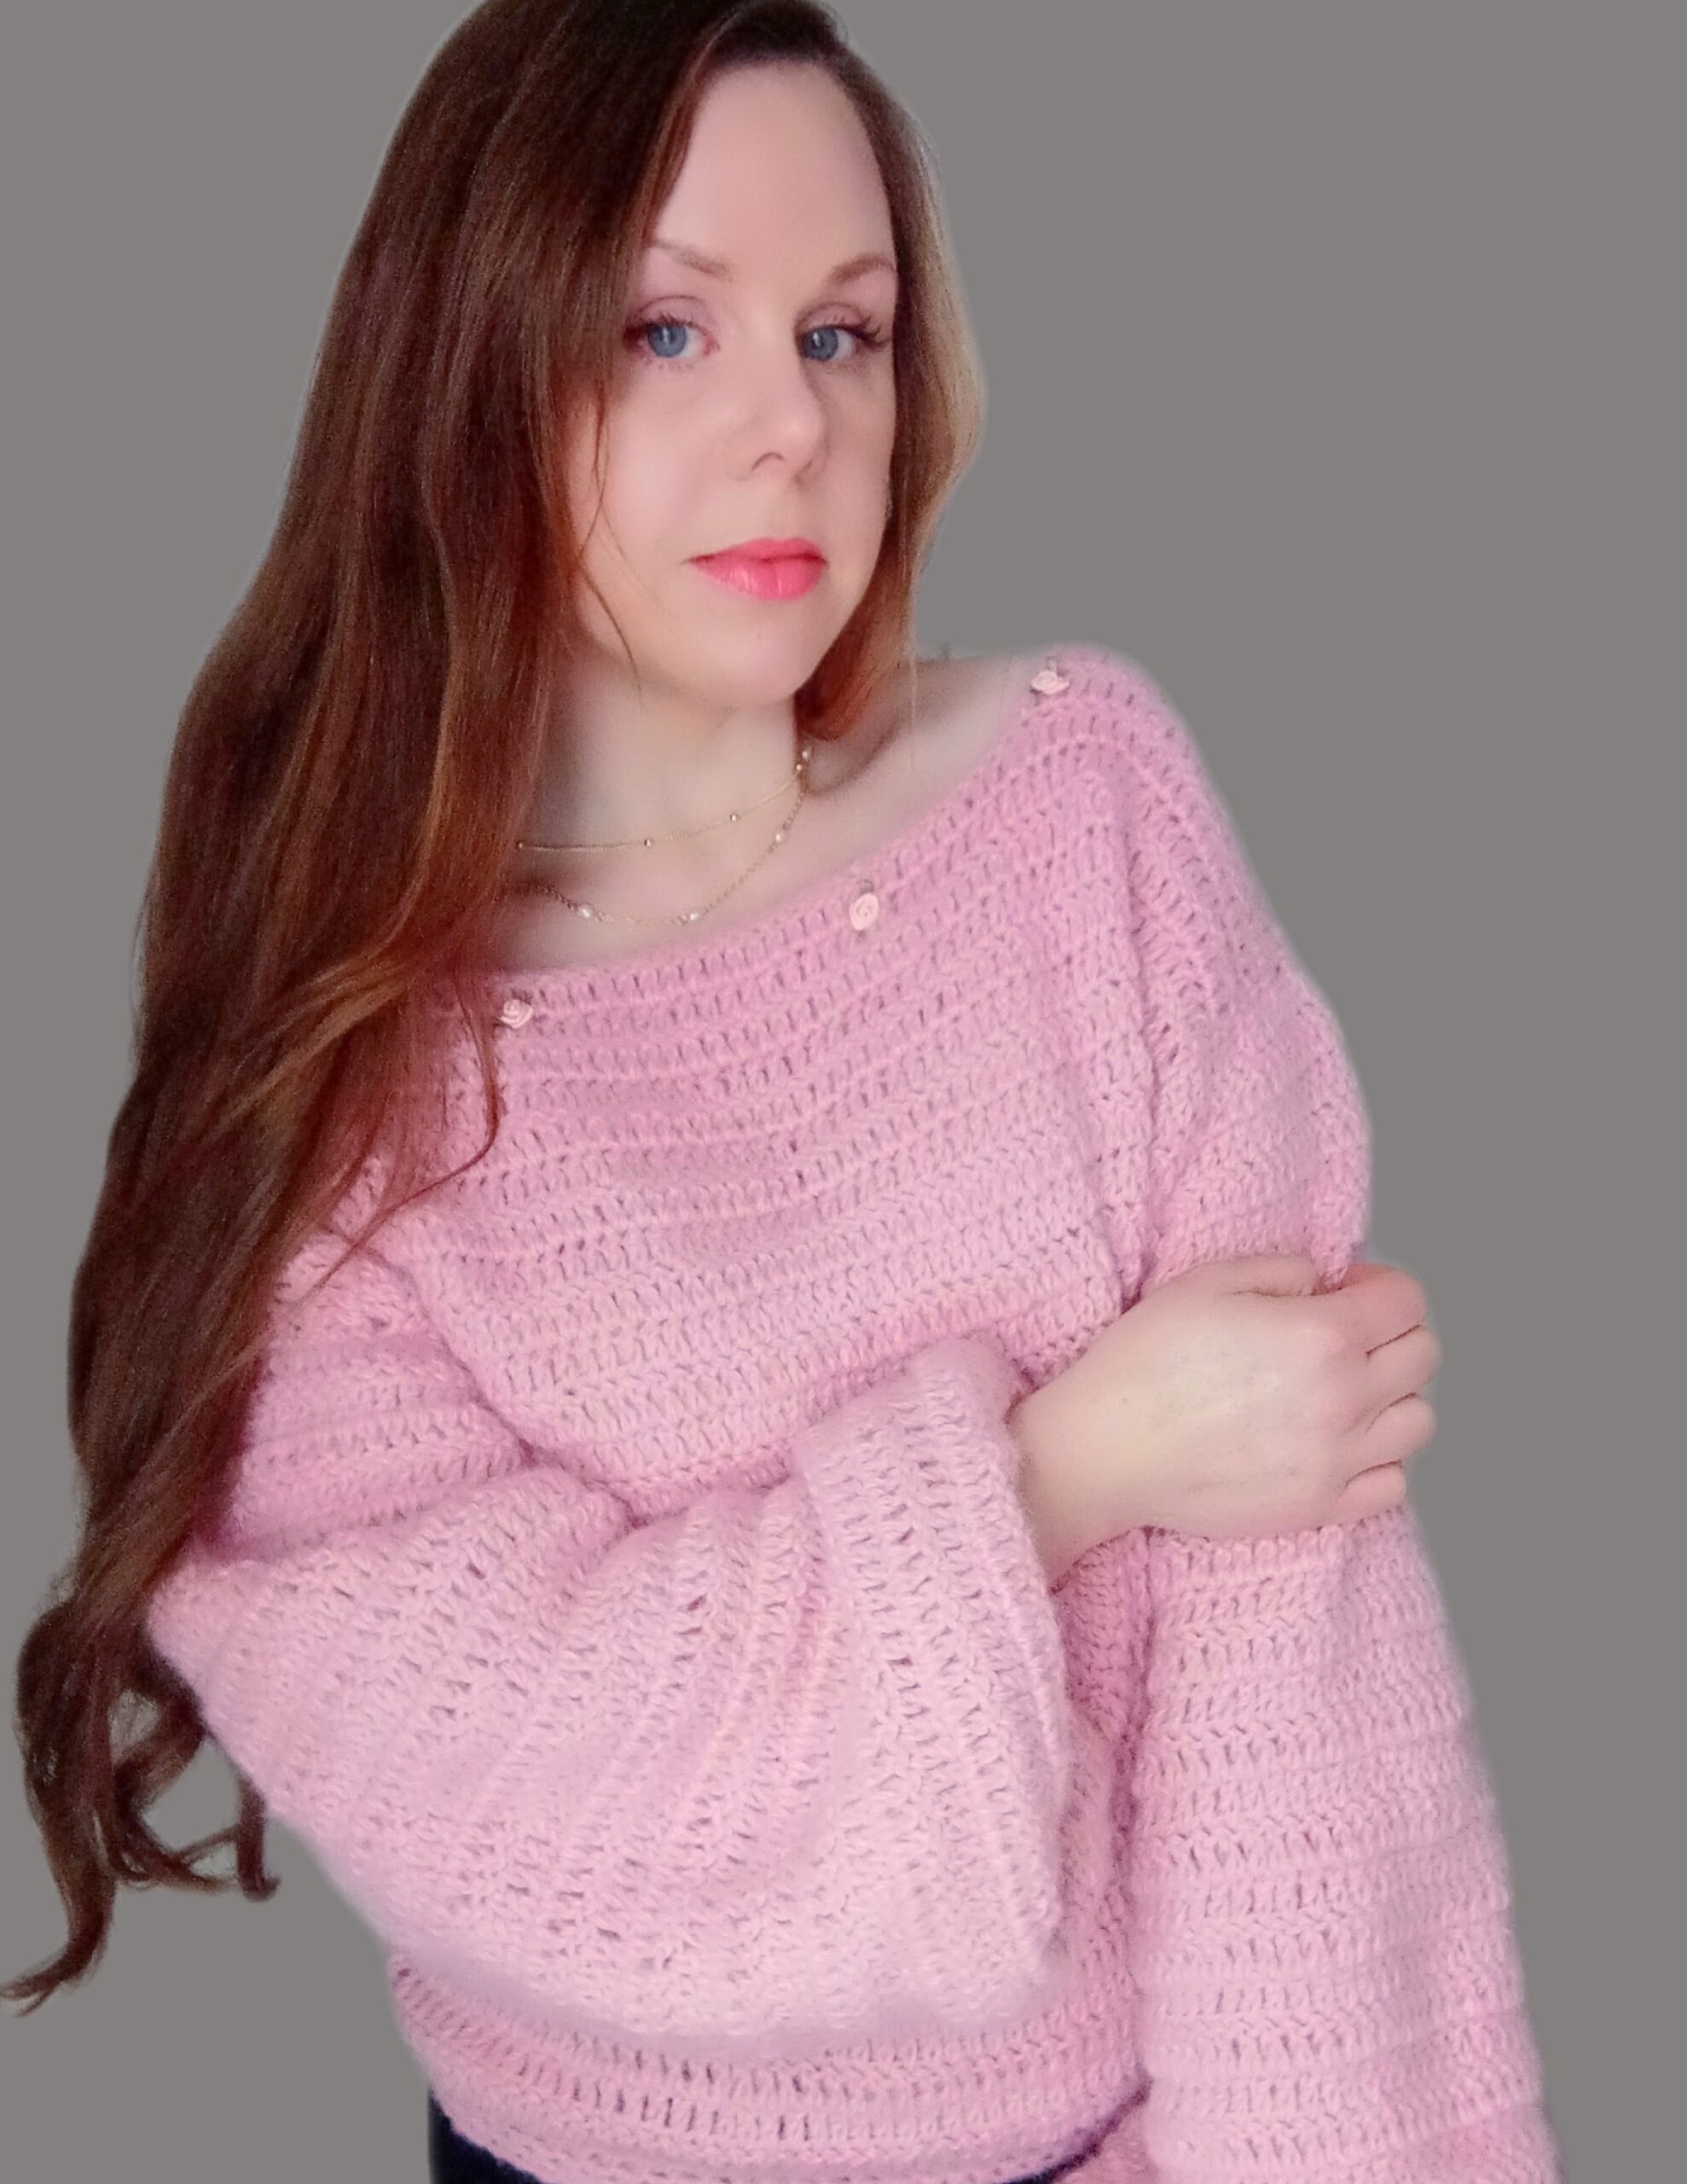
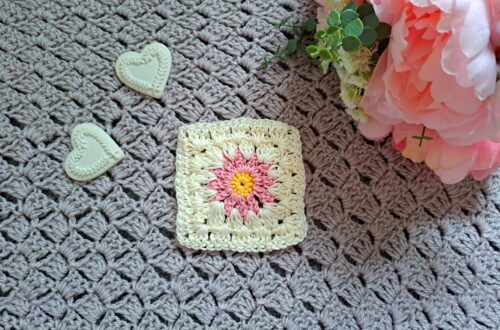
What I love most about the Petite Fleur sweater is the fact that dainty little flowers have been sewed to the neck edging. This is such a lovely and feminine detail! I love everything about this, and I love to add little bows, flowers and ribbons to my projects. So watch this space, as I will be creating more of these vintage and feminine designs.
The Dainty Purse from a few months ago was so lovely, and also features a delicate ribbon bow. It was inspired by projects seen on Pinterest.
Connecting With You
I would like to take a moment to thank every single one of you, for supporting me and my crochet journey. Indeed, I absolutely am so touched by all your messages, comments, and every person who has become a patron of my work through Patreon. Thank you!
I love connecting with my Crochet Community through my blog and Social Media. You can find me on Youtube, Instagram, and Pinterest. I would love to connect with you on these platforms.
You can also join my private Facebook group to connect.
Subscribe to our weekly newsletter so that you never miss a stitch!
Crochet Petite Fleur Sweater: The Pattern
You can purchase the ad free, large print, PDF pattern from my Etsy store here: Crochet The Petite Fleur PDF Pattern
You can purchase the ad free, large print, PDF pattern from my Ravelry store here: Crochet The Petite Fleur PDF Pattern
Level: Easy +
Notes: I will be writing in US terms (British terms in brackets)
The video tutorial can be found here:
Gauge
4” (10 cm) = 12 stitches
4” (10 cm) = 10 rows
Sizes of finished jumper
These are the sizes measured once jumper has been assembled and all edgings and borders have been added.
Size of sleeves given once they have been sewed onto project and edging added.
The sizes are given as follows: length (from shoulder to bottom of sweater) x width (side to side).
Size S:
Body of jumper: 21” (53 cm) in length x 20” (51 cm) in width
Sleeves: 9,5” (24 cm) in width x 21” (53 cm) in length
Size M:
Body of jumper: 23” (58,5 cm) in length x 22” (56 cm) in width
Sleeves: 10,5” (27 cm) in width x 21” (53 cm) in length
Size L:
Body of jumper: 25” (63,5 cm) in length x 24” (61 cm) in width
Sleeves: 11,5” (29 cm) in width x 21” (53 cm) in length
Size XL:
Body of jumper: 27” (68,5 cm) in length x 26” (66 cm) in width
Sleeves: 12,5” (32 cm) in width x 21” (53 cm) in length
Size XXL:
Body of jumper: 29” (74 cm) in length x 28” (71 cm) in width
Sleeves: 13,5” (34 cm) in width x 21” (53 cm) in length
Size XXXL:
Body of jumper: 31” (79 cm) in length x 30” (76 cm) in width
Sleeves: 14,5” (37 cm) in width x 21” (53 cm) in length
Materials
4 (S), 5 (M/L), 6 (XL/XXL), 7 (XXXL) skeins of Fluffy Day yarn by Hobbii in color 12
A 5 mm crochet hook
4,5 mm crochet hook
A tapestry needle
A pair of scissors
4 little 1” (2,5 cm) ribbon flowers to stitch onto collar
Darning thread and needle to sew flowers onto sweater
Abbreviations
ch: chain
St: stitch
sk: skip
Sp: space
Sl st: Slip stitch
SC: Single Crochet (= UK Double Crochet)
DC: Double Crochet (=UK Treble Crochet)
HDC: Half Double Crochet (=UK Half Treble Crochet)
EOR: End of row/end of round
Sizes will be indicated like this
S, (M), [L], {XL}, *XXL*, XXXL
General notes concerning this pattern
Each step of this project is explained in detail throughout the pattern; this is just to give you a brief explanation of what is to be expected before starting the project.
To begin, we will be making both the front and back panels of this jumper (these two are identical).
Then we will be crocheting the sleeves (2 sleeves). Once this is done, we will seam each sleeve, place all the elements of the sweater together and sew this sweater together.
Once this is completed, we will be adding the bottom and sleeve edgings, as well as crocheting the neck edging also.
Then we will be sewing the 4 roses onto the neck edging.
Front and Back of Jumper (2 identical panels)
With 5 mm crochet hook:
Ch 70 (77) [84] {91} *98* 105
1: DC in 3rd ch from hook, place DC into each ch across until eor.
2: Ch 3 (=DC), turn your work, place DC into each st until eor.
3-30 (33) [36] {39} *42* 45: Repeat row 2.
Do not fasten off.
Create neck and shoulder shape:
First side, using yarn still attached to project, just continue crocheting following the pattern explained below depending on the size you are making (see below):
Size S:
31: Ch 3 (=DC), turn your work, place a DC into next 17 st.
32-33: Repeat row 31.
Fasten off, leaving long tail for sewing project together later on.
Repeat these 3 rows on the other side of this panel as follows:
Attach yarn to the 1st stitch on the other side of the front or back panel. Crochet these rows as follows:
Row 31: Ch 3 (=DC), turn your work, place a DC into next 17 st.
Rows 32-33: Repeat row 31.
Fasten off, leaving long tail for sewing project together later on.
Size M:
Row 34: Ch 3 (=DC), turn your work, place a DC into next 17 st.
Rows 35-36: Repeat row 34.
Fasten off, leaving long tail for sewing project together later on.
Repeat these 3 rows on the other side of this panel as follows:
Attach yarn to the 1st stitch on the other side of the front or back panel. Crochet these rows as follows:
Row 34: Ch 3 (=DC), turn your work, place a DC into next 17 st.
Rows 35-36: Repeat row 34.
Fasten off, leaving long tail for sewing project together later on.
Size L:
Row 38: Ch 3 (=DC), turn your work, place a DC into next 17 st.
Rows 39-40: Repeat row 38.
Fasten off, leaving long tail for sewing project together later on.
Repeat these 3 rows on the other side of this panel as follows:
Attach yarn to the 1st stitch on the other side of the front or back panel. Crochet these rows as follows:
Row 38: Ch 3 (=DC), turn your work, place a DC into next 17 st.
Rows 39-40: Repeat row 38.
Fasten off, leaving long tail for sewing project together later on.
Size XL:
Row 43: Ch 3 (=DC), turn your work, place a DC into next 17 st.
Rows 44-45: Repeat row 43.
Fasten off, leaving long tail for sewing project together later on.
Repeat these 3 rows on the other side of this panel as follows:
Attach yarn to the 1st stitch on the other side of the front or back panel. Crochet these rows as follows:
Row 43: Ch 3 (=DC), turn your work, place a DC into next 17 st.
Rows 44-45: Repeat row 43.
Fasten off, leaving long tail for sewing project together later on.
Size XXL:
Row 43: Ch 3 (=DC), turn your work, place a DC into next 17 st.
Rows 44-45: Repeat row 43.
Fasten off, leaving long tail for sewing project together later on.
Repeat these 3 rows on the other side of this panel as follows:
Attach yarn to the 1st stitch on the other side of the front or back panel. Crochet these rows as follows:
Row 43: Ch 3 (=DC), turn your work, place a DC into next 17 st.
Rows 44-45: Repeat row 43.
Fasten off, leaving long tail for sewing project together later on.
Size XXXL:
Row 46: Ch 3 (=DC), turn your work, place a DC into next 17 st.
Rows 47-48: Repeat row 46.
Fasten off, leaving long tail for sewing project together later on.
Repeat these 3 rows on the other side of this panel as follows:
Attach yarn to the 1st stitch on the other side of the front or back panel. Crochet these rows as follows:
Row 46: Ch 3 (=DC), turn your work, place a DC into next 17 st.
Rows 47-48: Repeat row 46.
Fasten off, leaving long tail for sewing project together later on.
Sleeves (make 2)
With 5 mm crochet hook:
Ch 70 (77) [84] {91} *98* 105
1: DC in 3rd ch from hook, place DC into each ch across until eor.
2: Ch 3 (=DC), turn your work, place DC into each st until eor.
3-30: Repeat row 2.
Do not fasten off.
Fasten off, leaving long tail for seaming the sleeves.
Once you have these 4 elements, you can start assembling your jumper together.
Assembling your jumper together
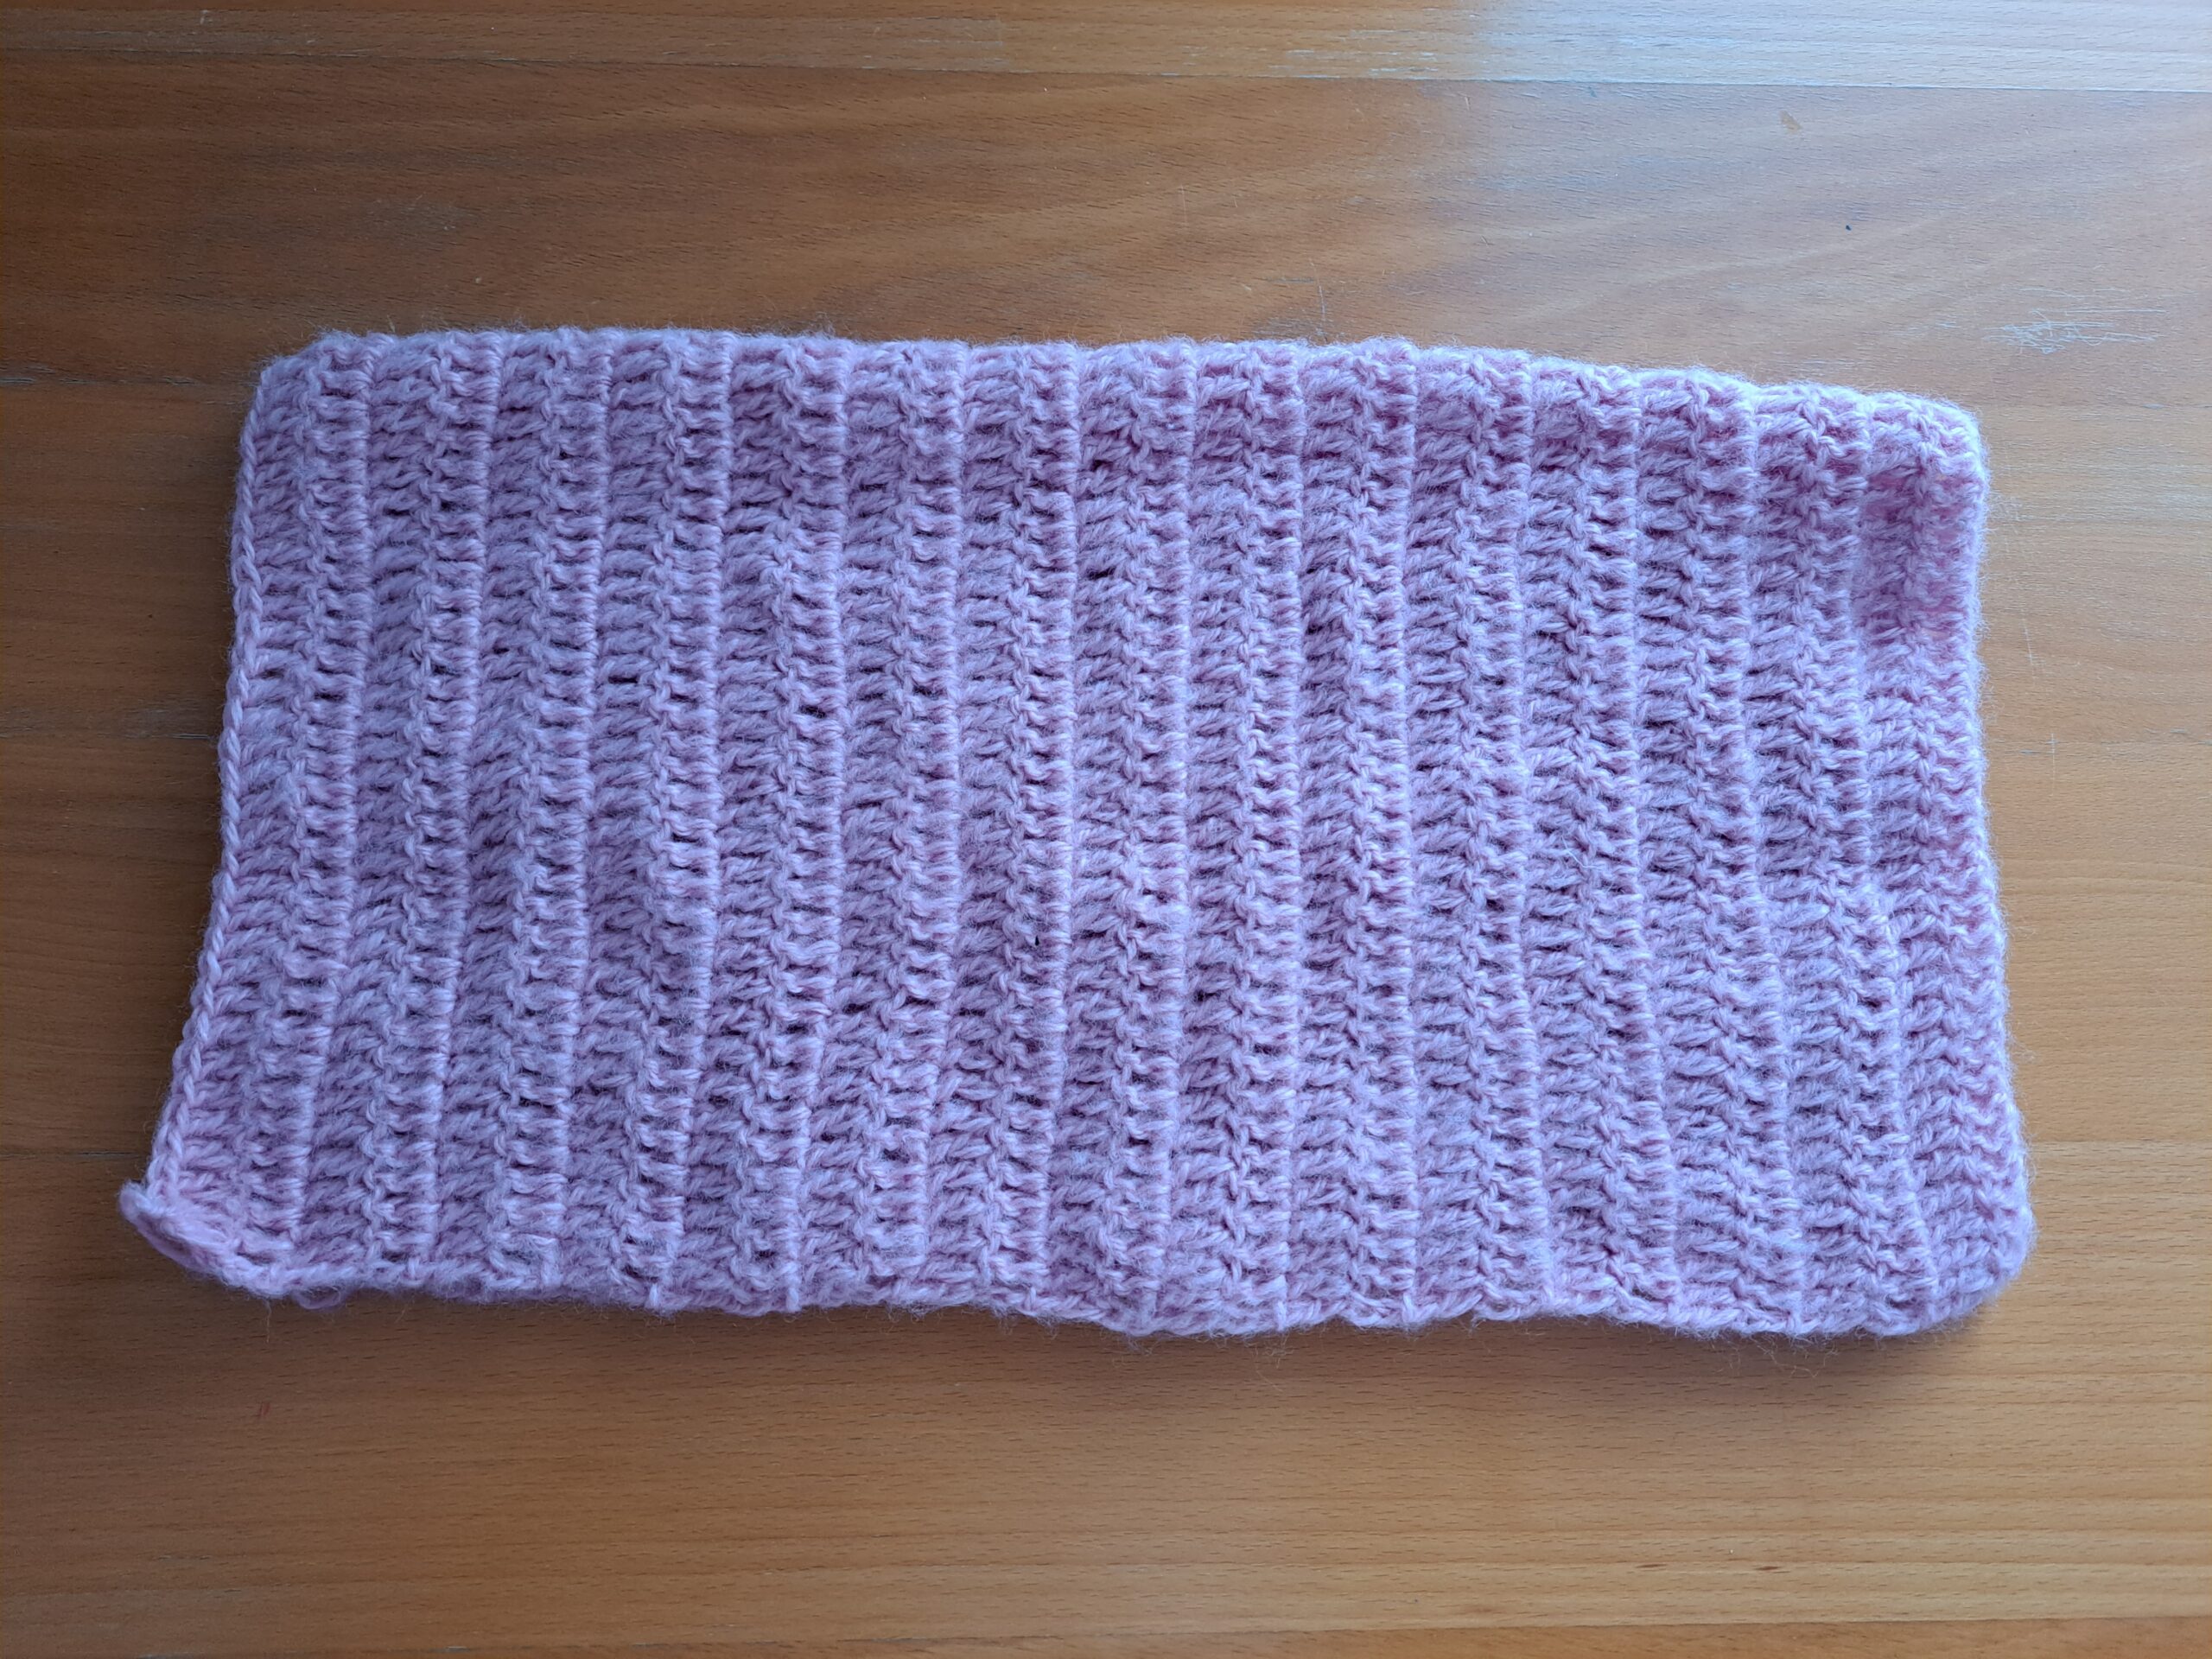
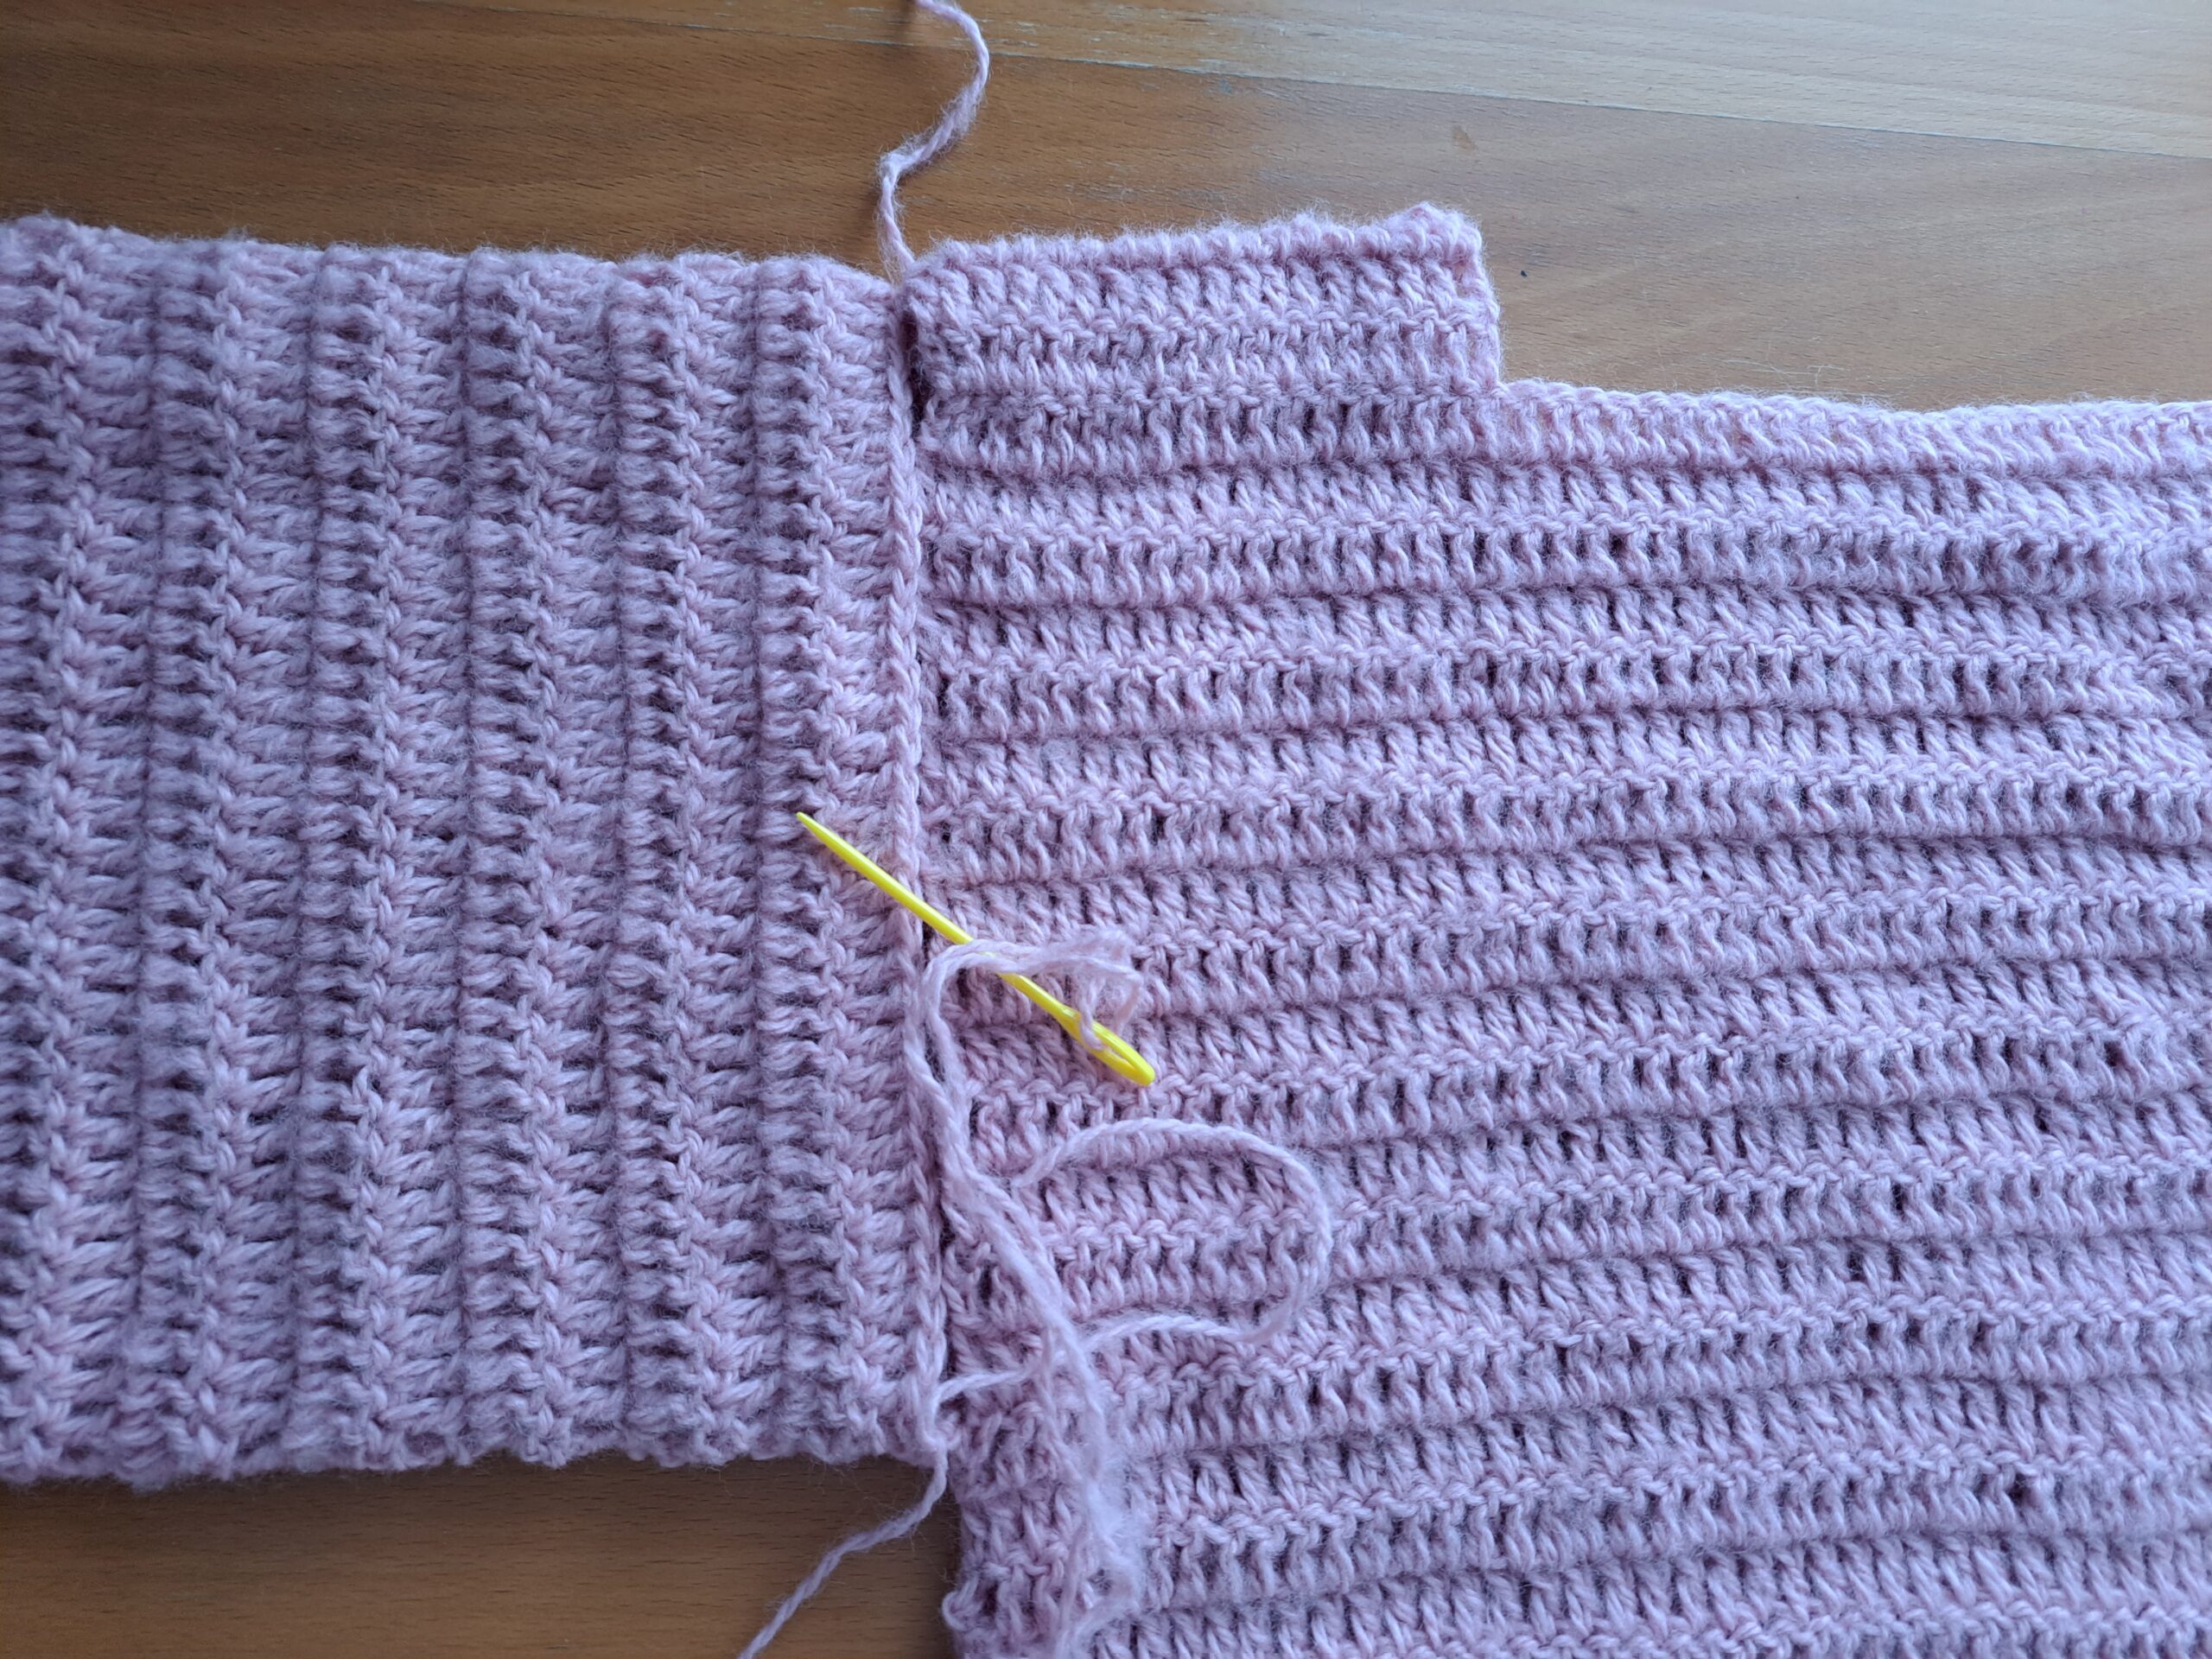
Start by folding sleeves in half width wise, and seaming the sleeves together, using tapestry needle and loose end.
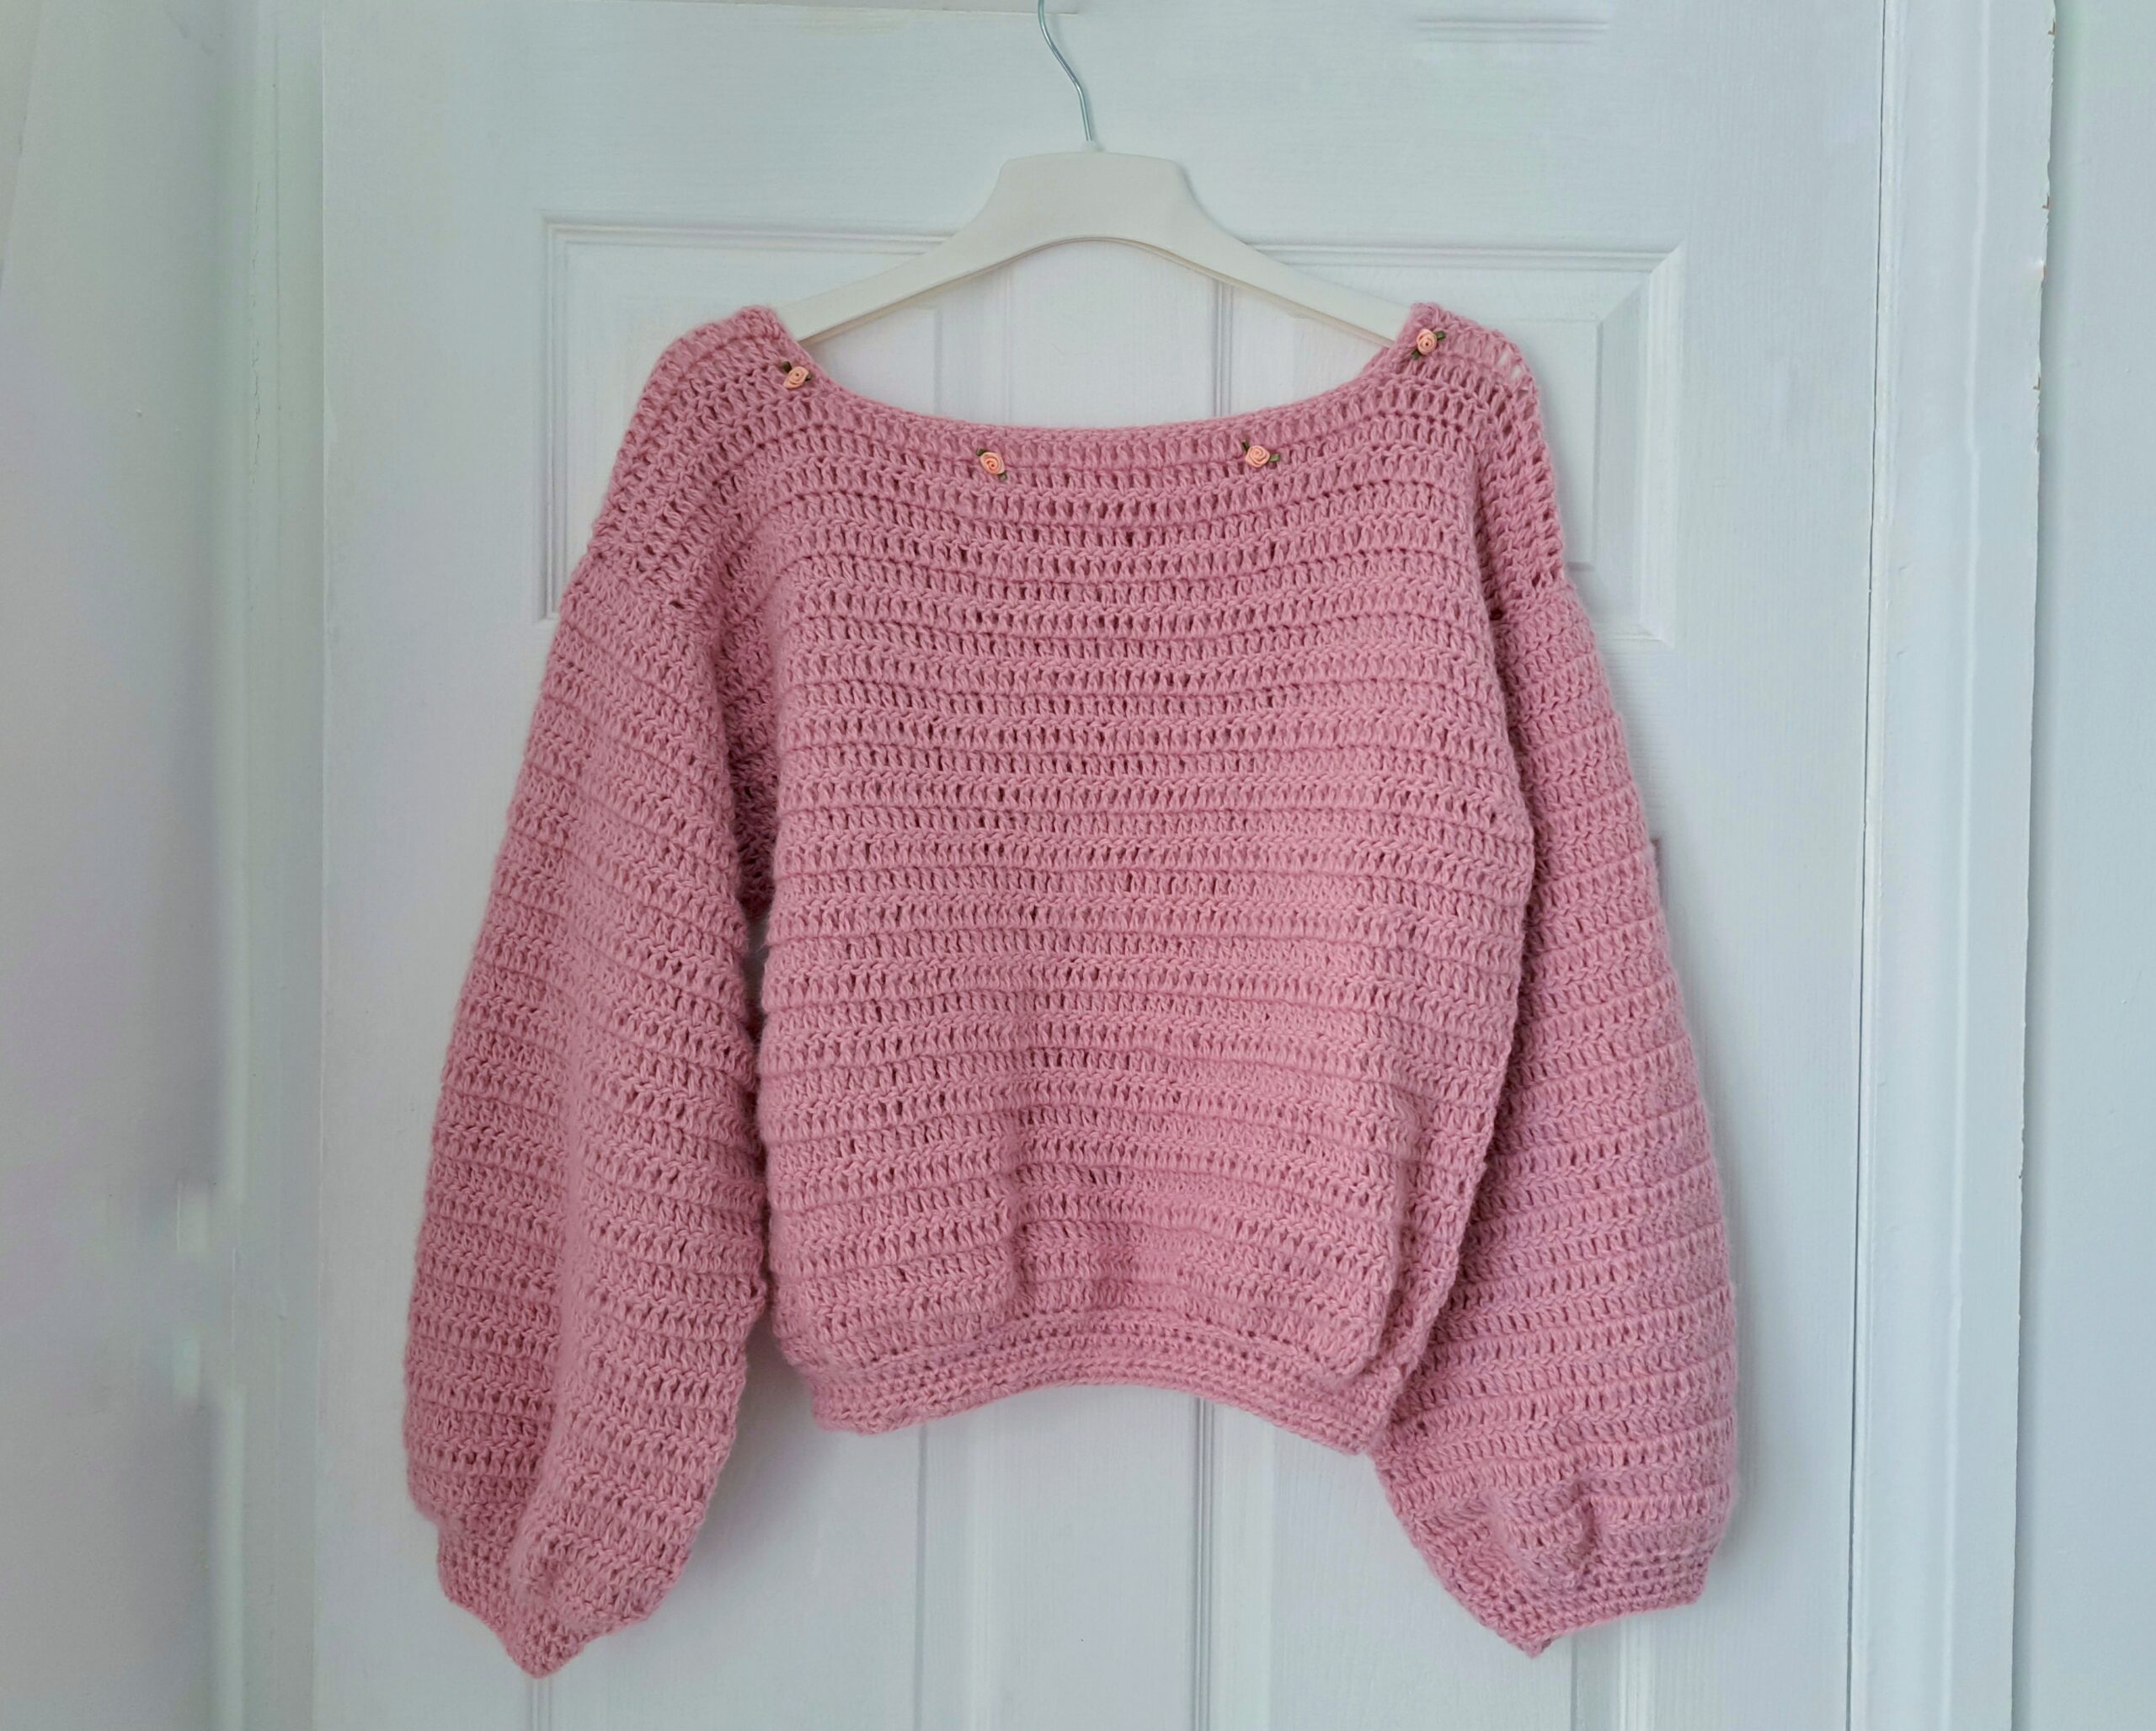
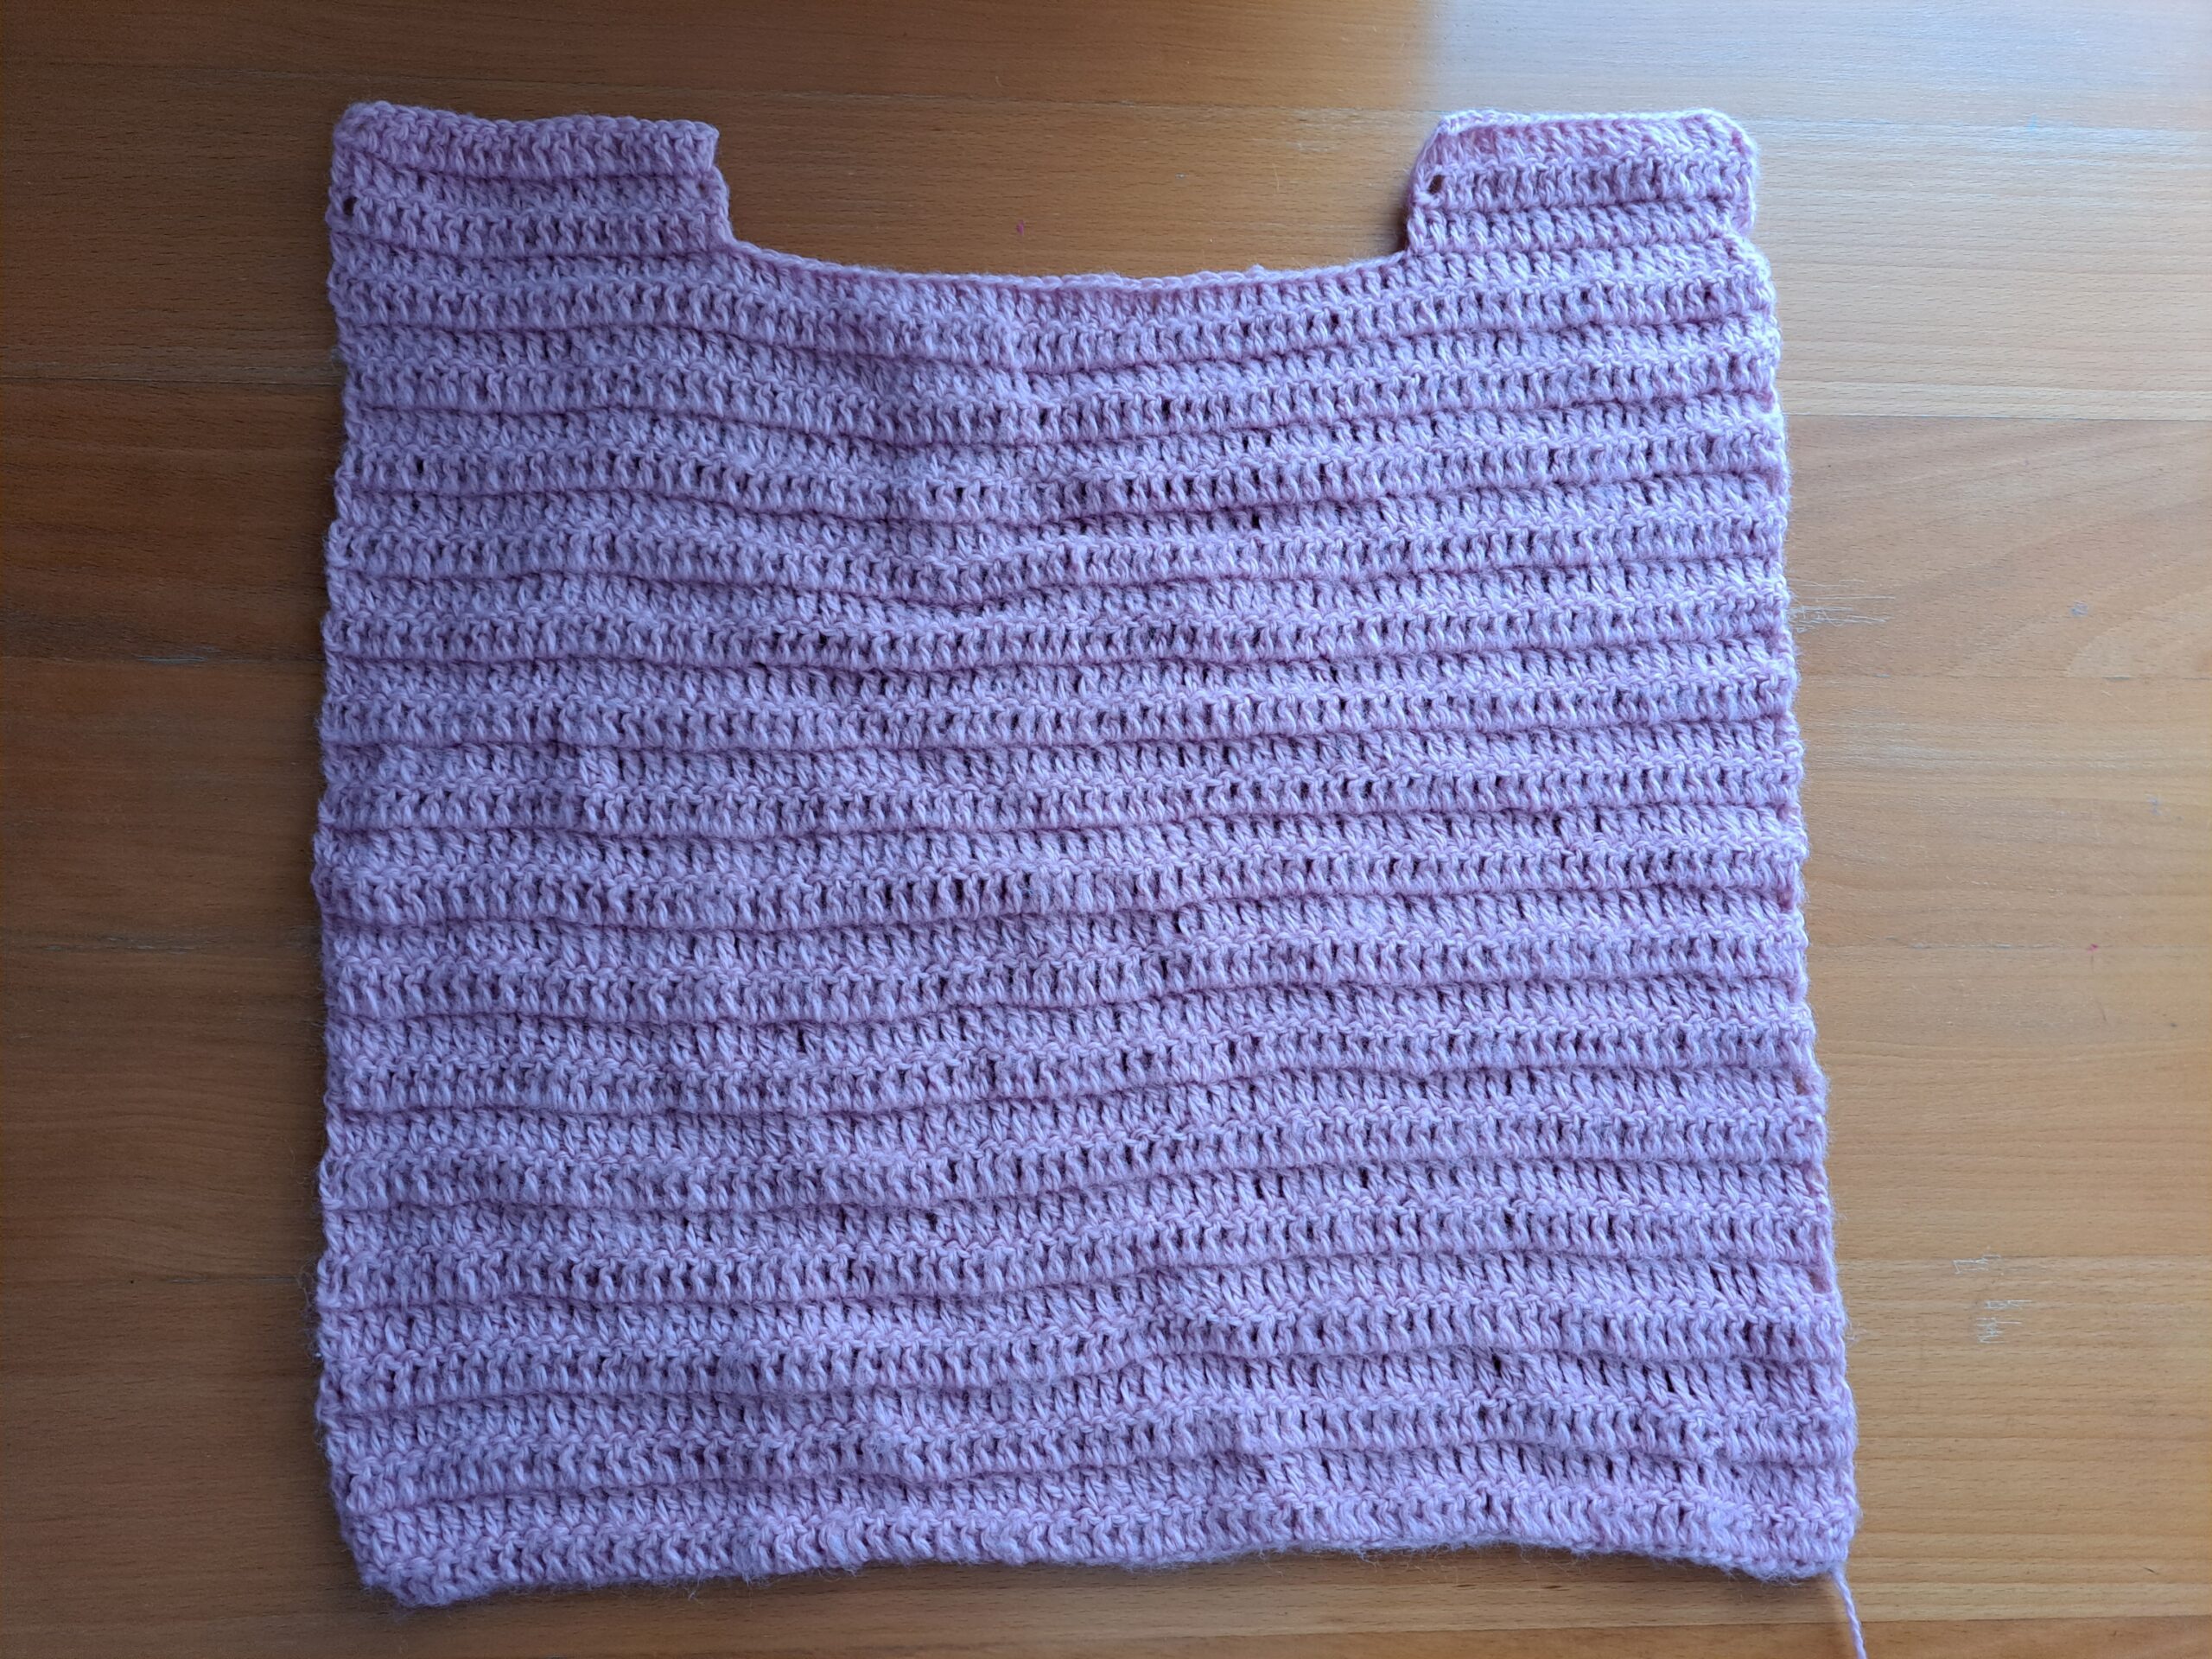
With wrong side facing, place the back of your jumper onto a flat surface. Now place both front panels flat onto the back of the jumper. There is no gap for the neck and front part, meaning the back and front panels are completely on top of the other (see photo above).
Now sew the shoulder seams at the top of the jumper, using the mattress stitch.
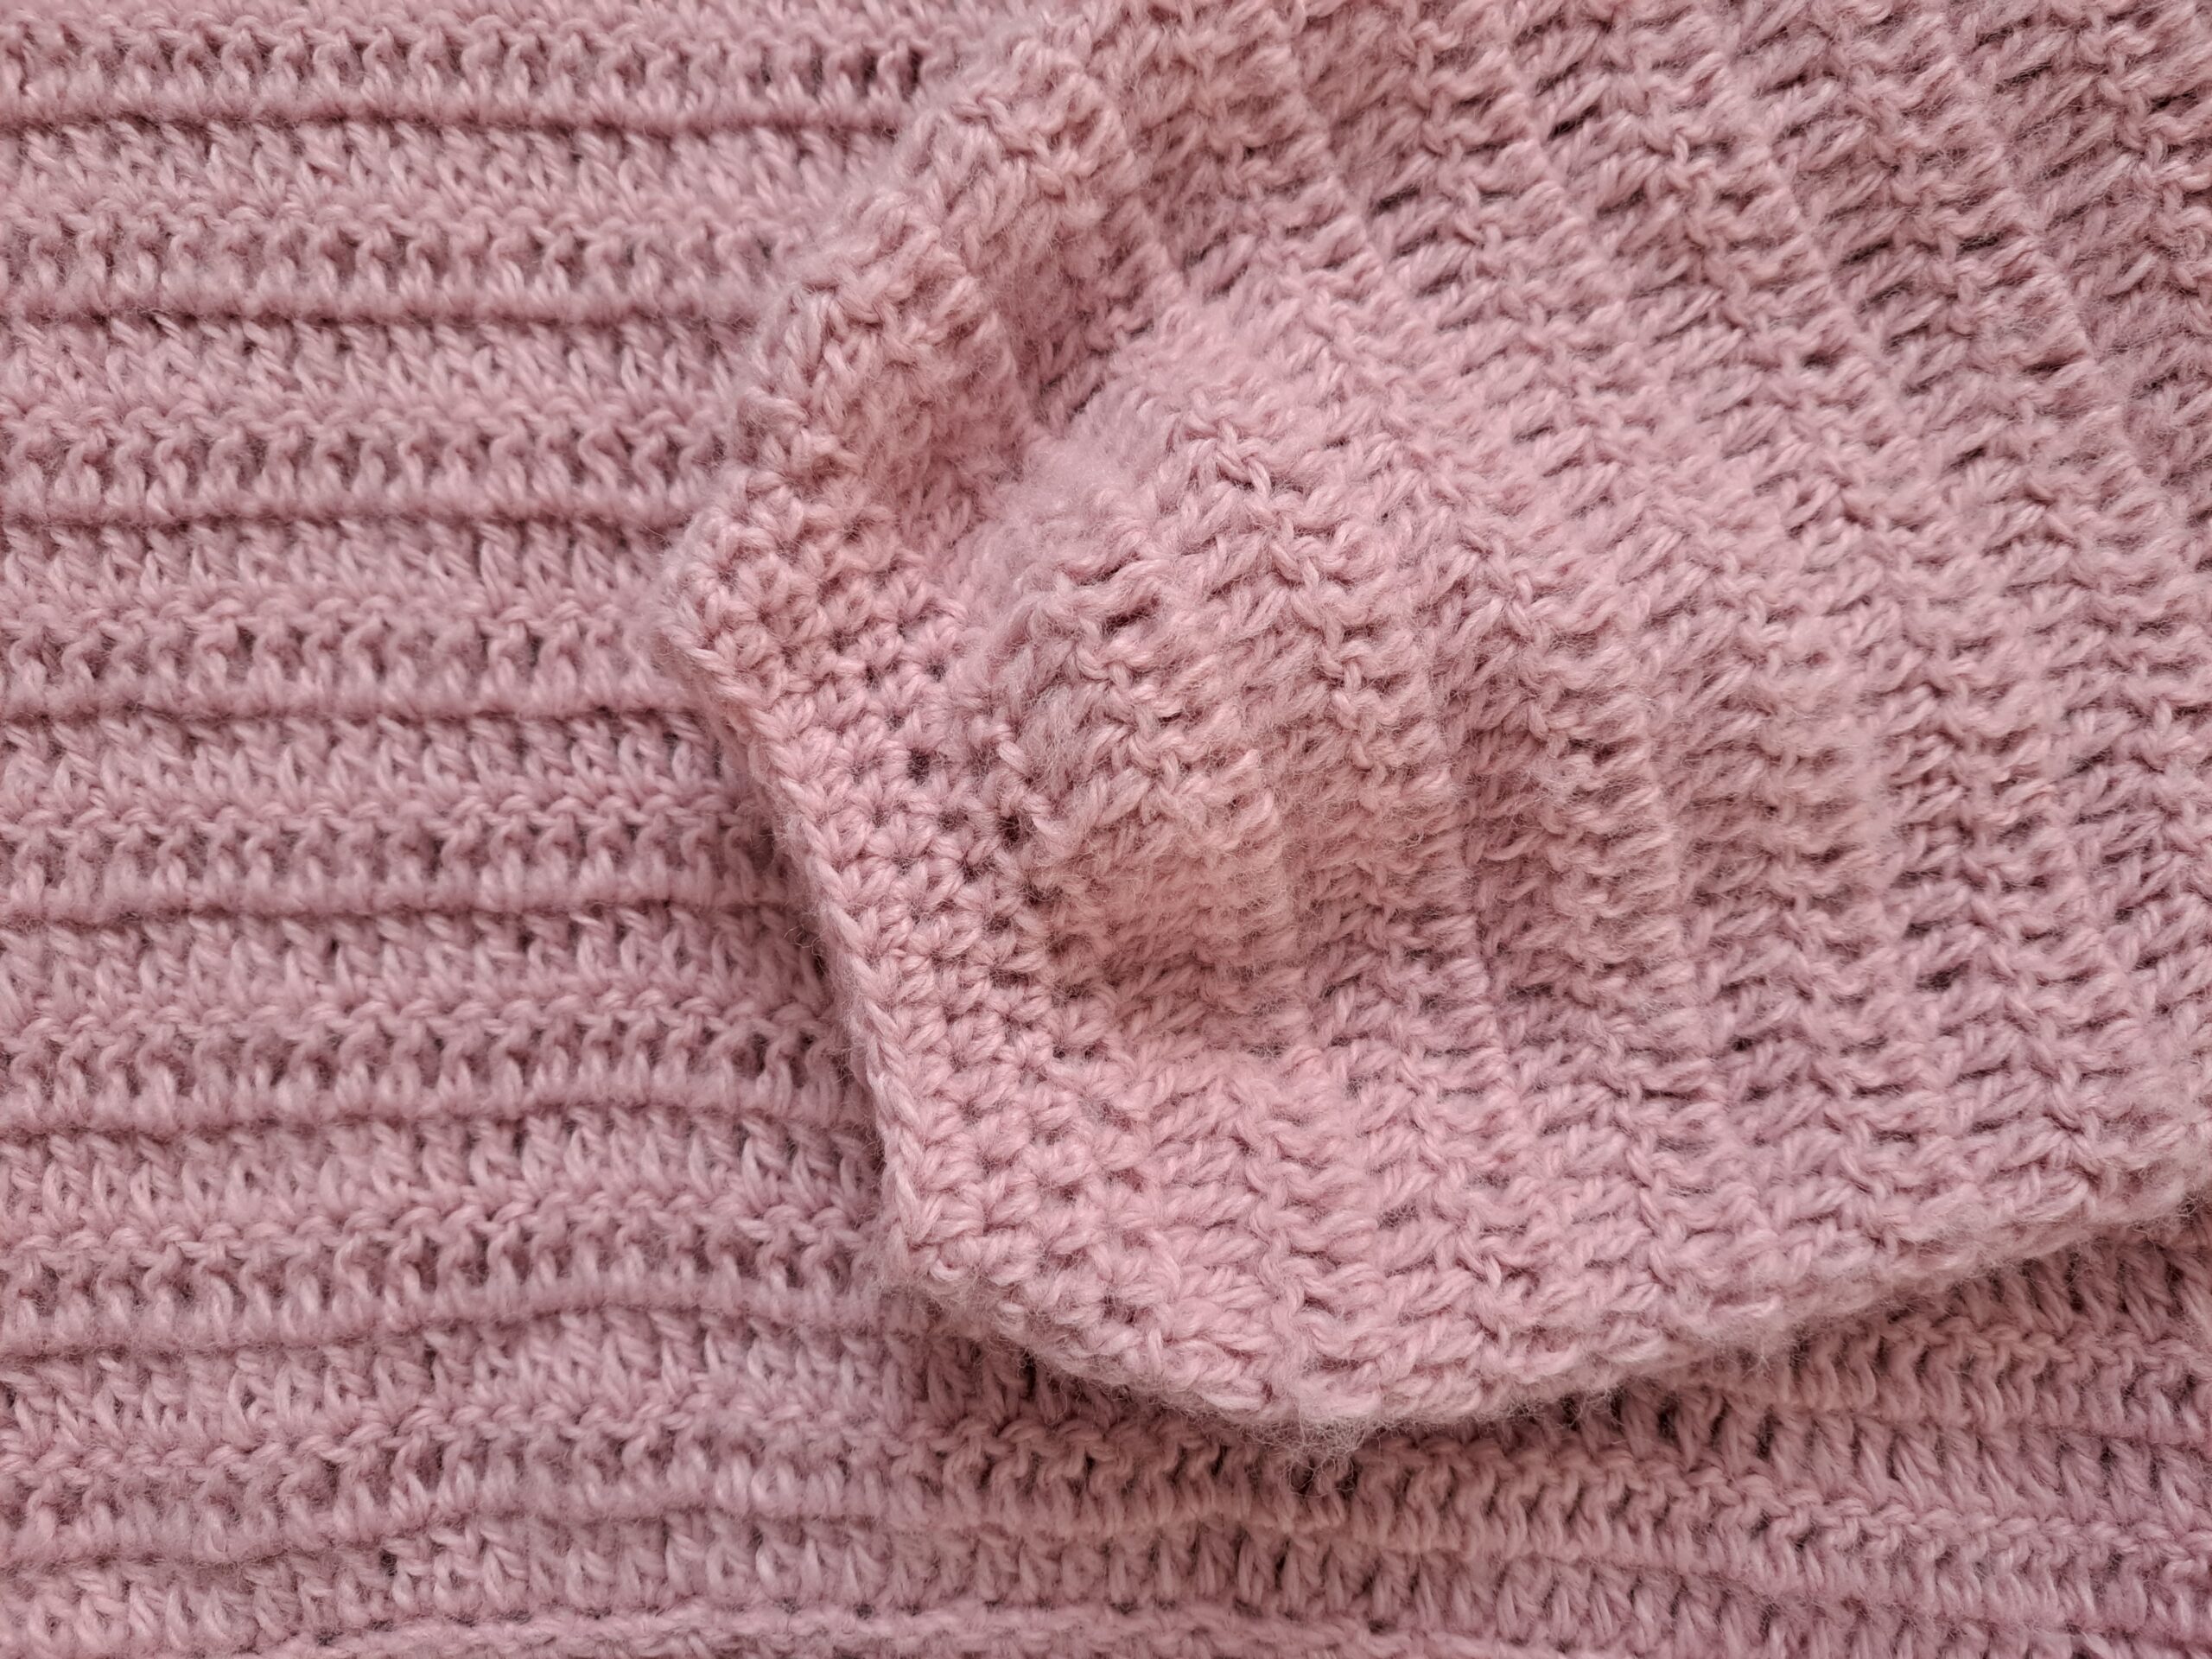
Then place sleeves to each side of the jumper, and start sewing sleeves from the top of project, working all the way down to the bottom of the jumper. Make sure you place the seam of the sleeves facing down.
You can then sew the “back” side of the sleeve to the back side of the project by flipping the project around. This creates a more seamless stitching.
Do this on both sides of the jumper for each sleeve and side of project.
Fasten off, tidy up all loose ends.
Sleeve cuffs
Repeat this process on each sleeve. We will be working this part of the project in the rounds.
With 5 mm crochet hook:
Attach yarn to any stitch on the edge of the 1st sleeve.
Round 1: Ch 1 (=SC), [sk 1 st, SC into next st] until eor. Once you reach the beginning ch 1, sl st to ch 1 to close off round.
Round 2: Ch 2 (=HDC), place a HDC into next st until eor; sl st to first ch 2 to close off round.
Round 3-5: Repeat row 2.
Fasten off, tidy up all loose ends.
Repeat process on the other sleeve cuff.
Bottom edging
We will be working this part in the rounds.
With 4,5 mm crochet hook:
Attach yarn to the bottom edging of the jumper.
Round 1: Ch 1 (=SC), SC into next st until eor. Sl stitch to first ch 1 to close off round.
Round 2: Ch 2 (=HDC), place a HDC into next st until eor; sl st to first ch 2 to close off round.
Round 3-5: Repeat row 2.
Fasten off, tidy up all loose ends.
Neck edging
With 4,5 mm crochet hook:
Attach yarn to any stitch at the top of the neck opening.
Ch 1 (=SC), SC into next st until eor, making sure you place your SC evenly across the neck opening. Sl st to first ch 1 to close off round.
Fasten off, tidy up all loose ends.
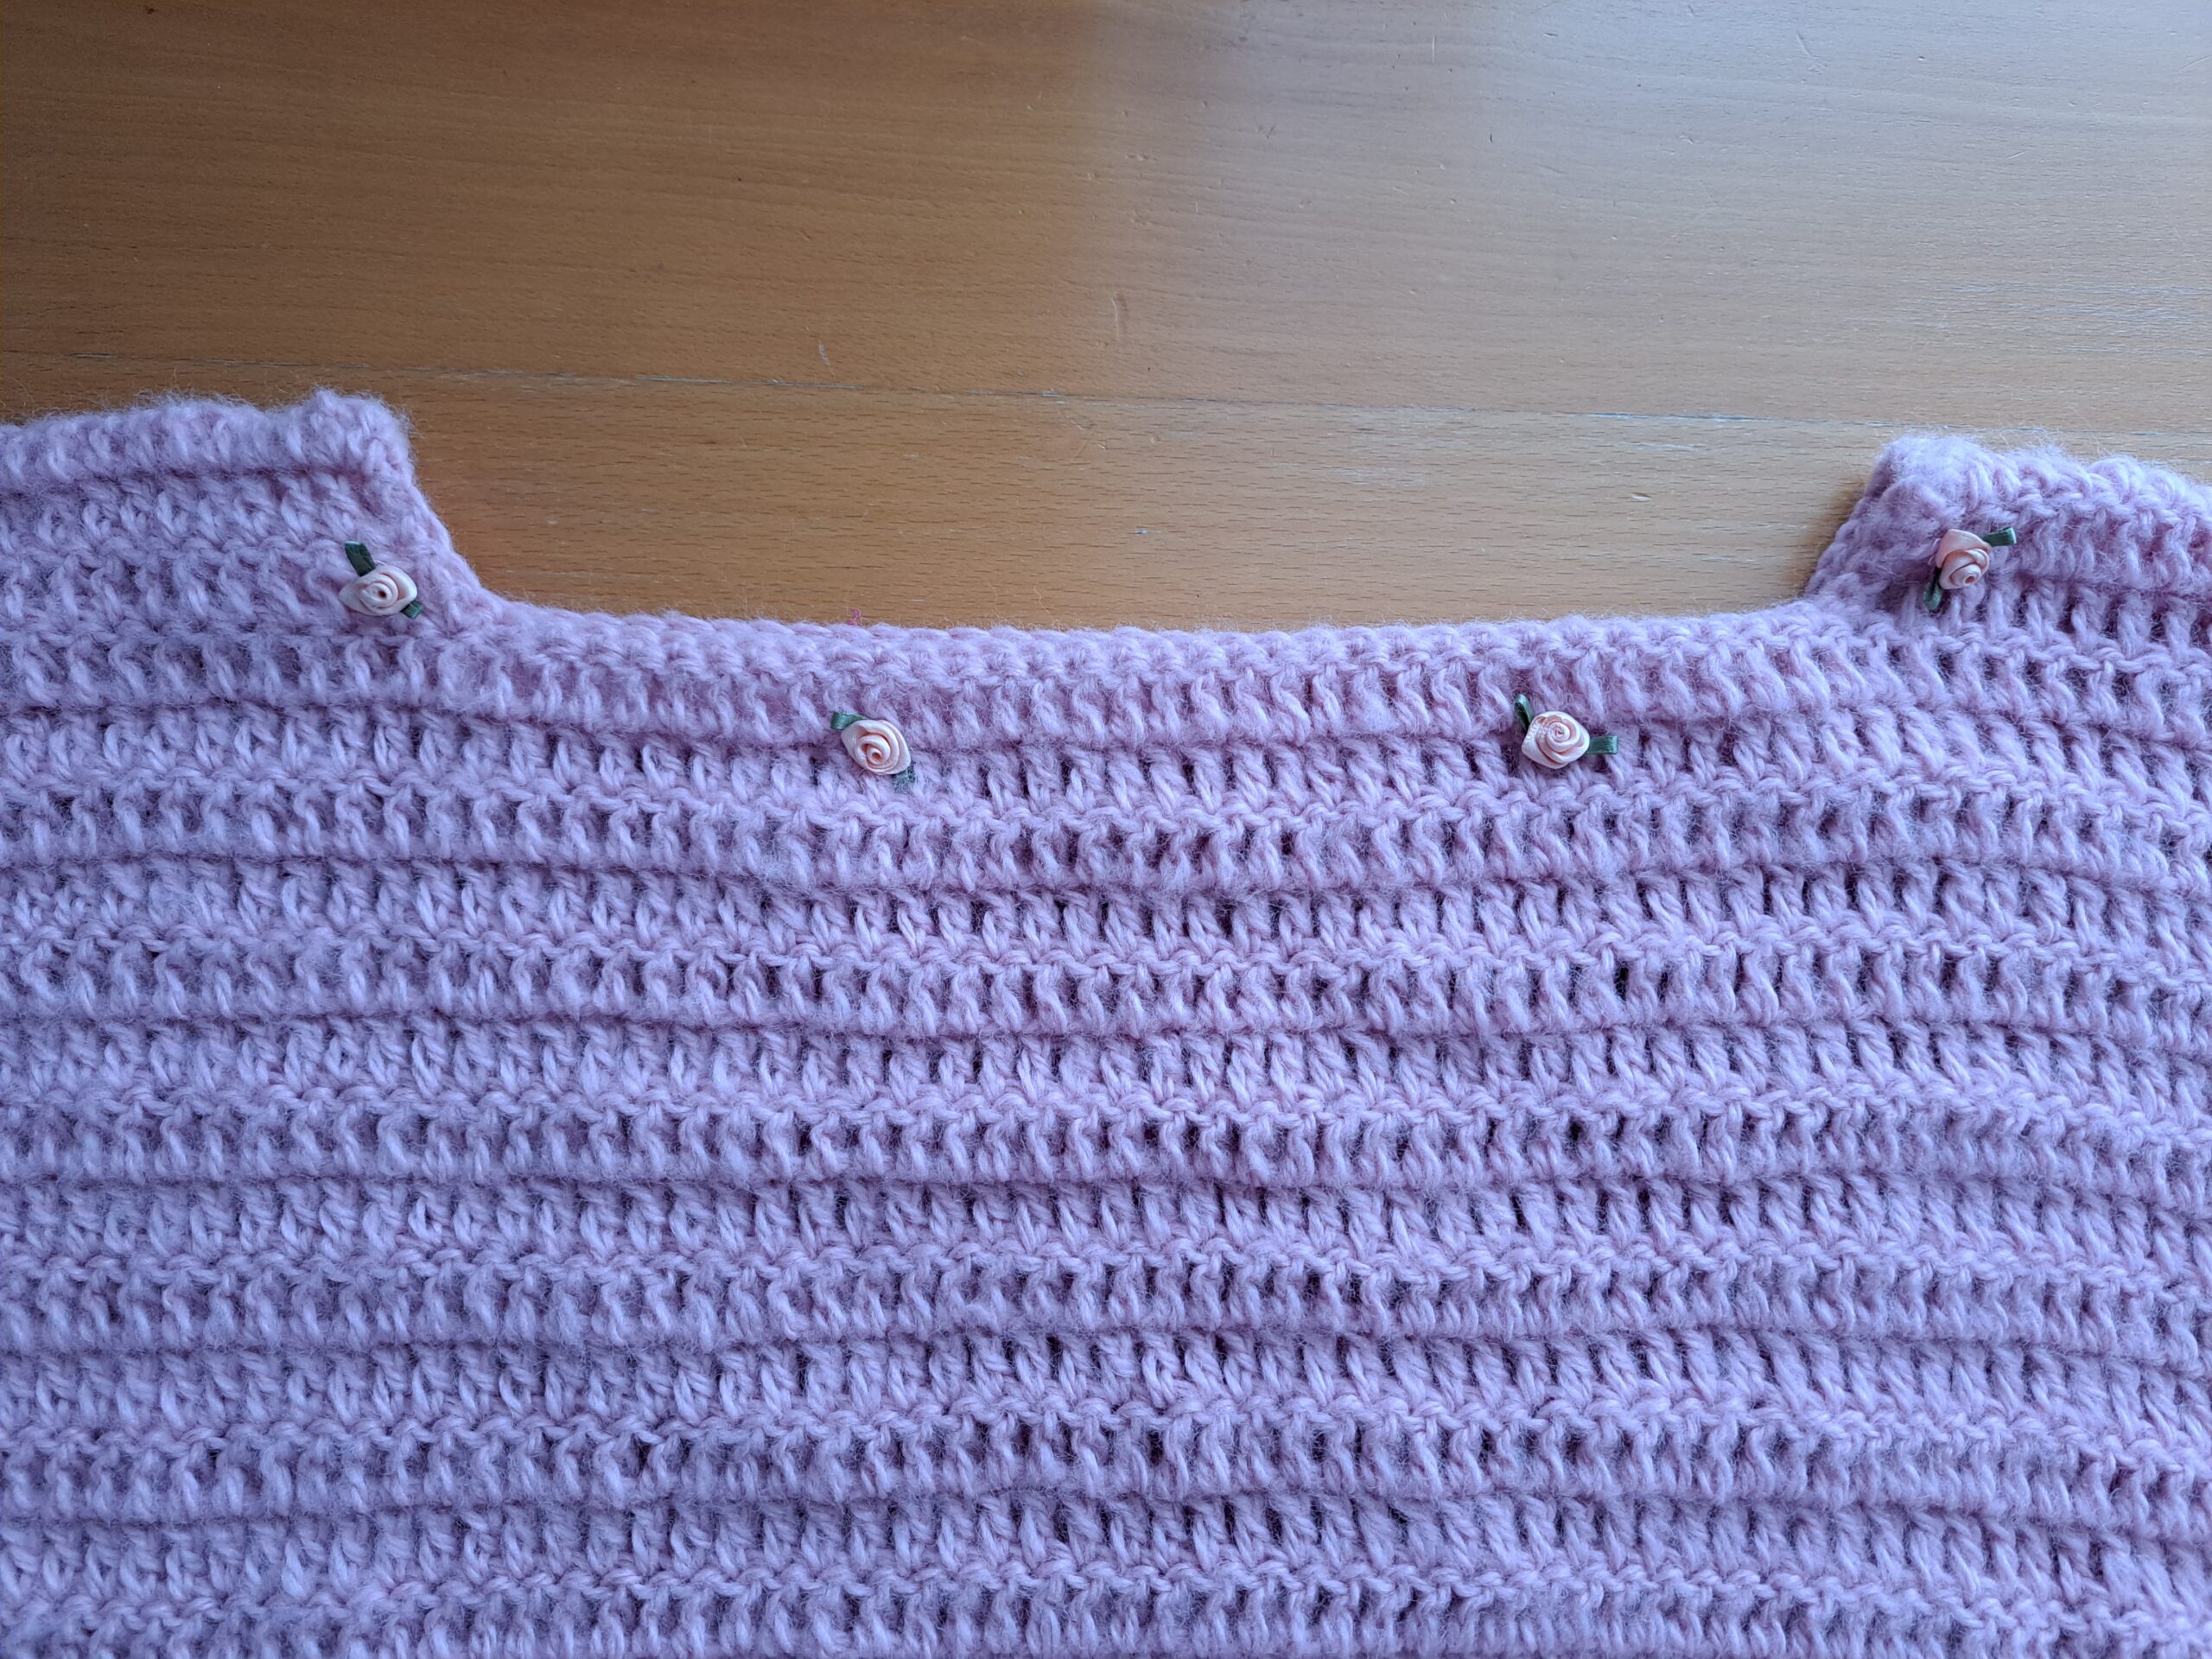
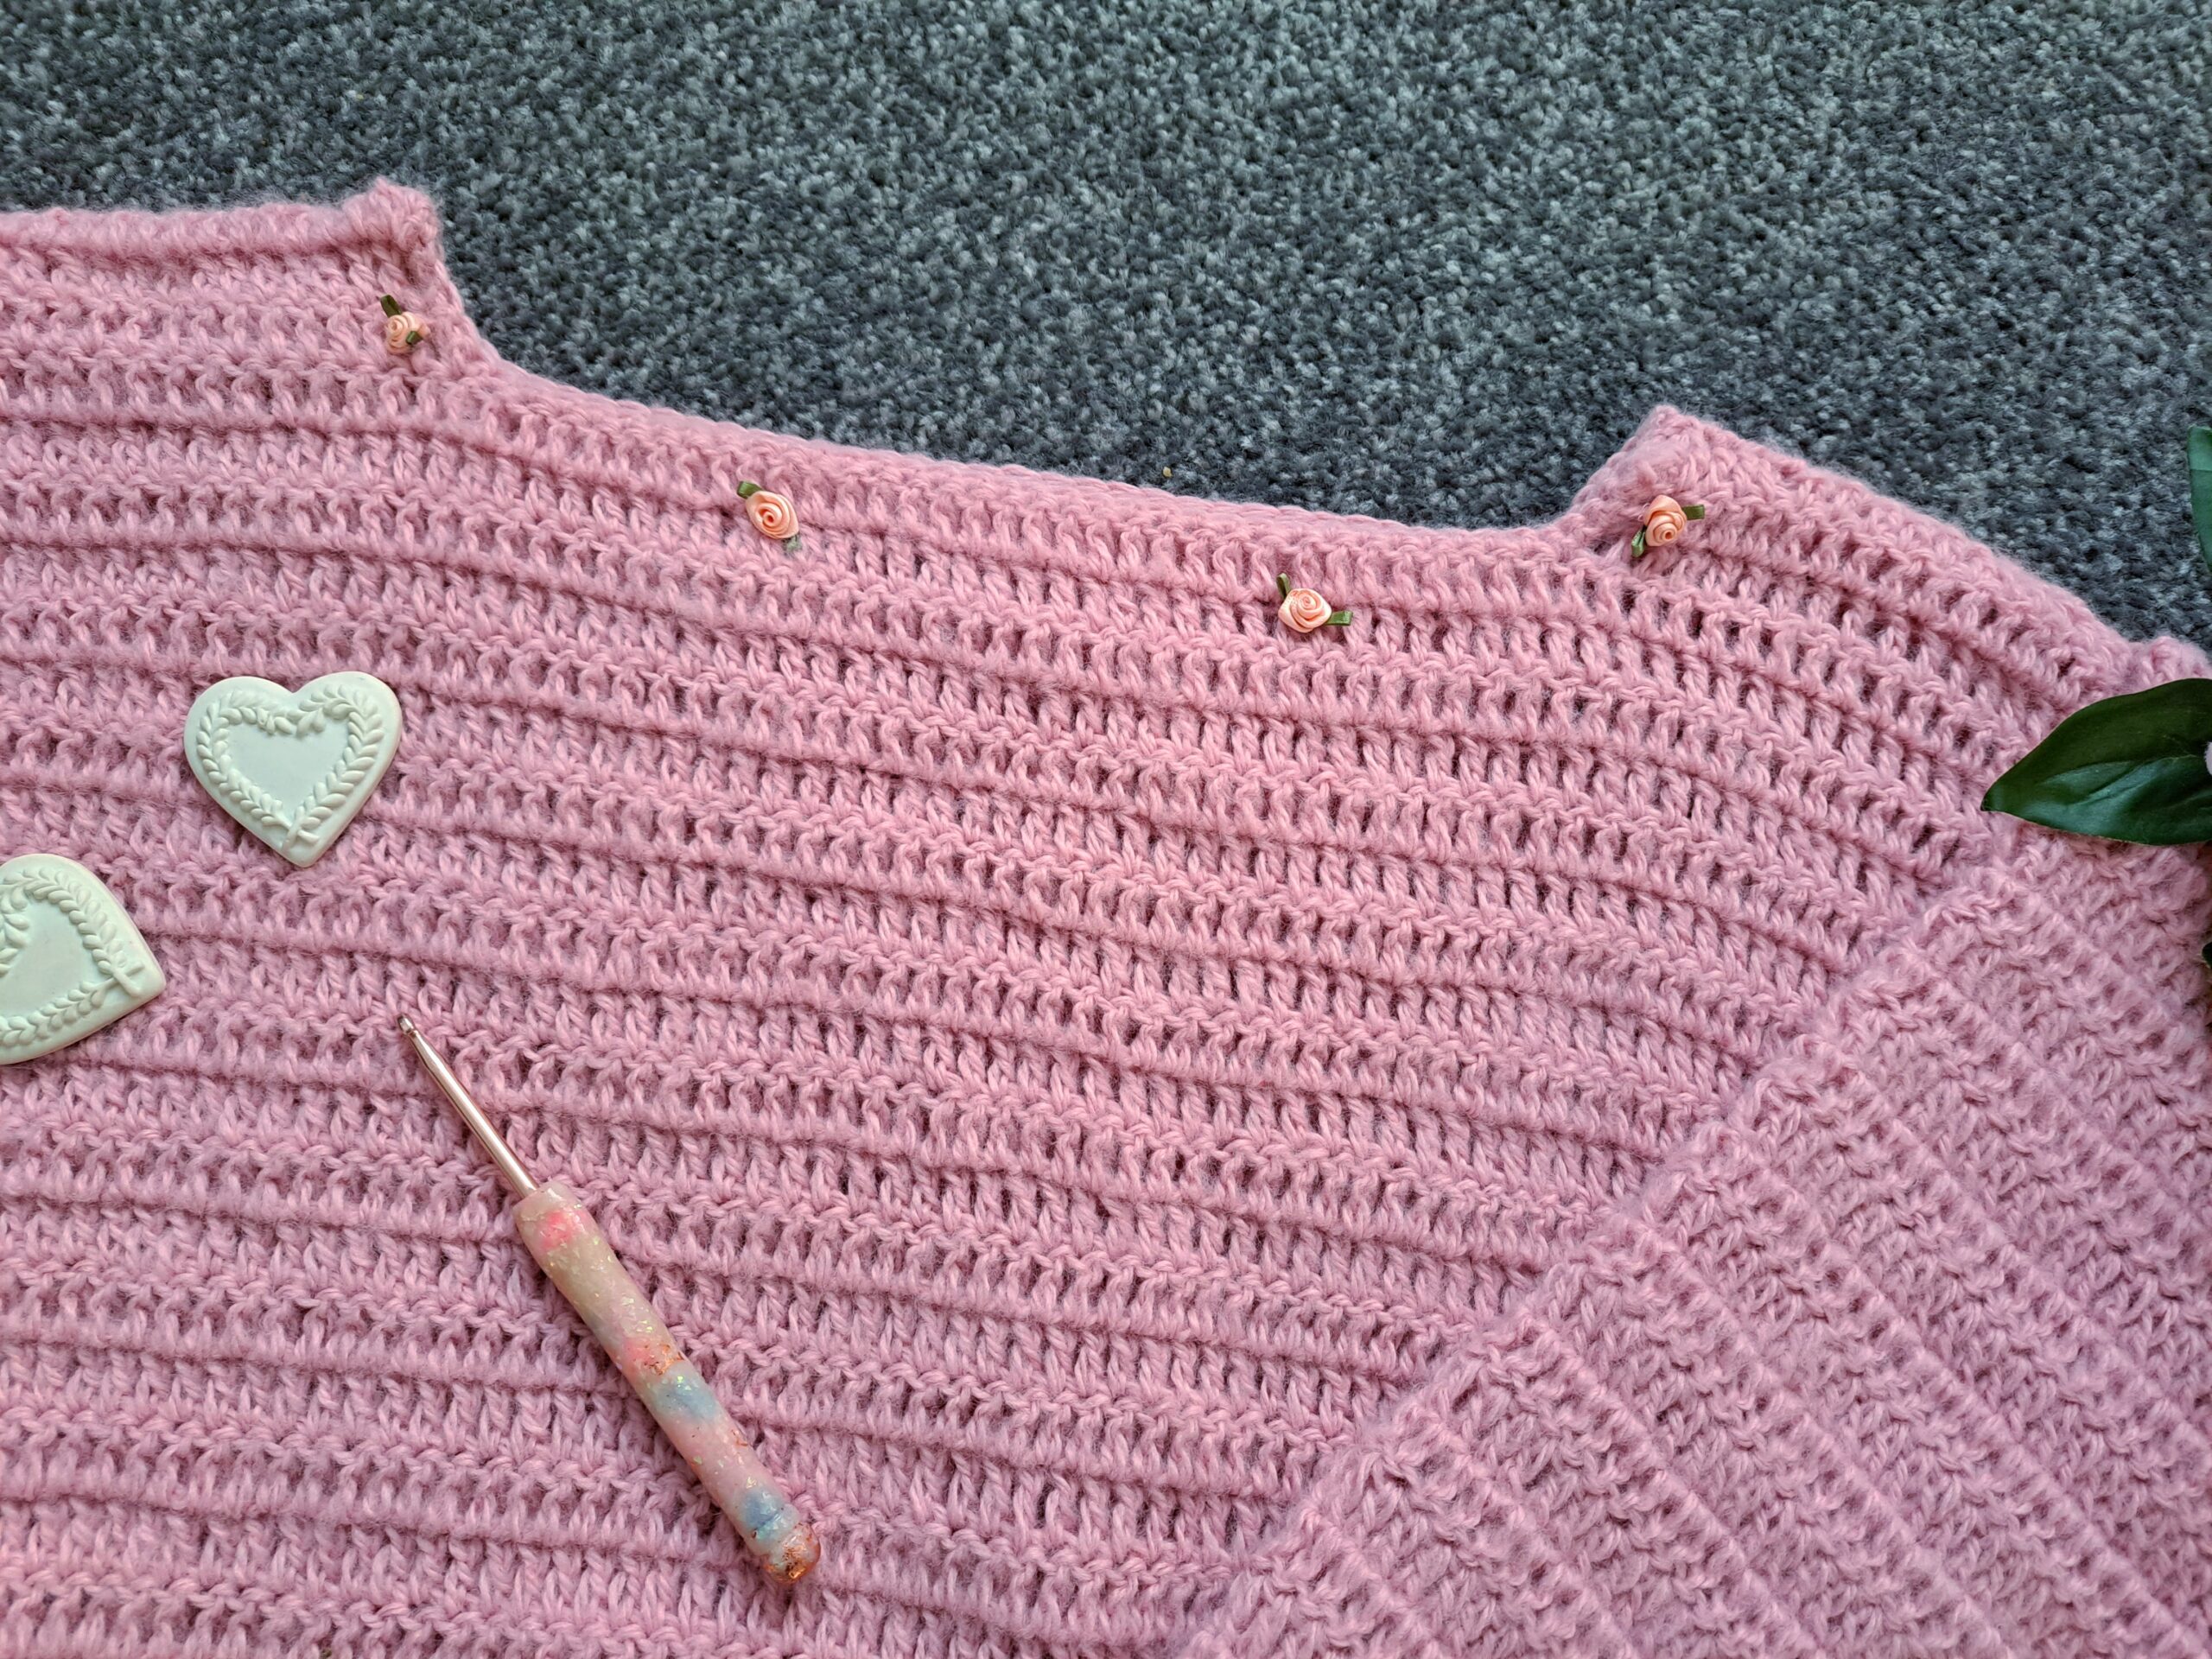
Sew little flowers onto the neck edging:
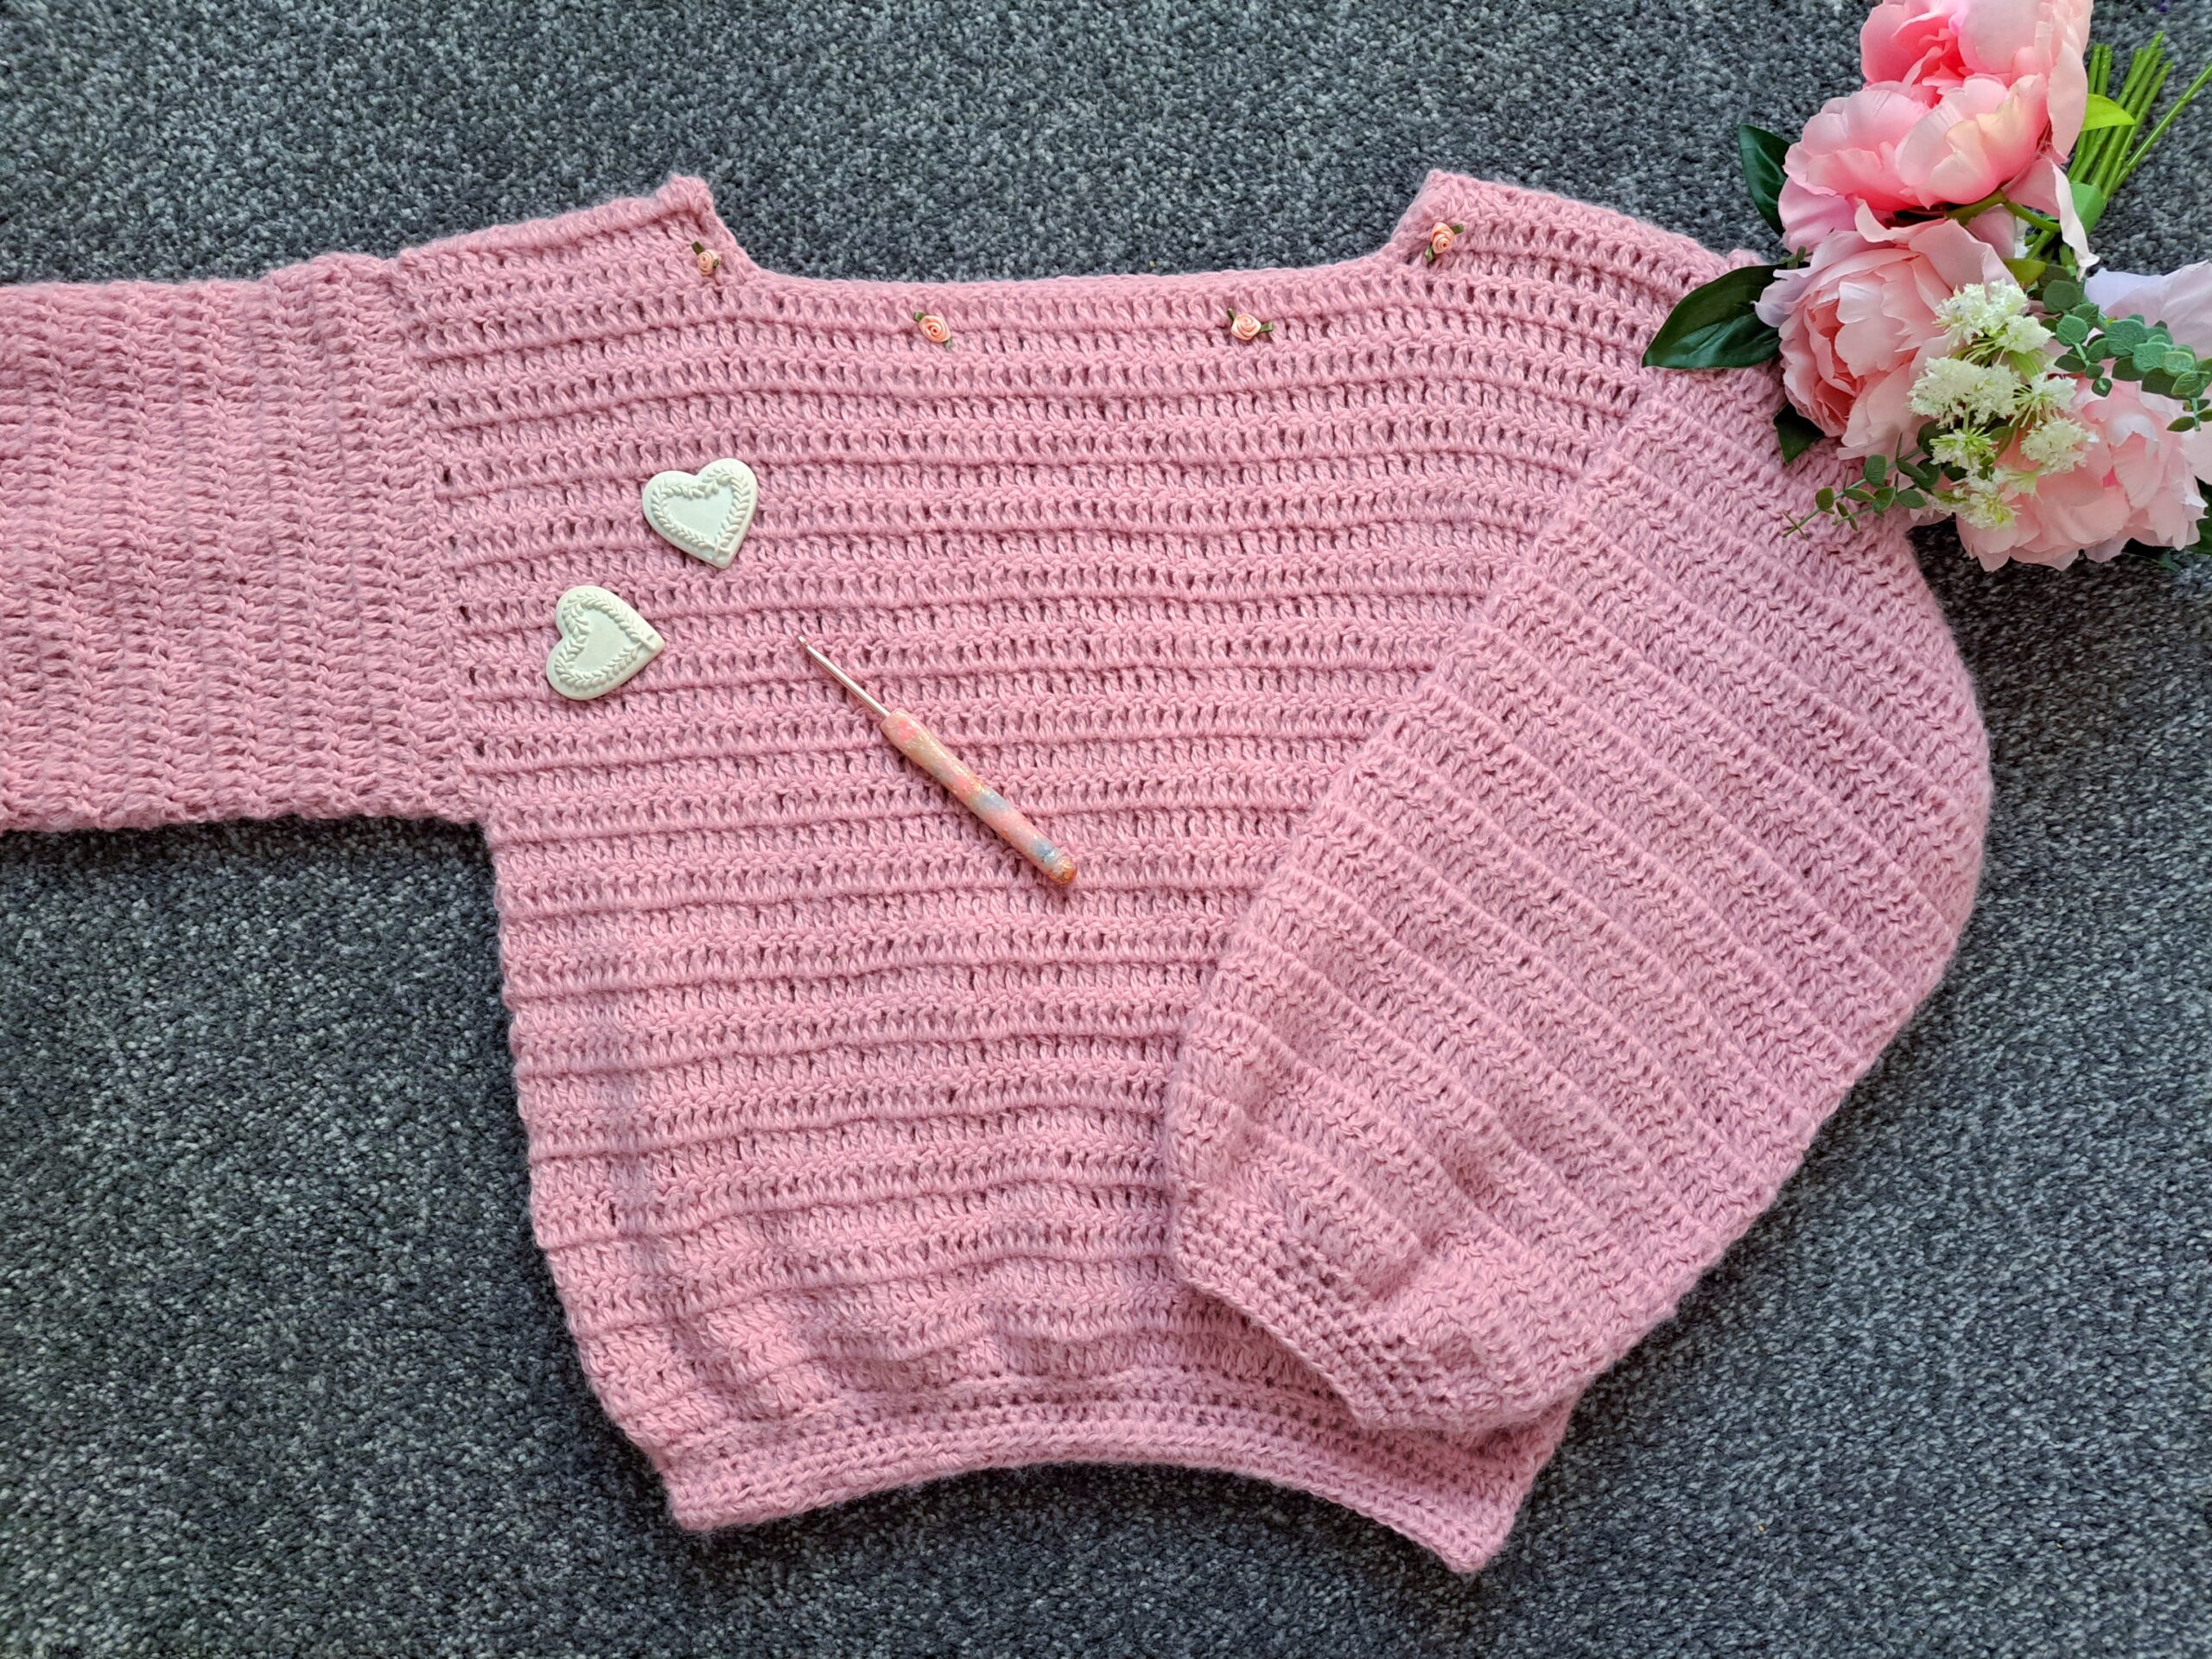
Now sew the little flowers onto the front neck edging as seen in the photograph above.
Use darning needle and thread to do this, preferably on the inside of the sweater (you can turn your sweater inside out to do this).


You May Also Like
Crochet A Velvet Scrunchie
Crochet No Sew Dainty Headband Free Pattern