Crochet The Adrienne Vintage Shawl Free Pattern
Crochet The Adrienne Vintage Shawl Free Pattern
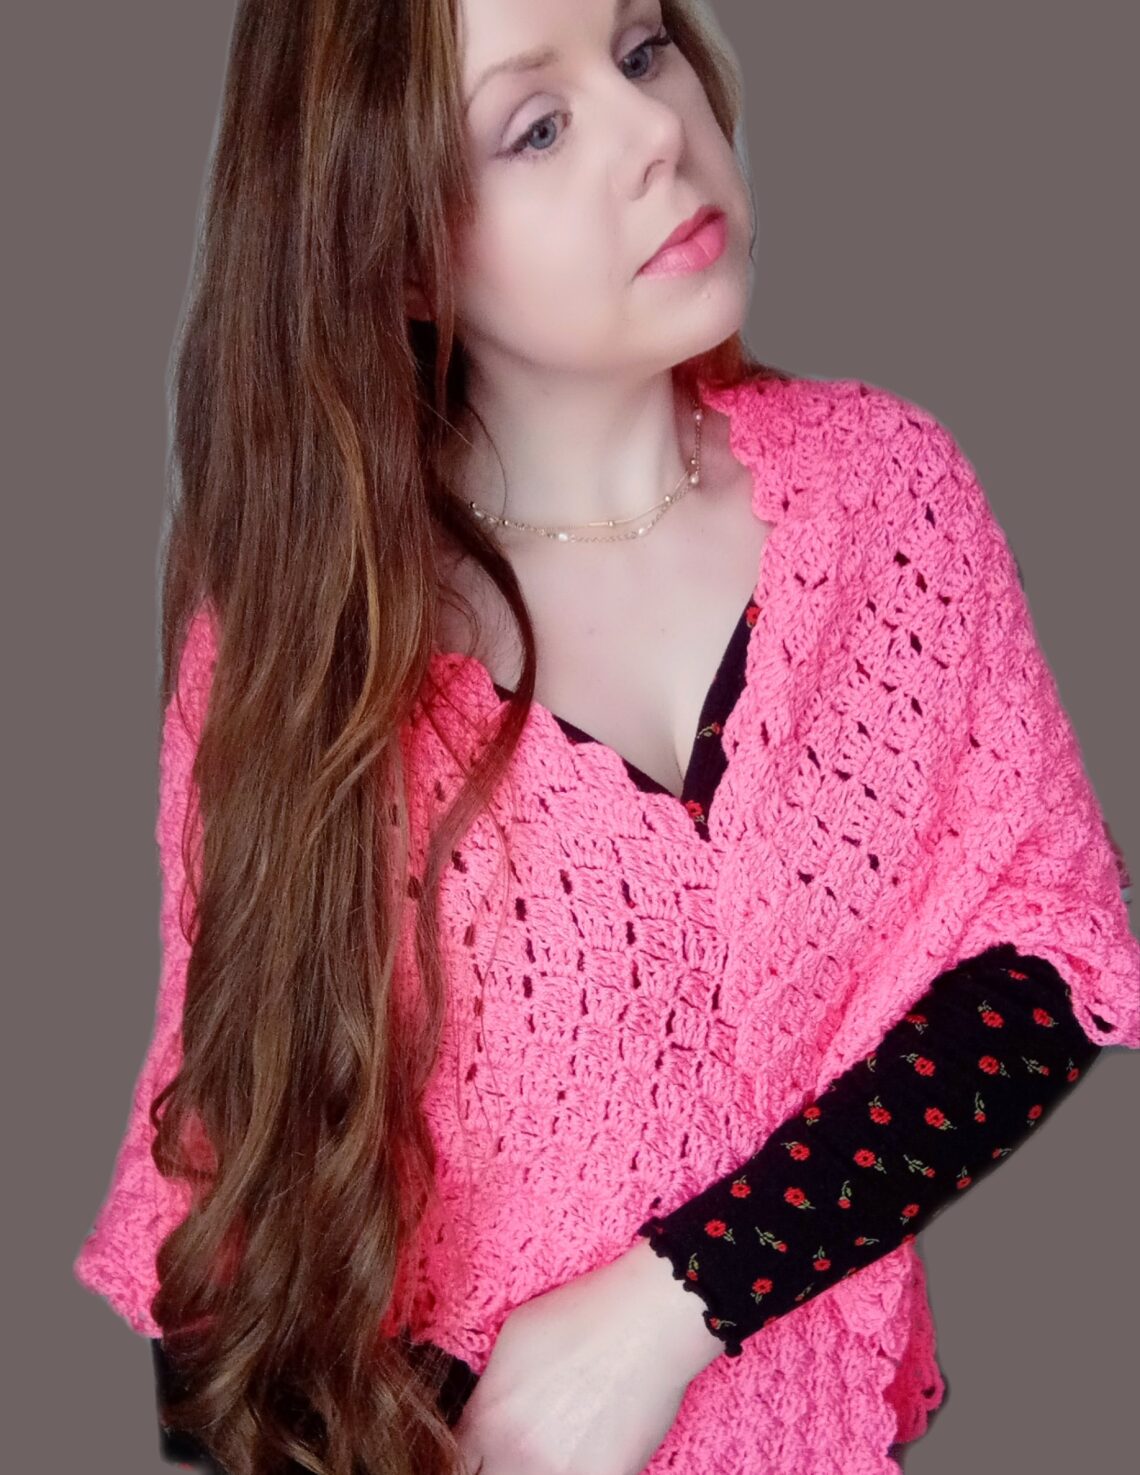
Hi everyone, this week I am bringing to you a tutorial on how to crochet The Adrienne Shawl (free pattern). This crochet pattern is part of my Vintage Crochet Series, and is inspired by the 1970s. Indeed, I crocheted this lovely shawl with the help of vintage yarn from the 1970s. I am so happy and pleased with how this shawl turned out!
The video tutorial for this project can be found here:
Crochet The Adrienne Vintage Shawl Free Pattern: A Vintage Pattern
This crochet shawl is part of my Vintage Crochet Series. I am so pleased to say that I actually crocheted this shawl with vintage yarn! Indeed, last year I managed to purchase 16 skeins of a very lovely yarn from the 1970s. This yarn is called Border Tricel Nylon yarn, also known as Double Crepe yarn. It was made by a British brand called Norland Wools in Newcastle Upon Tyne, where I live! Sadly this company does not exist anymore. My research showed it was in operation during the 1970s and 1980s, selling goods including local yarns.
Not a lot of information is written on the yarn packet. However, I can identify it as being a light 3/DK weight yarn. This yarn can easily be substituted with any light 3/DK weight yarn of your preference, however I will be listing a few different yarns you can use in lieu of this fabulously beautiful vintage yarn.
In lieu of this yarn, you could use Bernat Softee Baby yarn in shade Baby Pink. This is also a light 3/DK yarn, and I love it so much! I used that yarn to crochet this Edwardian Era Wrap. The Angel Wings Cardigan was also crocheted with this yarn. I love this fine yarn so much, and it can be used to make this shawl.
You could also use Paintbox Simply DK yarn, or even Stylecraft Special DK for this shawl. This yarn was used for The Lily Hexagon Cardigan.
Crochet The Adrienne Vintage Shawl Free Pattern: A 1970s Project
This crochet shawl is inspired by the delicate and lacy designs from the 1970s. Because this lovely yarn is in my opinion from that era, I thought I would make a crochet project inspired by that era. I then went through my crochet books and magazines, some of which are dated back to that era, and started looking for inspiration.
One thing I noticed was how feminine and delicate those designs were. A lot of wraps and shawls (often with intricate borders or fringes) were very trendy in those days. If you enjoy vintage crochet feminine shawls, please do have a look at The Eponine Shawl I released a few weeks ago, as well as The Juliette Shawl from last Summer.
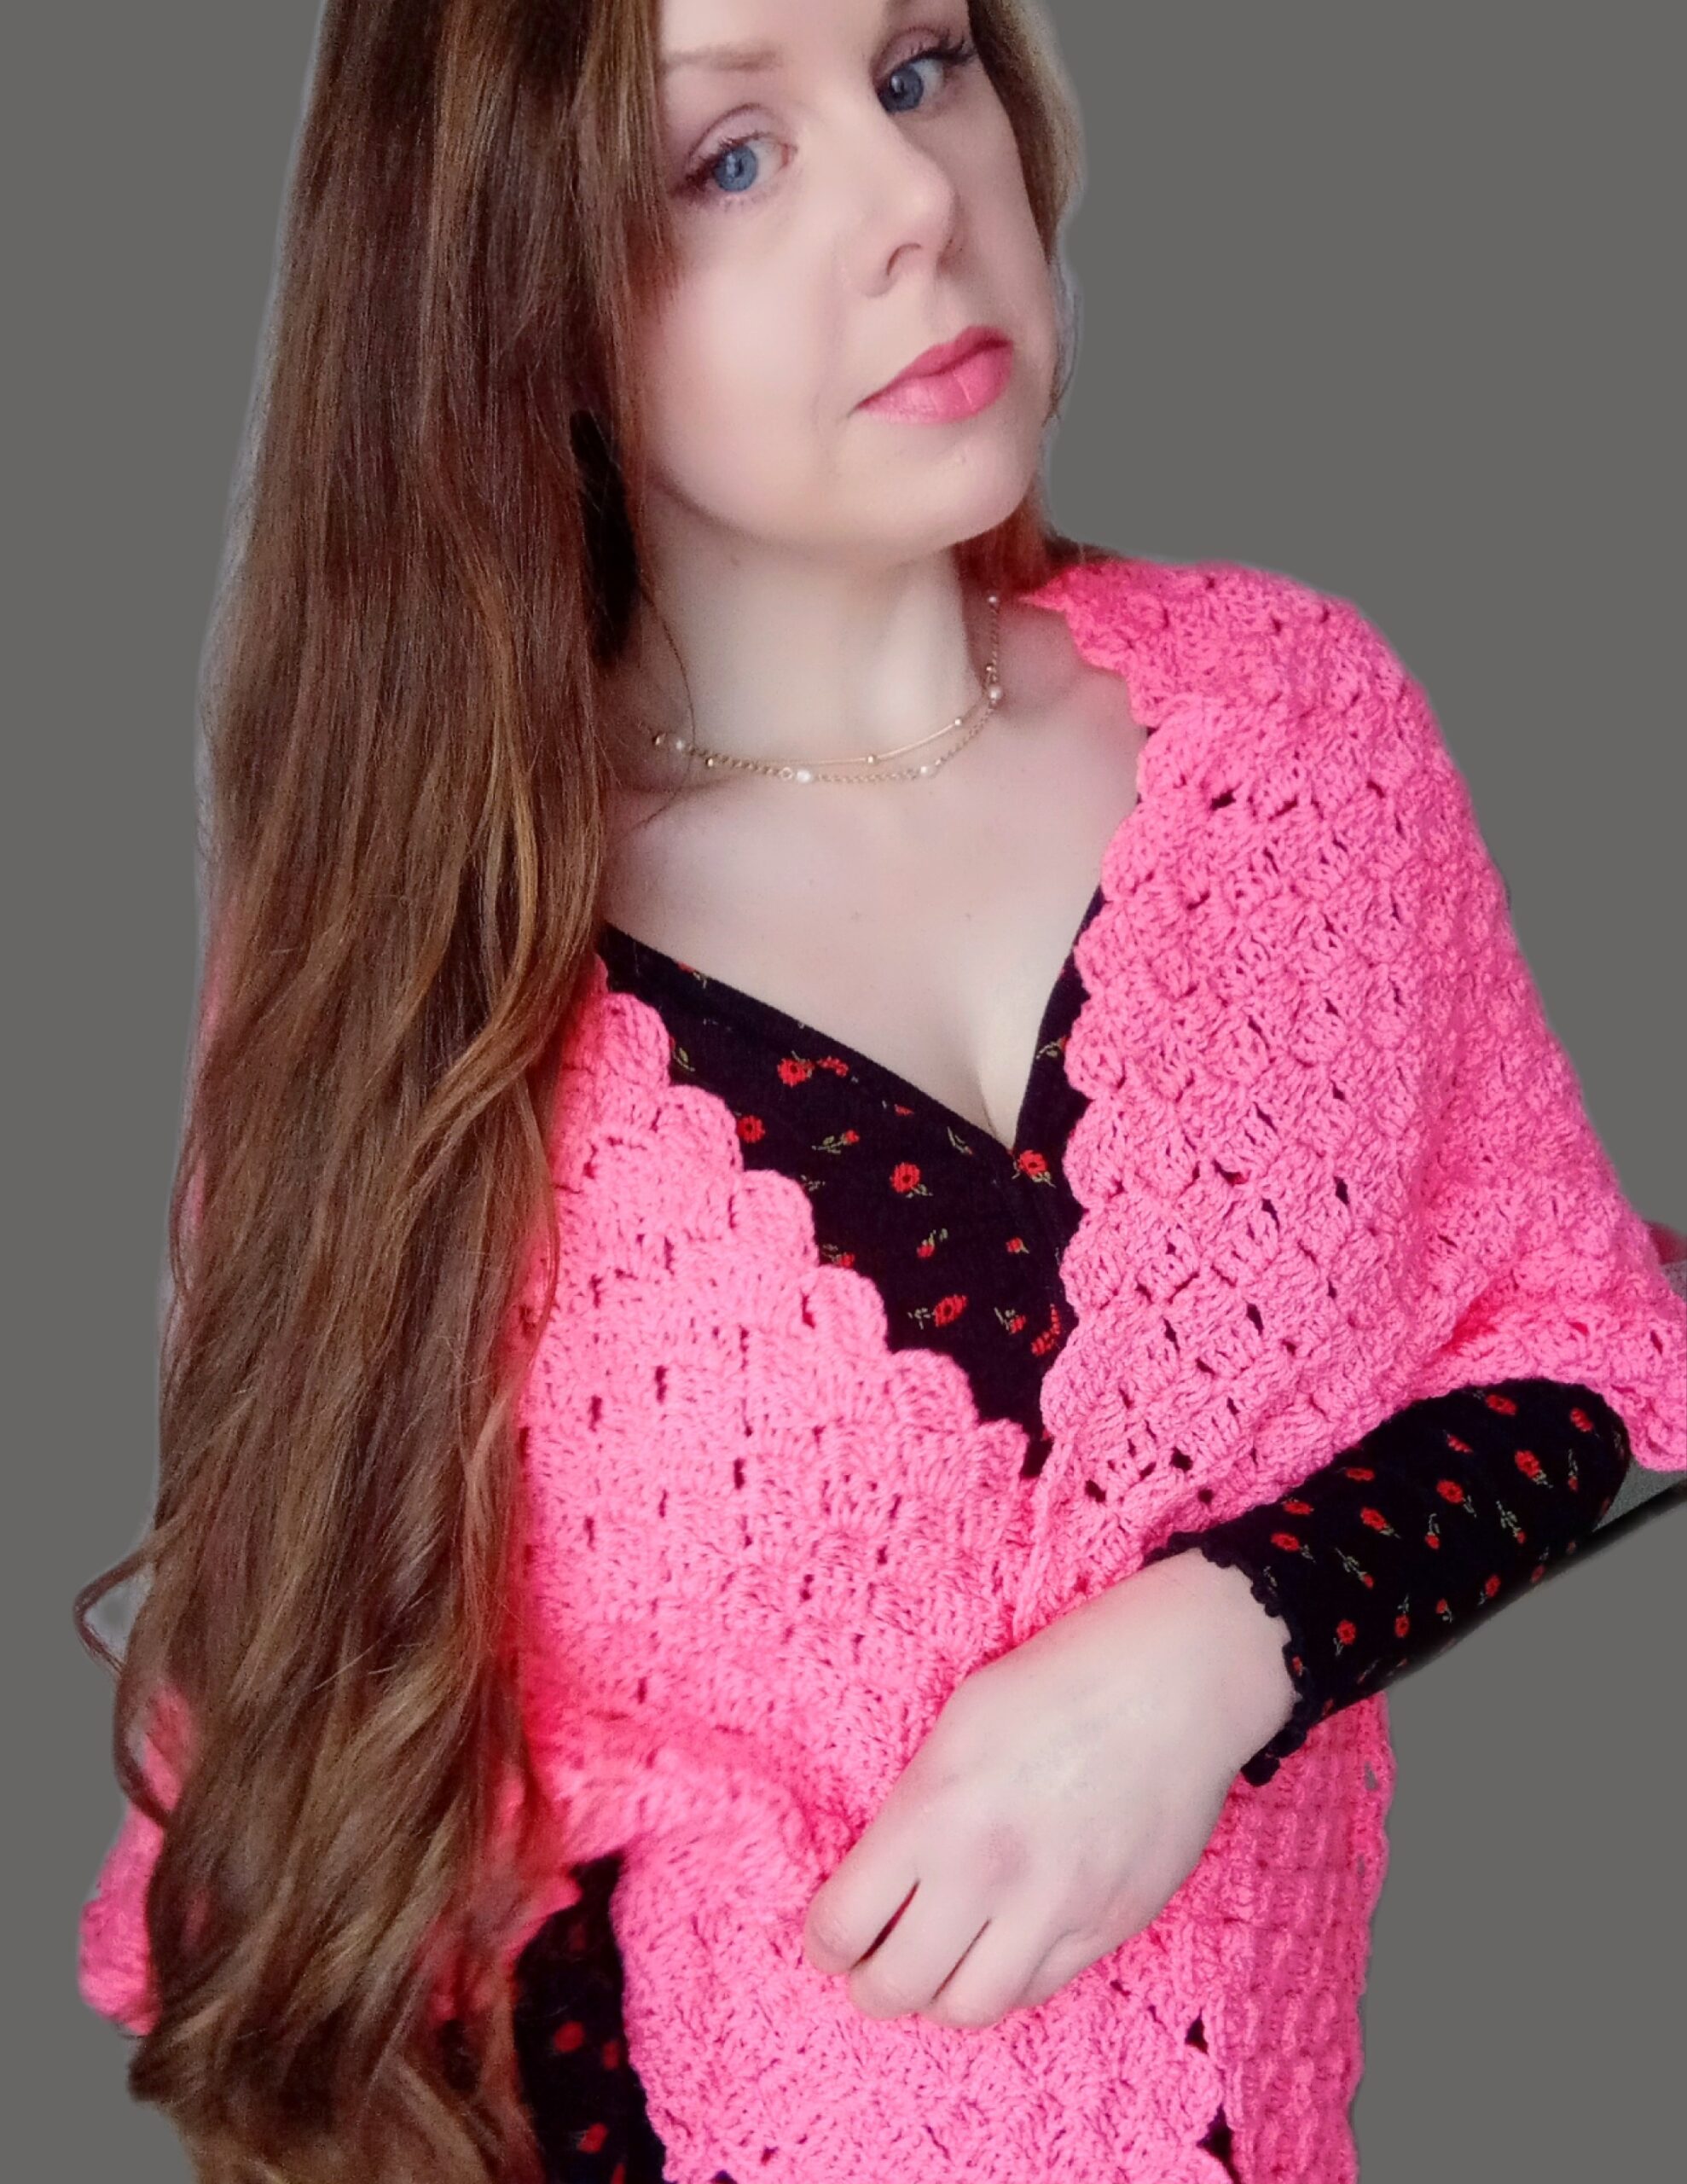
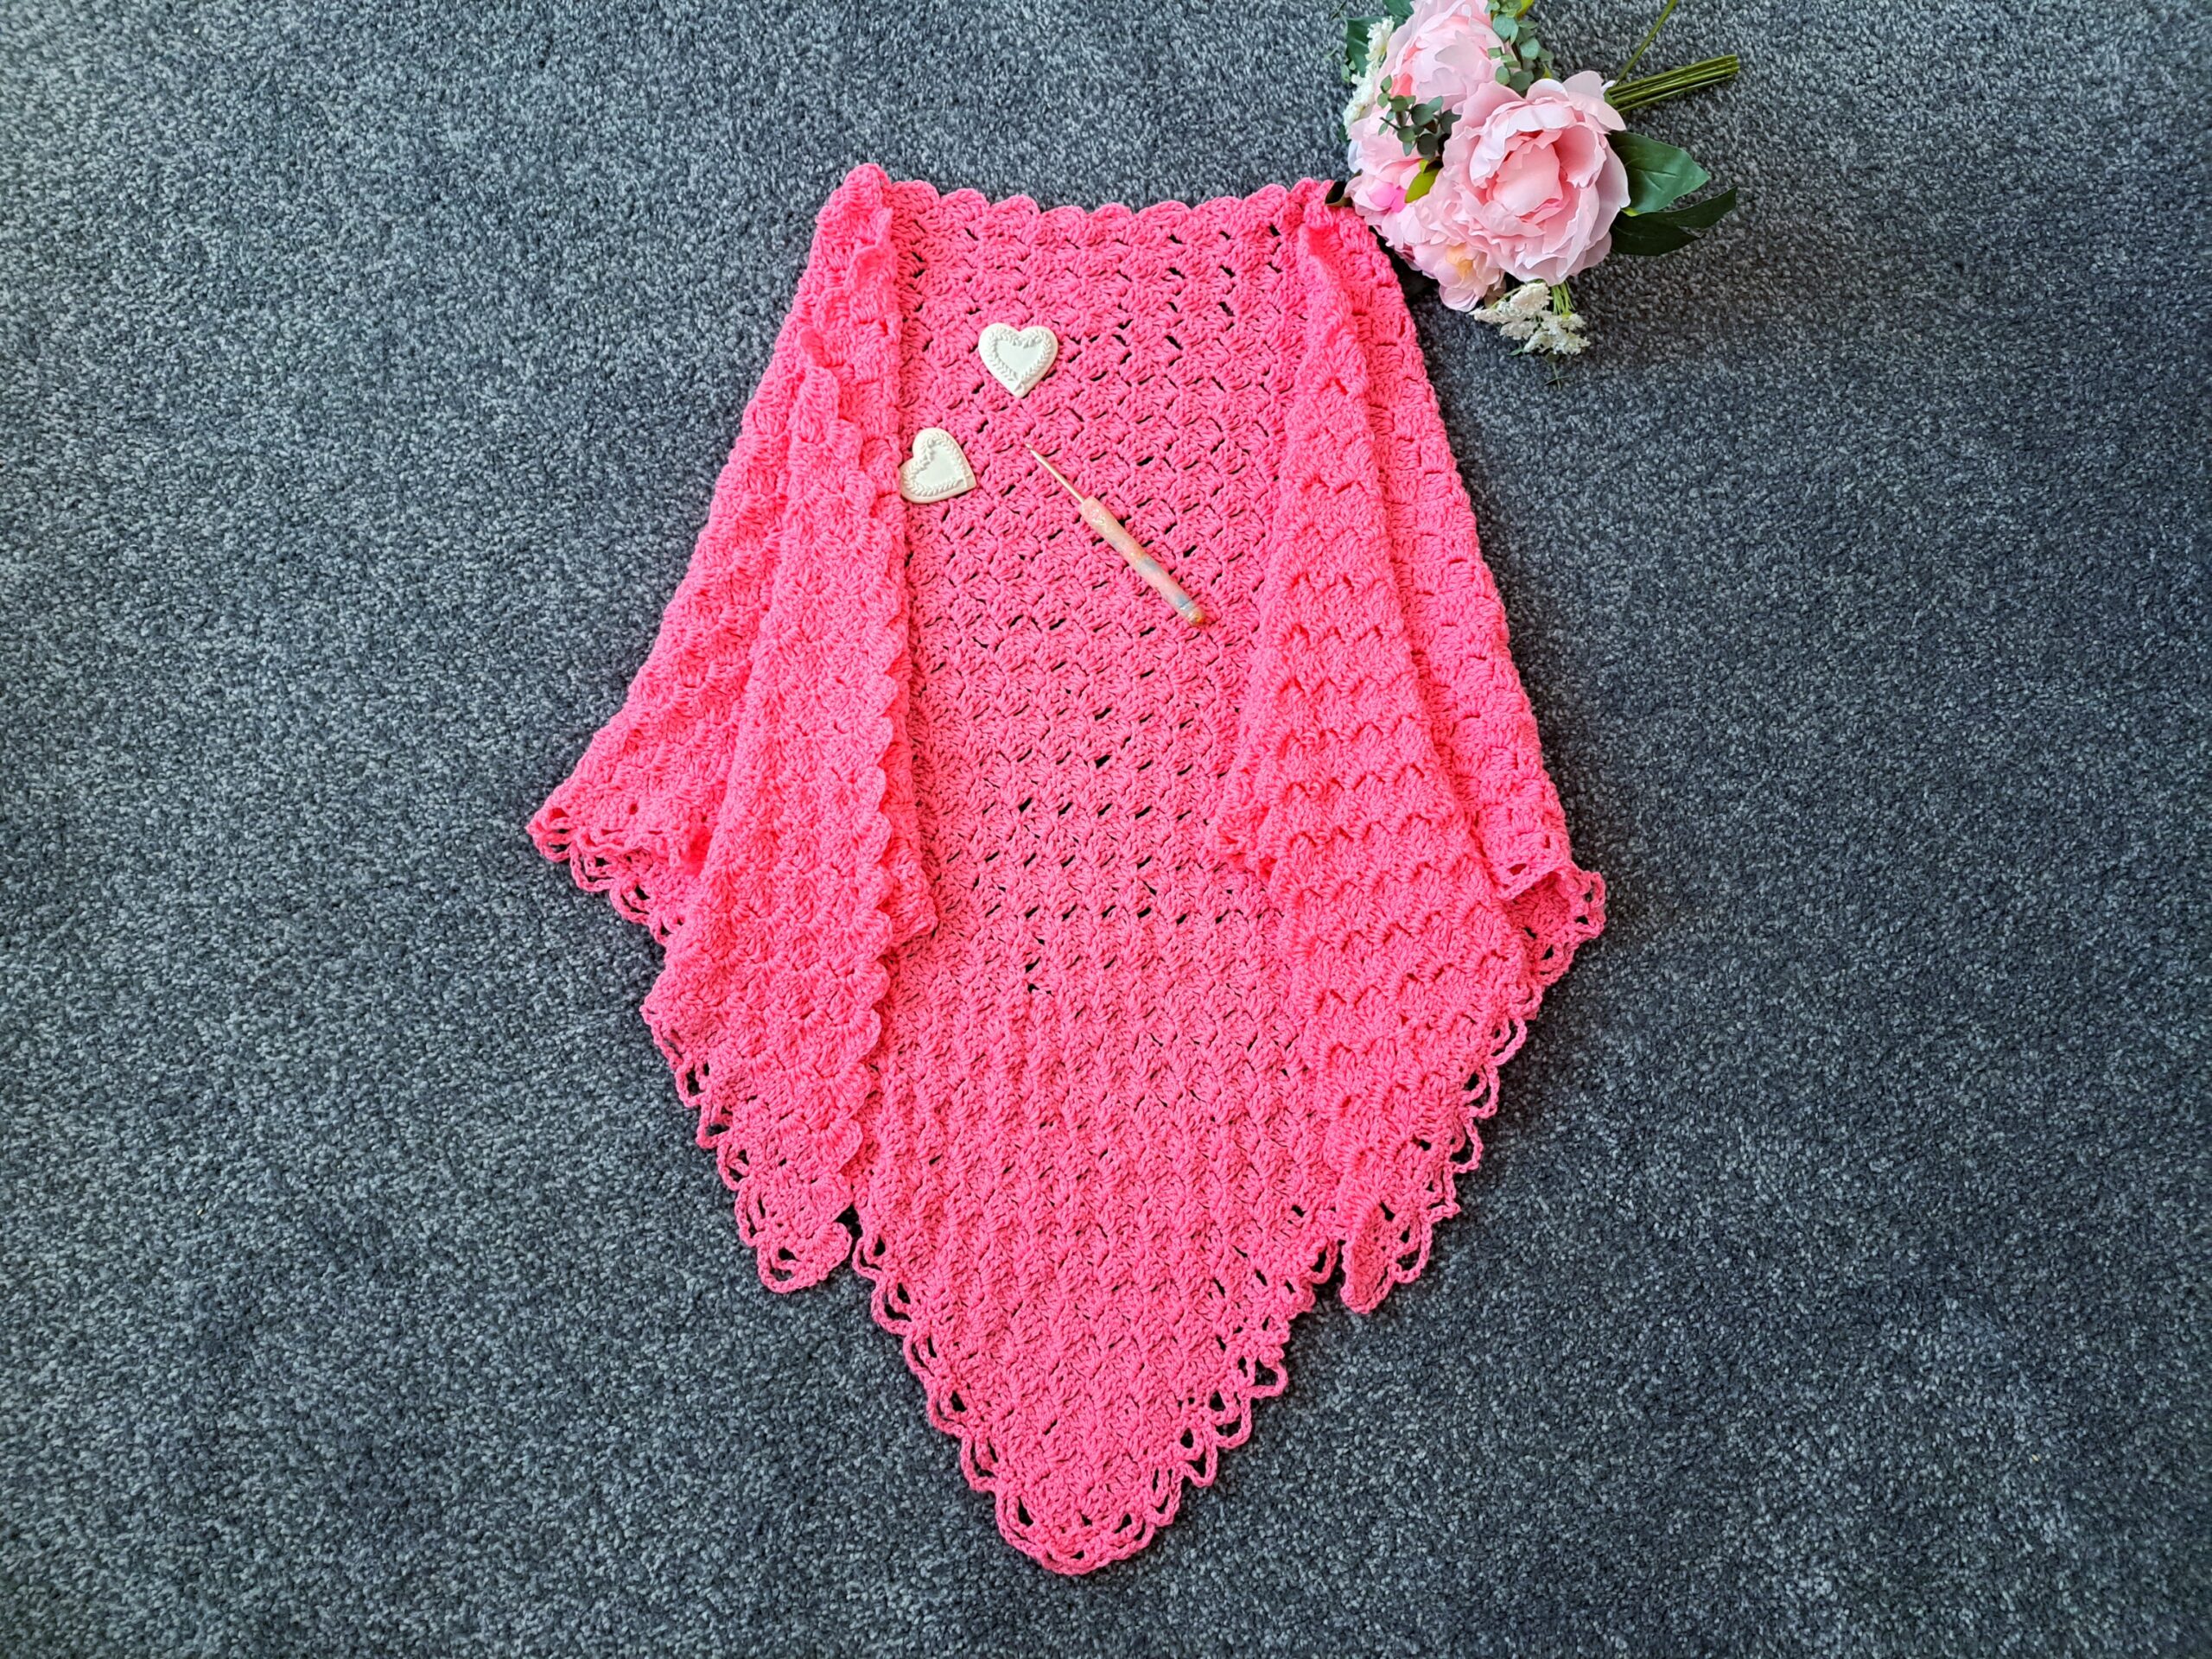
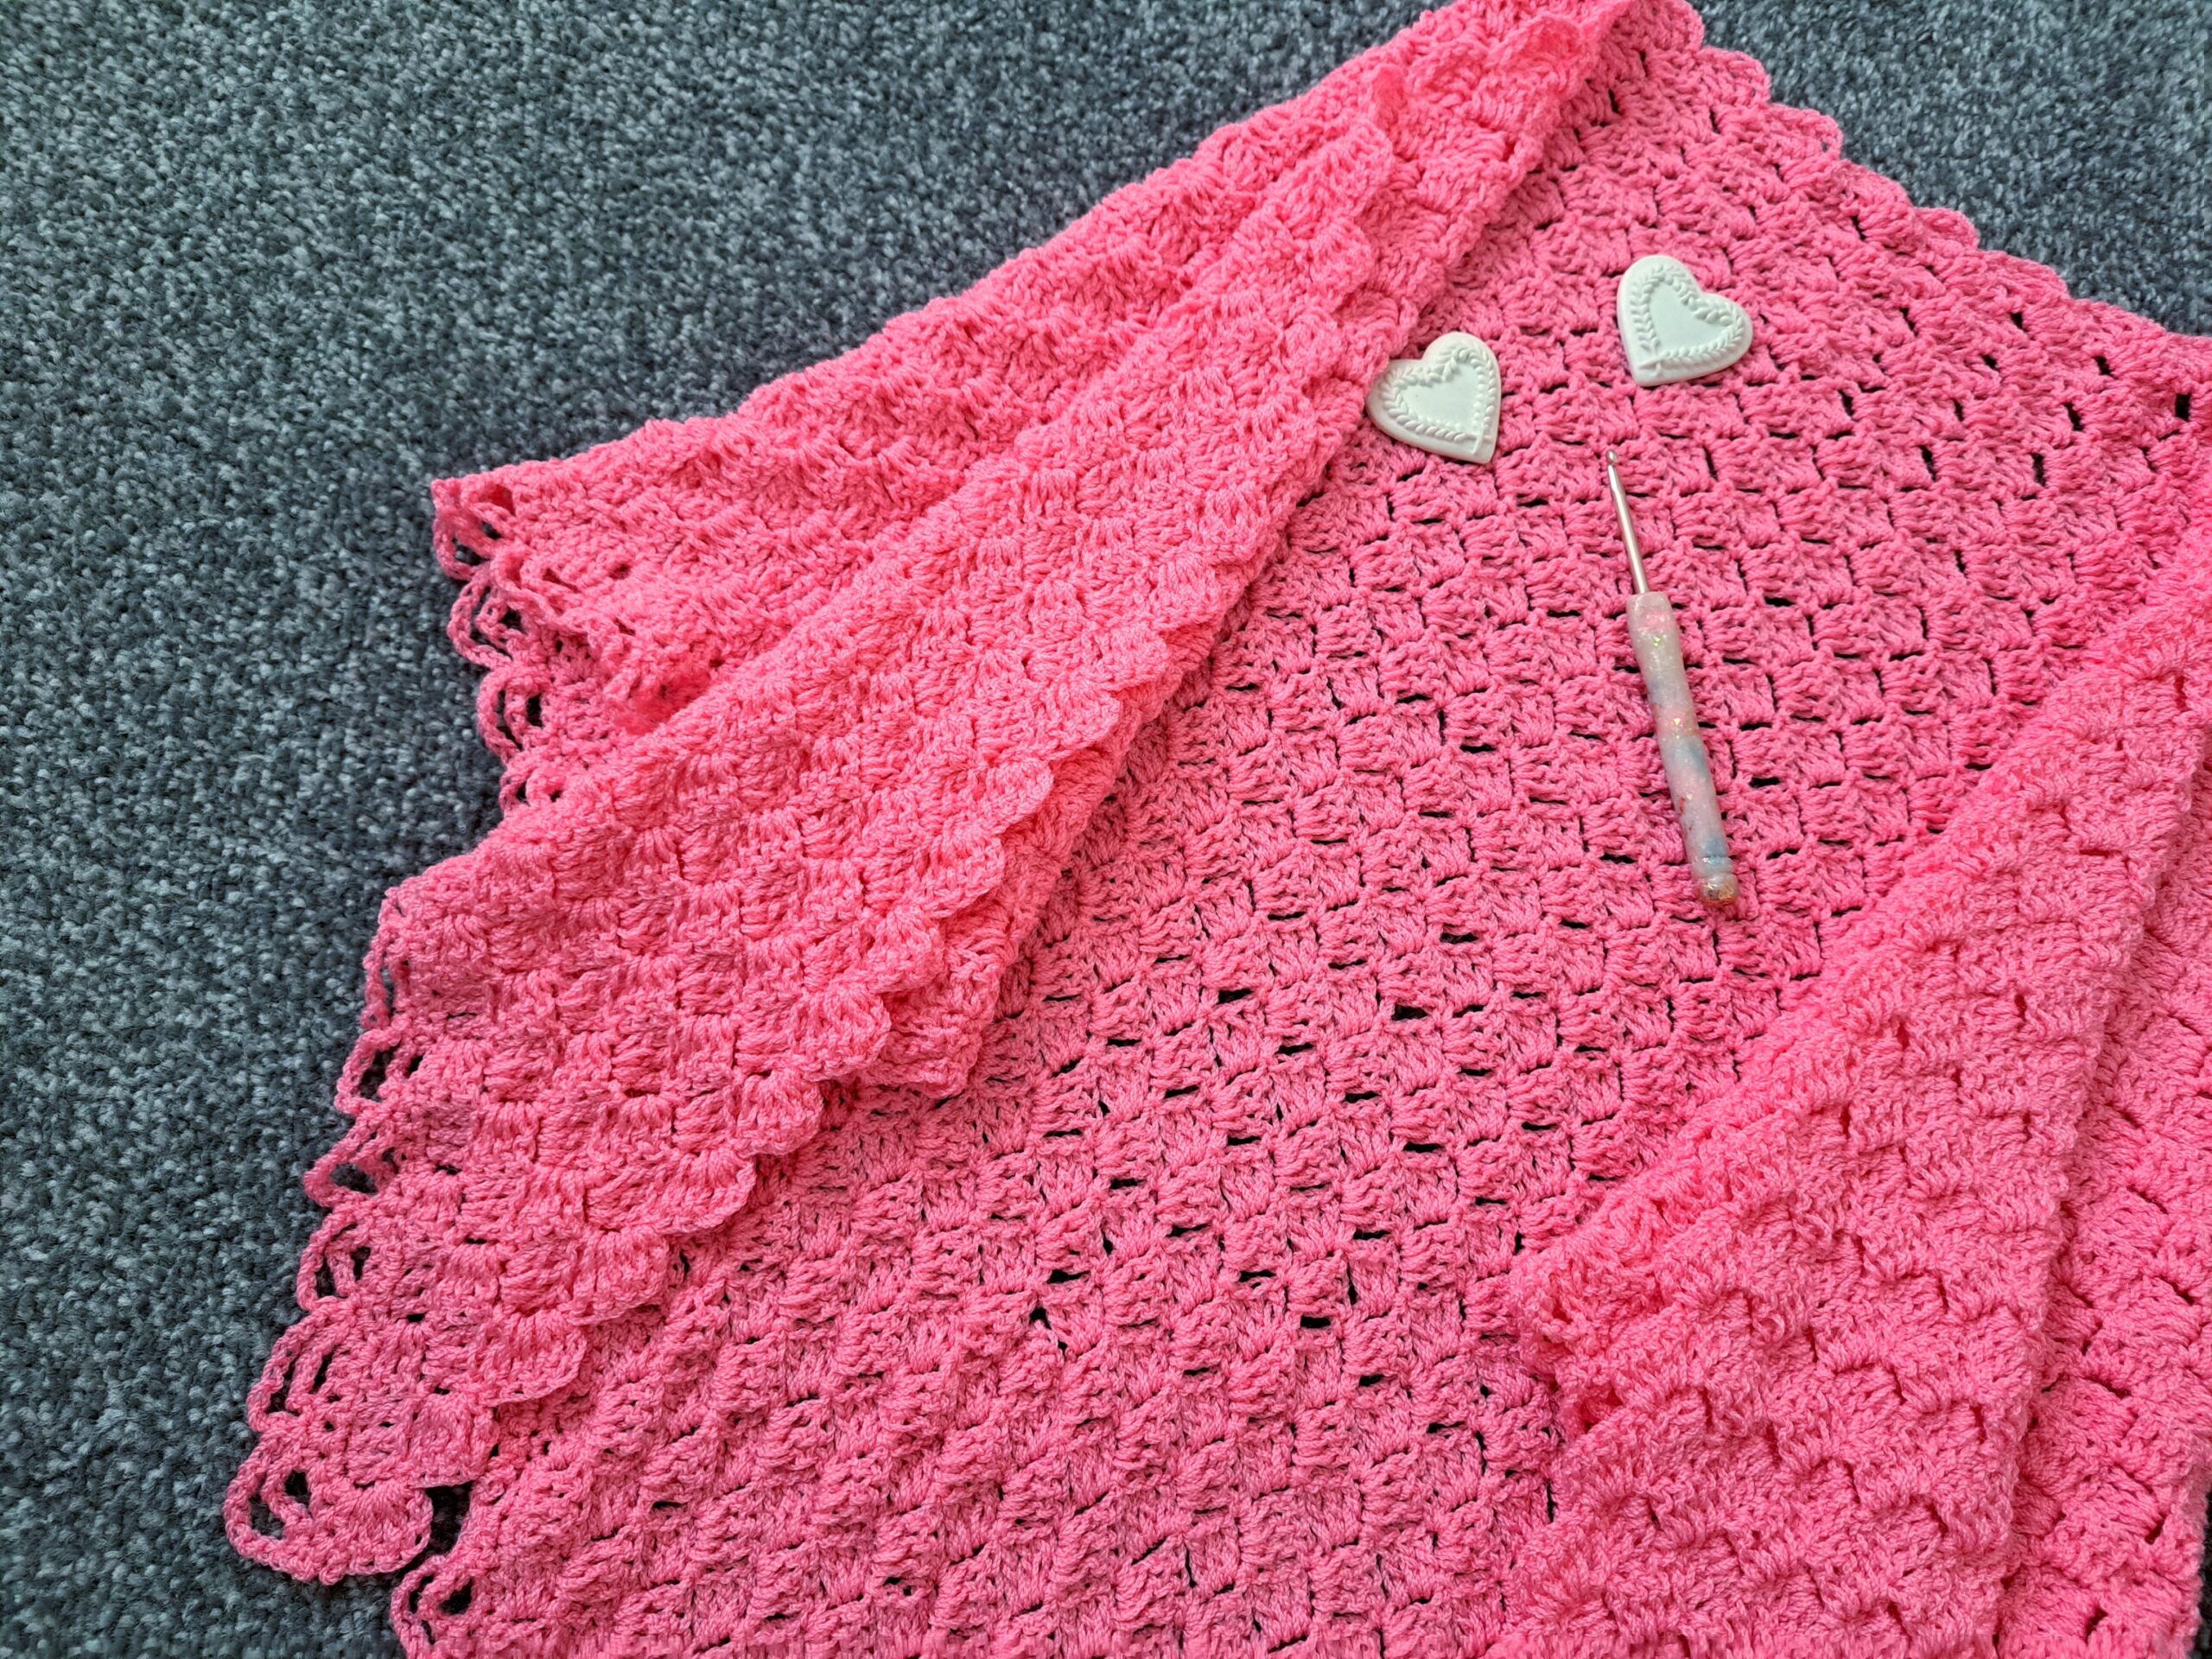
For this shawl I decided to go with a simple yet feminine C2C pattern (a Corner 2 Corner design). I love how lovely it turned out! I then added a lovely and lacy double loop edging. The look of this lacy edging is perfect with the more “full” look of the C2C, and I am so glad I went for this border.
Let me know in the comments what you think of this shawl. If you want to see me crochet more vintage projects using vintage yarn, let me know also! I love to hear your feedback.
Connecting with you
I would like to take a moment to thank every single one of you, for supporting me and my crochet journey. Indeed, I absolutely am so touched by all your messages, comments, and every person who has become a patron of my work through Patreon. Thank you!
I love connecting with my Crochet Community through my blog and Social Media. You can find me on Youtube, Instagram, and Pinterest. I would love to connect with you on these platforms.
You can also join my private Facebook group to connect.
Subscribe to our weekly newsletter so that you never miss a stitch!
Crochet The Adrienne Vintage Shawl: The Pattern
You can purchase the ad free, large print, PDF pattern for this project from my Etsy shop here: Crochet The Adrienne Shawl PDF Pattern
You can purchase the ad free, large print, PDF pattern for this project from my Ravelry shop here: Crochet The Adrienne Shawl PDF Pattern
Level: Easy/beginner
Notes
I will be using US terms (British terms in brackets)
I used a vintage yarn to crochet this vintage shawl. This yarn is called “Border Tricel Nylon Double Crepe” yarn and was a yarn made in the 1970s (England). This yarn is no longer available, however you can very easily substitute it with any light 3/DK weight yarn of your preference. I have written down in the materials section different options you can use for this shawl.
Gauge
4” (10 cm): 5 rounds of C2C pattern
Size of finished shawl (including border)
31” (79 cm) x 69” (175 cm)
You will need
300 grams of light 3/DK weight yarn such as Bernat Softee Baby, Stylecraft Special DK or Paintbox Simply DK yarn
5 mm crochet hook
A pair of scissors
A tapestry needle
Abbreviations
Ch: chain
Sl st: slip stitch
St: stitch
Sk: skip
SC: Single Crochet (UK Double Crochet)
DC: Double Crochet (UK Treble Crochet)
EOR: End of Row
To begin
To start, make a slip knot.
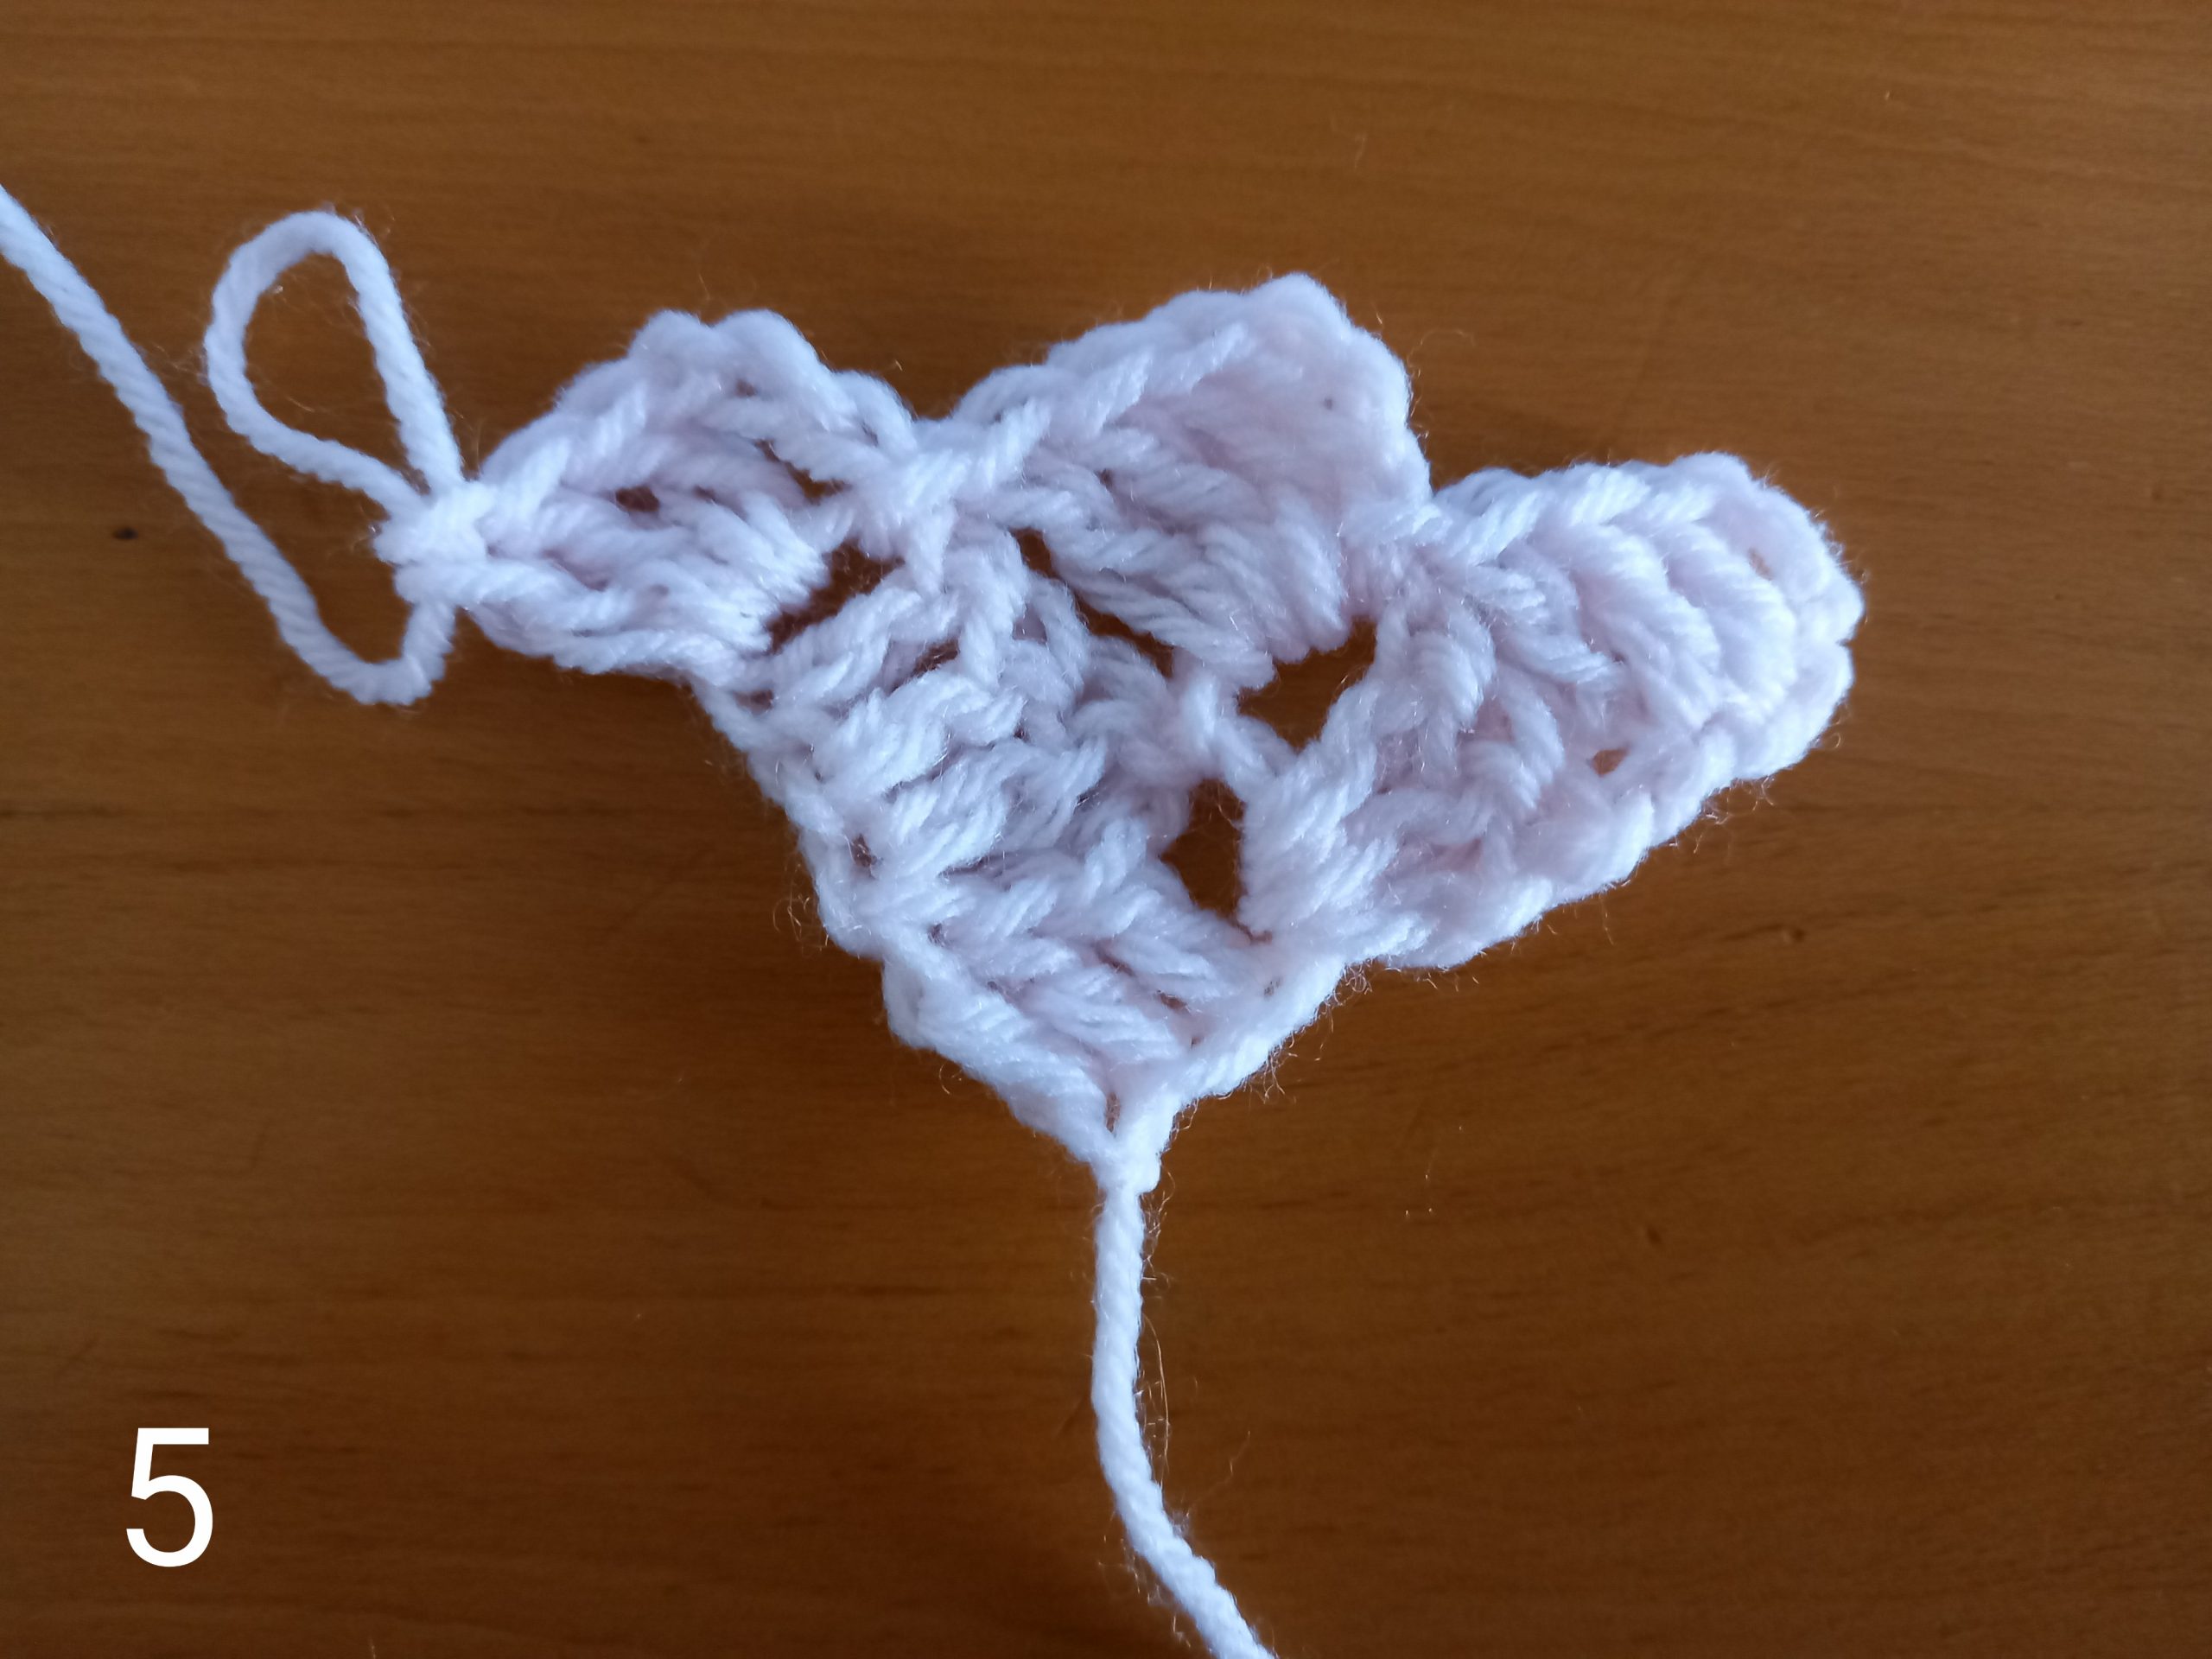
1: Ch 6, DC in 4th ch from the hook and in each st along (=4 DC)
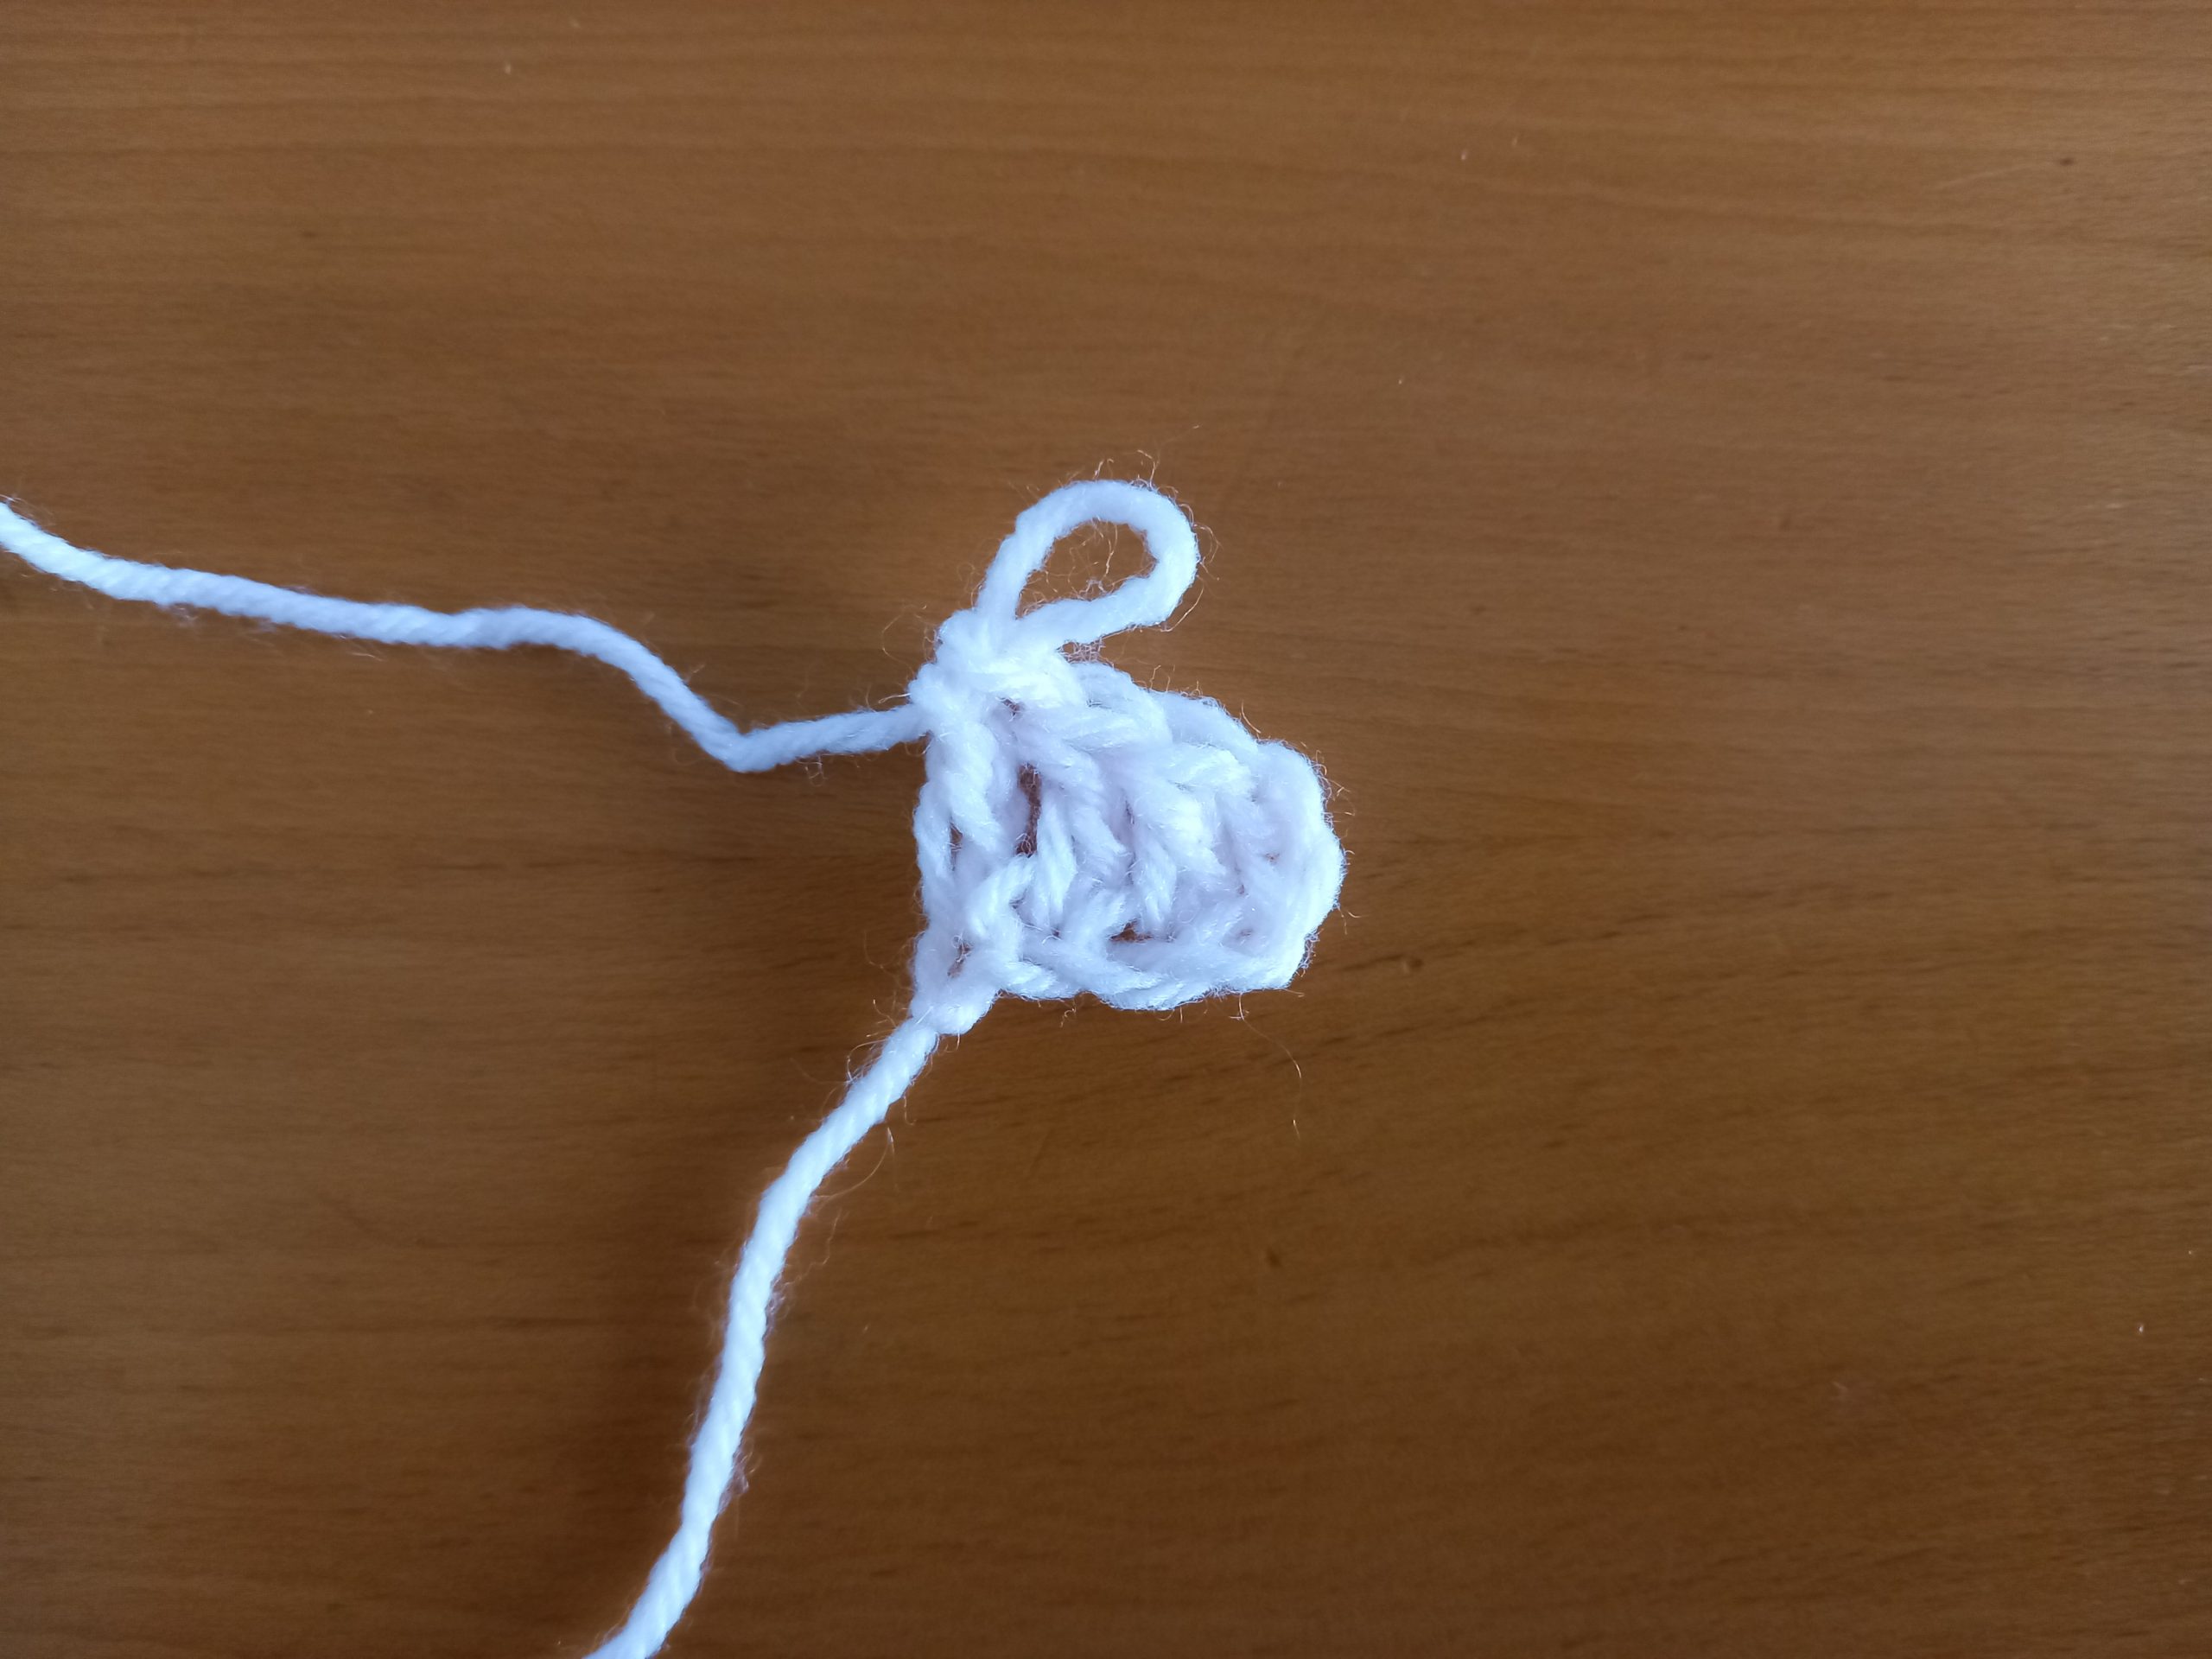
2: Ch 6, turn your work, DC in 4th ch from hook and in each st along (=4 DC); turn work to sl st in between the 3rd and 4th DC from the previous row; ch 3 (counts as a DC throughout), and add 3 DC in between the 3rd and 4th DC from the previous row to form a square.
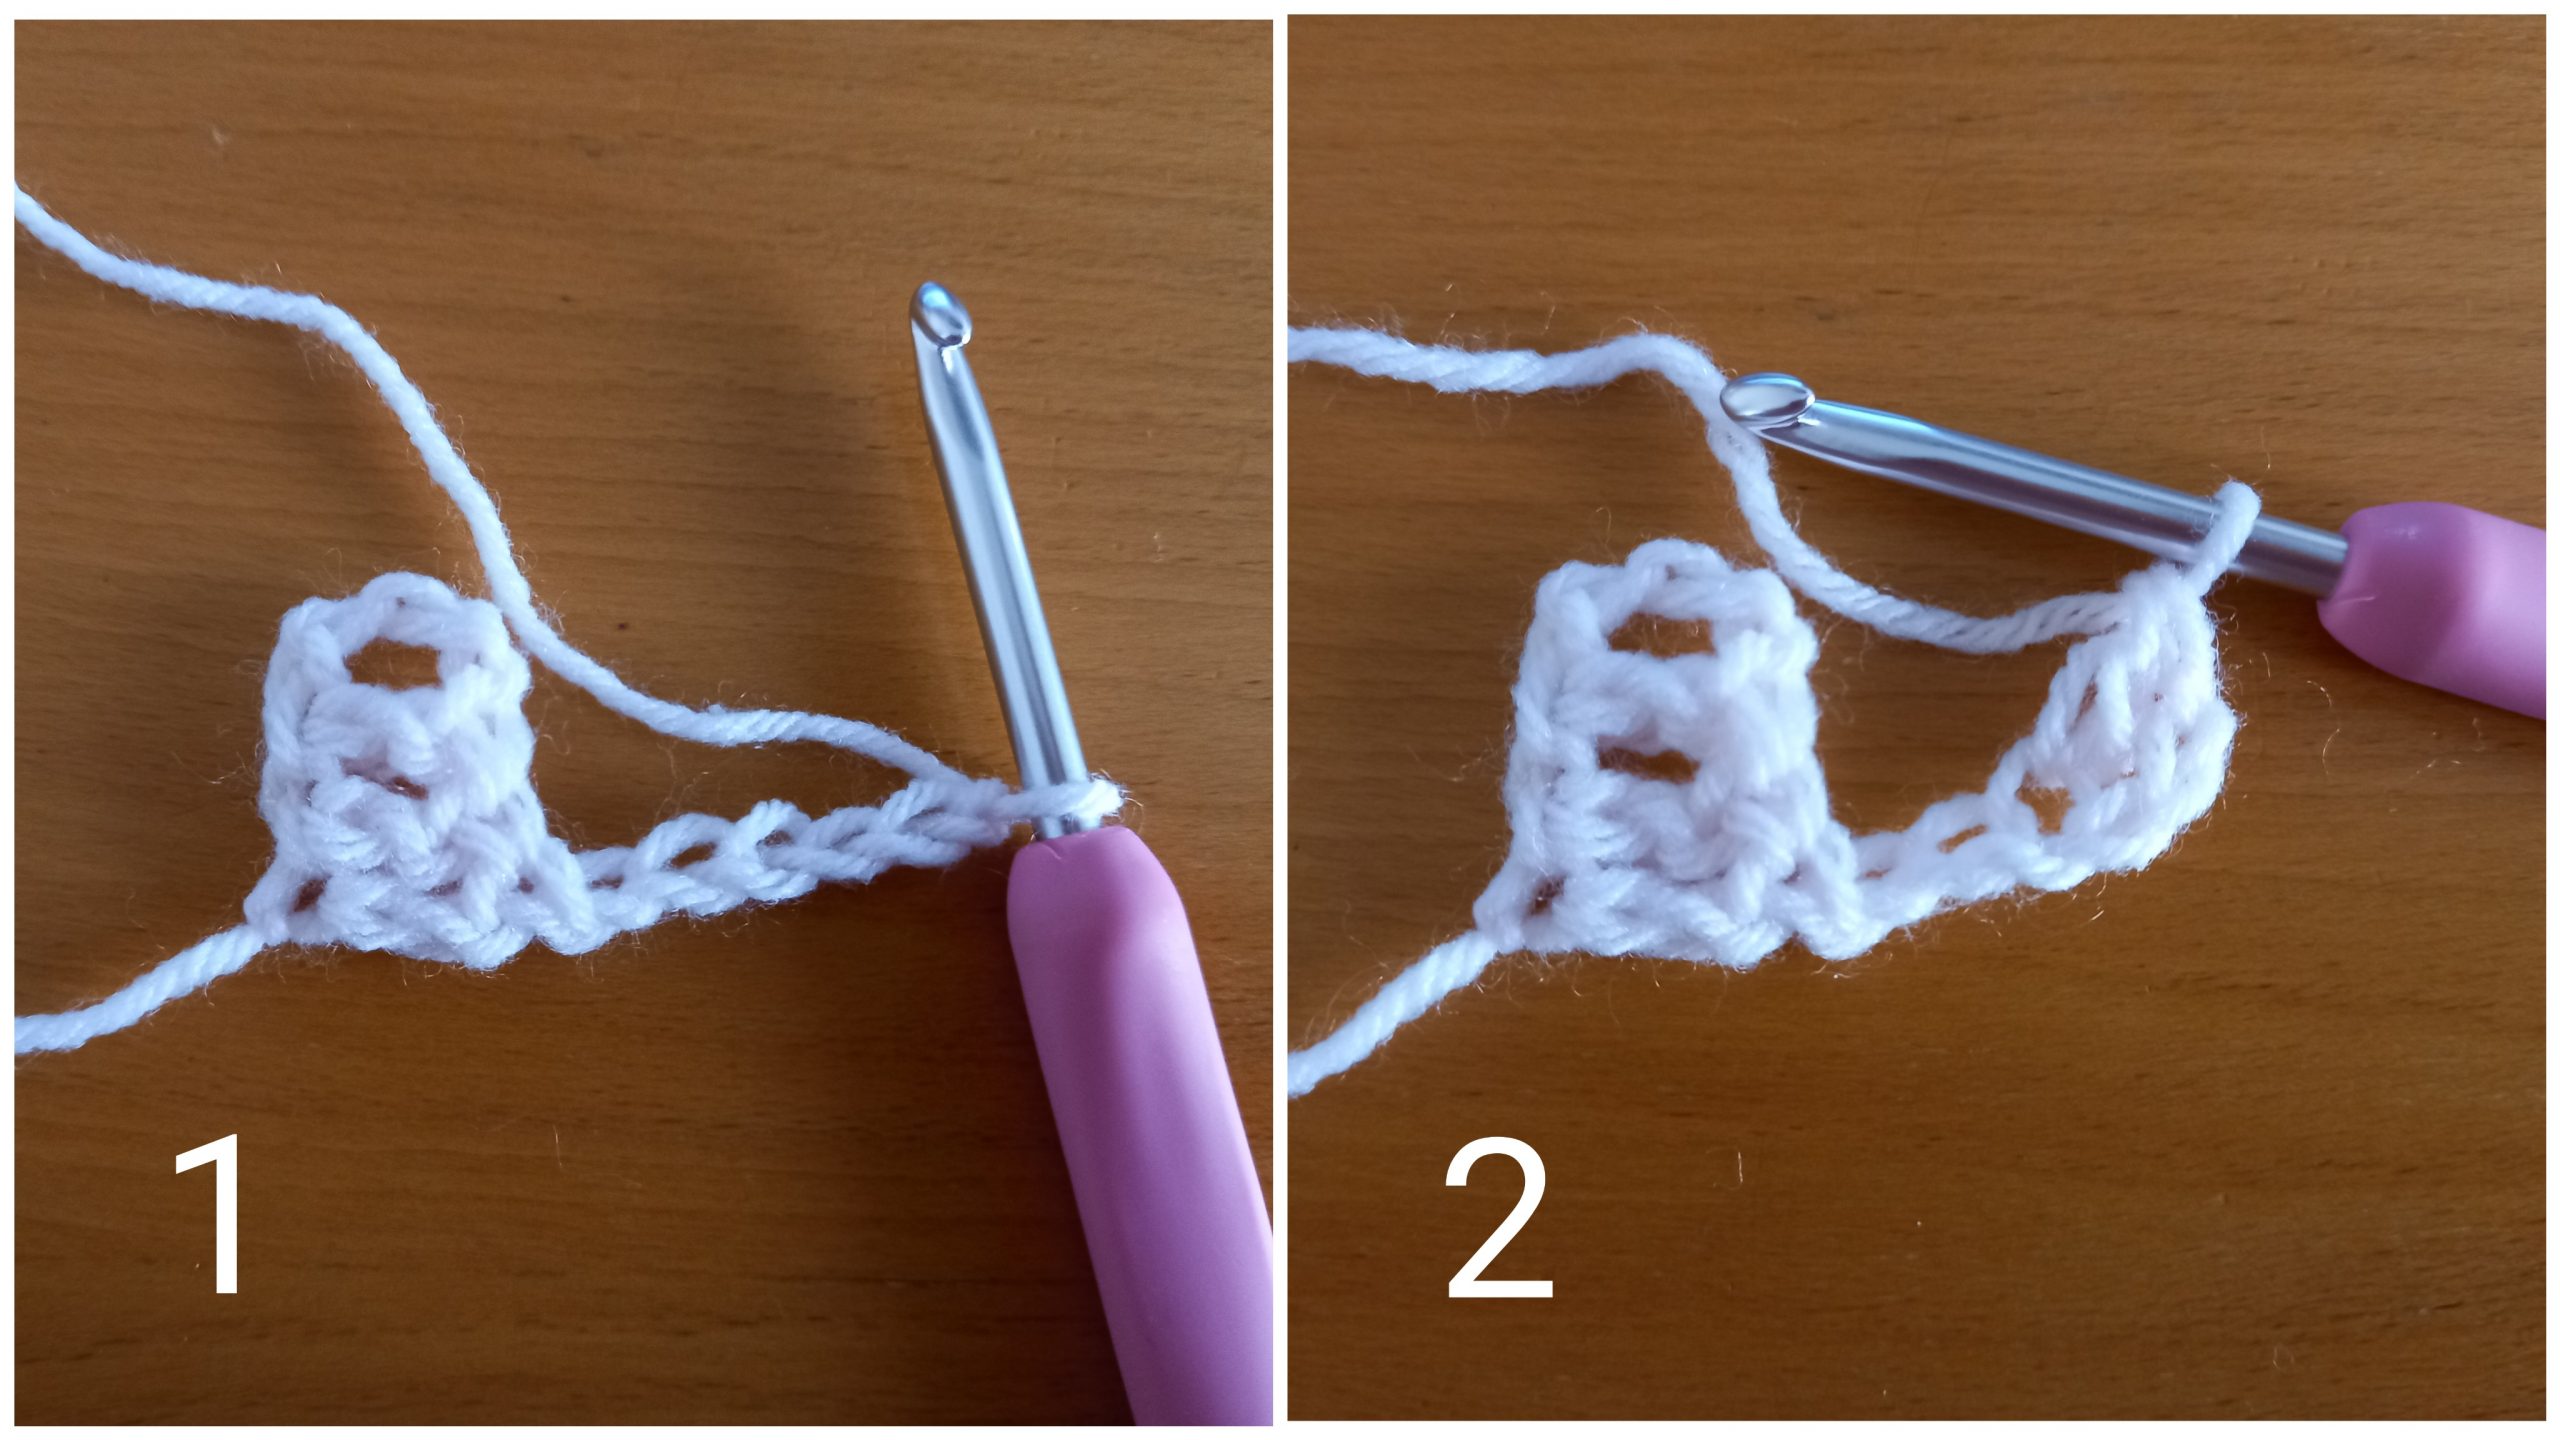
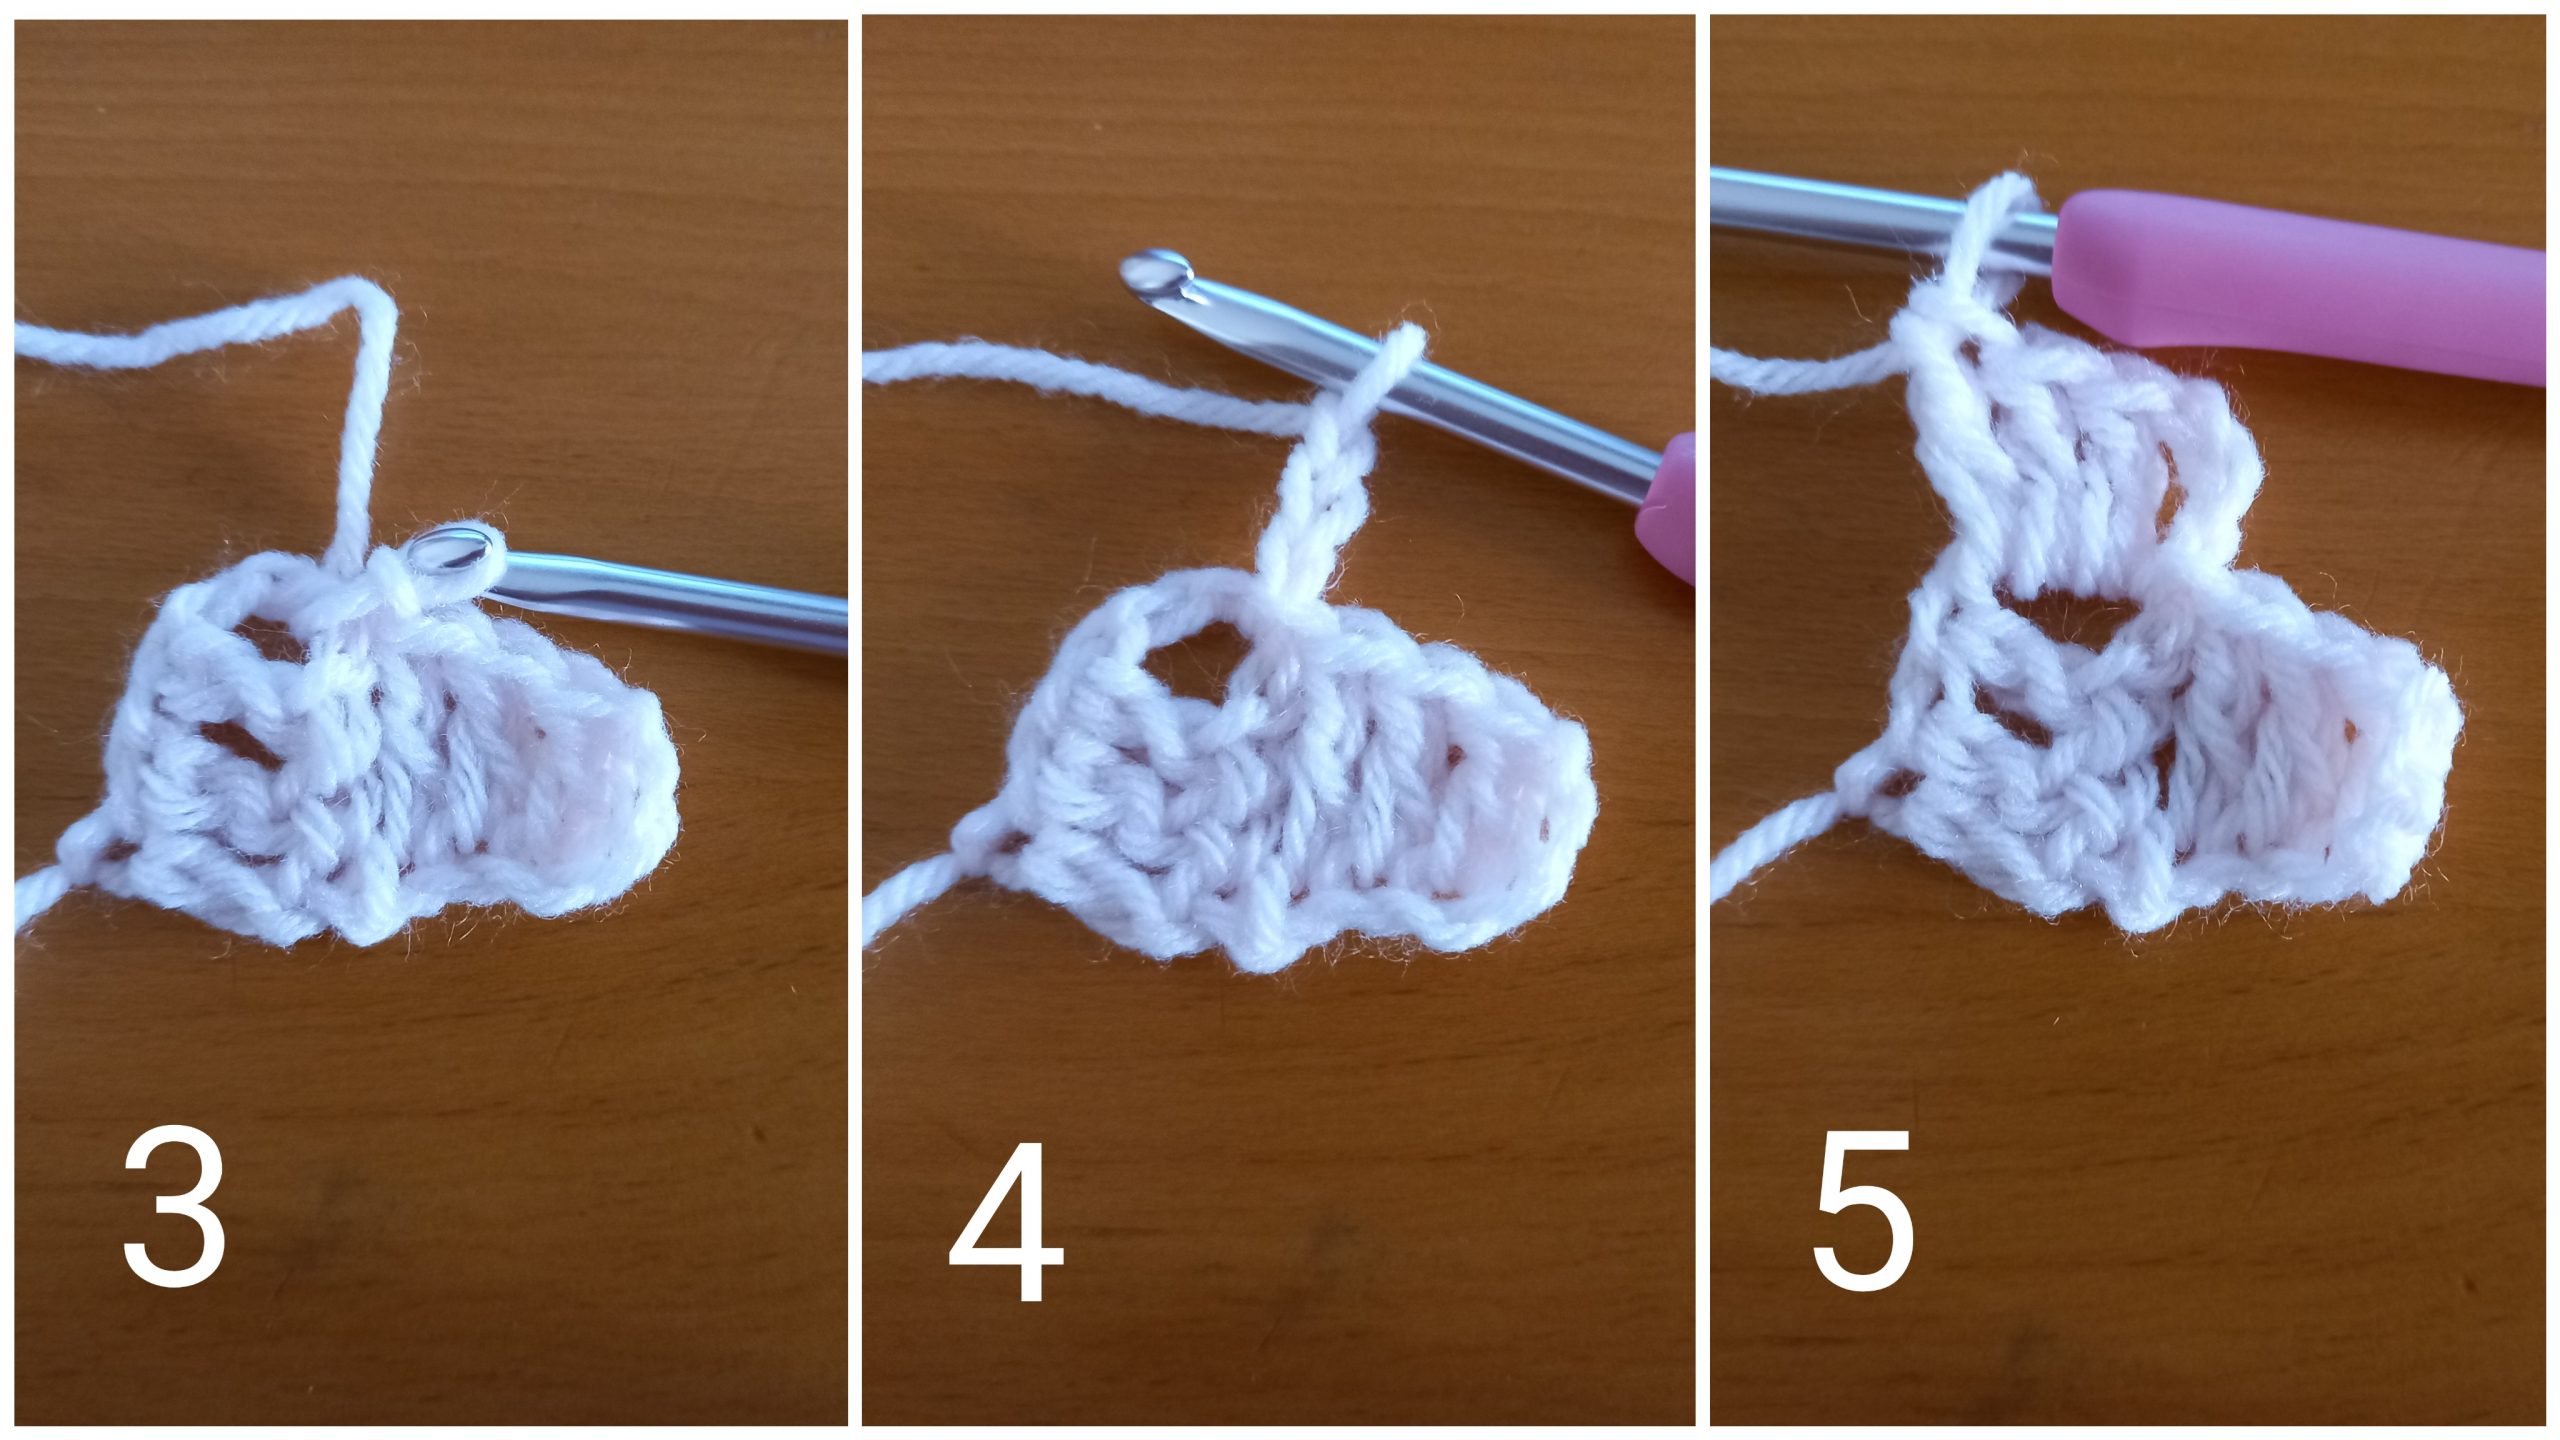
3: Ch 6, turn your work, DC in 4th ch from hook, DC in each st along (=4 DC); sl st to previous square in between 3rd and 4th DC; ch 3 (=DC), and add 3 DC in that space, sl st to previous square in between 3rd and 4th DC. Ch 3 (=DC), and add 3 DC in that space, sl st to previous square in between 3rd and 4th DC.
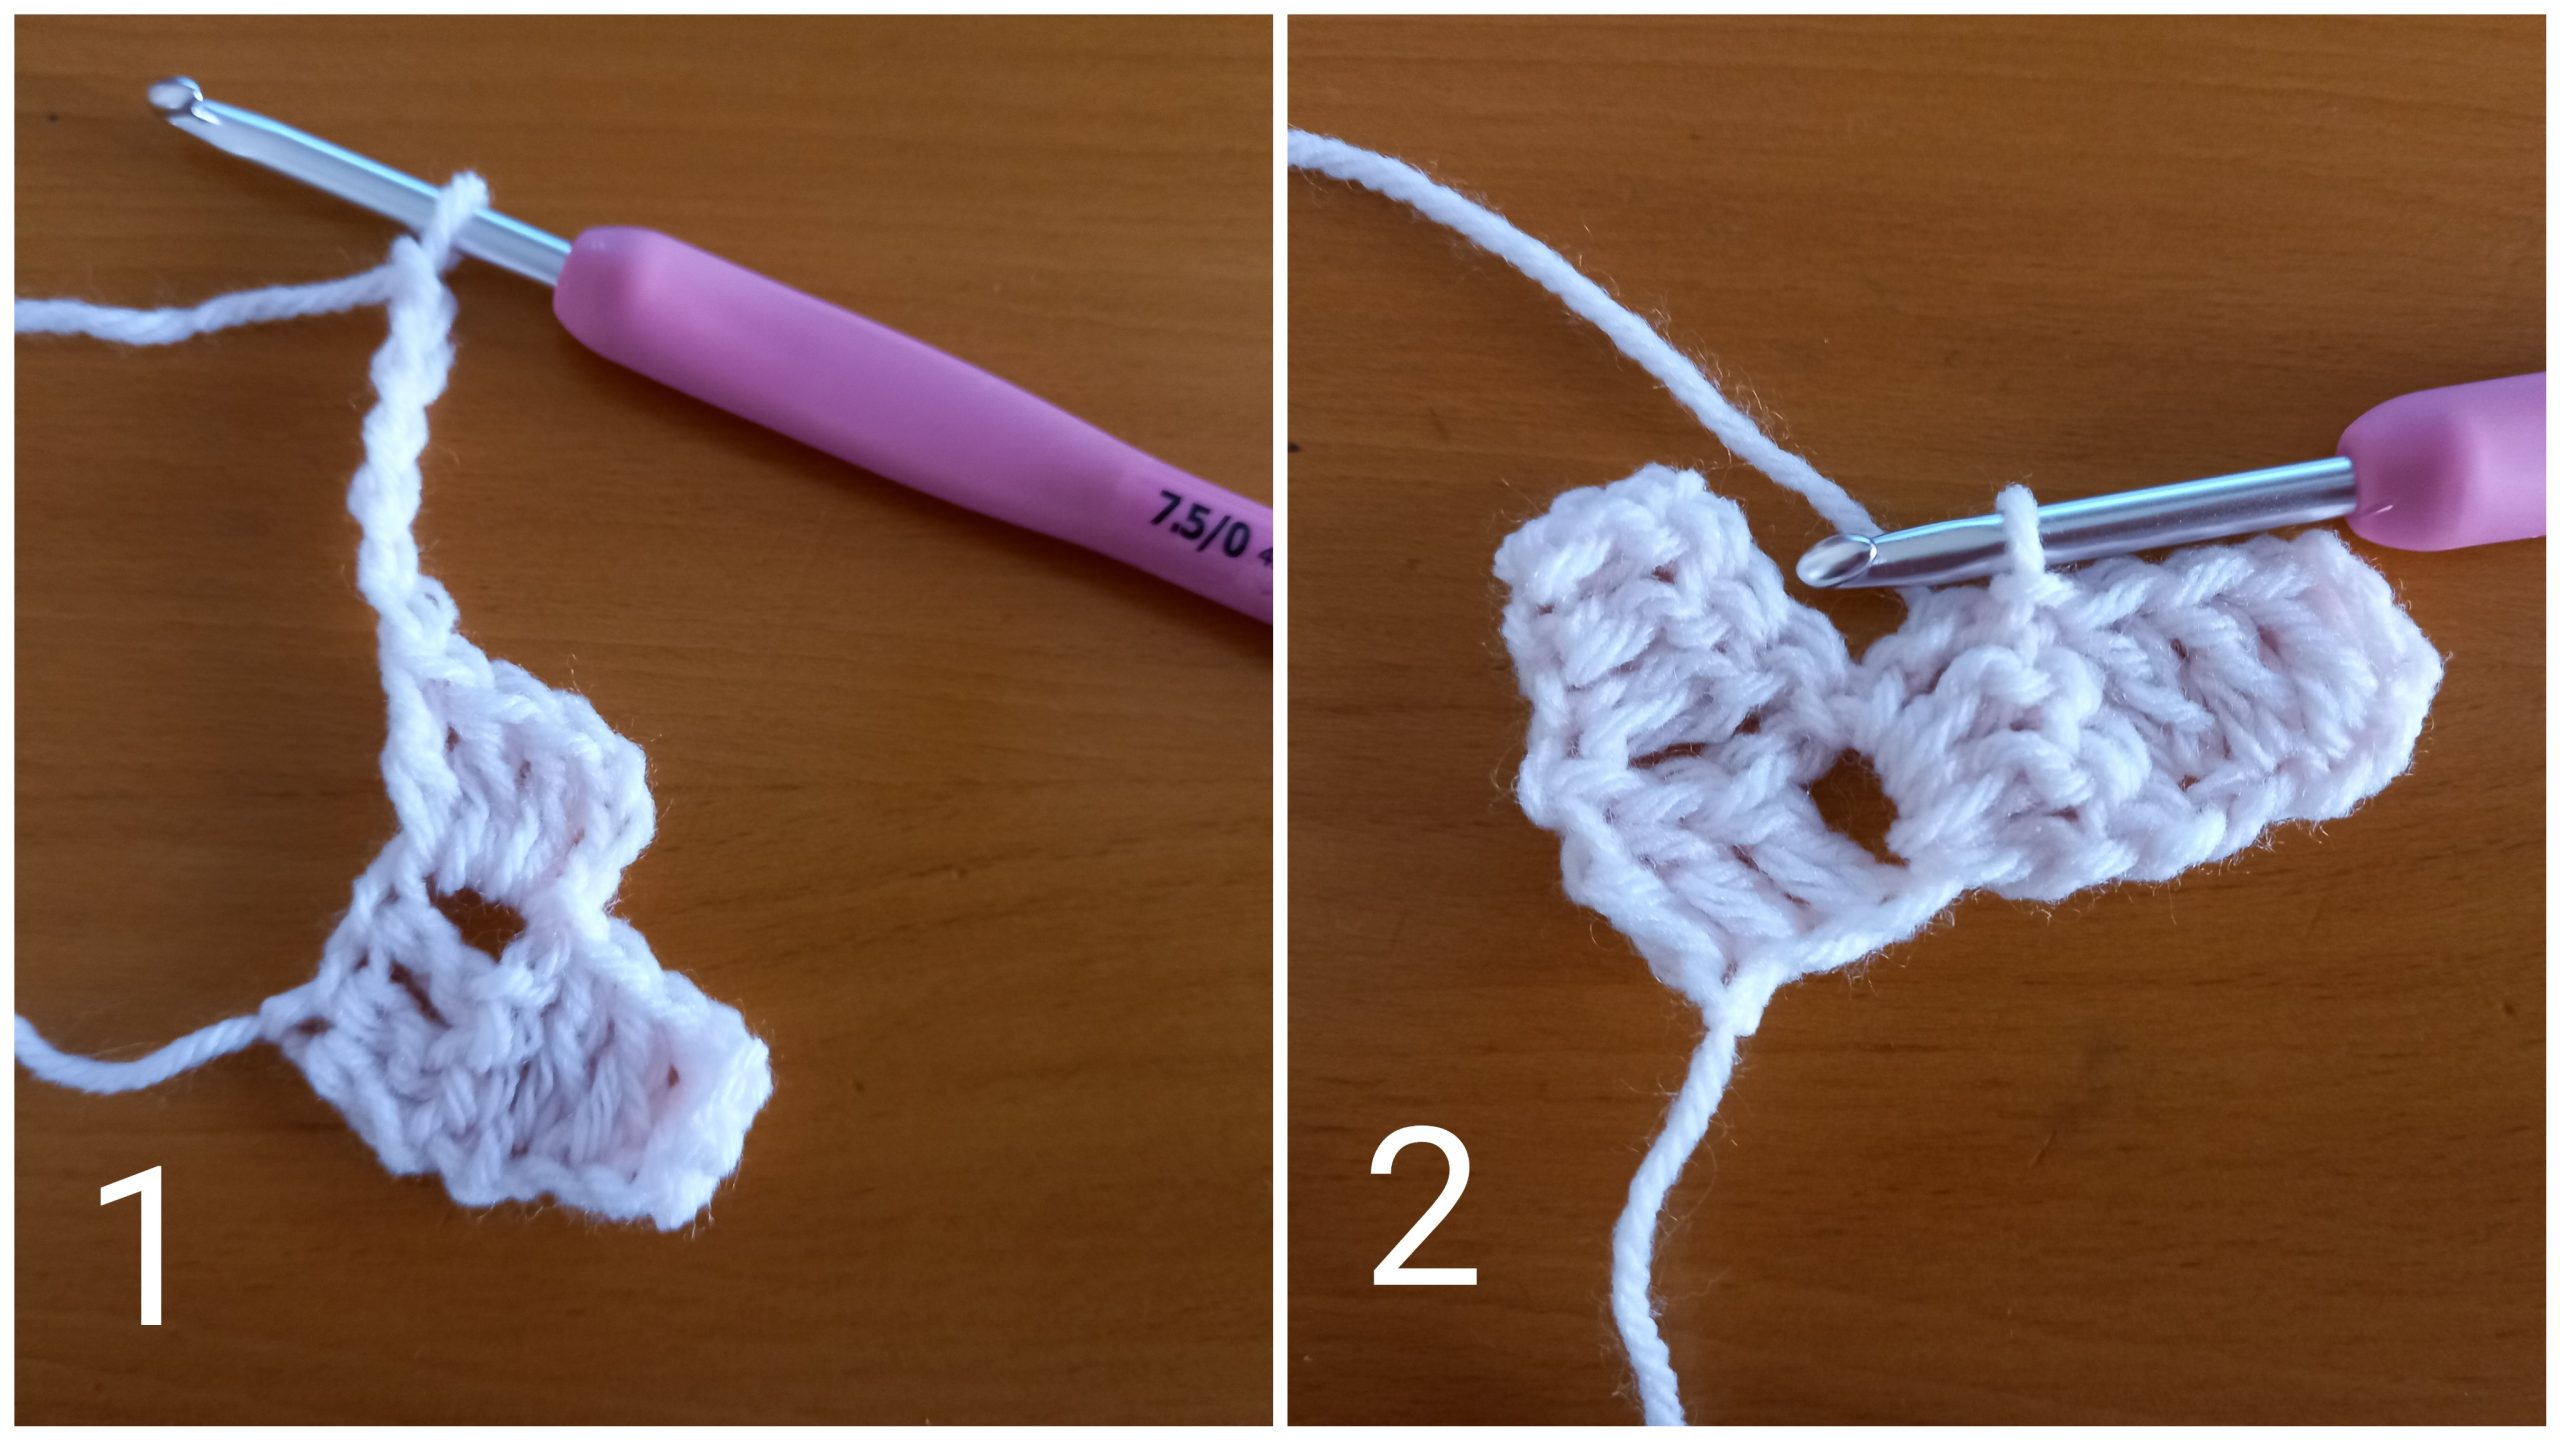

4-57: repeat row 3, adding the required number of squares as you go along.
Do not fasten off.
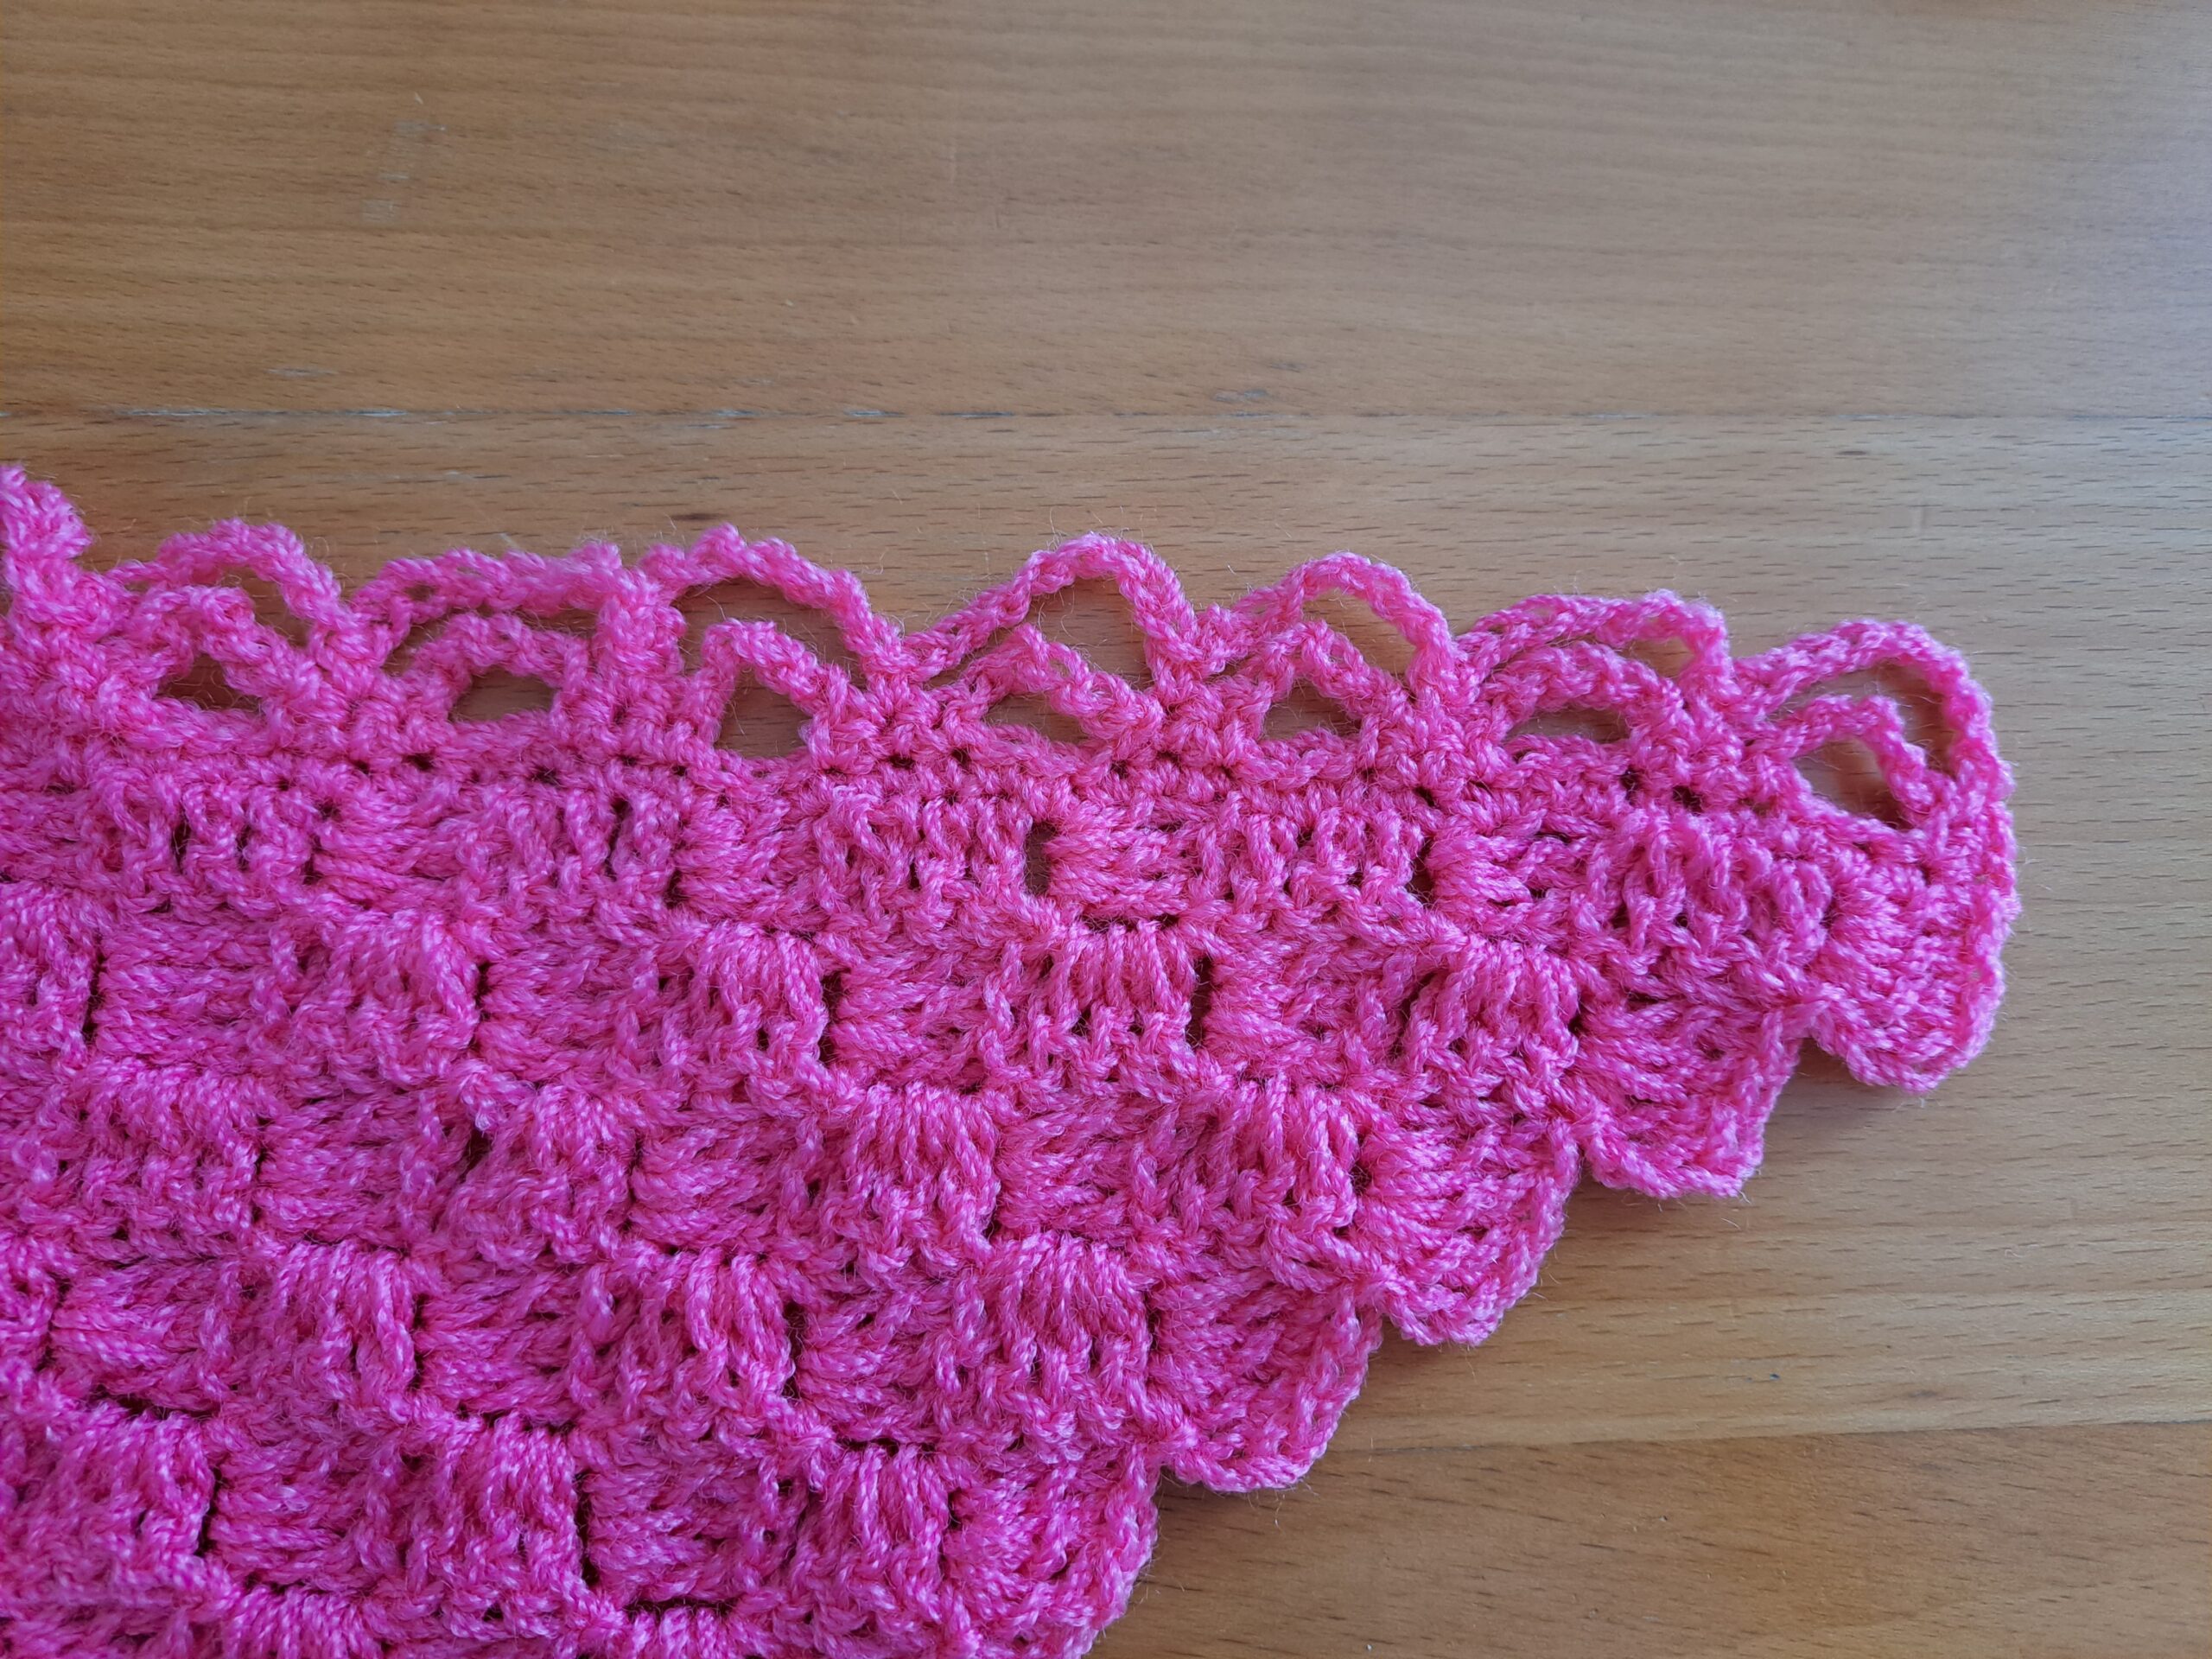
Create double loop edging
You will be creating a double loop edging all along the “V” of your shawl.
To begin, for row 1 of this border, we will be placing Single Crochets all across the “V” (2 sides) of your shawl. This is the wrong side of the stitches (=the row side), so you will need to place these SCs evenly all across these edges.
I will be indicating how many SCs I have placed for row 1 of the border.
1: Ch 1 (does not count as a stitch), turn your work, and place SC along the first side of the “V” of the wrap. Place another SC along the other side of the “V” (= SC total).
I placed 407 SC all the way around in total.
2: 1 SC into 2nd ch from hook, 1 SC into next ch; *ch 5, sk 2 ch, 1 SC into next 3 st *. Repeat from * to last 4 ch, then ch 5, sk 2 st, place SC into last 2 stitches.
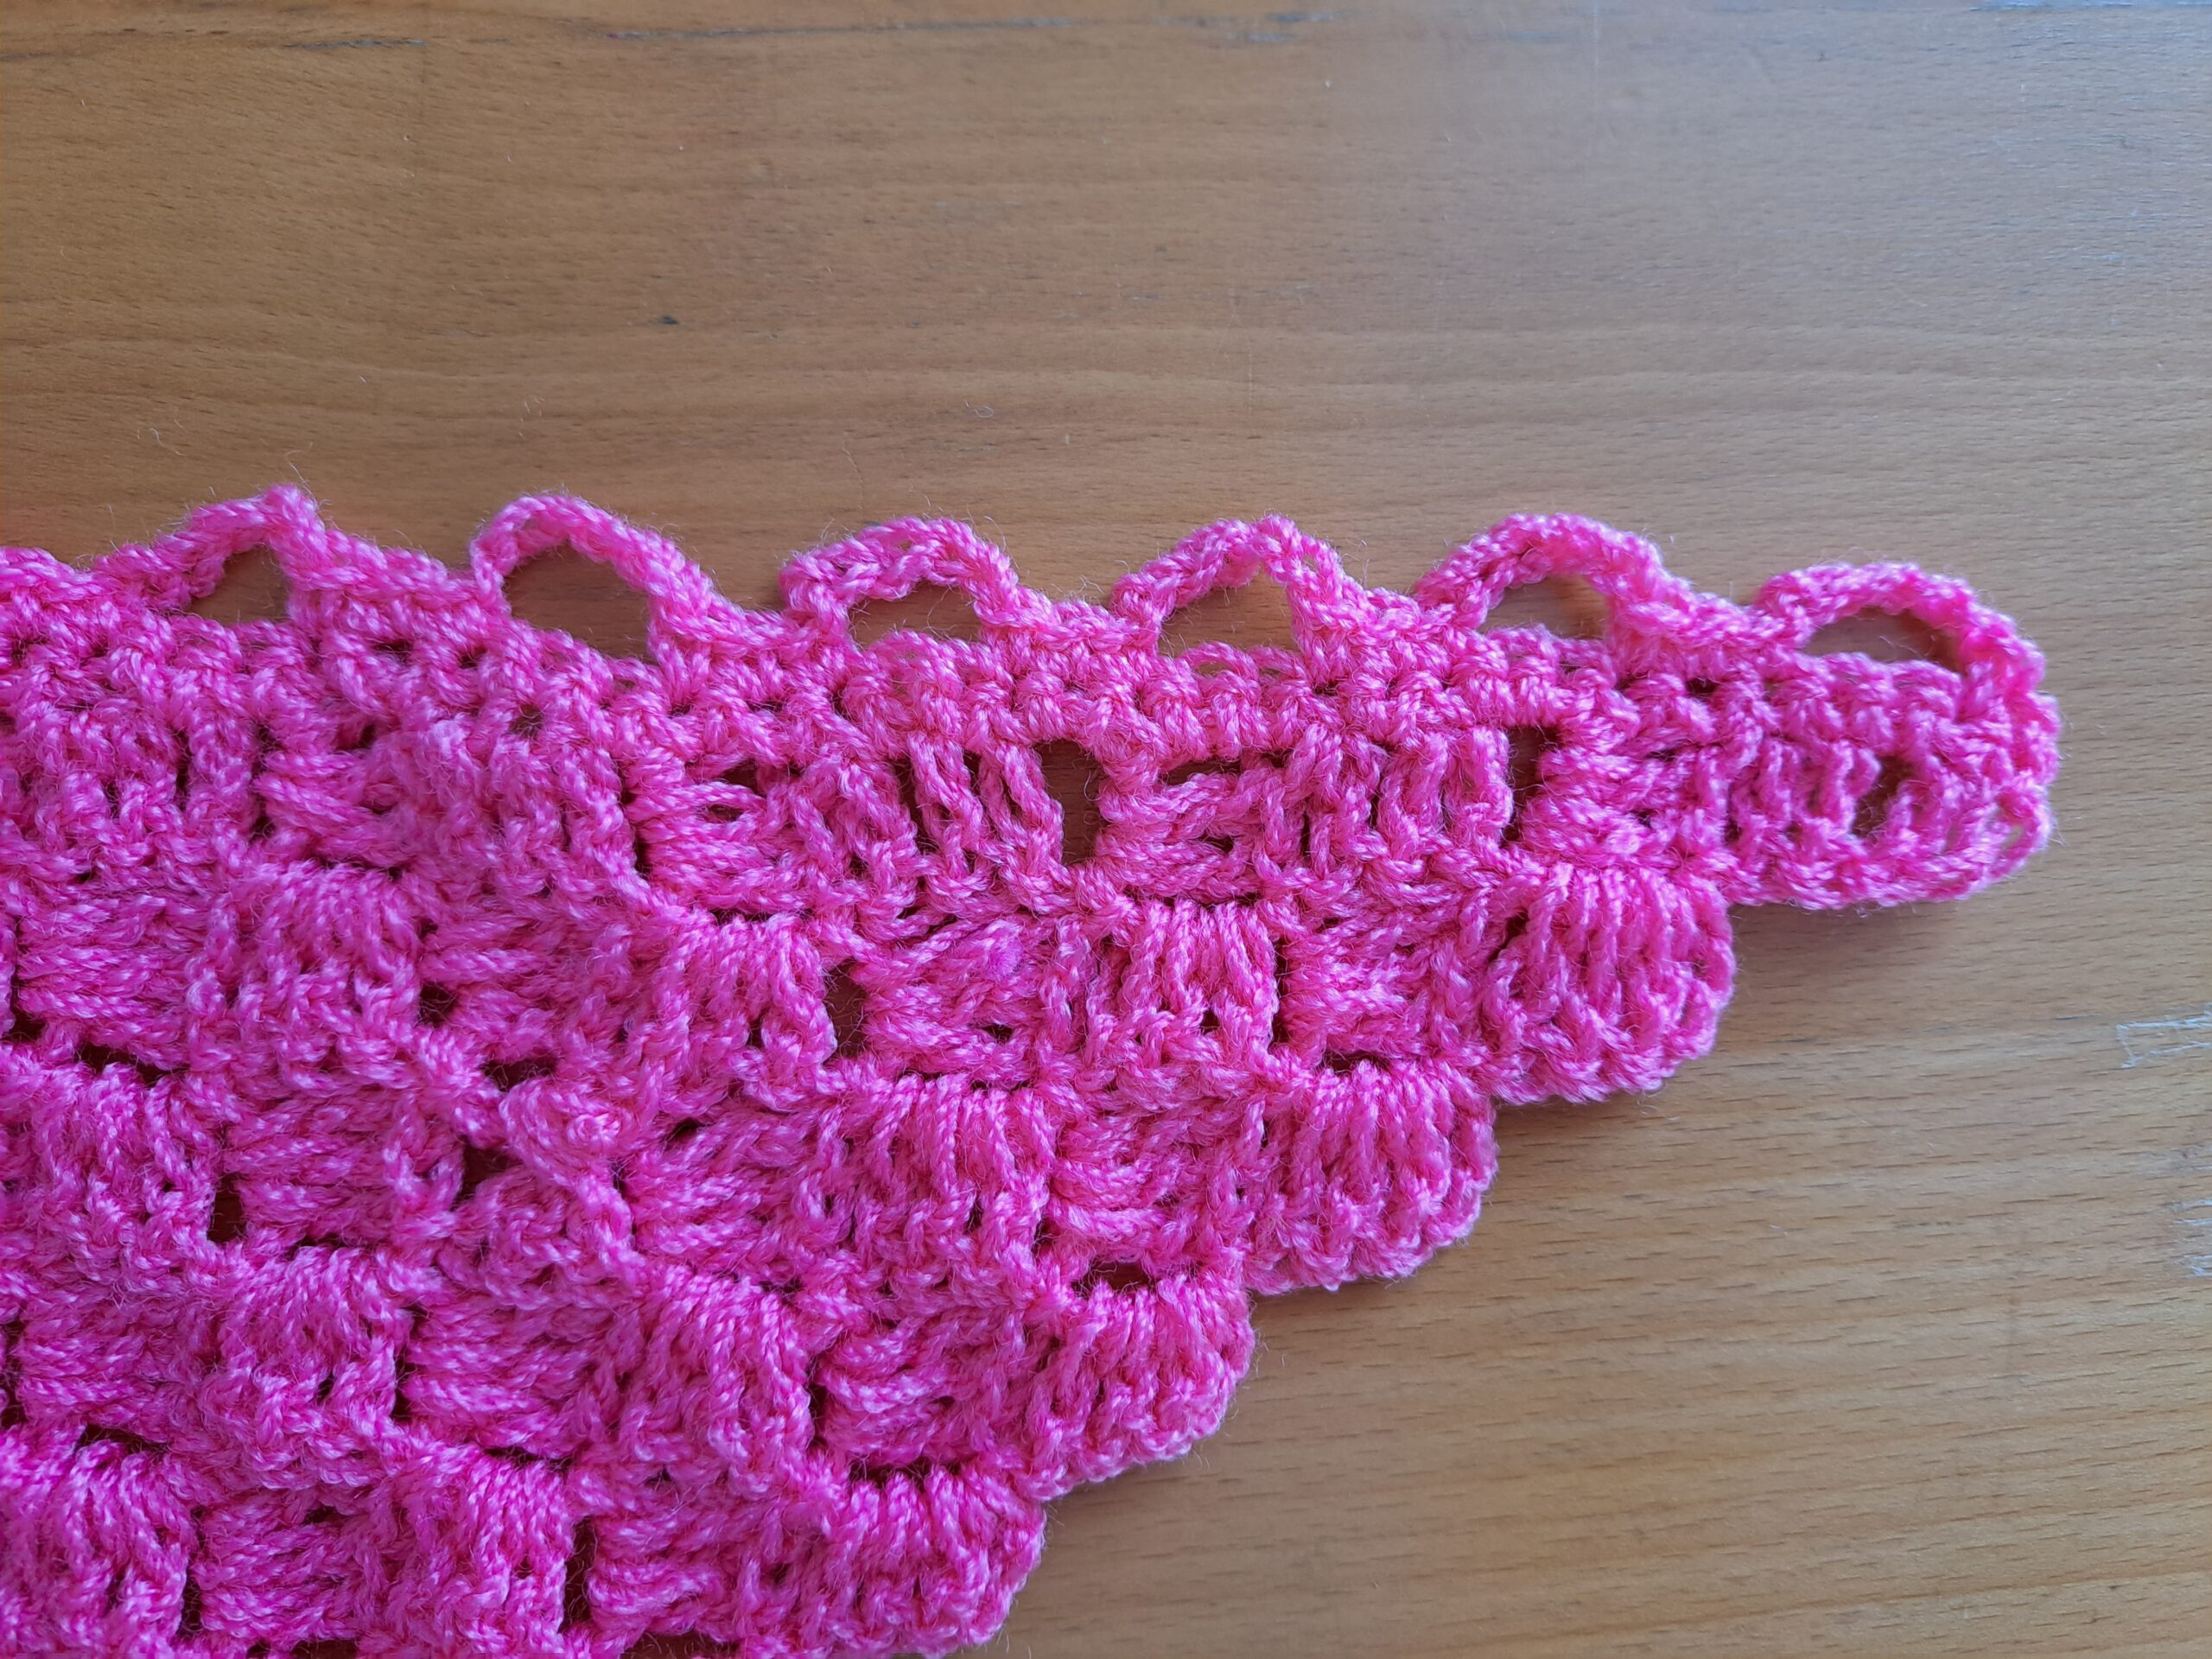
3: Turn your work, ch 1, place 1 SC into first st. * Ch 8, place 1 SC in centre SC of next group of 3 SC from previous row. Repeat from * until eor, where you will be placing your last SC into the last SC from row 2.
Fasten off, tidy up all loose ends.


You May Also Like
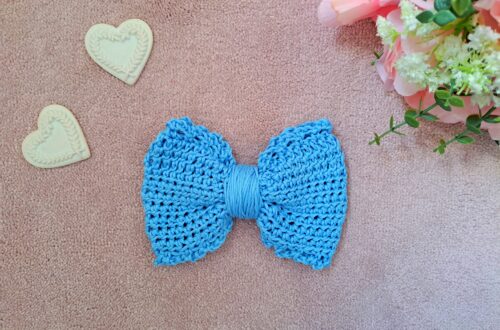
Crochet Romantic Bow Free Pattern

Crochet Traditional French Beret Free Pattern
