Crochet Puff Flower Clutch Bag Free Pattern
Crochet Puff Flower Clutch Bag Free Pattern
Hi everyone, today I am bringing to you a crochet Puff Flower Clutch Bag free pattern. This is a great project for beginners. This crochet purse/clutch bag is very feminine and elegant, and can be crocheted in one evening.
The video tutorial for this project can be found here:
Crochet Puff Flower Clutch Bag Free Pattern: A Flower Design
This puff flower clutch bag is lovely and very versatile. This is a very feminine and creative design that looks stunning in every situation. This crocheted project is both elegant and can be crocheted in your preferred colors too.
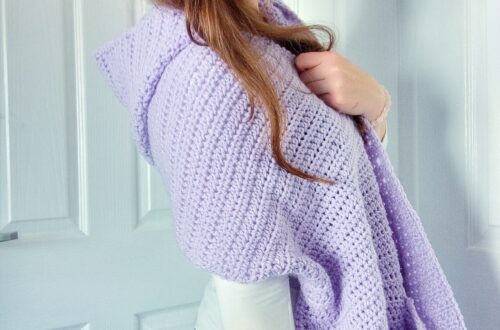
I love puff flowers on crochet designs. Last year I crocheted this puff flower chunky cardigan, which is still one of my favorite projects to date. Flowers are so pretty and I love adorning my crochet projects with them! Also, flowers come in different shapes and designs, and you can find these different flower patterns on my blog.
This headband with flowers is still one of my favorite projects to date! It also features delicate flowers, just like this new puff flower clutch bag I am bringing to you. I had been wanting to crochet a puff flower clutch bag/purse for a long time. Indeed, this is such a statement (yet elegant) piece, that I am very excited to release this new design today.
Crochet Puff Flower Clutch Bag Free Pattern: A Lovely Purse
Bags are great projects to design and crochet. Indeed, crochet bags are so lovely and perfect for many different occasions. I have designed quite a few purses and bags since starting my blog, and I do love a crocheted bag so much!
Indeed, I have made some festival inspired crocheted sling bags such as this romantic sling bag (featuring diamante details). You can also check out this Boho festival bag and this Boho frilly purse which are some of my favorite projects to date.
As I stated previously, I love lots of different types of crocheted bags and purses. If you are looking for a larger bag, you can check out this Sunburst Granny Square bag, which is so pretty and colorful. This Flower Granny Square Bag is also a perfect shopping bag for day to day use.
This new design that I am releasing today is so easy to crochet. It is so simple, yet stunning! 40 single puff flowers are crocheted then sewed together to create this stunning purse. I crocheted this purse in two different colors, however you can crochet this in as many or few colors as you wish.
Connecting with you
I would like to take a moment to thank every single one of you, for supporting me and my crochet journey. Indeed, I absolutely am so touched by all your messages, comments, and every person who has become a patron of my work through Patreon. Thank you!
I love connecting with my Crochet Community through my blog and Social Media. You can find me on Youtube, Instagram, and Pinterest. I would love to connect with you on these platforms.
You can also join my private Facebook group to connect.
Subscribe to our weekly newsletter so that you never miss a stitch!
Crochet Puff Flower Clutch Bag: The Pattern
You can purchase the ad free, large print, PDF pattern from my Etsy store here: Crochet Puff Flower Clutch Bag PDF Pattern
You can purchase the ad free, large print, PDF pattern from my Ravelry store here: Crochet Puff Flower Clutch Bag PDF Pattern
Level: Easy/beginner
Gauge: Gauge is not crucial for completion of this project
Size of finished flower: 1,6” diameter (=4 cm)
Size of finished Clutch bag: 6” (15 cm) x 7” (18 cm)
Notes: I will be using US terms (British terms in brackets)
The video tutorial can be found here:
You will need
1 skein of Hobbii Amigo yarn in shade 46 Light Peach (or any 100% acrylic DK/light 3 yarn of your preference)
1 skein of Hobbii Amigo yarn in shade 41 Dark Red (or any 100% acrylic DK/light 3 yarn of your preference)
A 4,5 mm crochet hook
Pair of scissors
A tapestry needle
Abbreviations
Ch: chain
Sl st: slip stitch
St: Stitch
SC: Single Crochet (UK Double Crochet)
DC: Double Crochet (UK Treble Crochet)
Sk: skip
EOR: End of round
To begin (create flowers as follows)
Following the pattern explained below, create 20 flowers using shade 46, and create 20 flowers using shade 41.
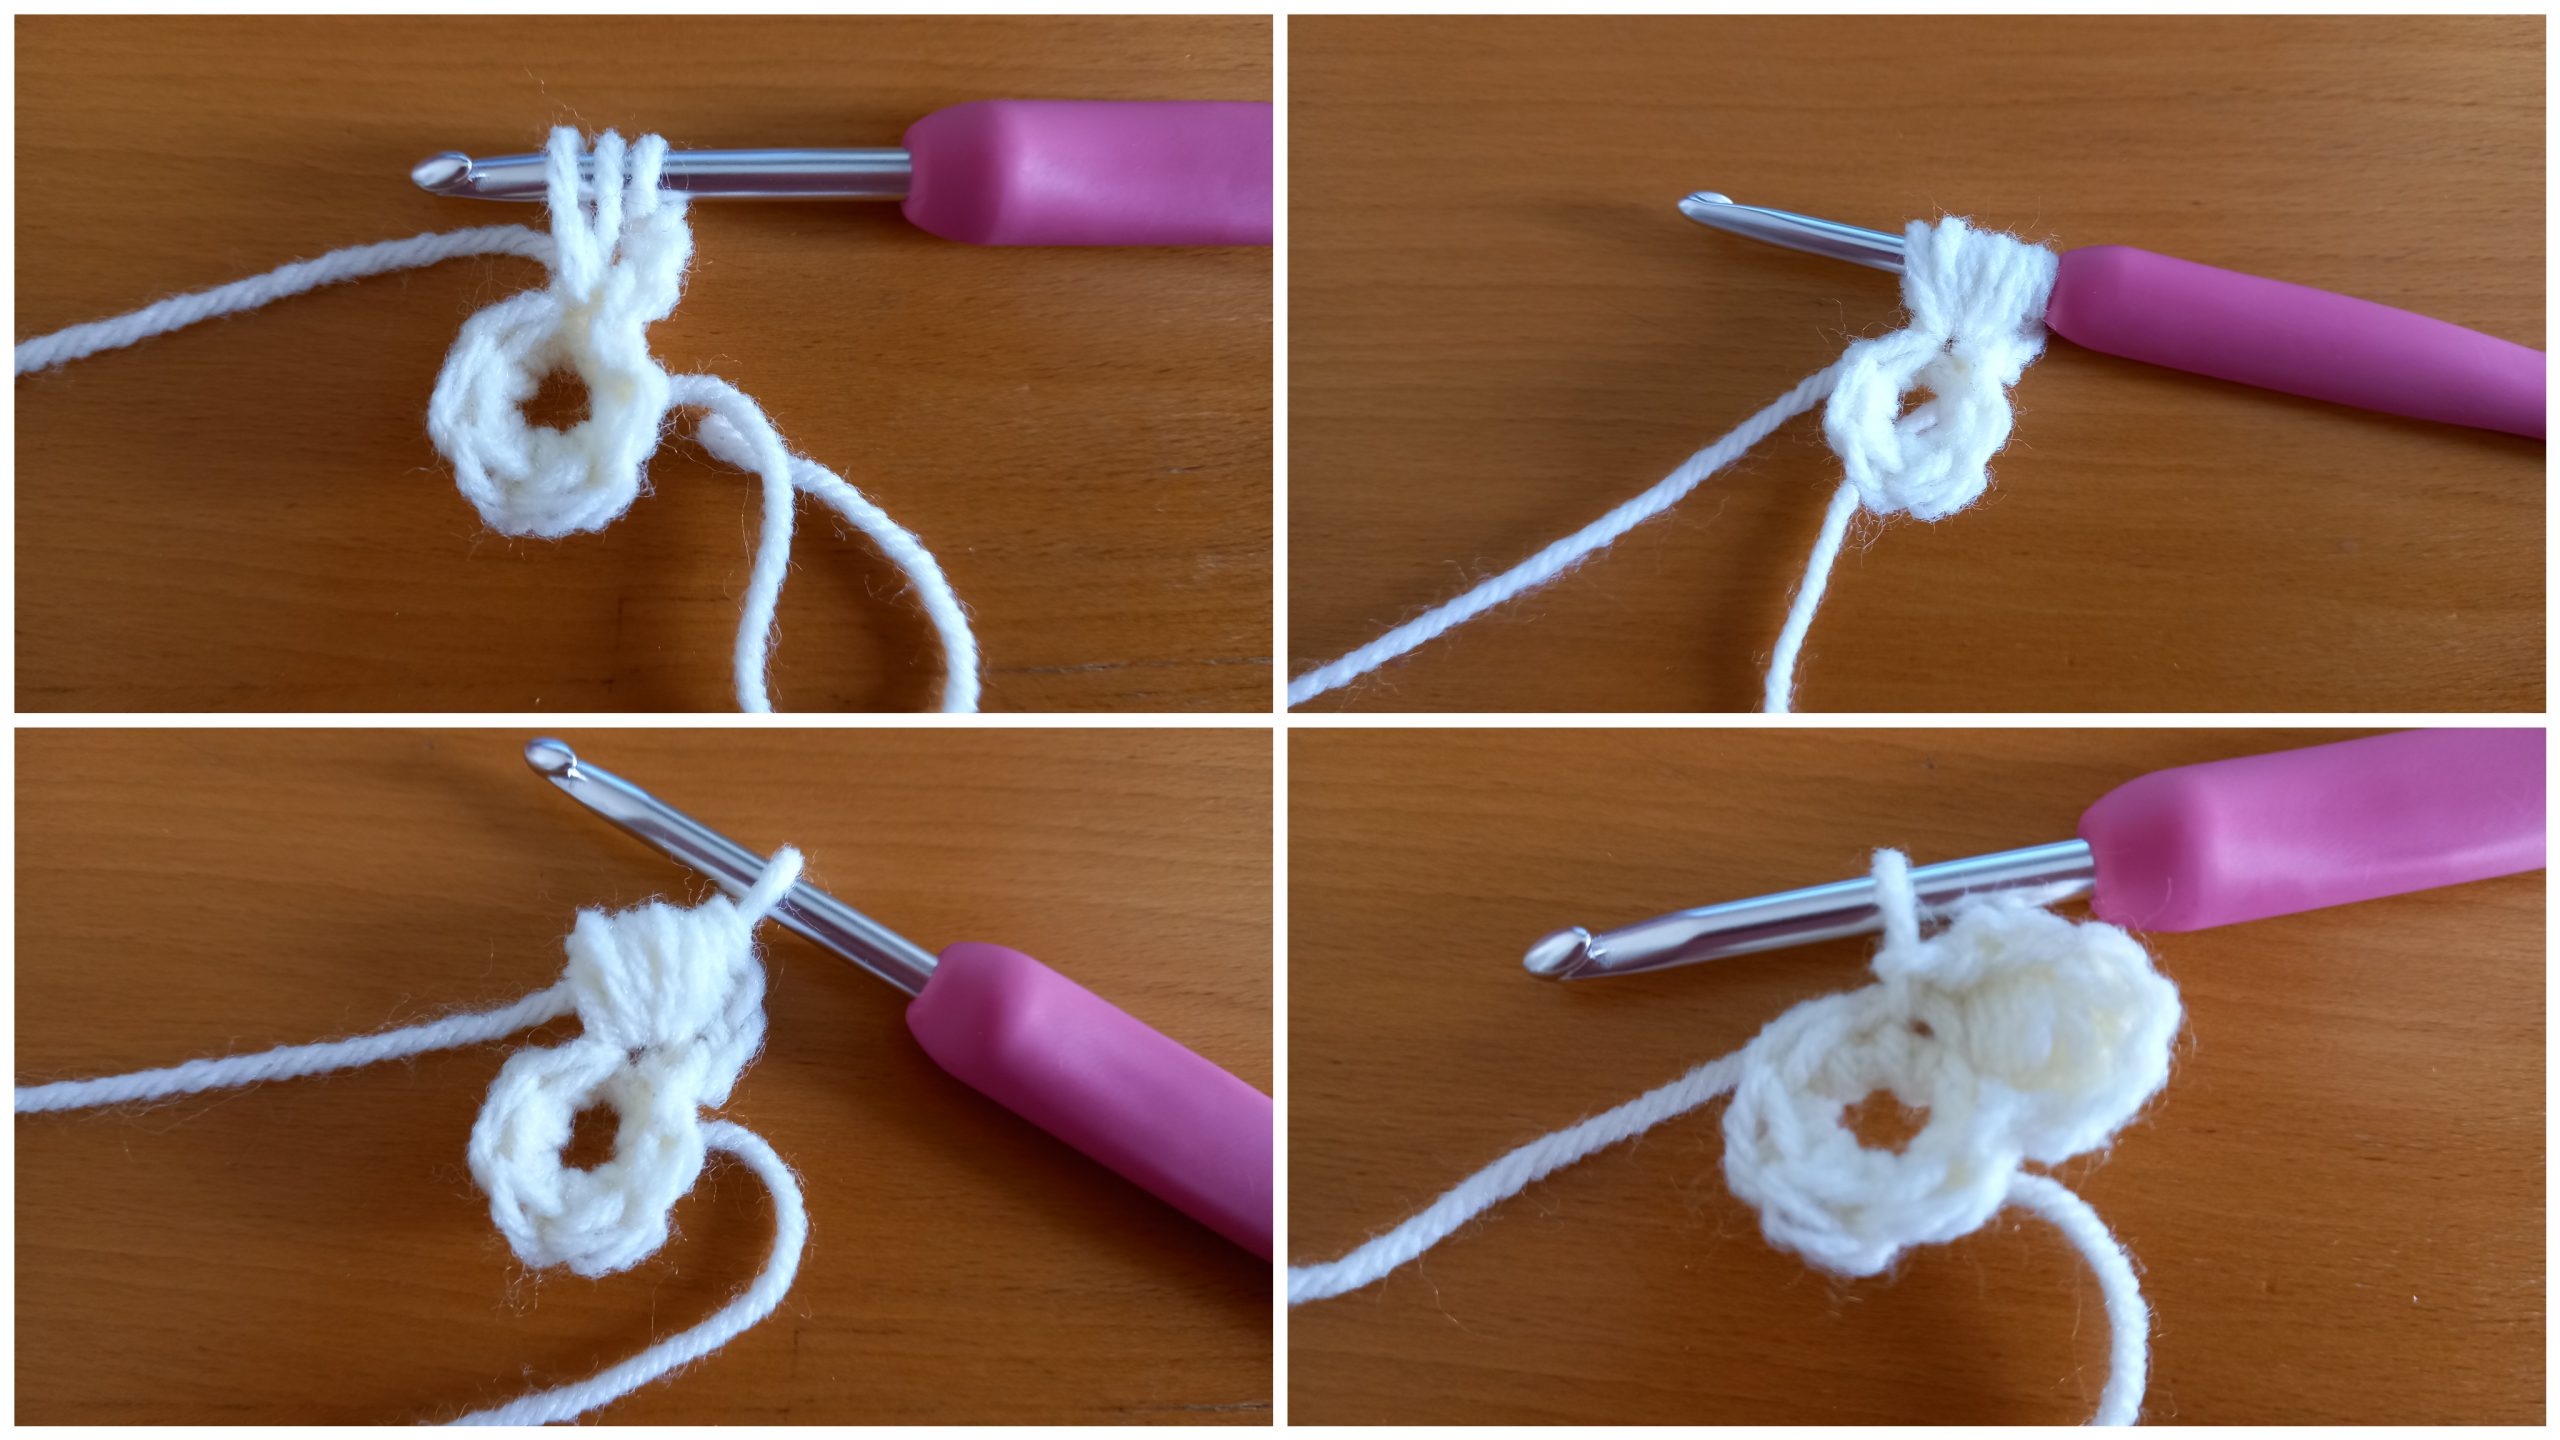
To start, make a slip knot.
Ch 4, sl st to 1st ch to form a circle
Round 1: Ch 1 (=does not count as a stitch), place 6 SC into the center of circle, sl st to 1st SC to close off round.
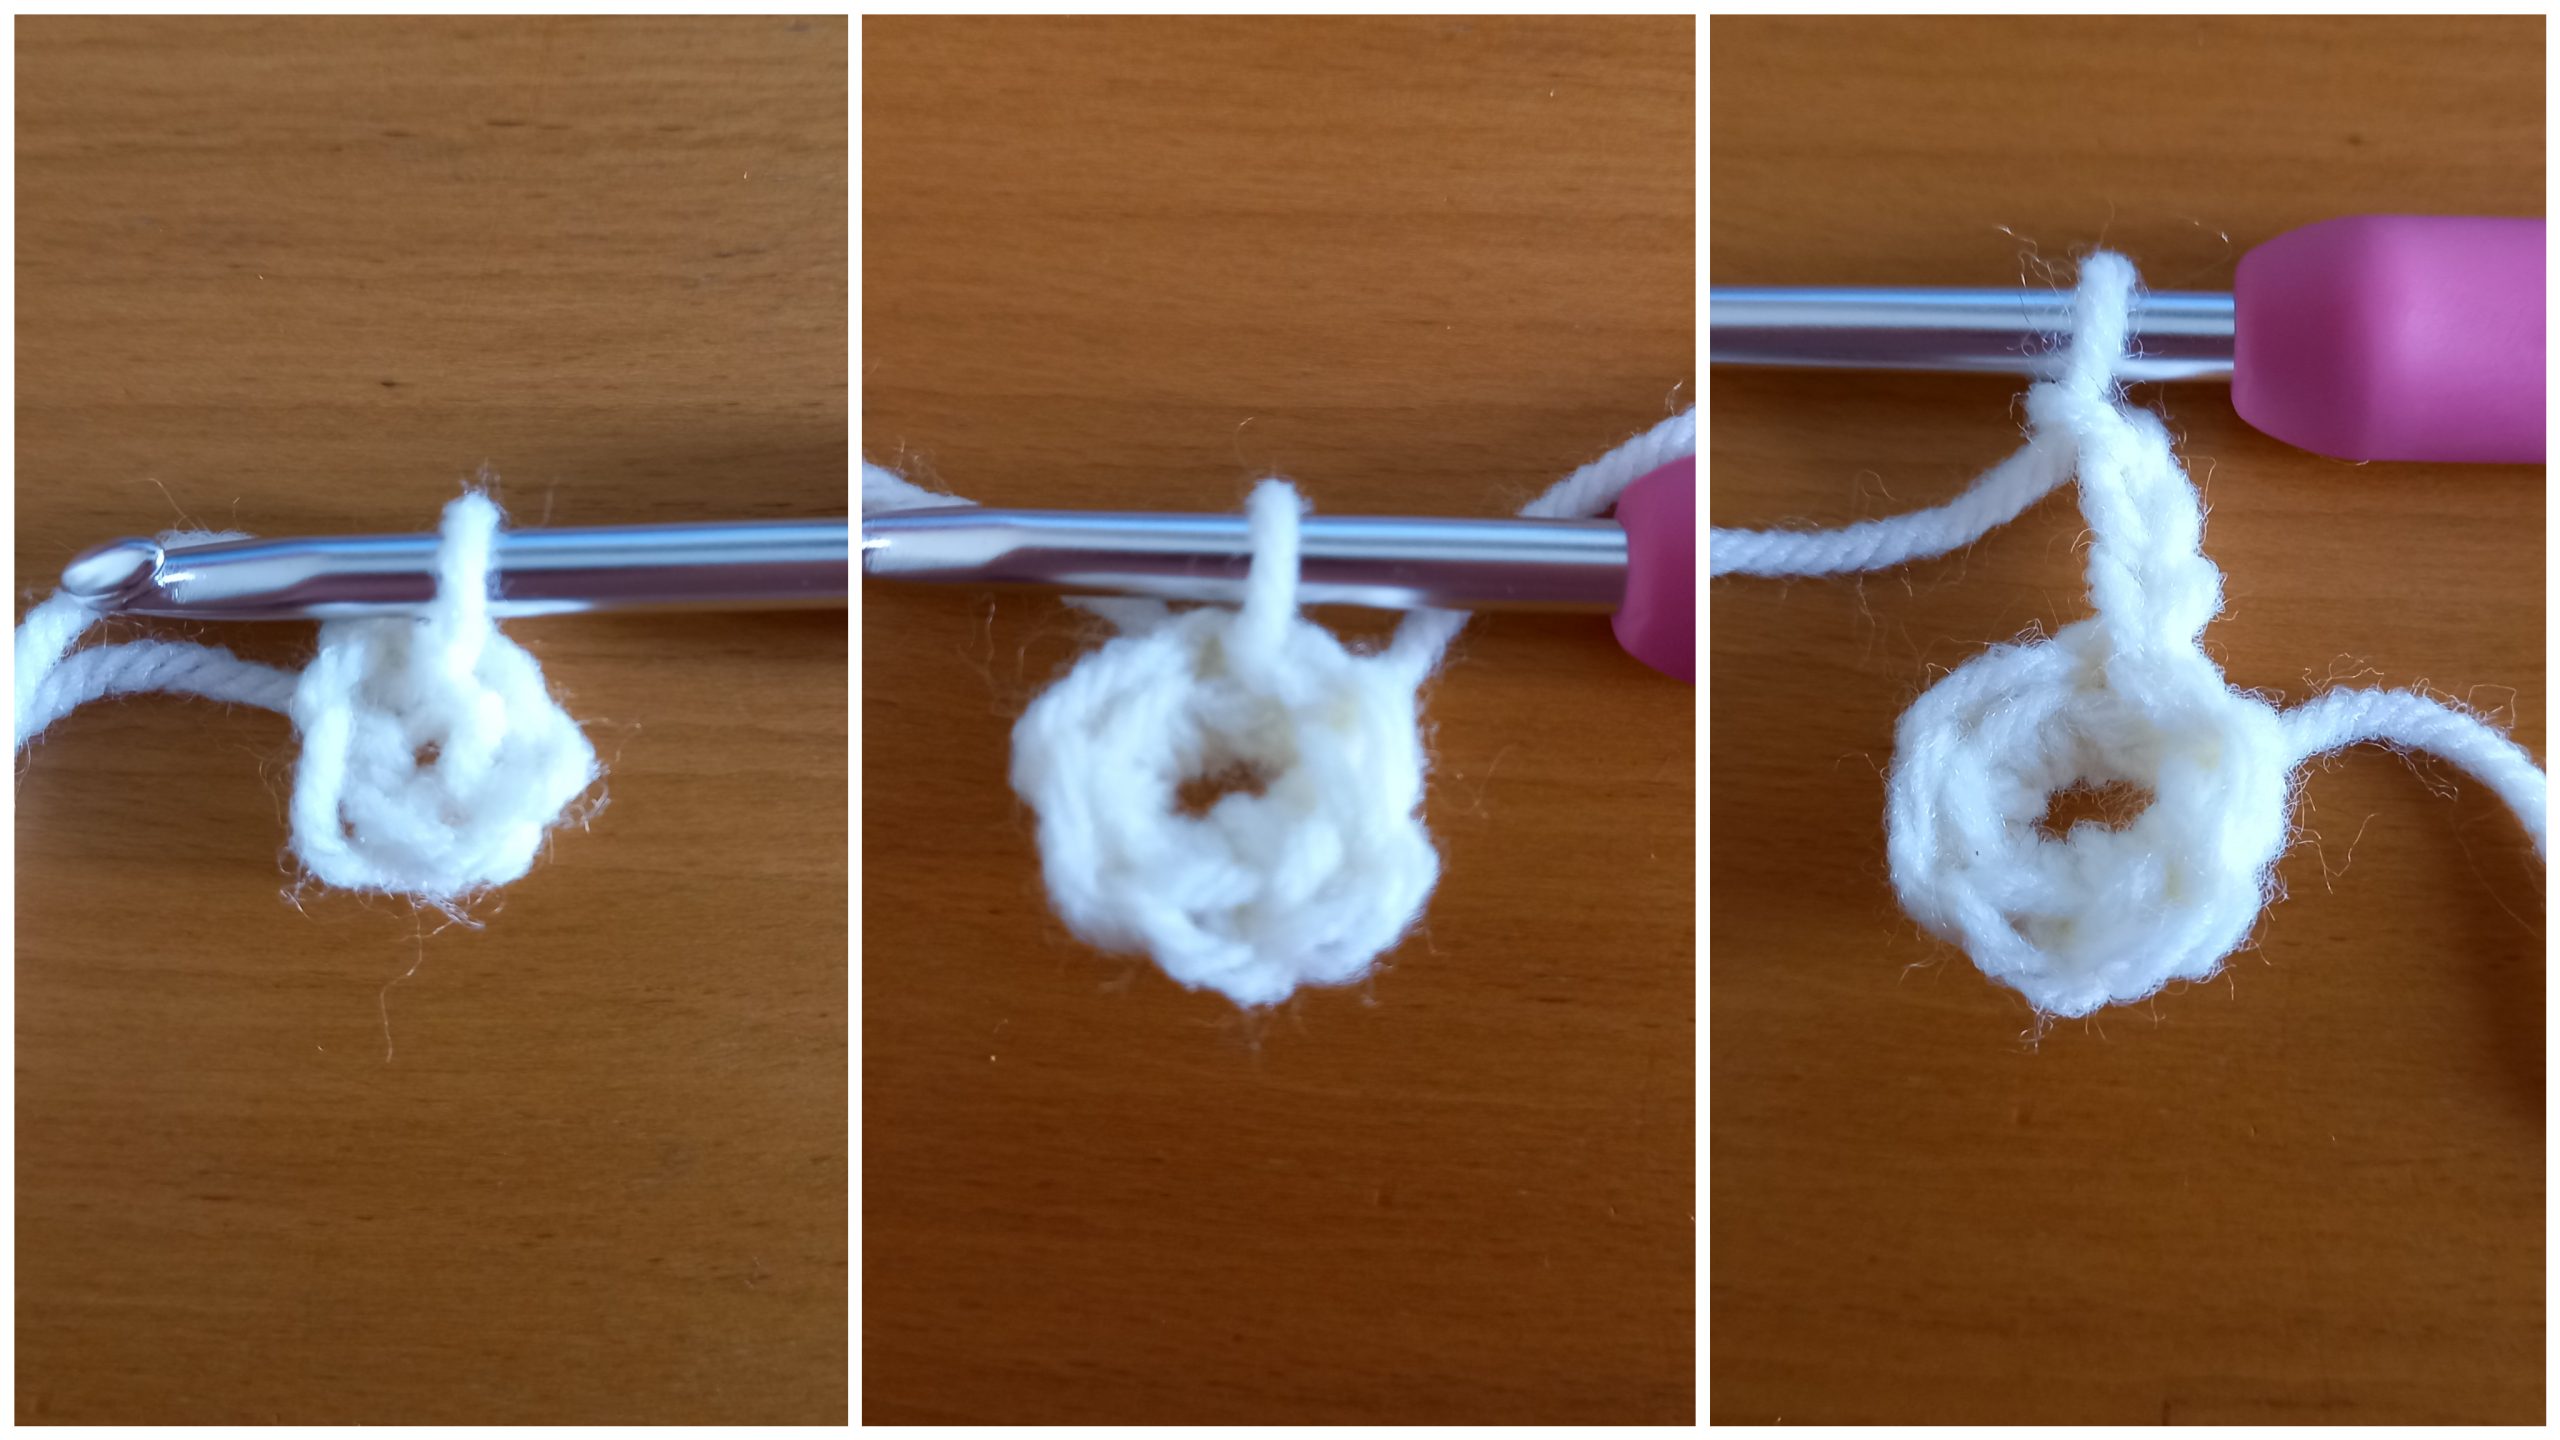
2: Ch 3 (=DC), [yarn over, insert into 1st SC, pull up a loop to about 2 cm high] 5 times, yarn over and pull through all loops on the hook. Ch 2 to finish off petal.
*Sl st into next SC, ch 3 (=DC), [yarn over, insert into 1st SC, pull up a loop to about 2 cm high] 5 times, yarn over and pull through all loops on the hook. Ch 2 to finish off petal*.
Repeat from * to * four more times (you should have 6 petals in total).
Slip stitch into 1st SC from row 1 to finish off the flower.
Pull the center loose end gently so as to close the center of the flower, and fasten off loose ends.
Fasten off, leaving one long tail for sewing.
Create the clutch bag
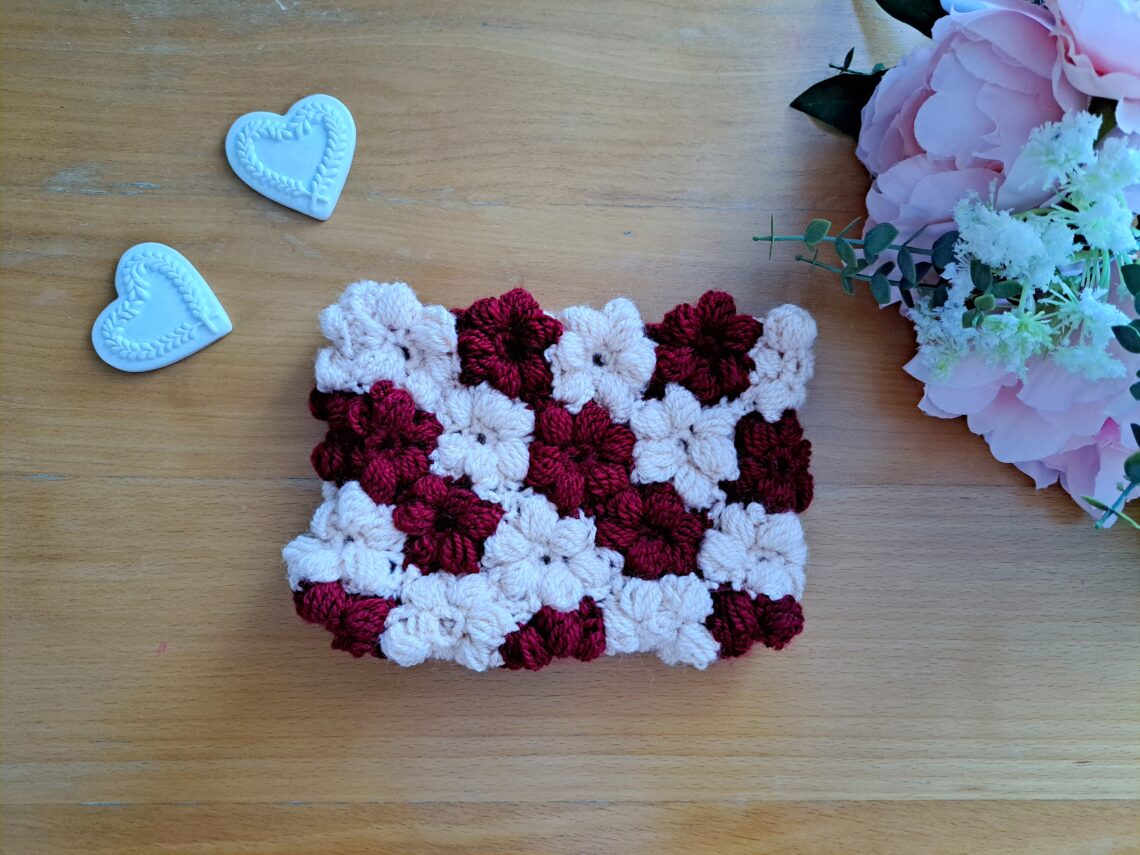
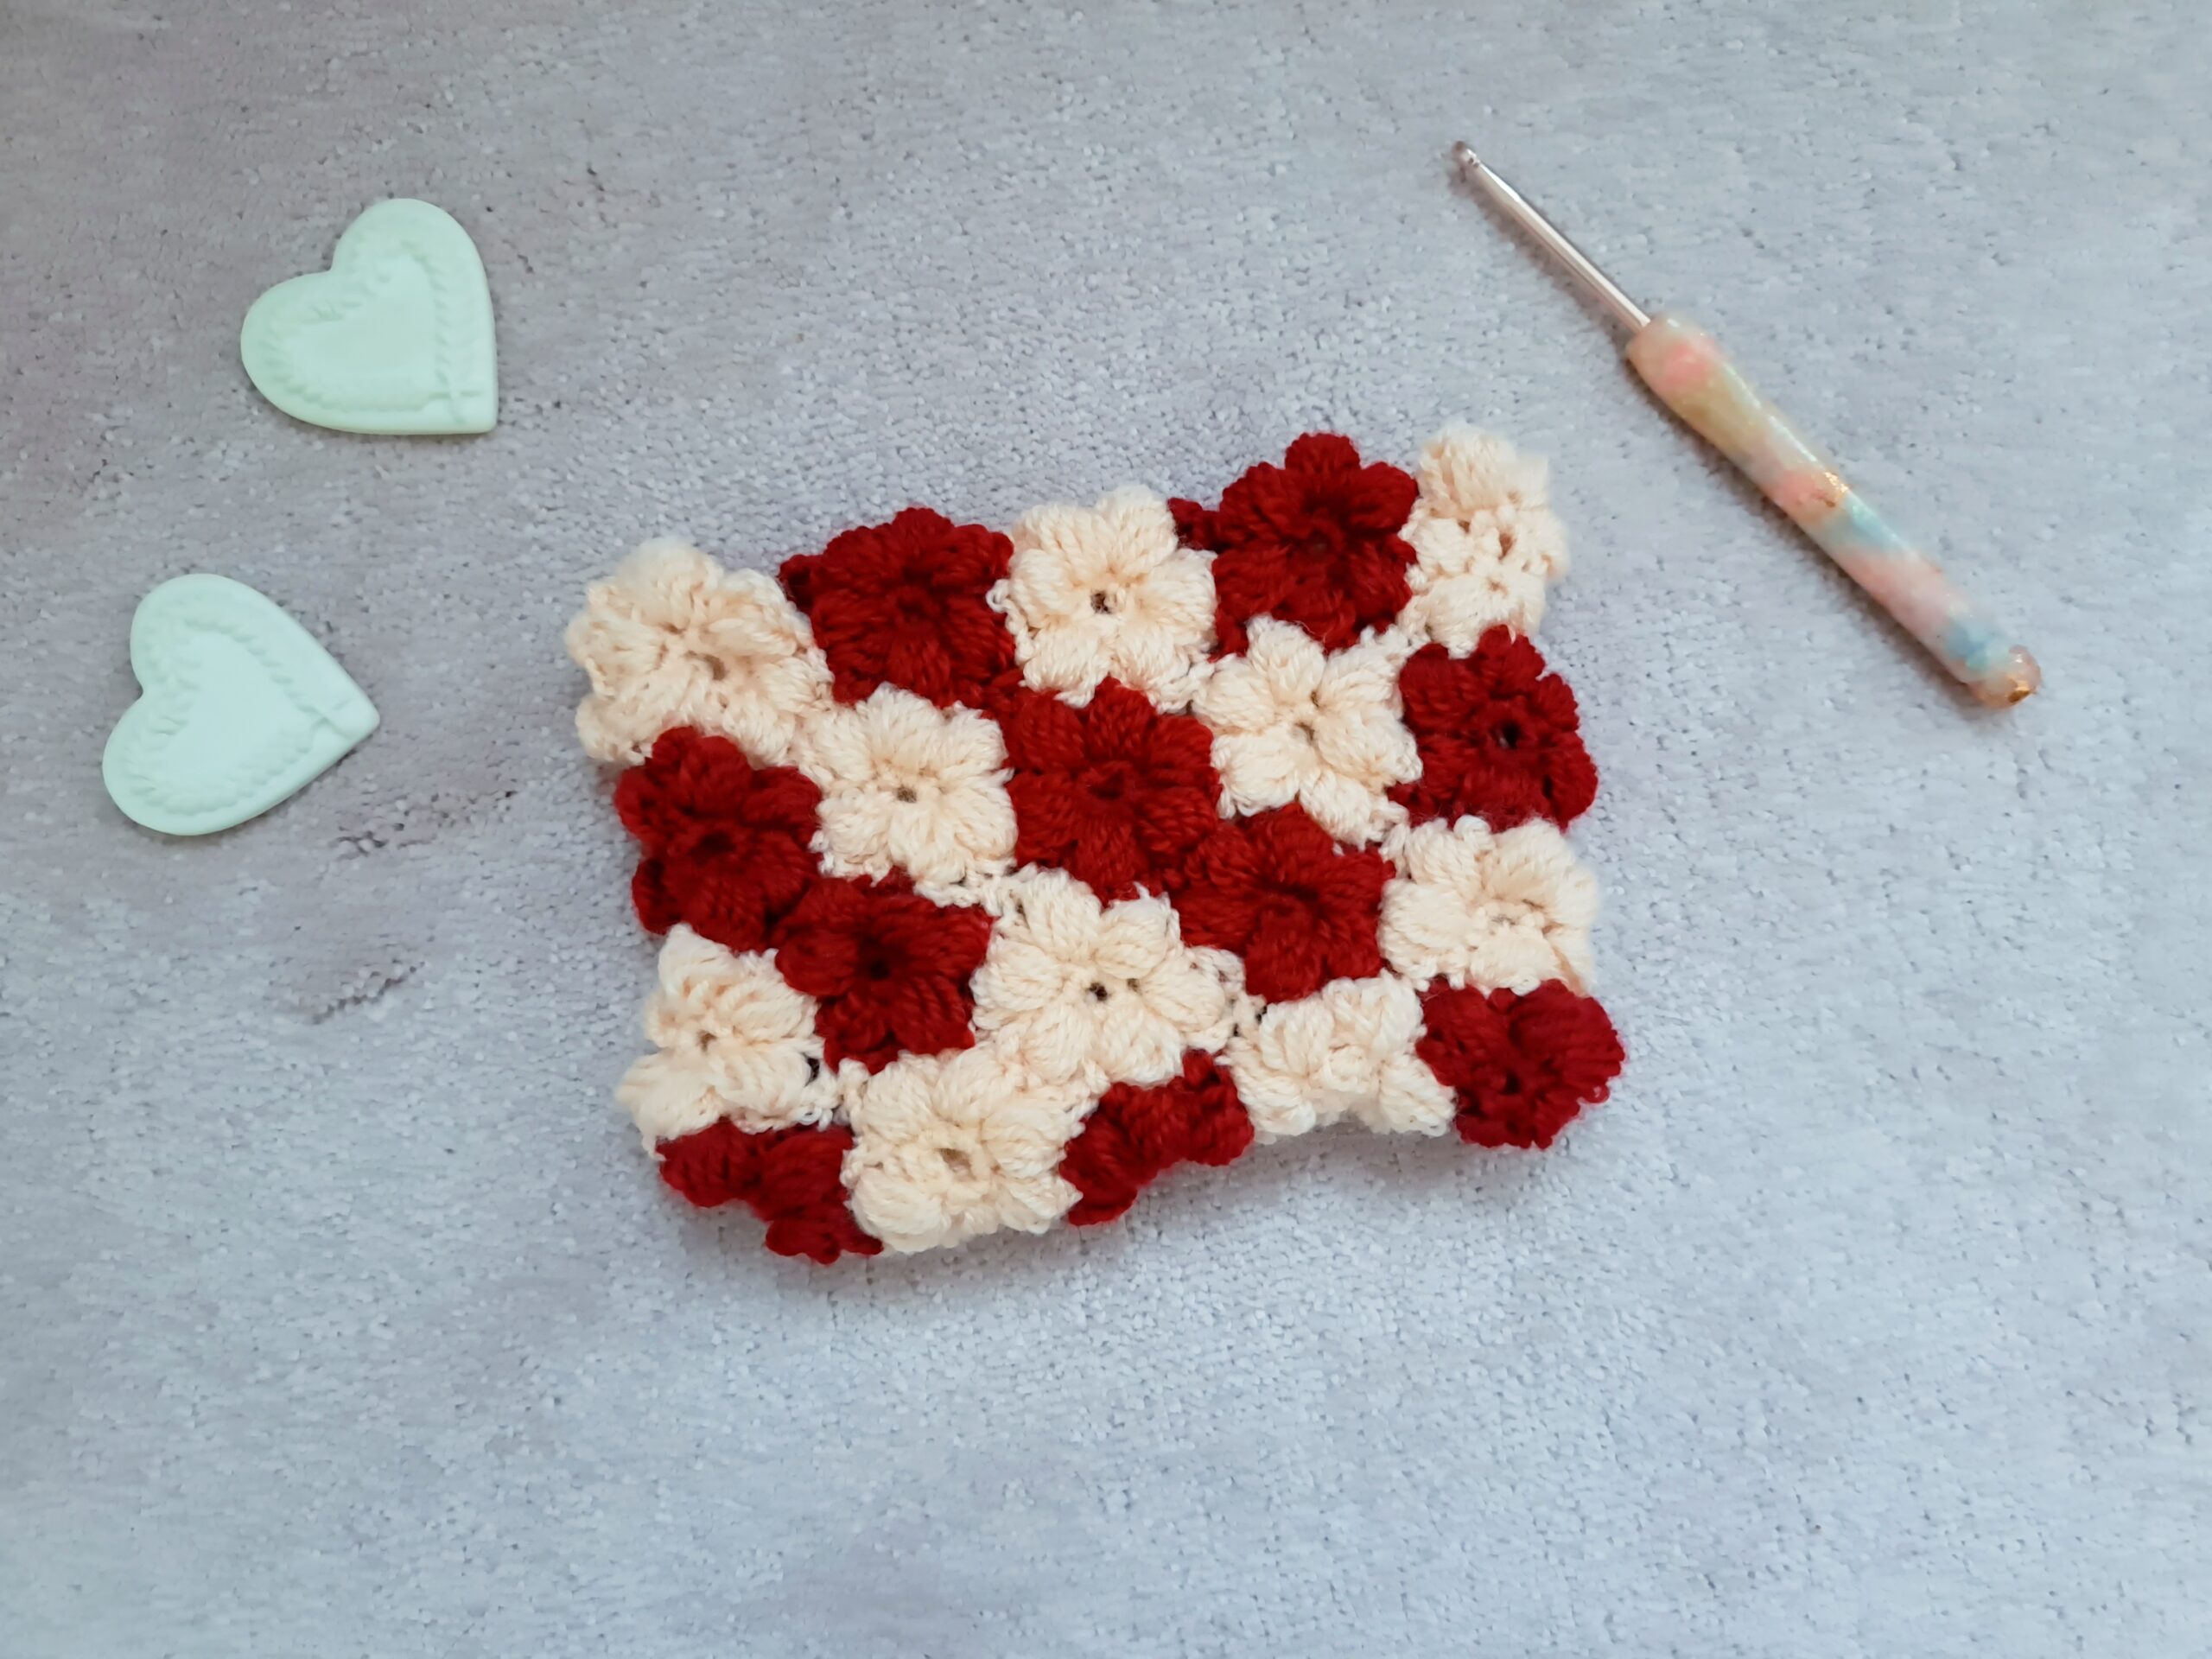
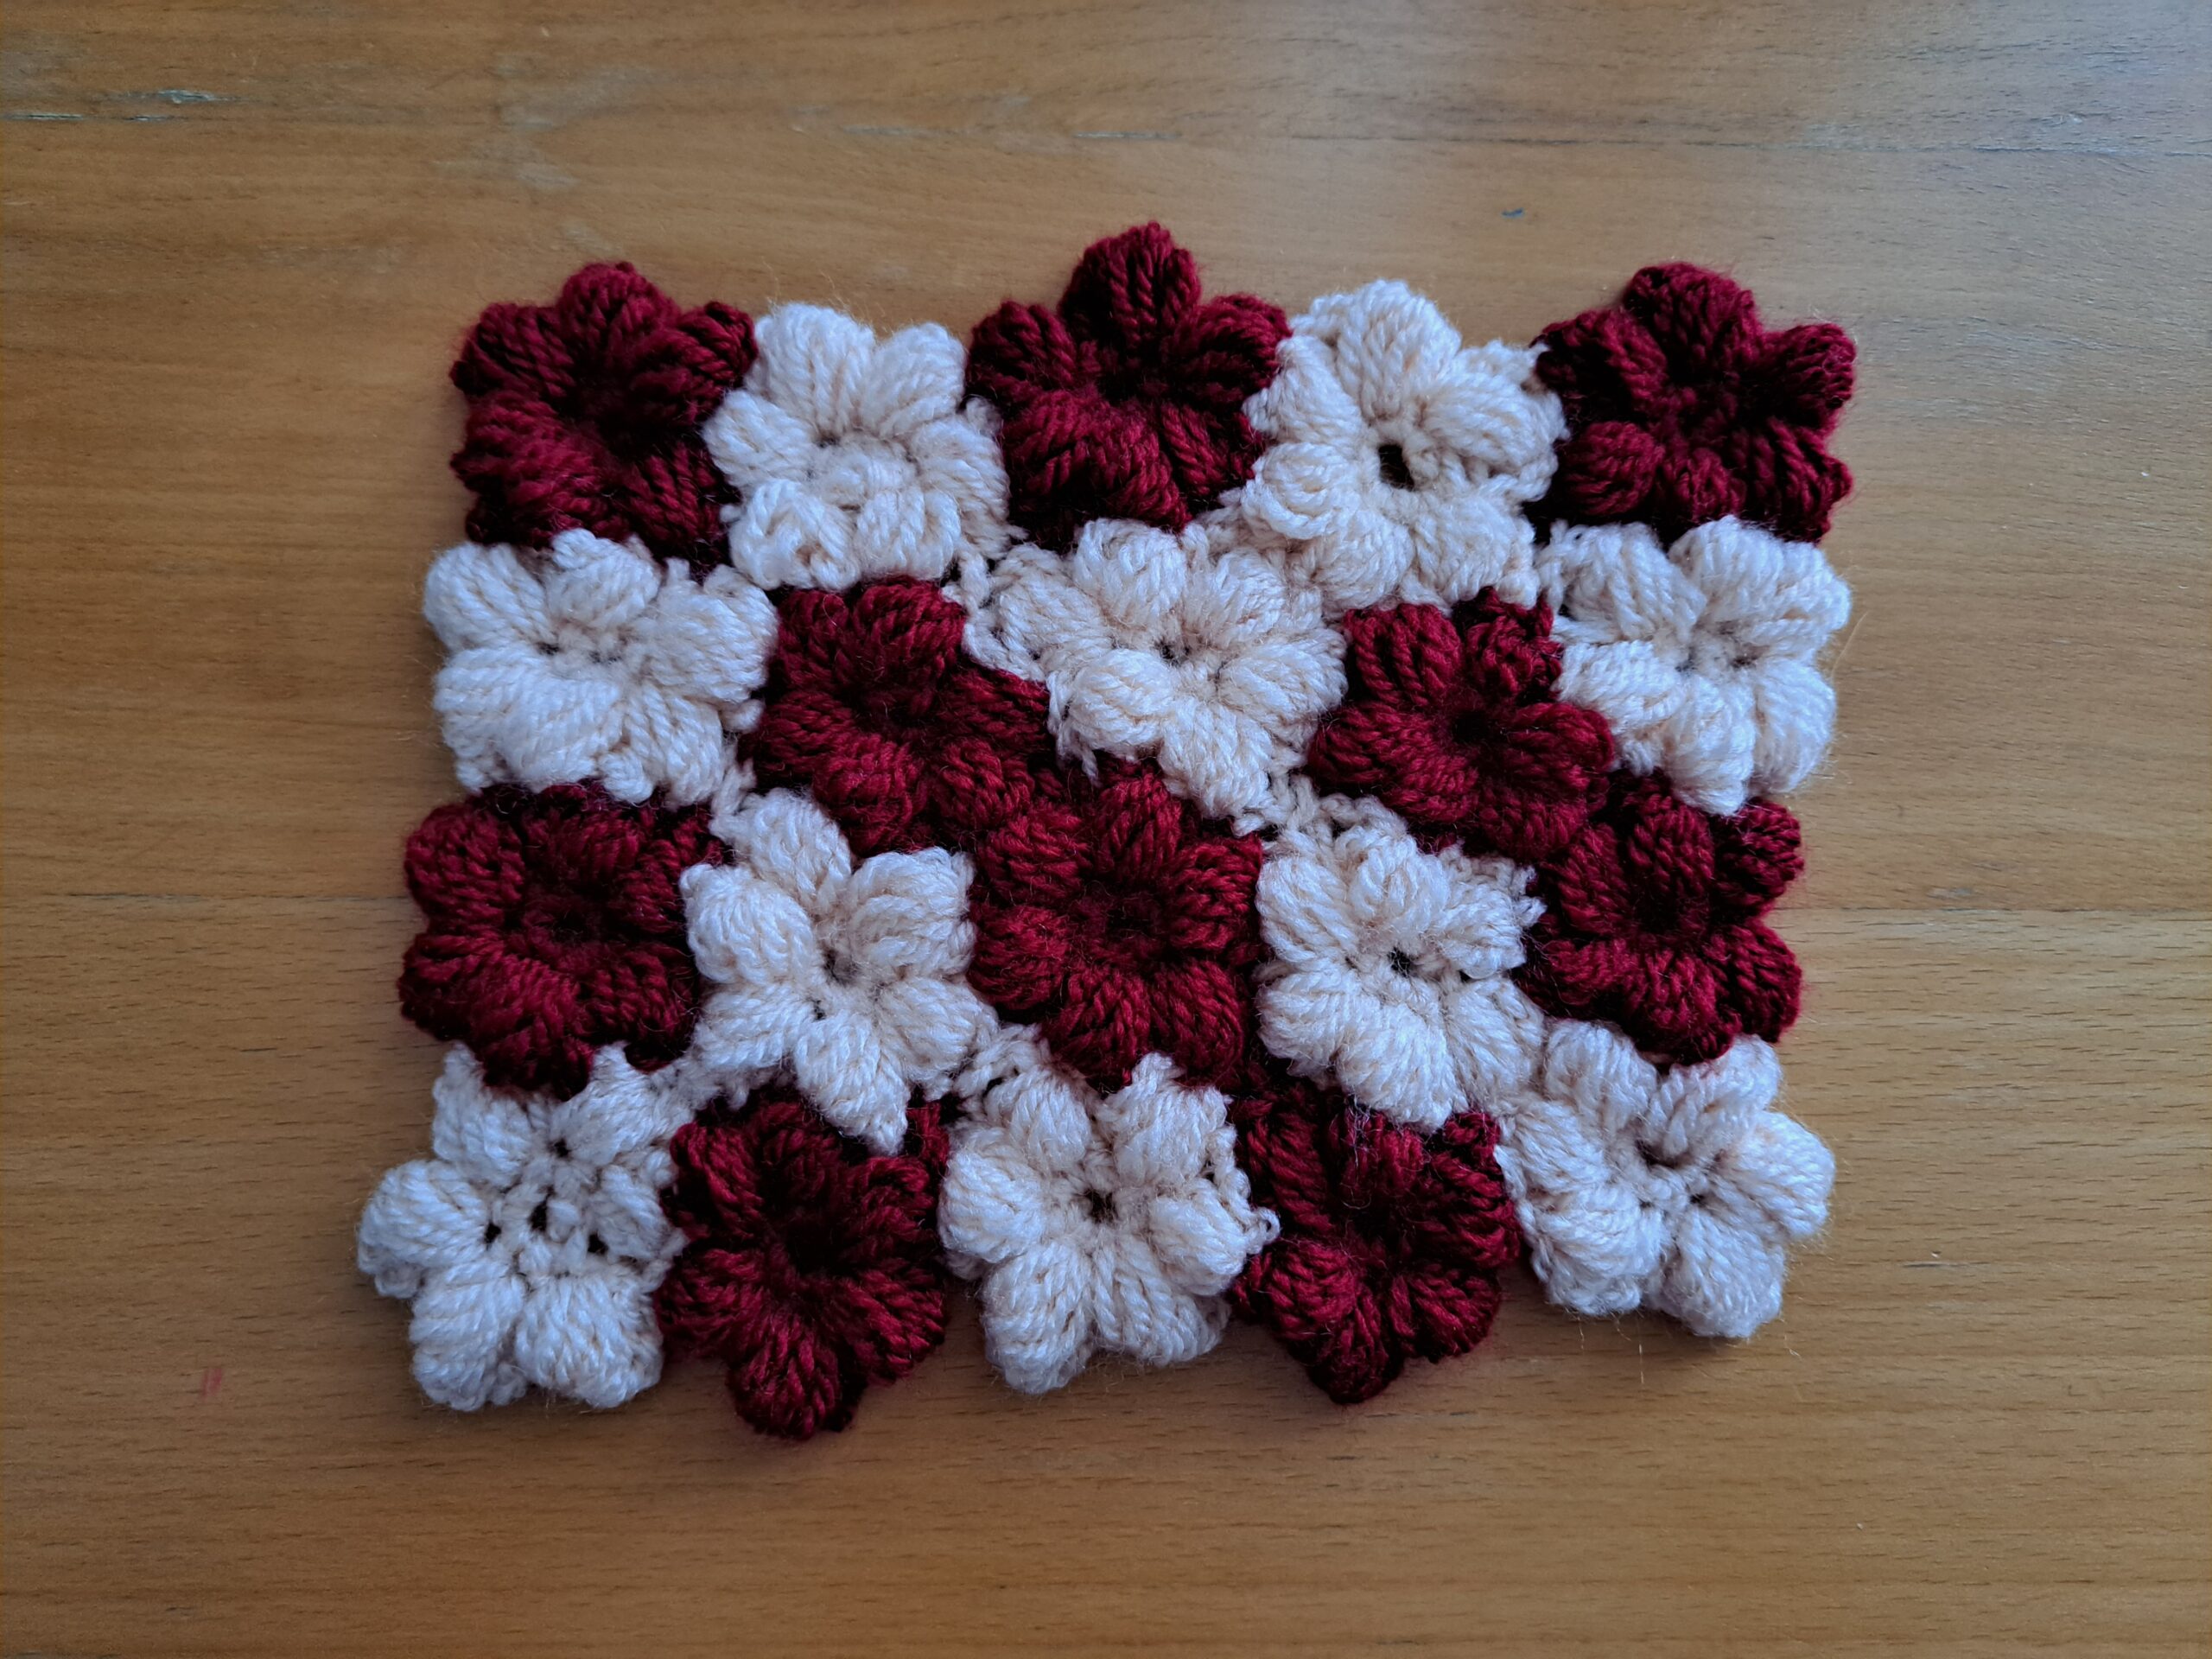
Place your flowers as shown in the photo below for the first side of clutch bag (there will be two sides to this project, the front panel and the back panel).
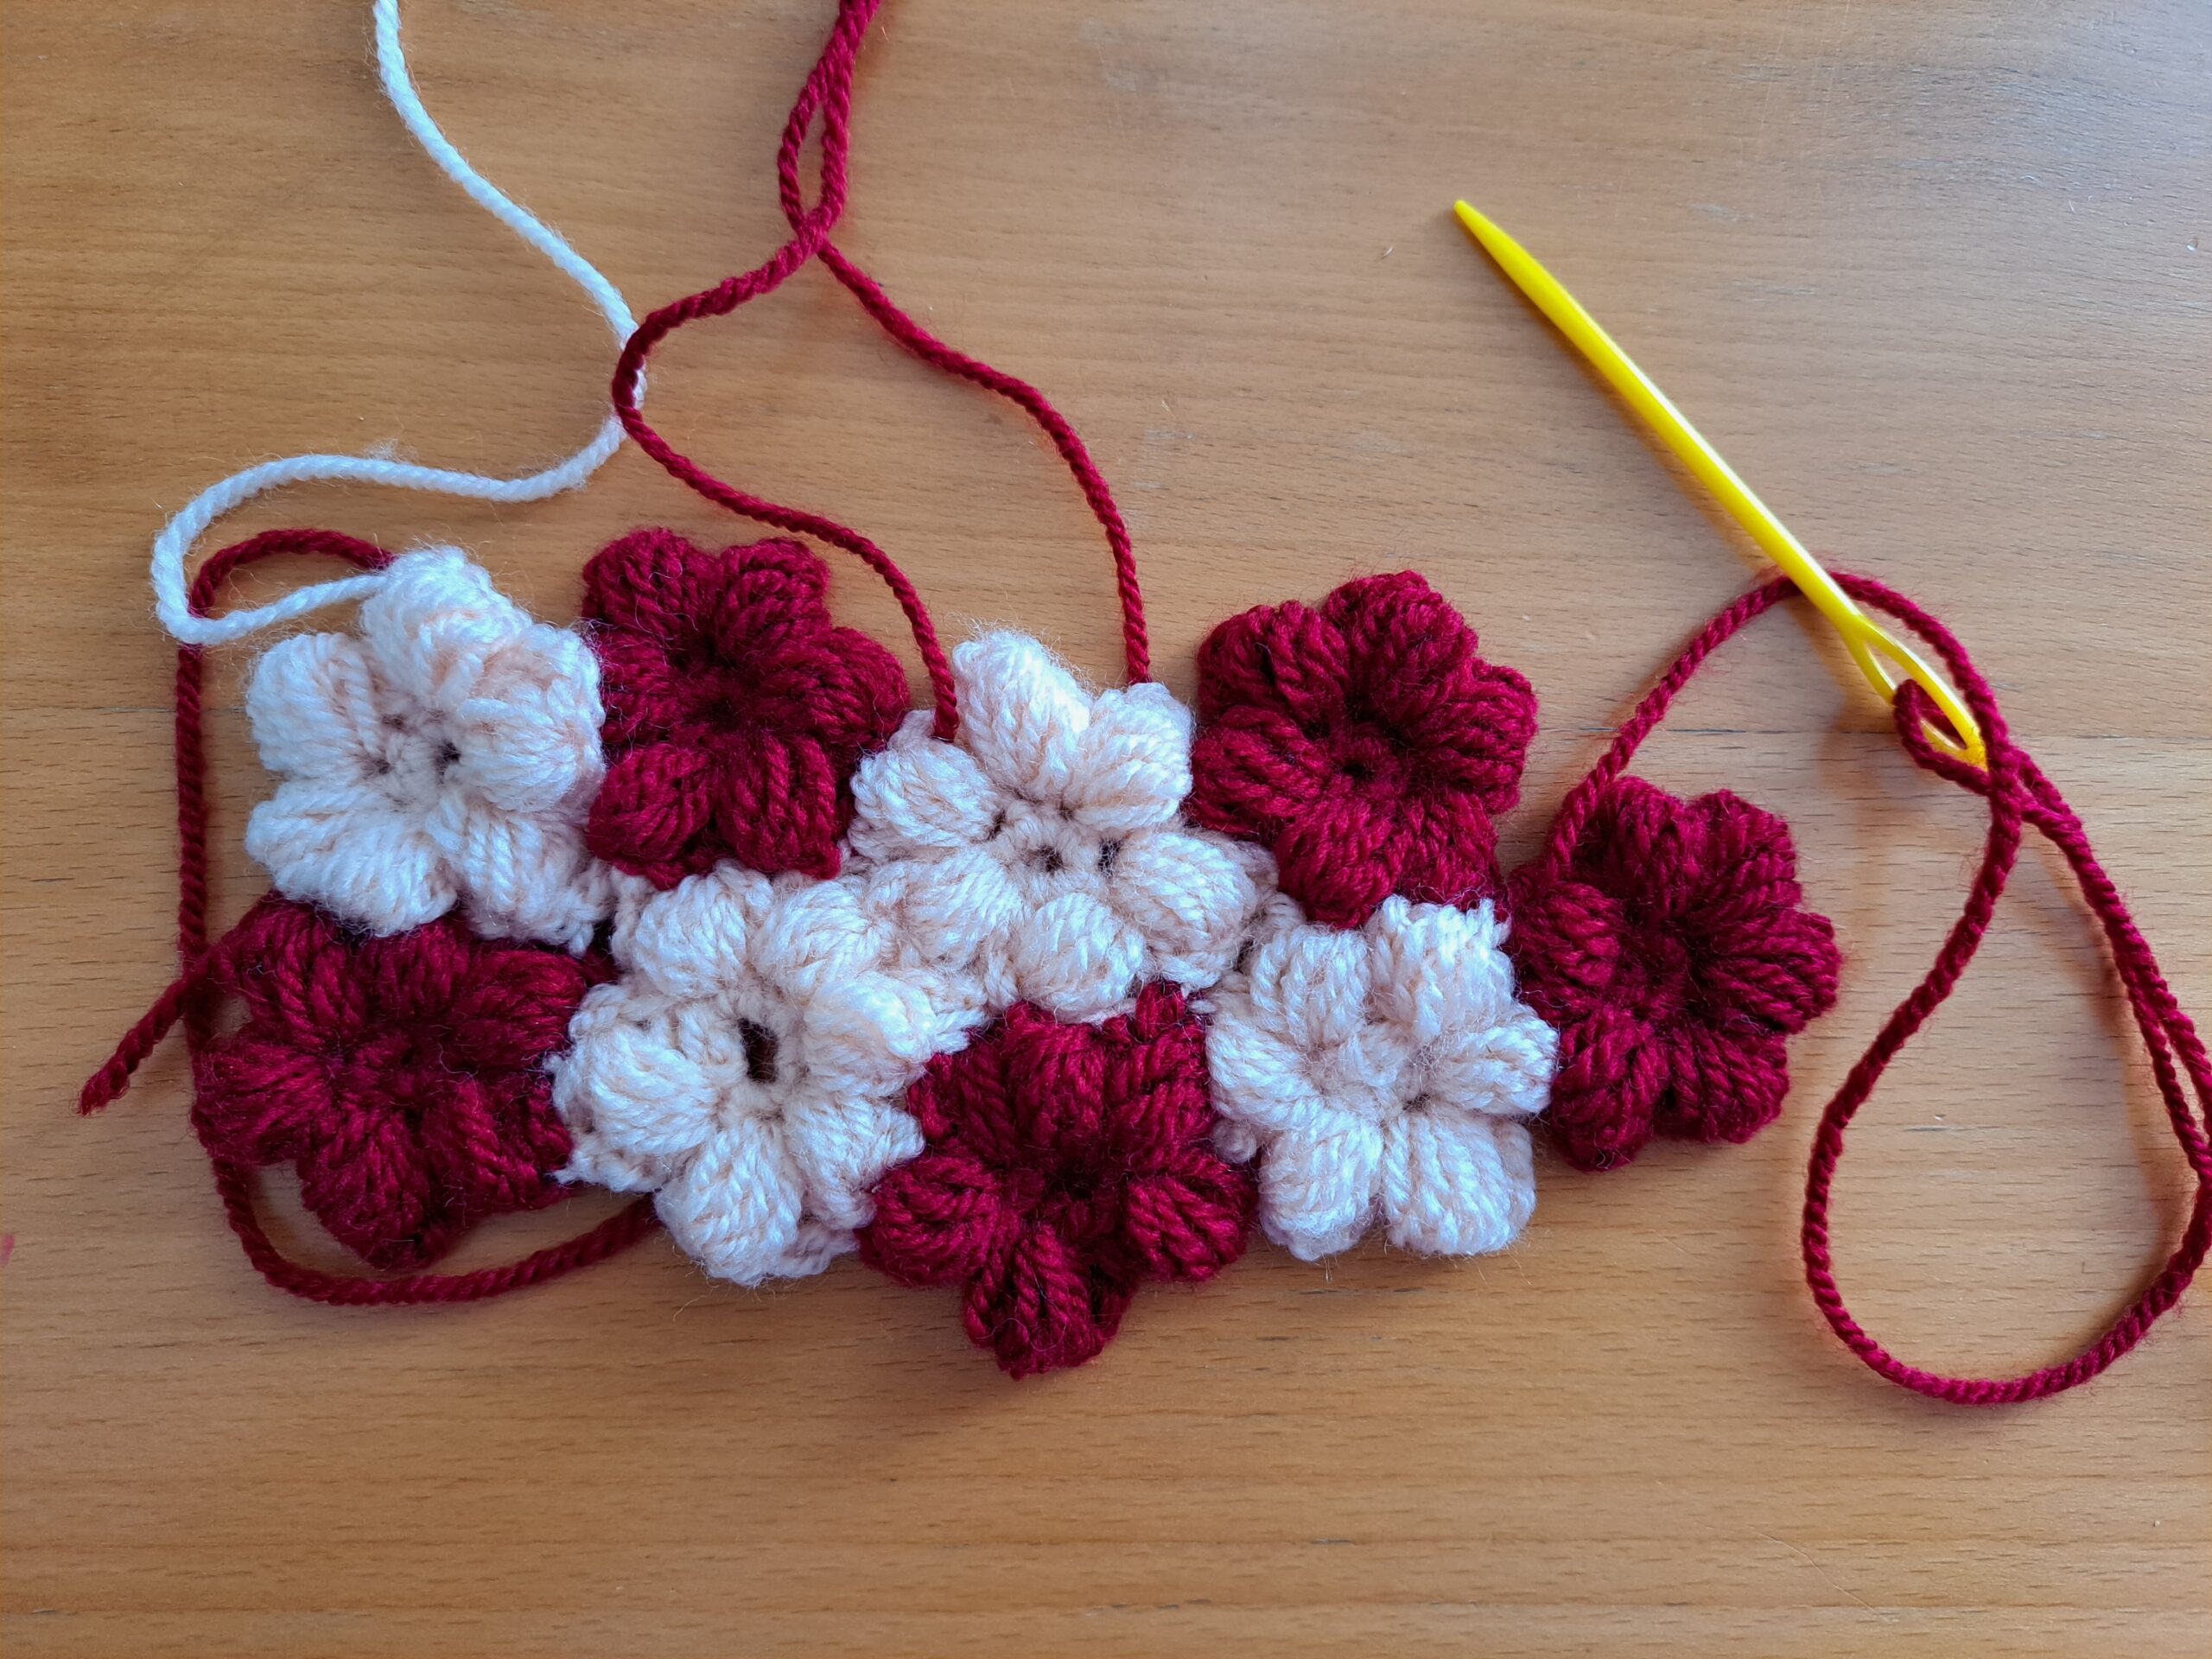
Sew your flowers together using the long tail of flowers with tapestry needle.
Sew each flower individually to form the pattern as seen in the photograph below:
Now
Once you have finished the two panels, place them on top of each other with the back of each panel facing outside (the front of the panels will be facing each other), so as to create the seam (see photo below).
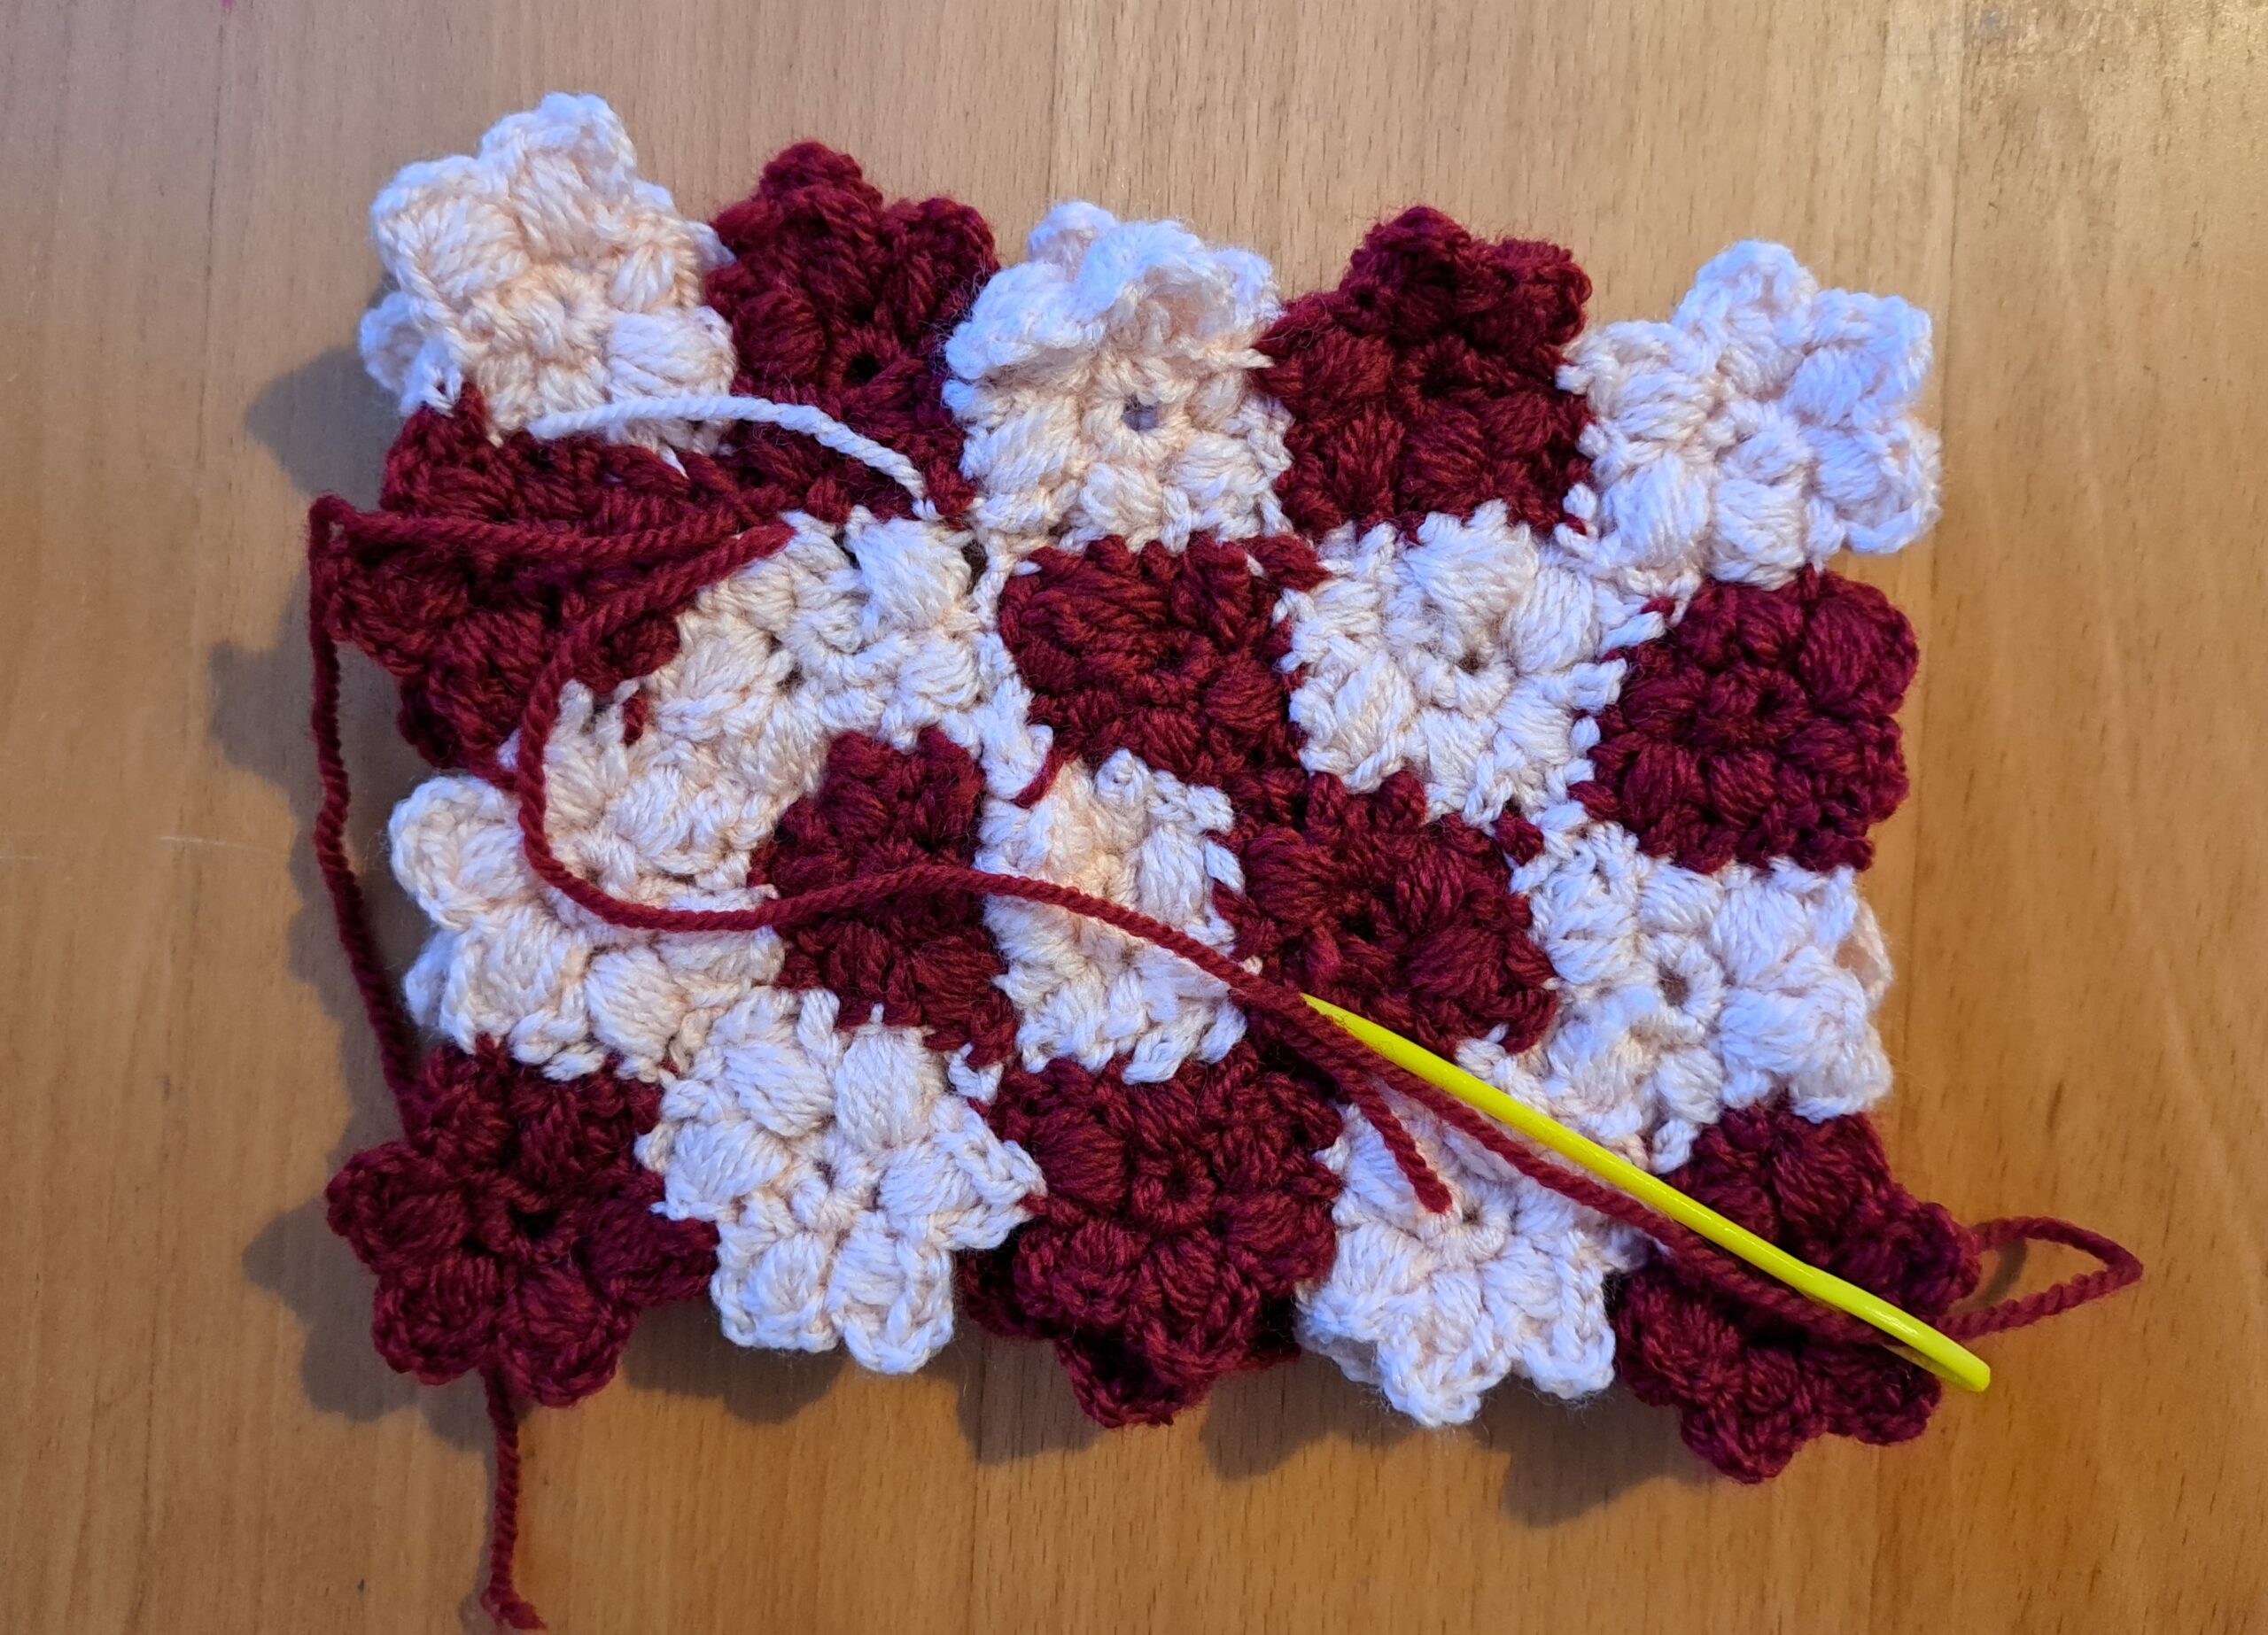
To create the seam, I will be using the same color yarn from flower to flower as you are going up the seams (first side, bottom, second side). Leave the top of the project open.
Once you have finished sewing the project together, tidy up all loose ends and turn your project inside out.


You May Also Like
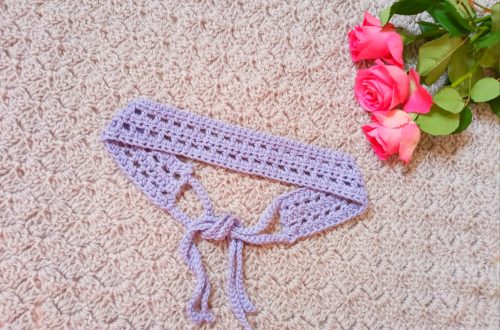
Crochet Romantic Lilac Headband
Crochet Velvet Scrunchie Free Pattern